Introduction
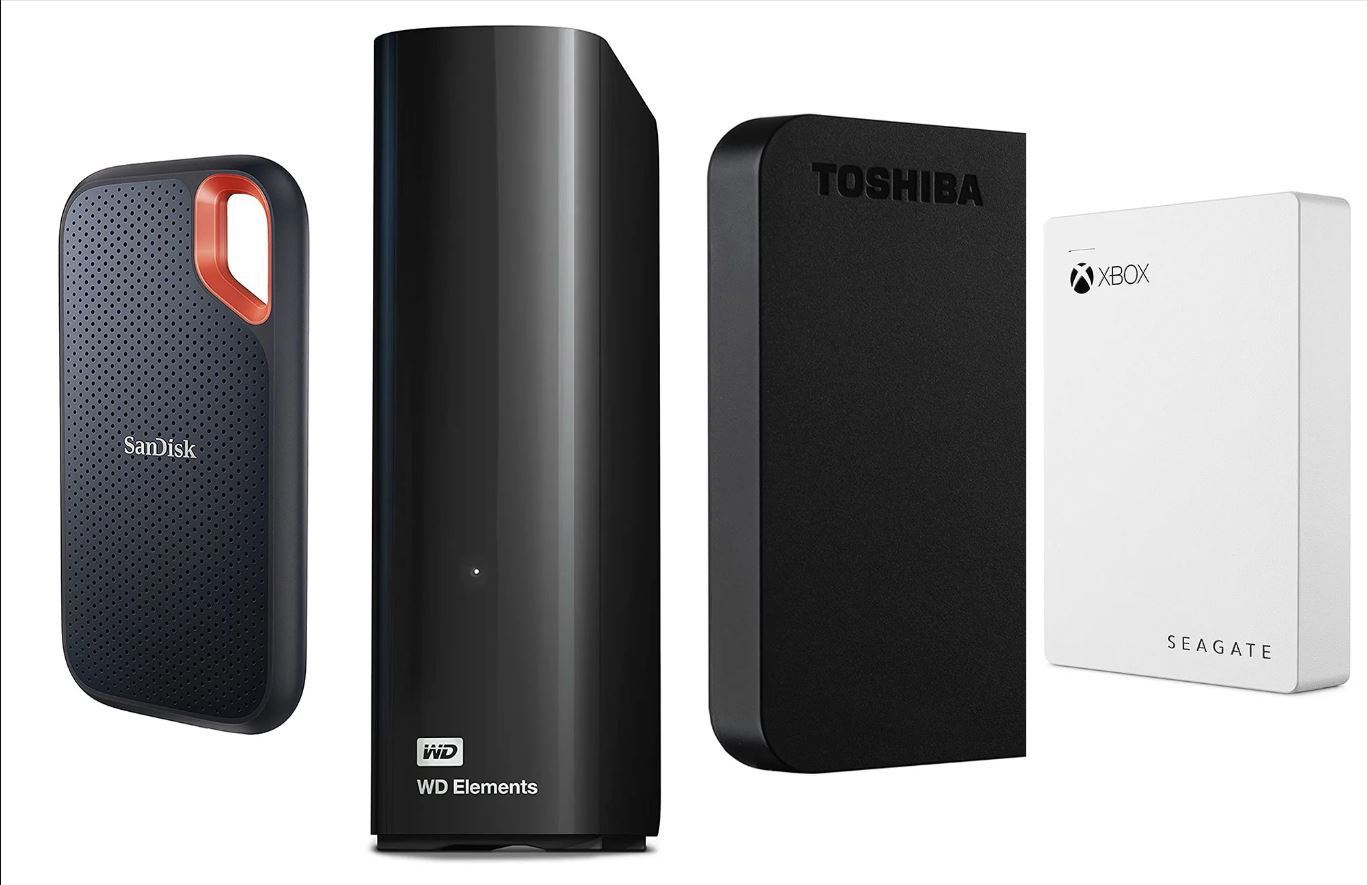
Welcome to this guide on how to format an external hard drive on Windows 11. External hard drives are a convenient and portable storage solution that allows you to back up important files, store large media files, and expand the storage capacity of your computer. However, before you can start using an external hard drive, it’s important to format it to ensure compatibility with your operating system and to optimize its performance. In this tutorial, we will take you through the step-by-step process of formatting an external hard drive on Windows 11.
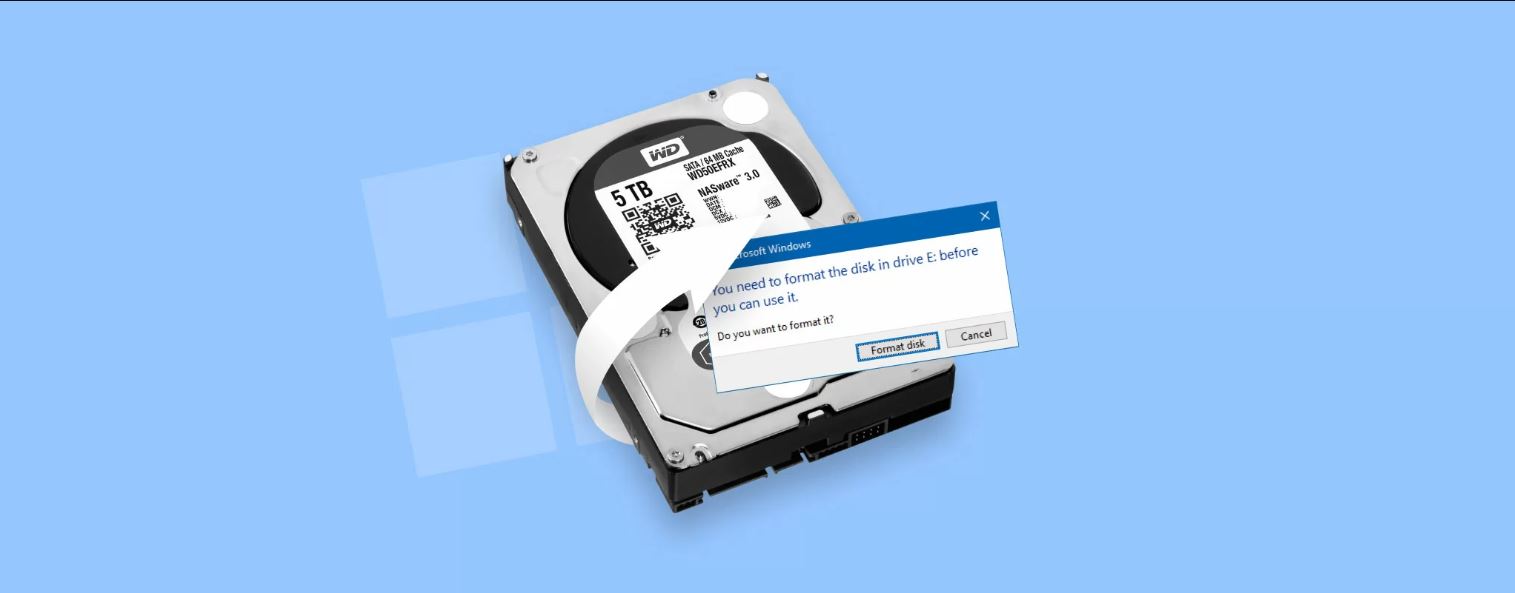
Formatting an external hard drive involves preparing the drive for use by creating a file system and allocating space for data storage. It also gives you the option to assign a drive letter for easy access. While the process may sound complicated, Windows 11 provides a user-friendly interface that simplifies the formatting process. You don’t need any advanced technical skills to follow the steps outlined in this guide.
Please note that formatting an external hard drive will erase all existing data on the drive. Therefore, if you have any important files stored on the drive, make sure to back them up before proceeding with the formatting process. Additionally, ensure that you have a stable power source and a reliable USB connection to avoid any interruptions during the formatting process.
Now, let’s dive into the step-by-step instructions on how to format an external hard drive on Windows 11.
Step 1: Connecting the external hard drive
The first step in formatting an external hard drive on Windows 11 is to connect the drive to your computer. Start by plugging one end of the USB cable into the external hard drive and the other end into an available USB port on your computer.
Ensure that the USB connection is secure and that the drive is properly connected. You may hear a beep or see a notification on your computer indicating that a new device has been connected.
It’s important to note that some external hard drives require external power sources. If your drive has a power adapter, make sure it is plugged into a power outlet as well. This will provide sufficient power to the drive for it to function properly during the formatting process.
Once the external hard drive is connected and powered on, Windows 11 will automatically detect the drive and install the necessary drivers. This may take a few moments, so be patient while your computer recognizes the new device.
After the drivers are installed, you will be ready to proceed to the next step of formatting the external hard drive.
Step 2: Opening the Disk Management tool
Once you have connected the external hard drive to your computer, the next step is to open the Disk Management tool. This tool allows you to manage and customize your disk drives, including formatting external hard drives.
To open the Disk Management tool on Windows 11, you can follow these steps:
- Right-click on the Start button or press the Windows key + X on your keyboard to open the Quick Access menu.
- In the Quick Access menu, select “Disk Management” from the list of options.
- Alternatively, you can also search for “Disk Management” in the Windows search bar and click on the “Create and format hard disk partitions” option that appears.
After performing one of these actions, the Disk Management window will open, displaying a list of all the disk drives connected to your computer, including the external hard drive you just connected.
In the Disk Management window, you will see a graphical representation of all the drives. The external hard drive should be listed as a separate disk, labeled with a drive letter (e.g., “Disk 1”). Take note of the drive letter assigned to your external hard drive, as it will be needed in the subsequent steps.
Now that you have successfully opened the Disk Management tool and identified the external hard drive, you are ready to proceed to the next step of selecting the drive for formatting.
Step 3: Selecting the external hard drive
After opening the Disk Management tool, the next step in formatting an external hard drive on Windows 11 is selecting the specific drive you want to format.
In the Disk Management window, you will see a list of all the drives connected to your computer. Look for the external hard drive you want to format. It should be labeled with a drive letter and show its size and status.
Before proceeding with the formatting process, it’s important to double-check that you have selected the correct drive. Formatting the wrong drive can result in permanent data loss. If you are not sure which drive is the external hard drive you want to format, you can connect other drives and check if they appear in the Disk Management window.
Once you have identified the correct drive, right-click on it and select the “Format” option from the context menu. This will open the Format dialog box, where you can customize the format settings for the external hard drive.
Additionally, you can also check the properties of the drive by right-clicking on it and selecting the “Properties” option. This will display detailed information about the drive, such as its file system, capacity, and current status.
Now that you have successfully selected the external hard drive, you are ready to proceed to the next step of formatting it.
Step 4: Formatting the external hard drive
After selecting the external hard drive in the Disk Management tool, the next step is to format the drive. Formatting prepares the drive for use by creating a file system and allocating space for data storage. Here’s how you can format the external hard drive on Windows 11:
- In the Format dialog box that appears after selecting the drive, you will see options to customize the format settings.
- The “Volume label” field allows you to assign a name to the external hard drive. You can enter a descriptive label or leave it blank to use the default name.
- The “File system” drop-down menu lets you choose the type of file system to be used on the drive. The most commonly used file system is NTFS, which offers better performance and support for larger file sizes. However, if you plan to use the external hard drive with other devices, such as Mac computers, you might consider using exFAT for better compatibility.
- The “Allocation unit size” refers to the cluster size on the drive. It is recommended to leave this setting at the default size unless you have specific requirements or are advised otherwise.
- Tick the “Perform a quick format” option if you want to speed up the formatting process. However, keep in mind that a quick format does not thoroughly scan the drive for errors.
- Next, ensure that the “Enable file and folder compression” option is unchecked unless you have a specific need for it.
- Review the format settings and double-check that you have selected the correct external hard drive for formatting.
- Click on the “OK” button to start the formatting process.
Formatting may take some time, depending on the size of the external hard drive. During the process, you will see a progress bar indicating the status. It is important to avoid disconnecting the drive or turning off your computer while the format is in progress to prevent data corruption.
Once the formatting is complete, you will receive a confirmation message. Your external hard drive is now ready to be used on Windows 11 with the specified format settings.
Now that you have successfully formatted the external hard drive, you are ready to proceed to the next step of choosing the file system and allocation unit size.
Step 5: Choosing the file system and allocation unit size
When formatting an external hard drive on Windows 11, you have the option to choose the file system and allocation unit size. These settings determine how the drive will organize and allocate space for data storage. Here’s how you can choose the file system and allocation unit size:
- After selecting the external hard drive in the Disk Management tool and opening the Format dialog box, you will see the option to choose the file system.
- The “File system” drop-down menu allows you to select the type of file system you want to use on the drive.
- The most commonly used file system is NTFS (New Technology File System), which offers better performance, security, and support for larger file sizes. It is recommended for most Windows users.
- If you plan to use the external hard drive with other devices, such as Mac computers, or if you need cross-platform compatibility, you might consider using exFAT (Extended File Allocation Table) as the file system. ExFAT is compatible with both Windows and macOS and supports larger file sizes.
- Once you have selected the desired file system, you can proceed with choosing the allocation unit size.
- The “Allocation unit size” refers to the cluster size on the drive. Clusters are the smallest units of storage on a hard drive where data is stored. It is recommended to leave this setting at the default size, as it generally provides the best balance between performance and storage efficiency.
- In some cases, you may need to select a specific allocation unit size based on your requirements. For example, if you plan to store large files on the external hard drive, you may benefit from choosing a larger allocation unit size.
- However, keep in mind that selecting a larger allocation unit size may result in higher disk space wastage for smaller files.
- Once you have chosen the file system and allocation unit size according to your needs, you can proceed with the formatting process by clicking the “OK” button.
By selecting the appropriate file system and allocation unit size, you can optimize the external hard drive’s performance and ensure compatibility with your intended use.
Now that you have successfully chosen the file system and allocation unit size, you are ready to proceed to the next step of assigning a drive letter.
Step 6: Assigning a drive letter
After formatting the external hard drive and selecting the file system and allocation unit size, the next step is to assign a drive letter. A drive letter is a unique identifier assigned to the external hard drive, allowing it to be easily recognized and accessed by the operating system.
Here’s how you can assign a drive letter to the formatted external hard drive on Windows 11:
- After completing the formatting process, return to the Disk Management tool.
- Locate the formatted external hard drive in the list of drives.
- Right-click on the drive and select the “Change Drive Letter and Paths” option.
- In the dialog box that appears, click on the “Add” button to assign a new drive letter.
- In the drop-down menu, select a letter that is not already in use for other drives on your computer.
- Click the “OK” button to confirm the drive letter assignment.
The assigned drive letter will now be associated with the external hard drive. You can access the drive by opening the File Explorer and navigating to the assigned drive letter.
Assigning a drive letter allows you to easily identify and access the formatted external hard drive whenever it is connected to your computer. It simplifies file management and ensures seamless integration with your existing file system.
Now that you have successfully assigned a drive letter to the external hard drive, you are ready to proceed to the next step of confirming the format.
Step 7: Confirming the format
After assigning a drive letter to the formatted external hard drive, the next step is to confirm the format before finalizing the process. This step ensures that you have made the desired changes and allows you to review the format settings one last time. Here’s how you can confirm the format on Windows 11:
- Return to the Disk Management tool, where you can see the list of drives.
- Locate the external hard drive with the assigned drive letter.
- Ensure that the format settings, such as the file system and allocation unit size, are correctly displayed.
- Verify that the drive letter you assigned is also shown correctly.
- Take a moment to review the formatting details, making sure everything aligns with your preferences and requirements.
- If you need to make any changes to the format settings or drive letter assignment, you can right-click on the drive and select the respective options to modify them.
- Once you have double-checked and are satisfied with the format settings, there is no need for further action to confirm the format.
The confirmation step is primarily for your awareness and verification, ensuring that you have chosen the correct format settings and drive letter assignment. It serves as a final check before finalizing the formatting process for the external hard drive.
Now that you have successfully confirmed the format, you are ready to proceed to the final step, where you will complete the format process.
Step 8: Completing the format process
After confirming the format settings, the final step in the process of formatting an external hard drive on Windows 11 is completing the format process. This step involves executing the format command and finalizing the changes made to the drive. Here’s how you can complete the format process:
- Ensure that you have reviewed and confirmed the format settings in the Disk Management tool.
- If you need to make any last-minute modifications, you can right-click on the drive and select the appropriate options to adjust the format settings.
- Once you are ready, click on the “OK” button in the Format dialog box.
- Windows 11 will proceed with executing the format command, formatting the external hard drive based on the specified settings.
- A progress bar will appear, indicating the status of the format process. Depending on the size of the drive, this may take several minutes.
- Ensure that your computer remains powered on and do not remove the external hard drive during the format process to avoid any potential data corruption.
- Once the format process is complete, you will receive a confirmation message that the format was successful.
- Click “OK” to close the confirmation message and exit the Format dialog box.
Congratulations! You have now successfully completed the format process for your external hard drive on Windows 11. The drive is now ready to be used for storing and accessing your files.
It’s worth noting that the time required for the format process depends on the size of the drive and the speed of your computer. Larger drives may take longer to format.
Now that you have completed the format process, you can begin using your external hard drive for backup, storage, or any other purposes you intended.
Conclusion
Formatting an external hard drive on Windows 11 is a straightforward process that allows you to optimize the drive for use with your computer. By following the step-by-step instructions in this guide, you can easily format and prepare your external hard drive for storing files, performing backups, or expanding your storage capacity.
Throughout this tutorial, we covered essential steps such as connecting the external hard drive, opening the Disk Management tool, selecting the drive, formatting the drive with the desired file system and allocation unit size, assigning a drive letter, confirming the format, and completing the format process. By understanding these steps, you can confidently format your external hard drive with ease.
Remember, formatting an external hard drive will erase all existing data on the drive. Therefore, ensure that you have made the necessary backups before proceeding to avoid permanent data loss.
Whether you use the popular NTFS file system for performance and security, or opt for the cross-platform compatibility of exFAT, choosing the right file system for your needs is crucial. Additionally, customizing the allocation unit size can optimize the drive’s performance for your specific use case.
After formatting the external hard drive and assigning a drive letter, you can now utilize the drive to store files, perform backups, or expand your computer’s storage capacity. Enjoy the convenience and benefits of having a properly formatted external hard drive within easy reach.
With these steps in mind, you’re ready to format your external hard drive on Windows 11 confidently. Whether you’re a casual user or a professional, this guide has provided you with the necessary knowledge to perform this task efficiently and effectively.
Now it’s time to put this knowledge into action and make the most of your external hard drive storage!