Introduction
Welcome to this step-by-step guide on how to make an external hard drive. With the ever-increasing need for increased storage capacity, many users are opting to create their own external hard drives. Whether you want to back up important data, store large media files, or simply expand your computer’s storage capabilities, building your own external hard drive can be a cost-effective and rewarding experience.
By following the instructions in this guide, you will learn how to choose the right external hard drive, gather the necessary cables and connectors, disassemble the enclosure, remove the hard drive, prepare a new enclosure, install the hard drive, and reassemble the enclosure. Finally, we will cover how to connect the external hard drive to your computer, format and partition the drive, and safely eject it.
Before we dive into the nitty-gritty details, it is essential to have a basic understanding of what an external hard drive is. Essentially, it is a portable storage device that connects to your computer via a USB or Thunderbolt cable, allowing you to store and access data externally. External hard drives are a popular choice for individuals who require additional storage space and the flexibility to take their data with them wherever they go.
Now, let’s get started on the journey of creating your own external hard drive. Before you jump in, remember to exercise caution and refer to the manufacturer’s instructions for any specific details related to your particular hard drive model. So, grab your tools, put on your DIY hat, and let’s begin the adventure!
Tools and Equipment Needed
Before you embark on the process of making an external hard drive, it is important to ensure that you have the necessary tools and equipment at hand. Here is a list of items you will need for this project:
- Screwdriver set: You will require a screwdriver set with different types and sizes of screwdrivers to disassemble and reassemble the external hard drive enclosure.
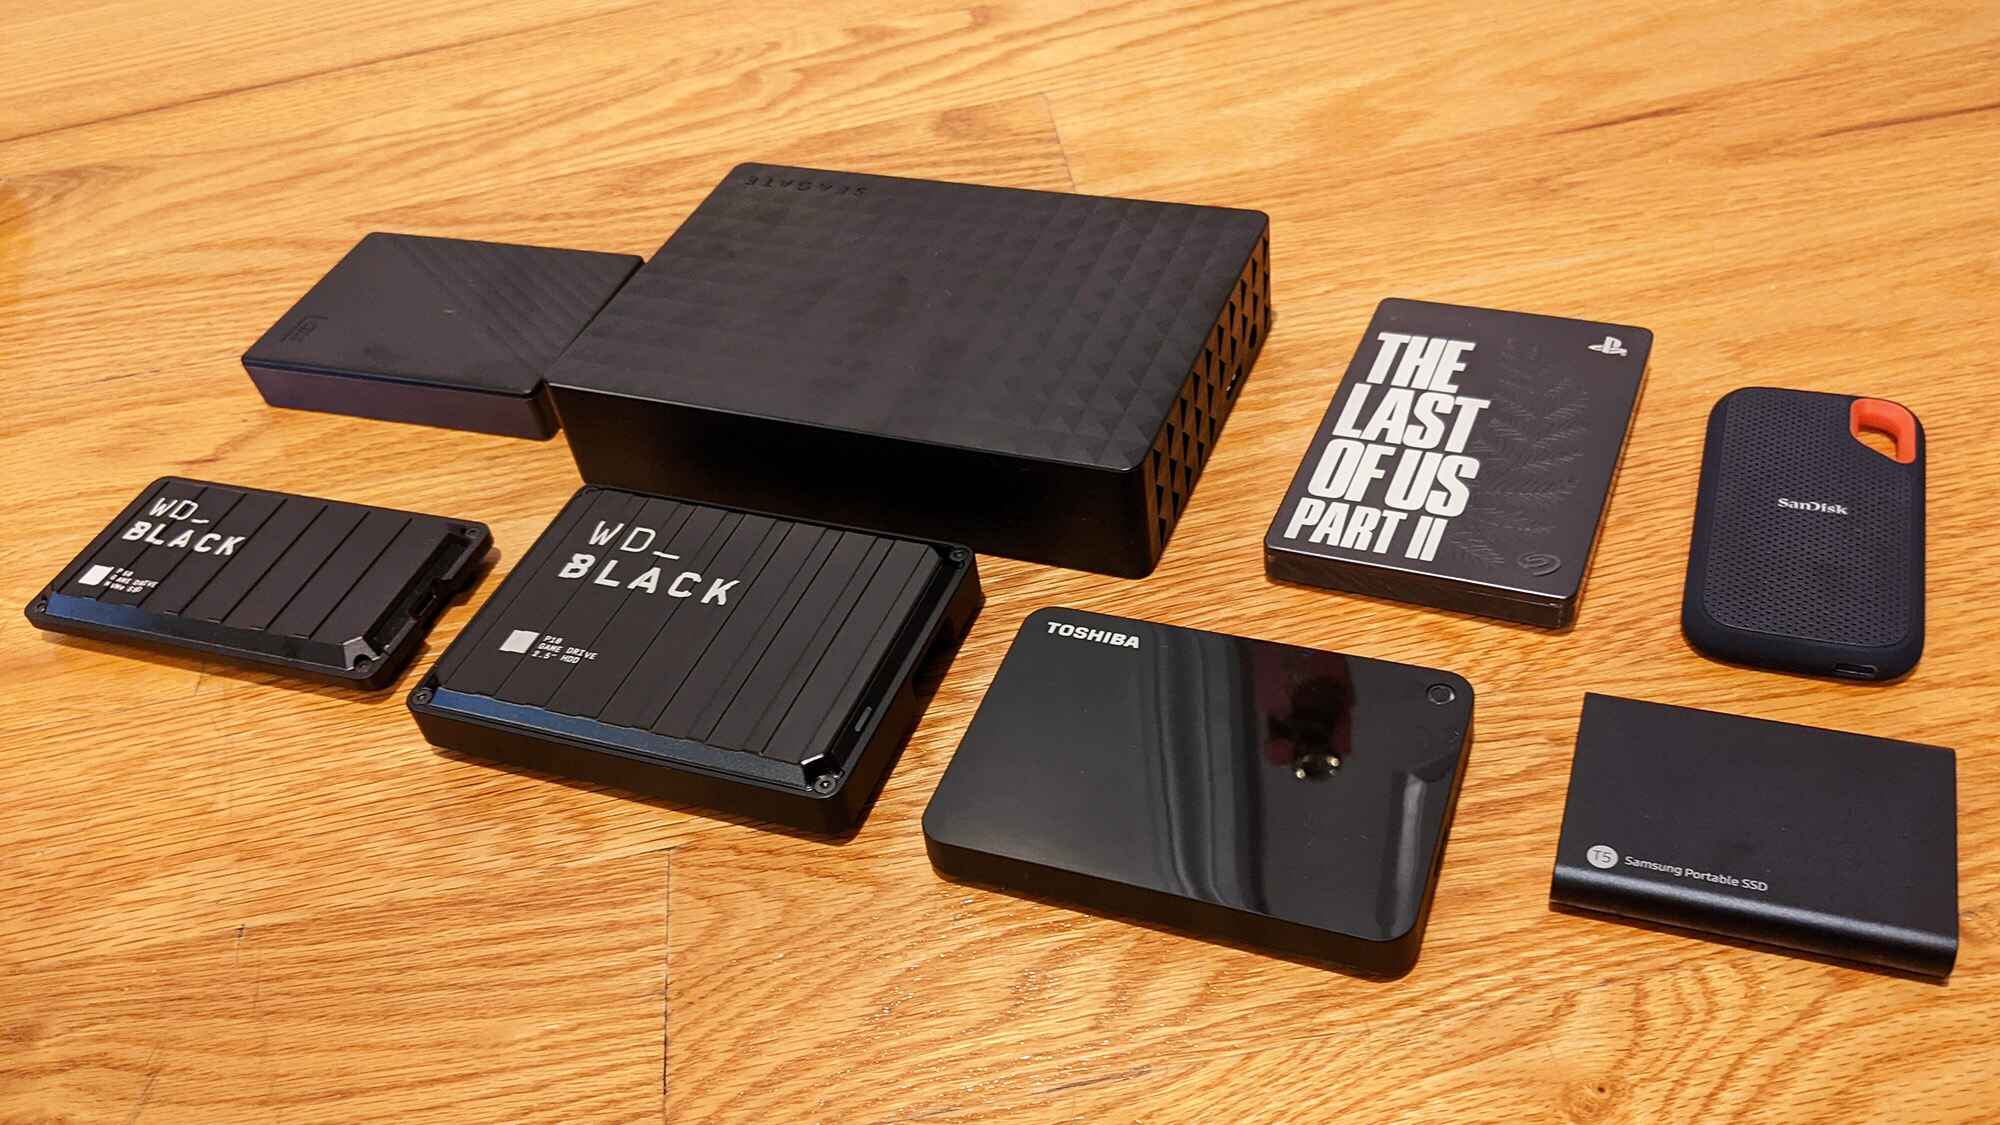
- External hard drive: Choose a compatible external hard drive based on your storage requirements. Ensure that it supports the desired connection interface, such as USB 3.0 or Thunderbolt.
- External hard drive enclosure: This is the shell that will house the hard drive. Make sure to choose one that is compatible with the size and interface of your hard drive.
- USB or Thunderbolt cable: Depending on the type of connection interface your hard drive and computer support, you will need a USB or Thunderbolt cable to connect the external hard drive to your computer.
- Anti-static wrist strap (optional): An anti-static wrist strap can help protect sensitive electronic components from static electricity during the assembly process.
- External power adapter (if required): Some external hard drives may require an external power adapter for adequate power supply. Check the specifications of your hard drive to determine if this is necessary.
It is important to note that the specific tools and equipment needed may vary depending on the make and model of the external hard drive and enclosure. It is always a good idea to consult the manufacturer’s instructions or do some research prior to starting the project to ensure you have all the necessary tools and equipment.
Now that you have gathered the required tools and equipment, you are ready to move on to the next step of choosing the right external hard drive for your needs.
Step 1: Choosing the Right External Hard Drive
The first step in making your own external hard drive is choosing the right hard drive for your needs. Here are some factors to consider when making your selection:
Storage Capacity: Determine the amount of storage space you require. Consider your current and future needs for storing files, documents, media, and other data. External hard drives come in a variety of capacities, ranging from a few hundred gigabytes to multiple terabytes.
Interface: Check the interface options available on your computer and ensure compatibility with the external hard drive you choose. The most common interfaces for external hard drives are USB and Thunderbolt, with USB 3.0 being a popular choice due to its high data transfer speeds.
Form Factor: Consider the form factor of the external hard drive. Most are 2.5-inch or 3.5-inch drives, with 2.5-inch being the smaller and more portable option.
Brand and Reliability: Research different brands and consider their reputation for reliability. Opting for a reputable brand can help ensure a higher quality and more durable external hard drive.
Price: Set a budget for your external hard drive and look for options within that price range. Compare prices and features to find the best value for your money.
Once you have considered these factors and have a clear idea of the specifications you need, it’s time to start shopping for the external hard drive that fits your requirements. Compare different models, read customer reviews, and make an informed decision based on your needs and budget.
Remember to keep in mind the future use of your external hard drive and anticipate any potential expansion needs. It’s always a good idea to choose a model with higher storage capacity than you currently need to accommodate any future data growth.
Now that you have chosen the right external hard drive, you are ready to move on to the next step of gathering the necessary cables and connectors.
Step 2: Gathering Necessary Cables and Connectors
Now that you have chosen the right external hard drive, it’s time to gather the necessary cables and connectors to ensure a smooth and secure connection between your hard drive and computer. Here are the essential items you’ll need:
USB or Thunderbolt Cable: Determine the type of cable required to connect the external hard drive to your computer. USB cables are widely used and are compatible with most computers. If your computer supports Thunderbolt technology, opt for a Thunderbolt cable for faster data transfer speeds.
Power Adapter (if required): Some external hard drives, especially larger 3.5-inch drives, might require an external power adapter to provide sufficient power. Check the specifications of your hard drive and enclosure to determine if a power adapter is necessary. If so, make sure to have the appropriate power adapter on hand.
Adapter or Docking Station (if required): Depending on the type of enclosure and connections on your external hard drive, you may need an adapter or docking station to bridge any connectivity gaps. For example, if you have an older hard drive with IDE connections, you may need an IDE to USB adapter.
Additional Connectors (if required): In some cases, you may need additional connectors or cables to connect your hard drive to the enclosure or to accommodate specific interface requirements. For instance, if your hard drive uses SATA connections but your enclosure only supports IDE connections, you will need a SATA to IDE converter.
It’s important to ensure that the cables and connectors you choose are compatible with both your external hard drive and your computer. Refer to the specifications of your hard drive and enclosure to determine the appropriate cable types and connectors needed.
Once you have gathered all the necessary cables and connectors, double-check that you have everything before moving on to the next step. This will help avoid any delays or inconveniences during the assembly process.
In the next step, we will learn how to disassemble the external hard drive enclosure to access the internal components.
Step 3: Disassembling the External Hard Drive Enclosure
Now that you have gathered the necessary cables and connectors, it’s time to begin the process of disassembling the external hard drive enclosure. This step will grant you access to the internal components of the enclosure. Follow these steps to disassemble the enclosure:
- Make sure your external hard drive is disconnected from any power source and your computer.
- Place the enclosure on a clean, flat surface where you have enough room to work.
- Inspect the enclosure for any screws or clips that are holding it together. Most enclosures have screws located on the sides or back of the enclosure.
- Using the appropriate screwdriver from your screwdriver set, carefully remove all screws holding the enclosure together. Keep them in a safe place to reassemble later.
- If there are no visible screws, gently pry open the enclosure using a plastic spudger or similar tool. Be cautious not to apply excessive force to avoid damaging the enclosure.
- Once the enclosure is opened, you should have access to the internal components, including the hard drive.
During this process, it’s important to handle the enclosure and its components with care to avoid any damage. Avoid touching any electronic components directly and beware of any static electricity that may discharge from your body, as this can potentially harm the hardware.
Once you have successfully disassembled the enclosure, you are ready to move on to the next step of removing the hard drive from the enclosure. This will allow you to prepare it for installation into a new enclosure.
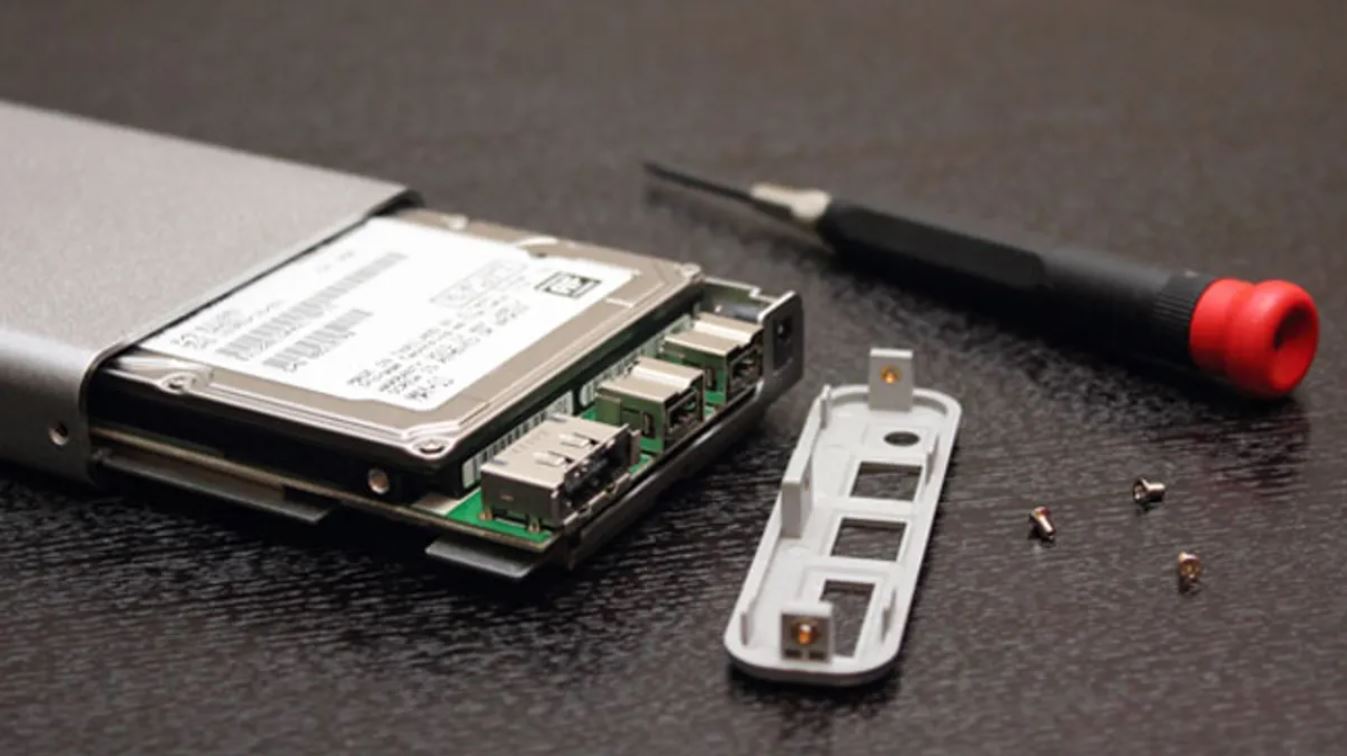
Step 4: Removing the Hard Drive from the Enclosure
Now that you have disassembled the external hard drive enclosure, it’s time to remove the hard drive from its housing. Follow these steps to safely remove the hard drive:
- Locate the hard drive within the enclosure. It is usually located in a metal or plastic bracket, securely held in place.
- If there are any screws or clips attaching the hard drive to the enclosure, carefully remove them using the appropriate screwdriver or tool.
- Gently disconnect any cables or connectors attached to the hard drive. Take note of their positions and how they are connected for reassembly later.
- Once all connections have been detached, carefully lift the hard drive out of the enclosure. Be cautious not to drop or mishandle the drive to avoid any potential damage.
It’s important to handle the hard drive with care, avoiding excessive force or rough movements. Hard drives are delicate electronic components that can be easily damaged by physical shock or static electricity. Make sure to ground yourself by wearing an anti-static wrist strap or by periodically touching a grounded metal object to discharge any static buildup on your body.
After removing the hard drive, set it aside in a safe and clean location where it won’t be exposed to any physical hazards or static electricity. The next step will involve preparing a new enclosure for the hard drive installation.
Before you proceed, take a moment to review the manufacturer’s instructions for any additional steps or precautions specific to your particular hard drive model.
Now that you have successfully removed the hard drive from the enclosure, you are ready to move on to the next step of preparing the new enclosure for installation.
Step 5: Preparing the New Enclosure
With the hard drive successfully removed from the old enclosure, it’s time to prepare the new enclosure for the installation. Follow these steps to ensure a smooth and secure setup:
- Before you begin, familiarize yourself with the new enclosure’s manual or instructions. This will help you understand any specific requirements or configurations needed for your particular model.
- Carefully examine the new enclosure and identify any screws or clips that will be used to secure the hard drive inside. Take note of their locations for easy reference during the installation process.
- If necessary, remove any components or brackets that may obstruct the fitting of the hard drive inside the new enclosure. Some enclosures come with removable trays or brackets specifically designed to hold the hard drive securely.
- If your new enclosure requires any additional cables or adapters for connectivity, ensure that you have these on hand before proceeding to the next step.
- Inspect the interior of the new enclosure, making sure it is clean and free from any debris or foreign objects that could potentially cause damage to the hard drive.
- Take note of the orientation and placement of any screw holes or mounting points within the enclosure. This will ensure that you align the hard drive correctly and securely during installation.
- If applicable, refer to the manufacturer’s instructions for any specific guidelines on proper grounding or anti-static measures to ensure the safety of the hard drive.
By carefully preparing the new enclosure, you are setting the stage for a successful installation and optimal performance of your external hard drive. Taking the time to understand the enclosure’s requirements and ensuring a clean and secure environment for the hard drive will help prevent any potential issues down the line.
Once you have finished preparing the new enclosure, you are ready to move on to the next step of installing the hard drive into the new enclosure. With the right preparation, you’ll be one step closer to having your own customized external hard drive.
Step 6: Installing the Hard Drive into the New Enclosure
Now that you have prepared the new enclosure, it’s time to proceed with installing the hard drive into it. Follow these steps to ensure a secure and stable installation:
- Orient the hard drive so that the connectors are aligned with the corresponding ports on the enclosure. Take note of any screw holes or mounting points that need to align with the enclosure.
- Carefully lower the hard drive into the new enclosure, ensuring that it is seated properly and securely. Take care to align the connectors with the corresponding ports without applying excessive force.
- If applicable, use the screws you identified earlier to secure the hard drive in place. Tighten the screws just enough to keep the hard drive firmly attached to the enclosure without over-tightening, which could cause damage.
- If your new enclosure utilizes brackets or trays, follow the manufacturer’s instructions to properly secure the hard drive. This may involve sliding the hard drive into the bracket or tray and fastening it with screws or clips.
- Once the hard drive is securely installed, reconnect any cables or connectors that were disconnected earlier. Ensure that connections are tight and properly aligned to ensure reliable data transfer.
- Take a moment to double-check that all connections and screws are properly tightened, ensuring a stable and secure installation.
During the installation process, make sure to handle the hard drive with care to avoid any physical damage or static electricity discharge. Additionally, follow any specific instructions provided by the manufacturer for your particular enclosure model.
Now that the hard drive is successfully installed into the new enclosure, you are ready to move on to the next step—reassembling the enclosure. Proper installation ensures the longevity and performance of your external hard drive.
Step 7: Reassembling the Enclosure
With the hard drive securely installed in the new enclosure, it’s time to reassemble the enclosure to ensure the protection and proper functioning of the internal components. Follow these steps to effectively reassemble the enclosure:
- Retrieve the screws that were removed during the disassembly process. Ensure that they are easily accessible and organized for quick and easy reassembly.
- If applicable, reattach any clips or brackets that were removed from the enclosure.
- If there were no visible screws to remove during disassembly, align the enclosure’s halves or panels together, making sure that they fit snugly.
- If there were screws, carefully place the top half or panel of the enclosure back onto the bottom half or panel, ensuring they align properly. Insert and tighten the screws using the appropriate screwdriver.
- As you reassemble the enclosure, pay attention to any alignment marks or indicators that may help guide the proper positioning of the panels or halves.
- Once all screws are tightened and the enclosure is securely assembled, visually inspect the enclosure for any gaps or loose parts. Make sure everything is aligned and tightly secured.
When reassembling the enclosure, take care not to overtighten the screws, as this may cause damage to the enclosure or affect its structural integrity. Use a moderate amount of force to ensure a secure fit.
If you encounter any difficulties during the reassembly process or notice any misalignments or loose parts, refer to the manufacturer’s instructions or seek assistance. Proper reassembly is crucial for the longevity and proper functioning of your external hard drive.
Now that you have successfully reassembled the enclosure, you are ready to move on to the next step—connecting the external hard drive to your computer.
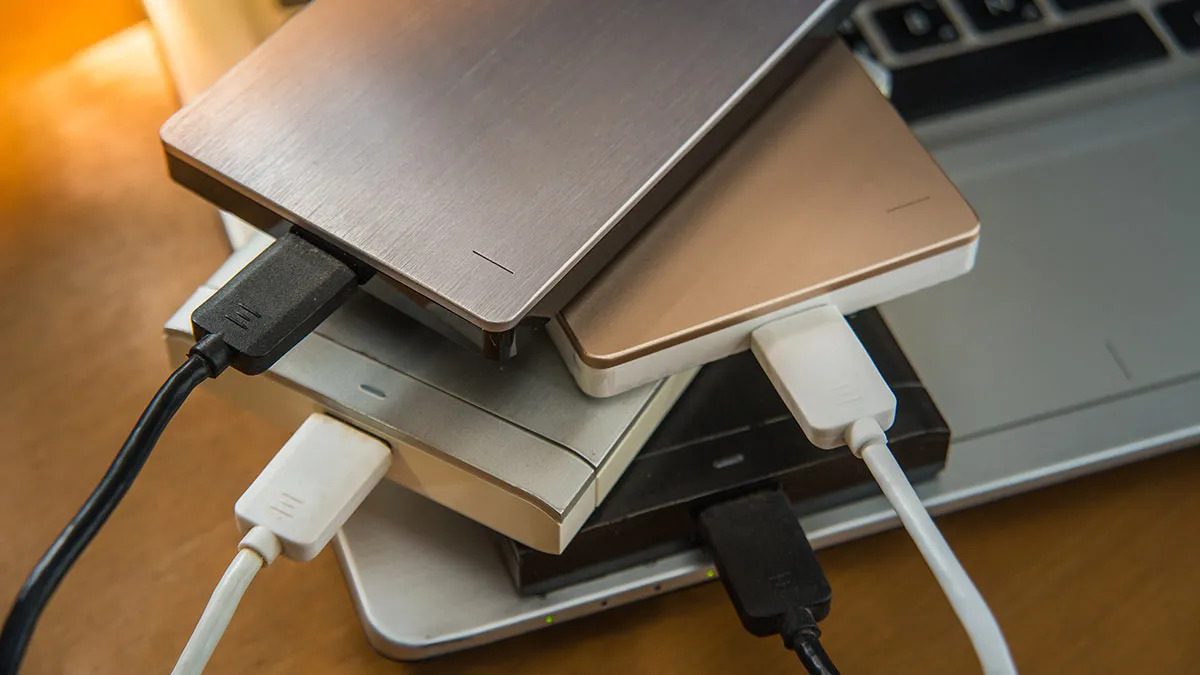
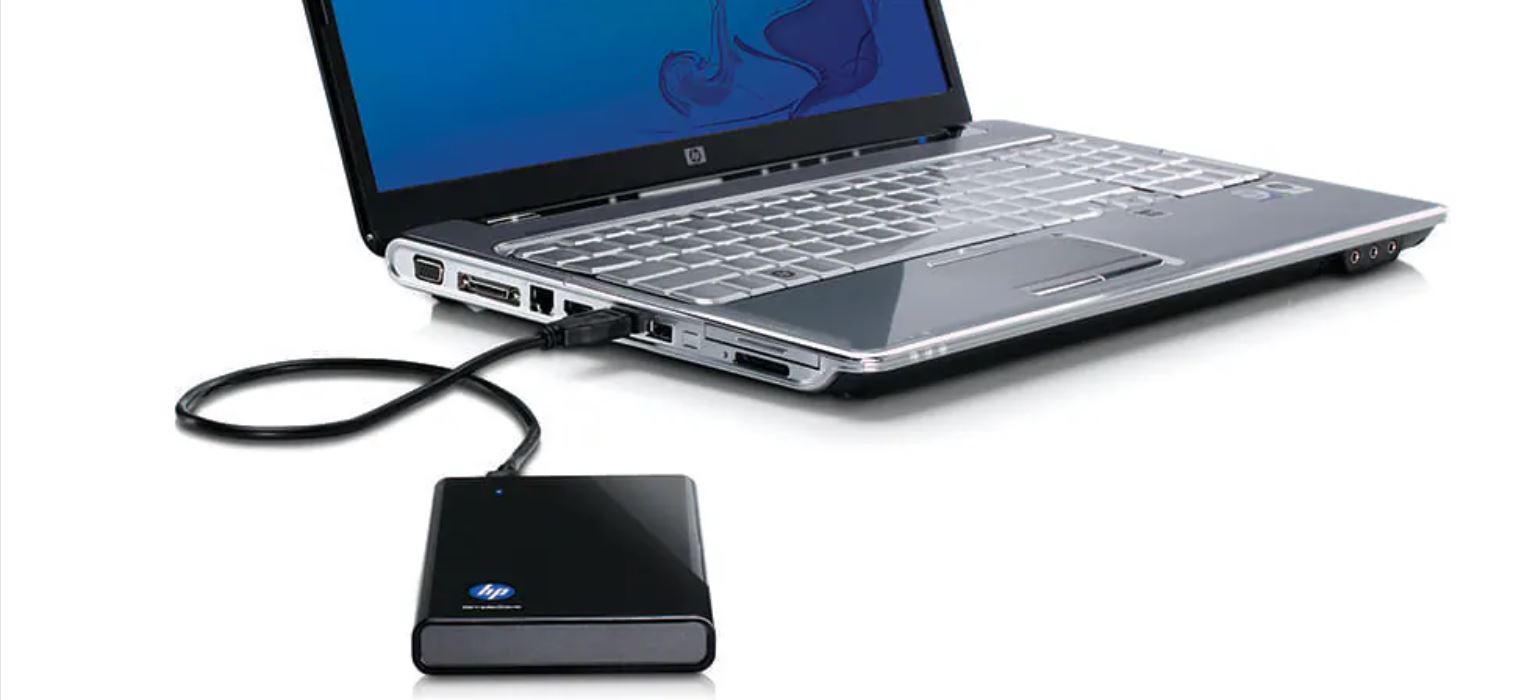
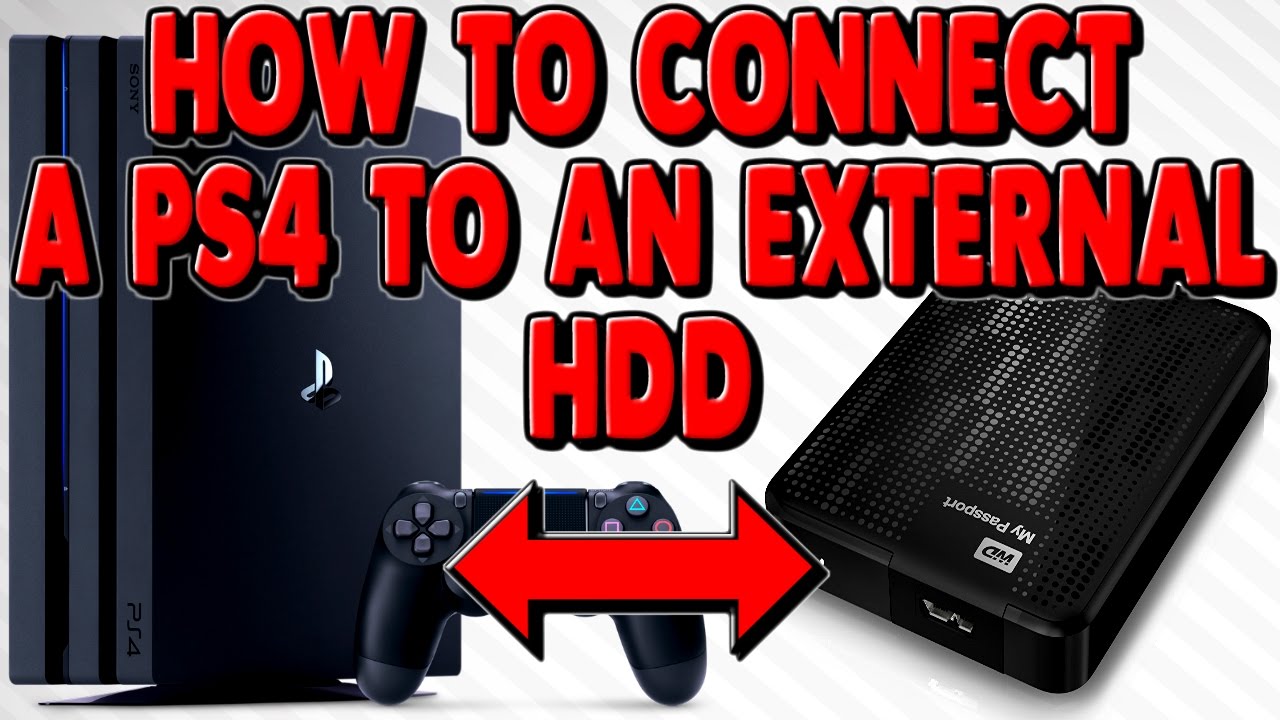
Step 8: Connecting the External Hard Drive to your Computer
With the enclosure reassembled, it’s time to connect the external hard drive to your computer. Follow these steps to establish a connection:
- Locate an available USB or Thunderbolt port on your computer.
- Plug one end of the appropriate cable (USB or Thunderbolt) into the corresponding port on the external hard drive enclosure.
- Plug the other end of the cable into the USB or Thunderbolt port on your computer.
- Ensure that the connections are secure and properly seated.
- If your new enclosure requires external power, connect the power adapter to the enclosure and plug it into a power outlet.
- Power on your external hard drive by either pressing the power button on the enclosure (if available) or allowing it to power up automatically.
Once the external hard drive is connected and powered on, your computer should recognize it as a new device. Depending on your operating system, it may prompt you to install any necessary drivers or software required for proper functioning.
Take a moment to ensure that the external hard drive is functioning correctly. Check if it appears in your computer’s File Explorer or Finder, and verify if you can access its storage capacity.
If the external hard drive is not immediately recognized, try restarting your computer, ensuring that all connections are secure, and checking that the appropriate drivers are installed and up to date.
Now that your external hard drive is successfully connected to your computer, you are ready to move on to the next step—formatting and partitioning the hard drive.
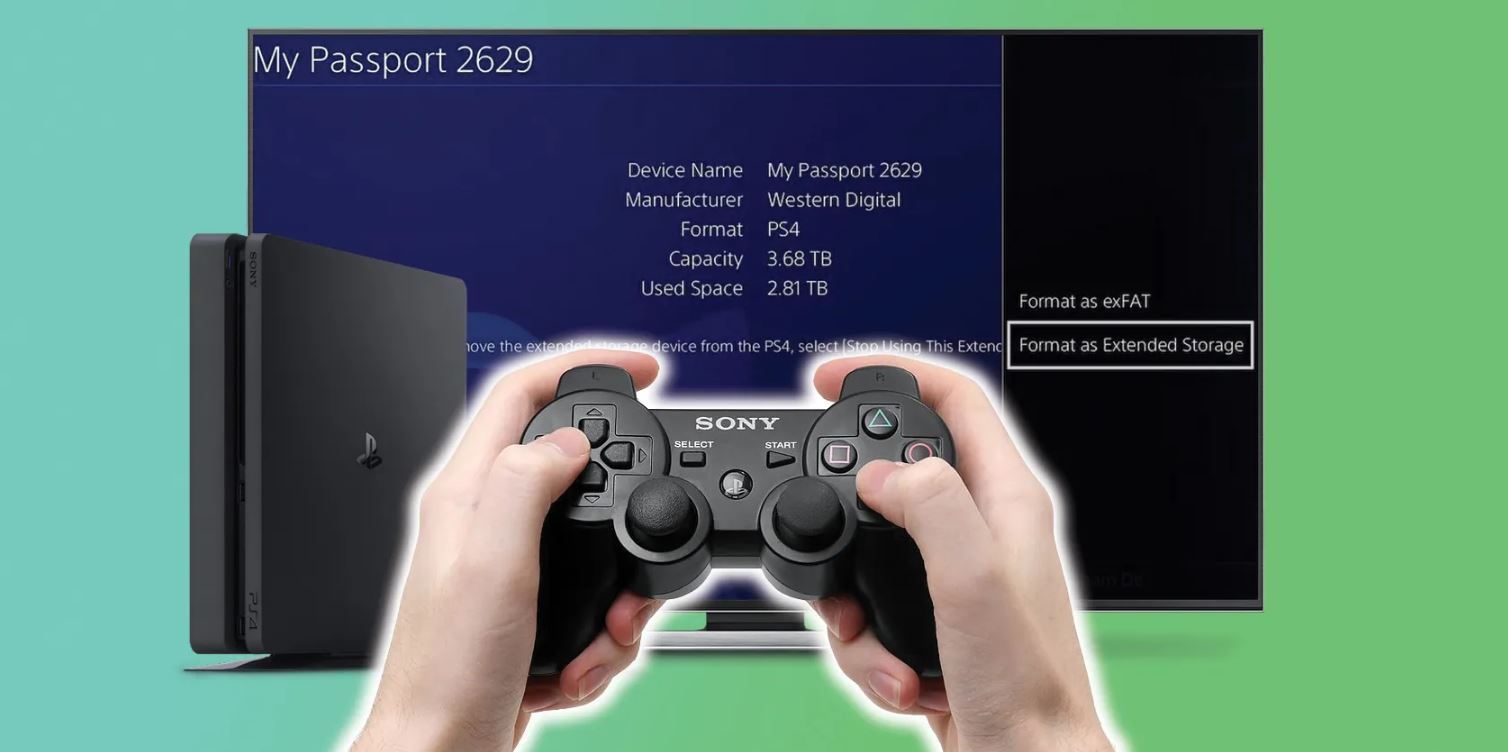
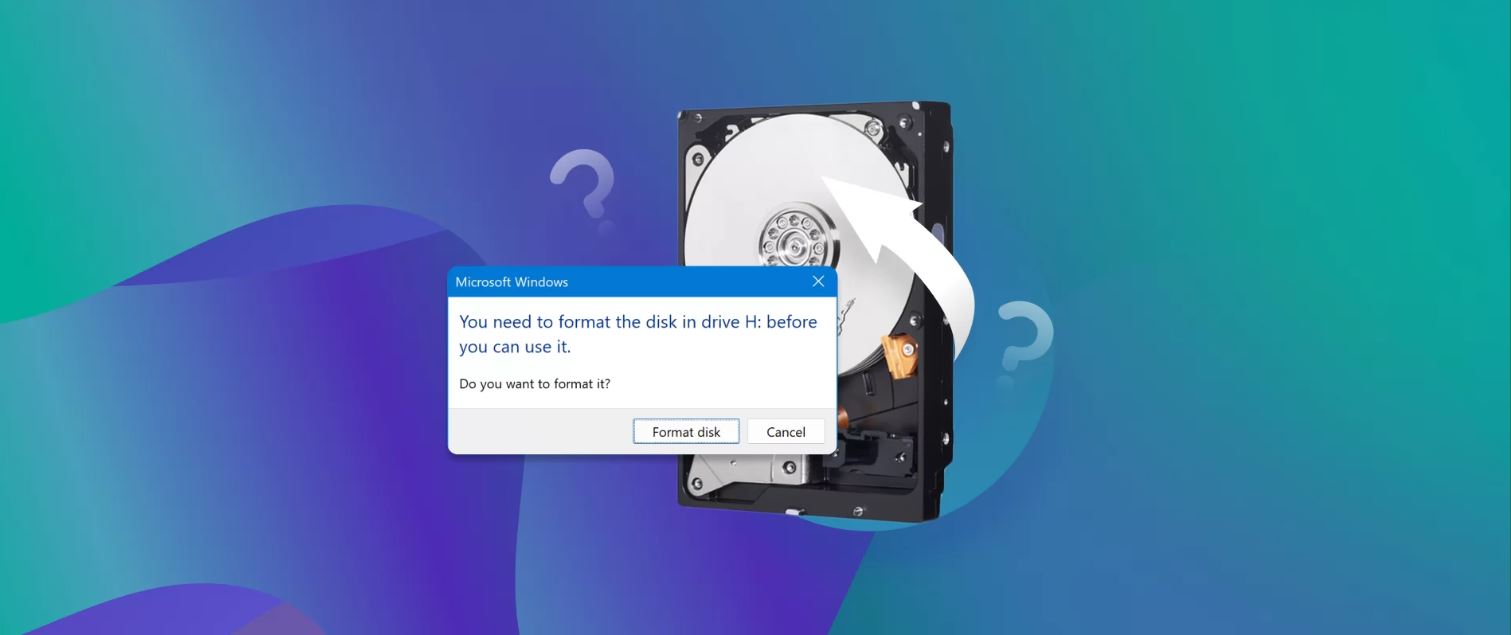
Step 9: Formatting and Partitioning the Hard Drive
After connecting the external hard drive to your computer, it’s important to format and partition the drive to make it usable for your specific needs. Follow these steps to format and partition the hard drive:
- Open the Disk Management tool on your computer. This can typically be accessed by right-clicking on the Start button and selecting “Disk Management” or by searching for “Disk Management” in the search bar.
- From the list of drives displayed in the Disk Management window, locate your external hard drive. It may appear as a new or unrecognized drive.
- Right-click on the external hard drive and select “Format”.
- Choose a file system format for your hard drive. The most commonly used format for external hard drives is NTFS for Windows, but you can also choose exFAT for compatibility with both Windows and macOS.
- Assign a drive letter to your external hard drive. This will help you easily identify and access the drive in the future.
- Click on “OK” or “Format” to initiate the formatting process. Note that this process will erase all existing data on the hard drive, so ensure that you have backed up any important data before proceeding.
- Once the formatting is complete, you can choose to partition the hard drive if desired. Partitioning allows you to divide the hard drive into multiple virtual drives, each with its own assigned letter and storage capacity.
- Right-click on the unallocated space of the external hard drive and select “New Simple Volume”. Follow the on-screen instructions to create a new partition.
- Choose the desired partition size, file system format, and assign a drive letter to each partition.
- Complete the partition creation process and close the Disk Management tool.
By formatting and partitioning the hard drive, you can optimize its storage capacity and organize your data according to your specific requirements. Remember to back up any important data before formatting, as it will be permanently erased.
Now that you have formatted and partitioned your external hard drive, you are ready to move on to the final step—safely ejecting the external hard drive.
Step 10: Safely Ejecting the External Hard Drive
Once you have completed the formatting and partitioning of your external hard drive, it’s crucial to safely eject the drive from your computer to avoid data loss or damage. Follow these steps to ensure a safe ejection:
- Make sure all your files and applications on the external hard drive are closed to prevent any data conflicts or errors.
- Locate the drive icon representing your external hard drive on your computer’s desktop or in the File Explorer/Finder window.
- Right-click on the drive icon and select “Eject” or “Safely Remove” from the context menu. Alternatively, you can also drag the drive icon to the trash or use the eject symbol next to the drive name.
- Wait for the operating system to notify you that it is safe to remove the external hard drive. This may take a few moments, and you should see a message indicating that it is now safe to remove the drive.
- Once you receive the notification, disconnect the USB or Thunderbolt cable from your computer. Gently remove the cable from both the external hard drive and the computer’s port.
- Store the external hard drive in a safe and secure location to protect it from physical damage or accidental bumps.
Ejecting the external hard drive ensures that any active read/write operations are completed and that the drive is no longer being accessed by the computer. This process helps prevent data corruption or loss, as removing the drive while it is still in use can result in file errors or damage.
Remember to follow these ejection steps every time you want to disconnect the external hard drive from your computer. Doing so will help maintain the integrity and longevity of your data stored on the drive.
Congratulations! You have successfully learned how to make an external hard drive and completed the process from start to finish. You can now enjoy the benefits of your customized external storage solution.
Conclusion
Building your own external hard drive can be a rewarding and cost-effective way to expand your storage capacity and customize your storage solution. By following the step-by-step guide outlined in this article, you have learned how to choose the right external hard drive, gather the necessary cables and connectors, disassemble and reassemble the enclosure, install the hard drive, format and partition the drive, and safely eject the external hard drive.
Throughout this process, it is important to exercise caution and refer to the manufacturer’s instructions specific to your particular hard drive model. Take your time and handle the components with care to avoid damage to the hardware.
By creating your own external hard drive, you have the flexibility to tailor the storage capacity to your specific needs and have control over the quality and reliability of the components used. Additionally, you can customize the formatting and partitioning of the hard drive to suit your data organization preferences.
Remember to back up any important data before formatting the hard drive, as formatting will erase all existing data. Implementing regular backups of your external hard drive is also recommended to safeguard your valuable data against unforeseen incidents.
Now that you have mastered the process of making an external hard drive, you can enjoy the convenience and convenience of having your own expandable and portable storage solution. Use your newly created external hard drive for backing up important files, storing media files, or expanding your computer’s storage capacity.
Thank you for following this guide on how to make an external hard drive. We hope this information has been helpful, and we wish you success in your endeavors to create your customized external storage device.