Introduction
Welcome to the world of external hard drives! Whether you’re a tech-savvy professional, a creative enthusiast, or an individual looking to expand your storage capacity, external hard drives are a convenient and reliable solution. In this article, we will guide you through the process of accessing your external hard drive and provide helpful tips to ensure a smooth experience.
External hard drives have become an essential companion for individuals who need additional storage space beyond what their computer or laptop can offer. These portable devices offer vast storage capacities, ranging from a few hundred gigabytes to multiple terabytes. Not only do they provide extra room for personal files, documents, and multimedia content like photos and videos, but they also serve as a reliable backup solution to safeguard important data.
Whether you’re using a Windows PC or a Mac, setting up and accessing your external hard drive is a fairly straightforward process. In this article, we will cover the basics of connecting your external hard drive, troubleshooting common connection issues, and guide you through the steps to access and manage your files on both Windows and Mac operating systems.
So, without further ado, let’s dive into the world of external hard drives and learn how to make the most out of this versatile storage solution. Whether you’re a student, a professional, or someone who simply wants to keep their digital life in order, this article will provide you with the knowledge and skills needed to access your external hard drive with ease.
Understanding External Hard Drives
Before we delve into the practical aspects of accessing your external hard drive, let’s take a moment to understand what these devices are and how they work.
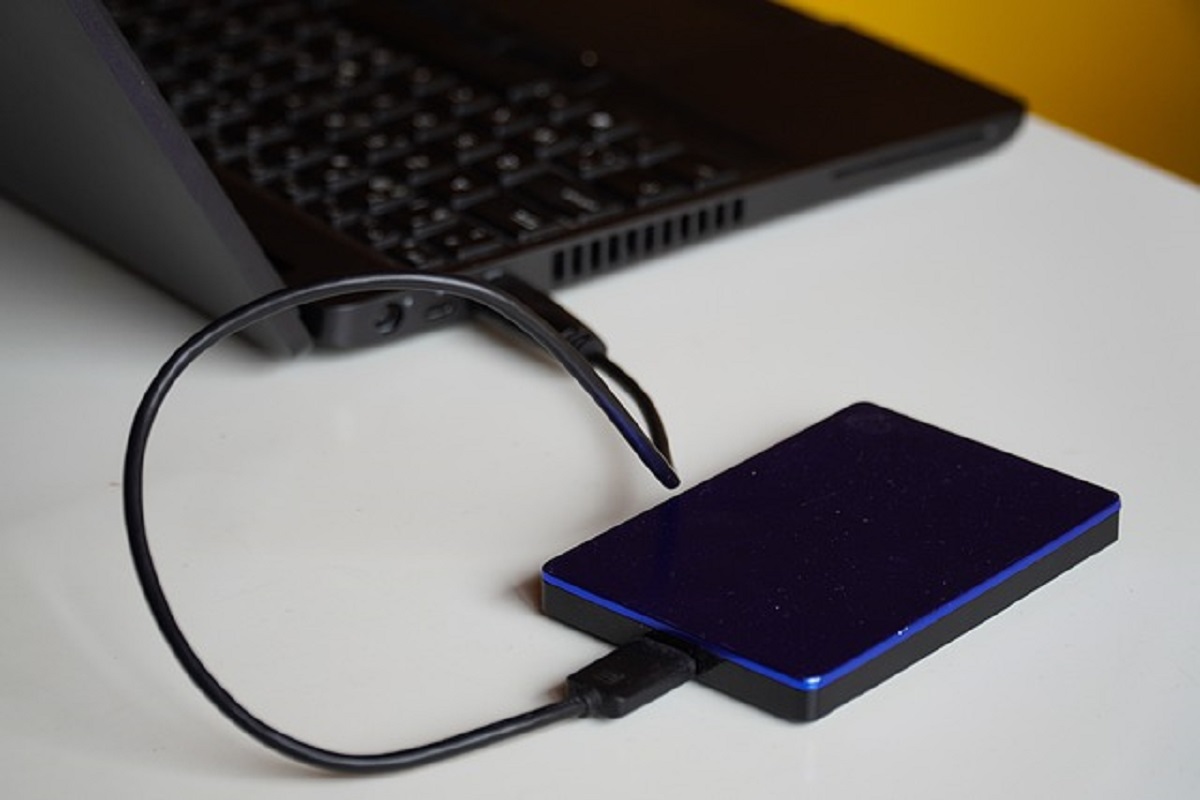
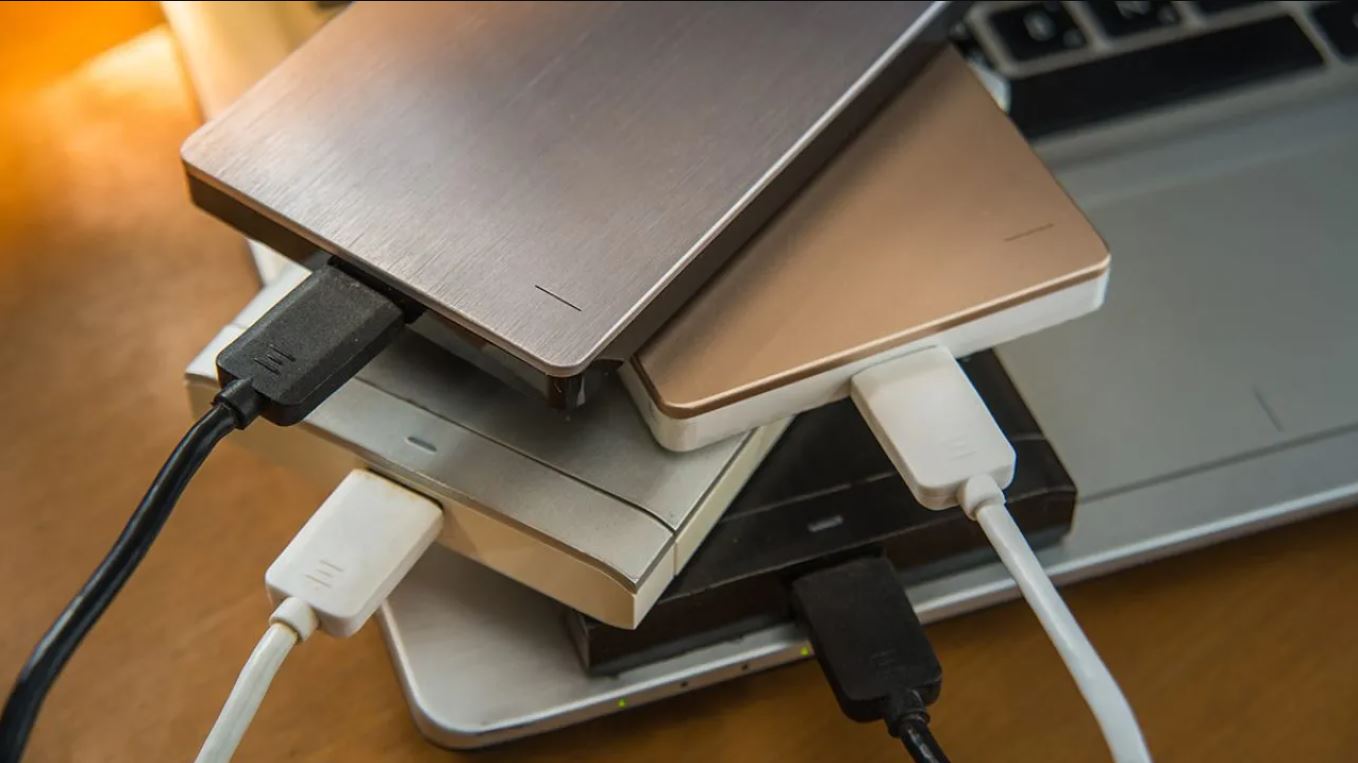
In essence, an external hard drive is a portable storage device that connects to your computer, laptop, or other compatible devices via a USB, Thunderbolt, or eSATA connection. It functions similarly to the internal hard drive of your computer but offers the advantage of portability and expanded storage capacity.
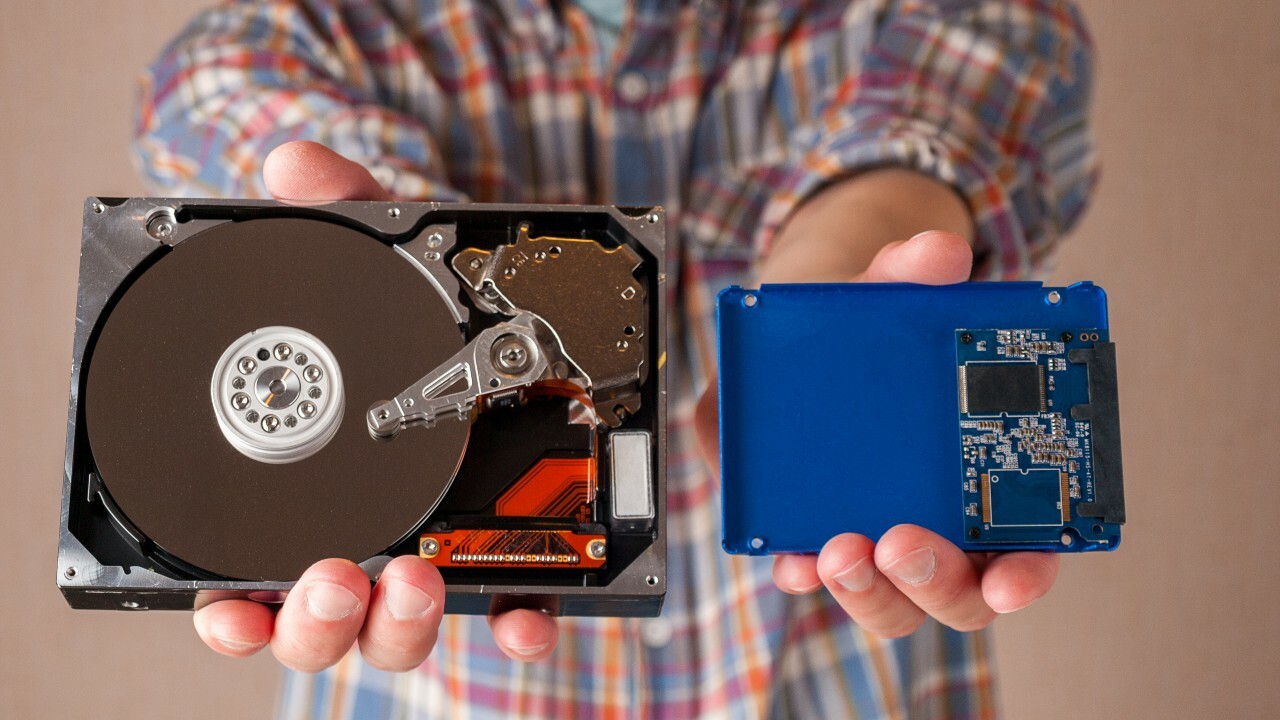
External hard drives come in various shapes, sizes, and storage capacities. They can be categorized into two types: HDD (Hard Disk Drive) and SSD (Solid State Drive). HDDs consist of spinning platters that store data magnetically, while SSDs use flash memory to store data electronically. Both types have their pros and cons, with HDDs generally offering higher storage capacities at a lower cost per gigabyte, while SSDs provide faster data transfer speeds and increased durability due to their lack of moving parts.
Additionally, external hard drives may require external power sources, such as wall sockets or additional USB ports, while others draw power directly from the computer or device they’re connected to. It’s important to check the power requirements of your specific external hard drive to ensure a proper connection and functionality.
Now that we have a basic understanding of external hard drives, let’s move on to the practical aspects of connecting and accessing your device in the next section.
Connecting Your External Hard Drive
To access your external hard drive, you first need to establish a physical connection between the device and your computer or laptop. The process may vary slightly depending on the type of external hard drive and the ports available on your machine. Here’s a step-by-step guide to help you connect your external hard drive:
- Identify the type of cable or adapter required: Most external hard drives come with a USB cable that can be plugged directly into the USB port on your computer or laptop. However, certain devices may require different types of connections, such as Thunderbolt or eSATA. Make sure you have the appropriate cable or adapter for your specific external hard drive.
- Locate the USB port on your computer: USB ports are typically located on the sides or back of your computer tower. For laptops, the USB ports are usually located on the sides.
- Connect the external hard drive: Plug one end of the cable into the appropriate port on the external hard drive and the other end into an available USB port on your computer or laptop.
- Power on the external hard drive: If your external hard drive requires an external power source, connect it to a power outlet and turn it on. Some drives draw power directly from the computer or laptop through the USB connection, eliminating the need for an additional power source.
- Wait for your computer to recognize the device: Once the external hard drive is connected and powered on, your computer should recognize the new device. It may take a few moments for the system to detect and install the necessary drivers.
Congratulations! You have successfully connected your external hard drive to your computer or laptop. In the next sections, we will discuss how to access and manage the files on your external hard drive on both Windows and Mac operating systems.
Troubleshooting Common Connection Issues
While connecting your external hard drive is usually a straightforward process, you may encounter some common issues that can hinder the connection. Here are a few troubleshooting steps you can take to resolve these problems:
- Check cable connectivity: Ensure that the cables are securely plugged into both the external hard drive and your computer. Sometimes, a loose connection can disrupt the connection.
- Try a different USB port or cable: If your external hard drive is not being recognized, it may be due to a faulty USB port or cable. Try connecting the drive to a different USB port or use a different cable to rule out any issues.
- Restart your computer: Sometimes, a simple restart can resolve software glitches that may be preventing the proper connection of the external hard drive.
- Update USB drivers: Outdated or incompatible USB drivers can cause connection issues. Visit the manufacturer’s website or use the Device Manager in Windows or System Information on a Mac to check for and install any available driver updates.
- Check power supply: If your external hard drive requires external power, ensure that it is properly connected to a power outlet and turned on. Also, make sure the power supply is functioning correctly.
- Use a powered USB hub: In some cases, connecting the external hard drive through a powered USB hub can provide more consistent and stable power, especially if you’re using multiple USB devices simultaneously.
- Try on a different computer: If all else fails, try connecting the external hard drive to a different computer or laptop. This will help determine if the issue is with the external hard drive or the original computer’s settings.
By following these troubleshooting steps, you can often resolve common connection issues and ensure a successful connection with your external hard drive. However, if you continue to experience problems, it may be advisable to consult the manufacturer’s support or seek technical assistance.
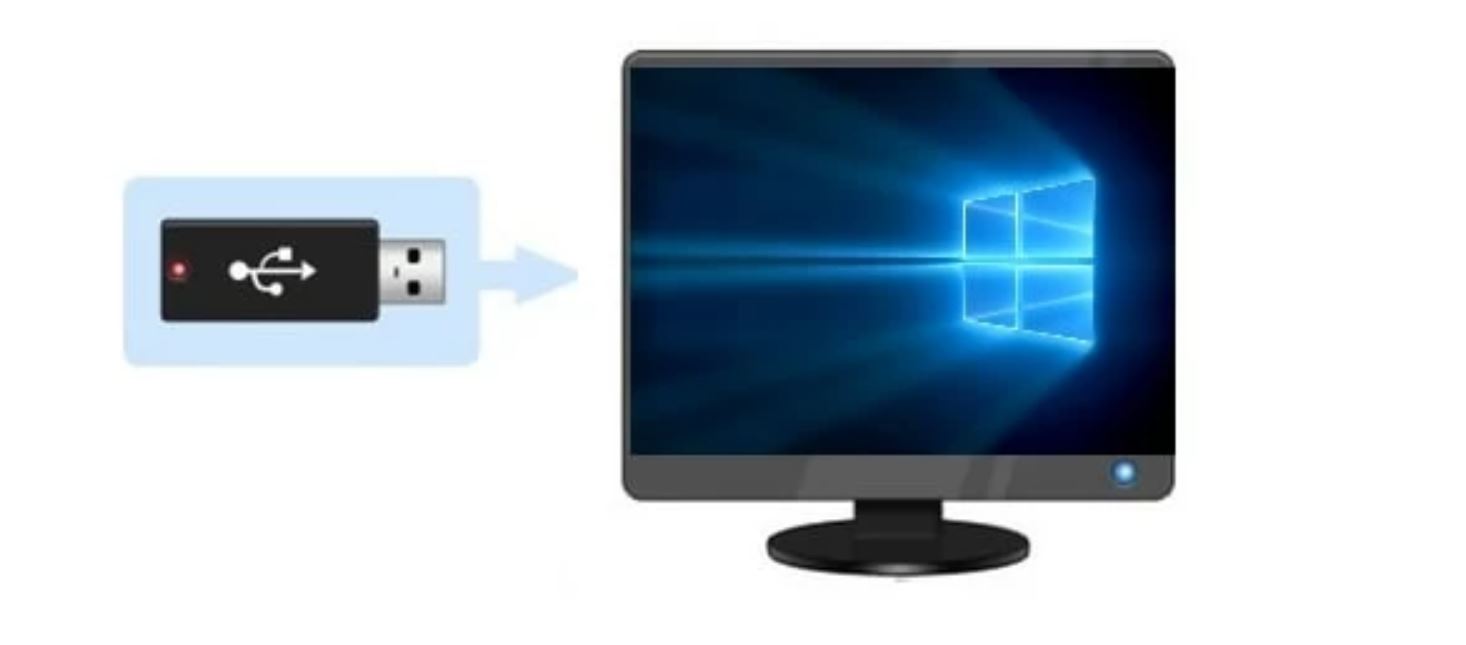
Accessing Your External Hard Drive on Windows
Once you have successfully connected your external hard drive to your Windows computer, accessing the device and its contents is a straightforward process. Here is a step-by-step guide on how to access your external hard drive on Windows:
- Open File Explorer: You can do this by clicking on the folder icon in the taskbar or by pressing the Windows key + E on your keyboard.
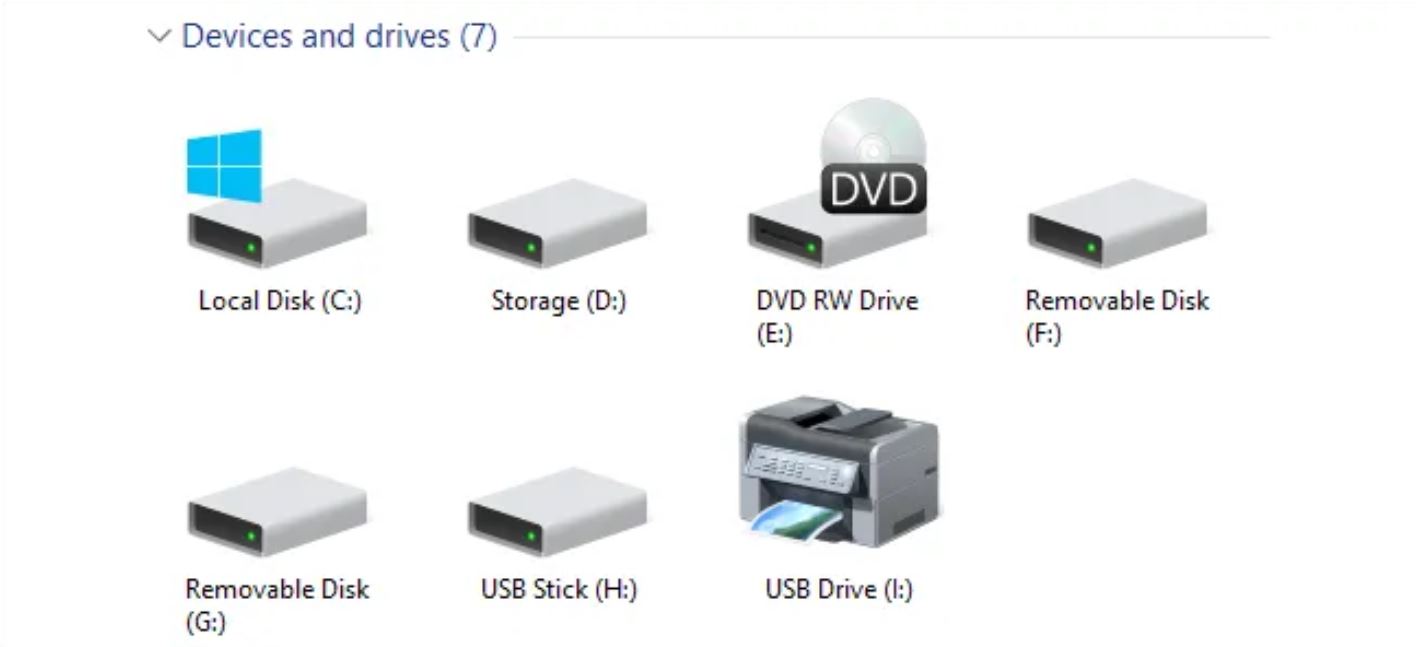
- Locate your external hard drive: In the left-hand panel of File Explorer, you should see a list of drives and devices connected to your computer. Look for your external hard drive, which may be labeled with its brand name or a generic name like “Removable Disk” or “External Drive”.
- Double-click on the external hard drive: Once you have identified the correct drive, simply double-click on it to open and access its contents. You can now view, copy, paste, and manage files and folders on your external hard drive, just like you would with your internal storage.
Windows also provides additional features and options for organizing and managing your external hard drive. You can create new folders, rename files, sort files by different criteria, and perform various other file management tasks within File Explorer.
It’s important to note that if you’re using a brand new external hard drive or if it’s the first time you’re connecting it to your Windows computer, Windows may prompt you to format the drive. Formatting erases all data on the drive, so make sure you have a backup of any important files before proceeding with the formatting process. Formatting is usually unnecessary if the external hard drive is already formatted and contains files.
Remember to safely eject your external hard drive when you’re finished using it. To do this, right-click on the drive in File Explorer and select “Eject” from the context menu. This ensures that all data is safely written to the drive before disconnecting it from your computer, minimizing the risk of data corruption or loss.
Now that you know how to access your external hard drive on Windows, let’s move on to the next section to learn how to access your external hard drive on a Mac.
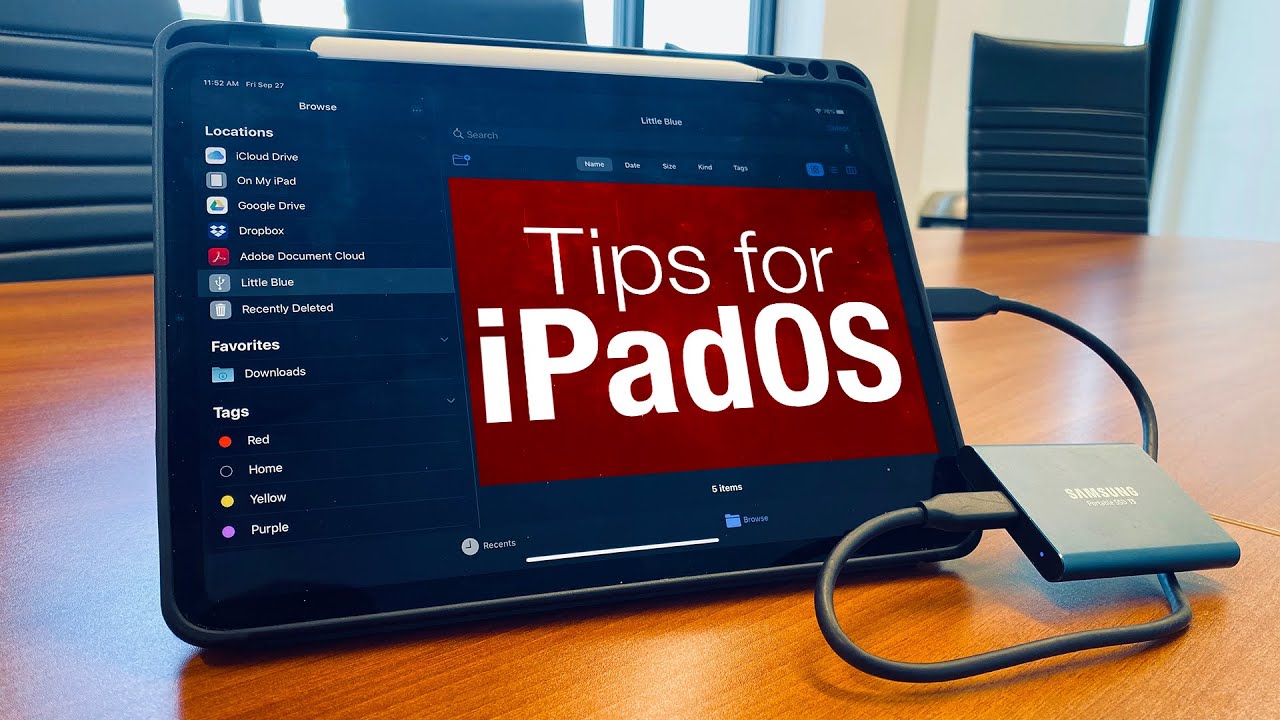
Accessing Your External Hard Drive on Mac
Accessing your external hard drive on a Mac is a breeze, thanks to the user-friendly interface of macOS. Whether you’re using a MacBook, iMac, or Mac mini, follow these simple steps to access your external hard drive:
- Click on the Finder icon: The Finder icon is usually located in the dock, which is the bottom bar of the screen. You can also access Finder by clicking on the desktop and then selecting “Finder” from the menu bar at the top of the screen.
- Locate your external hard drive: In the left sidebar of the Finder window, you should see a list of locations and devices, including your external hard drive. It may be listed under the “Devices” section or the name you have assigned to it.
- Double-click on the external hard drive: Once you have identified your external hard drive, simply double-click on it to open and access its contents. You can now view, edit, copy, and move files and folders within your external hard drive, just like you would with any other storage location on your Mac.
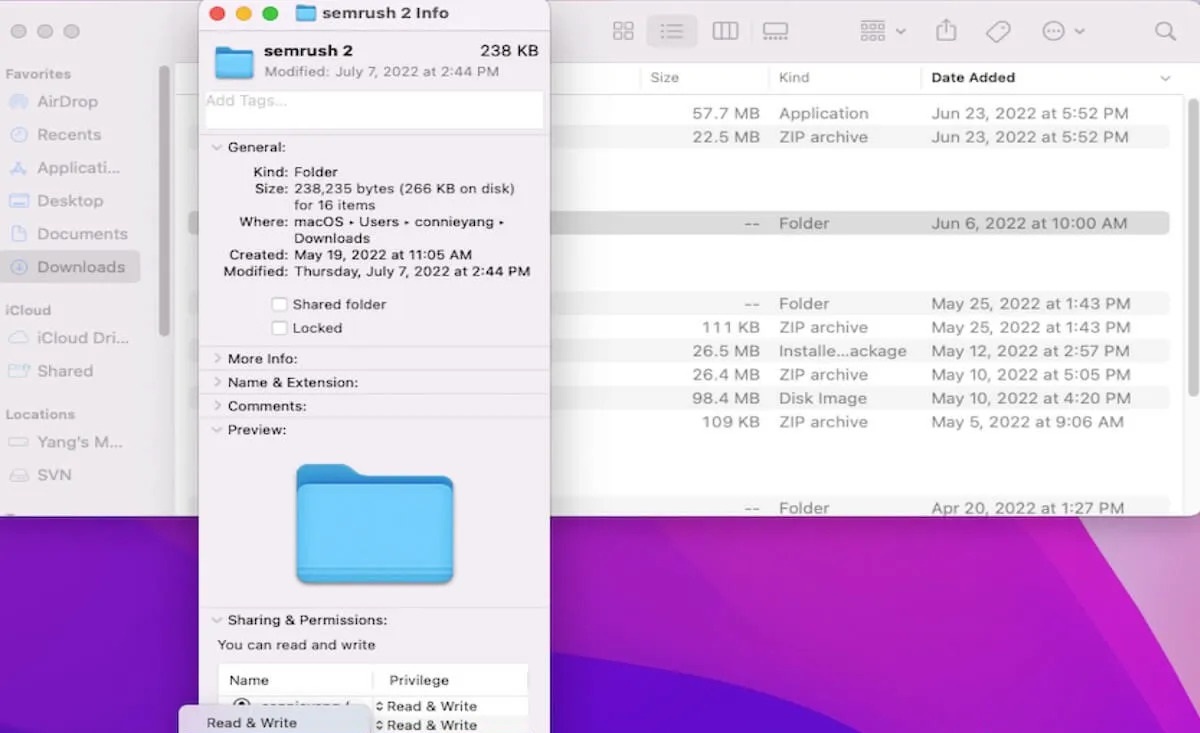
macOS offers additional features and options for managing your external hard drive. You can create new folders, rename files, change file permissions, and perform various other file management tasks directly within the Finder window.
When you’re done using your external hard drive, it’s important to eject it properly to prevent any potential data loss or corruption. To eject your external hard drive, simply right-click on its icon in the Finder sidebar and select “Eject” from the context menu. Alternatively, you can drag the icon of the external hard drive to the trash can in the dock, which changes into an eject symbol when you hover over it.
With these simple steps, you can easily access and manage your external hard drive on a Mac. Now that you’ve learned how to access your external hard drive on both Windows and Mac, let’s explore how to transfer and manage files on your external hard drive in the next section.
Transferring and Managing Files on Your External Hard Drive
Now that you have accessed your external hard drive on your computer, it’s time to explore how you can transfer and manage files on your device. Whether you want to back up important documents, store media files, or organize your data, here are some tips for efficient file management on your external hard drive:
- Copying and moving files: To transfer files from your computer to the external hard drive, simply select the files or folders you want to move, right-click, and choose “Copy” or “Cut”. Then, navigate to the external hard drive and right-click in the destination folder and select “Paste”. This will copy or move the selected files to the external hard drive.
- Create folders and organize files: To keep your files organized, create folders within your external hard drive. Right-click in the desired location, select “New Folder”, and give it a name. You can then drag and drop files into the appropriate folders to maintain a structured file system.
- Rename files and folders: Right-click on a file or folder and choose “Rename” to give it a new name. This can be useful for better organization or to make file names more descriptive.
- Delete files: If you want to remove files from your external hard drive, select the file or folder, and press the “Delete” or “Trash” button. However, be cautious as deleted files are usually not recoverable unless you have a backup.
- Backup important files: It’s always a good practice to create backups of your important files to ensure their safety. You can manually copy and paste important files from your computer to the external hard drive, or you can use backup software or cloud storage solutions to automate the process.
By following these file management techniques, you can keep your external hard drive organized, easily locate files when needed, and ensure the safety of your data. Remember to regularly backup your external hard drive to avoid data loss should any unexpected issues arise.
Next, we will discuss the proper procedure for ejecting your external hard drive to maintain data integrity and prevent any potential damage.
Safely Ejecting Your External Hard Drive
After you have finished using your external hard drive and before disconnecting it from your computer, it’s crucial to follow the proper procedure for ejecting the device. Safely ejecting your external hard drive ensures that all data has been written and that there is no risk of data corruption. Here’s how to safely eject your external hard drive:
- On Windows: Locate the icon of your external hard drive in the File Explorer or on the desktop. Right-click on the drive and select “Eject” from the context menu. Wait for a notification or message confirming that it is safe to remove the device before disconnecting the USB cable.
- On Mac: In the Finder window, locate the external hard drive icon in the sidebar. Right-click on the icon and select “Eject” from the context menu. Alternatively, you can drag the icon to the trash can, which will change to an eject symbol. Wait for the icon to disappear from the desktop before disconnecting the USB cable.
It’s important to note that ejecting your external hard drive properly ensures that all data has been written to the drive and any cached data has been flushed. Removing the drive without properly ejecting it can lead to data loss or corruption.
In some cases, you may notice that the external hard drive is still in use or that files are currently being accessed, even when you think you have closed all applications or transferred all files. In such instances, wait a few moments and try ejecting the drive again. If the issue persists, restart your computer and then try ejecting the drive once more.
Remember to handle the external hard drive with care when disconnecting the USB cable. Gently pull the cable straight out without applying too much force or twisting it, as this could damage both the cable and the external hard drive.
By following the proper procedure for ejecting your external hard drive, you ensure the safety and integrity of your data, reducing the risk of data loss or corruption. Now that you have learned how to safely eject your external hard drive, let’s conclude our guide.
Conclusion
Congratulations! You are now well-equipped with the knowledge and skills to access, manage, and safely eject your external hard drive. Whether you’re using a Windows PC or a Mac, connecting your external hard drive is a simple process that allows you to expand your storage capacity and keep your files organized and secure. Remember to follow the steps outlined in this guide to ensure a smooth experience.
Understanding the basics of external hard drives and troubleshooting common connection issues empowers you to handle any challenges that may arise. Furthermore, learning how to access and manage files on your external hard drive allows you to efficiently transfer, organize, and backup important data, giving you peace of mind.
Always remember to safely eject your external hard drive before disconnecting it from your computer to prevent data loss or corruption. By following the proper procedure, you ensure that all data has been written, ensuring the integrity of your files.
External hard drives are not only a convenient storage solution but also a reliable backup option for your important files. Regularly backing up your data, whether manually or using automated backup software or cloud storage solutions, is crucial to safeguarding your valuable information.
With your newfound knowledge, you can fully leverage the capabilities of your external hard drive to meet your storage needs. Whether you’re a student managing assignments, a professional handling large files, or an enthusiast organizing your media collection, an external hard drive is a valuable tool.
Remember, technology is constantly evolving, and new features and functionalities may emerge. It’s always a good idea to stay updated with the latest software updates, driver updates, and hardware compatibility to ensure optimal performance and seamless integration with your external hard drive.
Now, armed with this comprehensive guide, you are ready to make the most of your external hard drive. Explore, create, and manage your files with ease, knowing that your data is safe and accessible. Happy computing!