Introduction
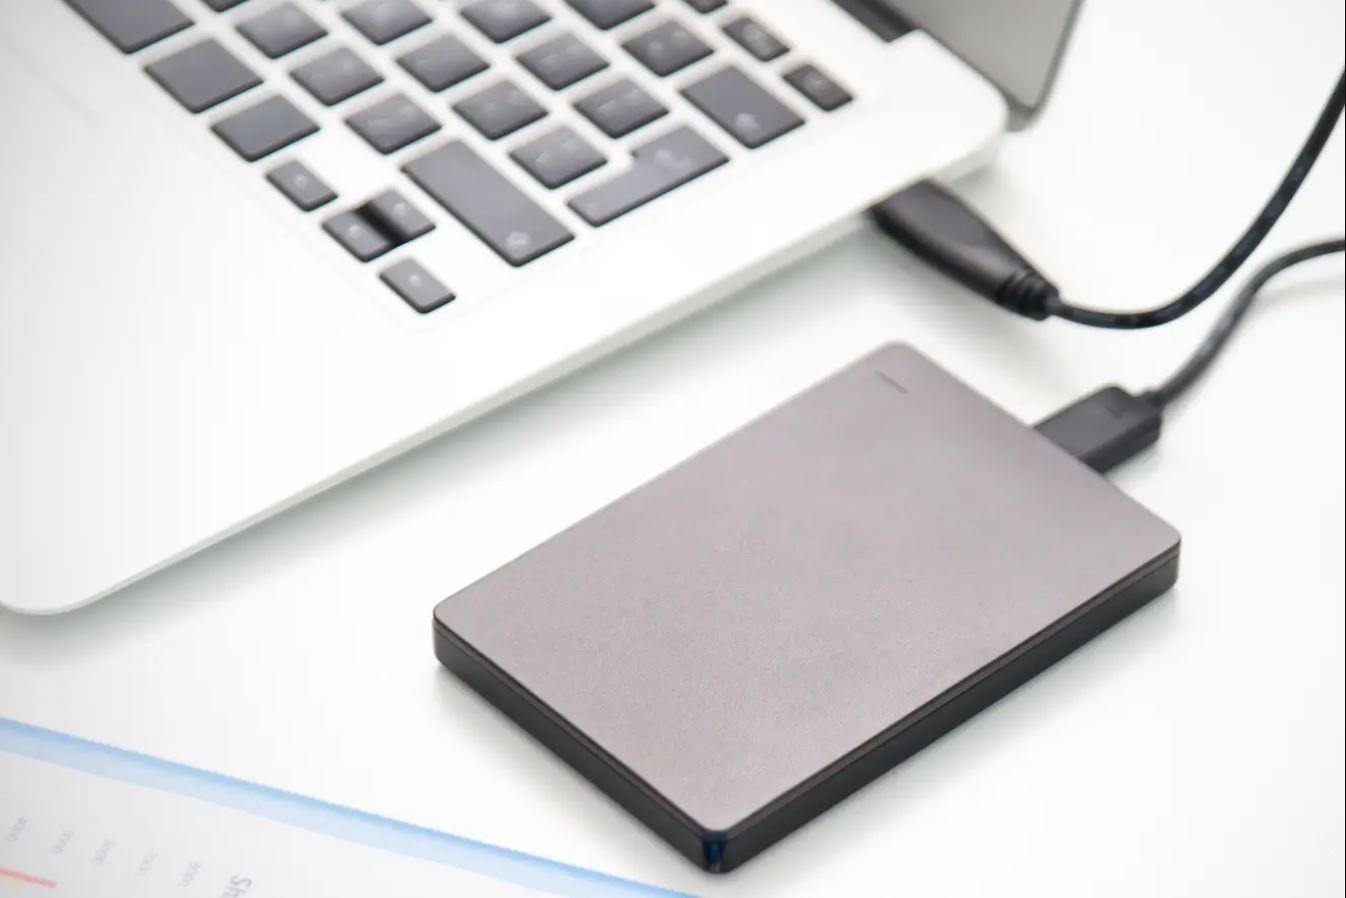
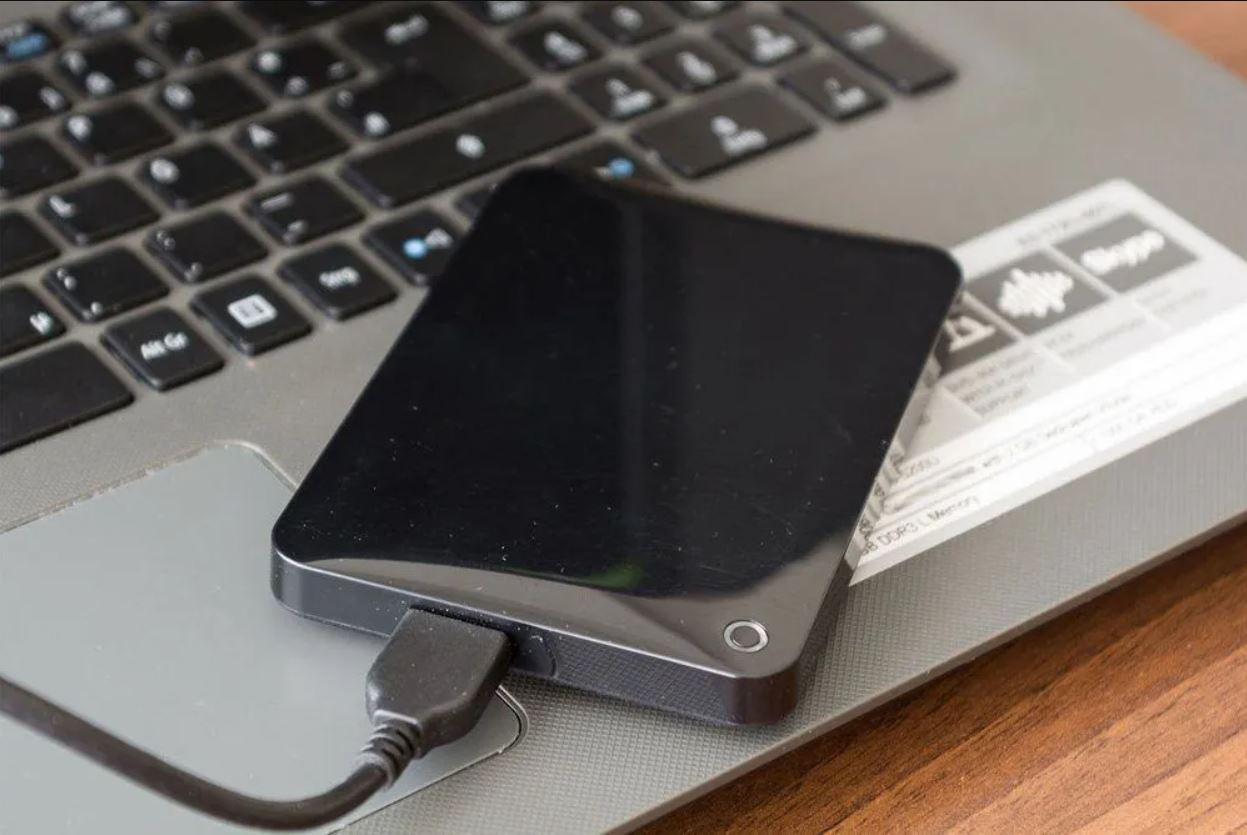
Welcome to this guide on how to wipe an external hard drive in Windows 10. If you are looking to securely erase the data from your external hard drive, whether for privacy reasons or preparing it for reuse or disposal, you’ve come to the right place. In this article, we will explore different methods to wipe an external hard drive in Windows 10, ensuring your sensitive data is irretrievably removed.
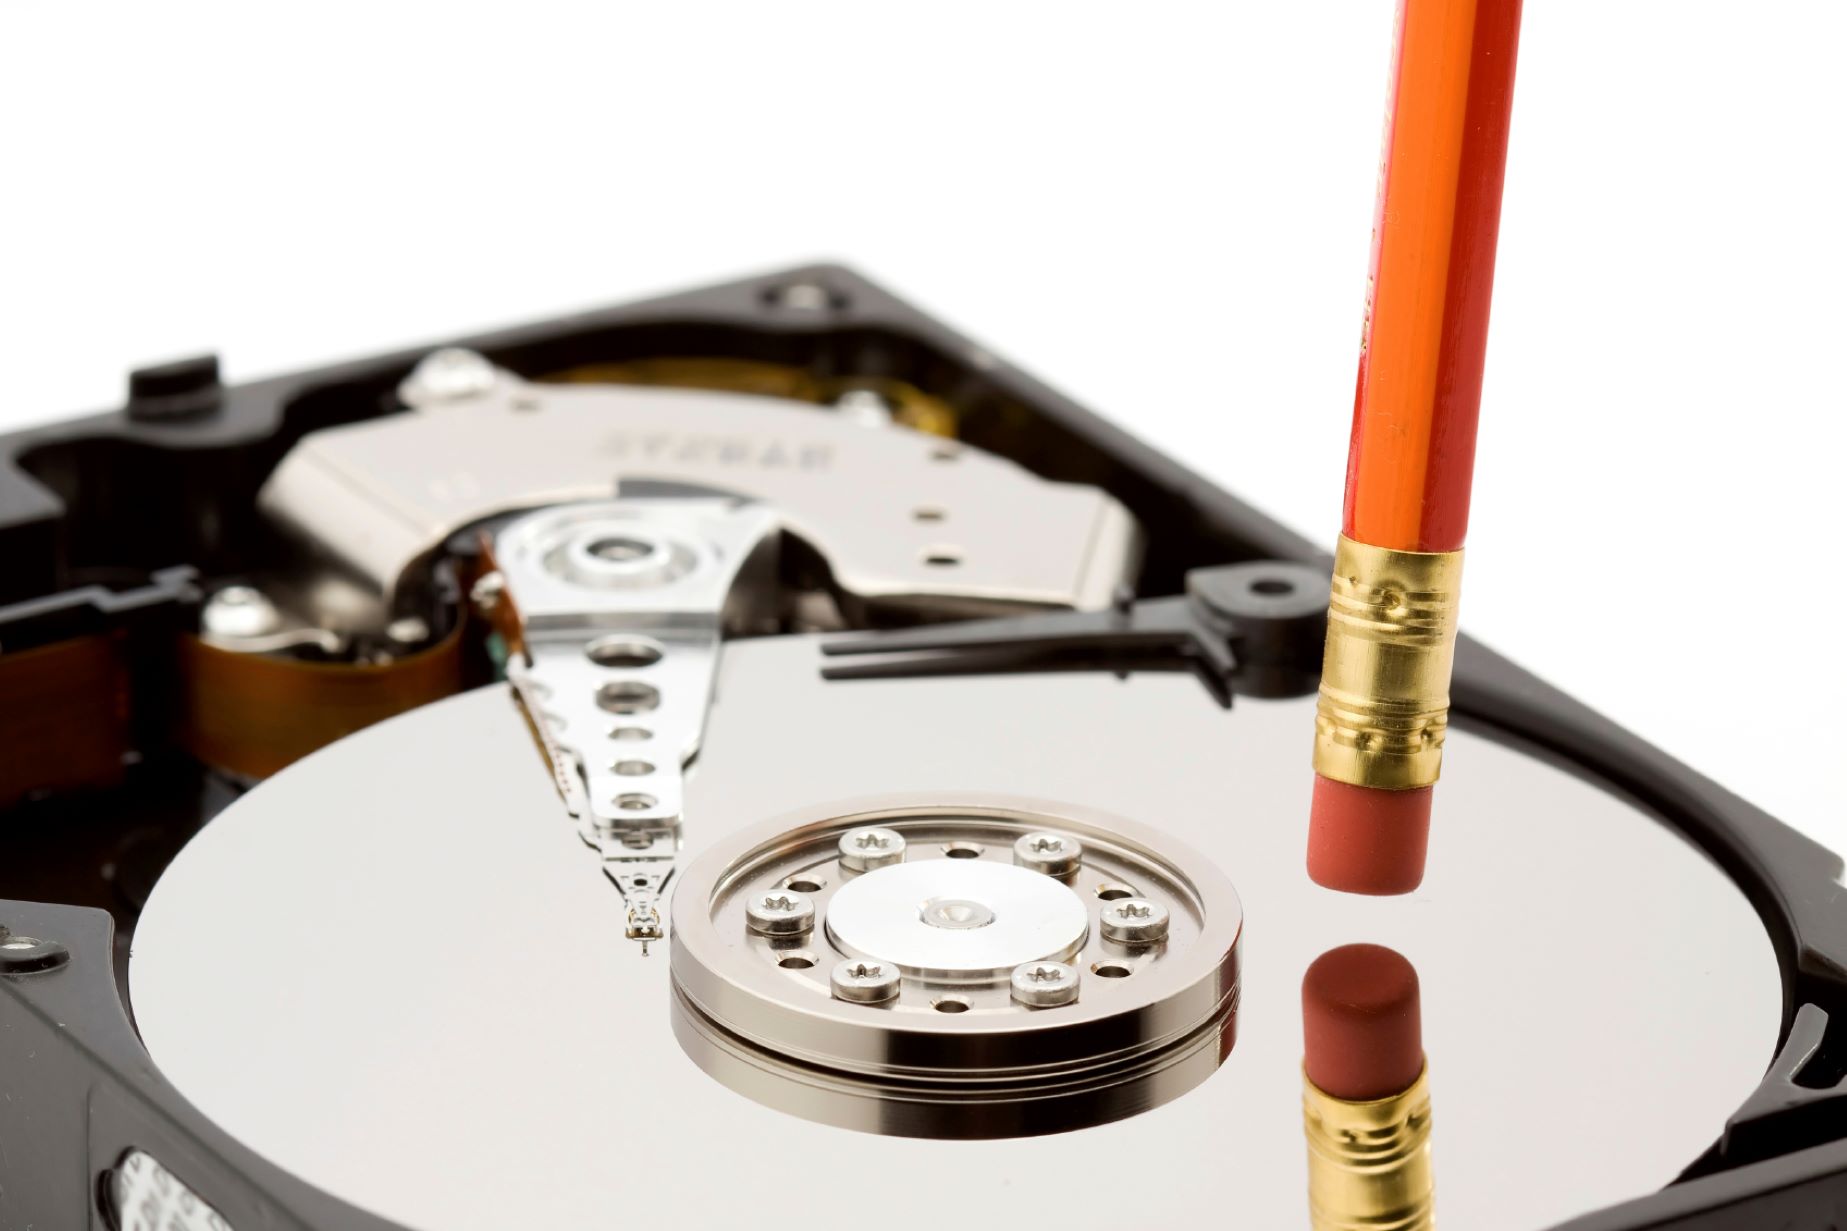
With the increasing concerns about data privacy and security, it is vital to ensure that your personal or confidential information is properly wiped from storage devices. Simply deleting files or formatting the drive is not enough, as the data can still be recovered using specialized tools. Wiping the drive is a more effective method to permanently erase the data and protect yourself from potential data breaches or identity theft.
However, before proceeding with any data wiping methods, it is essential to take necessary precautions to avoid any unintentional data loss. This includes backing up any important files or data on the external hard drive and ensuring you have a proper understanding of the wiping process.
In this guide, we will discuss three different methods that you can use to wipe your external hard drive in Windows 10. These methods include using the built-in Disk Management tool, utilizing the Command Prompt, or utilizing third-party software specifically designed for secure data wiping. Each method has its advantages, so you can choose the one that best suits your needs and preferences.
Before we dive into the details of each method, it is important to note that once you have wiped your external hard drive, the data cannot be recovered. Therefore, it is crucial to double-check that you have the correct drive selected for wiping and that you have backed up any important data. With that in mind, let’s explore the different methods for wiping an external hard drive in Windows 10.
Why Do You Need to Wipe an External Hard Drive?
There are several reasons why you might need to wipe an external hard drive. Let’s explore the most common scenarios where data wiping becomes necessary.
1. Protecting your privacy: When you store personal or confidential data on an external hard drive, you want to ensure that it remains private even if the drive falls into the wrong hands. Wiping the drive removes all traces of your data, making it nearly impossible for anyone to recover or access your sensitive information.
2. Preparing for resale or disposal: If you plan to sell or dispose of your external hard drive, wiping it is essential to prevent unauthorized access to your data. Even if you have formatted the drive or deleted the files, they can still be recovered. By wiping the drive, you eliminate any chance of your data falling into the wrong hands.
3. Resolving performance issues: Over time, an external hard drive can accumulate unnecessary files, temporary data, or corrupted files, which may result in decreased performance. By wiping the drive and starting fresh, you can alleviate any lingering performance issues and optimize the storage space.
4. Changing ownership: If you are passing your external hard drive to someone else, wiping it ensures that your personal data is completely removed. This is particularly important if the drive contains sensitive information that you don’t want to risk falling into the wrong hands.
5. Upgrading or repurposing the drive: If you are upgrading to a new external hard drive or repurposing an existing one, wiping it will help you start with a clean slate. By removing all data, you can safely migrate or store new files without the risk of any remnants from the previous usage interfering with your new setup.
In any of these scenarios, it is crucial to wipe your external hard drive properly to ensure the complete removal of sensitive data. By taking the necessary measures to wipe the drive securely, you can safeguard your privacy, protect your valuable information, and maintain the performance and functionality of your external storage device.
Precautions Before Wiping an External Hard Drive
Before you proceed with wiping your external hard drive, it is essential to take certain precautions to avoid any potential data loss or irreversible actions. Here are some important precautions to consider:
1. Backup your important data: Before wiping the external hard drive, make sure to back up any important files or data that you want to keep. This ensures that you have a copy of your important information in case of any accidental deletion or formatting during the wiping process.
2. Verify the correct drive: Double-check and confirm that you have selected the correct external hard drive for wiping. Ensure that you are not accidentally wiping any other drive or partition that contains important data. It is advisable to disconnect any other external drives to avoid any confusion during the process.
3. Disconnect from other devices: If your external hard drive is currently connected to any other devices, such as a computer or gaming console, disconnect it before proceeding with the wiping process. This ensures that no data is being read or written to the drive during the wiping process, minimizing the chance of any interference or data loss.
4. Understand the wiping process: Take the time to understand the specific wiping method you will be using. Read the instructions carefully and familiarize yourself with the steps involved. This helps you to confidently execute the process and ensures that you are aware of any specific requirements or considerations.
5. Check for firmware updates: Before wiping the external hard drive, check if there are any firmware updates available for the drive. Updating the firmware ensures that you have the latest bug fixes and performance enhancements, which can improve the overall reliability and functionality of the drive.
6. Be patient: The wiping process may take some time, depending on the size of the external hard drive and the wiping method you choose. Avoid interrupting or cancelling the process prematurely. Let the process complete uninterrupted to ensure the effective and thorough wiping of data from the drive.
Taking these precautions before wiping your external hard drive ensures that you have a smooth and successful wiping experience, without any data loss or unintended consequences. By being proactive and careful, you can protect your valuable data and ensure the proper execution of the wiping process.
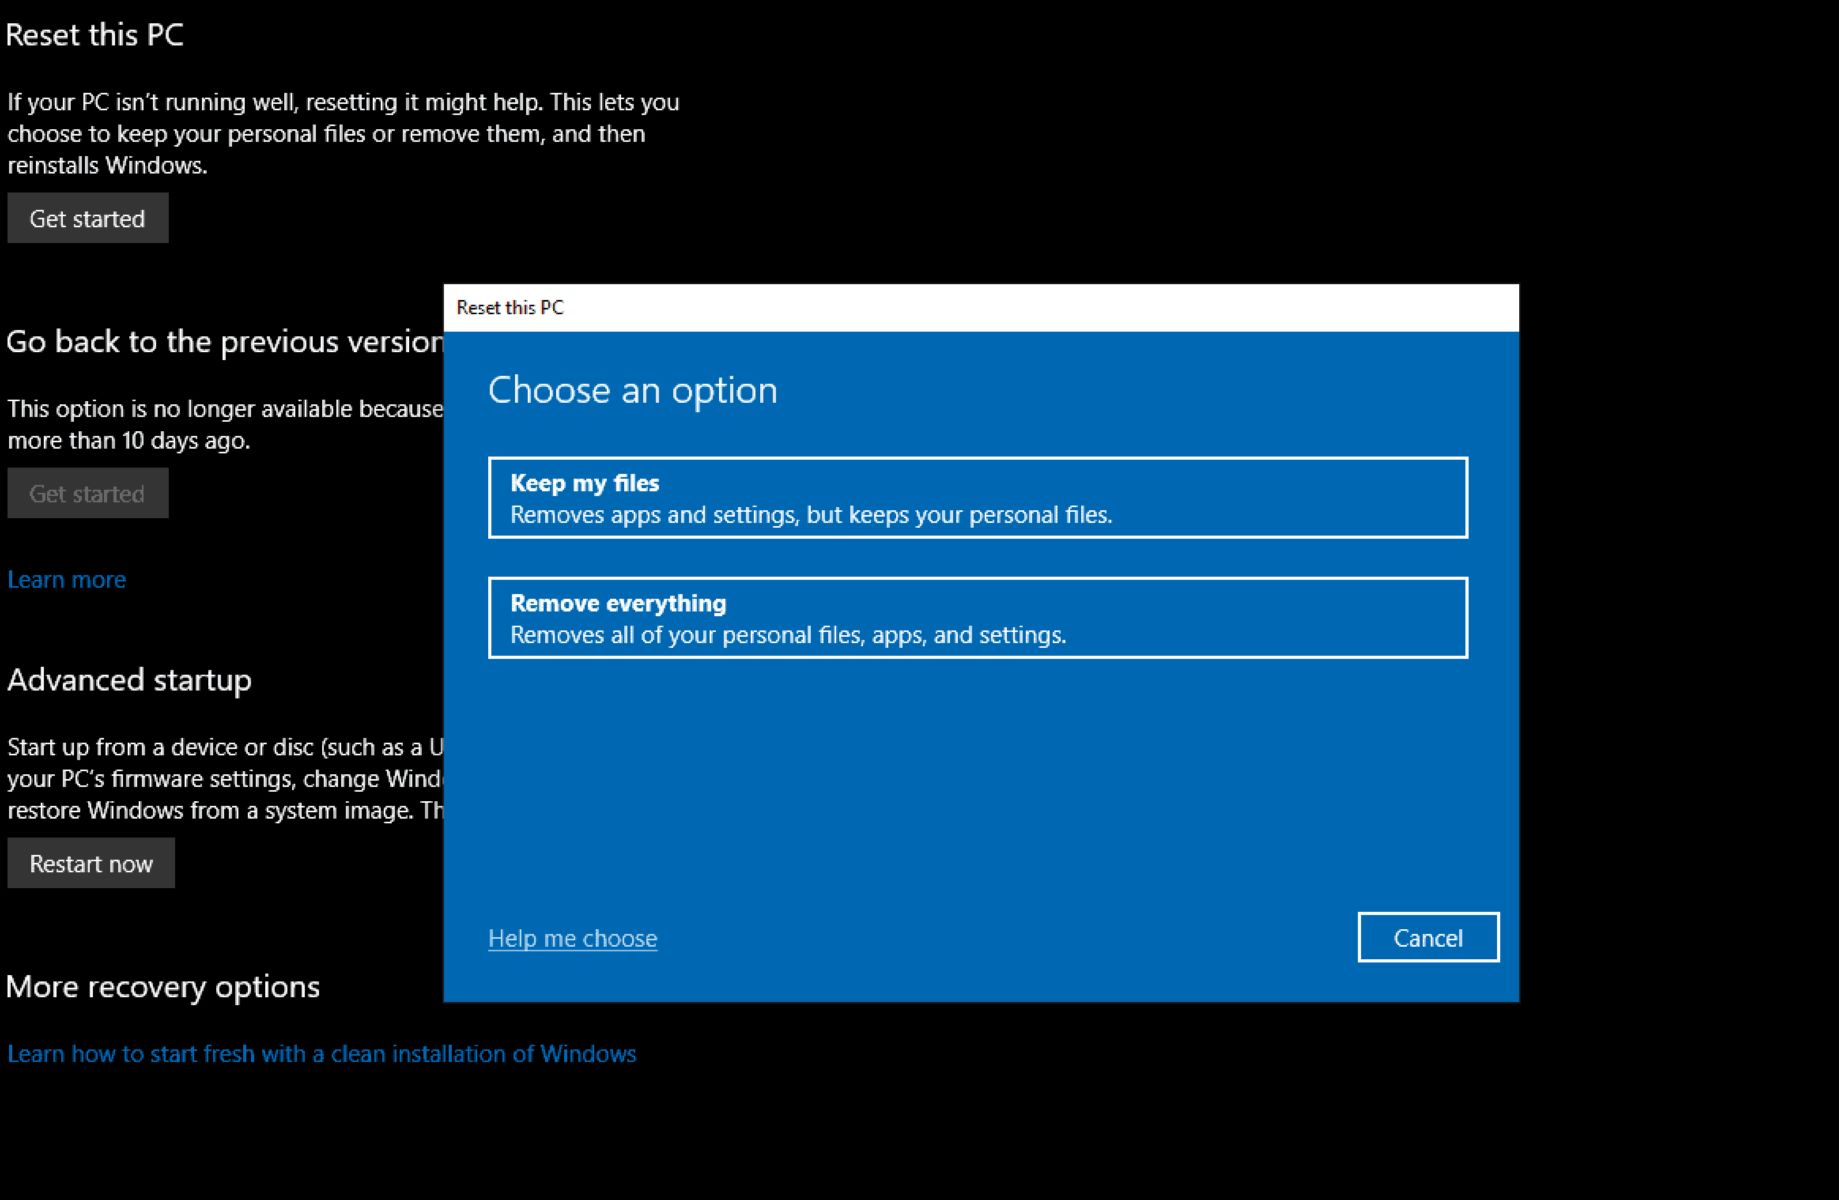
Method 1: Using Disk Management
One of the built-in tools in Windows 10 that you can use to wipe an external hard drive is Disk Management. Disk Management provides a user-friendly interface that allows you to manage and manipulate your storage devices. Here’s a step-by-step guide on how to wipe an external hard drive using Disk Management:
Step 1: Connect your external hard drive to your Windows 10 computer and ensure that it is recognized.
Step 2: Press the Windows key + X on your keyboard and select “Disk Management” from the menu that appears.
Step 3: In the Disk Management window, locate your external hard drive from the list of disks. It will be labeled with its associated drive letter and size.
Step 4: Right-click on the partition(s) of the external hard drive and select “Delete Volume.” This will remove all the partitions on the drive.
Step 5: Once the volume is deleted, right-click on the unallocated space of the external hard drive and select “New Simple Volume.”
Step 6: Follow the wizard prompts to set the desired volume size, assign a drive letter, and format the drive with the desired file system (such as NTFS or exFAT).
Step 7: On the “Format Partition” screen, select the “Perform a quick format” option if you want a faster formatting process, or leave it unchecked for a thorough format.
Step 8: Click “Next” and follow the remaining prompts to complete the formatting process.
By following these steps, you can use Disk Management to wipe your external hard drive in Windows 10. The deletion of the volume and subsequent formatting effectively removes all data from the drive, allowing you to start afresh and ensure the privacy and security of your information.
Remember to exercise caution while using Disk Management and double-check that you have selected the correct external hard drive to avoid any unintentional data loss.
Method 2: Using the Command Prompt
Another method to wipe an external hard drive in Windows 10 is by using the Command Prompt. This method provides a more advanced and direct approach to securely erase the data. Here’s a step-by-step guide on how to wipe an external hard drive using the Command Prompt:
Step 1: Connect your external hard drive to your Windows 10 computer and ensure that it is recognized.
Step 2: Press the Windows key + X on your keyboard and select “Command Prompt” (Admin) from the menu that appears. This will open the Command Prompt with administrative privileges.
Step 3: In the Command Prompt window, type “diskpart” and press Enter to launch the Diskpart command-line utility.
Step 4: Type “list disk” and press Enter to view a list of all the disks connected to your computer. Identify the disk number associated with your external hard drive.
Step 5: Type “select disk X” (replace X with the disk number of your external hard drive) and press Enter to select the desired disk.
Step 6: Type “clean” and press Enter to remove all partitions and volumes from the selected disk. This step wipes all the data on the drive.
Step 7: Type “create partition primary” and press Enter to create a new primary partition on the drive.
Step 8: Type “format fs=ntfs quick” and press Enter to format the newly created partition with the NTFS file system. Use “fs=exfat” if you prefer the exFAT file system.
Step 9: Once the format is complete, type “exit” and press Enter to exit the Diskpart utility.
By following these steps in the Command Prompt, you can effectively wipe your external hard drive in Windows 10. The “clean” command removes all partitions and volumes, while the subsequent steps create a new partition and format it with the desired file system. This process ensures that all data is securely erased from the drive, providing a clean slate for reuse or disposal.
Remember to exercise caution while using the Command Prompt and double-check that you have selected the correct disk to avoid accidentally wiping the wrong drive.
Method 3: Using Third-Party Software
If you prefer a more comprehensive and user-friendly approach to wiping your external hard drive in Windows 10, you can utilize third-party software specifically designed for secure data wiping. There are several reliable and reputable tools available that offer advanced features and options for wiping the drive. Here’s a general guide on how to use third-party software to wipe an external hard drive:
Step 1: Research and choose a reliable third-party software that specializes in secure data wiping. Look for software that offers features like multiple wiping methods, verification options, and the ability to wipe specific files or folders if necessary.
Step 2: Download and install the selected software onto your Windows 10 computer. Ensure that you are downloading the software from a trusted source to avoid any potential security risks.
Step 3: Connect your external hard drive to your computer and ensure it is recognized by the operating system.
Step 4: Open the third-party software and navigate to the section or option that allows you to wipe drives or data.
Step 5: Select your external hard drive from the list of available drives for wiping. Confirm your selection to proceed.
Step 6: Choose the desired wiping method, such as overwriting the data with zeroes or random patterns. Some software may offer multiple wiping algorithms for enhanced security.
Step 7: Configure any additional settings or options provided by the software, such as the number of passes or verification of the wiped data.
Step 8: Initiate the wiping process and wait for it to complete. The time required may vary depending on the size of the external hard drive and the selected wiping method.
Step 9: Once the wiping process is finished, the software will usually provide a confirmation message. At this point, your external hard drive should be securely wiped and ready for reuse, resale, or disposal.
By utilizing third-party software, you can have more control and customization options when it comes to wiping your external hard drive. These tools often offer advanced algorithms and verification processes, ensuring a thorough and secure erasure of your data.
Remember to choose trusted and reliable software, and follow the provided instructions carefully to ensure a successful and effective wiping process. Additionally, it is always a good idea to double-check that you have selected the correct drive for wiping to avoid any unintended data loss.
Conclusion
In conclusion, wiping an external hard drive in Windows 10 is crucial for maintaining data privacy, preparing for resale or disposal, resolving performance issues, changing ownership, or upgrading to a new drive. By securely wiping the drive, you can ensure that your sensitive information is permanently erased and cannot be recovered.
We discussed three methods for wiping an external hard drive in Windows 10. Using Disk Management provides a user-friendly interface for deleting volumes and formatting the drive. The Command Prompt offers a more advanced approach, allowing for direct disk manipulation and cleaning. Lastly, utilizing third-party software offers additional features and customization options for secure data wiping.
Before proceeding with any wiping method, be sure to take precautions, such as backing up important data and double-checking the drive selection. Understanding the wiping process and disconnecting the drive from other devices are also essential steps to avoid any unintended consequences.
Regardless of the method you choose, remember that once the data is wiped, it cannot be recovered. Therefore, exercise caution and ensure that you have backed up any necessary files before starting the wiping process.
By following the instructions provided in this guide, you can confidently wipe your external hard drive in Windows 10 and protect your privacy, security, and sensitive information. Whether you opt for Disk Management, the Command Prompt, or third-party software, always prioritize data safety and take the necessary precautions for a successful and secure wiping experience.