Introduction
When it comes to disposing of or selling an external hard drive, simply deleting files or formatting the drive is not enough to ensure your data is completely wiped. Many people mistakenly believe that once they delete files or format the drive, the data is gone forever. However, that is not the case.
It is crucial to securely wipe your external hard drive to protect your sensitive information from falling into the wrong hands. This is especially important if you have stored personal documents, financial records, or any other confidential data on the drive. Failure to completely erase the data could potentially result in identity theft, data breaches, or unauthorized access to your personal information.
Additionally, wiping your external hard drive is essential if you plan to sell or donate it. You don’t want to pass on your personal data along with the drive, potentially jeopardizing your privacy or the privacy of others.
In this guide, we will explore the necessary steps to completely wipe your external hard drive, ensuring your data is irrecoverable. We will also discuss the importance of backing up your data before proceeding with the wipe process, as it is essential to have a copy of your files stored securely elsewhere.
Importance of securely wiping an external hard drive
Securely wiping an external hard drive is crucial for a variety of reasons. Simply deleting files or formatting the drive is not enough to ensure the data is permanently erased. Here’s why it is important to take extra steps to securely wipe your external hard drive:
- Data privacy protection: Wiping your external hard drive ensures that any sensitive or personal information stored on the drive is completely removed. This helps safeguard your privacy and prevents unauthorized individuals from accessing your data.
- Preventing data breaches: If you plan on selling or donating your external hard drive, securely wiping it is essential. It prevents the risk of a potential data breach, as it ensures that any sensitive information cannot be recovered by someone else.
- Identity theft prevention: Personal information, such as financial records or social security numbers, may be stored on your external hard drive. If your drive falls into the wrong hands without being properly wiped, it can leave you vulnerable to identity theft.
- Protecting confidential business data: If you use an external hard drive for work purposes, it may contain confidential business files or client information. Properly wiping the drive ensures that this sensitive data is permanently deleted, safeguarding the interests of your business and your clients.
- Compliance with regulations: Many industries have strict data protection regulations in place, such as HIPAA for healthcare organizations or GDPR for businesses operating in the European Union. By securely wiping your external hard drive, you ensure compliance with these regulations and avoid potential penalties for data mishandling.
It is important to note that regular file deletion or formatting only removes the pointers to the data, making it invisible to the operating system. However, the actual data remains intact on the drive until it is overwritten. Without securely wiping the drive, there are advanced techniques and software tools that can potentially recover the deleted data.
In the following sections, we will walk you through the necessary steps to securely wipe an external hard drive, ensuring your data is permanently erased and unrecoverable.
Backing up your data
Before you proceed with wiping your external hard drive, it is crucial to back up any important data that you may have stored on it. By creating a backup, you ensure that your files are safely stored elsewhere and can be easily restored when needed.
Creating a backup is especially important because the process of securely wiping the drive involves permanently deleting all data, including the files you may still want to keep. Therefore, it is essential to take the following steps to back up your data:
- Identify critical files: Go through the contents of your external hard drive and identify the files that are crucial to you. These may include important documents, photos, videos, or any other valuable data that you would like to retain.
- Select a backup destination: Choose a secure location to store your backup. This can be an external hard drive, cloud storage, or a network-attached storage (NAS) device. Ensure that the selected destination has enough storage capacity to accommodate all your data.
- Copy your files: Use a reliable file transfer method to copy the identified files from your external hard drive to the backup destination. Depending on the size of your data and the transfer method you choose, this process may take some time.
- Verify the backup: After the file transfer is complete, verify that the backup contains all the important files and that they are intact. Check for any errors or missing files before proceeding with the wipe process.
It is essential to regularly back up your data, even if you are not planning to wipe your external hard drive. Accidental data loss can occur due to hardware failure, malware, or human error. By maintaining up-to-date backups, you ensure that your files are protected and easily recoverable in case of any unforeseen events.
Once you have successfully backed up your data, you can proceed with securely wiping your external hard drive, knowing that your important files are safely stored elsewhere.
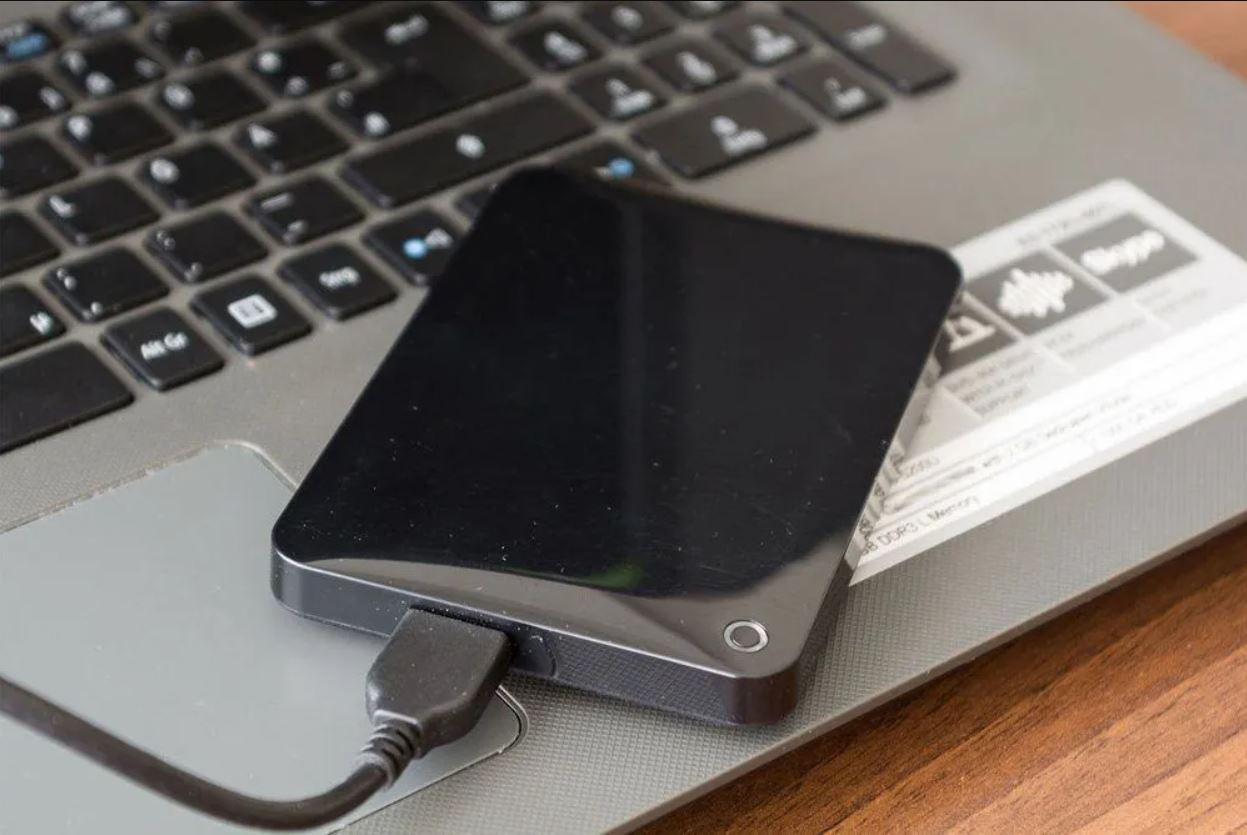
Step 1: Disconnect the external hard drive
Before you begin the process of wiping your external hard drive, it is important to disconnect it from your computer or any other device it may be connected to. This step ensures that there is no accidental data loss or interference during the wipe process.
Here’s how you can safely disconnect your external hard drive:
- Close any open files or applications: Ensure that you have saved and closed any files or applications that may be using the external hard drive. This prevents any potential data corruption or loss.
- Eject or safely remove the drive: On Windows, right-click on the drive icon in the File Explorer or Windows Explorer and select “Eject” or “Safely Remove Hardware”. On macOS, locate the drive icon on the desktop or in Finder, and drag it to the Trash, which will change to an Eject symbol.
- Wait for the confirmation: After ejecting or safely removing the drive, wait for the confirmation message or indicator that it is safe to disconnect. This ensures that all read and write processes to the drive have been completed.
- Disconnect the cable: Once you have received confirmation, gently disconnect the cable from the external hard drive, ensuring that you do not pull forcefully or damage the connection.
By following these steps, you ensure that the external hard drive is safely disconnected from your computer or device before proceeding with the wipe process. Disconnecting the drive eliminates the risk of accidentally modifying or deleting files on the drive while you are wiping it.
Remember, it is always good practice to handle external hard drives and their cables with care to avoid any physical damage that could potentially impact the drive’s performance or data integrity.
Step 2: Erasing data on the external hard drive
Now that you have safely disconnected the external hard drive, it’s time to proceed with erasing the data. This step involves removing all existing files and data present on the drive, ensuring they are unrecoverable. There are several options available to achieve this:
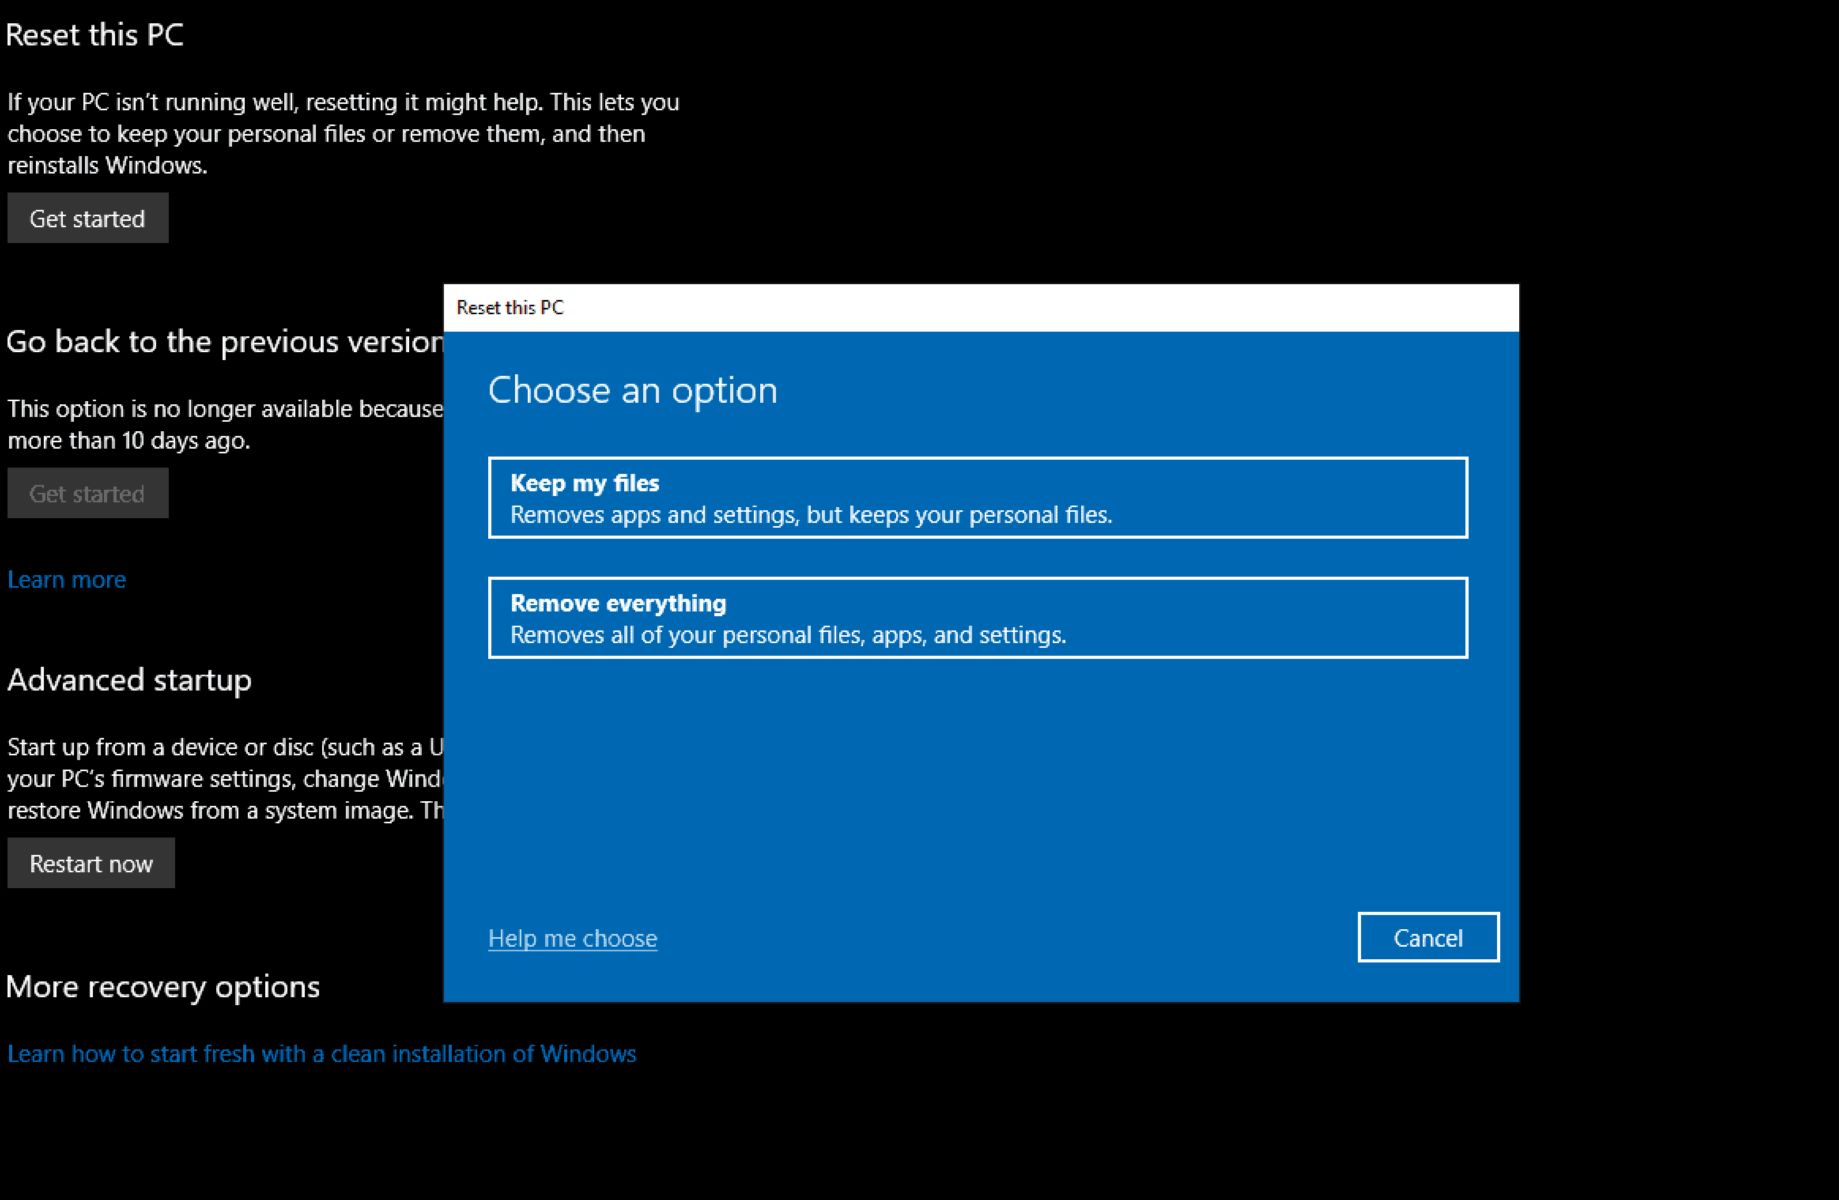
Option 1: Using built-in formatting tools:
The easiest way to erase data on your external hard drive is by using the built-in formatting tools provided by your operating system. Here’s how:
- Connect the external hard drive: Reconnect the external hard drive to your computer or device.
- Open Disk Utility (Mac) or Disk Management (Windows): On macOS, go to Applications > Utilities > Disk Utility. On Windows, right-click on the Start button, select Disk Management from the menu.
- Select the external hard drive: In the Disk Utility or Disk Management window, locate your external hard drive from the list of available drives.
- Format the drive: Right-click on the external hard drive and select the “Format” option. Follow the on-screen instructions to choose the desired file system (such as NTFS or exFAT) and perform the formatting process.
- Confirm formatting: You will receive a warning that all data on the drive will be erased. Make sure you have backed up any important files and confirm the formatting process.
Note: Formatting the drive using the built-in tools does not guarantee that the data is permanently unrecoverable. For more secure data erasure, consider using third-party software or additional methods discussed in the following sections.
Option 2: Using third-party software:
If you require a more thorough and secure data erasure method, you can utilize third-party software specifically designed for this purpose. These software programs use advanced algorithms to overwrite the existing data multiple times, making it nearly impossible to recover. Some popular options include DBAN (Darik’s Boot and Nuke), CCleaner, and Eraser.
Important: Before using any third-party software, research and ensure that you choose a reputable and trusted program. Follow the instructions provided by the software developer to effectively erase the data on your external hard drive.
By following either the built-in formatting tools or using third-party software, you can effectively erase the data on your external hard drive, preparing it for the next step in the wiping process.
Option 1: Using built-in formatting tools
One of the easiest and most commonly used methods to erase data on an external hard drive is by utilizing the built-in formatting tools provided by your operating system. These tools allow you to format the drive, effectively removing all existing data and preparing it for future use. Here’s how you can use the built-in formatting tools:
- Connect the external hard drive: Start by connecting the external hard drive to your computer or device using the appropriate cable.
- Open Disk Utility (Mac) or Disk Management (Windows): Depending on your operating system, open Disk Utility on Mac or Disk Management on Windows. On a Mac, you can find Disk Utility in the Applications > Utilities folder. On Windows, right-click the Start button and select Disk Management from the menu.
- Select the external hard drive: In Disk Utility or Disk Management, you should see a list of connected drives. Locate and select your external hard drive.
- Format the drive: Right-click on the selected external hard drive and choose the “Format” option. Follow the instructions provided to select the desired file system (such as NTFS, exFAT, or FAT32) for the drive.
- Confirm and start the formatting process: You will likely receive a warning that all data on the drive will be erased. Ensure that you have backed up any essential files and click the necessary buttons to confirm and initiate the formatting process.
Note: When formatting your external hard drive, you have a choice of different file systems. The file system you select will determine the compatibility and limitations of the drive on various operating systems. For example:
- NTFS (New Technology File System): This file system is commonly used in Windows and offers robust features, such as support for large file sizes and strong security.
- exFAT (Extended File Allocation Table): exFAT is a lightweight file system that is widely compatible with both Windows and macOS. It provides better support for larger files compared to FAT32.
- FAT32 (File Allocation Table): FAT32 is an older file system with excellent compatibility across different operating systems but has limitations, such as maximum file size of 4GB.
By opting to use the built-in formatting tools provided by your operating system, you can easily format and erase the data on your external hard drive, ensuring a clean slate for future use.
Option 2: Using third-party software
If you require a more thorough and secure data erasure method for your external hard drive, using third-party software can provide an effective solution. These software programs are specifically designed to overwrite the existing data on the drive, making it nearly impossible to recover. Here’s how you can use third-party software to wipe your external hard drive:
- Research and select a reputable software: Start by researching and selecting a reliable third-party software for data erasure. There are several options available, such as DBAN (Darik’s Boot and Nuke), CCleaner, and Eraser. Ensure that you choose a trusted program that suits your needs.
- Download and install the software: Visit the official website of the chosen software and follow the provided instructions to download and install it on your computer. Make sure to download the version compatible with your operating system.
- Connect the external hard drive: Connect the external hard drive to your computer using the appropriate cable.
- Open the software: Launch the third-party software you have installed and navigate to the section or option dedicated to hard drive wiping or data erasure.
- Select the external hard drive: In the software interface, locate and select the external hard drive you want to wipe. Be cautious not to select the wrong drive to prevent accidental data loss.
- Choose the erasure method: Different software programs offer various erasure methods, such as single-pass, multi-pass, or even government-grade algorithms. Select the desired erasure method based on your security requirements and preferences.
- Start the wiping process: Once you have selected the erasure method and reviewed the settings, initiate the wiping process. Depending on the size of your external hard drive and the selected method, the process may take some time to complete.
- Verify the wipe: After the wiping process is finished, some software programs provide a verification feature to ensure the successful erasure of data. It is recommended to run this verification to confirm that the data on the external hard drive has been irrecoverably wiped.
Note: It is important to carefully follow the instructions provided by the third-party software and exercise caution when using advanced data wiping methods. Be sure to backup any essential files before starting the wipe process to prevent accidental data loss.
By utilizing reputable third-party software designed specifically for data erasure, you can achieve a more thorough and secure wipe of your external hard drive, ensuring that the data is virtually impossible to recover.
Step 3: Securely deleting the remaining data
After formatting or using third-party software to erase the data on your external hard drive, there may still be remnants of sensitive information left on the drive. To ensure that all traces of your data are permanently deleted and irrecoverable, it is important to securely delete the remaining data. There are a couple of options you can consider:
Option 1: Overwriting the entire drive:
This method involves overwriting the entire drive with random data, making it extremely difficult or practically impossible to recover any previous information. Here’s how you can securely delete the remaining data:
- Connect the external hard drive: Reconnect the external hard drive to your computer or device.
- Select the drive: Open a file explorer or disk management utility and locate your external hard drive.
- Choose a wiping tool: There are various wiping tools available that can help you overwrite the entire drive with random data, such as DBAN (Darik’s Boot and Nuke) or similar software.
- Follow the wiping tool instructions: Download and run the chosen wiping tool, following the provided instructions to select your external hard drive and initiate the wiping process. It may take some time depending on the size of the drive and the chosen method.
Note: Overwriting the entire drive is a time-consuming process and not necessary in all cases. If you have already securely wiped your external hard drive using the previous methods, the remaining data should be effectively unrecoverable. However, if you want to take extra precaution or ensure compliance with certain regulations, this method can provide added peace of mind.
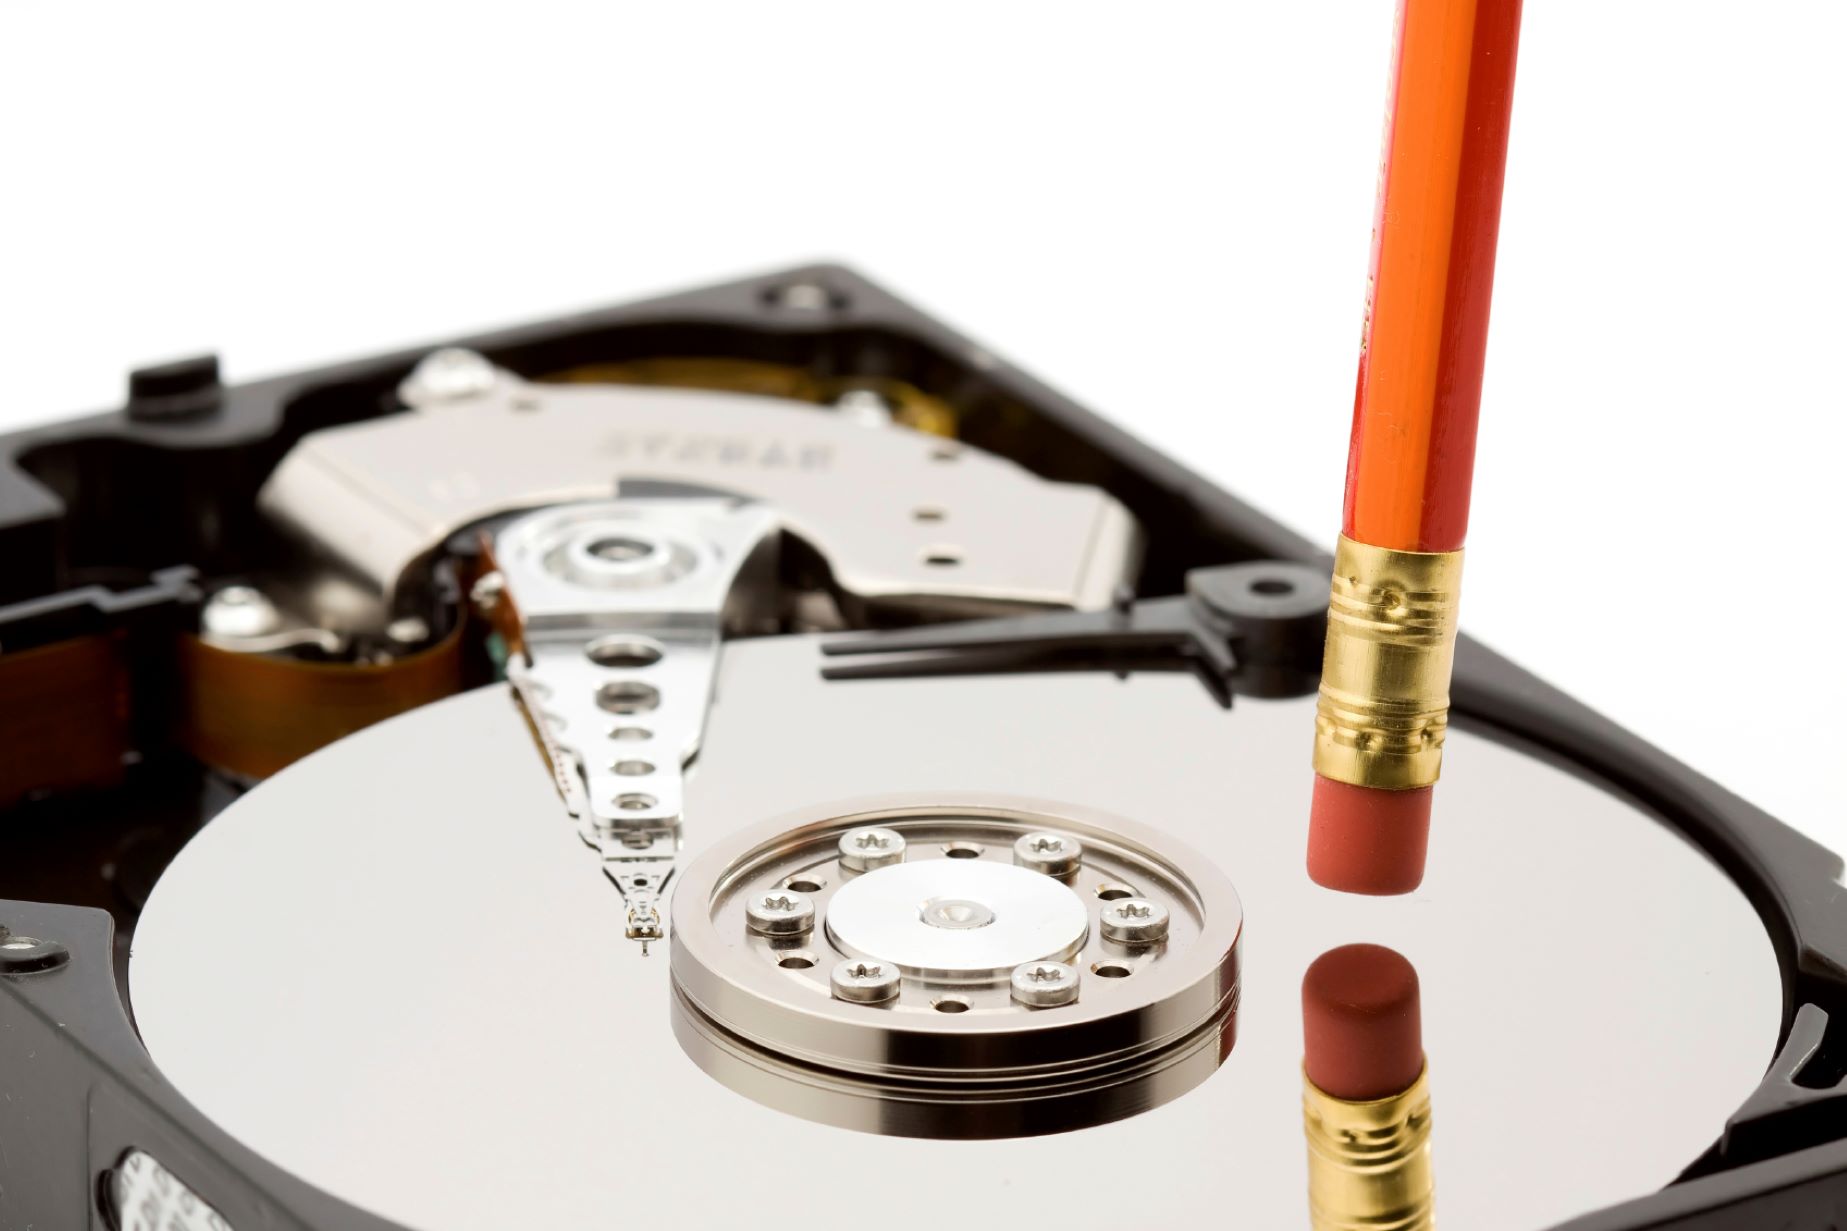
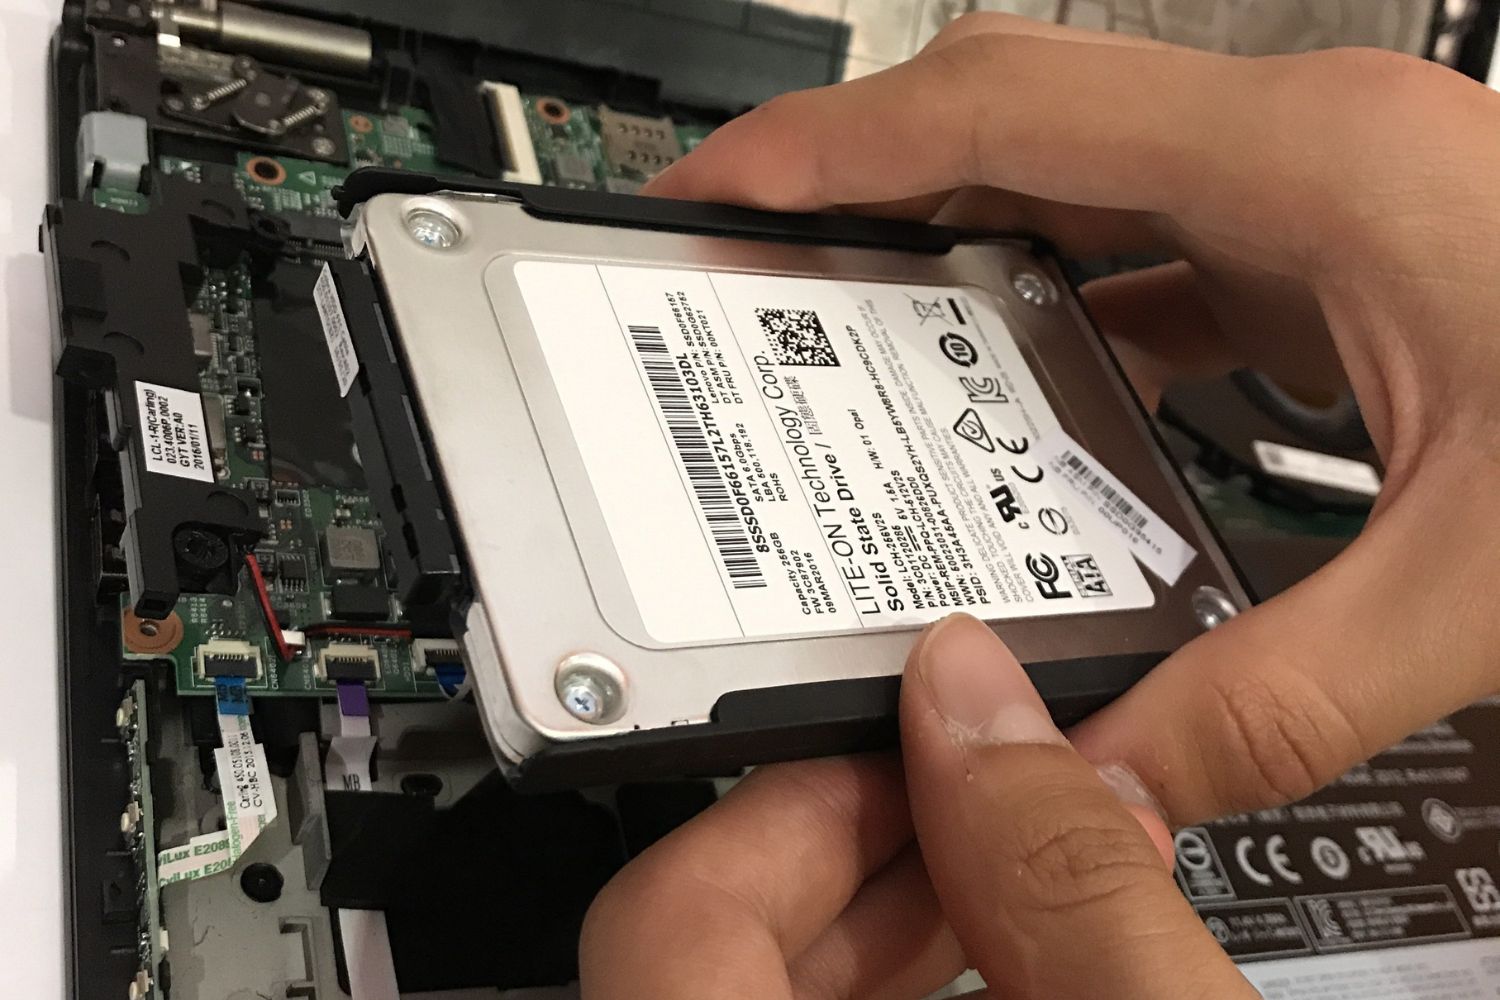
Option 2: Physically destroying the drive:
If you have concerns about the data on your external hard drive and want to ensure absolute security, physically destroying the drive is the most effective method. This guarantees that no one can retrieve any data from the drive. Follow these steps to physically destroy the drive:
- Disassemble the drive: Take apart the external hard drive carefully using appropriate tools, such as screwdrivers. Refer to the manufacturer’s instructions or search for disassembly guides specific to your drive model.
- Locate the platters: The actual data is stored on magnetic platters inside the drive. Identify these platters and make sure they are easily accessible.
- Damage the platters: Use a hammer, drill, or any other method to physically damage or break the platters. Make sure to strike them several times to ensure they are irreparable.
- Dispose of the drive: Properly dispose of the damaged drive by recycling it or taking it to an electronics waste disposal facility.
Physically destroying the drive ensures that no one will be able to extract any data from it. However, do note that this method renders the drive unusable, so only choose this option if you are certain that you no longer need the drive.
By securely deleting the remaining data on your external hard drive using either overwriting or physical destruction methods, you can ensure that all traces of your data are permanently eliminated and cannot be recovered.
Option 1: Overwriting the entire drive
Overwriting the entire drive is a highly effective method to securely delete the remaining data on your external hard drive. By overwriting the drive with random data, any existing information becomes virtually impossible to recover. To carry out this method, follow these steps:
- Connect the external hard drive: Reconnect the external hard drive to your computer or device using the appropriate cable.
- Select the drive: Open a file explorer or disk management utility and locate the external hard drive you want to securely delete.
- Choose a wiping tool: There are several reliable wiping tools available that can help you overwrite the entire drive with random data. Software like DBAN (Darik’s Boot and Nuke) or similar programs are commonly used for this purpose.
- Follow the wiping tool instructions: Download and run the selected wiping tool, carefully following the provided instructions. Make sure to select the correct external hard drive and initiate the wiping process.
- Choose the wiping method: Most wiping tools offer different wiping methods. These methods determine the number of times the data is overwritten. Generally, a single pass or multiple passes are sufficient for most purposes. Be aware that more passes may require additional time to complete.
- Start the wiping process: Once you’ve selected the desired wiping method, initiate the wiping process. The wiping tool will overwrite the entire drive with random data, eliminating any trace of the previous information.
- Verify the wipe: After the wiping is completed, some software programs offer a verification feature. This feature checks if the data has been successfully overwritten. It is recommended to run this verification to ensure the secure deletion of the remaining data.
By using an appropriate wiping tool to overwrite the entire drive with random data, you can be confident that all the remaining data on your external hard drive is irrecoverable. This method provides an excellent level of security, particularly when you need to dispose of or repurpose the drive.
Note: Overwriting the entire drive is a time-consuming process, especially for larger drives. If you have already securely wiped your external hard drive using other methods mentioned earlier, the additional step of overwriting the entire drive might not be necessary. However, if you require the utmost security or are handling sensitive data, performing this extra step can provide added peace of mind.
Option 2: Physically destroying the drive
If you want to ensure absolute security and guarantee that no one can recover any data from your external hard drive, physically destroying the drive is the most effective method. By rendering the drive inoperable, you eliminate the possibility of any data retrieval. Follow these steps to physically destroy the drive:
- Disassemble the drive: Carefully disassemble the external hard drive using appropriate tools, such as screwdrivers. Look for screws or clips holding the casing together. Refer to the manufacturer’s instructions or search for disassembly guides specific to your drive model, if needed.
- Locate the platters: Inside the drive, you will find the magnetic platters where the actual data is stored. Identify these platters, which usually look like shiny silver discs, and make sure they are easily accessible.
- Damage the platters: Use a hammer, drill, or other destructive methods to physically damage or destroy the platters. Ensure you strike them forcefully and repeatedly to ensure they are irreparable. Depending on the drive design, you may need to focus on damaging multiple platters.
- Dispose of the drive: Properly dispose of the damaged drive by recycling it or taking it to an electronics waste disposal facility. Check local regulations and guidelines for the appropriate method of disposal in your area.
This method of physically destroying the drive ensures that no one will be able to extract any data from it. It is considered the most secure method of data disposal and is often recommended for highly sensitive or confidential information.
Note: Physically destroying the drive makes it permanently unusable. Therefore, only choose this option if you are certain that you no longer need the drive for any purpose. This method is irreversible, so ensure you have securely backed up any important data before proceeding.
Physically destroying the drive provides peace of mind when it comes to protecting your data. By following the steps outlined above, you can ensure that no one will be able to recover any information from your external hard drive, even with advanced recovery techniques.
Step 4: Verifying the wipe
After securely deleting the data and taking extra precautions to ensure the irrecoverability of your external hard drive, it is essential to verify the wipe to ensure its effectiveness. Verification provides peace of mind and reassurance that the data on the drive has been successfully eradicated. Use the following steps to verify the wipe:
- Connect the external hard drive: Reconnect the external hard drive to your computer or device using the appropriate cable.
- Perform a visual check: Inspect the drive to ensure that the previous labels, file structures, or data are no longer visible. A successful wipe should result in an empty or unformatted drive.
- Attempt data recovery: Connect the external hard drive to a computer and try to recover any data using reputable data recovery software. A successful wipe should prevent any data from being recovered.
- Check with a data recovery service: If you want to be absolutely sure of the wipe’s effectiveness, you can send the external hard drive to a professional data recovery service. They will attempt to recover any data from the drive and provide you with a report confirming that the data has been securely wiped.
Performing these verification steps allows you to double-check that the wipe process has successfully removed all traces of data from your external hard drive. If you encounter any remnants of data or if data recovery software is able to retrieve files, consider repeating the wipe process or using more advanced wiping methods.
Note: Verification is an optional step, and its necessity depends on the sensitivity of the data you had on the drive and your desired level of assurance. For most personal use cases, visual inspection and attempting data recovery should be sufficient. However, for highly sensitive data or business-related purposes, consulting a professional data recovery service can provide additional peace of mind.
By completing the verification process, you can be confident that the wipe of your external hard drive was successful and that the data is irretrievable, ensuring the privacy and security of your information.
Conclusion
Securely wiping an external hard drive is imperative to protect your sensitive information and ensure its irrecoverability. Merely deleting files or formatting the drive is not sufficient, as data can potentially be recovered using advanced techniques. By following the steps outlined in this guide, you can effectively wipe your external hard drive and safeguard the privacy of your data.
We began by emphasizing the importance of securely wiping the drive to prevent data breaches, identity theft, and unauthorized access to confidential information. Additionally, we highlighted the significance of backing up your data before proceeding with the wiping process to avoid any accidental data loss.
We then explained two primary methods for erasing data on an external hard drive. Option 1 explored using built-in formatting tools provided by your operating system, while Option 2 discussed the use of third-party software for more advanced and secure erasure. These methods ensure that the majority of data is effectively removed.
Furthermore, we presented two additional options to securely delete the remaining data. Overwriting the entire drive with random data provides an extra layer of security, making the data virtually unrecoverable. Alternatively, physically destroying the drive offers the highest level of security, rendering the drive inoperable and ensuring no data can be retrieved.
To conclude, we stressed the importance of verifying the wipe to confirm the successful removal of data. Although not mandatory, verification gives you peace of mind and reassurance that your data is indeed irrecoverable.
By following the steps outlined in this guide and choosing the appropriate methods, you can confidently wipe your external hard drive, ensuring that your data remains secure and private. Remember, securely wiping your external hard drive is crucial whenever you plan to dispose of it, sell it, or pass it on to someone else, as it guarantees that your personal information remains protected.