Introduction
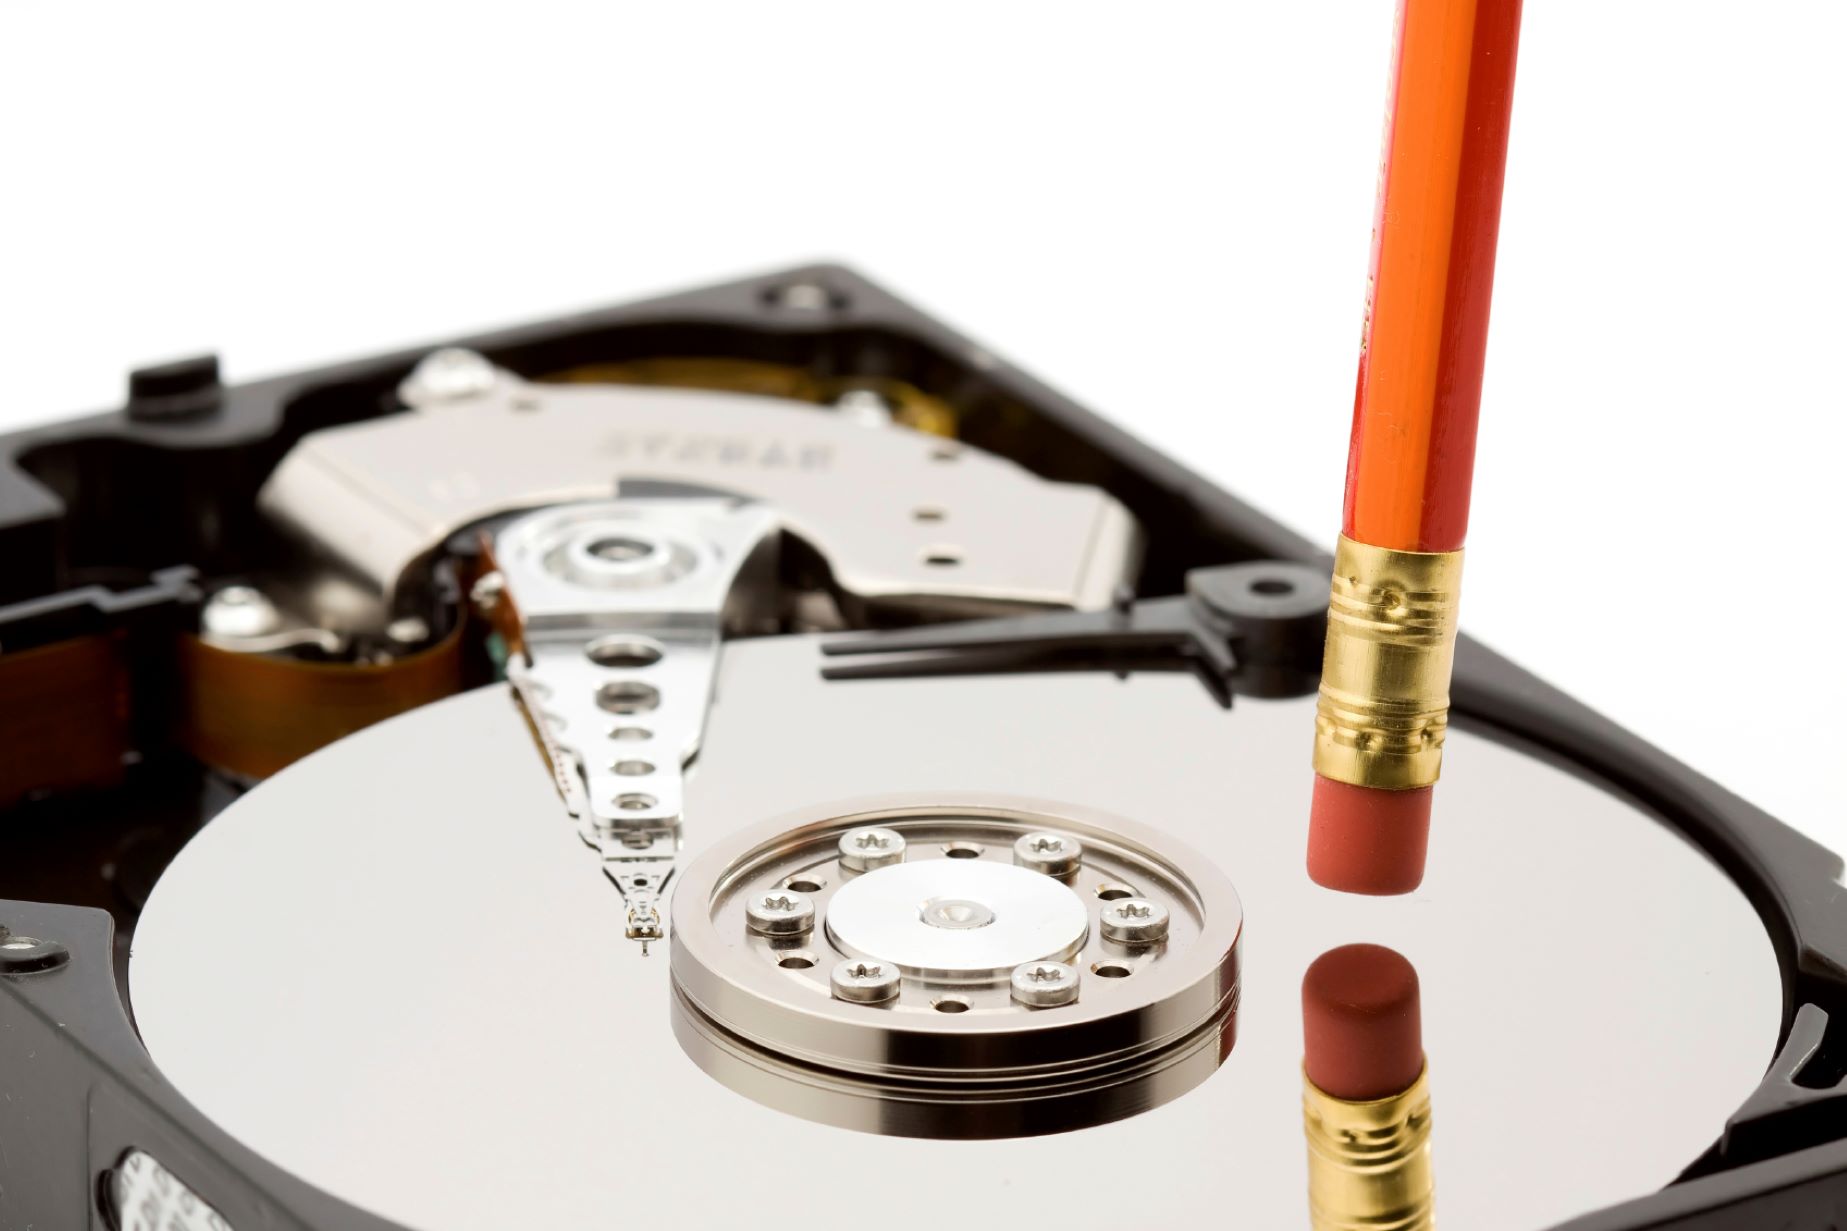
Welcome to our guide on how to wipe a hard drive in Windows 10. Over time, computers accumulate a vast amount of data, including personal files, programs, and operating system files. When it comes to disposing of, selling, or recycling your computer, it is essential to ensure that all your sensitive and personal information is completely erased. Simply deleting files or formatting your hard drive is not enough, as they can still be recovered using specialized tools.
Wiping your hard drive involves securely erasing all data from it, making it virtually impossible to recover. This process is crucial to protect your privacy, prevent identity theft, and maintain the security of your personal information. Whether you are upgrading to a new computer, getting rid of an old one, or returning a leased device, wiping your hard drive should be a top priority.
In this guide, we will explore the various methods you can use to wipe your hard drive in Windows 10. We will cover both built-in tools provided by Windows and third-party software that offers more advanced and secure options. Before diving into the specific methods, it is important to understand the factors you need to consider before wiping your hard drive.
Why should you wipe your hard drive?
When you delete files or format your hard drive, the data is not permanently gone. It remains on the physical storage medium until it is overwritten by new data. This means that even if you can’t see the files anymore, someone with the right tools can still recover them. Wiping your hard drive ensures that all data is irrecoverably erased, providing the following benefits:
- Data security: Wiping your hard drive eliminates the risk of sensitive and personal information falling into the wrong hands. This includes financial records, passwords, social security numbers, and other private data that could be exploited for malicious purposes.
- Preventing identity theft: Identity theft is a serious crime that can ruin your financial well-being and personal life. By thoroughly wiping your hard drive, you minimize the chances of someone gaining access to your personal information after disposing of your computer.
- Compliance with regulations: Certain industries, such as healthcare and finance, are subject to strict data protection regulations. Wiping your hard drive helps ensure compliance with these regulations, protecting your business and your clients from potential legal implications.
- Resale value: If you plan to sell or donate your computer, wiping the hard drive will increase its resale value. Potential buyers are more likely to trust a computer that has had its data thoroughly erased, as they know their own information will not be at risk.
- Peace of mind: Knowing that your personal data is completely erased from your computer gives you peace of mind. You can rest assured that no one will be able to access your private information, protecting your privacy and personal reputation.
Now that you understand the importance of wiping your hard drive, let’s explore the things you should consider before proceeding with the process.
Things to consider before wiping your hard drive
Before you wipe your hard drive, there are a few important factors to consider:
- Backup your data: Wiping your hard drive will delete all files and data permanently, so it is crucial to back up any important files or documents. You can choose to store them on an external hard drive, cloud storage service, or another computer. This step ensures that you won’t lose any valuable information during the process.
- Double-check your backups: Once you have backed up your data, take a moment to verify that everything has been successfully copied. This will help ensure that you have everything you need before proceeding with the wipe.
- Consider system recovery: Think about whether you might need to recover your system in the future. If you plan to reuse the computer or install a new operating system, you will need the necessary installation files or recovery media. Make sure to have these handy before wiping the hard drive.
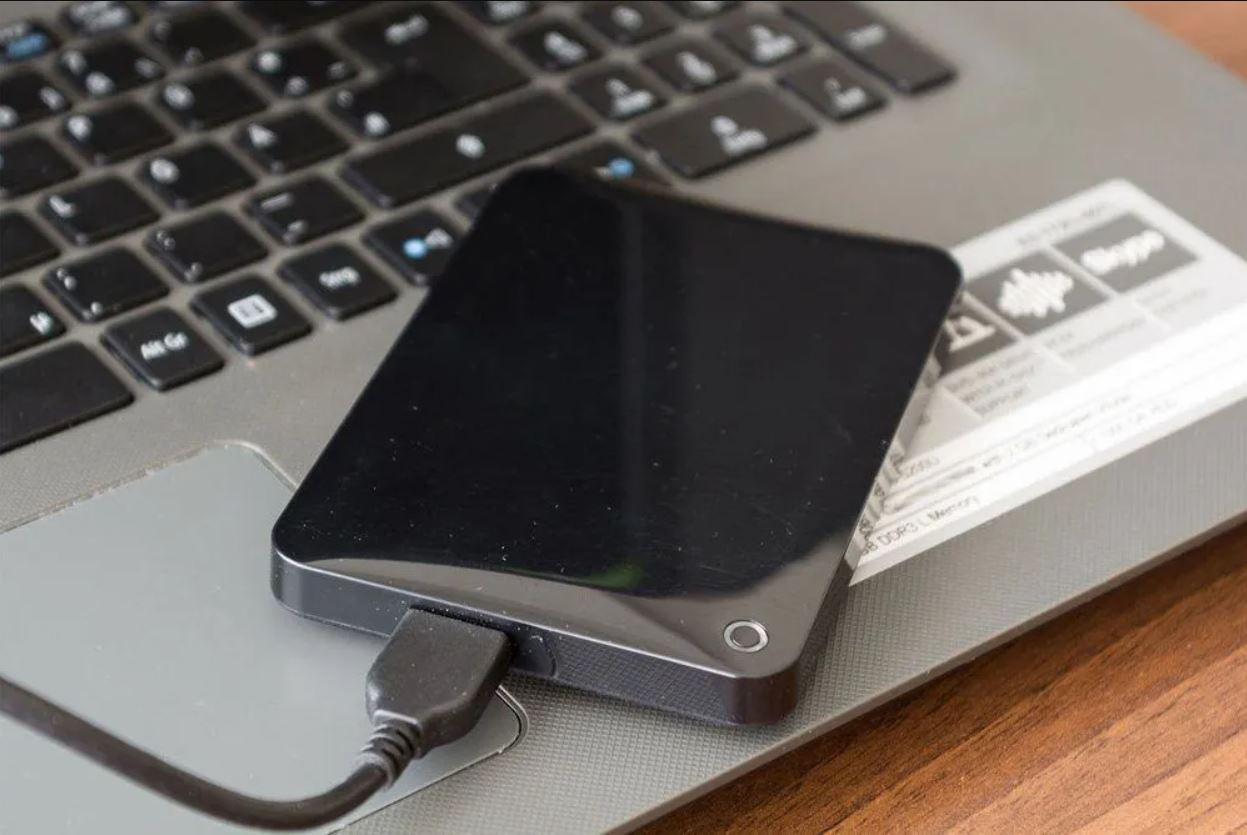
- Securely erase external storage devices: If you have connected any external storage devices to your computer, such as USB drives or external hard drives, consider securely erasing them as well. This will prevent any data from being recovered from these devices once they are disconnected from your computer.
- Keep essential drivers: If you plan to reinstall the operating system after wiping the hard drive, ensure that you have the necessary drivers available. These drivers allow your hardware to function correctly, so it’s important to have them prepared for the reinstallation process.
- Be aware of the wiping method: Different methods of wiping your hard drive provide varying levels of security. Some methods overwrite the data with random patterns multiple times, ensuring complete erasure. Others perform a single pass, which is generally sufficient for normal use. It’s important to choose a wiping method that aligns with your privacy and security needs.
By considering these factors before wiping your hard drive, you can ensure a smooth and successful process while safeguarding your valuable data.
Back up your data
Before wiping your hard drive, it is crucial to back up any important data to ensure you don’t lose any valuable information. Here’s what you need to do:
1. Identify important files: Take some time to assess which files and documents are critical and need to be backed up. This could include personal documents, photos, videos, music, and any other files that you want to preserve.
2. Choose a backup method: There are several options for backing up your data. You can use an external hard drive, cloud storage services like Google Drive or Dropbox, or even a network attached storage (NAS) device. Choose a method that suits your needs and ensure you have enough storage space.
3. Transfer files to the backup location: If you’re using an external hard drive, connect it to your computer and copy the selected files to the drive. If you’re using cloud storage, upload the files to your chosen service. Make sure to follow the proper steps to ensure a successful backup.
4. Verify the backup: Once the backup is complete, take the time to verify that the files were successfully transferred. Open a few random files from the backup location to ensure they open correctly and are intact.
5. Consider a redundant backup: To be extra safe, it’s a good idea to create a redundant backup. This means making a second copy of your important files and storing it separately from the primary backup. This ensures that even if one backup fails, you still have another copy of your valuable data.
6. Test the restore process: It’s not enough to back up your files; you need to ensure that the restore process works as intended. Pick a few files from the backup and restore them to your computer to ensure everything is in working order. This step helps you avoid any surprises when it comes time to restore your data after wiping the hard drive.
By following these steps and backing up your data properly, you can have peace of mind knowing that your important files are safely stored away before proceeding with the hard drive wipe.
Use Windows built-in tools to wipe your hard drive
Windows 10 provides built-in tools that allow you to wipe your hard drive without the need for third-party software. Here are three commonly used methods:
Option 1: Reset Windows 10
The Reset feature in Windows 10 is a convenient way to wipe your hard drive and reinstall the operating system. Here’s how to use it:
- Go to the “Settings” menu by clicking on the Start button and selecting the gear icon.
- Click on “Update & Security” and choose the “Recovery” option.
- Under the “Reset this PC” section, click the “Get started” button.
- Choose the “Remove everything” option to wipe your hard drive completely.
- Follow the on-screen instructions to complete the reset process.
Option 2: Use Disk Cleanup
Disk Cleanup is a Windows utility that allows you to free up space on your hard drive by removing unnecessary files. While it doesn’t wipe the entire hard drive, it can be useful for deleting personal files and freeing up space before performing a more thorough wipe. Here’s how to use Disk Cleanup:
- Open File Explorer and right-click on the drive you want to clean.
- Select “Properties” from the drop-down menu.
- In the General tab, click on the “Disk Cleanup” button.
- Select the file types you want to delete, such as temporary files, downloaded program files, and recycle bin items.
- Click “OK” and confirm the deletion.
Option 3: Use Diskpart utility
The Diskpart utility is a powerful command-line tool built into Windows that allows you to manage disks, partitions, and volumes, including wiping a hard drive completely. Here’s how to use Diskpart:
- Open the Command Prompt by searching for “cmd” in the Windows search bar and selecting “Command Prompt.”
- Type “diskpart” and press Enter to launch the Diskpart utility.
- Enter the command “list disk” to display a list of all available disks.
- Select the disk you want to wipe by typing “select disk X” (replace X with the disk number).
- Type “clean” and press Enter to wipe the selected disk.
These built-in tools provide convenient options to wipe your hard drive using only the resources available in Windows 10. However, if you need more advanced wiping options or prefer a graphical user interface, you can consider using third-party software, which we will explore in the next section.
Option 1: Reset Windows 10
The Reset feature in Windows 10 allows you to wipe your hard drive and reinstall the operating system, providing a clean and fresh start. This method is especially useful if you are experiencing software issues or want to prepare your computer for sale or donation. Here’s how to reset Windows 10:
- Back up your data: Before proceeding with the reset, make sure to back up any important files or documents you want to keep.
- Open the Settings menu: Click on the Start button and select the gear icon to open the “Settings” menu.
- Access the Recovery options: In the “Settings” menu, choose the “Update & Security” option, and then click on “Recovery” in the left sidebar.
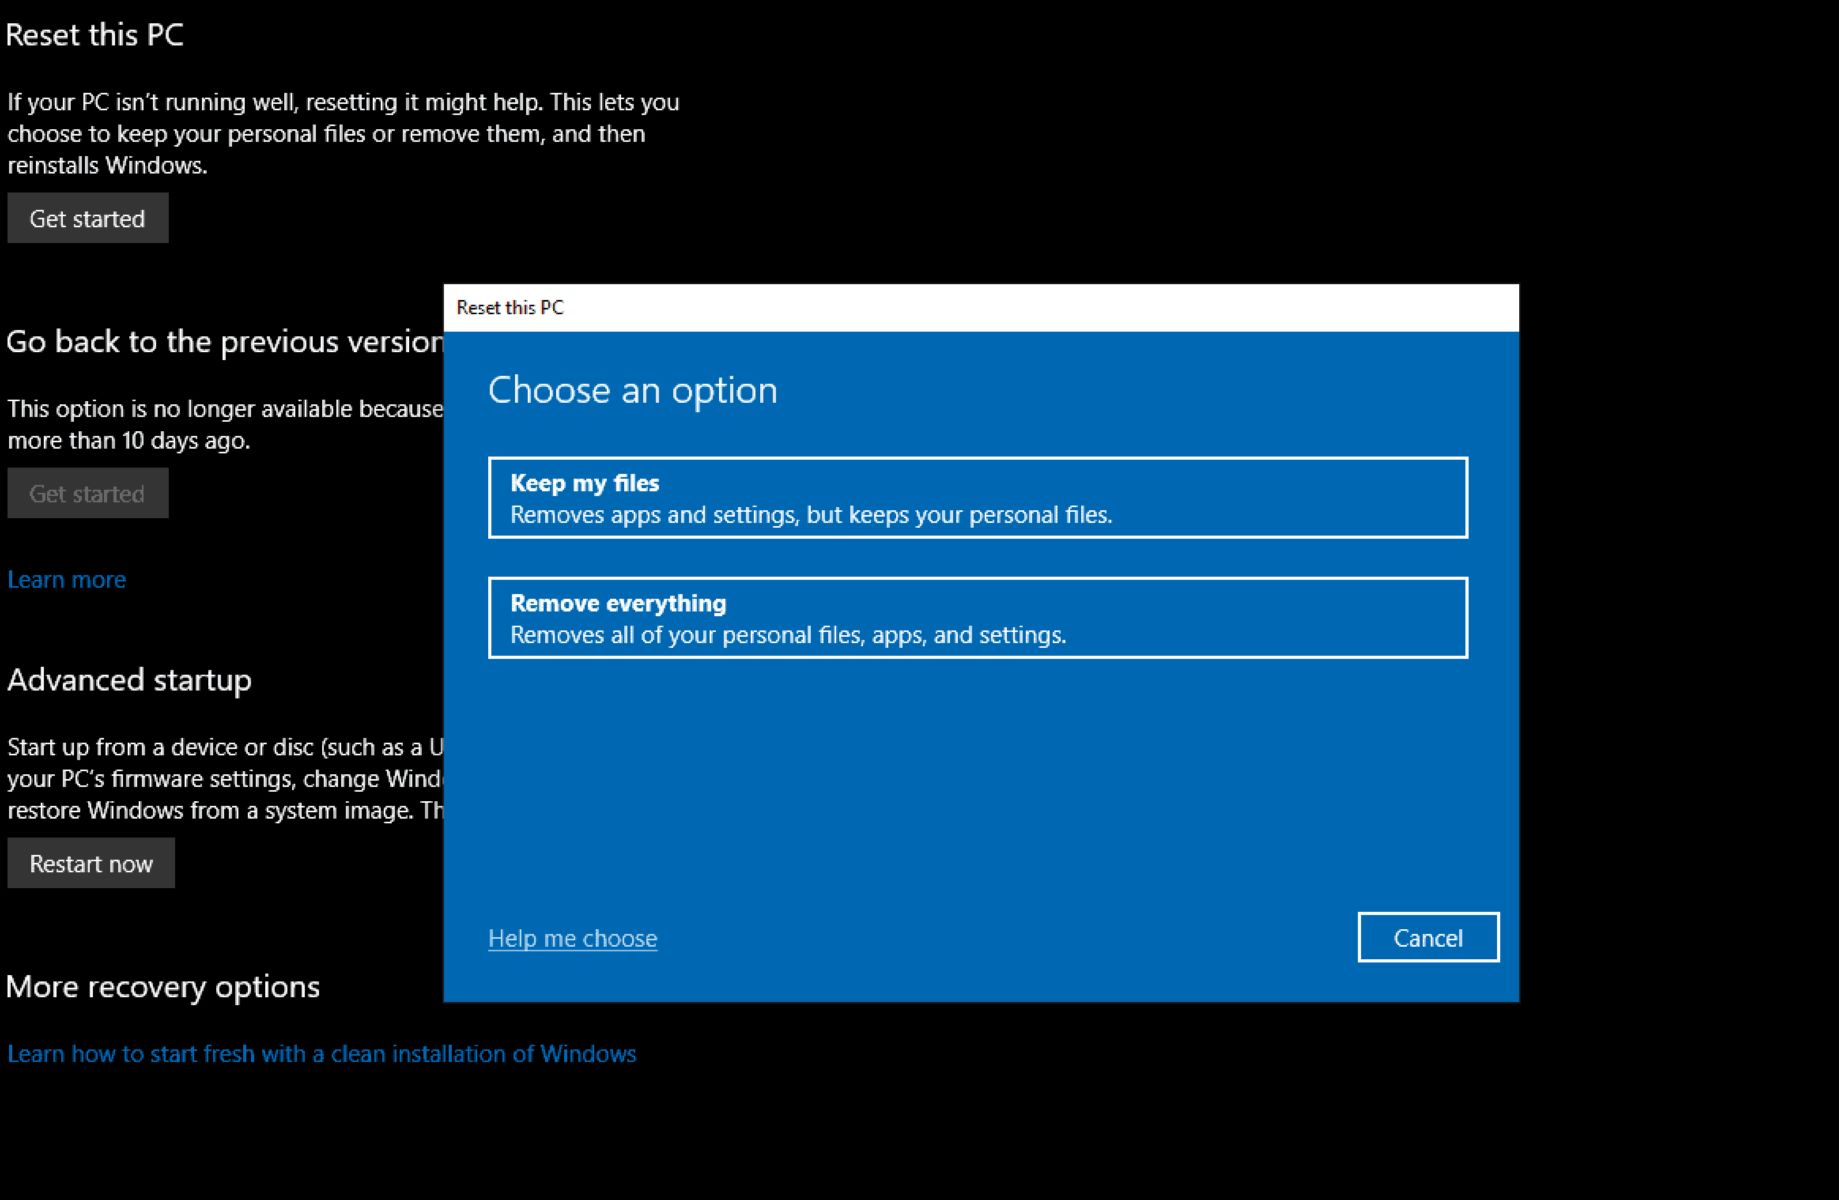
- Initiate the reset: Under the “Reset this PC” section, click the “Get started” button.
- Choose the reset option: You will be presented with two options: “Keep my files” and “Remove everything.” Selecting the latter will wipe all data on your hard drive. Choose the option that aligns with your needs.
- Confirm the reset: Before proceeding, Windows will display a summary of the changes that will be made during the reset. Carefully read through the information to ensure you understand the consequences. If you are ready to proceed, click the “Next” button.
- Complete the reset: The reset process may take some time to complete. Your computer will restart, and Windows will begin reinstalling. Follow the on-screen instructions to finish setting up Windows 10.
Note that resetting your computer using this method will remove all installed programs and personal files. Therefore, it is crucial to backup any data you want to keep. Once the reset process is complete, your computer will have a fresh installation of Windows 10, with all previous data and settings erased.
By using the “Reset this PC” feature in Windows 10, you can easily wipe your hard drive and start anew. This method is ideal for those who want a hassle-free way to restore their computer to its original state.
Option 2: Use Disk Cleanup
Disk Cleanup is a built-in utility in Windows 10 that allows you to free up space on your hard drive by removing unnecessary files. While it is not a comprehensive method to wipe your entire hard drive, it can be useful for deleting personal files and freeing up space before performing a more thorough wipe. Here’s how to use Disk Cleanup:
- Open File Explorer: Click on the Start button and select “File Explorer” from the list of available options.
- Choose the drive: Right-click on the drive you want to clean up (typically the C: drive, where the operating system is installed) and select “Properties.”
- Access Disk Cleanup: In the Properties window, click on the “Disk Cleanup” button under the General tab.
- Choose the files to delete: The Disk Cleanup utility will calculate how much space you can free up on your hard drive. In the Disk Cleanup window, select the file types you want to delete. This may include temporary files, downloaded program files, recycle bin items, and more.
- Start the cleaning process: After selecting the desired files, click on the “OK” button to start the cleanup process. You may be prompted to confirm the deletion of certain files.
Once the cleanup is complete, Disk Cleanup will remove the selected files, freeing up valuable disk space on your hard drive. While this method does not perform a full wipe of your data, it can help remove unnecessary files, including personal files, to protect your privacy.
Remember, before using Disk Cleanup, make sure to back up any important files or documents that you want to keep. Additionally, keep in mind that this method only deletes files within your user account and does not wipe system files or data from other user accounts on your computer.
While Disk Cleanup is not a comprehensive data wiping solution, it can be a useful step in preparing your hard drive before performing a more thorough wipe using other methods, such as the “Reset Windows 10” option or third-party software.
Option 3: Use Diskpart utility
The Diskpart utility is a powerful command-line tool built into Windows 10 that allows you to manage disks, partitions, and volumes. It also provides an option to wipe your hard drive completely. Here’s how to use the Diskpart utility:
- Open Command Prompt: Click on the Start button, type “Command Prompt” in the search bar, and select the “Command Prompt” app.
- Launch Diskpart: In the Command Prompt window, type “diskpart” and press Enter. This will launch the Diskpart utility.
- List available disks: Type “list disk” and press Enter. This will display a list of all available disks on your computer.
- Select the disk: Identify the disk you want to wipe and note the corresponding disk number.
- Select the disk: Type “select disk X” and press Enter (replace X with the disk number you noted in the previous step).
- Wipe the disk: Type “clean” and press Enter. This command will remove all partitions and data from the selected disk.
It’s important to exercise caution when using the Diskpart utility, as selecting the wrong disk or partition can result in data loss. Double-check the disk number and ensure you are selecting the correct disk before proceeding with the “clean” command.
After executing the “clean” command, all existing data on the selected disk will be erased. This includes all partitions and files, making it virtually impossible to recover the data. Make sure to back up any important files before using the Diskpart utility to avoid permanent data loss.
The Diskpart utility provides a powerful and efficient way to wipe your hard drive using built-in Windows 10 tools. However, it’s essential to exercise caution and have a good understanding of disk management before using this method. If you are not comfortable with the command-line interface, you may want to consider using other methods such as the “Reset Windows 10” option or third-party software.
Use third-party software to wipe your hard drive
In addition to the built-in tools provided by Windows, there are a variety of third-party software options available that offer more advanced and secure methods to wipe your hard drive. These tools often provide additional features and customization options for those who require maximum data protection. Here are three popular third-party software solutions:
Option 1: CCleaner
CCleaner is a well-known utility software that offers a comprehensive set of tools for optimizing and cleaning your computer. It includes a feature called “Drive Wiper,” which allows you to securely erase data from your hard drive. CCleaner offers different wiping methods, such as a single pass, multiple passes with random data, and Department of Defense (DoD) level methods. It also supports wiping specific partitions or entire hard drives.
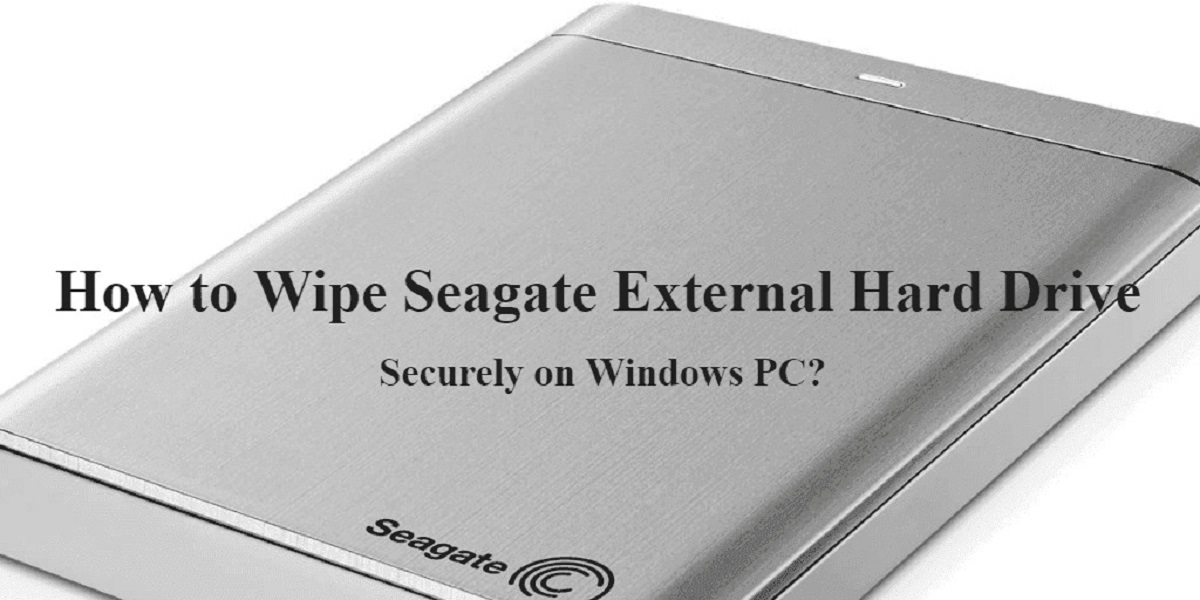
Option 2: DBAN (Darik’s Boot and Nuke)
DBAN, also known as Darik’s Boot and Nuke, is a standalone software designed specifically for secure hard drive erasure. It operates by booting from a CD or USB drive and completely wipes all partitions and data on the selected hard drive. DBAN uses different secure wiping algorithms, such as DoD 5220.22-M, to ensure data is irrecoverable. It is a popular choice for those who require a thorough and reliable method to wipe their hard drive.
Option 3: Parted Magic
Parted Magic is a Linux-based Live CD that provides a range of disk management tools, including a secure erase utility. It supports different wiping methods, such as Secure Erase, which utilizes the built-in Secure Erase command present in some hard drive firmware. Parted Magic also includes other disk partitioning and cloning tools, making it a versatile option for managing and securely erasing your hard drive.
When using third-party software, always ensure that you download it from a reputable source and follow the instructions provided by the software developer. Additionally, keep in mind that some third-party software options may require technical knowledge and expertise. It is essential to familiarize yourself with the software and understand the wiping methods and their implications before proceeding.
These third-party software solutions offer more advanced and customizable options for wiping your hard drive. They can be particularly beneficial for users who require a higher level of data security or need to comply with specific regulatory requirements.
Option 1: CCleaner
CCleaner is a popular utility software that offers a range of tools for optimizing and cleaning your computer. Among its features is a powerful “Drive Wiper” tool that allows you to securely erase data from your hard drive. Here’s how to use CCleaner to wipe your hard drive:
- Download and install CCleaner: Visit the official CCleaner website and download the latest version of the software. Follow the on-screen instructions to install it on your computer.
- Launch CCleaner: Once installed, open CCleaner and navigate to the “Tools” section.
- Select “Drive Wiper”: In the “Tools” section, click on “Drive Wiper” to access the wiping options.
- Choose the drive to wipe: From the drop-down menu, select the specific drive you want to wipe. CCleaner allows you to choose individual partitions or entire hard drives.
- Choose the wiping method: CCleaner offers different wiping methods to suit your needs. You can choose from one pass, three passes, seven passes, or the Gutmann method, which makes 35 passes overwriting the data. The Gutmann method provides a higher level of security, but it is time-consuming.
- Start the wiping process: Once you have selected the drive and wiping method, click on the “Wipe” button to begin the process. CCleaner will prompt you to confirm your choice before proceeding.
CCleaner will then start securely overwriting the data on the selected drive using the chosen wiping method. This process ensures that the data cannot be recovered by any means, providing you with peace of mind and protecting your sensitive information.
Before using CCleaner or any third-party software to wipe your hard drive, ensure that you back up any important data and carefully review the options and settings to avoid any unintended data loss. CCleaner offers a user-friendly interface and has been trusted by millions of users worldwide for its comprehensive cleaning and wiping capabilities.
Remember to download CCleaner or any software from reputable sources and keep it updated to ensure you are using the latest version with the most up-to-date security features. By utilizing CCleaner’s Drive Wiper tool, you can securely and reliably wipe your hard drive, maintaining your privacy and data security.
Option 2: DBAN (Darik’s Boot and Nuke)
DBAN, short for Darik’s Boot and Nuke, is a standalone software specifically designed for secure hard drive erasure. It provides a powerful and reliable method to completely wipe your hard drive, making data recovery virtually impossible. Here’s how to use DBAN to wipe your hard drive:
- Create a bootable DBAN disk: Download the DBAN ISO file from the official website. Burn the ISO file to a blank CD or create a bootable USB drive using software like Rufus.
- Boot from the DBAN disk: Insert the DBAN disk into your computer’s CD/DVD drive or connect the bootable USB drive. Restart your computer and access the BIOS settings. Set the DBAN disk as the first boot device.
- Select the wiping method: Once DBAN boots up, it will present you with a menu of wiping methods. DBAN offers different algorithms, including DoD 5220.22-M, Gutmann, and PRNG Stream. Select the desired method using the keyboard arrow keys.
- Choose the drives to wipe: DBAN will scan and detect the available drives on your computer. Select the drives you want to wipe by highlighting them using the arrow keys.
- Start the wiping process: After selecting the wiping method and drives, press the F10 key to begin the wiping process. DBAN will overwrite the selected drives with random data multiple times, ensuring the complete eradication of all data.
It’s crucial to note that once you start the wiping process with DBAN, there is no turning back. It irreversibly erases all data on the selected drives. Therefore, ensure that you have backed up any essential data before proceeding.
DBAN’s thorough and secure wiping methods make it a reliable choice for those who require complete data destruction. It is commonly used by individuals and organizations when disposing of or repurposing sensitive hardware.
After the wiping process is complete, you may need to reinstall an operating system on the wiped hard drive if you plan to continue using it. DBAN provides a clean slate, ensuring that no previous data remains on the drive.
By utilizing DBAN’s powerful wiping capabilities, you can confidently wipe your hard drive and protect your sensitive data from unauthorized access or recovery.
Option 3: Parted Magic
Parted Magic is a Linux-based Live CD that provides a comprehensive suite of tools for disk partitioning, cloning, and management. It also features a secure erase utility, making it an excellent option for wiping your hard drive. Here’s how to use Parted Magic:
- Create a bootable Parted Magic disk: Download the Parted Magic ISO file from the official website. Burn the ISO file to a blank CD or create a bootable USB drive using software like Rufus.
- Boot from the Parted Magic disk: Insert the Parted Magic disk into your computer’s CD/DVD drive or connect the bootable USB drive. Restart your computer and configure the BIOS settings to boot from the Parted Magic disk.
- Launch Parted Magic: Once Parted Magic boots up, select the default option from the initial menu to launch the graphical interface.
- Access the secure erase utility: In the Parted Magic desktop environment, locate and open the “Erase Disk” or “Secure Erase” utility. The utility may be located in different places depending on the version of Parted Magic you are using.
- Select the drive to wipe: Choose the specific hard drive you want to wipe from the list of available drives displayed in the secure erase utility. Exercise caution to ensure you select the correct drive.
- Choose the wiping method: Parted Magic offers multiple wiping methods, including Secure Erase, Enhanced Secure Erase, and others. Select the desired wiping method based on your security requirements.
- Start the wiping process: After selecting the wiping method and drive, initiate the wiping process. Parted Magic will overwrite the selected drive with random data, effectively erasing all previous data.
Parted Magic provides a powerful and user-friendly interface for securely erasing your hard drive. It supports various wiping methods, including the Secure Erase command built into some drive firmware, ensuring reliable data destruction.
After the wiping process is complete, you can reuse the wiped hard drive by partitioning it or installing a new operating system. Parted Magic also offers additional tools for disk management and recovery, making it a versatile solution for your hard drive needs.
Ensure that you have backed up any important data before using Parted Magic or any other disk-wiping software. Wiping a hard drive irreversibly erases all data, so it’s essential to take necessary precautions to prevent data loss or loss of valuable files.
By utilizing Parted Magic’s secure erase utility, you can confidently wipe your hard drive and protect your sensitive data from unauthorized access or recovery.
Conclusion
Wiping your hard drive is a crucial step to protect your privacy, prevent data breaches, and ensure the security of your personal information. Whether you’re selling, recycling, or disposing of your computer, it’s essential to erase all data from the hard drive to prevent it from falling into the wrong hands.
In this guide, we explored various methods to wipe your hard drive in Windows 10. We started by discussing the importance of wiping and the benefits it provides in terms of data security, identity theft prevention, compliance with regulations, resale value, and peace of mind.
We then looked at the built-in tools provided by Windows, including options to reset Windows 10, use Disk Cleanup, and utilize the Diskpart utility. These tools offer convenient and accessible ways to wipe your hard drive without the need for third-party software.
Furthermore, we discussed the option of using third-party software, such as CCleaner, DBAN, and Parted Magic, which provide more advanced features and additional customization options for those who require maximum data protection.
Remember, before wiping your hard drive, it’s crucial to back up any essential data and consider the specific requirements and implications of each method. Carefully follow the instructions provided by the software or tools you choose to ensure a successful and secure wipe.
By wiping your hard drive, you can have peace of mind knowing that your personal and sensitive information is permanently erased, reducing the risk of identity theft and ensuring the privacy and security of your data.
Now that you have a comprehensive understanding of the methods available to wipe your hard drive in Windows 10, you can confidently proceed with the necessary steps to protect your data and ensure the proper disposal or reuse of your computer.