Introduction
Welcome to the world of solid-state drives (SSDs)! These innovative storage devices have revolutionized the way we store and access data. Unlike traditional hard drives, SSDs use flash memory to enhance performance and reliability. However, there may come a time when you need to wipe an SSD from the BIOS.
But wait, what exactly is an SSD? In simple terms, an SSD is a storage device that stores data using flash memory. It has no moving parts, which makes it faster, quieter, and more durable than traditional hard drives. SSDs have become increasingly popular in recent years due to their faster read and write speeds, making them ideal for use in laptops, desktops, and even servers.
Now, you might be wondering why anyone would want to wipe an SSD from the BIOS. Well, there are a few reasons. One common reason is when you’ve decided to sell or donate your SSD and want to ensure that your personal data is completely removed. Another reason is when you are experiencing performance issues and want to start fresh by wiping the drive and reinstalling the operating system.
In this guide, we’ll walk you through the steps to wipe an SSD from the BIOS. But before we dive into the process, it’s important to note that this action will permanently remove all data on the SSD. Therefore, it’s crucial to backup any important files or documents before proceeding.
What is an SSD?
A solid-state drive (SSD) is a type of storage device that uses flash memory to store and retrieve data. Unlike traditional hard disk drives (HDDs), which rely on spinning disks and magnetic platters, SSDs have no moving parts. This means that they are faster, more reliable, and consume less power.
SSDs consist of memory chips arranged on a circuit board. These chips are made up of cells that hold bits of data. Each cell can be in one of two states, representing a binary value of 0 or 1. By manipulating the electrical charge within these cells, data can be written, read, and erased.
One of the major advantages of SSDs over HDDs is their superior speed. Because there are no mechanical parts involved in the data retrieval process, SSDs can access data almost instantaneously, resulting in significantly faster read and write speeds. This translates to quicker boot times, faster application launches, and improved overall system responsiveness.
In addition to speed, SSDs also offer improved durability and reliability. Since they don’t have any moving parts, SSDs are not susceptible to mechanical failures caused by shock or vibration. This makes them an ideal choice for portable devices like laptops and external storage drives. Furthermore, SSDs are less prone to data corruption and are better equipped to withstand power outages or sudden system shutdowns.
SSDs also help to extend the battery life of laptops and increase energy efficiency overall. Since they don’t have to spin up disks or move read/write heads, SSDs consume significantly less power than HDDs. This is especially beneficial for users who rely on their laptops for extended periods or need to maximize battery life for on-the-go productivity.
Thanks to their numerous advantages, SSDs have become the storage medium of choice for many users. They are commonly used in laptops, desktops, gaming consoles, and even data centers. The increasing affordability of SSDs has made them more accessible to a wider range of users, and the technology continues to evolve rapidly, with larger capacities and even faster speeds becoming available.
Why would you want to wipe an SSD from the BIOS?
There are several reasons why you might want to wipe an SSD from the BIOS. Let’s explore some of the common scenarios where this action becomes necessary.
1. Selling or donating your SSD: If you’re planning to sell or donate your SSD, it’s crucial to securely wipe all the data on it. This ensures that your personal information, such as passwords, documents, or financial details, cannot be accessed by someone else. By wiping the SSD from the BIOS, you can ensure that the data is permanently erased, providing peace of mind and protecting your privacy.
2. Starting fresh: Over time, an SSD can accumulate unnecessary files, temporary data, and fragmented files, which can impact its performance. If you’re experiencing sluggishness, frequent freezes, or other performance issues, wiping the SSD from the BIOS and performing a clean installation of the operating system can help resolve these problems. It provides a fresh start, eliminating any potential software conflicts or issues that may have developed over time.
3. Switching operating systems: If you’re planning to switch from one operating system to another, wiping the SSD can ensure a smooth transition. Different operating systems have different file systems and structures, and remnants of the previous installation may cause compatibility issues. A clean wipe from the BIOS allows you to start with a blank slate, avoiding any potential complications and ensuring optimal performance.
4. Resolving malware or security issues: If your SSD has been infected with malware or has security vulnerabilities, wiping it from the BIOS can help remove these threats. Malware can hide in various system files and folders, and a simple deletion may not completely eliminate the risks. By wiping the entire SSD from the BIOS, you can ensure that all traces of malware or security vulnerabilities are eradicated, safeguarding your system and data.
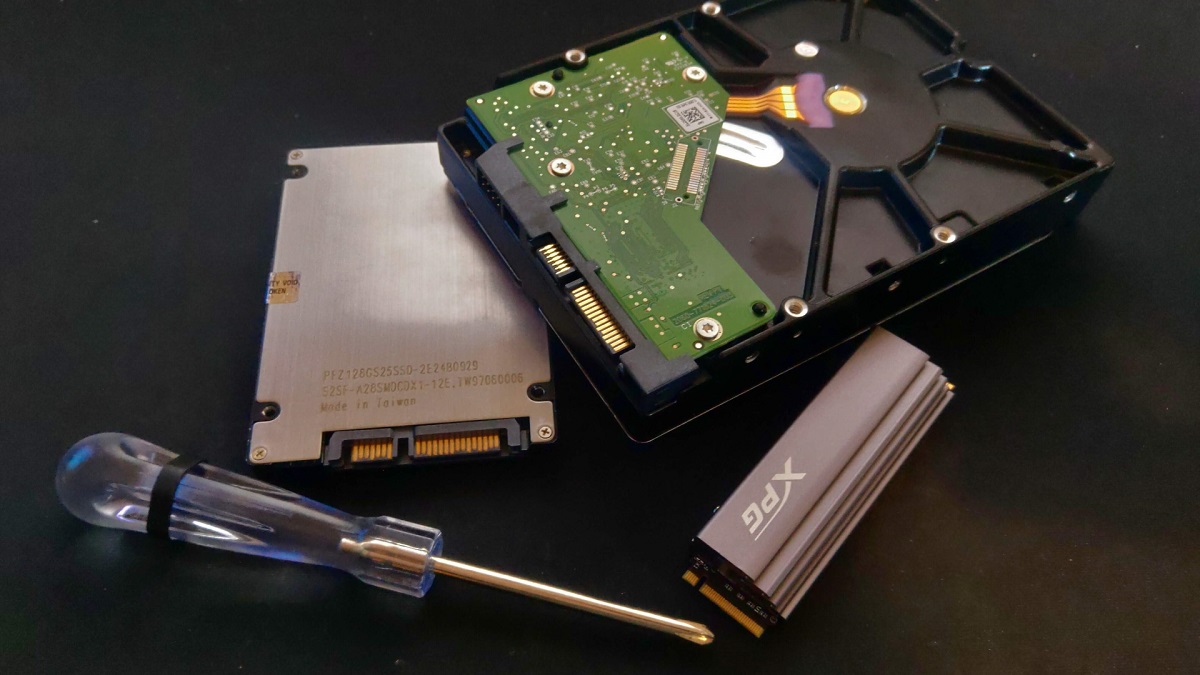
5. Upgrading or repurposing the SSD: If you’re planning to upgrade to a larger SSD or repurpose the existing one in a different system, wiping it from the BIOS is essential. This ensures that any existing data or configurations specific to your previous system are removed, allowing for a seamless transition or repurposing without any conflicts or compatibility issues.
Remember, when wiping an SSD from the BIOS, it’s crucial to back up any important files or data before proceeding. Once the wipe is complete, the data cannot be recovered. Therefore, it’s essential to weigh the benefits and risks before initiating the process.
Steps to wipe an SSD from the BIOS
Wiping an SSD from the BIOS involves a series of steps to ensure that all data on the drive is permanently erased. Follow these steps to effectively wipe your SSD:
1. Back up your data: Before proceeding with any action that involves wiping your SSD, it’s crucial to back up any important files or data. This ensures that you have a copy of your important documents, photos, videos, or any other files you may need in the future.
2. Restart your computer and enter the BIOS setup: Restart your computer and access the BIOS setup. The specific method to enter the BIOS varies depending on the manufacturer, but commonly used keys are F2, F10, or Delete. Check your computer’s documentation or the manufacturer’s website for the exact key to access the BIOS setup.
3. Identify the SSD you want to wipe: Once in the BIOS setup, navigate to the storage or drive configuration section. Here, you will see a list of drives connected to your computer, including your SSD. Take note of the model or the name of the SSD you want to wipe to avoid any accidental deletions.
4. Securely erase the SSD: Look for an option in the BIOS setup that allows you to securely erase the SSD. The location and name of this option may vary depending on your computer’s BIOS version. It may appear as “Secure Erase,” “Drive Sanitize,” or something similar. Enable this option and confirm that you want to proceed with the secure erase process. Keep in mind that this process may take some time to complete.
5. Exit the BIOS setup and restart your computer: Once the secure erase process is complete, exit the BIOS setup and restart your computer. The SSD has now been wiped and is ready for a fresh installation of the operating system or for any other purpose you have in mind.
It’s important to note that the steps mentioned above are generalized, and the exact process may vary depending on your computer’s BIOS version and manufacturer. It’s always recommended to refer to the documentation provided by your computer’s manufacturer or consult their support resources for specific instructions on securely wiping your SSD from the BIOS.
Make sure you have a backup
Before proceeding with any action that involves wiping an SSD from the BIOS, it’s crucial to prioritize the safety of your data by creating a backup of important files and documents. While the purpose of wiping the SSD is to permanently erase all data, having a backup ensures that you won’t lose any important information.
Creating a backup is a simple yet essential step to protect yourself from any potential data loss. Here’s why having a backup is important:
1. Preserving important files: A backup ensures that you can restore any essential files, documents, photos, or videos that you might need in the future. It’s easy to overlook certain files or folders that hold sentimental or practical value, and a backup provides reassurance that you won’t lose any crucial data during the wiping process.
2. Recovering from unforeseen events: Data loss can occur due to a variety of reasons, including hardware malfunctions, system crashes, human errors, or even malware attacks. Having a recent backup allows you to recover your data in cases of unexpected events that may occur during or after the SSD wiping process.
3. Peace of mind: Creating a backup provides peace of mind, knowing that your important files and documents are stored in a safe location. It eliminates the fear of losing valuable or irreplaceable data during the SSD wiping process. Whether it’s personal photos, work-related documents, or sentimental files, having a backup ensures that you have a copy of everything that matters.
There are several methods to create a backup of your data, depending on your preference and available resources:
– External storage devices: Use external hard drives, USB flash drives, or network-attached storage (NAS) devices to copy your files onto a separate physical drive. This offers a convenient and portable solution for storing your backup.
– Cloud storage services: Utilize cloud storage services such as Google Drive, Dropbox, or Microsoft OneDrive to securely store your backup. These services often provide a certain amount of free storage and offer the advantage of accessibility from multiple devices.
– Disk imaging software: Use disk imaging software to create a complete image of your SSD, including the operating system and all files. This method offers a comprehensive backup solution and simplifies the restoration process.
Remember to verify that your backup is complete and accessible before proceeding with the SSD wiping process. Once you have confirmed the integrity of your backup, you can proceed with confidence, knowing that your important data is protected.
Restart your computer and enter the BIOS setup
When performing a BIOS-level operation such as wiping an SSD, it is necessary to restart your computer and access the BIOS setup. The BIOS (Basic Input/Output System) is a firmware that initializes hardware components and provides the interface for configuring system settings. Here’s how you can enter the BIOS setup:
1. Save your work and close all applications: Before restarting your computer, make sure to save any open documents or projects and close all running applications. This ensures that you won’t lose any unsaved data due to the restart.
2. Initiate a system restart: Click on the “Start” menu on your Windows computer and select the “Restart” option. Alternatively, you can press the “Power” button on your computer and select the restart option from the menu. On Mac computers, click on the Apple menu and select “Restart.”
3. Enter the BIOS setup: As the computer restarts, you need to enter the BIOS setup before the Operating System loads. The steps may vary slightly depending on the manufacturer and BIOS version, but here are some common methods:
- Watch for a prompt during startup: Some computers display a message during startup indicating which key to press to enter the BIOS setup. Common keys are F2, F10, Delete, or Esc. Look for the message and press the designated key before the Operating System starts to load. If you miss the prompt, restart the computer and try again.
- Consult your computer’s manual: Refer to the documentation that came with your computer or the motherboard manual to identify the exact key or key combination required to enter the BIOS setup. The manual should provide detailed instructions tailored to your specific system.
- Try common keys: If you’re unsure of the specific key, try pressing F2, F10, Delete, or Esc repeatedly as the computer restarts. One of these keys is likely to be the correct one to access the BIOS setup.
Once you have successfully entered the BIOS setup, you’ll see a graphical or text-based interface that allows you to configure various system settings. It’s important to note that the BIOS setup may look different depending on the manufacturer and model of your computer.
Entering the BIOS setup allows you to access various options related to your computer’s hardware, including storage devices, boot order, and security settings. These options are essential for successfully wiping an SSD from the BIOS and performing other system-related tasks.
It’s crucial to be cautious when making any changes in the BIOS setup, as improper settings can lead to system instability or boot issues. If you’re unsure about any specific options or configurations, refer to your computer’s manual or consult with the manufacturer’s support resources for guidance.
Once you’ve entered the BIOS setup, you’re ready to proceed with identifying the SSD you want to wipe and securely erasing it.
Identify the SSD you want to wipe
After entering the BIOS setup, the next step in the process of wiping an SSD is to identify the specific SSD you want to wipe. This step ensures that you select the correct drive and avoid accidentally wiping any other storage devices connected to your computer. Here’s how you can identify the SSD you want to wipe:
1. Navigate to the storage or drive configuration section: In the BIOS setup, look for a section related to storage, drives, or SATA configurations. The location and naming may vary depending on your computer’s manufacturer and BIOS version.
2. View the list of connected storage devices: Within the storage or drive configuration section, you will find a list of storage devices connected to your computer. This list may include your SSD, hard drives, external drives, and possibly optical drives.
3. Identify the SSD based on its model or name: Look for the model or name of your SSD in the list of storage devices. If you’re unsure which device is the SSD, you can check the capacity or size mentioned next to each drive. The SSD is likely to have a different capacity than traditional hard drives.
4. Take note of the SSD’s identifier: It’s essential to make a note of the specific identifier or name of the SSD you want to wipe. This will help you later in the process when selecting the drive for secure erasure or any other operations.
Keep in mind that the BIOS setup interface may vary depending on your computer’s manufacturer and model. The options and terminology may be slightly different; however, the general concept of selecting the correct drive remains the same.
It’s crucial to exercise caution when selecting the drive to wipe. Double-check to ensure that you have identified the correct SSD, as wiping the wrong drive can result in the loss of important data stored on that drive.
If you have trouble identifying the SSD or are unsure about any specific options in the BIOS setup, refer to your computer’s documentation or consult the manufacturer’s support resources for assistance. They can provide specific guidance tailored to your computer and its BIOS version.
Once you have identified the SSD you want to wipe, you can proceed with the next step of securely erasing the drive and ensuring the permanent removal of all data stored on it.
Securely erase the SSD
Once you have identified the SSD you want to wipe, the next step is to securely erase the drive. Securely erasing the SSD ensures that all data on the drive is permanently and irreversibly removed, minimizing the risk of any residual data being recovered. Here’s how you can securely erase your SSD:
1. Locate the secure erase option: In the BIOS setup, navigate to the section that contains options related to drive operations or advanced settings. Look for an option labeled “Secure Erase,” “Drive Sanitize,” or something similar. The exact location and naming may vary depending on your computer’s manufacturer and BIOS version.
2. Enable the secure erase option: Once you’ve found the secure erase option, enable it. This may involve changing a setting from “Disabled” to “Enabled,” selecting the option from a dropdown menu, or pressing a specific key combination.
3. Confirm the secure erase process: After enabling the secure erase option, you’ll typically be prompted to confirm the action. This confirmation is important, as the secure erase process erases all data on the selected SSD permanently. Confirm that you want to proceed with the secure erase process.
4. Wait for the secure erase to complete: Once you’ve confirmed, the secure erase process will begin. The duration of the process can vary depending on various factors such as the size of the SSD and the specific secure erase method implemented by the BIOS. It may take several minutes or even longer.
5. Monitor the progress: During the secure erase process, you may see a progress indicator or a message indicating the status of the process. It’s important to refrain from interrupting or turning off the computer while the secure erase is in progress to avoid any potential issues.
6. Verify completion: After the secure erase process is complete, you’ll typically receive a confirmation message. Take note of the completion message, as it indicates that all data on the SSD has been securely erased and is no longer recoverable.
It’s important to note that the specific steps and options in the BIOS setup may vary depending on your computer’s manufacturer and BIOS version. The instructions provided here are general and may require slight adjustments based on your specific system.
If you’re unsure about any steps or settings in the BIOS setup, consult your computer’s documentation or contact the manufacturer’s support resources for guidance. They can provide specific instructions and advice based on your computer’s BIOS implementation.
Once the secure erase process is complete, you can proceed with exiting the BIOS setup and restarting your computer, knowing that your SSD has been securely wiped and all data on it has been permanently removed.
Exit the BIOS setup and restart your computer
After securely erasing the SSD from the BIOS, the next step is to exit the BIOS setup and restart your computer. Exiting the BIOS setup properly ensures that any changes made are saved, and the computer can boot back into the operating system with the wiped SSD. Here’s how you can exit the BIOS setup and restart your computer:
1. Save any changes: Before exiting the BIOS setup, check if you have made any changes or configurations that need to be saved. If you have modified any settings or enabled any options, make sure to save the changes. Look for an option in the BIOS setup that allows you to save the changes. This option may be labeled as “Save and Exit,” “Exit and Save Changes,” or similar phrasing.
2. Exit the BIOS setup: Once you have saved any changes, navigate to the exit section of the BIOS setup. Look for an option that allows you to exit the BIOS setup. This can be labeled as “Exit,” “Exit Setup,” or something similar. When selecting this option, you may be prompted to confirm the exit.
3. Select the boot device: After exiting the BIOS setup, your computer will restart. During the restart process, a screen may appear that prompts you to select the boot device. If this screen appears, select the appropriate boot device for your operating system. The SSD should be among the options listed.
4. Let the operating system load: Once you have selected the boot device, the computer will continue to boot into the operating system. Allow the operating system to load as usual. This process may take a few moments.
5. Verify the wiped SSD: Once the operating system has fully loaded, you can confirm that the SSD has been successfully wiped. You can check in the file explorer or disk management utility to verify that all data has been removed from the SSD. Note that the SSD should appear as a blank, unallocated drive.
It’s important to remember that the steps to exit the BIOS setup and restart your computer may vary slightly depending on your computer’s manufacturer and BIOS version. The instructions provided here are general guidelines, and the specific options and wording may differ based on your system.
If you encounter any issues or difficulties during the process, refer to your computer’s documentation or contact the manufacturer’s support resources for assistance. They can provide specific guidance and troubleshooting steps based on your computer’s BIOS version and configuration.
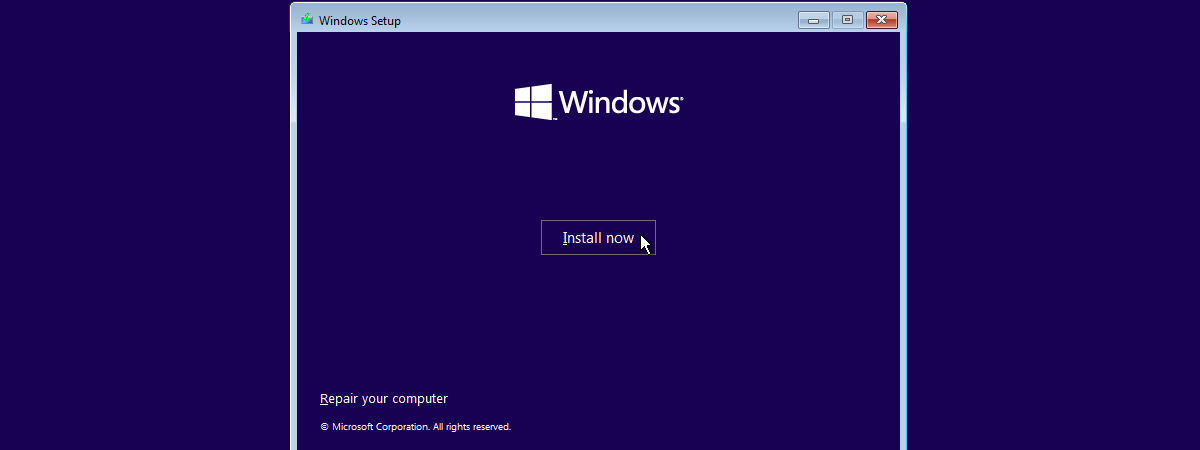
With the SSD wiped and your computer restarted, you can now proceed with a fresh installation of the operating system or any other desired actions, knowing that your data has been permanently removed from the SSD.
Conclusion
Wiping an SSD from the BIOS is an important process that ensures the secure and permanent removal of data from the drive. Whether you’re selling or donating your SSD, experiencing performance issues, or transitioning to a new operating system, securely erasing the SSD from the BIOS is a crucial step.
Throughout this guide, we have explored the steps to wipe an SSD from the BIOS, emphasizing the importance of creating a backup of your data before proceeding. We have also discussed the significance of restarting your computer and entering the BIOS setup to identify and securely erase the specific SSD you want to wipe.
By following the steps outlined in this guide, you can confidently wipe your SSD, knowing that your data has been permanently removed. Remember to exercise caution during the process, double-checking the identified SSD and ensuring that you have made a backup of any important files.
If you encounter any difficulties or uncertainties during the process, consult your computer’s documentation or reach out to the manufacturer’s support resources for further guidance and assistance. They can provide specific instructions tailored to your computer’s BIOS version and configuration.
Wiping an SSD from the BIOS allows you to start fresh with a blank drive, ensuring optimal performance and protecting your data from being accessed by unauthorized individuals. By securely erasing your SSD, you can confidently repurpose or dispose of the drive, knowing that your personal information remains confidential.
As technology continues to evolve, SSDs play an increasingly vital role in our storage needs. Understanding how to wipe an SSD from the BIOS empowers you to take control of your drives, allowing you to make the most of these advanced storage devices.
So, whether you’re upgrading to a larger SSD, repurposing your drive, or simply safeguarding your data, you now have the knowledge and tools to wipe an SSD from the BIOS effectively.