Introduction
Welcome to this guide on how to clean out your SSD. Solid-state drives (SSDs) have become increasingly popular due to their fast performance and reliability. However, just like any other storage devices, SSDs can become cluttered with unnecessary files and data over time, which can impact their performance. That’s why it’s important to regularly clean out your SSD to keep it running smoothly and optimize its longevity.
SSD maintenance involves several steps, including backing up your data, securely erasing the SSD, reformatting it, updating the firmware, enabling TRIM (if necessary), reinstalling the operating system and applications, and restoring your data. While the process may seem daunting, this guide will walk you through each step in detail, ensuring a hassle-free experience.
Cleaning out your SSD offers various benefits. Firstly, it frees up valuable storage space, allowing you to utilize the full capacity of your drive for important files and applications. Secondly, removing unnecessary data and files can significantly improve the performance of your SSD, resulting in faster boot times, application launches, and file transfers. Lastly, maintenance tasks such as updating the firmware and enabling TRIM can enhance the overall reliability and lifespan of your SSD.
To successfully clean out your SSD, you will need a few essential tools. Firstly, you will need an external storage device or cloud storage service to back up your data. This ensures that no valuable information is lost during the cleaning process. Additionally, you will require a secure erasure tool to completely wipe your SSD, as well as your operating system installation media and necessary product keys. Finally, ensure that you have an internet connection to download the latest firmware updates for your SSD.
Now that you understand the importance of cleaning out your SSD and have gathered the necessary tools, let’s proceed to the next section to learn how to back up your data before starting the maintenance process.
Why Clean Out Your SSD?
Regularly cleaning out your SSD is essential for maintaining its performance and longevity. Here are several reasons why you should make this a routine maintenance task:
- Improved Performance: When an SSD becomes cluttered with unnecessary files and data, it can slow down the overall performance of your system. By cleaning out your SSD, you can free up space and optimize its performance, resulting in faster boot times, application launches, and file transfers.
- Maximize Storage Space: Over time, an SSD can become filled with large, unused files, duplicate files, and temporary files. These files take up valuable storage space that could be better utilized for important documents, media files, and applications. Cleaning out your SSD allows you to reclaim this space and maximize your available storage capacity.
- Enhanced Reliability: Cleaning out your SSD involves updating the firmware and enabling TRIM. Firmware updates often contain bug fixes and performance improvements, which can enhance the overall reliability and stability of your SSD. Enabling TRIM ensures that your SSD can efficiently manage the storage blocks and maintain performance over time.
- Longer Lifespan: By performing regular maintenance on your SSD, you can optimize its lifespan. Removing unnecessary files and ensuring that the drive is running at its best can prevent premature wear and extend the longevity of the SSD. This can save you the cost of frequent replacements and ensure that your data remains secure and accessible.
Cleaning out your SSD may seem like a time-consuming task, but the benefits far outweigh the effort involved. Not only will you experience improved performance and increased storage space, but you will also have a more reliable and durable storage solution. By maintaining your SSD, you can ensure that it continues to serve you well for years to come.
Next, we will discuss the essential tools you’ll need before beginning the cleaning process. So, let’s move on to the next section to learn about backing up your data.
What You Will Need
Before you start cleaning out your SSD, it’s essential to gather the necessary tools and resources to ensure a smooth and successful process. Here’s a list of what you’ll need:
- External Storage Device or Cloud Storage Service: To safely and securely back up your data before cleaning out your SSD, you’ll need an external storage device such as an external hard drive or USB flash drive. Alternatively, you can opt for a cloud storage service like Google Drive, Dropbox, or OneDrive to store your important files and documents. Make sure the storage device or service has enough capacity to accommodate your data.
- Secure Erasure Tool: To completely wipe your SSD and remove all data from it, you’ll need a reliable and secure erasure tool. This tool ensures that no traces of your personal or sensitive information are left behind on the drive. There are several reputable SSD erasure tools available, such as DBAN (Darik’s Boot and Nuke) or Parted Magic.
- Operating System Installation Media: In the process of cleaning out your SSD, you may need to reinstall your operating system. Make sure you have the installation media for the operating system you’re using and the necessary product keys or licenses. This will allow you to reinstall the OS smoothly and activate it without any issues.
- Internet Connection: An internet connection is crucial during the cleaning process. You’ll need it to download the latest firmware updates for your SSD. Firmware updates often include bug fixes, performance optimizations, and compatibility improvements, so it’s essential to ensure that your SSD is running on the latest firmware version.
By having these tools prepared, you’ll be well-equipped to clean out your SSD effectively and efficiently. It’s important to note that following proper backup procedures and using reliable tools will help protect your data and ensure a smooth transition throughout the cleaning process.
Now that you have everything you need, let’s proceed to the next section, where we’ll discuss the importance of backing up your data before cleaning out your SSD.
Step 1: Back Up Your Data
Before proceeding with any maintenance tasks on your SSD, it’s crucial to create a backup of your data. This ensures that you don’t lose any important files or documents during the cleaning process. Here’s how you can back up your data:
- Select a Method: Determine the method you’ll use to back up your data. You can choose between using an external storage device, such as an external hard drive or USB flash drive, or utilizing a cloud storage service like Google Drive, Dropbox, or OneDrive.
- Organize and Prioritize: Before starting the backup process, take some time to organize your files and documents. Delete any unnecessary or redundant files to minimize the amount of data you need to back up. Prioritize the files that are most important to you, such as documents, photos, videos, and application settings.
- External Storage Device: If you’re using an external storage device, connect it to your computer. Open the file explorer or finder and navigate to the location of the files you want to back up. Select the files and folders, then copy and paste them onto the external storage device.
- Cloud Storage Service: If you’re utilizing a cloud storage service, sign in to your account or create a new one if necessary. Follow the instructions provided by the service to upload your files and folders to the cloud. Ensure you have enough available storage space or consider upgrading your plan if needed.
- Verify the Backup: After the backup process is complete, take a moment to verify that your data has been successfully backed up. Check a few random files or folders to ensure they are intact and can be accessed without any issues.
Backing up your data is vital because it provides a safety net in case anything goes wrong during the cleaning process. It ensures that your important files and documents are protected and easily retrievable. Remember to double-check that all your essential data is backed up before proceeding to the next steps.
Now that your data is safely backed up, we can move on to the next step, which is securely erasing your SSD to remove all traces of data from it.
Step 2: Securely Erase Your SSD
Once you have successfully backed up your data, the next step is to securely erase your SSD. Securely erasing your SSD ensures that all data is permanently removed and cannot be recovered. Follow these steps to securely erase your SSD:
- Determine the Method: There are various methods you can use to securely erase your SSD. One option is to use the built-in secure erase feature provided by your SSD manufacturer. Check the manufacturer’s website or user manual to find specific instructions for your SSD model. Alternatively, you can use reliable third-party erasure software like DBAN or Parted Magic.
- Follow the Instructions: If you’re using the secure erase feature provided by your SSD manufacturer, refer to the instructions to initiate the process. Typically, this involves creating a bootable USB or CD, booting from it, and following the on-screen prompts to securely erase the SSD. If you’re using third-party software, download and install it, then follow the software’s instructions to securely erase your SSD.
- Confirm Erasure: Once the secure erase process is complete, take a moment to verify that all data on your SSD has been erased. This step is crucial to ensure that no traces of your personal or sensitive information remain on the drive.
It’s important to note that securely erasing your SSD will result in the complete loss of all data on the drive. Therefore, it is crucial to have a backup of your data before proceeding with this step. Double-check that you have successfully backed up your files and have verified the backup’s integrity.
Securely erasing your SSD provides peace of mind, knowing that your personal data is permanently removed and cannot be recovered by anyone else. It’s a critical step in maintaining data privacy and security.
Now that your SSD has been securely erased, we can move on to the next step, which is reformatting the SSD to prepare it for the clean installation of the operating system.
Step 3: Reformat the SSD
After securely erasing your SSD, the next step is to reformat the drive. Reformatting is necessary to prepare the SSD for a clean installation of the operating system. Follow these steps to reformat your SSD:
- Create Bootable Media: If you haven’t already done so, create a bootable USB or DVD with the installation media for your operating system. This will allow you to boot your computer from the media and initiate the installation process.
- Boot from the Installation Media: Restart your computer and enter the BIOS or UEFI settings. Set the boot order to prioritize booting from the installation media. Save your changes and exit the BIOS or UEFI settings. Your computer will now boot from the installation media.
- Follow the Installation Process: The installation process may vary depending on the operating system you’re installing. Follow the on-screen instructions to proceed with the installation. When prompted to select the destination drive, choose your SSD and proceed.
- Format the SSD: During the installation process, you’ll reach a stage where you can format the SSD. Select the appropriate formatting option for your operating system. Typically, you’ll choose the “Format” or “Erase” option to reformat the SSD. This will remove any remaining partitions on the drive and prepare it for the clean installation.
- Complete the Installation: After formatting the SSD, follow the remaining prompts to complete the installation process. This may involve setting up user accounts, configuring preferences, and selecting additional software or drivers to install.
Reformatting the SSD ensures that any remaining remnants of the previous operating system and data are completely removed. It provides a fresh start for the clean installation of the operating system.
Remember, reformatting the SSD will permanently erase all data on the drive. Ensure that you have a backup of your important files and documents before proceeding. Double-check that you have securely backed up your data and verified the backup’s integrity.
With the SSD now reformatted and prepared, we can move on to the next step, which is installing the latest firmware for your SSD.
Step 4: Install the Latest Firmware
Now that you have reformatted your SSD and prepared it for a clean installation of the operating system, the next step is to install the latest firmware for your SSD. Firmware updates often include bug fixes, performance improvements, and compatibility enhancements, so it’s essential to keep your SSD up to date. Follow these steps to install the latest firmware:
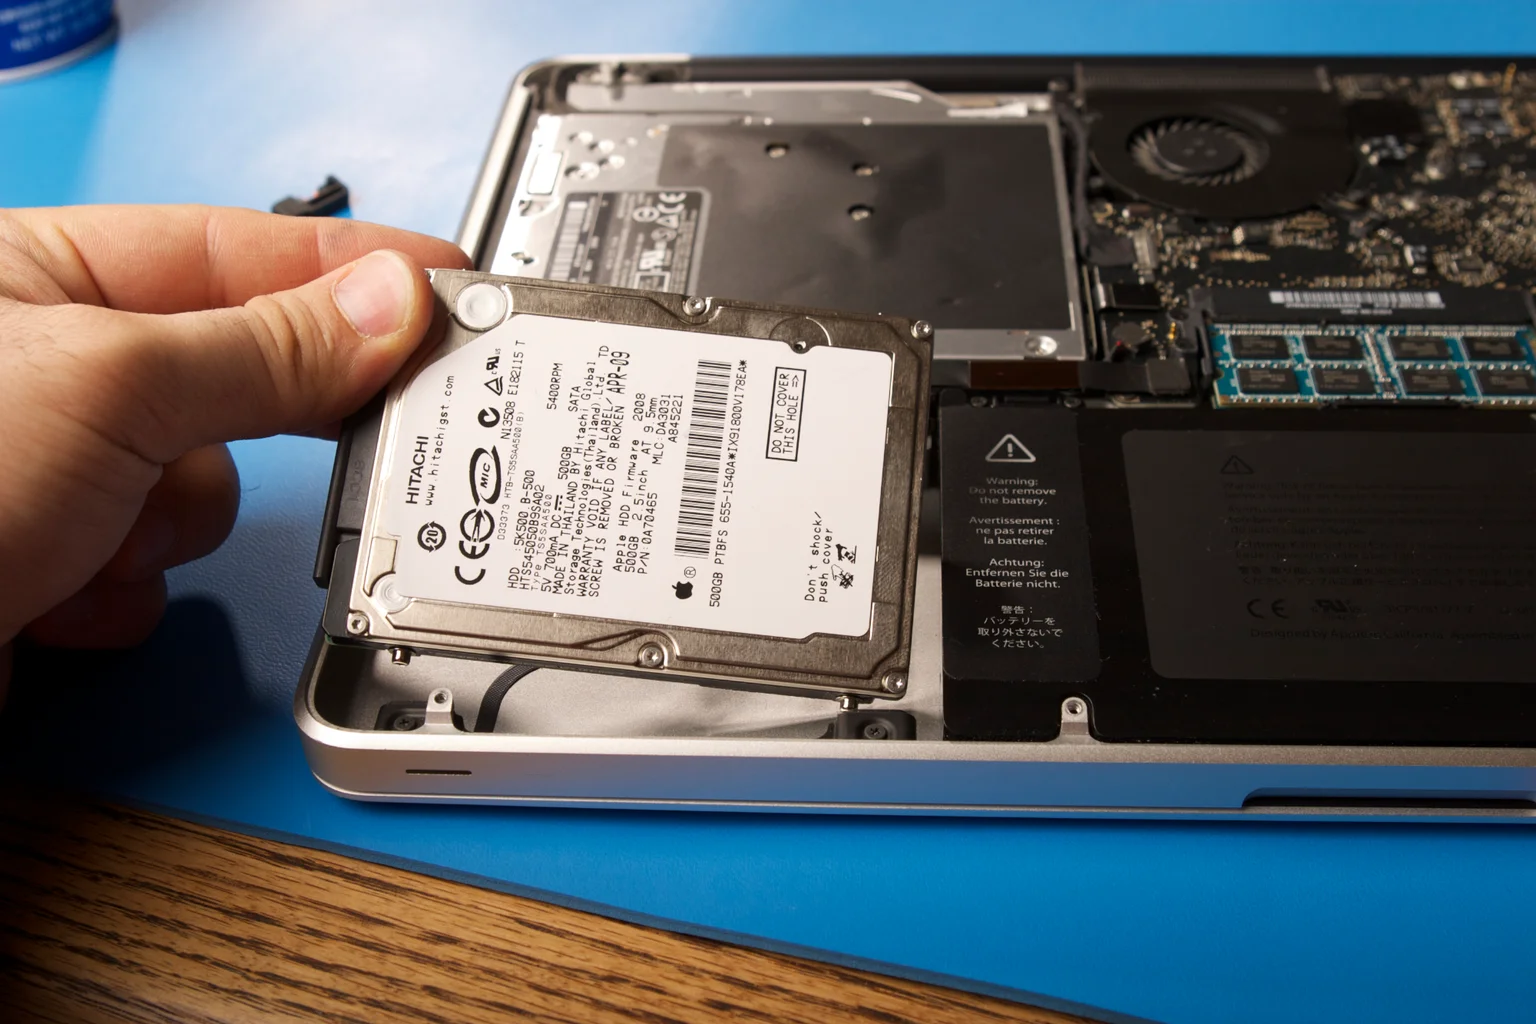
- Identify Your SSD Model: Determine the exact model of your SSD. You can find this information on the SSD label or through your computer’s BIOS or operating system. Note down the model name and number, as you’ll need it to locate the appropriate firmware update.
- Visit the Manufacturer’s Website: Go to the official website of your SSD manufacturer. Look for the “Support” or “Downloads” section on their website. Search for the firmware updates available for your specific SSD model. Download the latest firmware update file to your computer.
- Run the Firmware Update: Locate the downloaded firmware update file and double-click it to run the update utility. Follow the on-screen instructions provided by the firmware update utility to install the latest firmware on your SSD. Ensure that you carefully read and understand any warnings or instructions provided by the manufacturer to ensure a successful firmware update.
- Restart Your Computer: After the firmware update is complete, restart your computer to allow the changes to take effect. The firmware update will enhance the performance, stability, and compatibility of your SSD.
Updating the firmware of your SSD is an essential step in maintaining optimal performance, stability, and longevity. It ensures that your SSD is running on the latest software, benefiting from any improvements or fixes provided by the manufacturer.
Before proceeding with the firmware update, it’s important to ensure that your SSD is connected to a reliable power source and that you have a backup of your data. While the chances of data loss during a firmware update are relatively low, it’s always best to take precautionary measures to protect your important files and documents.
With the latest firmware installed on your SSD, we can move on to the next step, which is enabling TRIM (if necessary) to further optimize the performance of your SSD.
Step 5: Enable TRIM (if necessary)
Enabling TRIM is an important step to optimize the performance and longevity of your SSD. TRIM is a feature that helps your operating system communicate with your SSD to control the management of deleted data blocks. It allows the SSD to efficiently handle and optimize the storage space. Follow these steps to enable TRIM if necessary:
- Check TRIM Support: First, you need to verify if TRIM is already enabled on your SSD. Open the command prompt or terminal on your operating system and type the following command:
fsutil behavior query DisableDeleteNotify. If the output isDisableDeleteNotify = 0, then TRIM is already enabled. If the output isDisableDeleteNotify = 1, then TRIM is currently disabled. - Enable TRIM: If TRIM is not already enabled, you can enable it by opening the command prompt or terminal as an administrator and typing the following command:
fsutil behavior set DisableDeleteNotify 0. Hit Enter to execute the command. This enables TRIM support on your SSD. - Verify TRIM Status: To ensure that TRIM has been successfully enabled, enter the command
fsutil behavior query DisableDeleteNotifyin the command prompt or terminal again. The output should now displayDisableDeleteNotify = 0, indicating that TRIM is enabled on your SSD.
Enabling TRIM allows your SSD to efficiently manage and optimize its storage blocks by erasing unused data in the background, resulting in improved performance and longevity. However, it’s important to note that not all operating systems or SSD models require manual TRIM enablement. Many modern operating systems and SSDs automatically enable TRIM by default.
Before enabling TRIM, it’s essential to ensure that your SSD and operating system both support TRIM. Consult the documentation provided by your SSD manufacturer or refer to the operating system’s official documentation to determine the TRIM compatibility and support for your specific setup.
With TRIM enabled (if necessary), we can move on to the next step, which is reinstalling the operating system and applications on your SSD.
Step 6: Reinstall Your Operating System and Applications
With your SSD cleaned, reformatted, and firmware updated, it’s time to reinstall your operating system and applications. Reinstalling the operating system ensures a fresh start and maximizes the performance of your SSD. Follow these steps to reinstall your operating system and applications:
- Prepare Installation Media: Ensure you have the installation media for your operating system ready. This could be a USB drive or DVD with the operating system installation files.
- Boot from Installation Media: Restart your computer and enter the BIOS or UEFI settings. Set the boot order to prioritize booting from the installation media. Save your changes and exit the BIOS or UEFI settings. Your computer will now boot from the installation media.
- Follow Installation Prompts: Follow the on-screen instructions provided by the installation media to initiate the installation process. Select the SSD as the destination drive for the operating system installation.
- Install Operating System: Proceed with the installation prompts and choose the desired options, such as language preferences, time zone, and user accounts. Follow the instructions provided by the installation wizard to complete the operating system installation process.
- Install Applications: After the operating system installation is complete, it’s time to reinstall your applications. Locate the installation files or setup files for your applications and follow the prompts to reinstall them on your SSD. Ensure that you have the necessary product keys or licenses to activate the applications.
Reinstalling the operating system and applications on your SSD provides a clean and optimized environment for your SSD to operate efficiently. By starting fresh, you can take full advantage of the improved performance and reliability of your SSD.
During the process, it’s important to ensure that you have all the necessary installation files, product keys, and licenses for your operating system and applications. Make sure to backup any relevant data or settings from the previous installation, as they may be overwritten during the reinstallation process.
With your operating system and applications successfully reinstalled, we can proceed to the final step – restoring your data from the backup.
Step 7: Restore Your Data from Backup
After reinstalling the operating system and applications on your SSD, the final step is to restore your data from the backup you created earlier. This ensures that your important files, documents, and personal settings are brought back to your SSD. Follow these steps to restore your data:
- Connect External Storage Device or Access Cloud Storage: If you backed up your data onto an external storage device, connect it to your computer. Alternatively, if you used a cloud storage service, access your account and ensure you are connected to the internet.
- Locate Your Backup: Navigate to the location of your backup files. If you are using an external storage device, open the file explorer or finder, and browse the device to locate your backup files. If you are using a cloud storage service, sign in to your account and navigate to the folder where you stored your backup files.
- Restore Your Files: Select the files and folders you wish to restore from your backup location. Copy and paste them onto your SSD to restore them to their original locations or to a new folder as desired.
- Verify Restored Data: After the restoration process is complete, take a moment to verify that your data has been successfully restored. Open a few random files or folders to ensure that they are intact and accessible without any issues.
Restoring your data from the backup ensures that you have all your important files and documents back on your SSD. It allows you to resume your work, access your media files, and restore your personal settings to their previous state.
During the data restoration process, it is important to note that you may choose to restore only the essential files and documents. This helps avoid cluttering your SSD with unnecessary or outdated data. Take this opportunity to organize your files and keep your SSD streamlined and optimized.
With your data successfully restored, you have completed the process of cleaning out your SSD and setting it up for optimal performance and efficiency.
Congratulations! Your SSD is now ready for use, and you can enjoy the improved performance, increased storage capacity, and optimized lifespan that come with a clean and well-maintained solid-state drive.
Conclusion
Cleaning out your SSD is a crucial maintenance task that helps optimize its performance, maximize storage space, enhance reliability, and extend its lifespan. By following the steps outlined in this guide, you can efficiently clean out your SSD and set it up for optimal functioning.
We began by understanding the importance of cleaning out your SSD and the benefits it brings, such as improved performance and storage space utilization. We then discussed the necessary tools you’ll need, including external storage devices or cloud storage services for backups and secure erasure tools.
We walked through each step of the cleaning process, starting with backing up your data to ensure its safety, securely erasing the SSD to remove all traces of data, reformatting the SSD to prepare it for the operating system installation, and installing the latest firmware to enhance performance and stability.
We then covered enabling TRIM (if required) to optimize storage management, reinstalling the operating system and applications for a fresh start, and finally restoring your data from the backup to bring back your important files and settings.
Remember to always exercise caution throughout the cleaning process, making sure you have proper backups and following the instructions provided by your SSD manufacturer and operating system documentation.
Cleaning out your SSD on a regular basis helps maintain its optimal performance and ensures that your important data remains safe and accessible. By following this guide, you’ve taken the necessary steps to keep your SSD running smoothly and efficiently.
Thank you for following along with this guide. Enjoy your newly cleaned SSD and the improved performance it brings!