Introduction
Welcome to our guide on how to wipe an SSD in the BIOS. In this digital age, data security and privacy are top concerns for individuals and organizations alike. When it comes to disposing of or repurposing an SSD (Solid State Drive), it is crucial to ensure that all data stored on the drive is completely erased and cannot be recovered.
SSDs have become increasingly popular due to their fast performance, reliability, and durability. However, traditional methods of data wiping, such as formatting or using software tools, may not be sufficient to securely erase data from an SSD. That’s where wiping the SSD in the BIOS comes into play.
When you wipe an SSD in the BIOS, you directly access the drive’s firmware to perform a secure erase. This method ensures that all stored data is completely overwritten, making it almost impossible to recover. It is a more reliable and secure way to wipe an SSD as compared to other methods.
In this comprehensive guide, we will walk you through the step-by-step process of wiping an SSD in the BIOS. We will also provide alternative methods for those who would prefer different approaches. But before we dive into the details, let’s take a closer look at what an SSD is and why wiping it in the BIOS is necessary.
What is SSD?
SSD stands for Solid State Drive, which is a type of storage device that uses flash memory to store data. Unlike traditional hard disk drives (HDDs), which use spinning platters and read/write heads to access data, SSDs do not have any moving parts. This makes SSDs faster, more reliable, and less prone to physical damage.
One of the main advantages of SSDs is their speed. They offer significantly faster read and write speeds compared to HDDs, resulting in quicker boot times, faster file transfers, and improved overall system performance. This makes SSDs particularly valuable for tasks that require high-speed data processing, such as gaming, video editing, and running complex applications.
Another benefit of SSDs is their durability. Since they don’t have any mechanical components, they are less susceptible to physical shock or wear and tear. This makes SSDs ideal for portable devices like laptops, as they can withstand the bumps and jolts of being carried around. Additionally, SSDs tend to have a longer lifespan than HDDs, making them a reliable long-term storage solution.
With the increasing demand for data storage, SSDs have become more affordable and accessible to a wider range of users. They are available in various form factors, including 2.5-inch drives for desktops and laptops, M.2 drives for ultra-thin laptops and compact devices, and PCIe drives for high-performance applications.
Overall, SSDs provide a superior storage solution compared to traditional HDDs, offering faster performance, increased durability, and a smaller physical footprint. However, like any storage device, SSDs may contain sensitive or valuable data that needs to be securely erased before disposal or reuse. That’s where wiping the SSD in the BIOS becomes crucial.
Why would you need to wipe an SSD in BIOS?
There are several reasons why you might need to wipe an SSD in the BIOS:
- Data Security: When disposing of or repurposing an SSD, it is important to ensure that all data stored on the drive is completely erased. Wiping the SSD in the BIOS provides a more secure method of data erasure, as it directly accesses the drive’s firmware to perform a secure erase. This ensures that all stored data is overwritten and cannot be easily recovered.
- Privacy Protection: Whether you are selling or donating your SSD, you want to ensure that all your personal or sensitive information is removed from the drive. Wiping an SSD in the BIOS helps safeguard your privacy by securely erasing all data. This prevents any potential unauthorized access to your personal or confidential information.
- Compliance with Regulations: In certain industries or organizations, there are specific data privacy and security regulations that must be adhered to. Wiping an SSD in the BIOS provides a reliable method of data erasure that can help meet the regulatory requirements for data disposal or repurposing.
- Preventing Data Leakage: By securely wiping an SSD in the BIOS, you can prevent any potential data leakage. This is especially important if you are transferring the SSD to another individual or organization, as it ensures that your data remains confidential and cannot be accessed by unauthorized parties.
- Improving Performance: Over time, an SSD can become fragmented or suffer from decreased performance due to the accumulation of unnecessary files or data. By wiping the SSD in the BIOS and performing a clean installation of the operating system, you can optimize the performance of the drive and start fresh.
Overall, wiping an SSD in the BIOS is essential to protect your data, maintain privacy, comply with regulations, prevent data leakage, and improve the performance of the drive. It provides a reliable and secure method of erasing all data stored on the SSD, ensuring that it cannot be easily recovered.
Safety precautions before wiping an SSD in BIOS
Before you proceed with wiping an SSD in the BIOS, it is important to take certain safety precautions to ensure a smooth and error-free process. These precautions will help minimize the risk of data loss or damage to your SSD. Here are some key safety precautions to follow:
- Backup important data: Prior to wiping the SSD, it is crucial to backup any important data that you want to keep. This will prevent potential data loss in case of any unforeseen errors or issues during the wiping process. Take the time to transfer important files to an external storage device or cloud storage service.
- Disconnect from power source: Before opening your computer or accessing the BIOS, make sure to disconnect your computer from the power source. This will protect you from any electrical hazards and prevent any accidental damage to your SSD or other components.
- Read the manufacturer’s instructions: Different SSD manufacturers may have specific instructions or recommendations for wiping their drives in the BIOS. Take the time to read the manufacturer’s documentation or visit their website to understand any specific steps or precautions that need to be followed.
- Ensure proper cooling: SSDs can generate heat while being used, especially during intensive tasks. To minimize the risk of overheating during the wiping process, ensure that your computer has proper cooling, such as functioning fans and a well-ventilated system. Avoid performing the wiping process in an environment with high temperatures.
- Use a stable power source: It is important to have a stable power source during the wiping process to avoid any interruptions or power failures. If your computer’s battery is low, make sure to connect it to a power source before you proceed. Sudden power loss during the wiping process can result in data corruption or damage to the SSD.
- Follow the correct BIOS settings: Accessing the BIOS and navigating to the secure erase option can vary depending on your computer’s manufacturer and motherboard. Make sure to carefully follow the correct steps and settings specified in your computer’s manual or the SSD manufacturer’s instructions. Incorrect settings can lead to unintended consequences or errors.
By taking these safety precautions, you can ensure a smoother and safer process of wiping an SSD in the BIOS. These steps will help protect your data, minimize the risk of errors or damage, and provide peace of mind throughout the process.
Steps to wipe SSD in BIOS
Wiping an SSD in the BIOS requires accessing the BIOS settings and performing a secure erase. The steps may vary slightly depending on your computer’s manufacturer and motherboard, but the general process is as follows:
- Back up your data: Before starting the wiping process, it is important to back up any important data on the SSD to prevent data loss.
- Shut down your computer: Completely shut down your computer and disconnect it from the power source.
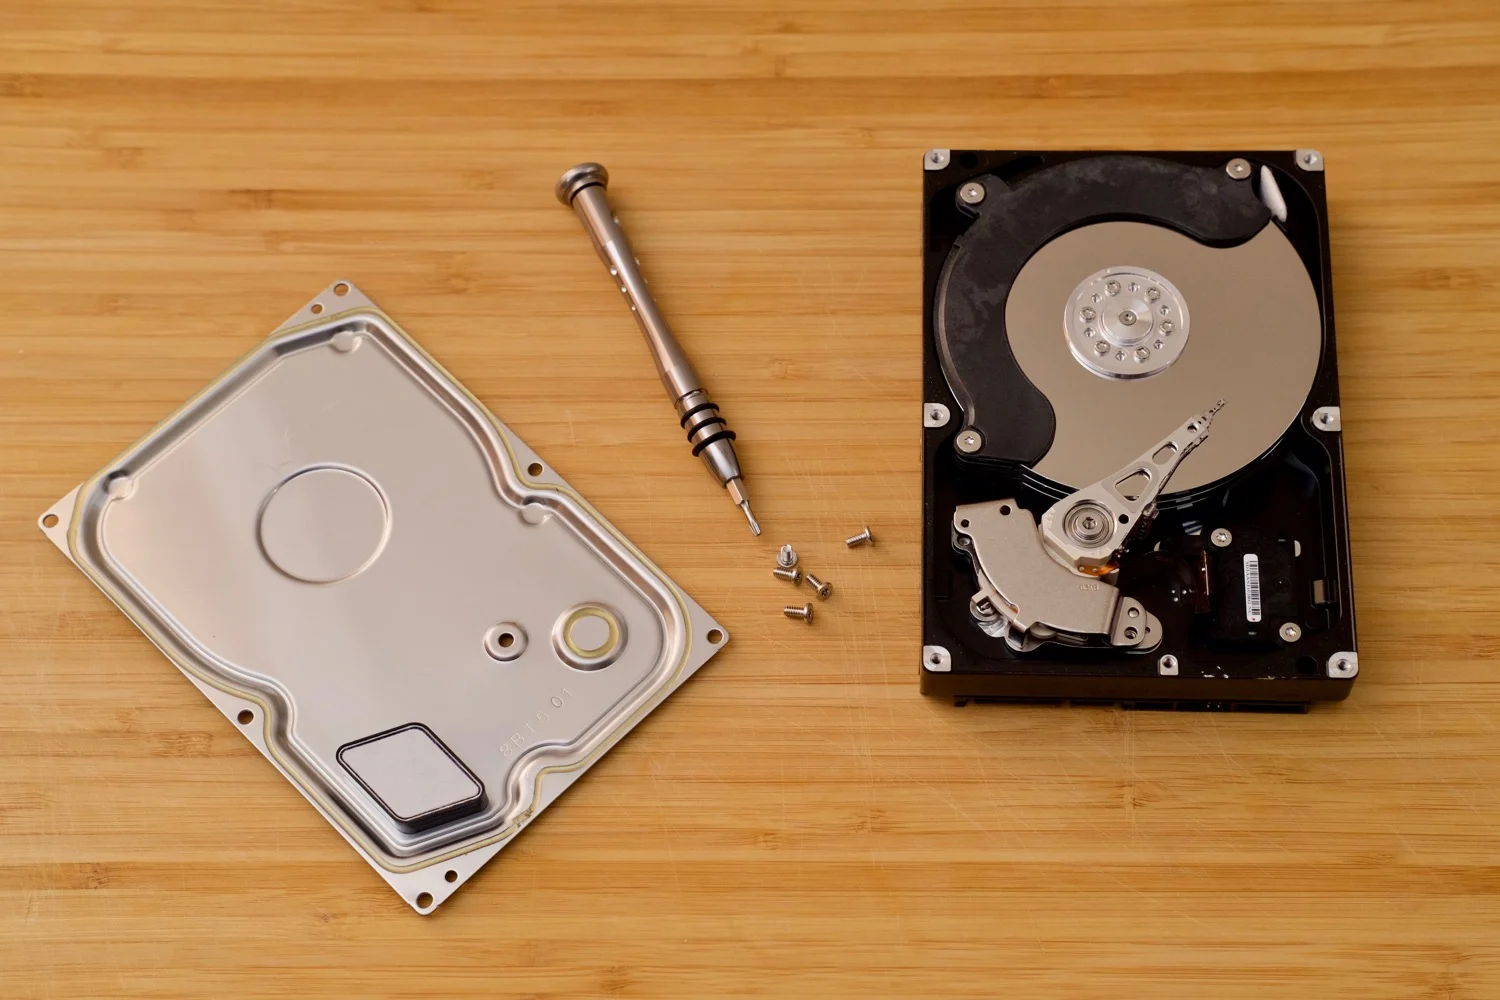
- Open your computer’s case: If you have a desktop computer, open the case by removing the screws or latches on the side. If you have a laptop, consult your computer’s manual or manufacturer’s website for instructions on accessing the BIOS settings.
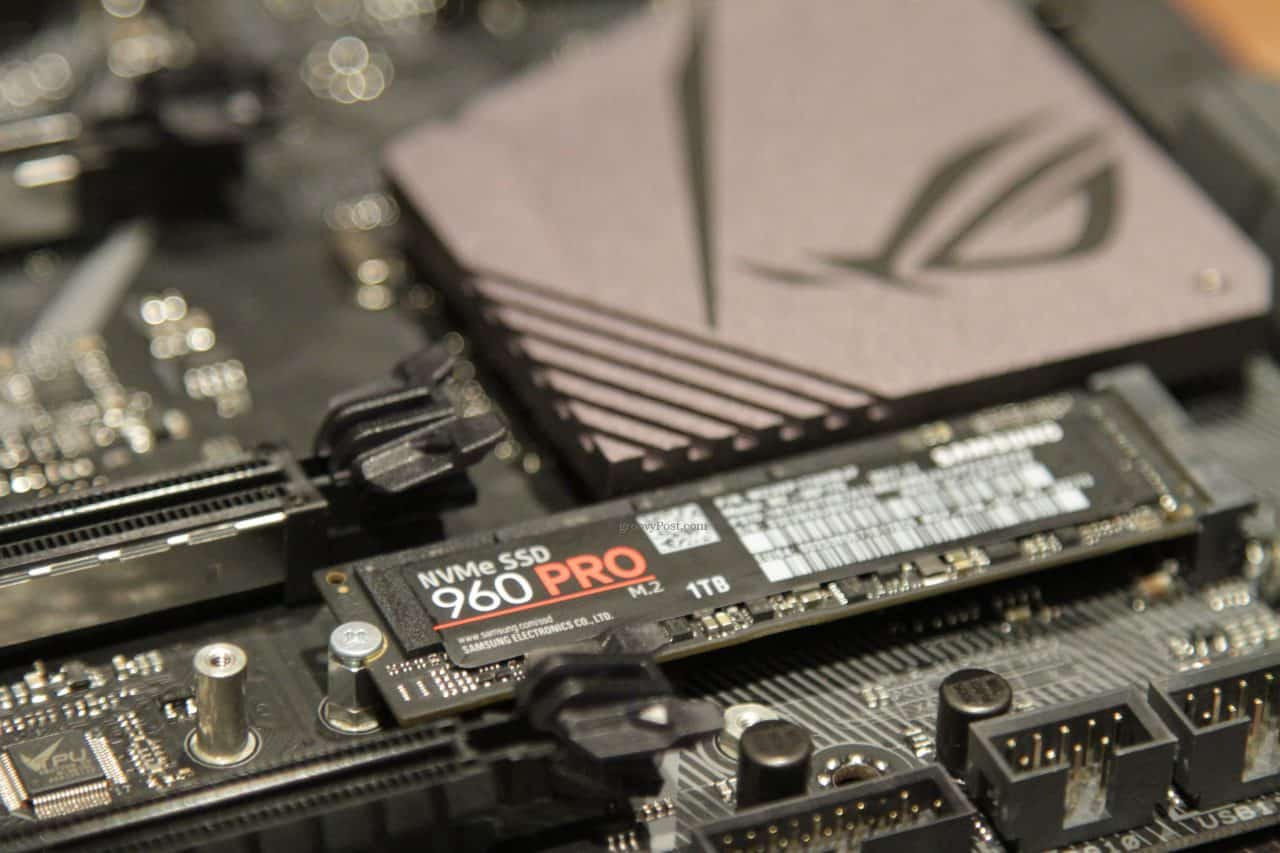
- Locate the SATA or M.2 slot: Find the SATA or M.2 slot where the SSD is connected. It is usually located on the motherboard. If you’re not sure, refer to your computer or motherboard’s manual for guidance.
- Disconnect the power and data cables: Carefully disconnect the power and data cables from the SSD. Take note of which cables correspond to the SSD for reconnection later.
- Clear CMOS: Depending on your computer’s BIOS settings, you might need to clear CMOS (Complementary Metal-Oxide-Semiconductor) to ensure the changes in the BIOS settings take effect. Refer to your computer or motherboard’s manual for instructions on clearing CMOS.
- Access the BIOS: Turn on your computer and press the designated key (such as F2, Del, or Esc) to access the BIOS settings. The key you need to press may vary depending on your computer’s manufacturer. Consult your computer or motherboard’s manual for the specific key.
- Navigate to the secure erase option: Once you’re in the BIOS settings, navigate to the storage or peripheral section. Look for an option related to secure erasing or clearing the SSD. The terminology and location of this option might vary depending on your BIOS version. Refer to your computer or motherboard’s manual for the specific location of the option.
- Select the SSD for secure erase: In the secure erase option, you should see a list of connected storage devices. Select the SSD you want to wipe, confirming that you have selected the correct drive.
- Initiate the secure erase: Follow the instructions on the screen to initiate the secure erase process. Depending on your BIOS, you may need to enter a confirmation or authentication code to proceed.
- Wait for the process to complete: The secure erase process may take some time, so be patient and allow it to complete without interruptions.
- Reconnect the SSD: Once the secure erase is complete, reconnect the power and data cables to the SSD in the same slots they were previously connected.
- Close your computer’s case: If you have a desktop computer, securely close the case by reattaching the screws or latches. If you have a laptop, follow the instructions in your computer’s manual to close it.
- Boot up your computer: Connect your computer to the power source and turn it on. Verify that the SSD has been successfully wiped by checking its storage capacity in the operating system.
Remember, these steps are meant to provide a general guideline. The exact steps and options may vary depending on your specific computer and BIOS version. Always consult the manufacturer’s documentation or support resources for more detailed instructions tailored to your system.
Alternative methods to wipe SSD
While wiping an SSD in the BIOS is a reliable and secure method, there are alternative approaches you can consider depending on your needs and preferences. Here are some alternative methods you can use to wipe an SSD:
- Using specialized software: There are various software tools available that specialize in securely wiping SSDs. These tools often have advanced algorithms and techniques to overwrite the data on the drive multiple times, making it even more difficult to recover. Examples of such software include DBAN (Darik’s Boot and Nuke), CCleaner, and Parted Magic. Before using any software, ensure that it is compatible with SSDs and follow the instructions provided by the software manufacturer.
- Utilizing a live bootable USB/CD: Another approach is to create a live bootable USB drive or CD that contains a secure data erasure tool. By booting your computer from this external drive, you can access the SSD and securely erase the data. Many data wiping tools offer live bootable versions specifically designed for this purpose. Examples include Linux-based tools like Ubuntu and GParted Live. Consult the documentation or support resources of the tool you choose for instructions on creating a live bootable USB/CD.
- Physical destruction: For situations where data security is of utmost importance, physical destruction of the SSD may be the most reliable method. This involves physically destroying the SSD beyond repair, rendering the data inaccessible. Methods such as shredding, drilling, or degaussing (for magnetic SSDs) can be employed. However, keep in mind that physical destruction should only be considered if data recovery is completely out of the question, as it renders the SSD unusable.
- Encryption and factory reset: If you have previously encrypted your SSD, performing a factory reset can often be sufficient to protect your data. Encryption ensures that the data is unreadable without a decryption key, and a factory reset deletes the decryption key, making the data unrecoverable. Be sure to follow the encryption and factory reset procedures for your specific operating system and encryption software to ensure complete data deletion.
When considering alternative methods, it’s important to evaluate your specific requirements, the sensitivity of the data on the SSD, and the level of security you need. Some methods may provide higher levels of security but may also require more technical proficiency or additional resources. Choose the method that best aligns with your needs and preferences to ensure the secure erasure of your SSD.
Conclusion
Wiping an SSD in the BIOS is a crucial step to ensure the secure erasure of data before disposing of or repurposing the drive. By directly accessing the drive’s firmware, the secure erase process overwrites all stored data, making it nearly impossible to recover. This method provides a more reliable and secure way to wipe an SSD compared to other conventional methods.
In this guide, we have discussed the importance of wiping an SSD in the BIOS to protect data security, maintain privacy, comply with regulations, prevent data leakage, and improve the performance of the drive. We have also explored alternative methods such as using specialized software, utilizing live bootable USBs/CDs, physical destruction, and encryption followed by a factory reset.
Before proceeding with wiping an SSD in the BIOS, it is essential to take necessary safety precautions to minimize the risk of data loss or damage. These precautions include backing up important data, disconnecting from the power source, reading the manufacturer’s instructions, ensuring proper cooling, using a stable power source, and following the correct BIOS settings.
The step-by-step process to wipe an SSD in the BIOS involves backing up data, shutting down the computer, accessing the BIOS, navigating to the secure erase option, selecting the SSD for secure erase, initiating the secure erase, waiting for the process to complete, reconnecting the SSD, closing the computer’s case, and finally booting up the computer to verify the successful wiping of the SSD.
Ultimately, the method you choose to wipe your SSD will depend on your specific needs, data sensitivity, and level of security required. It is important to select the most suitable method based on your circumstances to ensure the complete erasure of data from your SSD.
Remember to always refer to the documentation and support resources provided by your computer’s manufacturer and the SSD manufacturer for detailed instructions tailored to your system. Properly wiping an SSD in the BIOS not only protects your data but also provides you with peace of mind when disposing of or repurposing the drive.