Introduction
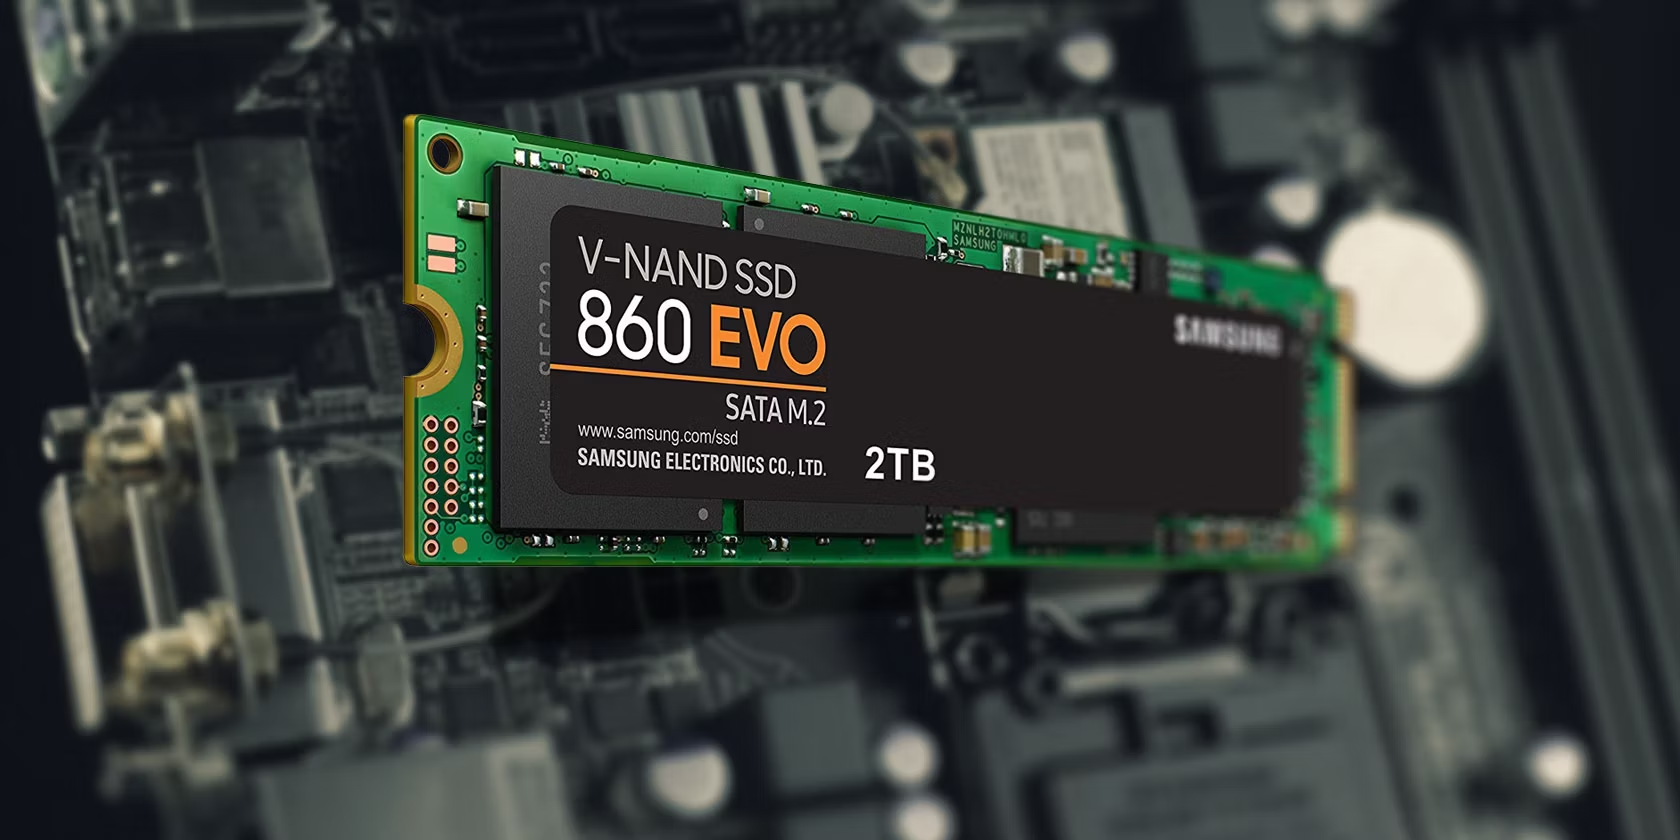
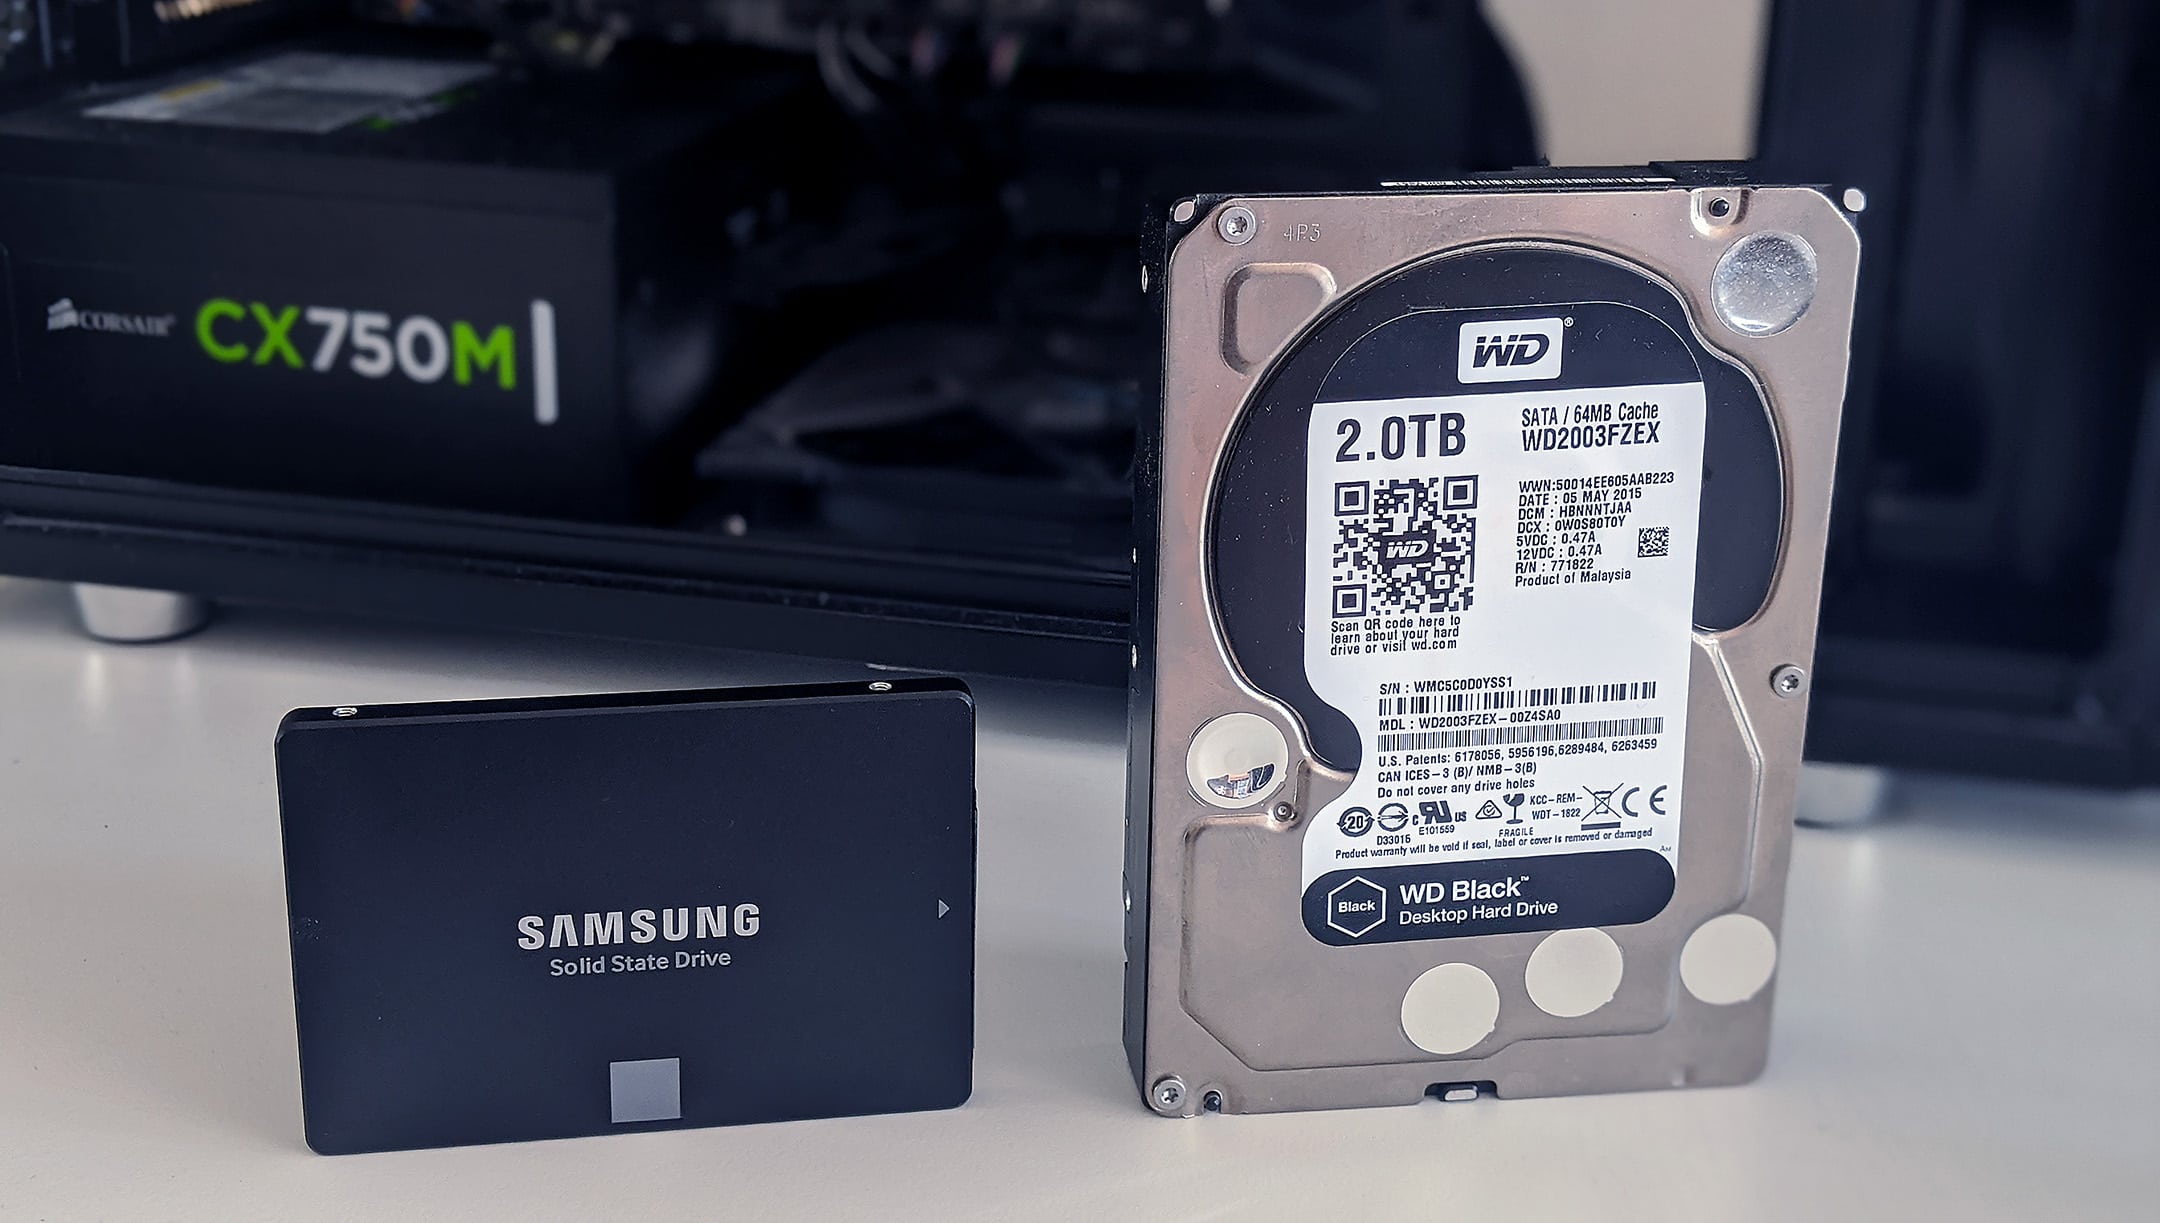
In today’s digital age, solid-state drives (SSDs) have become a popular choice for storage due to their faster performance and increased reliability compared to traditional hard disk drives (HDDs). If you’re a Windows 10 user and considering upgrading to an SSD, you’ve made a wise decision. However, it’s important to properly format your SSD to ensure optimal performance and compatibility with your operating system.
In this article, we’ll guide you through the step-by-step process of formatting an SSD in Windows 10. Whether you’re installing a brand new SSD or upgrading your existing system, this guide will help you make the transition smoothly.
Formatting your SSD involves several essential steps, including backing up your data, checking for firmware updates, preparing the SSD, connecting it to your computer, partitioning and formatting, and setting it as the boot drive. It may seem like a daunting task, but don’t worry – we’ll break it down for you.
By following these instructions, you’ll not only ensure that your SSD is properly formatted but also protect your data and speed up your overall system performance. So, grab your SSD and let’s get started on this exciting journey.
Step 1: Back up your data
Before you begin the process of formatting your SSD, it’s crucial to back up your data. Formatting involves erasing all existing data on the drive, so you want to ensure that you have a secure copy of your important files and documents.
There are several ways to back up your data, depending on your preference and the size of the data. One option is to manually copy your files to an external hard drive or another storage device. This method allows you to select specific files and folders that you want to backup, giving you more control over the process.
Another convenient option is to use cloud storage services such as Google Drive, Dropbox, or OneDrive. These services offer ample storage space and automatically sync your files across multiple devices. You can simply upload your important files to the cloud and access them from anywhere with an internet connection.
If you prefer a more comprehensive backup solution, you can use specialized backup software such as Acronis True Image or Macrium Reflect. These programs allow you to create complete disk images, including the operating system and all your files and programs. This way, you can easily restore your entire system to its previous state if anything goes wrong during the formatting process.
Once you have successfully backed up your data, double-check that all the necessary files and documents are securely stored in a separate location. It’s always a good idea to verify the backup by opening a few files and ensuring their integrity. Taking these precautions will give you peace of mind throughout the formatting process and prevent any potential data loss.
Step 2: Check for firmware updates
Before diving into the formatting process, it’s essential to check for firmware updates for your SSD. Firmware is the software embedded in the SSD’s memory that controls its operation and functionality. Updating the firmware can improve performance, reliability, and compatibility with your computer’s hardware and operating system.
To check for firmware updates, you’ll need to visit the manufacturer’s website and locate the support or downloads section. Look for the specific model of your SSD and search for any available firmware updates. Download the latest firmware version and follow the manufacturer’s instructions to install it.
It’s crucial to ensure that your SSD is running the latest firmware version before proceeding with the formatting process. Firmware updates often include bug fixes, performance enhancements, and compatibility improvements. By keeping your SSD’s firmware up to date, you can maximize its performance and ensure smooth operation.
Sometimes, the manufacturer may release firmware updates that specifically address compatibility issues with Windows 10. Installing these updates can help resolve any potential conflicts and ensure seamless integration between your SSD and the operating system.
Keep in mind that firmware updates can vary in their installation process. Some may require you to create bootable media or use specific software provided by the manufacturer. Follow the instructions carefully to avoid any complications during the update.
If you’re not comfortable updating the firmware yourself, you can seek assistance from a knowledgeable technician or contact the manufacturer’s support team for further guidance. They will be able to provide you with the necessary information and ensure that you successfully update the firmware on your SSD.
Step 3: Prepare the SSD
In this step, you’ll prepare the SSD for formatting by ensuring it’s properly connected and recognized by your computer. Follow these guidelines to ensure a smooth preparation process.
First, shut down your computer and unplug it from the power source. If you are adding the SSD to an existing system, open the computer case or access the drive bays as required. If you are installing the SSD in a new system, consult the manufacturer’s documentation for instructions on accessing the drive bays.
Once you have access to the drive bays, locate a suitable slot for your SSD. SSDs typically use the SATA interface, so look for SATA connectors on your motherboard or an available PCIe slot if your SSD requires it. Gently connect the necessary cables, ensuring a secure connection without forcing them.
If you’re replacing an existing drive with the SSD, you may need to remove the existing drive before proceeding. Refer to the manufacturer’s instructions or consult a professional if you’re unsure.
After connecting the SSD, reassemble your computer and ensure all cables are properly connected. Once everything is in place, power on your computer and enter the BIOS or UEFI settings by pressing the corresponding key during the startup process (often Del, F2, or F10).
In the BIOS/UEFI settings, navigate to the drive configuration or storage settings section. Verify that the SSD is recognized and listed as one of the connected drives. If it isn’t detected, double-check the connection and cables, ensuring they are properly seated.
Additionally, it’s advisable to enable AHCI (Advanced Host Controller Interface) mode for improved performance. This setting optimizes communication between the SSD and the computer’s motherboard. Consult your motherboard’s manual or the manufacturer’s documentation for instructions on enabling AHCI mode.
Once you have confirmed that the SSD is recognized and properly connected, you can proceed to the next step of partitioning and formatting the SSD. By thoroughly preparing the SSD and ensuring its compatibility with your computer, you lay the foundation for a smooth formatting process and optimal performance.
Step 4: Connect the SSD to your computer
Now that you have properly prepared your SSD, it’s time to connect it to your computer. This step involves physically installing the SSD and ensuring it is correctly recognized by your system. Follow these guidelines for a seamless connection process.
Before you begin, shut down your computer and unplug it from the power source. This ensures your safety and prevents any potential damage to the SSD or your computer components.
If you’re adding the SSD to an existing system, open the computer case or access the drive bays as required. Refer to your computer’s manual or consult the manufacturer’s documentation if you’re unsure of the specific steps for your system.
Once you have access to the drive bays, locate an available slot for the SSD. Most SSDs use the SATA interface, so look for SATA connectors on your motherboard. Gently connect one end of the SATA data cable to the SSD and the other end to an available SATA port on your motherboard.
Next, locate an available SATA power connector from your power supply unit (PSU) and connect it to the SSD. Ensure a secure connection without applying excessive force.
If your SSD requires additional power, such as an M.2 PCIe SSD, consult the manufacturer’s instructions for the specific steps to install and connect it properly. It may involve inserting the SSD into a dedicated slot on the motherboard or using an adapter card.
After connecting the SSD, reassemble your computer and ensure all cables are properly connected. Double-check the connections to ensure they are secure and correctly attached.
Power on your computer and enter the BIOS or UEFI settings by pressing the corresponding key during the startup process (often Del, F2, or F10). In the BIOS/UEFI settings, navigate to the drive configuration or storage settings section to verify that your SSD is recognized.
If the SSD is detected and listed as one of the connected drives, you have successfully connected the SSD to your computer. If it is not recognized, double-check the connections and consult the manufacturer’s documentation or seek professional assistance if needed.
By connecting the SSD to your computer correctly, you are now ready to move on to the next step of partitioning and formatting the SSD to unleash its full potential.
Step 5: Partition and format the SSD
After successfully connecting the SSD to your computer, the next step is to partition and format the drive. Partitioning allows you to divide the SSD into separate sections, while formatting prepares those sections for data storage. Here’s how you can do it:
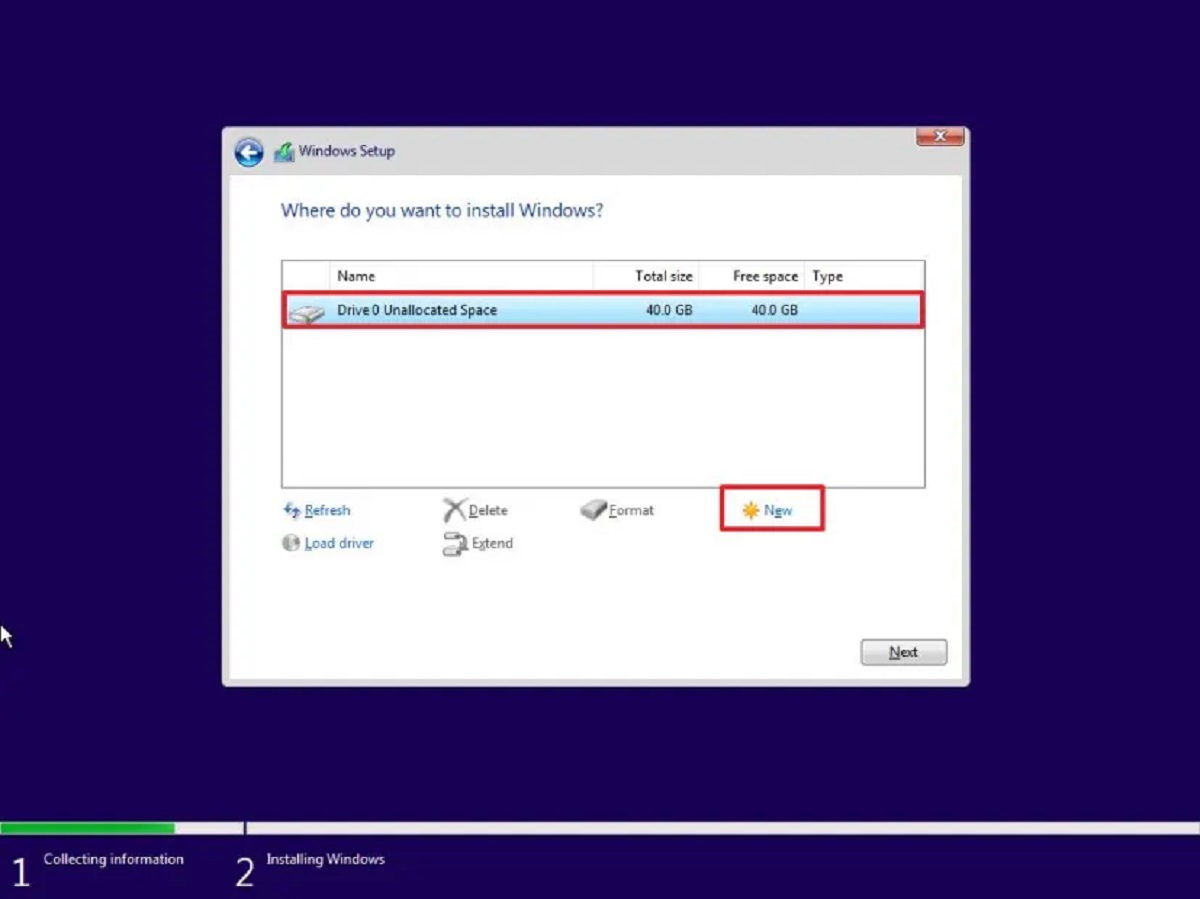
1. Open the Disk Management tool by pressing the Windows key + X and selecting “Disk Management” from the menu.
2. Locate your SSD in the list of drives. It should be labeled as “Unallocated” or “RAW.”
3. Right-click on the SSD and select “New Simple Volume” from the context menu.
4. Follow the on-screen instructions in the New Simple Volume Wizard. You can choose the size for the partition, assign a drive letter, and select the file system format (NTFS is recommended for Windows 10).
5. Once you have completed the wizard, the partition will be created, and the SSD will be formatted. You can repeat this process to create multiple partitions if desired.
When formatting the SSD, make sure to choose a quick format option if available. This option speeds up the formatting process by skipping the thorough data erasure. However, if you want to completely wipe the SSD, select the full format option.
It’s important to note that formatting will erase all existing data on the SSD. Therefore, ensure that you’ve backed up your data before proceeding to avoid any loss of important information.
Once the formatting process is complete, you will have successfully partitioned and formatted your SSD. At this point, your SSD is ready to be used as a storage drive for your files, applications, and operating system.
Remember to assign meaningful names to your partitions to easily identify and organize your data. Additionally, you can assign a drive letter to each partition to access them easily through Windows Explorer or any file explorer.
By partitioning and formatting your SSD, you create structured storage spaces that optimize data organization and retrieval, ensuring seamless operation of your system.
Step 6: Set the SSD as the boot drive
Now that you have partitioned and formatted your SSD, it’s time to set it as the boot drive. This step is important to ensure that your computer runs on the faster and more reliable SSD instead of the slower HDD or any other storage device. Follow these steps to set the SSD as the boot drive:
1. Restart your computer and enter the BIOS or UEFI settings by pressing the corresponding key during the startup process (often Del, F2, or F10). Check your computer’s manual or manufacturer’s website if you’re unsure of the key.
2. In the BIOS/UEFI settings, navigate to the boot options or boot priority section. This section may be named differently depending on your motherboard.
3. Look for the list of boot devices or boot order and rearrange it so that the SSD is at the top of the list. This ensures that the computer boots from the SSD first.
4. Save the changes and exit the BIOS/UEFI settings. The computer will restart automatically.
5. Once the computer restarts, it will boot from the SSD. You can confirm this by checking the system information or BIOS/UEFI settings, which should now show the SSD as the primary boot device.
Setting the SSD as the boot drive is a crucial step to fully utilize its speed and performance benefits. By ensuring that your computer boots directly from the SSD, you’ll experience faster startup times, quicker application launches, and overall improved system responsiveness.
If you encounter any issues during the boot process or your computer fails to recognize the SSD as the boot drive, revisit the BIOS/UEFI settings and double-check the boot order. Ensure that the SSD is properly connected, formatted, and recognized by the system.
Remember that setting the SSD as the boot drive does not automatically transfer your operating system to the SSD. If you want to migrate your OS to the SSD, you can use specialized software like EaseUS Partition Master or Clonezilla to clone your existing system drive to the SSD. Consult the software’s documentation or seek professional assistance for a smooth migration process.
By setting the SSD as the boot drive, you’re maximizing the speed and performance benefits of your SSD, ensuring a faster and more efficient computing experience.
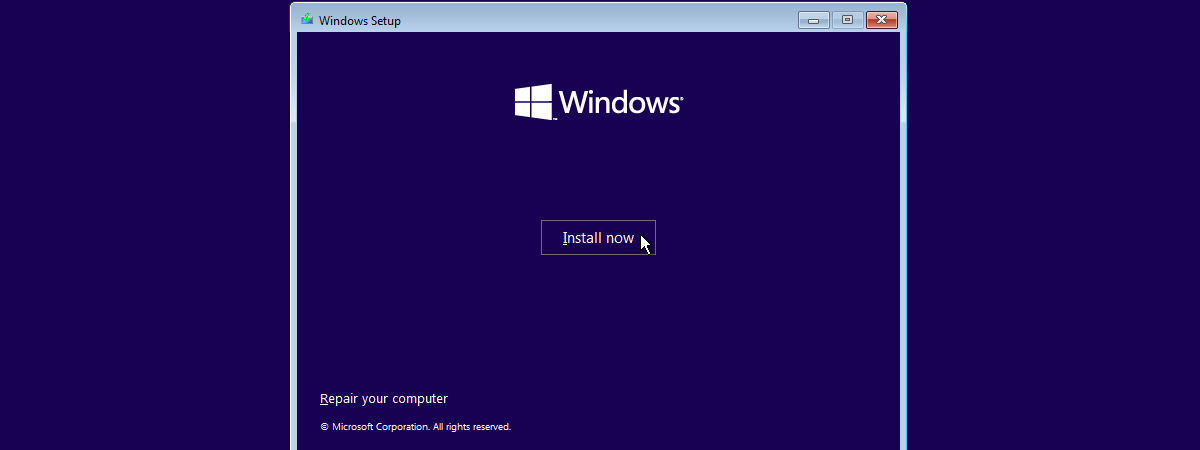
Step 7: Install Windows 10 on the SSD
Congratulations on successfully setting the SSD as the boot drive! The final step in the process is to install Windows 10 on the SSD to take full advantage of its speed and performance. Follow these steps to install Windows 10 on your SSD:
1. Insert the Windows 10 installation media, such as a USB drive or DVD, into your computer.
2. Restart your computer and enter the BIOS or UEFI settings by pressing the corresponding key during the startup process. Look for the boot options or boot priority section and set the installation media as the primary boot device.
3. Save the changes and exit the BIOS/UEFI settings. The computer will restart and boot from the Windows 10 installation media.
4. Follow the on-screen instructions to select your language preferences, accept the license terms, and choose custom installation.
5. In the installation options, select the SSD as the destination drive for Windows 10. If you have multiple partitions on the SSD, select the desired partition for the operating system installation.
6. Proceed with the installation process by following the remaining on-screen instructions. Windows 10 will be installed on the SSD, and your computer will restart multiple times during the process.
7. Once the installation is complete, you’ll be prompted to set up Windows 10 with your preferences, create user accounts, and customize system settings.
Make sure to install the necessary device drivers and updates for your system after the Windows 10 installation. You can download the latest drivers from your computer manufacturer’s website or use the Windows Update feature to install any pending updates.
After completing the installation and setting up Windows 10, you can start enjoying the speedy and efficient performance provided by your SSD. Remember to transfer your backed-up data from the external storage device or cloud storage back to your SSD.
If you encounter any issues during the installation process or have trouble activating Windows 10, refer to the official Microsoft support documentation or contact their support team for assistance.
By installing Windows 10 on the SSD, you’re ensuring the optimal utilization of its capabilities, resulting in faster boot times, improved application performance, and an overall smoother computing experience.
Conclusion
Congratulations! You’ve successfully formatted and installed Windows 10 on your SSD. By following the steps outlined in this guide, you’ve optimized your system for faster performance, improved reliability, and enhanced overall efficiency.
Remember, before starting the formatting process, it’s crucial to back up your data to prevent any unforeseen data loss. Additionally, checking for firmware updates, preparing the SSD, connecting it to your computer, partitioning and formatting it, setting it as the boot drive, and installing Windows 10 are the essential steps to ensure a smooth transition and optimal usage of your SSD.
An SSD can significantly enhance your computing experience by reducing boot times, speeding up application launches, and improving overall system responsiveness. It also provides a reliable and durable storage solution for years to come.
As technology evolves and new advancements arise, it’s important to stay updated and keep your SSD’s firmware current. Regularly check the manufacturer’s website for firmware updates and install them as needed to maximize your SSD’s performance and compatibility with Windows 10.
Remember to always keep your data backed up and maintain a backup strategy to ensure the safety of your important files and documents. Regularly backing up your data ensures that even if any unexpected issues arise, your information remains secure and easily recoverable.
By properly formatting and setting up your SSD in Windows 10, you’ve taken an important step towards a faster and more efficient computing experience. As you explore the capabilities of your SSD, don’t forget to take advantage of its speed and performance benefits in your everyday tasks and activities.
Thank you for following this guide. We hope it has provided you with the necessary knowledge and confidence to format and utilize your SSD effectively. Enjoy the enhanced performance and reliability that your SSD brings to your Windows 10 system!