Introduction
Formatting your SSD (Solid-State Drive) on a Mac is an essential task that can improve its performance and reliability. Whether you’re preparing a new SSD for use, or you want to erase and reinstall your operating system, formatting provides a fresh start to ensure optimal functionality.
Why is formatting necessary, you might ask? Well, over time, data on your SSD can become fragmented, leading to slower read and write speeds. Additionally, formatting removes any residual data or corrupted files that could impact the drive’s performance. By formatting your SSD, you’ll be able to maximize its lifespan and ensure efficient data management.
Before you dive into the formatting process, it’s important to understand the various options available to you. Mac users have several methods at their disposal, each with its own benefits and considerations. In this guide, we’ll explore three primary options: using Disk Utility, leveraging Terminal, or utilizing third-party software.
By following the steps outlined in this article, you’ll be able to successfully format your SSD on a Mac and enjoy the full potential of your storage device.
Why Format Your SSD?
Formatting your SSD offers a range of advantages for Mac users. Let’s explore some of the key reasons why formatting is an essential task:
- Improved Performance: Over time, an SSD can accumulate fragmented data, which can slow down read and write speeds. By formatting your SSD, you can defragment the drive and optimize its performance for faster data transfer and improved overall system responsiveness.
- Data Privacy and Security: Formatting your SSD ensures that all existing data is completely erased. This is particularly important if you’re planning to sell or donate your Mac, as it prevents any sensitive information from falling into the wrong hands. Formatting guarantees the complete removal of personal and confidential data.
- Error Correction: Sometimes, an SSD may encounter errors or corrupted files that can impact its performance. By formatting the drive, you can resolve these issues and start with a clean slate, reducing the likelihood of data errors and system crashes.
- Operating System Reinstallation: If you’re experiencing frequent crashes, software glitches, or want to upgrade to a new macOS version, formatting your SSD allows for a fresh installation of the operating system. This can resolve software-related issues and provide a clean environment for your Mac.
- Optimal Storage Management: When you format your SSD, you have the opportunity to choose the desired file system, such as APFS (Apple File System) or HFS+ (Hierarchical File System Plus). This allows for better organization and management of your files and ensures compatibility with macOS.
By formatting your SSD, you can unlock the full potential of your storage device, ensuring faster performance, enhanced privacy, and a more stable system. Whether you’re improving your Mac’s speed, erasing sensitive data, or preparing for a fresh OS installation, formatting your SSD is an essential step in achieving optimal functionality and usability.
Before You Begin
Before diving into the formatting process, there are a few important things to consider and check off your list:
- Backup Your Data: Formatting your SSD will erase all existing data, so it’s crucial to back up any important files and documents. You can use external storage devices like external hard drives, USB flash drives, or cloud storage services to create a backup of your data.
- Ensure Power and Connection: To avoid interruption during the formatting process, make sure your Mac is connected to a stable power source. Additionally, ensure that your SSD is properly connected to your Mac via a suitable cable or enclosure.
- Check Compatibility: Confirm that your Mac and the SSD are compatible with each other. Review the manufacturer’s specifications to ensure compatibility and check if any specific software or drivers are required for a smooth formatting process.
- Update Your macOS: It’s always a good idea to update your macOS to the latest version before formatting. This ensures that you have the most up-to-date features, bug fixes, and security patches, which can contribute to a smoother and more reliable formatting process.
- Disconnect External Devices: Before formatting, disconnect any external devices such as printers, scanners, or external monitors. This will prevent any potential interference during the formatting process.
By completing these important steps before formatting, you can minimize the risk of data loss and ensure a smooth and successful formatting process. Taking the time to prepare adequately will help you avoid any potential setbacks and ensure a seamless experience when formatting your SSD on a Mac.
Option 1: Using Disk Utility
Disk Utility is a built-in tool on macOS that allows you to manage and format your SSD. Follow these steps to format your SSD using Disk Utility:
- Open Disk Utility: Go to the “Applications” folder, then “Utilities,” and launch “Disk Utility.”
- Select Your SSD: From the sidebar, locate and select your SSD.
- Erase Your SSD: Click on the “Erase” button at the top of the Disk Utility window. A new window will appear.
- Choose the File System: In the new window, choose the desired file system for your SSD. The default file system for macOS is APFS, but you can also select HFS+ if needed.
- Provide a Name for Your SSD: Enter a name for your SSD in the “Name” field. Choose a descriptive and recognizable name.
- Verify Your Choices: Double-check the information you entered and ensure that you have selected the correct SSD for formatting.
- Click the “Erase” Button: Once you are certain, click on the “Erase” button to begin the formatting process. Disk Utility will erase all data on the SSD.
- Wait for the Formatting to Complete: The formatting process may take some time, so be patient and wait for it to finish.
- Formatting Complete: Once the formatting process is complete, you will see a confirmation message. Your SSD is now formatted and ready to use.
Using Disk Utility to format your SSD is a straightforward and convenient method. It provides a user-friendly interface and allows you to choose the file system and name for your SSD. Remember, formatting will erase all data on the SSD, so ensure that you have a backup of any important files before proceeding. With Disk Utility, you can confidently format your SSD on a Mac and enjoy optimized performance and storage management.
Option 2: Using Terminal
If you prefer a command-line interface or want more advanced control over the formatting process, you can use Terminal to format your SSD. Follow these steps to format your SSD using Terminal:
- Launch Terminal: Open the “Applications” folder, go to “Utilities,” and launch “Terminal.”
- Identify Your SSD: In Terminal, enter the command
diskutil listand press Enter. This will display a list of all connected drives, including your SSD. Identify the correct disk identifier for your SSD. - Unmount the SSD: Enter the command
diskutil unmountDisk diskX, replacing “X” with the disk identifier of your SSD. This unmounts the SSD, allowing you to format it. - Format the SSD: Enter the command
sudo diskutil eraseDisk FSName diskX, replacing “FSName” with the desired file system name (e.g., “APFS,” “HFS+”) and “X” with the disk identifier of your SSD. Press Enter and provide your administrator password when prompted. - Confirmation and Formatting: Terminal will display a warning message about erasing all data. If you’re certain, type “y” and press Enter to confirm and begin the formatting process. Terminal will format your SSD.
- Formatting Complete: Once the formatting process is complete, Terminal will display a confirmation message. Your SSD is now formatted and ready to use.
Using Terminal to format your SSD gives you more control and flexibility. It allows for advanced disk management and customization options. However, be cautious when using Terminal, as it requires precise commands, and a mistake can lead to unintended consequences, such as formatting the wrong drive. Ensure that you have a backup of important data before proceeding. With Terminal, you can format your SSD on a Mac efficiently and tailor it to your specific needs.
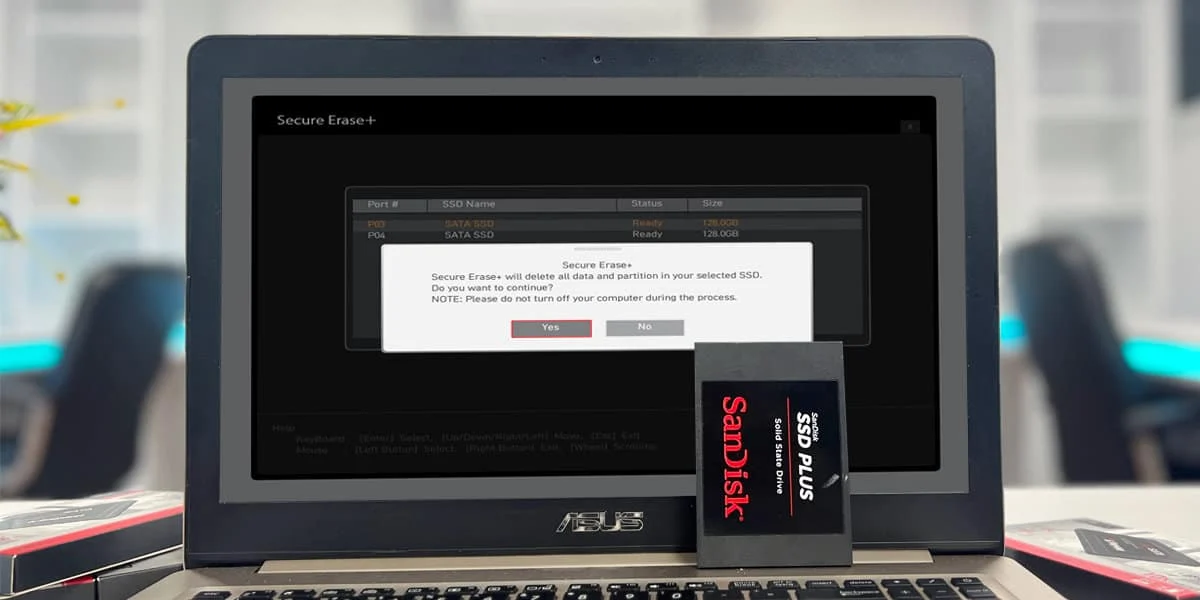
Option 3: Using Third-party Software
If you prefer a more user-friendly interface or require additional features, you can opt for third-party software to format your SSD on a Mac. There are several reliable options available, such as Paragon Hard Disk Manager, Macrorit Disk Partition Expert, and iPartition. Follow these general steps to format your SSD using third-party software:
- Research and Select a Software: Explore different third-party software options available for formatting SSDs on a Mac. Consider the features, user ratings, and compatibility with your macOS version.
- Download and Install the Software: Visit the official website of your chosen software and download the installer. Follow the installation instructions provided by the software to install it on your Mac.
- Launch the Software: Once installed, launch the third-party software on your Mac.
- Select your SSD: Identify and select your SSD from the list of available drives displayed within the software interface.
- Choose the Formatting Options: Within the software, look for the formatting options or operations related to your SSD. Typically, there will be an option to format or erase the SSD.
- Select the File System: Choose the desired file system for your SSD. The available options may vary depending on the software you are using.
- Provide a Name for Your SSD: Enter a name for your SSD to label it appropriately.
- Initiate the Formatting Process: Once you have chosen the formatting options and parameters, initiate the formatting process through the software interface.
- Formatting Complete: The software will notify you when the formatting process is complete. Your SSD is now formatted and ready to use.
Using third-party software provides a more intuitive and feature-rich experience when formatting your SSD on a Mac. These tools offer additional functionalities, such as partition management and data recovery options. Before choosing a third-party software, research and compare different options to ensure that you select a reliable and reputable solution. With the right third-party software, you can format your SSD effortlessly and unlock advanced features to optimize your storage management.
Conclusion
Formatting your SSD on a Mac is a vital step to optimize its performance, ensure data privacy, and enable efficient storage management. In this guide, we explored three primary options for formatting your SSD: using Disk Utility, utilizing Terminal, or employing third-party software.
If you prefer a user-friendly approach with a graphical interface, then using Disk Utility is the recommended option. It provides a simple and intuitive way to format your SSD, allowing you to choose the file system and customize the name.
For users who prefer more advanced control or a command-line experience, Terminal is the ideal choice. It offers precise commands to format your SSD and grants you greater flexibility in managing your disk.
If you desire additional features, customization options, or a more intuitive interface, third-party software can provide a comprehensive and user-friendly experience. Ensure you research and select a reputable and compatible software solution to format your SSD effectively.
Remember to back up your important data before initiating the formatting process. Data loss is inherent when formatting an SSD, and having a backup ensures you can recover any crucial files or information.
By following the methods outlined in this guide, you can confidently format your SSD on a Mac and enjoy improved performance, better data management, and enhanced privacy. Take the time to choose the method that best suits your needs and embark on the journey to unlock the full potential of your SSD.