Introduction
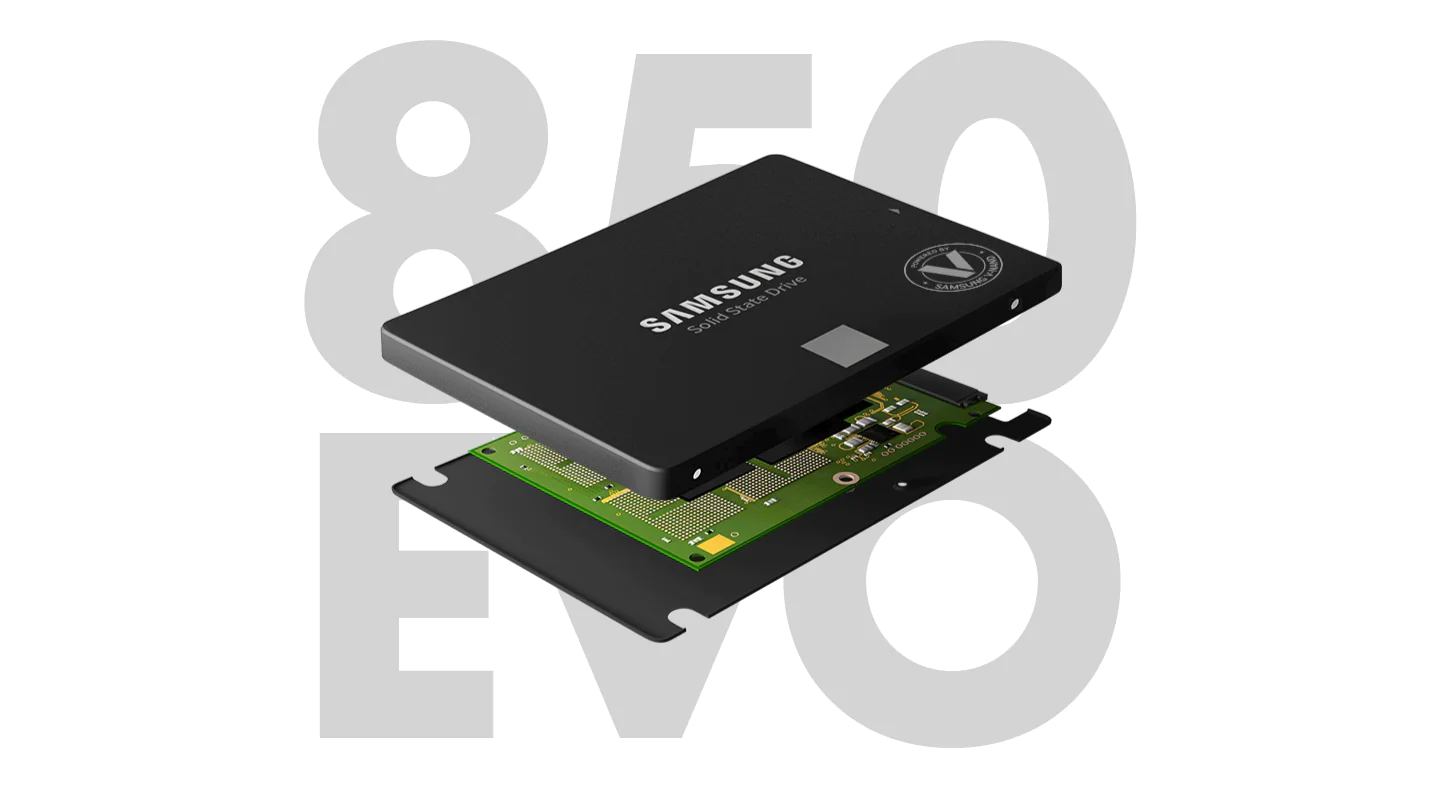
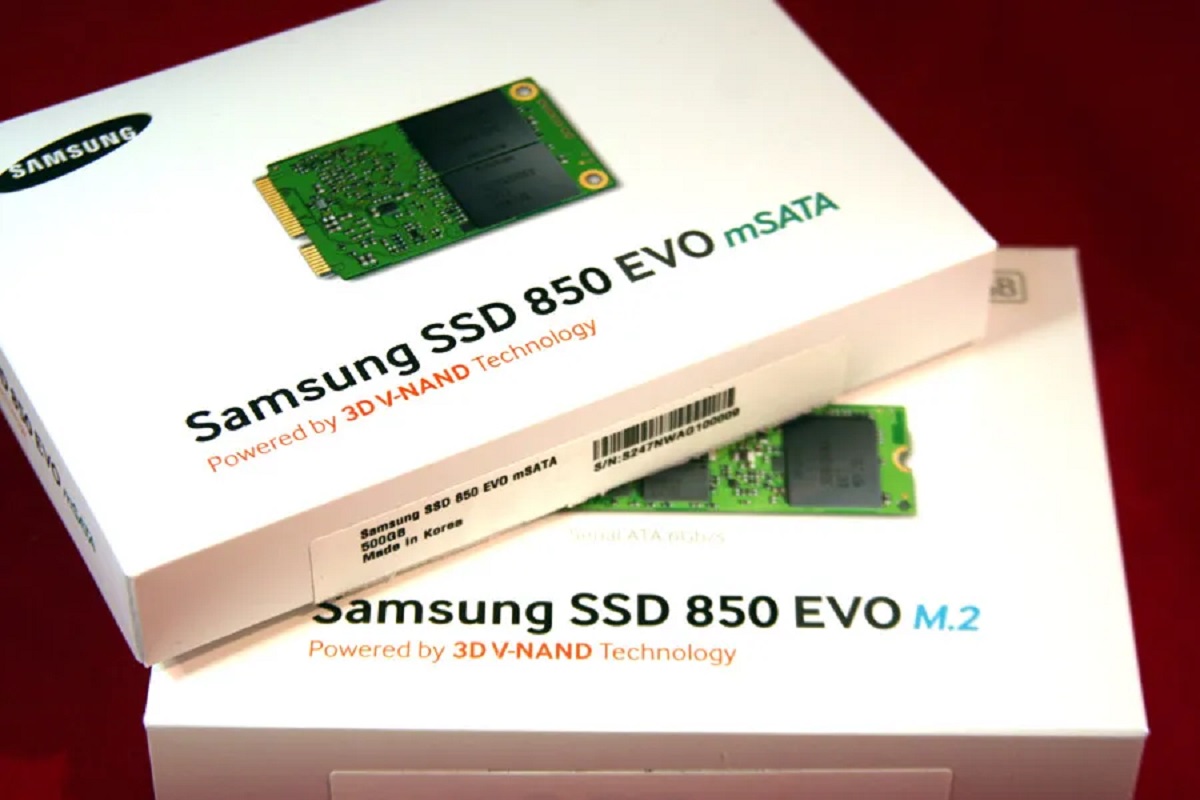
The Samsung SSD 850 Evo is a popular solid-state drive known for its reliability, high performance, and durability. If you are a Windows 10 user looking to format your Samsung SSD 850 Evo, this guide will walk you through the process step by step. Formatting your SSD is essential if you want to start fresh, remove any existing data, or resolve any issues you may be experiencing.
Before we begin, it is important to note that formatting your SSD will erase all data stored on it. Thus, it is crucial to back up any important files or documents before proceeding. This precaution will ensure that you don’t lose any valuable information during the formatting process.
In this guide, we will cover the various steps involved in formatting your Samsung SSD 850 Evo, including connecting it to your computer, accessing Disk Management on your Windows 10 system, formatting the drive, assigning a drive letter, and verifying the formatting.
By following these steps, you will be able to format your SSD quickly and easily, allowing it to work optimally with your Windows 10 operating system. So without further ado, let’s dive in and get started with the formatting process for your Samsung SSD 850 Evo!
Step 1: Backing up your data
Before you begin the formatting process for your Samsung SSD 850 Evo, it is crucial to back up any important data stored on the drive. Formatting will erase all the data on the SSD, so ensuring you have a backup will prevent any irreversible data loss.
There are several ways you can back up your data, depending on your preferences and the amount of data you need to save. Here are a few methods you can consider:
- External hard drive or USB drive: Connect an external hard drive or USB drive to your computer and copy the files from your Samsung SSD 850 Evo onto the external storage device. This method is suitable for smaller amounts of data.
- Cloud storage service: Utilize cloud storage services such as Google Drive, Dropbox, or OneDrive to upload your important files and documents. This way, your data will be securely stored online and can be easily accessed from any device.
- Network-attached storage (NAS): If you have a NAS device on your local network, you can transfer your data to the NAS for backup purposes. This allows for more extensive storage options and the ability to access your files from multiple devices.
Regardless of the method you choose, make sure to double-check and verify that all your important data has been successfully backed up before proceeding with the formatting process. Once you are confident that your data is safely stored, you can move on to the next step of connecting the Samsung SSD 850 Evo to your computer.
Step 2: Connecting the Samsung SSD 850 Evo to your computer
To format your Samsung SSD 850 Evo, you will first need to connect it to your computer. Here’s how you can do it:
- Shut down your computer: Before connecting any hardware, it’s essential to turn off your computer properly to avoid any potential damage.
- Open your computer case: If your Samsung SSD 850 Evo is an internal drive, you will need to open your computer case to access the internal components. Consult the documentation for your computer or seek professional assistance if you’re unsure about this step.
- Identify an available SATA port: Locate an available SATA port on your motherboard. These ports are typically labeled and can be found near the existing drives or on the edge of the motherboard.
- Connect the Samsung SSD 850 Evo: Take your Samsung SSD 850 Evo and connect it to the available SATA port. Ensure that the SATA cable is securely plugged into both the SSD and the motherboard’s SATA port. Additionally, connect the SSD’s power cable to the power supply.
- Close your computer case: Once you have connected the SSD, gently close your computer case and ensure that all the screws or latches are secured in place.
- Power on your computer: Once everything is connected and the computer case is securely closed, you can power on your computer to proceed with the next steps.
Now that you have successfully connected the Samsung SSD 850 Evo to your computer, you are ready to move on to the next step: accessing Disk Management on your Windows 10 system.
Step 3: Accessing Disk Management on Windows 10
Before you can format your Samsung SSD 850 Evo, you need to access Disk Management on your Windows 10 system. Disk Management is a built-in utility that allows you to manage and format disk drives connected to your computer. Here’s how you can access it:
- Open the Start menu: Click on the Start button located at the bottom left corner of your screen. You can also press the Windows key on your keyboard to open the Start menu.
- Search for “Disk Management”: In the search bar of the Start menu, type “Disk Management” and press Enter. This will open the Disk Management utility.
- Locate your Samsung SSD 850 Evo: In the Disk Management window, you will see a list of all the disk drives connected to your computer. Look for your Samsung SSD 850 Evo, which should be listed as a separate disk. Make sure to identify it correctly to avoid formatting the wrong drive.
Once you have accessed Disk Management and located your Samsung SSD 850 Evo, you are now ready to proceed with the next step: formatting the drive.
Step 4: Formatting the Samsung SSD 850 Evo
Now that you have accessed Disk Management and located your Samsung SSD 850 Evo, it’s time to format the drive. Formatting a drive allows you to prepare it for use by creating a file system and removing any existing data. Follow these steps to format your Samsung SSD 850 Evo:
- Right-click on the Samsung SSD 850 Evo: In the Disk Management window, right-click on your Samsung SSD 850 Evo. This will open a context menu with several options.
- Select “Format”: From the context menu, select the “Format” option. A new window will appear with formatting options.
- Choose the file system: In the formatting window, choose the desired file system for your Samsung SSD 850 Evo. For Windows 10, it is recommended to select the NTFS file system for optimal compatibility and performance.
- Assign a volume label (optional): You can also choose to assign a volume label to your SSD. This label can help you identify the drive more easily.
- Select the allocation unit size: The allocation unit size determines how the storage space on the SSD is allocated. It is recommended to leave it as the default setting unless you have specific requirements.
- Check the “Perform a quick format” option: Enabling this option will expedite the formatting process by skipping the initial disk scanning. However, keep in mind that it won’t fully erase the data on the SSD. If you want to perform a more thorough format, leave this option unchecked.
- Click “OK” to start the formatting process: Once you have reviewed the formatting options, click on the “OK” button to begin formatting your Samsung SSD 850 Evo.
- Wait for the formatting process to complete: The formatting process may take a few moments to complete, depending on the size of your SSD. Be patient and avoid interrupting the process to ensure successful formatting.
Once the formatting process is complete, you have successfully formatted your Samsung SSD 850 Evo. Next, we will proceed to assign a drive letter to the formatted SSD.
Step 5: Assigning a drive letter to the formatted SSD
After formatting your Samsung SSD 850 Evo, it is important to assign a drive letter to it. Assigning a drive letter allows your Windows 10 system to recognize and access the formatted SSD. Follow these steps to assign a drive letter:
- Right-click on the formatted Samsung SSD 850 Evo: In the Disk Management window, right-click on your formatted Samsung SSD 850 Evo. This will bring up a context menu with several options.
- Select “Change Drive Letter and Paths”: From the context menu, select the “Change Drive Letter and Paths” option. This will open a new window with drive letter settings.
- Click “Add”: In the drive letter settings window, click on the “Add” button. This will open the “Add Drive Letter or Path” window.
- Select a drive letter: In the “Add Drive Letter or Path” window, select an available drive letter from the drop-down menu. Choose a letter that is easy to remember and not currently assigned to any other drives or devices.
- Click “OK” to apply the drive letter: Once you have selected a drive letter, click on the “OK” button to apply the changes. The drive letter will be assigned to your formatted Samsung SSD 850 Evo.
Once the drive letter is assigned, you can now access your Samsung SSD 850 Evo through File Explorer or any other file management tool. The drive letter will allow you to conveniently navigate and use your newly formatted SSD.
With the drive letter assigned, you have completed the necessary steps to format and prepare your Samsung SSD 850 Evo for use on your Windows 10 system. Congratulations! Now, let’s move on to the final step: verifying the Samsung SSD 850 Evo formatting.
Step 6: Verifying the Samsung SSD 850 Evo formatting
After formatting your Samsung SSD 850 Evo and assigning a drive letter to it, it is important to verify that the formatting was successful. Verifying the formatting ensures that all the necessary changes have been applied, and your SSD is ready for use. Follow these steps to verify the formatting:
- Open File Explorer: Open File Explorer on your Windows 10 system by clicking on the folder icon in the taskbar or by pressing the Windows key + E on your keyboard.
- Locate the Samsung SSD 850 Evo: In the left-hand pane of File Explorer, you should see a list of drives under “This PC” or “Computer.” Look for the drive letter that you assigned to your Samsung SSD 850 Evo. It should be listed with the label you provided during the formatting process.
- Click on the Samsung SSD 850 Evo: Once you have located your SSD, click on it to access its contents. If the formatting was successful, you should see an empty drive with no files or folders.
- Create a test file (optional): To further verify the formatting, you can create a test file on the SSD. Right-click on the empty space within the SSD’s folder and select “New” > “Text Document.” Name the new document and save it to the SSD. Open the file to ensure it opens correctly.
- Confirm absence of errors: While exploring the SSD and testing its functionality, keep an eye out for any error messages or unusual behavior. If everything appears to be functioning normally and there are no error messages, you can rest assured that the formatting of your Samsung SSD 850 Evo was successful.
Congratulations! You have successfully formatted and verified the Samsung SSD 850 Evo on your Windows 10 system. Your SSD is now ready for use, and you can begin storing files and data on it. Enjoy the improved performance and reliability that the Samsung SSD 850 Evo brings to your system!
Conclusion
Formatting your Samsung SSD 850 Evo for Windows 10 is a relatively straightforward process that can help optimize the performance and reliability of your drive. By following the steps outlined in this guide, you can easily format your SSD and prepare it for use with your Windows 10 system.
Remember to back up your important data before formatting to avoid any data loss. Connecting the Samsung SSD 850 Evo to your computer is as simple as locating an available SATA port and securely connecting the drive. Accessing Disk Management in Windows 10 allows you to format the SSD and choose the desired file system.
Assigning a drive letter to your formatted SSD ensures easy access and navigation through File Explorer or other file management tools. Finally, verifying the formatting by exploring the SSD and creating a test file can give you the confidence that the process was successful.
With your Samsung SSD 850 Evo formatted and ready for use, you can now enjoy its high performance, reliability, and storage capacity. Whether you’re using it for gaming, multimedia work, or general computing, your SSD will provide faster boot times, quicker file transfers, and improved overall system responsiveness.
Remember, formatting your SSD erases all data on it, so it’s important to back up any important files before starting the process. If you encounter any difficulties or have specific questions, consult the user manual provided with your Samsung SSD 850 Evo or reach out to Samsung’s customer support for assistance.
We hope this guide has been helpful in formatting your Samsung SSD 850 Evo for Windows 10. Enjoy the benefits of your newly formatted SSD and make the most out of its capabilities!