Introduction
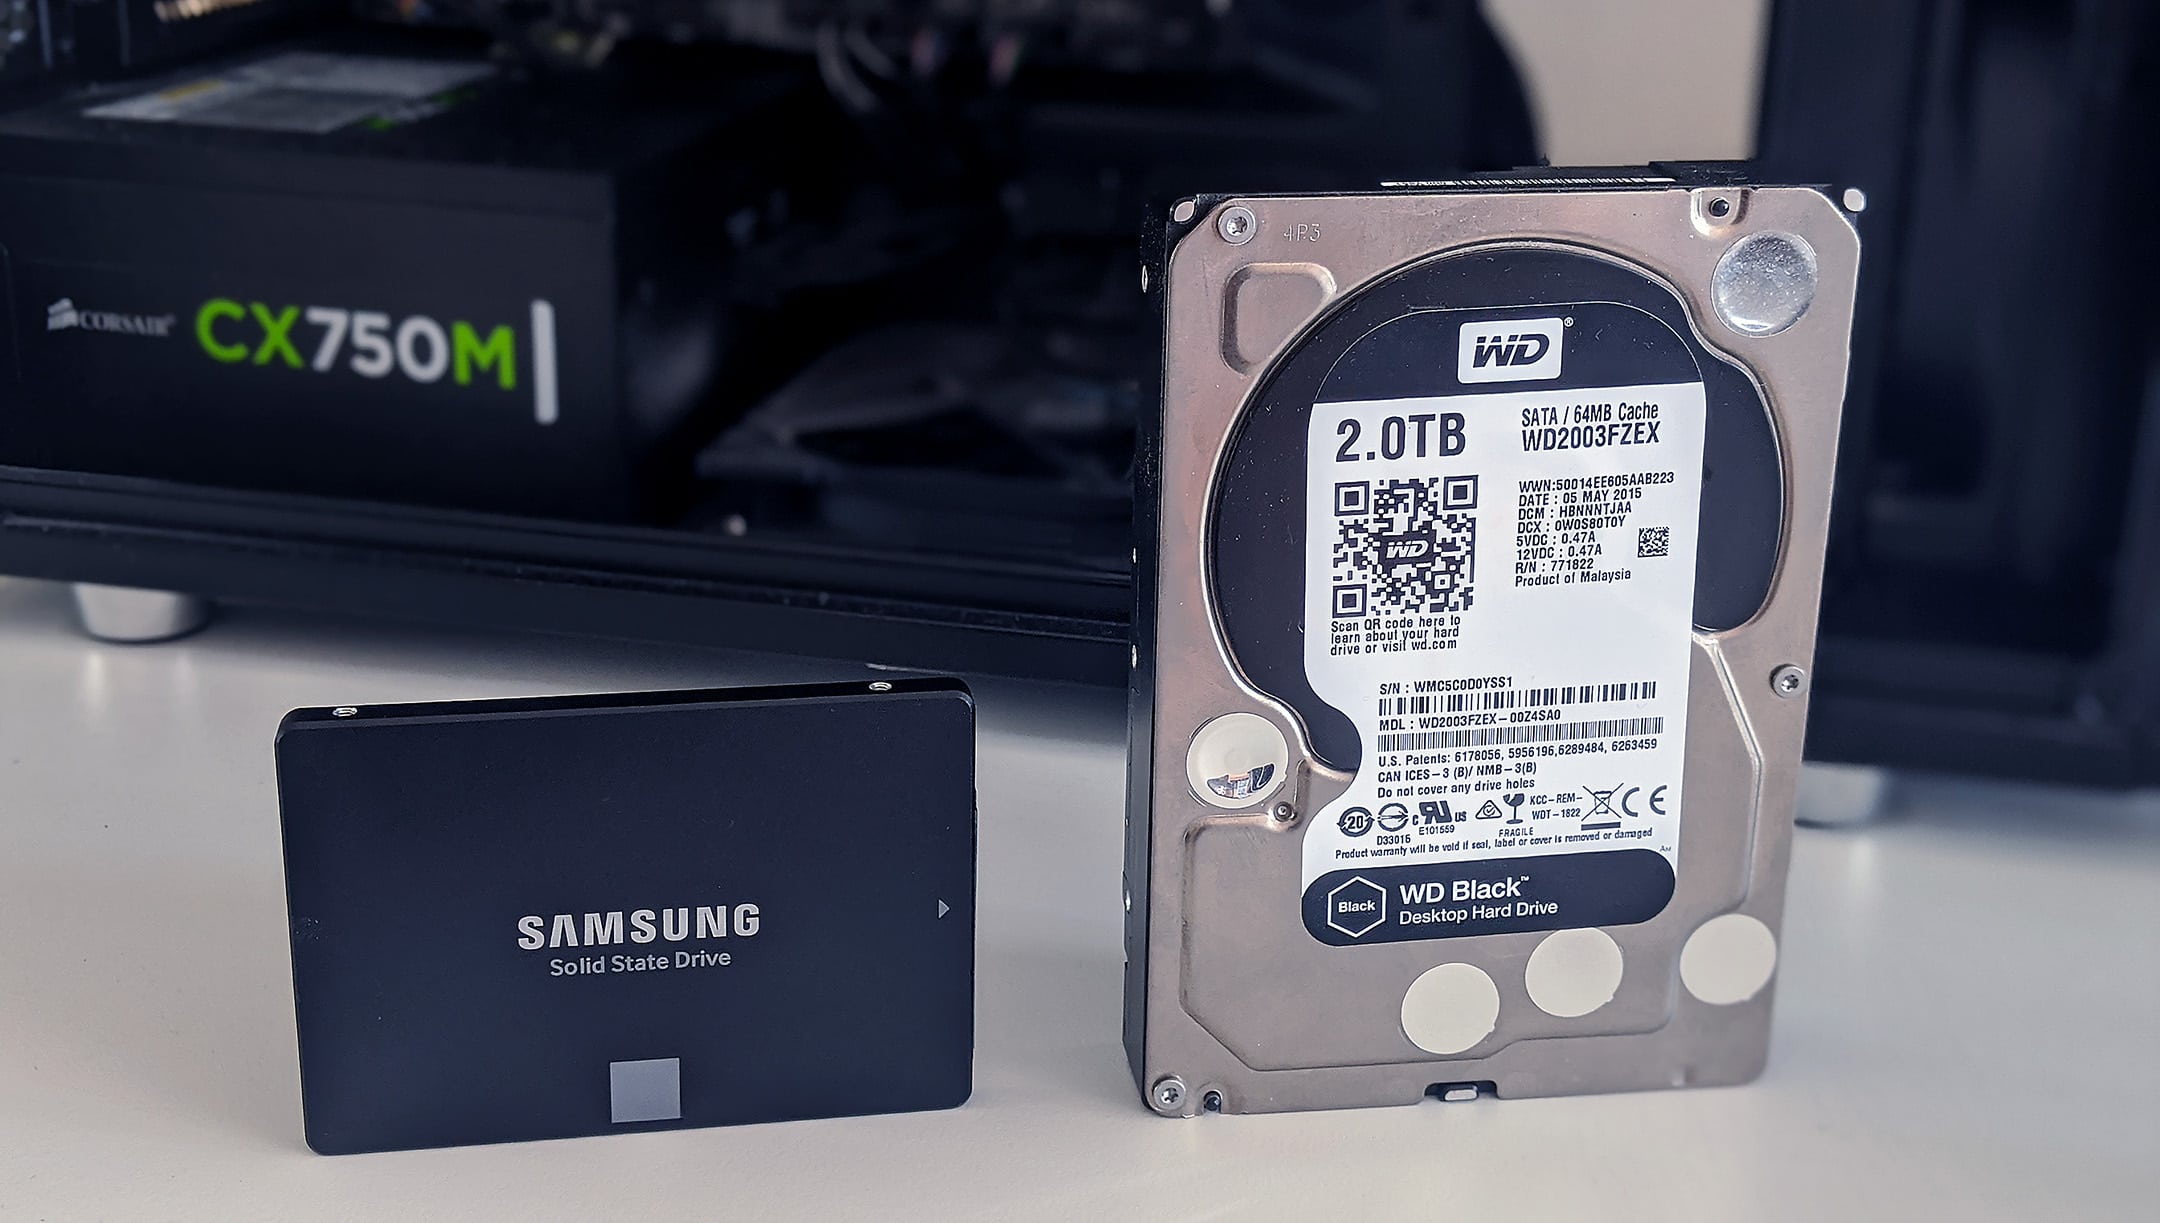
Installing Windows 10 on a new SSD drive is a great way to upgrade your computer’s performance and improve system responsiveness. Whether you’re adding a secondary drive or replacing your existing hard drive, this process can optimize your computer’s speed, storage capacity, and overall efficiency.
By installing Windows 10 on a new SSD drive, you’ll experience faster boot times, shorter application loading times, and smoother multitasking capabilities. Additionally, SSD drives are more durable and reliable compared to traditional hard drives, making them an excellent choice for both desktop and laptop computers.
Before diving into the installation process, it’s important to note that installing a new operating system can result in the loss of data. Therefore, it’s crucial to back up any important files and folders to an external storage device or cloud-based service.
This comprehensive guide will walk you through the step-by-step process of installing Windows 10 on a new SSD drive, ensuring a seamless transition and optimal performance for your computer. From preparing the SSD drive to completing the installation and updating drivers and software, we’ll cover everything you need to know.
So, whether you’re a tech-savvy enthusiast looking to upgrade your system or a beginner eager to try your hand at a computer upgrade, this guide will equip you with the knowledge and confidence to install Windows 10 on a new SSD drive.
Before You Begin
Before embarking on the installation process, it’s important to ensure that you have everything you need and take a few necessary precautions. Here is a checklist of things to consider before installing Windows 10 on a new SSD drive:
- Check system compatibility: Ensure that the computer or laptop you plan to install Windows 10 on is compatible with the new SSD drive. Check the manufacturer’s specifications for any restrictions or recommended compatibility requirements.
- Backup your data: As mentioned earlier, installing a new operating system can result in data loss. It’s crucial to back up any important files, documents, photos, or videos to an external storage device or cloud-based service.
- Verify SSD drive capacity: Confirm that the new SSD drive has sufficient capacity to accommodate the Windows 10 operating system, as well as any additional software and files you plan to install.
- Obtain a Windows 10 installation media: You will need a bootable USB drive or a DVD with the Windows 10 installation files. If you don’t have one, you can create one using Microsoft’s Media Creation Tool.
- Gather necessary tools: Depending on your computer’s design, you may require specific tools to open the casing and install the new SSD drive. This could include screwdrivers, cables, or mounting brackets. Refer to your computer’s manual or consult with a professional if needed.
- Ensure adequate power supply: Make sure your computer or laptop is connected to a stable power source throughout the installation process. Any power interruptions during the installation can cause potential issues.
- Update firmware and drivers: Check for any firmware updates for your new SSD drive and ensure that all drivers are up to date for a smooth installation process.
- Have a copy of Windows 10 product key: If you purchased a license key separately, make sure you have it readily available before starting the installation process.
By following these pre-installation guidelines, you can minimize the risks and ensure a successful installation of Windows 10 on your new SSD drive. It’s always better to be prepared, as it can save you time and frustration during the process.
Step 1: Preparing the SSD Drive
Before installing Windows 10 on the new SSD drive, you need to prepare it to ensure optimal performance and compatibility. Follow these steps to effectively prepare your SSD drive:
- Connect the SSD drive: If you haven’t already done so, connect the SSD drive to your computer. If it’s an internal SSD drive, open the computer case and securely connect the drive to an available SATA port. If it’s an external SSD drive, connect it via a USB cable.
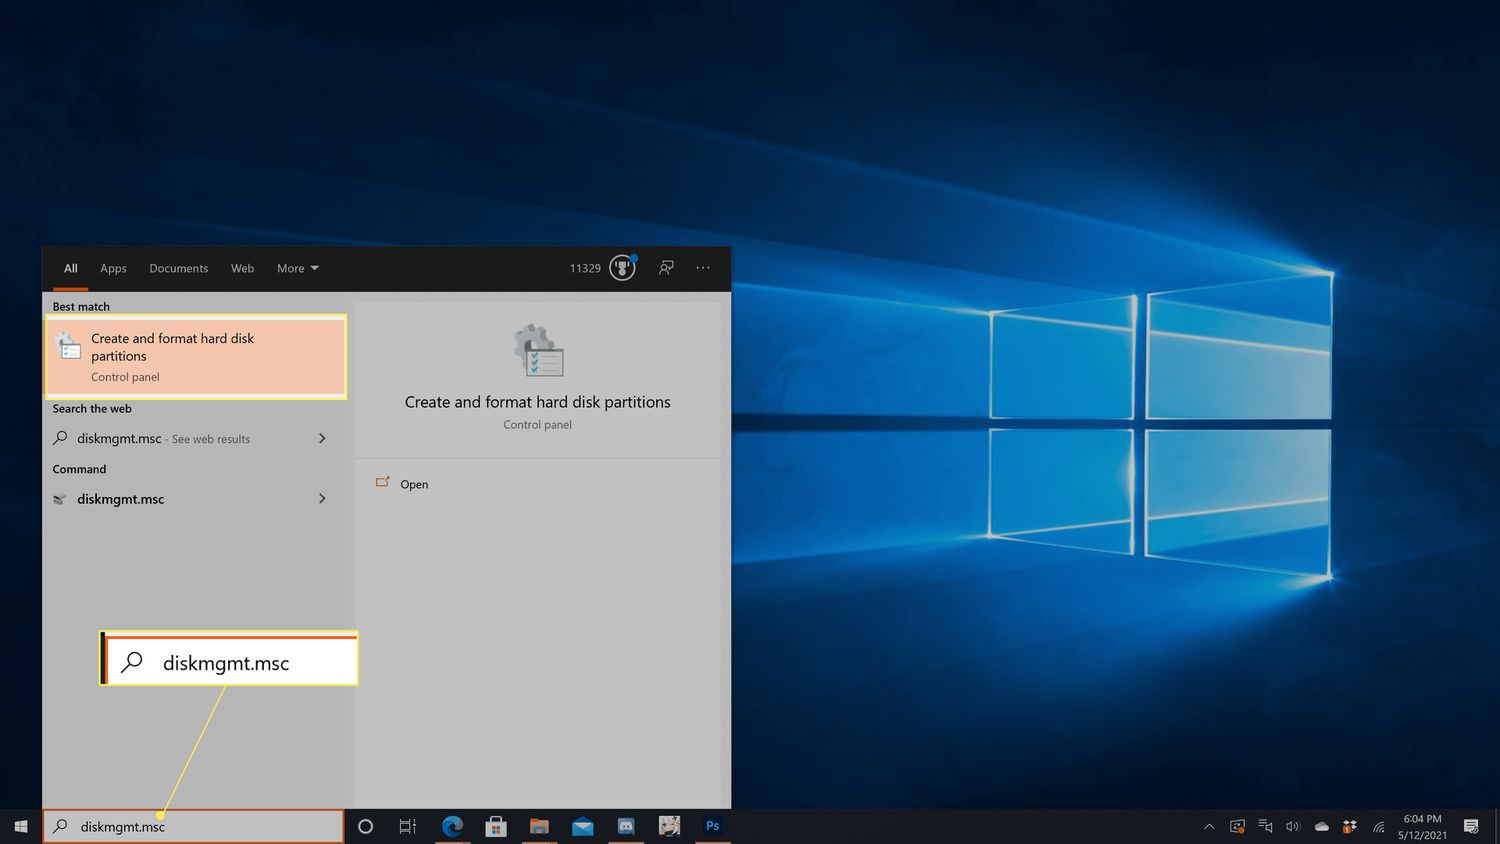
- Initialize the SSD drive: Once connected, you’ll need to initialize the SSD drive in order for it to be recognized by your computer. To do this, open the Disk Management tool by pressing Windows + X together and selecting “Disk Management” from the list. Locate the SSD drive in the list of available drives, right-click on it, and select “Initialize Disk.”
- Create a new partition: After initializing the SSD drive, you’ll need to create a new partition on it. Right-click on the unallocated space of the SSD drive and select “New Simple Volume.” Follow the on-screen instructions to assign a drive letter and format the partition with NTFS file system.
- Assign a drive letter: Once the partition is created and formatted, assign a drive letter to the SSD drive. Right-click on the partition and select “Change Drive Letter and Paths.” Click on “Add” and choose a drive letter from the drop-down menu.
- Format the SSD drive: If the SSD drive wasn’t formatted during the partition creation process, you’ll need to format it manually. Right-click on the partition, select “Format,” and choose the file system (NTFS is recommended) and allocation unit size. Click on “OK” to start the formatting process.
- Perform a quick format: To save time, it’s best to perform a quick format. This option skips the process of scanning for bad sectors on the SSD drive. However, if you suspect any issues with the drive, performing a full format might be advisable.
By following these steps, you have successfully prepared your SSD drive for the Windows 10 installation. Now, you’re ready to create a Windows 10 installation media to proceed with the installation process.
Step 2: Creating a Windows 10 Installation Media
Before you can install Windows 10 on your new SSD drive, you need to create a bootable installation media. This can be done using the Windows 10 Media Creation Tool. Follow these steps to create the installation media:
- Download the Media Creation Tool: Go to the official Microsoft website and download the Windows 10 Media Creation Tool. Make sure to choose the version that matches your system architecture (32-bit or 64-bit).
- Run the Media Creation Tool: Once the download is complete, run the Media Creation Tool. Accept the license terms and select the “Create installation media (USB flash drive, DVD, or ISO file) for another PC” option.
- Choose the language, edition, and architecture: Select your desired language, Windows 10 edition, and system architecture (32-bit or 64-bit). You can also choose the option to use the recommended settings for this PC.
- Select the USB flash drive option: If you plan to install Windows 10 directly from a USB drive, select the “USB flash drive” option. Make sure you have a USB drive with sufficient storage capacity and connect it to your computer.
- Follow the on-screen instructions: The Media Creation Tool will guide you through the process of creating the bootable USB drive for Windows 10. It will automatically download the necessary files and create the installation media on the USB drive.
- Wait for the process to complete: Depending on your internet speed, the download and creation process may take some time. It’s important to be patient and allow the tool to finish creating the installation media.
- Eject the USB drive: Once the process is complete, safely eject the USB drive from your computer. Your bootable Windows 10 installation media is now ready to be used.
Creating a Windows 10 installation media is a crucial step in the installation process. It allows you to install Windows 10 on your new SSD drive without the need for an active internet connection. Now that you have the installation media, you can proceed to the next step: installing the SSD drive in your computer.
Step 3: Installing the SSD Drive in Your Computer
Now that you have prepared the SSD drive and created a Windows 10 installation media, it’s time to physically install the SSD drive in your computer. Follow these steps to install the SSD drive:
- Power off your computer: Before you begin, make sure your computer is powered off and disconnected from any power source.
- Open the computer case: Depending on your computer’s design, you may need to remove screws or slide a side panel to access the internal components. Consult your computer’s manual for specific instructions on how to open the case.
- Locate an available slot: Identify an available slot for the SSD drive in your computer. Most modern computers have dedicated slots for SSD drives.
- Connect the SSD drive: Carefully connect the SSD drive to the available slot. For internal SSD drives, connect the data cable (usually SATA) and power cable (usually SATA power) securely. For external SSD drives, connect the USB cable to an available USB port.
- Secure the SSD drive: If necessary, use screws or mounting brackets to secure the SSD drive in place inside the computer case. Ensure that it is firmly attached and aligned correctly.
- Close the computer case: Once the SSD drive is installed, carefully close the computer case and secure any screws or fasteners that hold it together.
By following these steps, you have successfully installed the SSD drive in your computer. Now, you are ready to move on to the next step: booting from the installation media.
Step 4: Booting from the Installation Media
Now that you have installed the SSD drive in your computer, you need to boot from the Windows 10 installation media to begin the installation process. Follow these steps to boot from the installation media:
- Power on your computer: Make sure your computer is powered on and connected to a stable power source.
- Access the boot menu: During the startup process, immediately press the key (e.g., F12, Esc, or Del) as indicated on the screen to access the boot menu. The specific key may vary depending on your computer’s manufacturer.
- Select the installation media: Use the arrow keys on your keyboard to navigate through the boot menu. Select the option that represents the bootable USB drive or DVD that contains the Windows 10 installation media.
- Press Enter: After selecting the installation media, press the Enter key on your keyboard to start the boot process. Your computer will now boot from the installation media.
- Wait for the Windows logo: You will see the Windows logo appear on your screen, indicating that the Windows 10 installation process is starting.
It may take a few moments for the Windows 10 installation files to load. Once loaded, you will be prompted with the installation wizard to proceed with the installation process.
Booting from the installation media allows you to begin the installation of Windows 10 on your newly installed SSD drive. Now that you have successfully booted from the installation media, you can move on to the next step: installing Windows 10.
Step 5: Installing Windows 10
With the Windows 10 installation media successfully loaded, you are ready to install Windows 10 on your SSD drive. Follow these steps to install Windows 10:
- Select your language and preferences: In the Windows 10 installation wizard, select your language, time and currency format, and keyboard layout. Click on “Next” to proceed.
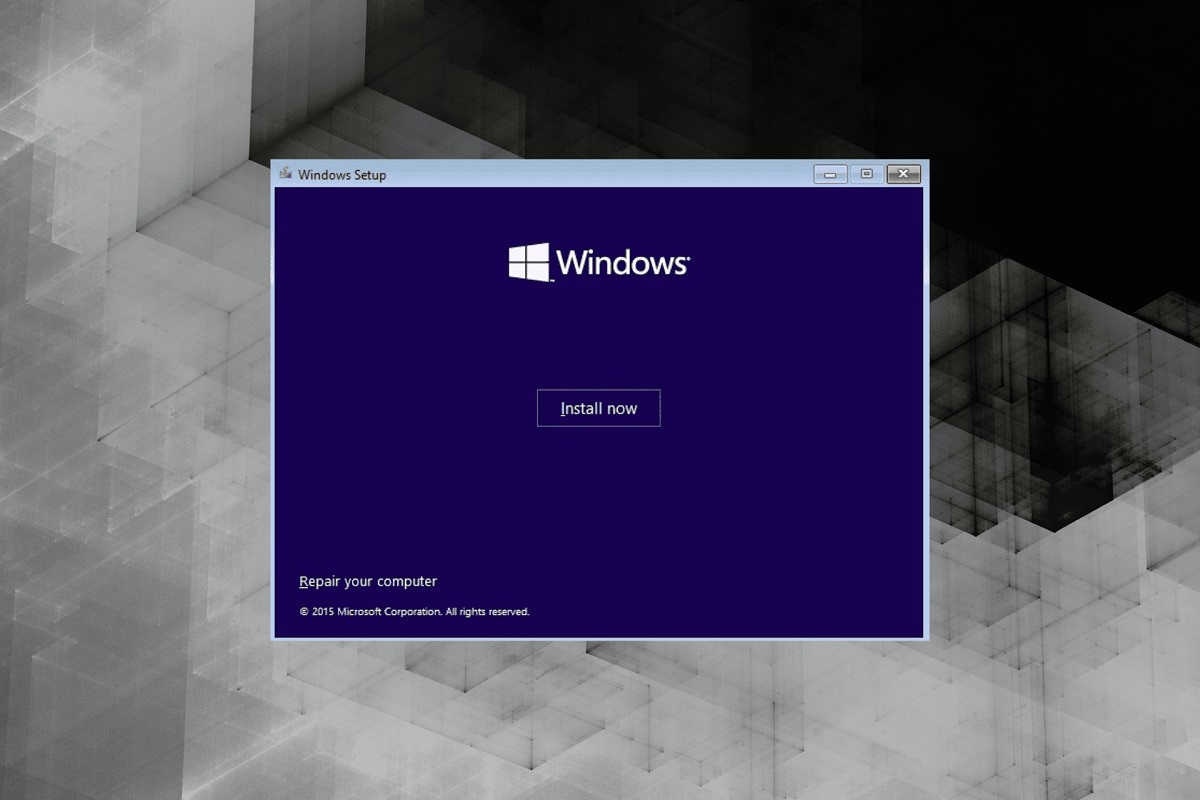
- Click on “Install Now”: On the next screen, click on the “Install Now” button to begin the installation process.
- Enter your product key: If prompted, enter your Windows 10 product key. You can find this key on the packaging of your Windows 10 installation media or in your confirmation email if you purchased it digitally.
- Accept the license terms: Read and accept the license terms to continue with the installation process.
- Choose the installation type: Select the “Custom: Install Windows only (advanced)” option to perform a clean installation of Windows 10 on your new SSD drive.
- Select the SSD drive: On the next screen, you will see a list of available drives. Select the partition on your SSD drive and click on “Next” to begin the installation.
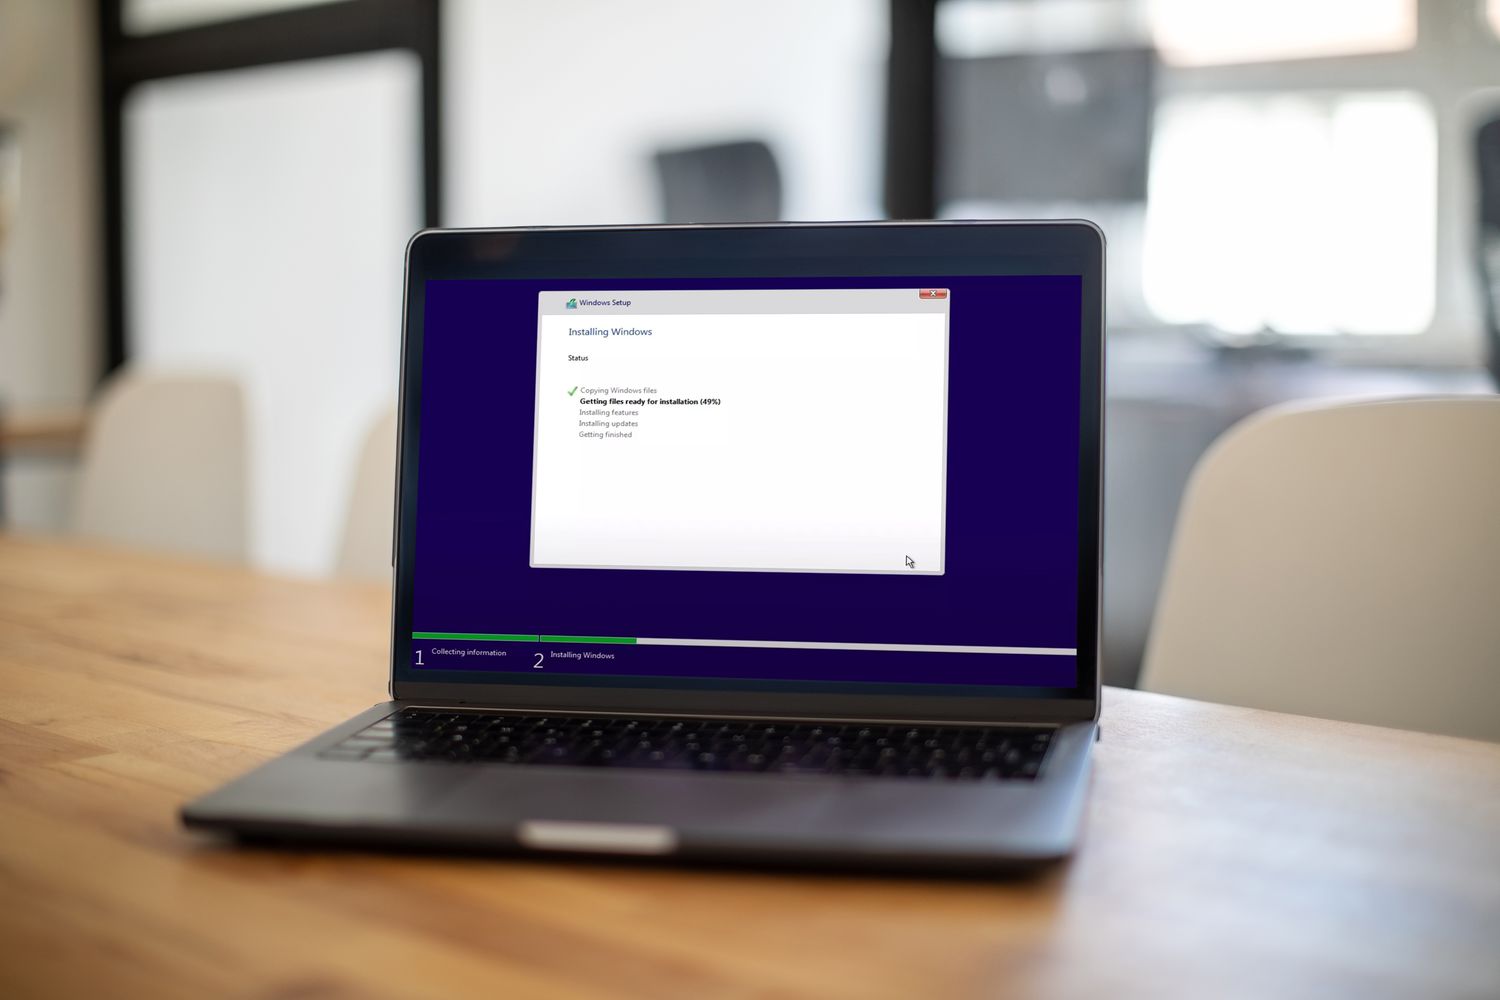
- Wait for the installation process: The installation process may take some time, so be patient. Your computer may restart multiple times during the process.
- Set up your preferences: After the installation is complete, follow the on-screen prompts to set up your preferences, such as region, keyboard layout, and user account details.
- Wait for the setup to complete: Once you have entered the necessary information, Windows will finalize the setup process. This may take a few minutes.
- Sign in to Windows 10: Finally, sign in to your newly installed Windows 10 operating system using your Microsoft account or create a new local account.
Once you have completed these steps, you have successfully installed Windows 10 on your SSD drive. Congratulations! Now you can move on to the next step: completing the installation process.
Step 6: Completing the Installation Process
After installing Windows 10 on your newly formatted SSD drive, there are a few additional steps you need to take to ensure a smooth and fully functional system. Follow these steps to complete the installation process:
- Windows updates: Connect your computer to the internet and allow Windows to automatically install the latest updates. These updates include important security patches, bug fixes, and performance enhancements.
- Activate Windows: If you haven’t entered your product key during the installation, go to the settings menu and activate Windows 10 using your product key.
- Install device drivers: Check if any device drivers are missing or outdated. Use the device manager or the manufacturer’s website to download and install the latest drivers for your hardware components, such as graphics card, network adapter, and sound card.
- Install essential software: Install necessary software, such as antivirus programs, web browsers, and productivity tools, to ensure a secure and productive computing experience.
- Restore backup files: If you have backed up your files before the installation, restore them to your new Windows 10 system. This will ensure that all your important files and documents are accessible.
- Customize system settings: Adjust system settings according to your preferences. This includes personalizing the desktop background, configuring power options, setting up user accounts, and managing privacy settings.
- Test functionality: Perform tests on your system to ensure that all hardware and software are working properly. Check network connectivity, audio and video playback, printer functionality, and any other peripherals connected to your computer.
- Set up backup: Implement a regular backup strategy to protect your data from potential loss or corruption. This can involve using external storage devices or cloud-based backup services.
By following these steps and completing the installation process, you can enjoy the benefits of a fresh Windows 10 installation on your SSD drive. It’s important to regularly update your system and keep backups of your important files to maintain a smooth and secure computing experience.
Step 7: Updating Drivers and Software
After completing the installation process and setting up your Windows 10 system on the new SSD drive, it’s crucial to update your device drivers and software to ensure optimal performance, compatibility, and security. Follow these steps to update your drivers and software:
- Check for Windows updates: Go to the Windows Update settings and check for any available updates for your system. Install all recommended updates, including driver updates provided by Microsoft.
- Visit the manufacturer’s website: Identify the manufacturers of your hardware components, such as the graphics card, sound card, network adapter, and chipset. Visit their respective websites to download the latest drivers specifically designed for your hardware.
- Download and install driver updates: Locate the proper driver downloads for your hardware components on the manufacturer’s website. Download the latest versions and follow the installation instructions provided. Restart your computer if prompted.
- Use driver update software: Alternatively, you can use driver update software applications that automatically scan your system, identify outdated drivers, and download and install the latest versions. Popular examples include Snappy Driver Installer, Driver Booster, and Driver Easy.
- Update software applications: Check for updates for your essential software applications, such as web browsers, antivirus software, office suites, and other productivity tools. Most applications have an automatic update feature, or you can manually visit the software provider’s website to download the latest versions.
- Restart your computer: After updating the drivers and software, it’s advisable to restart your computer. This ensures that all changes take effect and your system is running optimally.
- Perform functionality tests: Test your hardware and software components to ensure they are working properly after the updates. Check for any performance improvements and verify that all functionality is as expected.
- Enable automatic updates: To stay up to date with future driver and software updates, enable automatic updates for Windows and the installed software applications. This ensures that you receive the latest improvements and security patches.
By following these steps and keeping your drivers and software up to date, you can enhance the performance, stability, and security of your Windows 10 system on the new SSD drive. Remember to periodically check for updates and take advantage of the latest features and improvements offered by hardware manufacturers and software developers.
Conclusion
Congratulations! You have successfully installed Windows 10 on your new SSD drive, optimizing your computer’s performance and improving system responsiveness. The process of installing Windows 10 on an SSD drive involves preparing the drive, creating a Windows 10 installation media, installing the SSD drive, booting from the installation media, and completing the installation process. Along with updating drivers and software, these steps ensure a smooth transition and optimal performance for your computer.
By installing Windows 10 on a new SSD drive, you benefit from faster boot times, shorter application loading times, and overall improved system speed. SSD drives are also more durable and reliable compared to traditional hard drives, making them an excellent choice for both desktop and laptop computers.
Remember to backup your data before starting the installation process, and ensure that your computer is compatible with the new SSD drive. Additionally, regularly update your drivers and software to maintain optimal performance, compatibility, and security.
Installing Windows 10 on a new SSD drive not only enhances your computer’s performance but also extends its lifespan. It’s a worthwhile investment that can significantly enhance your computing experience, whether you’re a casual user or a tech enthusiast.
Now that you have completed the installation process and updated your drivers and software, take the time to explore the features and capabilities of Windows 10. Customize your system settings, install necessary software applications, and enjoy the seamless and efficient performance of your newly upgraded computer.
Thank you for following this guide, and we hope it has been helpful in your journey to install Windows 10 on a new SSD drive. Enjoy your improved computing experience!