Introduction
Welcome to the ultimate guide on how to install Windows 10 on a Solid State Drive (SSD). If you’re looking to improve the performance and speed of your computer, upgrading to an SSD is a fantastic option. Windows 10 is optimized to take advantage of the high-speed capabilities of an SSD, providing you with a seamless and efficient computing experience.
Installing Windows 10 on an SSD is a straightforward process, but it does require some preparation and careful steps to ensure a successful installation. In this guide, we will take you through each step, from gathering the necessary tools to completing the installation process and optimizing your newly installed Windows 10 on the SSD.
By installing Windows 10 on an SSD, you’ll enjoy faster boot times, quicker application launches, and improved overall system performance. Additionally, SSDs are more reliable than traditional hard drives, ensuring the safety and integrity of your data. Whether you’re a tech enthusiast, a gamer, or simply someone looking to breathe new life into an older computer, this guide will help you make the most of your Windows 10 installation on an SSD.
Before we dive into the installation process, it’s important to note that installing Windows on an SSD will require a fresh installation, which means that all existing data on your current hard drive will be erased. Therefore, it’s essential to back up any important files and programs that you wish to keep before proceeding with the installation.
In the following sections, we will guide you through each step of the process, ensuring you have a smooth and successful installation of Windows 10 on your SSD. Let’s get started!
Step 1: Gather the necessary tools and materials
Before you begin the installation process, it’s crucial to gather all the necessary tools and materials. Here’s what you’ll need:
- A desktop or laptop computer with a DVD drive or USB port
- A Windows 10 installation media, either a DVD or a USB drive. If you don’t have one, you can create it using the Media Creation Tool provided by Microsoft.
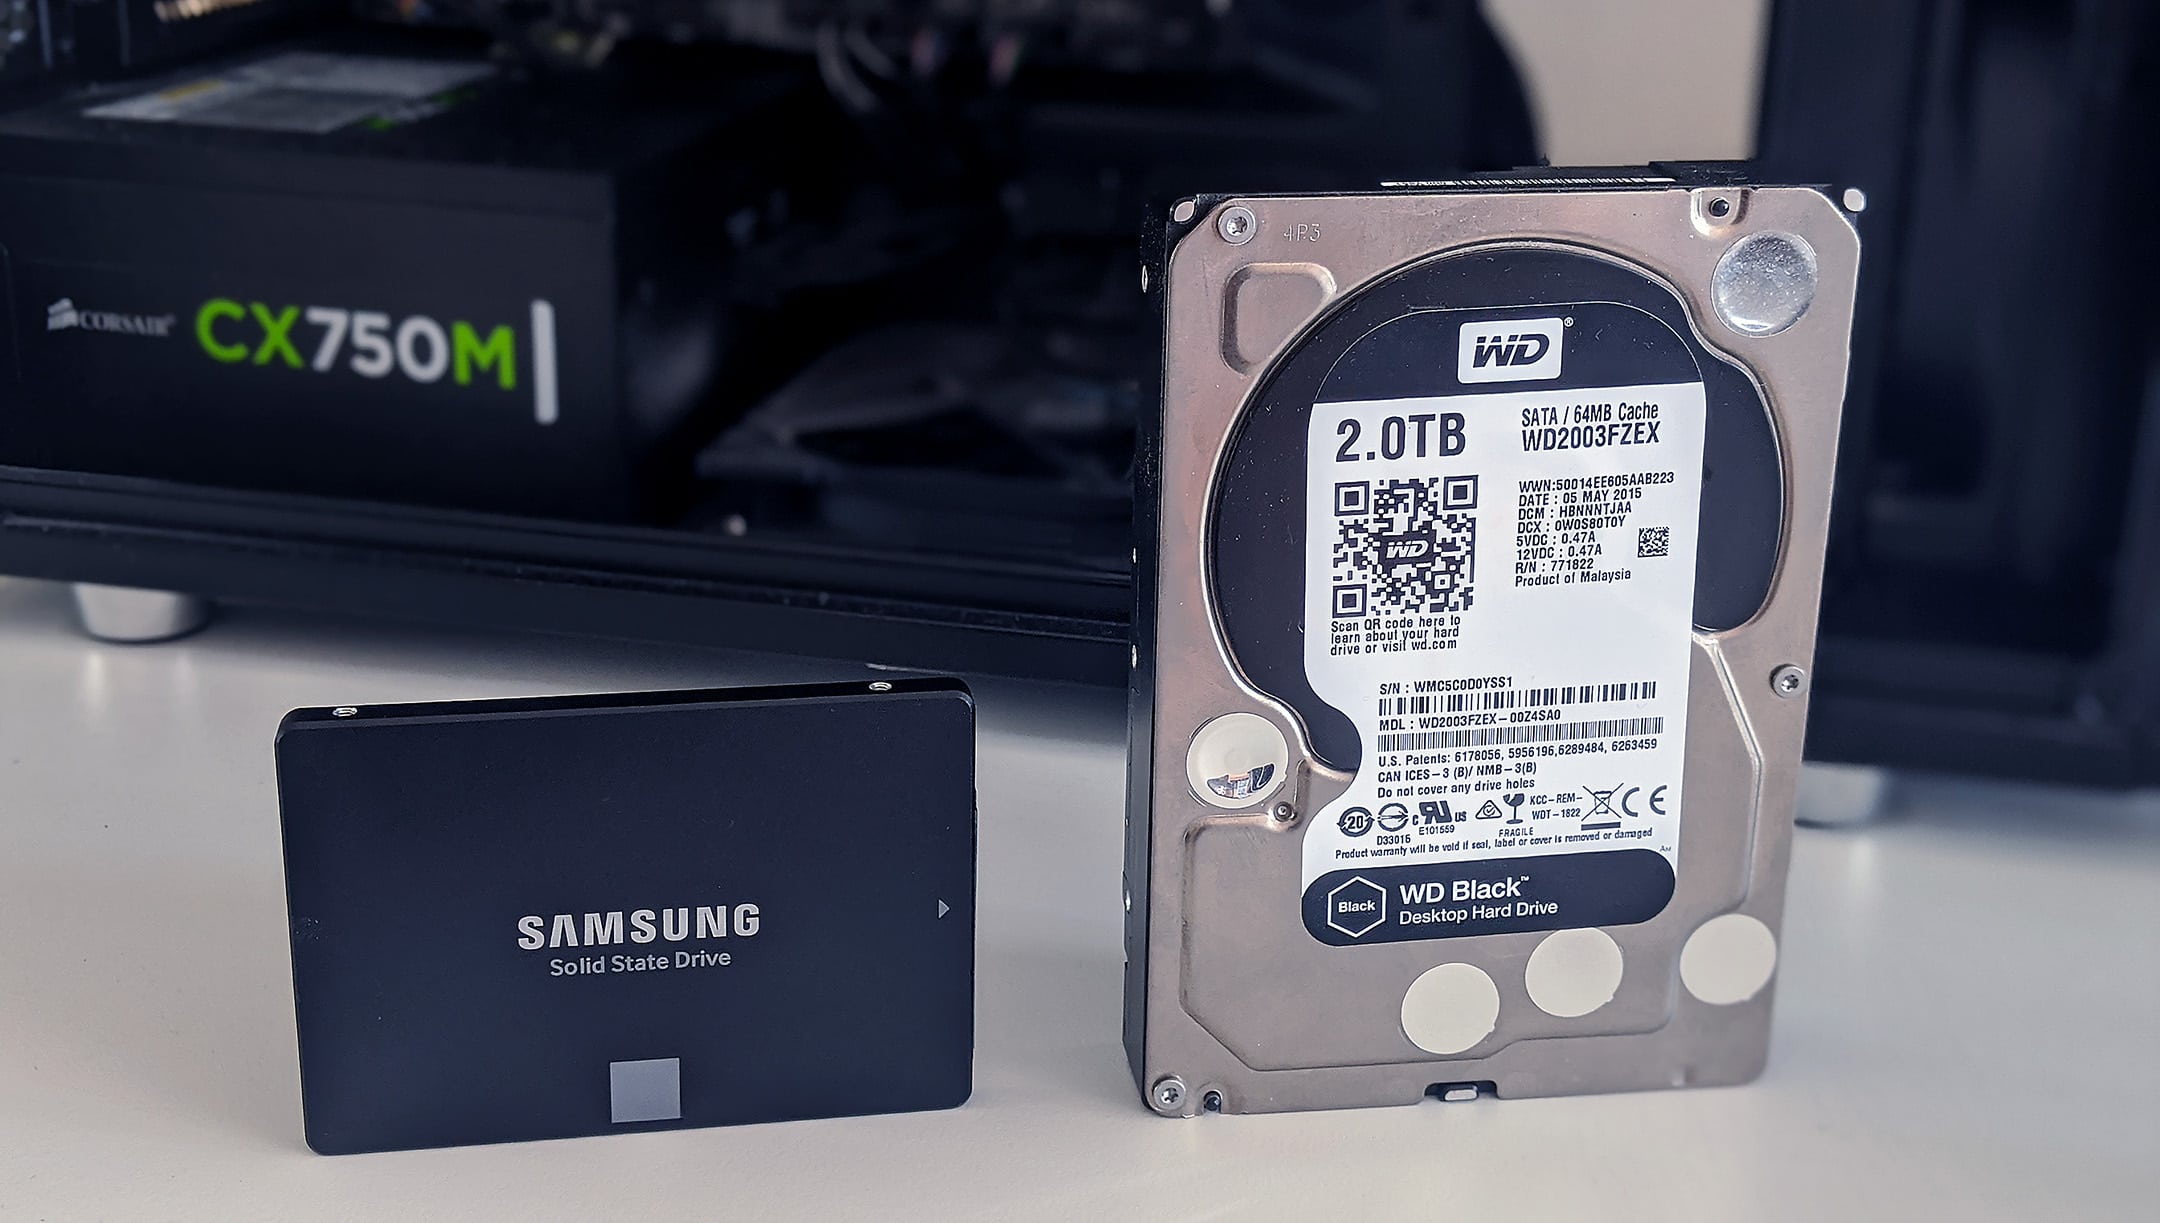
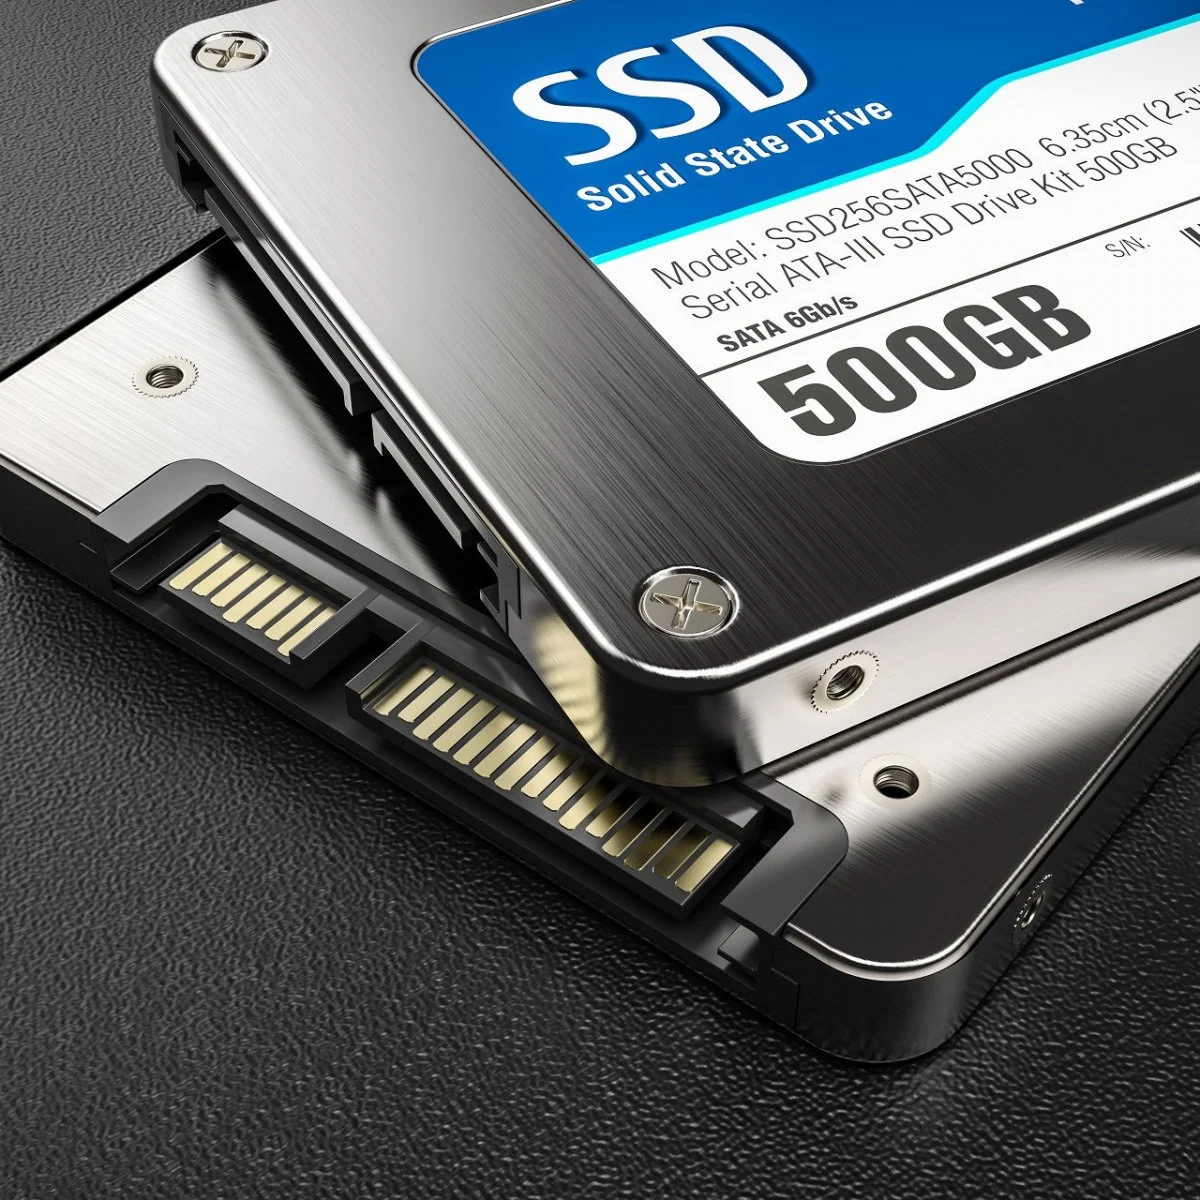
- An SSD with sufficient storage capacity to accommodate Windows 10 and your desired applications and files.
- A compatible SATA or NVMe cable, depending on the type of SSD you have.
- A screwdriver (if your computer requires you to physically install the SSD into a bay)
- Any necessary drivers or software for your specific SSD (check the manufacturer’s website for details)
Make sure you have all the tools and materials listed above before proceeding with the installation. It’s essential to have everything prepared to ensure a smooth installation process without any interruptions.
Additionally, it’s important to note that some laptops may require specific tools or additional steps for removing the existing hard drive or accessing the SSD bay. If you’re unfamiliar with the internals of your laptop, consult the manufacturer’s documentation or seek assistance from a professional technician.
Once you have gathered all the necessary tools and materials, you’re ready to move on to the next step: creating a Windows 10 installation media.
Step 2: Create a Windows 10 installation media
In order to install Windows 10 on your SSD, you’ll need a Windows 10 installation media. This can be either a DVD or a USB drive. Here’s how you can create a Windows 10 installation media:
- Go to the Microsoft website and download the Media Creation Tool. This tool will help you create the installation media. Make sure to select the correct version of Windows 10 that matches your current operating system.
- Once the Media Creation Tool is downloaded, run the tool and follow the on-screen instructions.
- Choose the option to create installation media for another PC and select the language, edition, and architecture (32-bit or 64-bit) that matches your requirements. Most modern computers use the 64-bit version.
- Choose whether you want to create a USB flash drive or an ISO file. If you have a USB drive available, it’s recommended to choose this option as it’s more convenient for installation.
- Insert the USB drive into your computer and select it in the Media Creation Tool. If you’re creating an ISO file, choose a location on your computer to save it.
- Click on “Next” and wait for the Media Creation Tool to download and create the Windows 10 installation media. This process may take some time depending on your internet speed.
- Once the process is complete, you’ll have a Windows 10 installation USB drive or ISO file ready for installation.
With the Windows 10 installation media created, you’re now prepared to move on to the next step: connecting the SSD to your computer.
Step 3: Connect the SSD to your computer
Now that you have your Windows 10 installation media ready, it’s time to connect the SSD to your computer. Follow these steps to ensure a successful connection:
- Turn off your computer and disconnect it from any power source. This is crucial for safety reasons.
- If you’re adding the SSD as a secondary drive, locate an available SATA port on your motherboard. Connect one end of the SATA cable to the SSD and the other end to the SATA port. Make sure the cable is securely connected at both ends.
- If you’re replacing your existing hard drive with the SSD, locate your computer’s hard drive bay. Remove the screws holding the bay cover in place and carefully slide out the old hard drive. If necessary, consult your computer’s user manual or the manufacturer’s website for specific instructions on removing the old hard drive.
- Align the SSD with the empty drive bay and connect it using the appropriate screws or mounting brackets. Be careful not to overtighten the screws.
Once you have connected the SSD to your computer, ensure that all cables and connections are securely in place. Double-check that the SATA cable is firmly attached to both the SSD and the motherboard, and that the power cable is properly plugged into the SSD.
After making sure everything is properly connected, you can proceed to the next step: configuring BIOS settings.
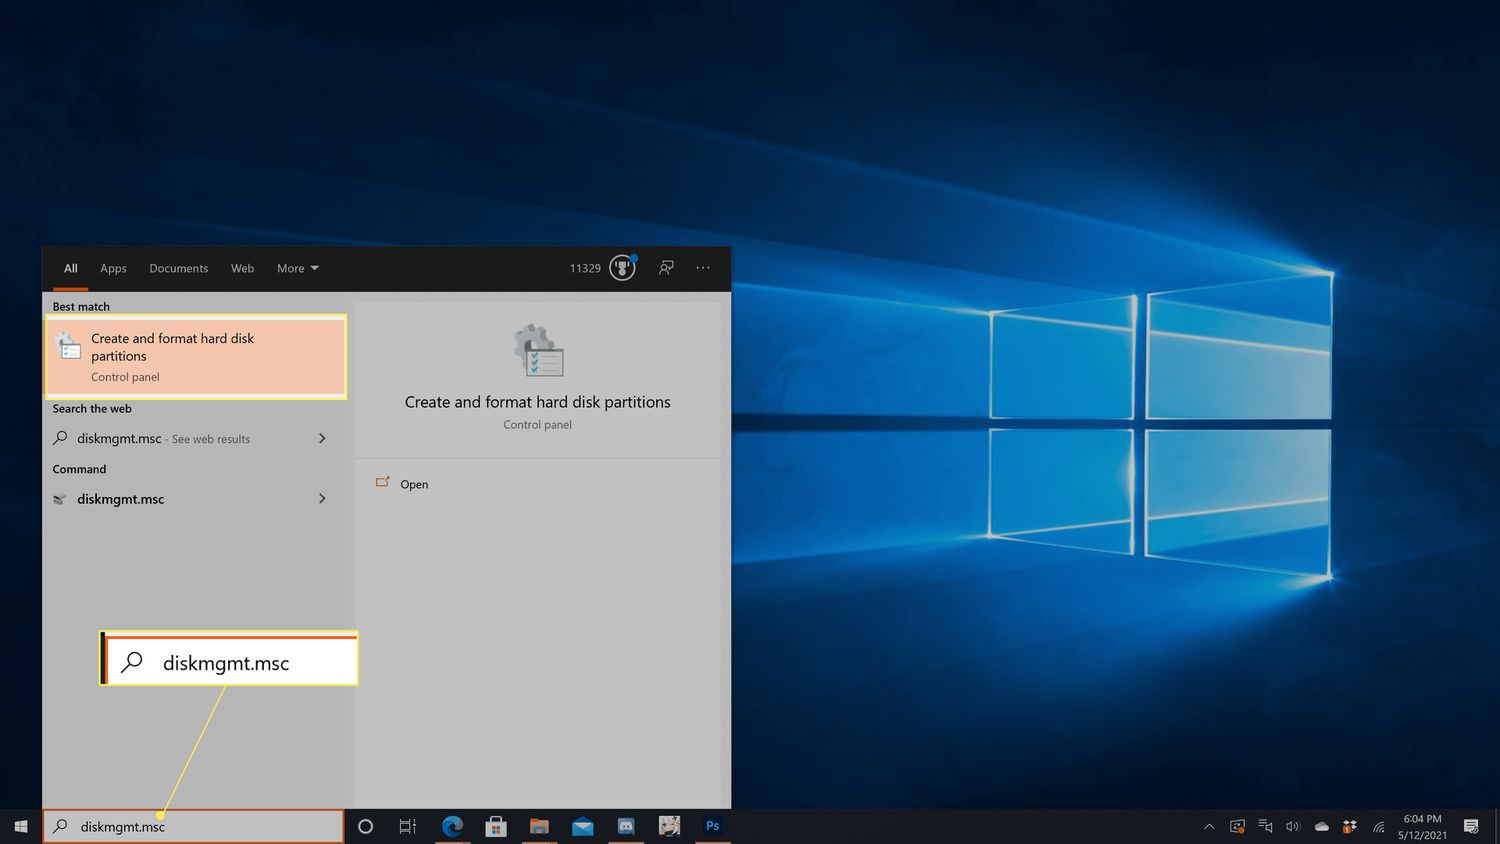
Step 4: Configure BIOS settings
Configuring the BIOS settings is an essential step in ensuring that your computer recognizes and boots from the newly connected SSD. Here’s how you can configure the BIOS settings:
- Start your computer and immediately press the designated key or combination of keys to enter the BIOS. This key may vary depending on your computer’s manufacturer, but commonly used keys are
Delete,F2, orF10. If you’re unsure, refer to your computer’s documentation or visit the manufacturer’s website. - Once you enter the BIOS, navigate to the “Boot” or “Boot Order” section. This section determines the boot sequence of the devices. Set the SSD as the first boot device, ensuring that it takes priority over other storage devices such as the old hard drive or USB drive.
- If necessary, disable the “Secure Boot” feature in the BIOS. This feature is designed to protect your computer from malicious software, but it can sometimes prevent the installation of a non-secure operating system.
- Save the changes and exit the BIOS. Typically, you’ll need to press
F10or choose the “Save and Exit” option. Confirm your choice to save the changes and let your computer restart.
Once your computer restarts, it should now recognize the SSD as the primary boot device. This will allow you to proceed with the Windows 10 installation process on the SSD. If your computer still doesn’t detect the SSD or you encounter any issues during the configuration process, refer to your computer’s documentation or contact the manufacturer for further assistance.
With the BIOS settings configured, you’re now ready to move on to the next step: installing Windows 10 on the SSD.
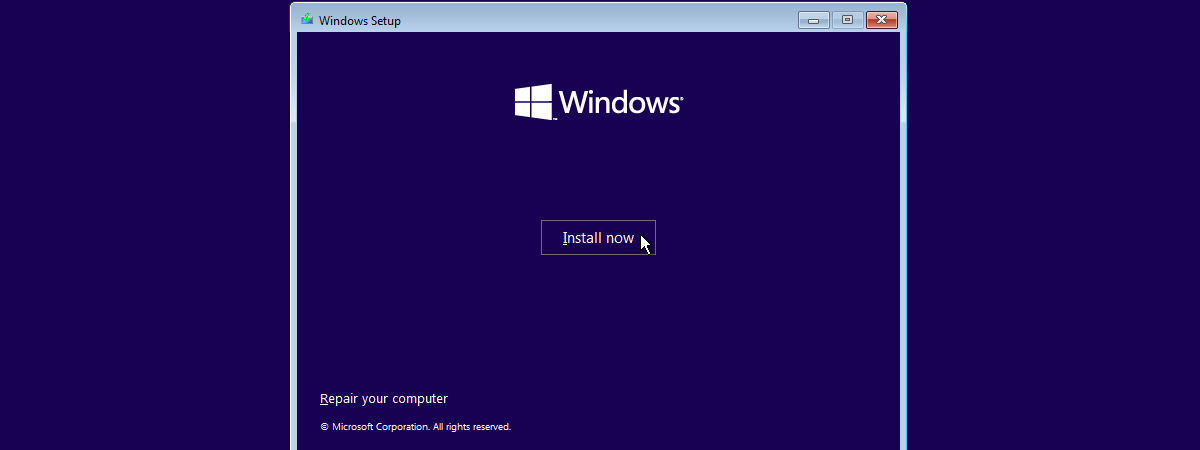
Step 5: Install Windows 10 on the SSD
With the necessary preparations complete, it’s time to install Windows 10 on your SSD. Follow these steps to install Windows 10 on the SSD:
- Insert the Windows 10 installation media (USB drive or DVD) into your computer.
- Restart your computer and enter the BIOS settings again by pressing the designated key or combination of keys.
- Navigate to the “Boot” or “Boot Order” section and ensure that the SSD is still set as the first boot device. Save and exit the BIOS settings.
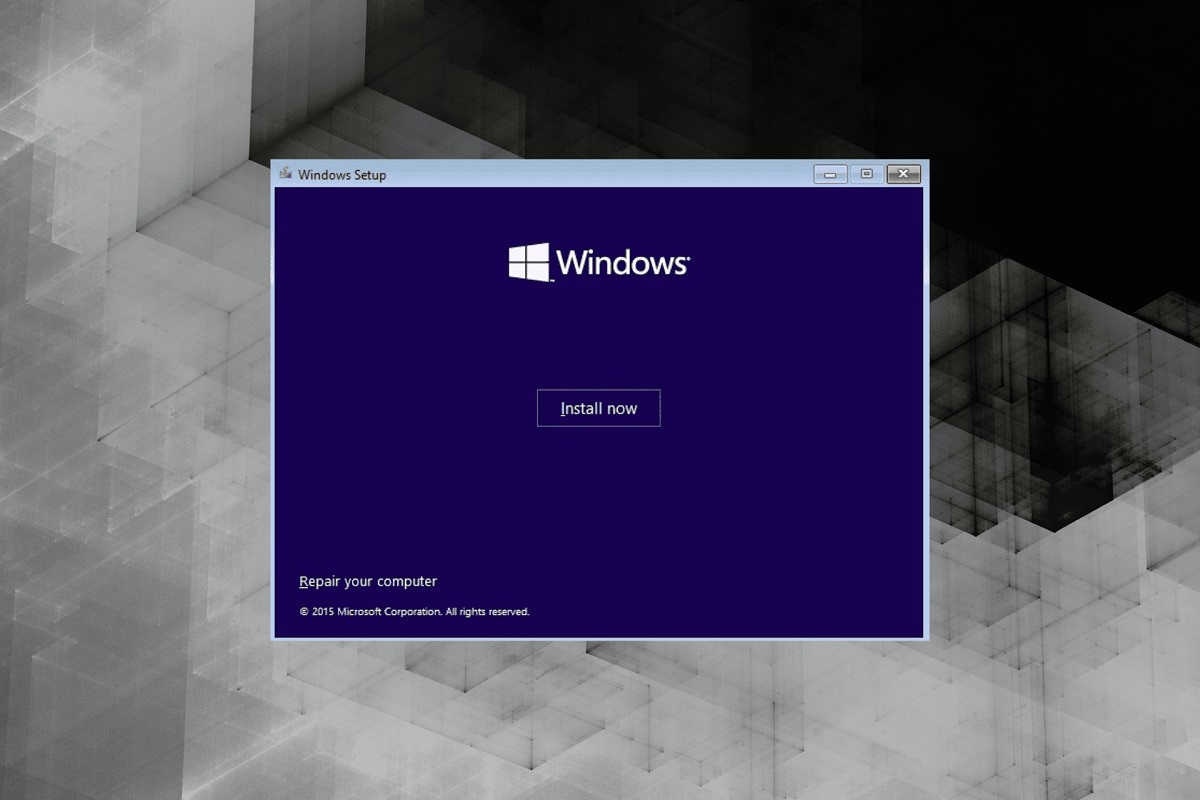
- Your computer will now boot from the Windows 10 installation media.
- Follow the on-screen instructions to proceed with the installation. Select your language, time zone, and other preferences as required.
- When prompted to choose an installation location, select the SSD as the destination for the Windows 10 installation. Be cautious to select the correct drive to avoid accidentally installing Windows on your old hard drive.
- Click “Next” to begin the installation process. Windows will now install on the SSD, which may take some time depending on your computer’s speed.
- Once the installation is complete, your computer will restart. Remove the Windows 10 installation media (USB drive or DVD) when prompted.
- Follow the on-screen instructions to set up Windows 10, including creating an account and customizing your preferences.
Congratulations! You have successfully installed Windows 10 on your SSD. Your computer will now benefit from the improved speed and performance offered by the SSD.
Keep in mind that during this process, all previous data on the SSD will be erased. It’s important to have backups of your important files and programs to restore them later.
In the next step, we’ll cover the finalization and configuration of the Windows 10 installation on the SSD.
Step 6: Complete the installation process
After successfully installing Windows 10 on your SSD, there are a few final steps to complete the installation process and ensure everything is set up correctly. Follow these steps to finalize the installation:
- Once you have set up your user account and customized your preferences, Windows 10 may prompt you for updates. It’s recommended to download and install the latest updates to ensure your system is secure and up to date.
- Next, install any necessary device drivers for your SSD or other hardware components. Refer to the manufacturer’s website to download the latest drivers specifically designed for your SSD to ensure optimal performance.
- Check for system updates again after installing the drivers to ensure you have the most recent versions of both Windows and your device drivers.
- Configure additional settings and personalize your Windows 10 experience according to your preferences. This may include adjusting the display settings, setting up your preferred apps, and configuring system preferences.
- Install any desired software applications onto your new Windows 10 installation. Ensure that you have the latest versions of these applications and consider installing any necessary plugins or add-ons for optimal performance.
- Finally, transfer your backed-up files and programs from your old hard drive to your new SSD. You can do this by manually copying and pasting files, using backup and restore software, or by using specialized data migration tools.
With these final steps completed, your Windows 10 installation on the SSD should be fully functional and ready for use. Take some time to explore the features and capabilities of your new Windows 10 environment, and enjoy the improved speed and performance provided by the SSD.
Remember to keep your SSD firmware up to date by periodically checking for updates provided by the manufacturer. Regularly backing up your files is also important to ensure the safety of your data in case of any unforeseen events or hardware failures.
In the next step, we’ll discuss an optional step: transferring files from your old hard drive to the SSD.
Step 7: Transfer files from old hard drive (optional)
If you have data on your old hard drive that you want to transfer to the new SSD, you can follow these steps to complete the transfer:
- Connect your old hard drive to your computer, either internally or using an external enclosure or adapter.
- Ensure that both the old hard drive and the new SSD are recognized by your computer.
- Manually copy and paste your files from the old hard drive to the new SSD. You can do this by navigating to the files on the old hard drive, selecting them, then right-clicking and choosing “Copy”. Next, navigate to the desired location on the SSD, right-click, and choose “Paste”. Repeat this process for all the files you wish to transfer.
- If you have a large amount of data to transfer, or if you want to preserve the existing settings and applications on your old hard drive, you may consider using specialized data migration software. These programs can automate the process of transferring files, settings, and applications from the old hard drive to the new SSD.
- Once the files are transferred to the SSD, double-check that everything is in the correct location and accessible on the new drive.
- After verifying the successful transfer of files, you can safely disconnect and remove the old hard drive from your computer.
This optional step allows you to retain your important files, settings, and applications from your old hard drive, ensuring that you have access to all your data on the new SSD. However, if you don’t have any data you wish to transfer, or if you have already backed up and transferred your files in a previous step, you can skip this process.
With the files transferred (if applicable), you have completed the installation and setup process for your new SSD. Your computer should now be running on Windows 10, with the improved speed and performance provided by the SSD.
Next, we’ll cover some additional steps to optimize and configure Windows 10 specifically for the SSD.
Step 8: Optimize and configure Windows 10 on the SSD
After installing Windows 10 on your SSD, there are a few additional steps you can take to further optimize and configure your system for maximum performance. Here are some recommendations:
- Enable TRIM functionality: TRIM allows the SSD to efficiently manage and maintain the performance of its flash memory cells. To enable TRIM, open the Command Prompt as an administrator and type in the command “fsutil behavior set DisableDeleteNotify 0”. Press Enter to execute the command.
- Disable unnecessary startup programs: Open the Task Manager by pressing “Ctrl + Shift + Esc” and navigate to the “Startup” tab. Disable any unnecessary programs that automatically start with Windows. This can help improve the startup time and overall system performance.
- Configure power settings: Open the Control Panel and navigate to “Power Options”. Choose a power plan that suits your needs, such as “High Performance” or “Balanced”. Adjust additional power settings to optimize performance, such as setting the power plan to never shut down the hard disk when idle.
- Enable SSD-specific optimizations: Windows 10 includes various optimizations tailored for SSDs. Open the search bar and type “Defragment and Optimize Drives”. Select the SSD from the list and click on “Optimize”. This will perform the necessary optimization tasks, such as TRIM and garbage collection, to maintain the SSD’s performance.
- Update drivers and firmware: Regularly check for updates to your SSD’s firmware and device drivers. These updates often provide bug fixes, performance improvements, and enhanced compatibility. Visit the manufacturer’s website or use their provided software to ensure you have the latest versions installed.
- Regularly run system maintenance tasks: Windows 10 includes built-in tools to help maintain system performance. Open the search bar and type “Security and Maintenance”. Click on “Maintenance” and run tasks such as disk cleanup and system file checker to remove unnecessary files and ensure system integrity.
- Consider additional software optimizations: There are various third-party software tools available that can further optimize your SSD’s performance. These tools often provide features such as drive health monitoring, advanced optimization algorithms, and automatic maintenance. Research and choose a reputable software that aligns with your needs and preferences.
By following these optimization and configuration steps, you can maximize the performance and longevity of your SSD while enjoying the benefits of Windows 10. Regularly maintaining your system and keeping your SSD up to date will help ensure a smooth and efficient computing experience.
With these final steps completed, you have successfully installed and configured Windows 10 on your SSD. Your computer should now be operating at its full potential, providing you with fast and reliable performance for years to come.
Congratulations on your upgraded system, and enjoy the enhanced speed and efficiency of your Windows 10 installation on the SSD!
Conclusion
Installing Windows 10 on a Solid State Drive (SSD) is a fantastic way to boost your computer’s performance and improve overall speed. By following the steps outlined in this guide, you can successfully install Windows 10 on your SSD and take advantage of its many benefits.
We began by gathering the necessary tools and materials, including a Windows 10 installation media and a compatible SSD. We then proceeded to create the installation media using the Media Creation Tool provided by Microsoft. After that, we connected the SSD to our computer and configured the BIOS settings to ensure it was recognized as the primary boot device.
With the preparations complete, we installed Windows 10 on the SSD and went through the installation process step by step. Once the installation was finished, we finalized the setup by installing necessary drivers, configuring settings, and transferring files from the old hard drive (if desired).
To optimize and configure Windows 10 on the SSD, we enabled TRIM functionality, disabled unnecessary startup programs, configured power settings, ran system maintenance tasks, updated drivers and firmware, and considered additional software optimizations.
By following these steps and recommendations, you can ensure that your Windows 10 installation on the SSD is finely tuned for maximum performance and longevity. With the improved speed and efficiency provided by the SSD, you can enjoy a seamless computing experience and accomplish tasks more efficiently.
Remember to regularly update your SSD’s firmware and drivers, perform system maintenance tasks, and keep a backup of your important files. This will help maintain the optimal performance and reliability of your SSD.
Thank you for following this guide on how to install Windows 10 on an SSD. We hope that this information has been helpful and that you are now enjoying the benefits of a faster and more efficient computer.