Introduction
Welcome to our step-by-step guide on how to install Windows on an SSD without the need for a USB drive. Solid State Drives (SSDs) are becoming increasingly popular due to their faster boot times and improved performance compared to traditional hard drives. If you are looking to make the switch to an SSD, this guide will show you how to install Windows without relying on a USB drive.
Typically, installing an operating system like Windows requires you to create a bootable USB drive and then boot from it to start the installation process. However, there are situations where you may not have access to a USB drive or prefer not to use one. In such cases, this guide provides an alternative method using a bootable disk image that can be mounted and used to install Windows onto your SSD.
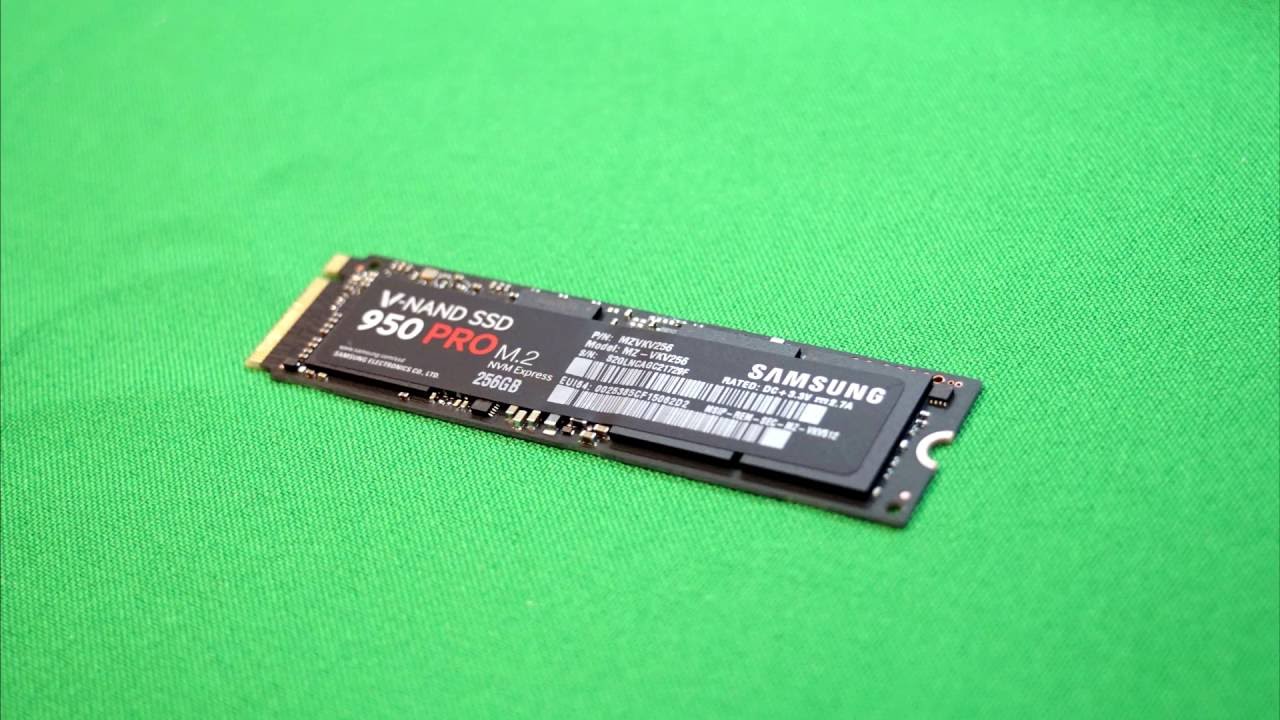
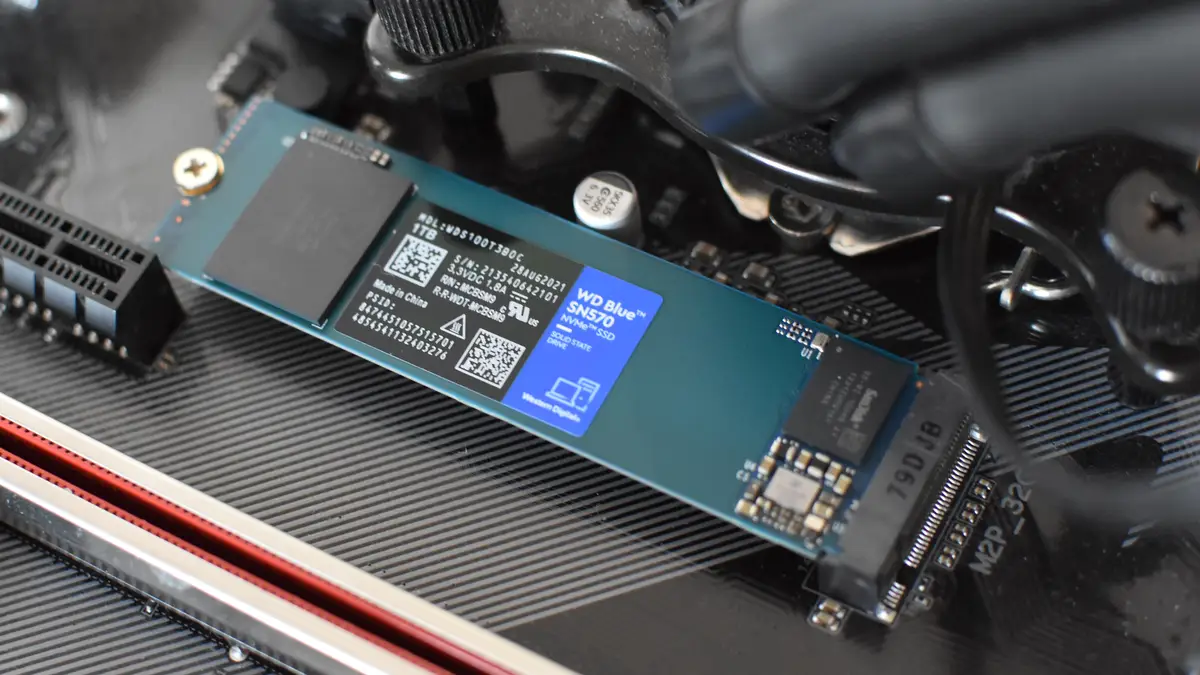
Before proceeding with the installation, it’s important to note that this guide assumes you have already purchased and physically installed the SSD into your computer. If you have not done so, please consult the manufacturer’s instructions or seek professional assistance to complete the hardware installation.
Additionally, make sure to back up any important files and data from your computer before proceeding with the installation. While the installation process itself does not require the deletion of files, it’s always better to be safe and have a backup in case of any unexpected issues.
Now that we have covered the basics, let’s dive into the step-by-step process of installing Windows on an SSD without the need for a USB drive.
Preparing for Installation
Before beginning the installation process, there are a few important steps you need to take to ensure a smooth and successful installation of Windows on your SSD without a USB drive.
The first step is to gather all the necessary tools and software. You will need a working computer with an active internet connection, a blank DVD or CD, and a burning software program such as ImgBurn or Nero. This burning software will allow you to create a bootable disk image of the Windows installation files.
Once you have these tools ready, it’s crucial to check the system requirements for the version of Windows you want to install. Ensure that your computer meets the minimum hardware requirements, including the processor speed, RAM, and available disk space. You can find these requirements on the official Microsoft website or the Windows installation disk packaging.
In addition to the system requirements, make sure to back up any important files or data from your computer. Although the installation process should not delete any files, it’s always wise to have a backup in case of any unforeseen issues.
Next, ensure that your SSD is properly connected and recognized by your computer. Check the BIOS settings to confirm that the SSD is listed as a bootable device. You can access the BIOS settings by restarting your computer and pressing the designated key, which is typically displayed on the screen during startup.
If you have multiple storage devices installed, it’s important to identify the SSD correctly before proceeding with the installation. Double-check the disk labels and sizes to avoid formatting or installing Windows on the wrong drive.
Finally, remove any external storage devices such as USB drives or memory cards from your computer. This step will prevent accidentally selecting the wrong device during the installation process.
With these preparations complete, you are now ready to move on to the next step: creating a bootable disk image.
Creating a Bootable Disk Image
In this section, we will explain how to create a bootable disk image of the Windows installation files. This disk image will be used to install Windows on your SSD without the need for a USB drive.
To begin, insert the blank DVD or CD into your computer’s optical drive. Open your chosen burning software program, such as ImgBurn or Nero, and select the option to create a bootable disk or burn a disk image.
Next, locate the Windows installation files that you have downloaded from the official Microsoft website. These files are typically in the form of an ISO image, which is a single file containing all the necessary installation files.
In the burning software program, select the option to browse for the ISO image file. Once you have located the file, choose the appropriate settings, such as the burn speed, and initiate the burning process.
Depending on the size of the ISO image and the speed of your computer’s optical drive, the burning process may take some time. Once the burning is complete, eject the disk from the optical drive.
Congratulations! You have successfully created a bootable disk image of the Windows installation files. This disk image will now allow you to install Windows on your SSD without the need for a USB drive.
Before moving on to the next section, it’s important to validate the disk image and ensure that it is error-free. You can do this by verifying the MD5 or SHA1 checksum of the disk image against the official checksum provided by Microsoft. This step will guarantee the integrity of the disk image and prevent any installation errors.
Now that you have a bootable disk image of the Windows installation files, it’s time to proceed to the next step: accessing the BIOS settings.
Accessing BIOS Settings
In order to install Windows on your SSD without a USB drive, you need to access the BIOS settings of your computer. The BIOS (Basic Input/Output System) is a firmware that runs when your computer starts up and contains essential settings for your hardware.
The process for accessing the BIOS settings can vary depending on the manufacturer and model of your computer. However, the most common method is to restart your computer and continuously press a specific key during startup. The key to access the BIOS settings is typically displayed on the screen, such as “Press F2 to enter BIOS” or “Press Del to enter Setup.”
After pressing the designated key, you will be taken to the BIOS settings interface. Here, you can configure various hardware settings, including the boot order. The boot order determines the sequence in which devices are checked for an operating system during startup.
Navigate through the BIOS settings using the arrow keys on your keyboard. Locate the “Boot” or “Boot Order” section, and highlight the option for the optical drive or the device that corresponds to your bootable disk image. Move it to the top of the boot order list to ensure that your computer boots from the disk image before any other devices.
Once you have made the necessary changes to the boot order, save the settings and exit the BIOS interface. Typically, you can save and exit by pressing the “F10” key or selecting the appropriate option from the BIOS menu.
With the BIOS settings configured to boot from the disk image, you are now ready to proceed to the next step: installing Windows on your SSD.
Note: If you encounter any difficulties accessing the BIOS settings or making changes, consult your computer’s user manual or the manufacturer’s website for specific instructions related to your model.
Changing Boot Order
Changing the boot order is a crucial step in installing Windows on your SSD without the need for a USB drive. This step ensures that your computer boots from the bootable disk image you created earlier.
To change the boot order, you will need to access the BIOS settings of your computer. The process for accessing the BIOS settings can vary depending on the manufacturer and model of your computer. Generally, you need to restart your computer and press a specific key, such as F2 or Delete, repeatedly during startup.
Once you are in the BIOS settings, look for the “Boot” or “Boot Order” section. This section allows you to determine the sequence in which devices are checked for an operating system during startup.
Using the arrow keys on your keyboard, navigate to the boot order list and locate the entry for your bootable disk image. It may be identified as the optical drive or a specific device associated with the disk image.
Move the entry for your bootable disk image to the top of the boot order list. This ensures that your computer prioritizes the disk image over other devices when booting up.
Once you have adjusted the boot order, save the changes and exit the BIOS settings. The specific method for saving and exiting can vary, but it is often done by pressing the F10 key or selecting a corresponding option from the BIOS menu.
By changing the boot order, you have successfully configured your computer to boot from the bootable disk image on your SSD. This allows you to proceed with the installation of Windows without the need for a USB drive.
If you encounter any issues or are unsure about changing the boot order in your specific computer’s BIOS settings, consult the user manual or the manufacturer’s website for detailed instructions.
With the boot order set correctly, you are now ready to move on to the next step: installing Windows on your SSD.
Installing Windows
With the boot order configured, you are now ready to proceed with the installation of Windows on your SSD. Follow these steps to install Windows without the need for a USB drive:
- Ensure that your computer is powered on and the bootable disk image is inserted into the optical drive.
- Restart your computer and let it boot from the disk image. You will see a prompt to “Press any key to boot from CD/DVD.”
- Press any key to begin the Windows installation process. The computer will load the necessary files and display the Windows Setup menu.
- Select your language preference, time and currency format, and keyboard input method, then click “Next.”
- Click “Install Now” to start the installation process.
- Review and accept the license terms and conditions, then click “Next.”
- Choose the “Custom” installation type to perform a clean installation on your SSD. Select the SSD as the installation destination and click “Next.”
- Windows will begin the installation process. Your computer may restart multiple times during this process. Be patient and do not interrupt the installation.
- Follow the on-screen prompts to personalize your Windows settings, including creating a username and password.
- Once the installation is complete, your computer will boot into the newly installed Windows operating system.
It’s worth noting that the exact steps and prompts may vary depending on the version of Windows you are installing. However, the general process remains the same.
After the installation is complete, you can start setting up your customized settings, installing necessary drivers, and transferring files from your backup if needed. Enjoy your new Windows installation on your SSD!
With Windows successfully installed on your SSD, you are now ready to finalize the installation and optimize your system for the best performance.
Finalizing the Installation
After successfully installing Windows on your SSD without the need for a USB drive, there are a few final steps to ensure that your system is optimized and ready to use:
- Install drivers: Visit the manufacturer’s website for your computer or motherboard and download the latest drivers for your hardware components. This ensures that your system has the necessary drivers to function properly and take advantage of the SSD’s capabilities.
- Activate Windows: If you haven’t already, activate your copy of Windows using the product key. This step is necessary to unlock all the features and functionalities of the operating system.
- Update Windows: After the installation, it’s crucial to update Windows to the latest version available. Windows updates contain important security patches, bug fixes, and performance improvements.
- Install essential software: Install your preferred software programs, such as web browsers, antivirus software, productivity tools, and any other applications you regularly use.
- Configure power options: Adjust the power settings in Windows to optimize the performance and energy consumption of your SSD. You can access power options through the Control Panel or the Windows Settings app.
- Transfer files: If you backed up your data before the installation, you can now transfer your files back to your computer. Be cautious when transferring files to ensure that you don’t overwrite any important data.
- Perform SSD optimizations: Take advantage of the SSD’s features by enabling features like TRIM and ensuring that the disk is properly aligned. Consult the manufacturer’s documentation or search for SSD optimization guides specific to your device.
By following these final steps, you will have completed the installation of Windows on your SSD and optimized your system for the best performance. Enjoy the speed and efficiency of your new SSD-powered Windows installation!
Conclusion
Congratulations! You have successfully installed Windows on your SSD without the need for a USB drive. By following the step-by-step instructions in this guide, you were able to create a bootable disk image, access the BIOS settings, change the boot order, and complete the installation process.
Installing Windows on an SSD brings numerous benefits, including faster boot times, improved system responsiveness, and overall better performance. With the steps outlined in this guide, you were able to leverage these advantages and take full advantage of your new SSD.
Remember to follow the final steps to finalize the installation, such as installing necessary drivers, activating Windows, updating the operating system, and optimizing the SSD’s performance. These steps ensure that your system is fully optimized and ready for use.
While the installation process may seem daunting initially, it becomes much simpler with detailed instructions and a clear understanding of the steps involved. We hope that this guide has provided you with the necessary information and confidence to successfully install Windows on your SSD without a USB drive.
Thank you for choosing this guide as your resource. We hope that your new Windows installation on the SSD brings you improved speed, performance, and an enhanced computing experience.