Introduction
Installing Windows on a solid-state drive (SSD) can significantly boost your computer’s performance and responsiveness. Unlike traditional hard disk drives (HDDs), SSDs offer faster read and write speeds, resulting in quick boot times, shorter application load times, and improved overall system performance. Additionally, SSDs are more reliable and durable since they do not have moving parts.
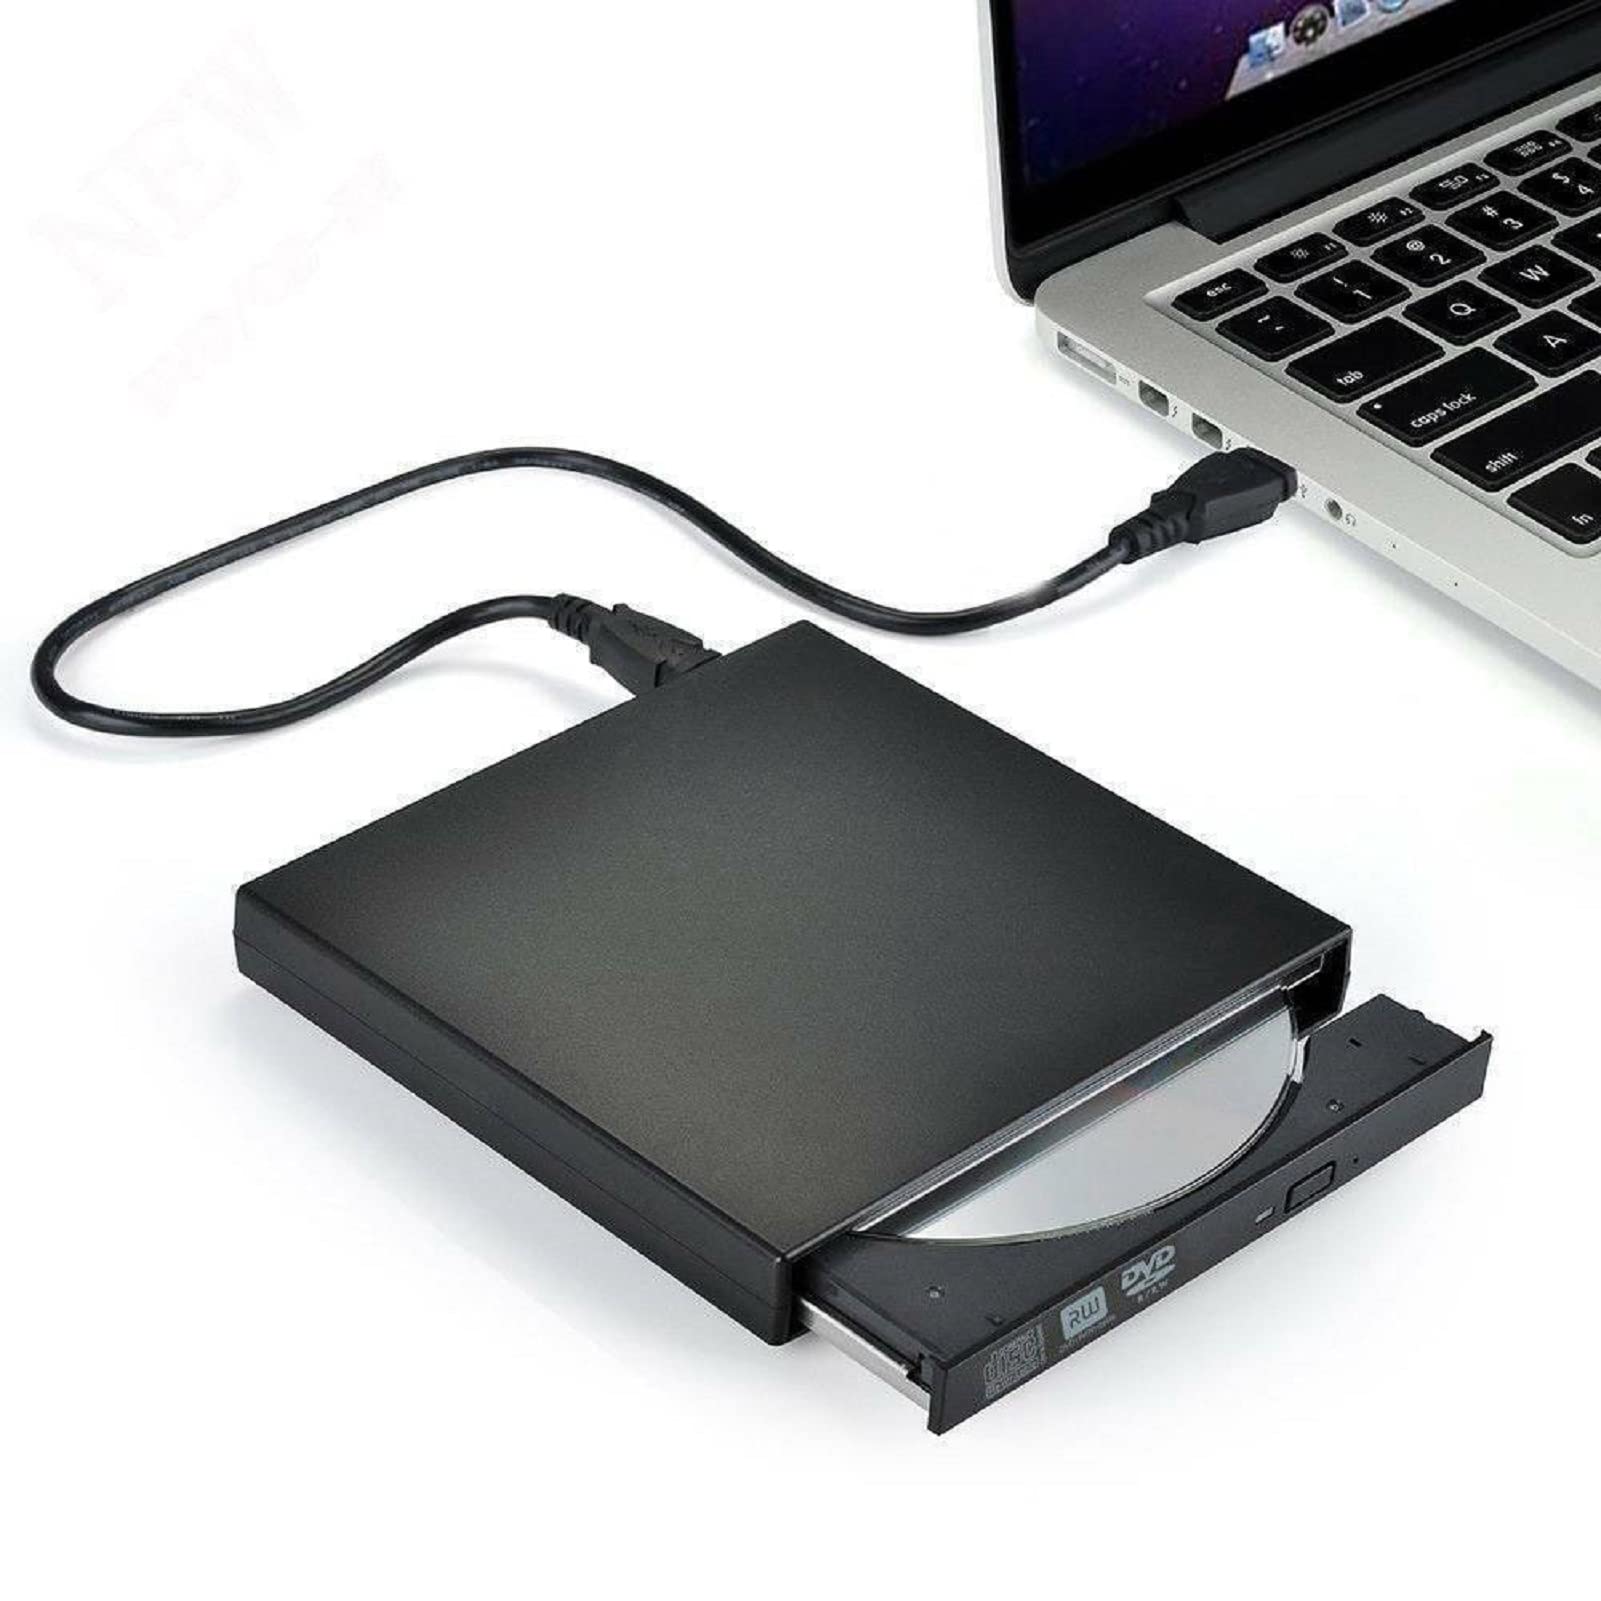
While many people still use CDs or DVDs to install operating systems, more and more computers are being sold without optical drives. This means that if you want to install Windows on an SSD, you may need to find an alternative method. Luckily, creating a bootable USB drive for Windows installation is relatively straightforward.
In this guide, we will walk you through the process of installing Windows on an SSD without using a CD. We will cover the necessary steps, explain the prerequisites, and provide tips to ensure a smooth installation process.
Bear in mind that installing a new operating system can result in data loss, so it’s essential to back up your files before proceeding. We also recommend having a stable internet connection to download drivers and necessary software after the installation is complete.
Whether you’re upgrading your existing system or building a new one, this step-by-step guide will help you install Windows on an SSD effortlessly. Let’s get started!
Prerequisites
Before you begin the process of installing Windows on an SSD, there are a few essential prerequisites you need to consider. Ensuring you have the necessary items and preparations in place will help make the installation process smoother and more successful.
Here are the prerequisites for installing Windows on an SSD:
- A computer with an SSD: The first requirement is, of course, a computer that has a solid-state drive (SSD) installed. If you don’t have an SSD already, you’ll need to purchase one and install it in your computer.
- A bootable USB drive: Since we won’t be using a CD or DVD to install Windows, you’ll need a USB drive that has been properly set up as a bootable device. This USB drive will contain the Windows installation files.
- A valid Windows license: You will need a valid license key to activate Windows after the installation is complete. Make sure you have access to your license key before you begin the installation process.
- Backup of your files: As mentioned earlier, installing a new operating system can result in data loss. It’s crucial to back up all your important files and documents to an external storage device or a cloud storage service. This way, you can restore your data if anything goes wrong during the installation process.
- A working internet connection: After installing Windows on your SSD, you’ll need to download and install necessary drivers and software updates to ensure optimal performance. Having a stable internet connection will make this process faster and more convenient.
By having these prerequisites in place, you will be well-prepared to proceed with installing Windows on your SSD. It’s essential to double-check that you have everything you need before continuing to avoid any unnecessary delays or complications throughout the installation process.
Step 1: Backup your files
Before embarking on the Windows installation process, it’s crucial to back up all your important files and data. While the installation itself shouldn’t cause any issues, it’s better to be safe than sorry. Backing up your files will ensure that even if something goes wrong during the installation process, you won’t lose any important data.
Here’s how to back up your files:
- Identify the files to backup: Take some time to identify the files and folders that are critical to you. This typically includes documents, photos, videos, music, and any other personal files you don’t want to lose.
- Choose a backup method: There are several options available for backing up your files. You can use an external hard drive or SSD, a USB flash drive, a cloud storage service, or even a combination of these methods. Choose the option that suits your needs and preferences.
- Copy and transfer your files: Once you have your backup method ready, start copying your important files from your computer to the backup device. You can do this manually by dragging and dropping the files or by using backup software that automates the process.
- Verify the backup: After the transfer is complete, it’s essential to verify that all your files have been successfully backed up. Check a few random files in each category to ensure they are intact and accessible on the backup device.
By following these steps, you can ensure that your important files are safely stored before proceeding with the Windows installation. It’s always better to take the precaution of backing up your files to avoid any potential loss.
Step 2: Format the SSD
Before installing Windows on your SSD, you’ll need to format it to prepare it for the new operating system. Formatting the SSD erases all existing data on the drive, so be sure to have a backup of your files before proceeding.
Follow these steps to format the SSD:
- Open Disk Management: Press the Windows key + X on your keyboard and select “Disk Management” from the menu that appears.
- Locate your SSD: In the Disk Management window, locate your SSD. It should appear as a disk without any partitions allocated to it. Make sure you select the correct drive to avoid formatting the wrong disk.
- Right-click on the SSD: Right-click on the SSD and select “Format” from the context menu. This will open the Format dialog box.
- Choose the file system: In the Format dialog box, choose the desired file system for your SSD. The recommended file system for Windows is NTFS, which supports larger file sizes and offers better security and reliability.
- Assign a volume label: Optionally, you can assign a volume label to your SSD for easy identification. This label will appear as the drive’s name in File Explorer.
- Enable quick format: If available, check the “Quick Format” option to speed up the formatting process. However, note that this will not perform a thorough disk check for errors.
- Click “OK” to start formatting: Finally, click the “OK” button to confirm the formatting process. A warning message will appear, informing you that all data on the SSD will be lost. Ensure you have backed up your files before proceeding.
- Wait for the format to complete: The formatting process may take a few minutes or longer, depending on the size of your SSD.
- Verify the successful formatting: Once the format is complete, the SSD will be ready for installation. You can confirm the successful formatting by checking that the SSD now appears as a “Healthy (Primary Partition)” in Disk Management.
By following these steps, you can successfully format your SSD and prepare it for the Windows installation process. It’s crucial to double-check that you have backed up your files and selected the correct drive before proceeding with the formatting.
Step 3: Create a bootable USB drive
To install Windows on your SSD without using a CD, you’ll need to create a bootable USB drive. This USB drive will contain the Windows installation files and will serve as the installation media.
Follow these steps to create a bootable USB drive:
- Obtain a Windows ISO: First, you’ll need to download a Windows ISO file from the official Microsoft website. Make sure you choose the correct version of Windows that matches your license key.
- Connect a USB drive: Connect a USB drive with sufficient storage capacity to your computer. Ensure that there are no important files on the USB drive, as it will be formatted during the creation process.
- Download and install a USB tool: There are several free tools available that can help you create a bootable USB drive, such as Rufus or Windows USB/DVD Download Tool. Download and install one of these tools.
- Open the USB tool: Launch the USB tool that you installed and follow the on-screen instructions to create a bootable USB drive. You will be prompted to browse for the Windows ISO file you downloaded in the first step.
- Select the USB drive: In the USB tool, choose the USB drive you connected to your computer as the destination for the Windows installation files.
- Start the process: Once you have selected the Windows ISO file and the USB drive, click on the “Create” or “Start” button to begin the process of creating a bootable USB drive.
- Wait for the process to complete: The creation process may take some time, depending on the speed of your computer and the size of the Windows ISO file.
- Verify the bootable USB drive: After the process is finished, you should have a bootable USB drive ready for the Windows installation. You can verify this by checking that the USB drive now contains all the necessary Windows installation files.
By following these steps, you can successfully create a bootable USB drive for installing Windows on your SSD. Make sure to choose a reliable USB tool and double-check that you have selected the correct USB drive for the installation files.
Step 4: Change the boot order in BIOS
To install Windows from the bootable USB drive on your SSD, you’ll need to change the boot order in the BIOS (Basic Input/Output System) of your computer. By doing this, you will ensure that your computer boots from the USB drive first.
Follow these steps to change the boot order in BIOS:
- Restart your computer: Restart your computer and be ready to act quickly when it begins to boot up again.
- Access BIOS: During the boot process, look for a key or key combination that needs to be pressed to access the BIOS. This is usually displayed on the screen, and common keys include F2, Del, ESC, or F12. Press the appropriate key to enter the BIOS.
- Navigate to the Boot menu: Once you’re in the BIOS, navigate to the “Boot” or “Boot Order” menu using the arrow keys on your keyboard.
- Change the boot order: In the Boot menu, locate the option to change the boot order. This may be labeled as “Boot Priority,” “Boot Sequence,” or something similar.
- Select the USB drive as the first boot device: Using the instructions provided in the BIOS, change the boot order to prioritize the USB drive as the first boot device. Move it to the top of the list or place it above the other boot options.
- Save the changes: Once you have made the necessary changes to the boot order, save the changes and exit the BIOS. This is usually done by pressing the F10 key or selecting the option to save and exit.
After changing the boot order in the BIOS, your computer will now boot from the bootable USB drive when you restart it. This will allow you to begin the Windows installation process on your SSD.
Remember to save any important changes or settings in the BIOS before exiting to ensure they are applied correctly. Also, be cautious when making changes in the BIOS, as incorrect settings might cause boot issues or other problems with your computer.
Step 5: Install Windows on SSD
Now that you have successfully set up the bootable USB drive and changed the boot order in BIOS, you are ready to install Windows on your SSD. This step involves initiating the installation process and configuring the settings for your new operating system.
Follow these steps to install Windows on your SSD:
- Insert the bootable USB drive: Ensure that the bootable USB drive containing the Windows installation files is inserted into a USB port on your computer.
- Restart your computer: Restart your computer and wait for it to boot up.
- Follow the on-screen prompts: Once your computer has restarted, you will see a message instructing you to press any key to boot from the USB drive. Press any key on your keyboard to start the installation process.
- Select your language and other preferences: On the initial Windows installation screen, select your desired language, time zone, and keyboard layout, and click “Next” to proceed.
- Click “Install Now”: On the next screen, click “Install Now” to begin the Windows installation process.
- Enter your license key: On the following screen, enter your valid Windows license key when prompted. This is usually located on the product packaging or in an email if you purchased a digital copy.
- Accept the license terms and conditions: Read and accept the license terms and conditions by checking the appropriate box and clicking “Next.”
- Select the installation type: Choose the type of installation you prefer. If you are installing Windows on a new SSD, select the “Custom” installation option.
- Select the SSD as the installation destination: On the next screen, you will see a list of available drives. Select your SSD as the installation destination and click “Next.”
- Wait for the installation to complete: The Windows installation process will now begin, and your computer will restart several times during the process. Be patient and wait for the installation to complete.
- Set up your Windows account: After the installation is complete, you’ll need to set up your Windows account by following the on-screen prompts. This includes choosing a username and password for your account.
Once you have completed these steps, Windows will be installed on your SSD. Congratulations! You now have a freshly installed operating system that will take advantage of the enhanced performance of your SSD.
Remember to keep your license key in a safe place for future reference and activation purposes. Additionally, make sure you have a stable internet connection to download and install any necessary updates and drivers after the installation process is complete.
Step 6: Complete the Windows installation process
After the initial installation, there are a few additional steps you need to go through to complete the Windows installation process on your SSD. These steps involve customizing your settings, creating user accounts, and configuring any additional options or features.
Follow these steps to complete the Windows installation process:
- Customize your settings: After the initial installation, Windows will prompt you to customize your settings. This includes choosing your region, language, privacy settings, and other preferences. Make the selections that suit your needs and click “Next.”
- Create user accounts: You will then have the option to create user accounts. Set up the desired accounts, including administrator accounts, by providing the necessary information and passwords.
- Connect to a network: If you have a network connection available, you can connect to it during the installation process. This will allow you to download any necessary updates and install drivers for your hardware.
- Complete the setup: Windows will now finalize the installation process and prepare your computer for use. This may involve additional installations, updates, and settings configurations.
- Review and adjust settings: Once the setup is complete, take some time to review and adjust the default Windows settings according to your preferences. You can access settings related to personalization, privacy, security, updates, and more through the Windows Settings app.
- Install necessary software: Install any necessary software applications and programs that you use regularly. This may include productivity tools, antivirus software, media players, and other applications that meet your needs.
- Update drivers: It’s crucial to update your drivers to ensure that your hardware functions optimally with the new Windows installation. Visit the manufacturer’s website for each piece of hardware, such as your graphics card, network card, and sound drivers, to download and install the latest drivers.
Completing these steps will ensure that your Windows installation is fully set up and ready for use on your SSD. Take the time to customize your settings, create user accounts, and install any necessary software and updates to ensure a smooth and efficient computing experience.
Remember to regularly update your software, perform system maintenance, and keep your system protected with antivirus software to ensure smooth and secure operation of your Windows on SSD.
Step 7: Update drivers and install necessary software
Once you have completed the Windows installation process on your SSD, it’s essential to update your drivers and install any necessary software to ensure optimal performance and compatibility with your hardware and peripherals.
Follow these steps to update drivers and install necessary software:
- Identify hardware drivers: Start by identifying the hardware drivers that need to be updated. You can check the Device Manager in Windows to see if there are any devices that require driver updates.
- Download drivers from manufacturer websites: Visit the websites of your hardware manufacturers and search for the latest drivers for each specific device. Download the drivers and save them to a location on your computer.
- Install drivers: Open the downloaded driver files and follow the installation prompts to install the updated drivers. Make sure to restart your computer if prompted to complete the driver installation process.
- Install necessary software: Depending on your needs, install any necessary software applications that you require for your daily tasks. This may include productivity software, web browsers, media players, or specialized software for specific purposes.
- Configure software settings: After installing the necessary software, take some time to configure the settings according to your preferences. This may include privacy settings, software preferences, and customization options.
- Check for software updates: It’s important to regularly check for software updates to ensure that you have the latest security patches, bug fixes, and new features. Most software applications have an option to check for updates within their settings or menu.
- Perform regular system maintenance: Set up a schedule for regular system maintenance tasks, such as disk cleanup, defragmentation, and system backups. This will help keep your system running smoothly and mitigate the risk of data loss or hardware issues.
- Install antivirus software: Install a reliable antivirus software to protect your computer from malware and other security threats. Update the antivirus software regularly and perform system scans to ensure your system remains secure.
By following these steps, you can ensure that your drivers are up to date, your necessary software is installed, and your system is optimized for performance and security. Regularly updating your drivers and software is important for stability, compatibility, and overall system health.
Remember to periodically check for updates and new versions of your drivers and software to ensure your system stays current and protected. Additionally, it’s always a good idea to back up your important files and maintain a reliable backup solution for added peace of mind.
Conclusion
Installing Windows on an SSD without a CD is a straightforward process that can significantly enhance your computer’s performance and responsiveness. By following the step-by-step guide outlined in this article, you can successfully install Windows on your SSD and take full advantage of its benefits.
From backing up your files to formatting the SSD, creating a bootable USB drive, and changing the boot order in BIOS, each step plays a crucial role in ensuring a smooth installation process. It’s important to pay attention to detail and follow the instructions carefully to avoid any potential complications.
Once Windows is installed on your SSD, remember to complete the installation process by customizing your settings, creating user accounts, and installing necessary software. Additionally, stay proactive by regularly updating your drivers and software, performing system maintenance, and protecting your system with reliable antivirus software.
By installing Windows on an SSD, you will experience faster boot times, quicker application load speeds, and improved overall system performance. Your computing experience will become more enjoyable and efficient, allowing you to work and play without slowdowns or delays.
However, it’s important to note that Windows installation can result in data loss, and it’s always recommended to back up your important files before proceeding. Additionally, ensure that you have a valid Windows license key and a stable internet connection to download necessary updates and drivers.
With these considerations in mind, you are now equipped with the knowledge and instructions to confidently install Windows on an SSD without a CD. Enjoy the benefits of a fast and responsive system as you embark on this installation journey!