Introduction
Moving your Windows operating system from a traditional hard drive to a solid-state drive (SSD) can drastically improve your computer’s performance and speed. With the increasing affordability of SSDs, many users are opting to make this upgrade to enhance their computing experience.
Upgrading to an SSD offers numerous benefits, such as faster boot times, quicker application launches, smoother multitasking, and decreased loading times for data-intensive programs. The shift from a conventional hard drive to an SSD involves migrating all the files, settings, and the operating system itself.
In this article, we will guide you through the process of moving Windows from a hard drive to an SSD. We will provide detailed instructions to help you complete the migration successfully. It’s important to note that this process can vary depending on your specific computer setup and the tools you choose to use. However, we will present the most common and reliable methods for a smooth transition.
Before we dive into the migration process, there are a few things you need to consider and prepare. We will discuss the necessary steps to ensure a seamless transition, including assessing the compatibility of your system, backing up your data, performing disk cleanup and defragmentation, creating a Windows installation media, and installing the SSD.
After the physical installation, we will guide you through the process of cloning your hard drive to the new SSD. This method allows you to transfer all your data and settings, including the operating system, to the SSD. We will also explain the importance of booting from the SSD and the verification process to ensure a successful migration.
By the end of this guide, you will have the knowledge and confidence to successfully move your Windows operating system from a hard drive to an SSD. So, let’s get started and unlock the full potential of your computer with this upgrade!
Preparing for the Migration
Before embarking on the migration process, it is important to take some time to prepare. This will ensure that everything goes smoothly and that you have the necessary tools and resources at hand. Here are the key steps to follow when preparing for the migration:
Assessing Compatibility
The first step is to ensure that your computer is compatible with an SSD. Most modern computers are compatible with SSDs, but it’s always a good idea to double-check. You will need to check the specifications of your motherboard and determine if it supports the use of an SSD. Additionally, make sure you have an available slot for the SSD or an adapter to accommodate it.
Backing up Your Data
Before making any changes to your current setup, it is crucial to back up all your important files and data. This is a precautionary measure to protect your data in case anything goes wrong during the migration process. You can use an external hard drive, cloud storage, or a reliable backup software to create a backup of your files. Ensure that you have a complete copy of your important documents, photos, videos, and any other data you don’t want to lose.
Disk Cleanup and Defragmentation
To optimize the migration process and ensure that you transfer only the necessary files to the SSD, it is essential to clean up your current hard drive. Start by performing a disk cleanup to remove any temporary files, system files, and unnecessary clutter. This will help reduce the amount of data that needs to be transferred, making the process faster and more efficient. Additionally, run a disk defragmentation to optimize the placement of files on your hard drive, ensuring a smoother transfer process.
Creating a Windows Installation Media
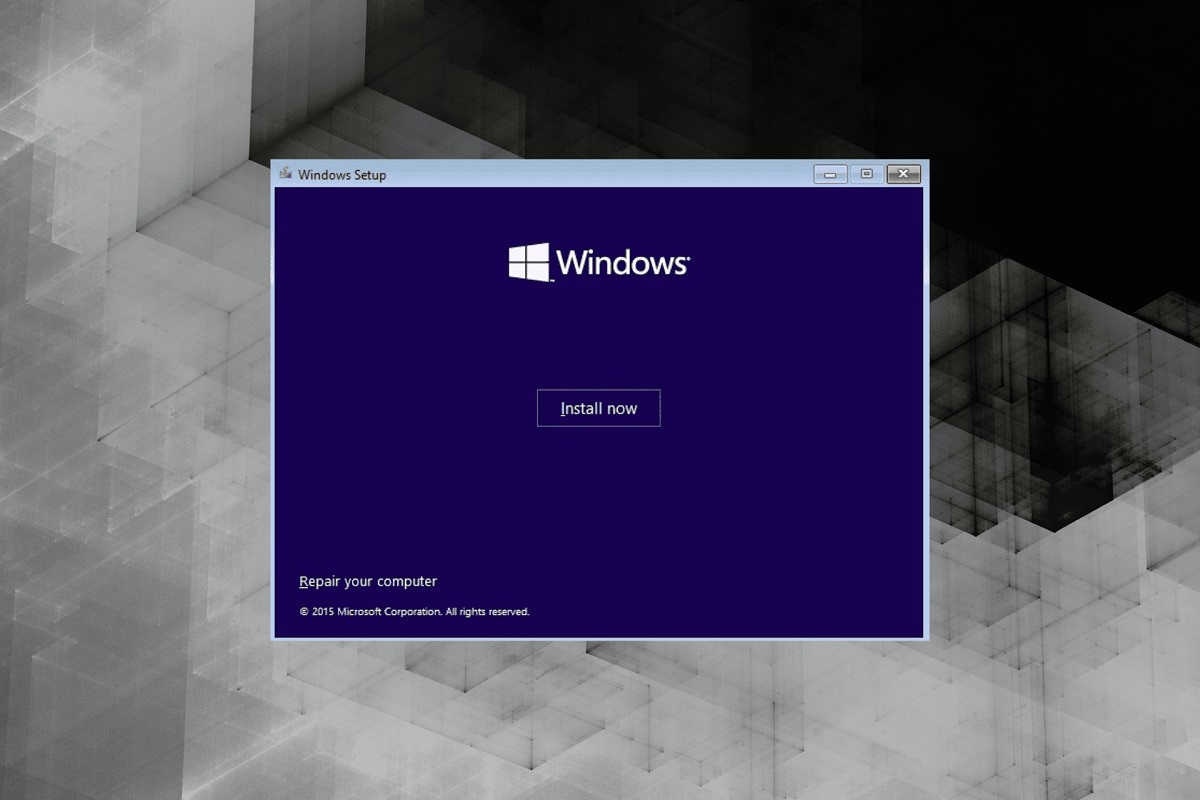
To install the Windows operating system on the new SSD, you will need a Windows installation media. This can either be a bootable USB drive or a DVD with the Windows installation files. You can create a bootable USB drive using the Windows Media Creation Tool, which is available for free from the Microsoft website. Follow the instructions provided by the tool to create the installation media.
By following these steps to prepare for the migration, you will ensure that you have a compatible system, a backup of your important data, a clean and optimized hard drive, and a Windows installation media ready. These preparations will make the migration process smoother and reduce the chances of encountering any issues along the way. Now that you are prepared, let’s move on to the next steps of the migration process.
Assessing Compatibility
Before proceeding with the migration process, it is essential to ensure that your computer is compatible with an SSD. While most modern computers support SSDs, it is still important to confirm compatibility to prevent any compatibility issues or unwanted surprises during the migration.
The first step is to check the specifications of your motherboard. Many motherboards have specific slots or connectors designed for SSDs, such as SATA or M.2 interfaces. Consult your motherboard’s documentation or manufacturer’s website to determine if it supports SSD integration.
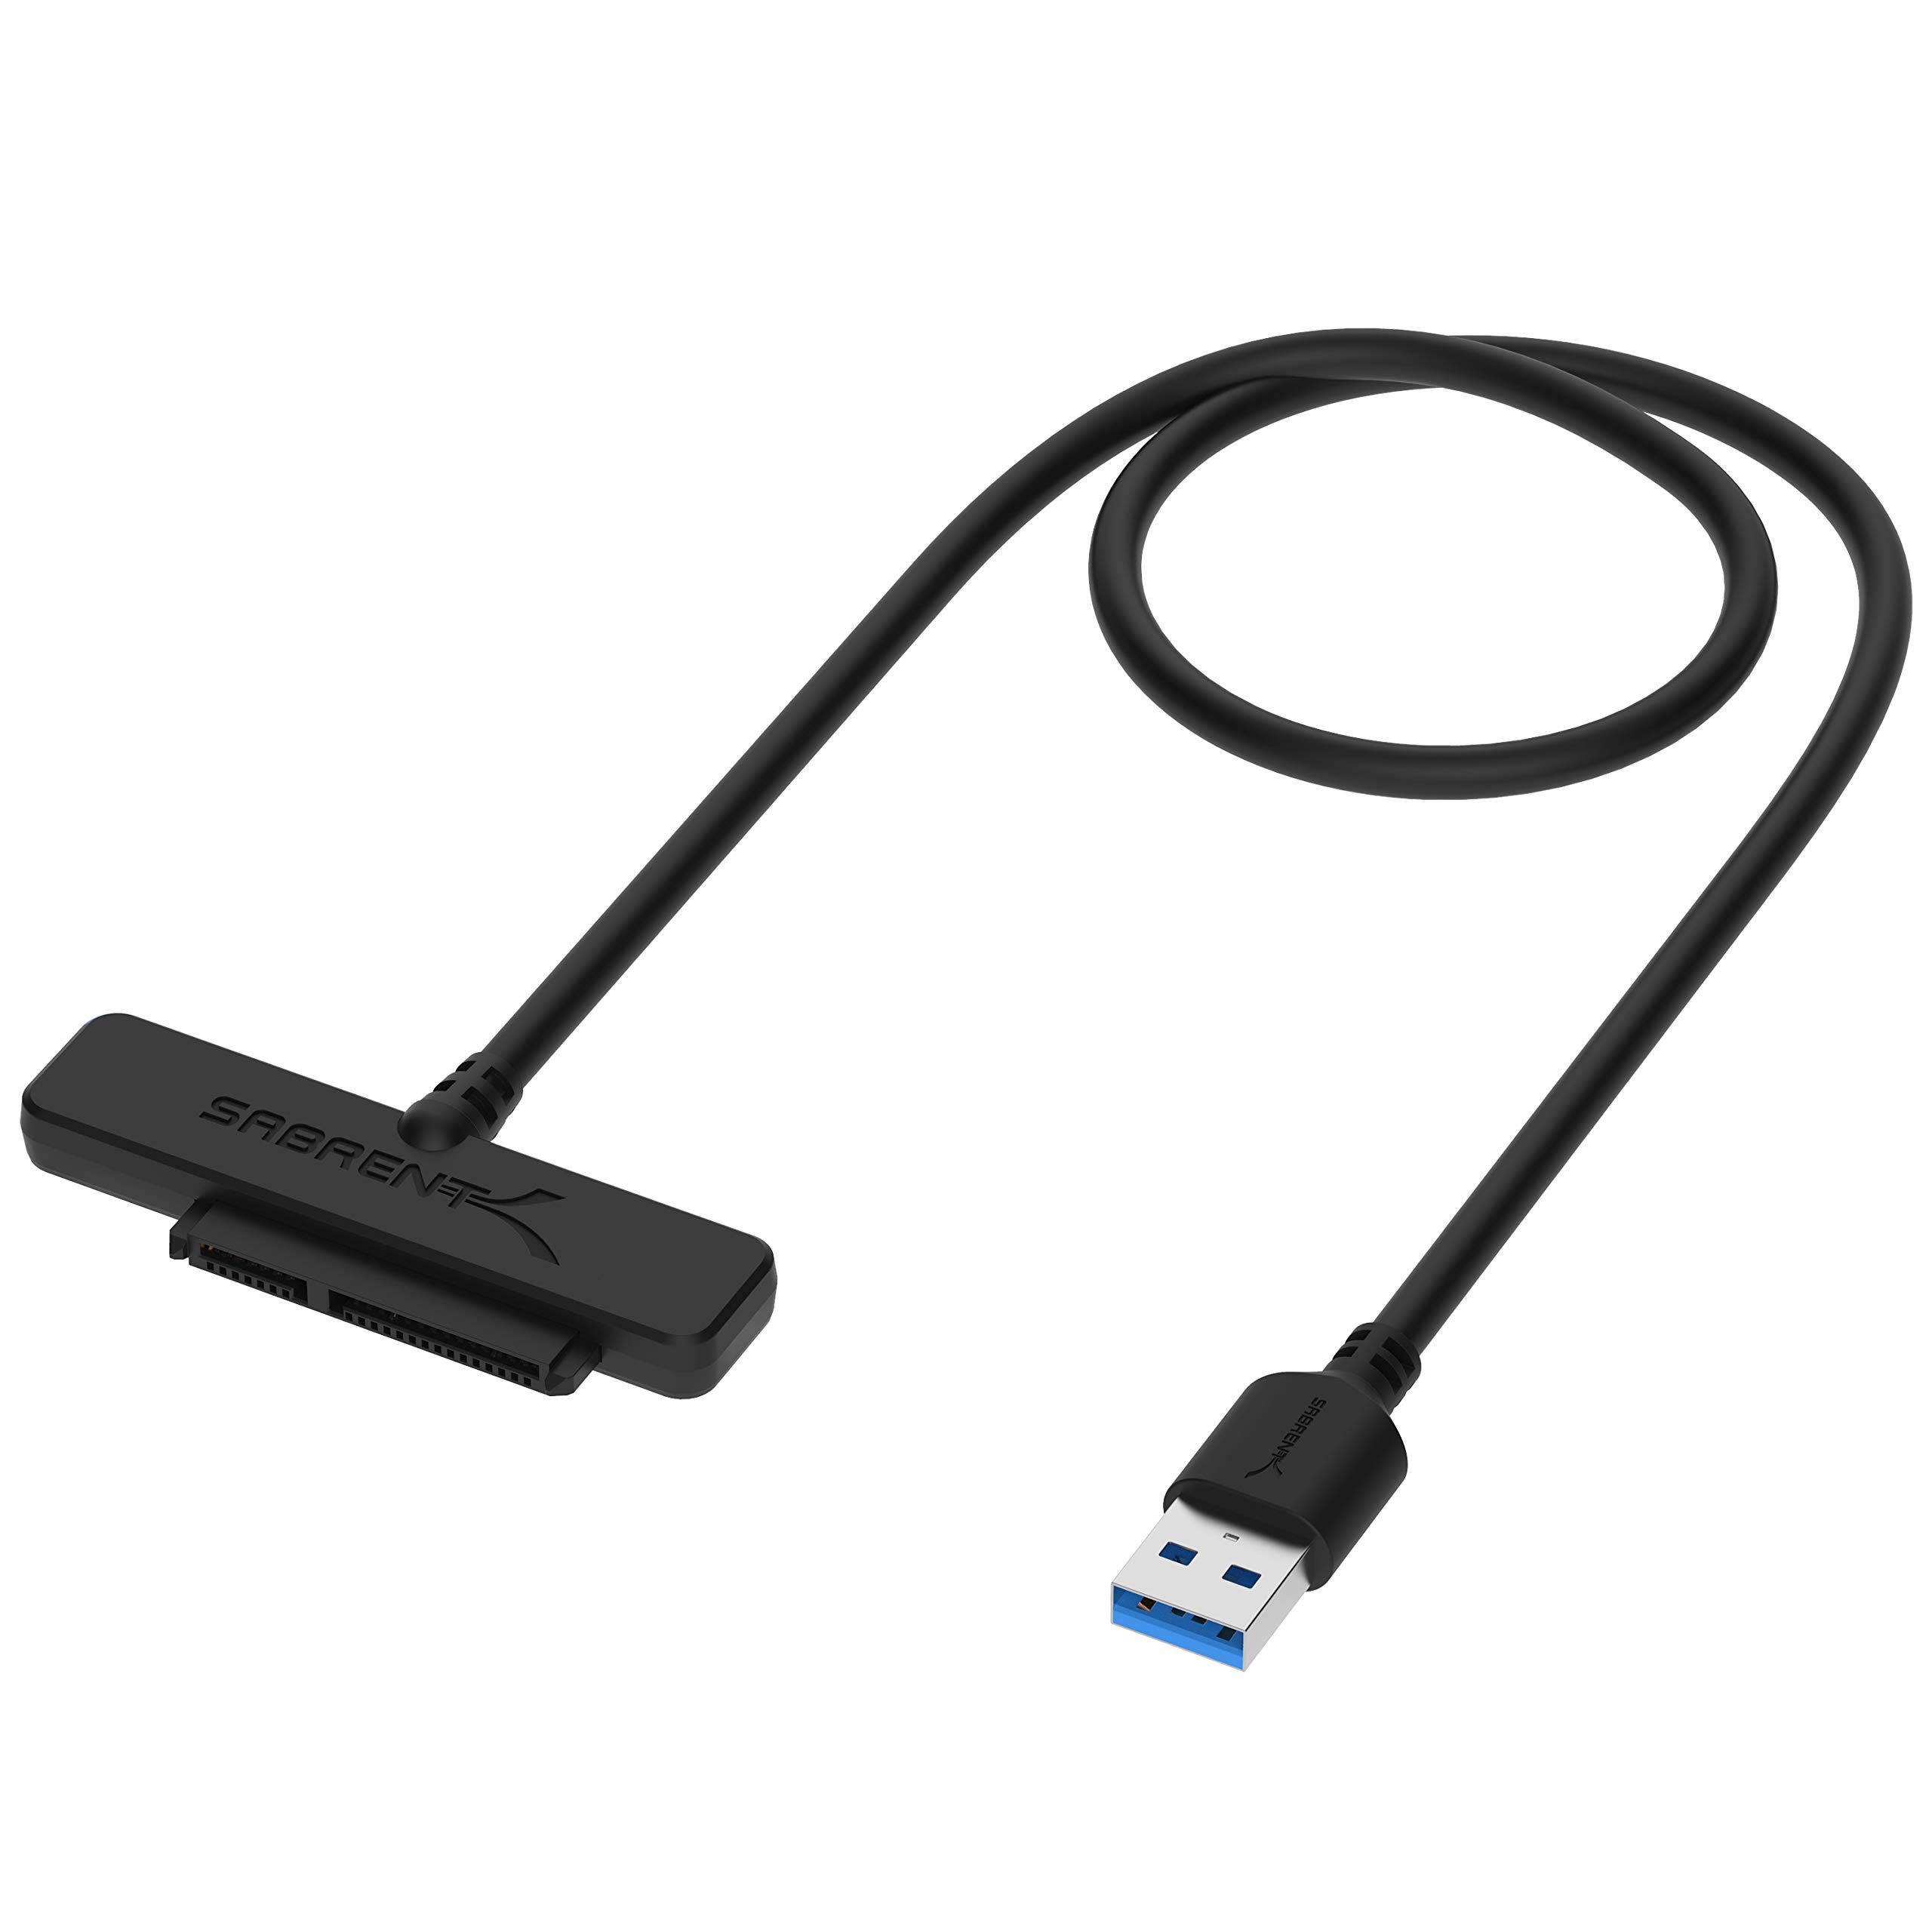
If your motherboard does not have a dedicated slot for an SSD, don’t worry. There are various adapter options available in the market that allow you to connect the SSD to a different slot, such as PCIe or USB. Make sure to research the specific adapter you need to ensure compatibility and reliable performance.
Another consideration is the space available inside your computer case. SSDs are generally smaller in size compared to traditional hard drives. Ensure that you have the necessary space to fit the SSD into your computer. If there are no available slots for installation, you may need to remove an existing component or consider external enclosure options.
It’s also important to review the power requirements for the SSD. Most SSDs consume minimal power, but it’s always a good idea to check the power specifications and ensure that your power supply is sufficient to support the SSD.
Lastly, consider the operating system and software compatibility. Ensure that your current operating system supports SSDs, as older operating systems may require updates or specific drivers to work optimally with SSDs. Additionally, check that any critical software you use is compatible with SSDs to avoid any compatibility issues or data loss.
By assessing the compatibility of your system before proceeding with the migration, you can ensure a smoother and more successful transition to an SSD. Confirming compatibility will help you avoid any potential hardware or software conflicts and ensure that your computer is ready for the upgrade. Once you’ve determined that your system is compatible, you can move on to the next steps and prepare for the migration process.
Backing up Your Data
Before you begin the migration process, it is crucial to back up all your important data. This ensures that you have a safeguard in case anything goes wrong during the migration, protecting you from potential data loss. Here are the steps to follow when backing up your data:
Identify and Prioritize Important Data
Start by identifying the data that is most important to you. This could include documents, photos, videos, music, and any other files that you cannot afford to lose. Assess your storage space and prioritize the data you want to back up to ensure that you have enough room for everything.
Choose a Backup Method
There are several methods you can use to back up your data. Here are a few popular options:
- External Hard Drive: Connect an external hard drive to your computer and manually copy the files onto the drive. This is a straightforward and reliable method.
- Cloud Storage: Utilize a cloud storage service like Google Drive, Dropbox, or Microsoft OneDrive. These services offer secure online storage that allows you to access your files from any device with an internet connection.
- Backup Software: Use a dedicated backup software program that automates the backup process. These programs often provide options for scheduling regular backups and incremental backups to save storage space.
Create a Backup of Your Data
Once you have chosen your backup method, proceed to create a backup of your important data. Follow the instructions provided by the chosen method to ensure a successful backup. Make sure to verify that all your files have been successfully copied to the backup location.
Verify the Backup
After the backup process is complete, it is crucial to verify the integrity of the copied files. Open a few random files from the backup location to ensure that they open correctly and are not corrupted. This step is essential in guaranteeing that your backup is reliable and that your data can be restored if needed.
By taking the time to back up your important data, you can have peace of mind throughout the migration process. In the event of any unexpected situations, such as data loss or migration errors, you will have a copy of your files to restore from. Remember, it is always better to be safe than sorry when it comes to protecting your valuable data.
Disk Cleanup and Defragmentation
Before migrating Windows from your hard drive to an SSD, it is important to perform a disk cleanup and defragmentation of your current hard drive. These steps will help optimize your system and ensure a more efficient migration process. Let’s explore each step in detail:
Disk Cleanup
Disk cleanup is a built-in utility in Windows that allows you to remove unnecessary files and free up space on your hard drive. To perform a disk cleanup, follow these steps:
- Open the File Explorer by pressing the Windows key and E.
- Right-click on the hard drive you want to clean (typically C: drive).
- Select “Properties” from the context menu.
- In the Properties window, click on the “Disk Cleanup” button.
- Wait for the utility to scan your hard drive for unnecessary files.
- Check the boxes next to the file categories you want to delete. Be cautious and review the list before deleting any files.
- Click on the “OK” button to start the cleanup process.
- Wait for the utility to clean up the selected files.
Disk cleanup will remove temporary files, system files, Recycle Bin contents, and other unnecessary clutter from your hard drive. This will help reduce the amount of data that needs to be migrated to the SSD, making the process faster and more efficient.
Defragmentation
Defragmentation is the process of organizing fragmented files on your hard drive, improving data access speeds and overall system performance. To defragment your hard drive, follow these steps:
- Open the Start menu and search for “Defragment and Optimize Drives.”
- Click on the search result to open the Defragment and Optimize Drives tool.
- In the tool, select the hard drive you want to defragment (typically C: drive).
- Click on the “Optimize” button to start the defragmentation process.
- Wait for the tool to analyze and defragment your hard drive.
Defragmentation will rearrange fragmented files, making them contiguous and improving the overall performance of your hard drive. This step is especially important when migrating to an SSD, as it helps ensure a smoother transfer of data.
Performing a disk cleanup and defragmentation before migrating to an SSD will not only optimize your current system but also contribute to a successful migration process. By reducing unnecessary files and organizing data on your hard drive, you will experience improved performance and a smoother transition to your new SSD.
Creating a Windows Installation Media
Creating a Windows installation media is a crucial step when moving Windows from a hard drive to an SSD. This installation media will allow you to install the Windows operating system on the new SSD. Here’s how you can create a Windows installation media:
Check System Requirements
Before creating the installation media, ensure that your computer meets the system requirements for the version of Windows you plan to install on the SSD. These requirements typically include the minimum processor speed, memory (RAM) requirements, and storage space. Refer to the Windows documentation or the Microsoft website for the specific system requirements.
Download the Windows Media Creation Tool
To create the installation media, you will need to download the Windows Media Creation Tool from the Microsoft website. This tool is available for free and provides a straightforward method to download the necessary files for Windows installation.
Launch the Windows Media Creation Tool
Once you have downloaded the tool, locate the downloaded file and double-click on it to launch the Windows Media Creation Tool. If prompted, give the necessary permissions for the tool to run on your computer.
Select the Windows Edition and Language
In the Windows Media Creation Tool, you will be prompted to select the edition of Windows you want to install and the language to use during the installation process. Choose the appropriate options based on your preferences and needs, and then click on the “Next” button.
Select the Media Type
Next, you will need to choose the media type for your installation. Select the “USB flash drive” option to create a bootable USB drive for the installation. Ensure that you have a USB drive with sufficient capacity and insert it into an available USB port on your computer.
Create the Installation Media
Follow the prompts provided by the Windows Media Creation Tool to create the installation media. The tool will download the necessary Windows installation files and copy them onto the USB drive. This process may take some time, depending on your internet connection speed and the performance of your computer.
Verify the Installation Media
Once the creation process is complete, remove the USB drive from your computer and verify that the Windows installation media has been properly created. Check the files on the USB drive to ensure that they match the expected files for Windows installation.
By creating a Windows installation media, you will have the necessary files to install the Windows operating system on your new SSD. This media allows you to perform a clean installation or upgrade your current Windows version to the newly installed SSD, ensuring a smooth and efficient transition.
Installing the SSD
Once you have prepared the Windows installation media and backed up your data, it’s time to install the SSD into your computer. The process may vary depending on your computer model and the type of SSD you are installing. Here are the general steps to follow:
1. Power Off and Disconnect
Start by shutting down your computer and disconnecting it from any power source. This is important to prevent any electrical damage while installing the new SSD.
2. Open the Computer Case
If you have a desktop computer, remove the screws or clips securing the computer case and carefully open it. On the other hand, if you have a laptop, consult the manufacturer’s manual to determine the specific steps to access the internal components.
3. Locate the Hard Drive Bay
Identify the location of the hard drive bay in your computer. It is usually located near the bottom of the case. Refer to your computer’s manual if you are unsure.
4. Install the SSD
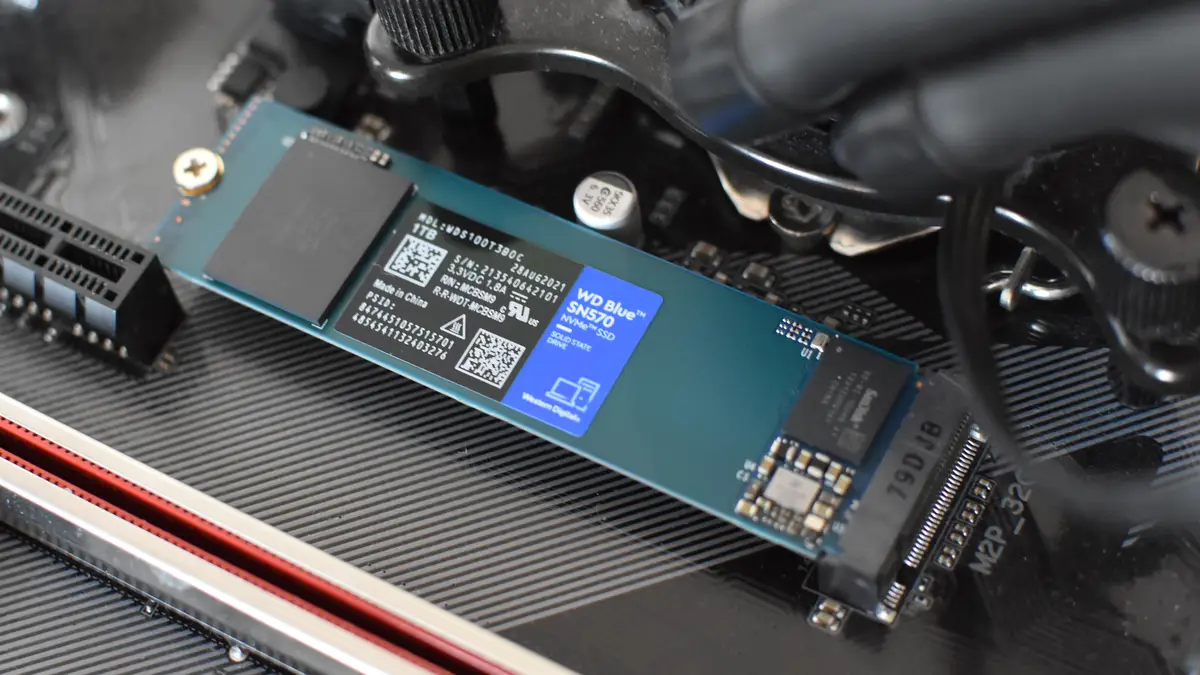
Insert the SSD into an available slot in the hard drive bay. If it is a 2.5-inch SSD, it can easily fit into a standard drive bay or be attached to a mounting bracket. If it is an M.2 SSD, insert it into the corresponding M.2 slot on the motherboard, making sure to align the notches correctly.
5. Secure the SSD
Ensure that the SSD is securely fastened in place using screws or mounting brackets provided with your computer or the SSD itself. This will prevent any movement during operation and ensure stability.
6. Connect Cables
Connect the necessary cables to the SSD. For a traditional hard drive replacement, you will need to connect the SATA data cable and the SATA power cable to the SSD. If you are installing an M.2 SSD, you might not need any additional cables as it connects directly to the motherboard.
7. Close the Computer Case
Once all the connections are made, carefully close the computer case and secure it in place with the screws or clips you removed earlier.
8. Reconnect and Power On
Reconnect your computer to a power source and power it on. At this point, your computer should detect the newly installed SSD. However, you will need to modify the boot order in the BIOS settings to prioritize the SSD as the boot device.
Congratulations! You have successfully installed the SSD into your computer. In the next steps, we will guide you through the process of cloning your hard drive to the SSD, ensuring that all your files, settings, and the operating system are seamlessly transferred.
Cloning Your Hard Drive
Cloning your hard drive to the newly installed SSD is an efficient way to transfer all your files, settings, and the operating system without the need for a fresh installation. Here’s how you can clone your hard drive to the SSD:
1. Choose a Cloning Software
Select a reliable cloning software that supports disk cloning. You can choose from various options, such as EaseUS Todo Backup, Acronis True Image, or Clonezilla. Ensure that the software is compatible with your operating system and has a cloning feature.
2. Connect the SSD
Connect the SSD to your computer using the same method as in the installation step. Ensure that it is securely connected and recognized by your computer.
3. Launch the Cloning Software
Launch the cloning software you selected and follow the instructions provided to begin the cloning process. In most cases, you will need to select the source (your existing hard drive) and the destination (the SSD) for the cloning process.
4. Select the Cloning Options
The cloning software will provide you with various options for the clone. Typically, you will have the choice to clone the entire disk, including the operating system and partitions, or select specific partitions to clone. Choose the appropriate options based on your needs and preferences.
5. Start the Cloning Process
Once you have selected the cloning options, initiate the cloning process. The software will start copying the contents of your hard drive to the SSD. This process may take some time, depending on the size of your hard drive and the speed of your computer.
6. Verify the Cloning
After the cloning process is complete, verify that the cloning was successful. Check the SSD to ensure that all the files, partitions, and the operating system have been accurately copied. You can compare the file sizes and properties between the original hard drive and the newly cloned SSD to ensure they match.
7. Modify the Boot Order
To ensure that your computer boots from the newly cloned SSD, you may need to modify the boot order in the BIOS settings. Restart your computer and enter the BIOS by pressing the appropriate key (usually displayed during startup). Locate the boot order settings and prioritize the SSD as the first boot device.
8. Test the Cloned SSD
Restart your computer and allow it to boot from the SSD. Ensure that everything is functioning correctly, including the operating system, applications, and data. You can run some performance tests or open files and applications to verify the speed and smoothness of the system.
Congratulations! You have successfully cloned your hard drive onto the SSD. This process ensures that you have transferred all your data and the operating system to the new SSD, allowing you to experience improved performance and faster boot times.
Booting from the SSD
After successfully cloning your hard drive to the SSD, the next step is to ensure that your computer boots from the SSD as the primary boot device. By doing so, you will take full advantage of the improved performance and speed offered by the SSD. Here’s how you can boot from the SSD:
1. Restart Your Computer
Restart your computer and enter the BIOS setup. The specific key to access the BIOS may vary depending on your computer model, but commonly used keys are F2, F10, or Del. Refer to your computer’s documentation or the manufacturer’s website to determine the correct key.
2. Access the BIOS Setup
Once you’ve entered the BIOS setup, navigate to the “Boot” or “Boot Order” section. The exact location of this section may vary depending on your BIOS version and computer model.
3. Modify the Boot Order
In the “Boot” or “Boot Order” section, locate the device order or boot priority options. Adjust the boot order so that the SSD is set as the first boot device. This will ensure that your computer boots from the SSD instead of the old hard drive.
4. Save and Exit
After modifying the boot order, save the changes made in the BIOS setup and exit the BIOS. Your computer will then restart.
5. Verify Successful Boot
Upon restarting, your computer should now boot from the SSD as the primary boot device. You can verify this by checking the boot time and observing the faster performance of your system.
6. Optional: Remove the Old Hard Drive
If you no longer need the old hard drive or if you want to optimize your storage setup, you can consider removing the old hard drive from your computer entirely. This step is optional but can help reduce power consumption, reduce clutter, and improve airflow within your computer case.
By ensuring that your computer boots from the SSD, you will maximize the benefits of the upgrade, including faster boot times, quicker application launches, and improved overall performance. Take a moment to enjoy the enhanced speed and responsiveness of your computer now that it is fully utilizing the power of the SSD.
Verifying the Migration
After completing the migration process and booting from the SSD, it is essential to verify that everything is working as expected. This step ensures that the migration was successful and that your computer is fully utilizing the SSD’s capabilities. Here are some actions you can take to verify the migration:
Check System Information
Open the System Information tool on your computer to verify that the SSD is recognized and listed correctly. Confirm that the storage capacity, model number, and other relevant details match the specifications of the installed SSD. This will give you assurance that the SSD is properly installed and detected by your system.
Verify Operating System and Software
Confirm that the operating system and all your essential software applications are functioning correctly on the SSD. Open various programs and ensure that they run smoothly without any errors or issues. Test different functionalities to ensure that everything is working as expected. Verify that the system no longer references the old hard drive as the primary storage device.
Run Performance Tests
Performing performance tests can give you concrete evidence of the improved speed and performance offered by the SSD. Run benchmarking tools such as CrystalDiskMark or AS SSD Benchmark to measure the read and write speeds of the SSD. Compare these results to the specifications of your SSD to ensure that it is performing optimally.
Test File Access and Transfer
Open various files and folders stored on the SSD to confirm that they can be accessed quickly and without delays. Transfer some files between different locations on the SSD to check the transfer speed and responsiveness. This will help confirm that the SSD is performing well during everyday file operations.
Monitor Resource Usage
Observe the system’s resource usage, such as CPU and memory, to ensure they are within normal ranges. An SSD’s improved performance can result in faster data transfers, potentially putting added load on the CPU or memory. However, it should not cause any excessive utilization or noticeable performance degradation.
Perform System Updates
Check for any pending operating system updates and driver updates specific to the SSD or any other hardware components. Ensuring that your system is up to date helps address potential bugs or compatibility issues that might affect the SSD’s performance or stability.
By verifying the migration, you can have confidence that the SSD is functioning properly and that your system is benefitting from the improved performance. If any issues or discrepancies are found during the verification process, consult the documentation or support resources provided by the SSD manufacturer or seek assistance from technical support for further troubleshooting.
Final Thoughts and Tips
Congratulations on successfully migrating Windows from your hard drive to an SSD! By now, you should be experiencing improved performance, faster boot times, and smoother operation. Here are some final thoughts and tips to help you make the most of your new SSD:
Optimize Windows Settings
Take advantage of Windows’ built-in features to optimize your SSD’s performance. Enable TRIM support, which helps maintain the longevity and performance of your SSD. To do this, open the Command Prompt as an administrator and type: fsutil behavior set DisableDeleteNotify 0. Additionally, disable excessive indexing and unnecessary visual effects to reduce unnecessary disk activity and enhance overall system performance.
Regularly Update Firmware and Drivers
Keep your SSD firmware up to date by checking the manufacturer’s website periodically. Firmware updates often include bug fixes and performance improvements. Similarly, ensure that all relevant drivers are up to date for optimal compatibility and performance. Check for updates from the manufacturer’s website or by using driver update utilities.
Maintain Adequate Free Space
To ensure the best performance from your SSD, maintain a sufficient amount of free space. Overfilling an SSD can degrade its performance. Aim to keep at least 10 to 20 percent of the SSD’s capacity free for optimal performance and longevity.
Regularly Back Up Your Data
Even though SSDs are generally more reliable than traditional hard drives, it is still crucial to regularly back up your data. Unexpected failures or errors can still occur, so always maintain a backup of your important files, whether through an external hard drive or cloud storage.
Disable Disk Defragmentation
Unlike traditional hard drives, SSDs do not benefit from disk defragmentation. In fact, excessive defragmentation can reduce the lifespan of the SSD and provide no performance benefits. Disable automatic defragmentation in Windows to avoid unnecessary wear on the SSD.
Consider Scheduling Trim Command
Set up a regular schedule for the Trim command to keep your SSD operating efficiently. The Trim command helps boost the performance and lifespan of SSDs by erasing blocks of data that are no longer in use. You can use third-party software or enable the scheduled Trim command in Windows (available in newer versions of the operating system).
With these final thoughts and tips, you are now equipped to maximize the performance and longevity of your SSD. Enjoy the enhanced speed, responsiveness, and overall computing experience that your new SSD brings. Feel free to share your success and newfound knowledge with others who may be looking to make the switch!