Introduction
Are you running out of storage space on your SSD and need to move some files to a hard drive? Don’t worry, we’ve got you covered. In this guide, we will walk you through the process of transferring files from an SSD to a hard drive, allowing you to free up space on your SSD without losing any important data.
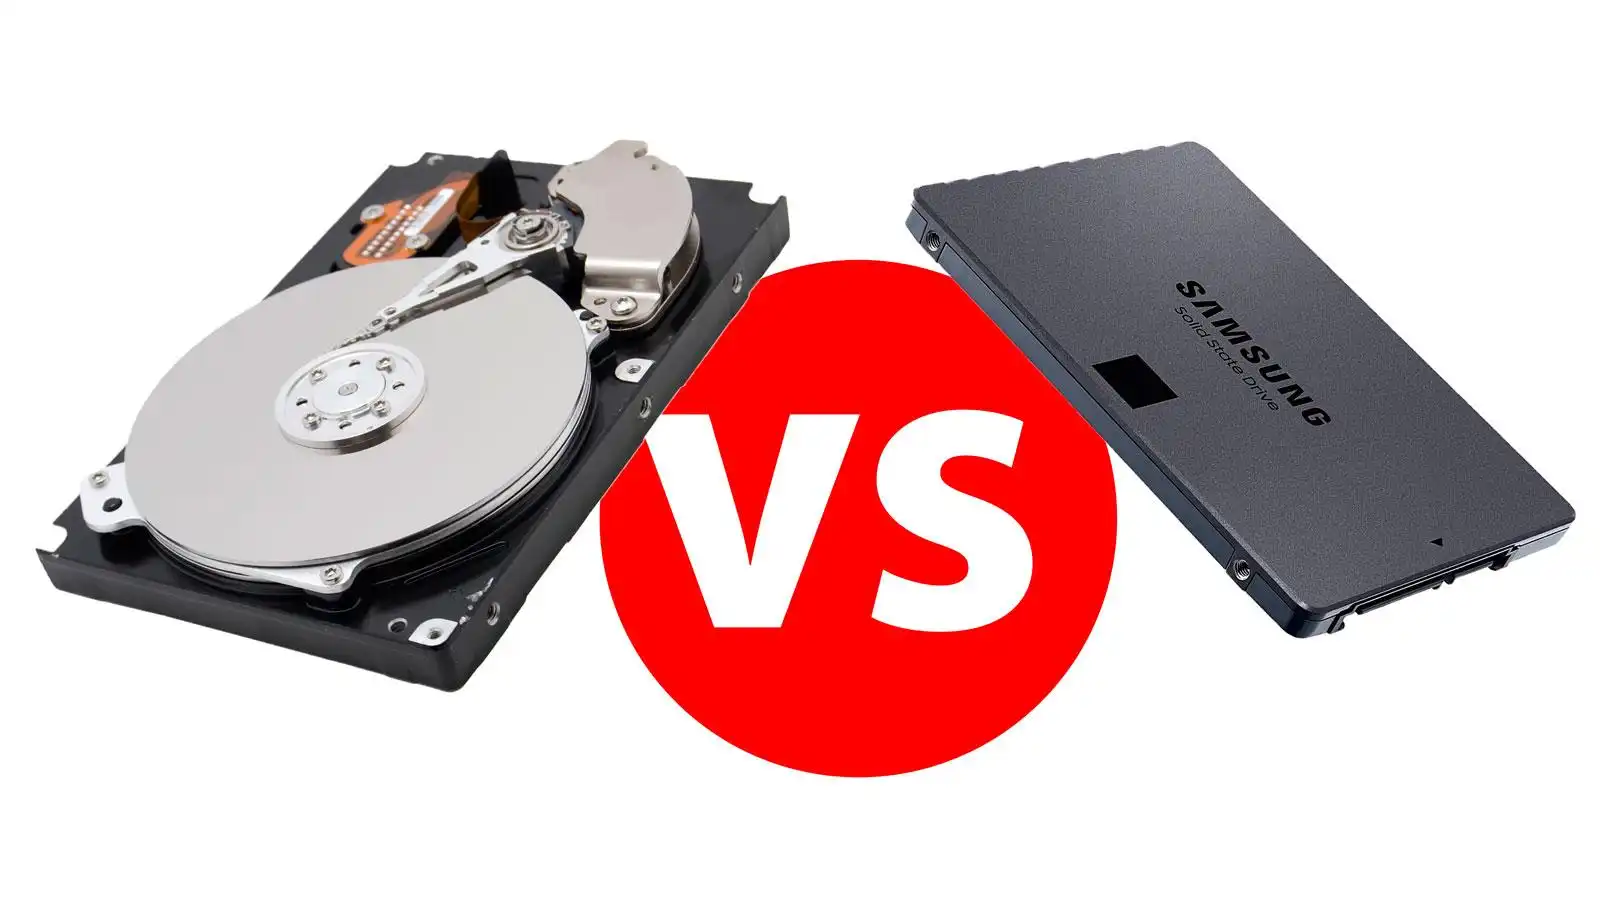
Many computer users opt for using an SSD as their primary storage device due to its faster read and write speeds compared to traditional hard drives. However, SSDs typically have smaller storage capacities and can fill up quickly, especially if you use your computer for tasks like gaming, video editing, or storing large media files. By moving your files to a hard drive, you can keep your SSD clutter-free and make room for more important files.
Moving files from an SSD to a hard drive is a straightforward process that can be done using the built-in File Explorer in Windows. Whether you’re transferring documents, photos, videos, or any other type of file, we’ll guide you step by step to ensure a smooth and hassle-free process.
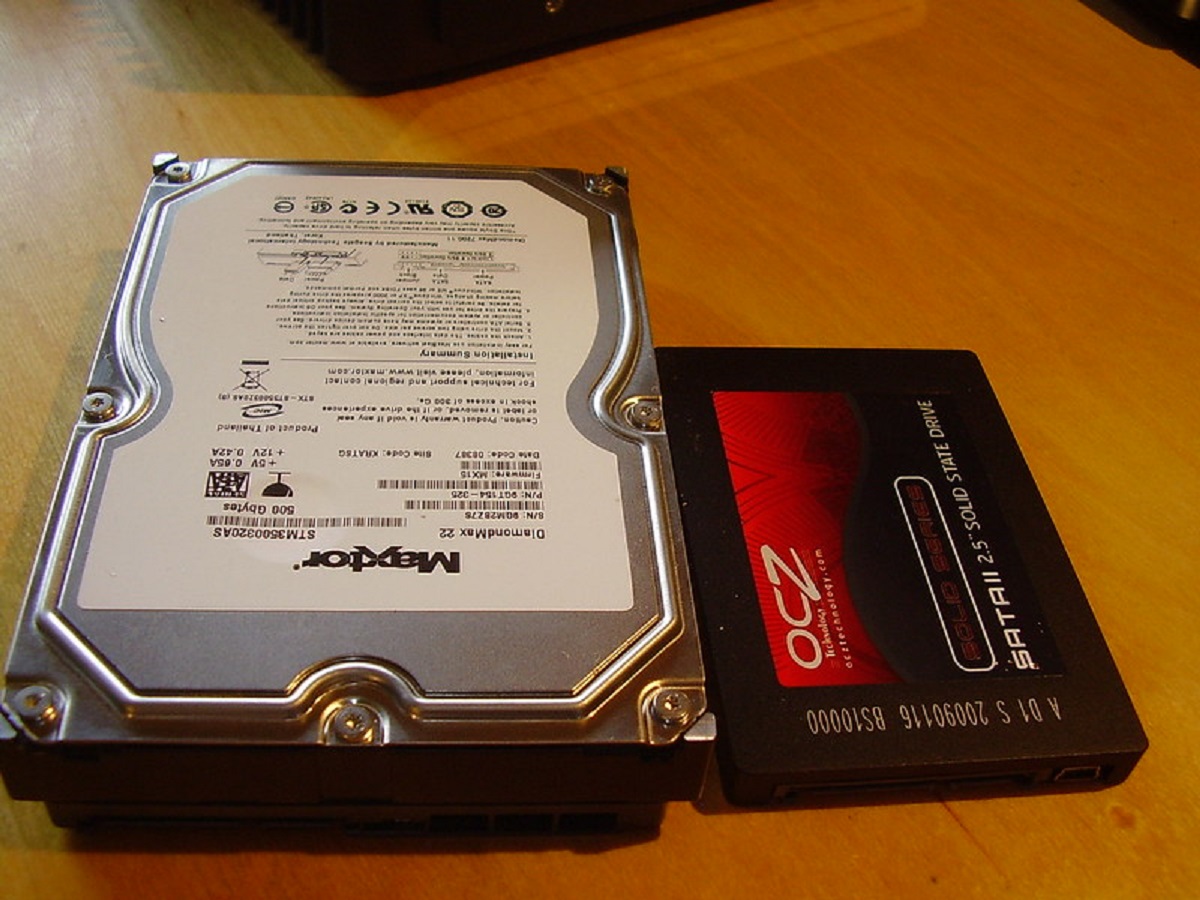
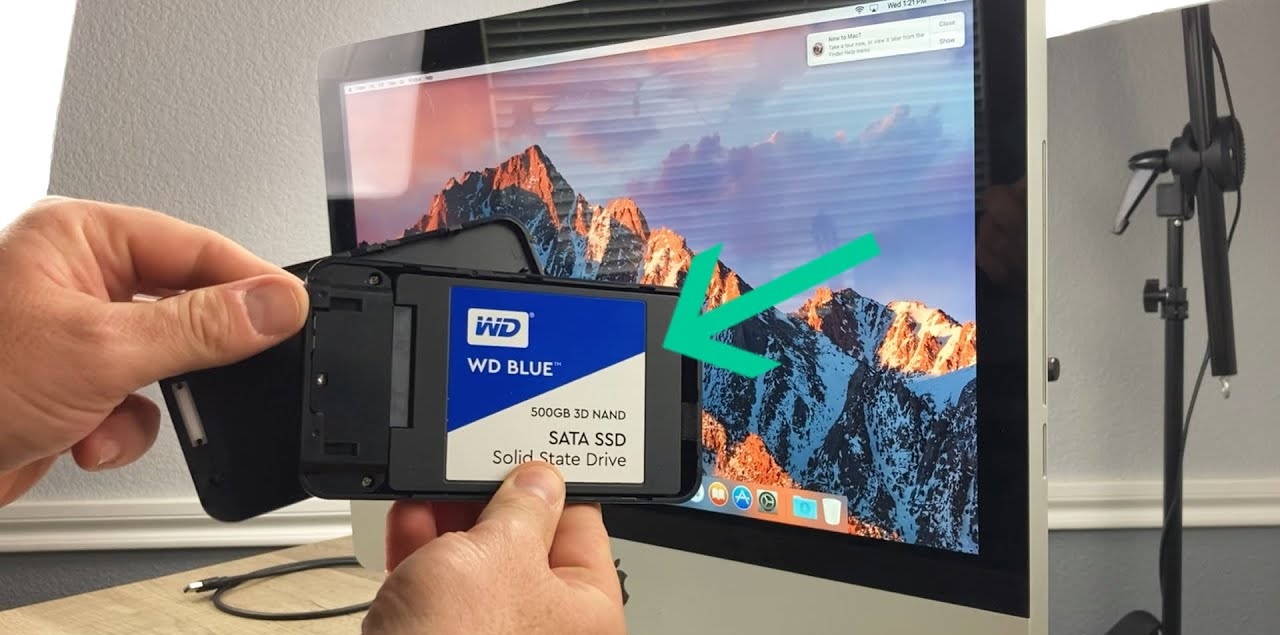
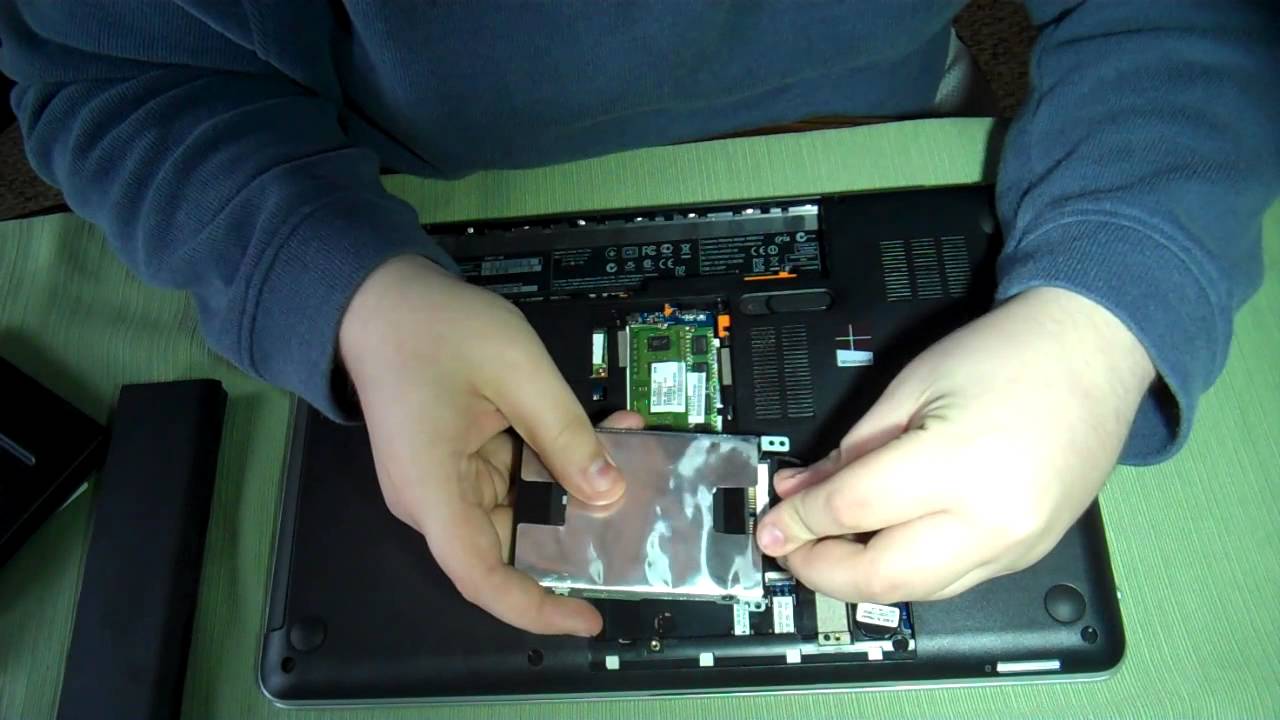
Before we dive into the steps, make sure you have a hard drive connected to your computer. This can be an external hard drive, a secondary internal hard drive, or even a network-attached storage (NAS) device. Additionally, ensure that both your SSD and hard drive are properly connected and recognized by your computer.
Now that you’re all set, let’s get started on moving your files from the SSD to the hard drive. Follow along with the next steps to learn how to efficiently transfer your files and free up valuable space on your SSD.
Step 1: Connect the SSD and the Hard Drive to your computer
The first step in transferring files from your SSD to a hard drive is to ensure that both devices are properly connected to your computer. Depending on your setup, you may have an internal hard drive installed in your computer or an external hard drive connected via USB. Here’s how you can connect the SSD and the hard drive:
- If you’re using an internal hard drive, shut down your computer and open the computer case.
- Locate the appropriate SATA port on your motherboard to connect the hard drive. SATA ports are rectangular-shaped connectors typically found near the power supply connectors.
- Connect the SATA cable from the hard drive to the SATA port on the motherboard. Ensure that it is firmly inserted into both the hard drive and the motherboard.
- If your hard drive requires power from the power supply, connect the power cable to the hard drive. The power cable will have a rectangular-shaped connector that fits into the corresponding slot on the hard drive.
- Secure the hard drive in place using screws or any appropriate mounting mechanism provided by your computer case.
- If you’re using an external hard drive, simply connect it to your computer using the provided USB cable. Make sure the hard drive is powered on.
- Once the SSD and the hard drive are connected, power on your computer and wait for the operating system to recognize the new hardware.
With both the SSD and the hard drive successfully connected to your computer, you’re ready to proceed to the next step, where we will open the File Explorer to initiate the file transfer process.
Step 2: Open your File Explorer
Once you have connected the SSD and the hard drive to your computer, the next step is to open your File Explorer. The File Explorer is the default file management application in Windows, allowing you to navigate through your computer’s files and folders. Here’s how you can open it:
- Click on the “Start” button in the bottom-left corner of your screen.
- In the Start menu, click on “File Explorer” or simply search for “File Explorer” in the search bar.
- Click on the “File Explorer” icon that appears in the search results or Start menu. The File Explorer window will open.
Alternatively, you can also use the shortcut combination of the “Windows” key + “E” on your keyboard to open the File Explorer directly.
Once the File Explorer is opened, you will see a window with various options and navigation panels on the left side. This is where you will be able to access all your files and folders on your computer, including your SSD and the newly connected hard drive.
Now that you have the File Explorer open, you’re ready to proceed to the next step, where we will locate the files that you want to transfer from the SSD to the hard drive.
Step 3: Locate the files you want to transfer
Once you have opened the File Explorer, the next step is to locate the files that you want to transfer from your SSD to the hard drive. Whether it’s documents, photos, videos, or any other type of files, the File Explorer provides you with an easy way to navigate through your computer’s file system. Here’s how you can locate the files:
- In the File Explorer window, you will see a navigation panel on the left side. This panel displays several quick access links and shortcuts to commonly used folders such as Documents, Pictures, Videos, and Downloads.
- If your files are stored in one of these default folders, click on the corresponding quick access link to open the desired folder.
- If your files are stored in a different location, navigate through the folders by clicking on the appropriate folder names in the navigation panel, starting from the “This PC” or “My Computer” entry.
- You can also use the search bar at the top right corner of the File Explorer window to search for specific files or folders by typing in keywords or file names.
- Once you have located the files you want to transfer, you can further refine the selection by clicking and dragging your mouse to highlight multiple files or holding down the “Ctrl” key on your keyboard while clicking on individual files to select them.
Remember to consider the size and type of files you are looking to transfer when selecting them. This will ensure that you have enough space available on the hard drive and that the transfer process will be efficient.
With your desired files located and selected, you are now ready to move on to the next step, where we will start the process of transferring the files from the SSD to the hard drive.
Step 4: Select the files and/or folders
Now that you have located the files you want to transfer, the next step is to select them in order to prepare for the transfer process. In the File Explorer, you can easily select multiple files or entire folders using various methods. Here’s how you can do it:
- To select individual files, simply click on each file you want to transfer while holding down the “Ctrl” key on your keyboard. This allows you to select multiple non-contiguous files.
- If you want to select a range of contiguous files, click on the first file, hold down the “Shift” key on your keyboard, and then click on the last file in the range. This will select all the files in between.
- If you want to select all files and folders within a specific folder, simply click on the folder name once to highlight it. This will automatically select all the contents inside the folder.
- Alternatively, you can use the keyboard shortcuts “Ctrl+A” to select all the files and folders within the current location, or “Ctrl+Click” to individually select multiple files without the need to hold down the “Ctrl” key.
As you select the files and folders, you will notice that they become highlighted or appear with a different background color, indicating that they are selected for the upcoming transfer.
Remember to carefully review your selection to ensure that you have chosen the correct files and folders. This will help avoid any accidental transfers of unwanted files or leaving out important files.
Once you have made your selection, you are now ready to proceed to the next step, where we will initiate the copying process to transfer the selected files from the SSD to the hard drive.
Step 5: Copy the selected files
With the files and/or folders selected, it’s time to initiate the process of copying them from your SSD to the hard drive. The File Explorer provides a simple and intuitive way to perform this action. Here’s how to copy the selected files:
- Right-click on any of the selected files or folders. This will bring up a context menu with various options.
- In the context menu, hover your mouse over the “Copy” option. This will open a sub-menu with additional options.
- Click on the “Copy” option in the sub-menu. This will create a copy of the selected files in the computer’s clipboard.
Alternatively, you can also use the keyboard shortcut “Ctrl+C” to copy the selected files.
After copying the files, you will notice that the selected items still remain in their original location on the SSD. The files in the clipboard are ready to be pasted in the destination folder on the hard drive.
Note that the copying process may take some time depending on the size and number of files you are transferring. It’s important to have patience and avoid interrupting the process to ensure that all files are successfully copied.
With the selected files successfully copied, it’s time to move on to the next step, where we will open the destination folder on the hard drive to prepare for pasting the files.
Step 6: Open the destination folder on the Hard Drive
After copying the files from the SSD, the next step is to open the destination folder on the hard drive where you want to store the transferred files. This allows you to prepare for pasting the files from the clipboard into the appropriate location. Here’s how you can open the destination folder:
- In the File Explorer, locate and navigate to the hard drive where you want to transfer the files.
- Double-click on the hard drive’s icon or the corresponding drive letter to open it.
- If you have a specific destination folder in mind within the hard drive, navigate through the folders to locate the desired location.
- If you don’t have a specific destination folder in mind or want to create a new folder, right-click within the hard drive window and select “New” and then “Folder” from the context menu. Name the new folder appropriately.
By opening the destination folder on the hard drive, you ensure that the files will be placed in the correct location according to your preferences.
Remember to consider the available space on the hard drive and ensure that it has enough capacity to accommodate the transferred files. It’s also a good idea to organize the files within the destination folder by creating subfolders or using a logical naming convention.
With the destination folder opened and ready, we can move on to the next step, where we will paste the copied files from the clipboard into the hard drive.
Step 7: Paste the copied files
Now that you have the destination folder open on the hard drive, it’s time to paste the copied files from the clipboard into the desired location. The File Explorer provides a simple and convenient way to perform this action. Here’s how you can paste the files:
- Right-click anywhere within the destination folder. This will bring up a context menu with various options.
- In the context menu, hover your mouse over the “Paste” option. This will initiate the process of pasting the copied files from the clipboard into the destination folder.
- Click on the “Paste” option to start the file transfer. The copied files will be pasted into the destination folder on the hard drive.
Alternatively, you can also use the keyboard shortcut “Ctrl+V” to paste the copied files.
As the files are being pasted, you will notice a progress bar or notification indicating the transfer process. This may take some time, depending on the size and number of files being copied, as well as the speed of your hard drive.
While the files are being pasted, it’s important to avoid interrupting the transfer process. This ensures that all files are successfully transferred and prevents any potential data loss or corruption.
With the copied files now pasted into the destination folder on the hard drive, it’s time to move on to the next step, where we will monitor the progress of the file transfer.
Step 8: Monitor the file transfer progress
Once you have initiated the file transfer by pasting the copied files into the destination folder on the hard drive, it is important to monitor the progress to ensure that the transfer is completed successfully. During the file transfer, the File Explorer provides feedback on the current status of the transfer. Here’s how you can monitor the file transfer progress:
- While the files are being transferred, you will notice a progress bar or a status window indicating the progress of the transfer. This allows you to see how much of the transfer is completed and how much is remaining.
- You may also see an estimated time remaining for the transfer. This can give you an idea of how long it will take to complete the transfer.
- You can view the transfer progress by clicking on the “View details” or “More details” option, depending on the version of Windows you are using. This will provide you with more detailed information about the files being transferred and their progress.
It is important to ensure that the file transfer process is not interrupted. Avoid closing the File Explorer window, restarting your computer, or disconnecting any of the storage devices involved in the transfer until the process is complete.
If you have a large number of files or files with larger sizes, the transfer may take some time to complete. Patience is key during this stage, as interrupting the process could lead to incomplete or corrupt file transfers.
Once the file transfer progress is complete, you can verify that the transferred files are now available in the destination folder on the hard drive. Take a moment to ensure that all the files are successfully transferred and that the destination folder mirrors the structure and content of the original location on the SSD.
With the file transfer progress successfully monitored and completed, you have successfully moved files from your SSD to the hard drive. Congratulations! You have now freed up valuable space on your SSD while retaining all your important files on the hard drive.
Conclusion
Transferring files from an SSD to a hard drive is a simple process that can help free up space on your SSD and ensure that your important files are safely stored on a larger storage device. By following the steps outlined in this guide, you can easily move your files from the SSD to the hard drive without the risk of data loss or corruption.
Throughout the process, we covered the essential steps, including connecting the SSD and the hard drive to your computer, opening the File Explorer, locating and selecting the files you want to transfer, copying the selected files to the clipboard, opening the destination folder on the hard drive, pasting the copied files, and monitoring the file transfer progress.
It is important to remember that patience is key during the file transfer process. Depending on the size and number of files being transferred, the process may take some time. Avoid interrupting the transfer and allow it to complete successfully.
By successfully completing the transfer, you have created more space on your SSD for new files, applications, or system functions while keeping your important files safe and accessible on the hard drive.
Now that you have mastered the process of transferring files from an SSD to a hard drive, you can apply this knowledge whenever you need to free up space on your SSD or better organize your files across different storage devices.
Remember to regularly assess your storage needs to ensure that both your SSD and hard drive have sufficient space for your files and applications. This will help optimize your computer’s performance and keep your data well-organized.
With these practical steps and guidance, you are now equipped to seamlessly transfer files from an SSD to a hard drive, empowering you with more control over your storage options and the ability to keep your computer running smoothly.