Introduction
Welcome to the exciting world of gaming! As a gamer, you know the importance of having a smooth and seamless gaming experience. One way to enhance your gaming performance is by moving your games to a solid state drive (SSD).
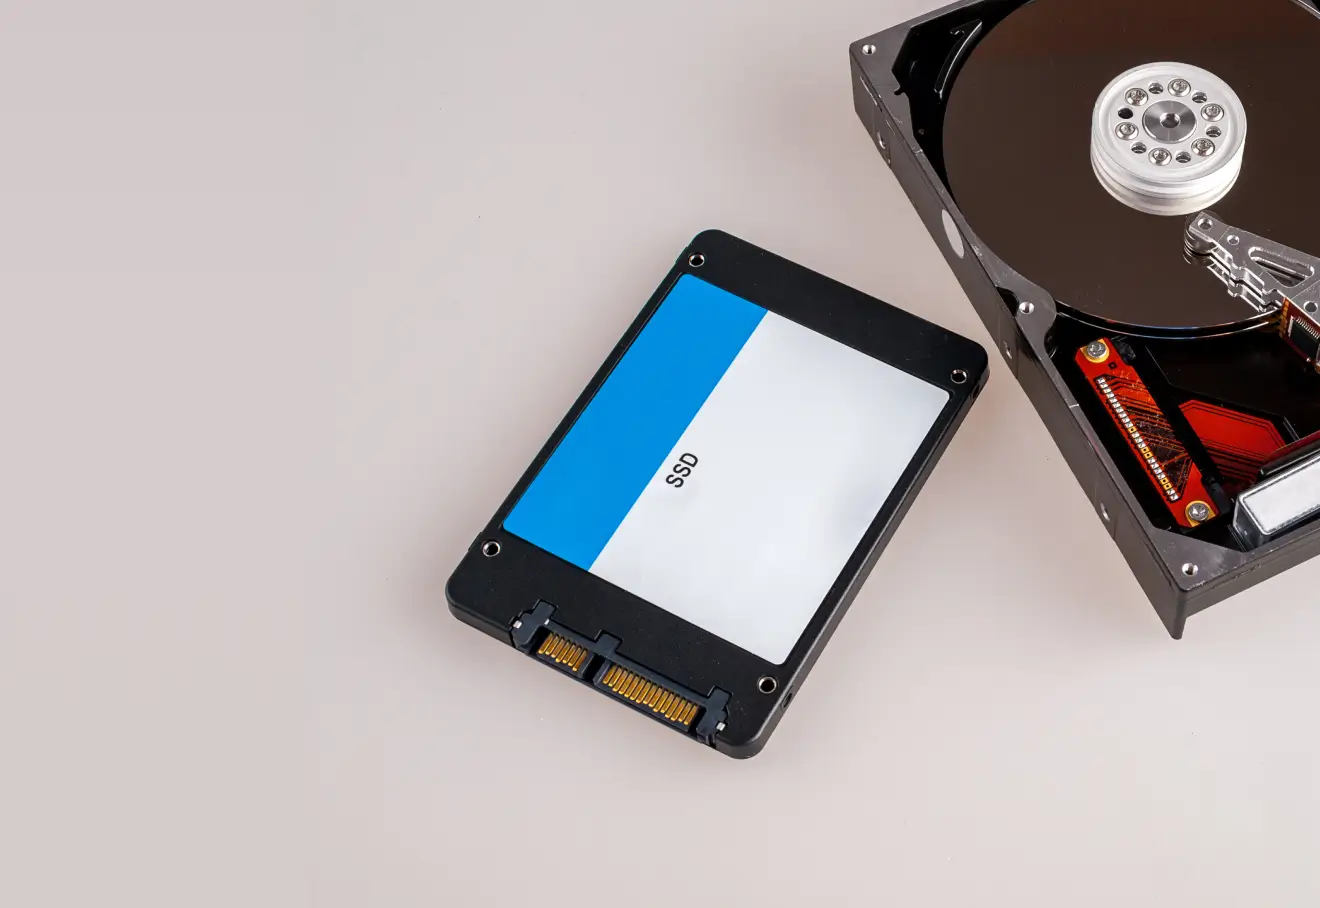
An SSD is a type of storage device that uses flash memory to store data, making it faster and more reliable than traditional hard drives. By transferring your games to an SSD, you can significantly reduce load times, eliminate lag, and enjoy smoother gameplay.
In this article, we will guide you through the process of moving your games to an SSD. Whether you are a seasoned gamer looking for that extra edge or a casual player seeking improved performance, we’ve got you covered!
By following the steps outlined in this guide, you’ll be able to optimize your gaming experience and make the most of your SSD investment. So, let’s dive in and discover the benefits of moving games to an SSD!
Benefits of Moving Games to a Solid State Drive (SSD)
Moving your games to an SSD offers a plethora of benefits that can significantly enhance your gaming experience. Let’s explore some of the key advantages:
- Improved Loading Times: One of the main advantages of using an SSD for gaming is the dramatic reduction in loading times. Unlike traditional hard drives, which rely on spinning disks to access data, SSDs have no moving parts, resulting in lightning-fast read and write speeds. You’ll be able to dive into your favorite games without enduring long loading screens.
- Elimination of Lag: Lag can be the bane of a gamer’s existence. With an SSD, you can kiss lag goodbye. The fast data transfer speeds of SSDs ensure that the game data is retrieved quickly, minimizing latency and providing a smoother gaming experience. Say hello to seamless gameplay and bid farewell to frustrating stutters and delays.
- Seamless Open World Exploration: Open world games often require rapid data streaming to seamlessly render the expansive gaming environment. By transferring these games to an SSD, you’ll experience seamless transitions between different regions, eliminating the annoying texture pop-ins and loading pauses that can disrupt your immersion.
- Faster Game Patching: Games frequently release updates and patches to fix bugs and introduce new content. With an SSD, downloading and installing these updates will be a breeze. The ultra-fast transfer speeds allow for quicker installation times, enabling you to jump back into the game in no time.
- Noise and Heat Reduction: SSDs generate significantly less noise and heat compared to traditional hard drives. This means a quieter gaming environment and improved thermal management within your gaming rig. You can enjoy your gaming sessions without the distraction of loud whirring sounds and ensure optimal system performance.
Moving your games to an SSD is a game-changer, quite literally. The benefits of faster loading times, reduced lag, smooth open world exploration, faster patching, and improved system performance make investing in an SSD well worth it for any gamer.
Requirements for Moving Games to an SSD
Before you embark on the journey of moving your games to an SSD, there are a few requirements you need to fulfill. Here’s what you’ll need:
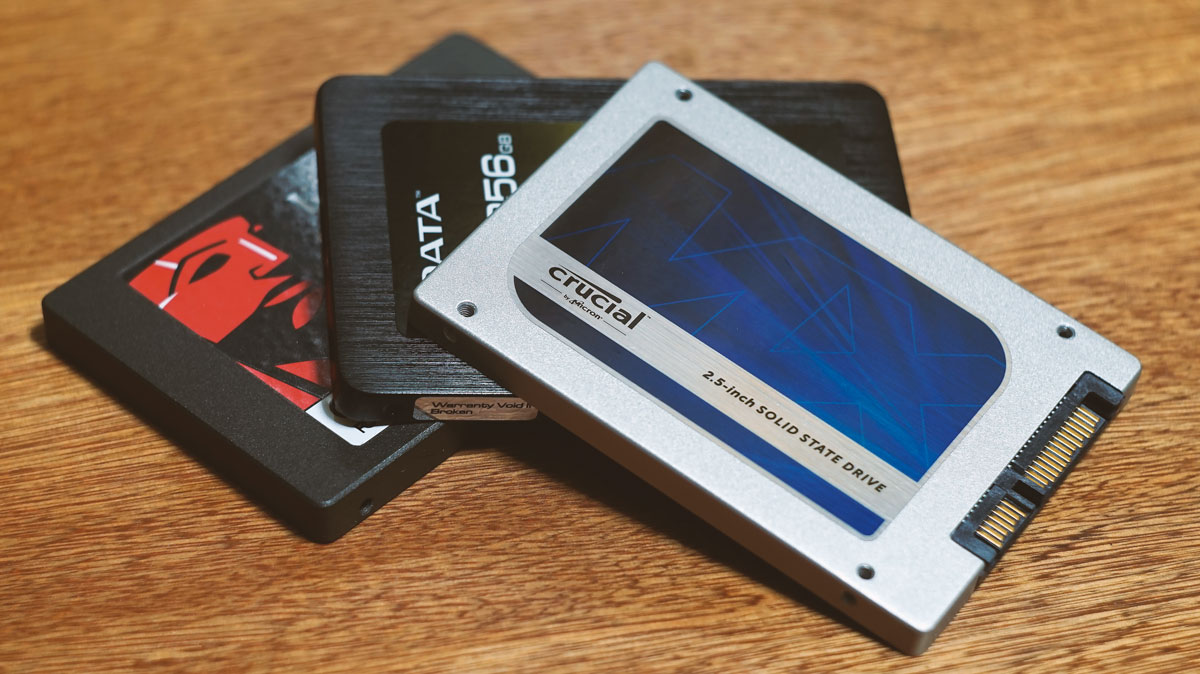
- An SSD: This might seem obvious, but it’s worth mentioning. You’ll need a solid state drive to transfer your games to. Make sure to choose an SSD with sufficient storage capacity to accommodate your game library. Size matters!
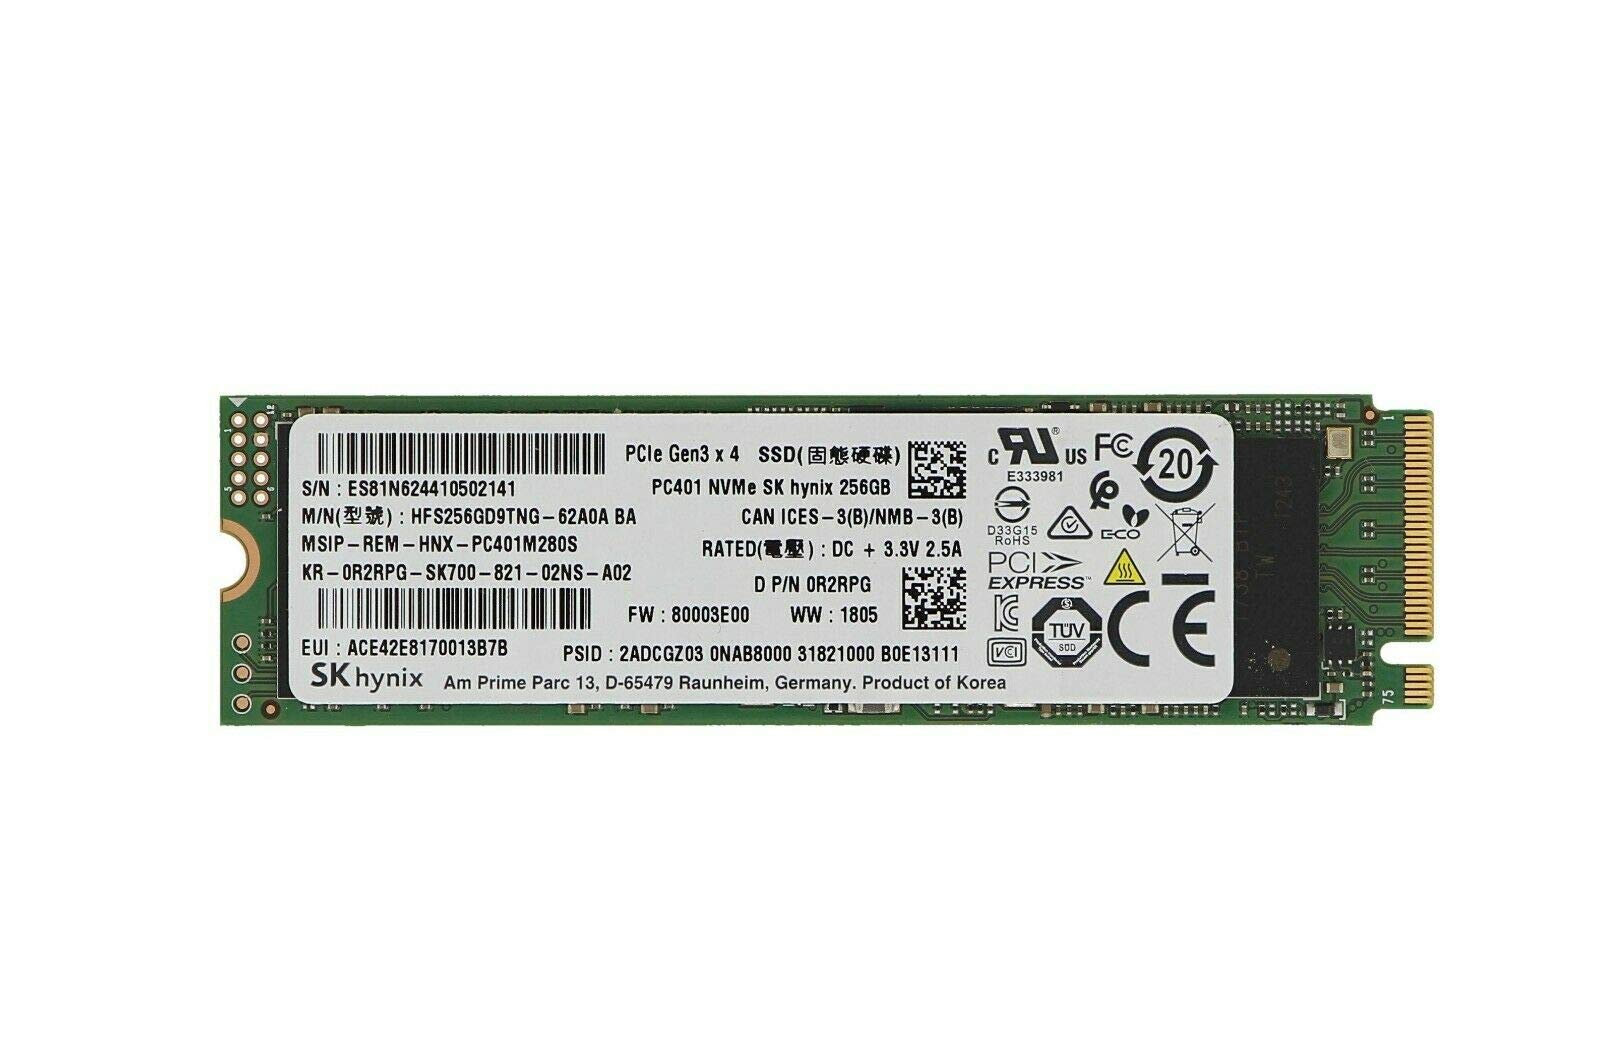
- Spare SATA or M.2 Slot: Most SSDs connect to your computer via a SATA cable or an M.2 slot. Ensure that your computer has an available SATA port or an M.2 slot to connect and install the SSD. This will vary depending on your PC or laptop model.
- Enough Free Space: While the SSD will provide faster performance, it’s important to have enough free space on it to store your games. Consider the size of your game library and ensure that the SSD has adequate storage capacity to accommodate them.
- Game Installation Files: You’ll need access to the game installation files for the games you want to transfer. These files are typically obtained from digital distribution platforms such as Steam, Epic Games Store, or GOG. If you own physical copies of games, you’ll need the installation discs or access to their digital copies.
- Backup Solution: As with any data transfer or storage process, there is always a slight risk of data loss. It’s important to have a backup solution in place, either using external hard drives or cloud storage, to ensure that your game data is safe in case of any unforeseen issues during the transfer process.
By meeting these requirements, you’ll be well-prepared to move your games to an SSD and reap the benefits of improved performance and faster load times. With these essentials in place, you can proceed to the next steps of the process and make your gaming experience even better!
Step 1: Choose the Right SSD for Your Gaming Needs
Choosing the right SSD is crucial for ensuring optimal gaming performance. Here’s how you can select the perfect SSD for your gaming needs:
- Consider Storage Capacity: Start by assessing your game library and estimating the amount of storage space you require. SSDs come in various sizes, ranging from 256GB to multiple terabytes. Ensure that the SSD you choose has enough storage capacity to accommodate your current games and leave room for future additions.
- Look for High Read/Write Speeds: The read and write speeds of an SSD determine how quickly it can access and transfer data. Opt for SSDs with high read/write speeds to minimize loading times and maximize gaming performance. Look for SSDs with read speeds above 500 MB/s and write speeds above 400 MB/s for optimal performance.
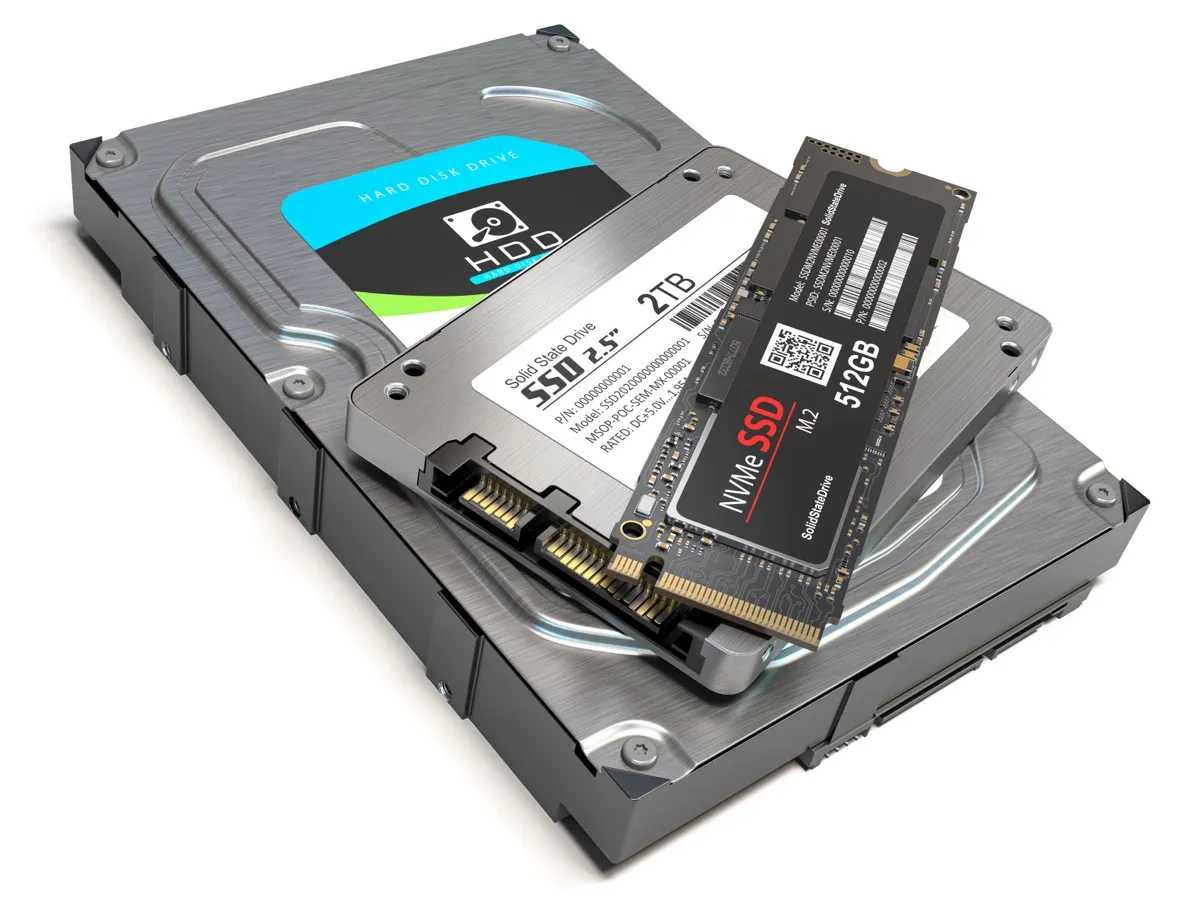
- Consider Form Factor: SSDs come in different form factors, such as 2.5-inch SATA, M.2, or NVMe. Check your computer or laptop’s specifications to determine which form factor is compatible. If you’re building a gaming rig from scratch, M.2 or NVMe SSDs offer faster speeds and are more compact.
- Take Budget into Account: SSDs vary in price based on factors such as capacity, speed, and brand. Consider your budget and choose an SSD that offers the best balance of price and performance. While high-end SSDs can provide blazing-fast speeds, mid-range options can still offer a significant improvement over traditional hard drives.
- Read Reviews and Comparisons: Before making a final decision, read reviews and comparisons of different SSD models. This will give you insights into their reliability, performance, and overall value. Make sure to choose a reputable and trusted brand known for producing reliable and durable SSDs.
By considering storage capacity, read/write speeds, form factor compatibility, budget, and reviews, you’ll be able to select an SSD that meets your gaming needs. Once you’ve identified the perfect SSD, you can move on to the next steps of preparing it for game installation.
Step 2: Prepare Your SSD for Game Installation
Now that you have chosen the right SSD for your gaming needs, it’s time to prepare it for game installation. Follow these steps to get your SSD ready:
- Back up Important Data: Before proceeding, ensure that you have backed up any important data on your SSD or any other storage devices. This step is crucial to prevent data loss in case of any unforeseen issues during the preparation process.
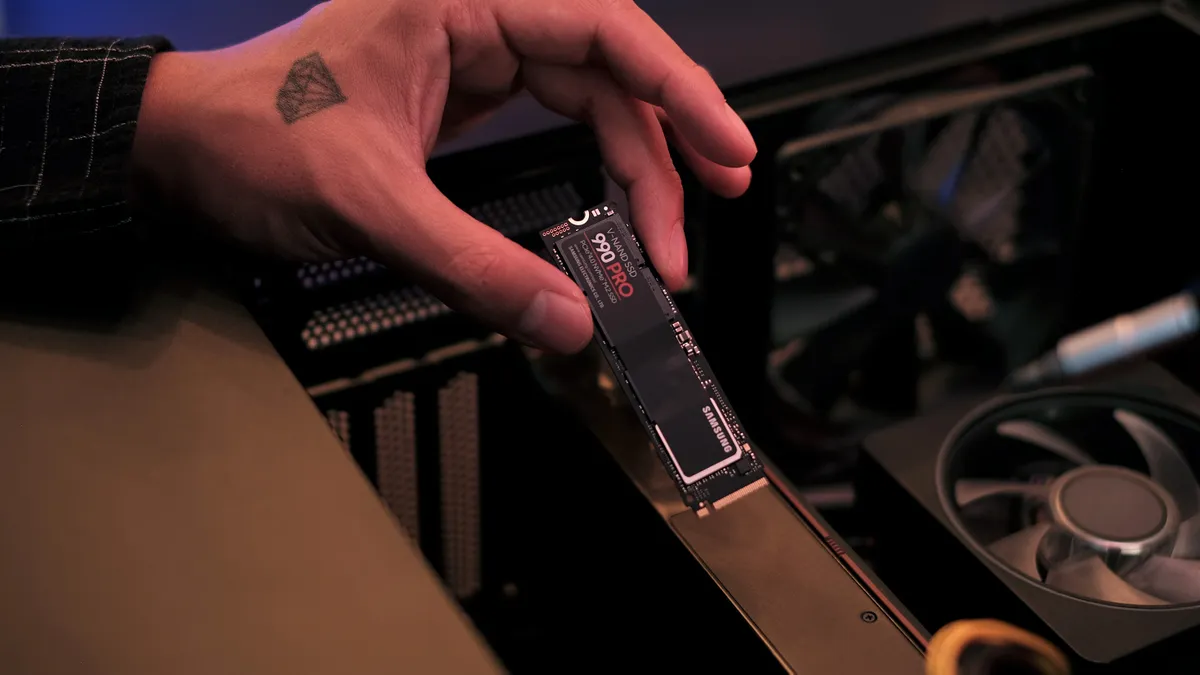
- Connect Your SSD: Depending on the form factor of your SSD, connect it to your computer or laptop using the appropriate cables. If you’re using an M.2 or NVMe SSD, you’ll need to carefully insert it into the compatible slot on your motherboard.
- Format the SSD (if necessary): In some cases, you might need to format the SSD before use. This step ensures that the SSD is ready to accept data and can be recognized by your operating system. To format, right-click on the SSD in your computer’s file explorer, select “Format,” and follow the on-screen instructions.
- Partition the SSD (optional): If you prefer to separate your games from the rest of your data, you can partition the SSD. This allows you to allocate specific sections of the SSD for game storage. Use your computer’s disk management tool to partition the SSD, create a new volume, and assign a drive letter to it.
- Update SSD Firmware (optional): Check the manufacturer’s website for any firmware updates available for your SSD model. Updating the firmware can enhance performance, fix bugs, and improve compatibility. Follow the manufacturer’s instructions carefully to update the firmware of your SSD.
- Verify the SSD is Recognized: Once the SSD is connected and formatted, verify that it is recognized by your computer or laptop. Open the Device Manager or Disk Management tool and make sure the SSD is listed. If it is not recognized, try restarting your system or checking the connections.
By following these steps, you will ensure that your SSD is properly connected, formatted (if necessary), and ready to receive the games you’ll be transferring. Now that your SSD is prepared, let’s move on to the exciting part – transferring games from your hard drive to the SSD!
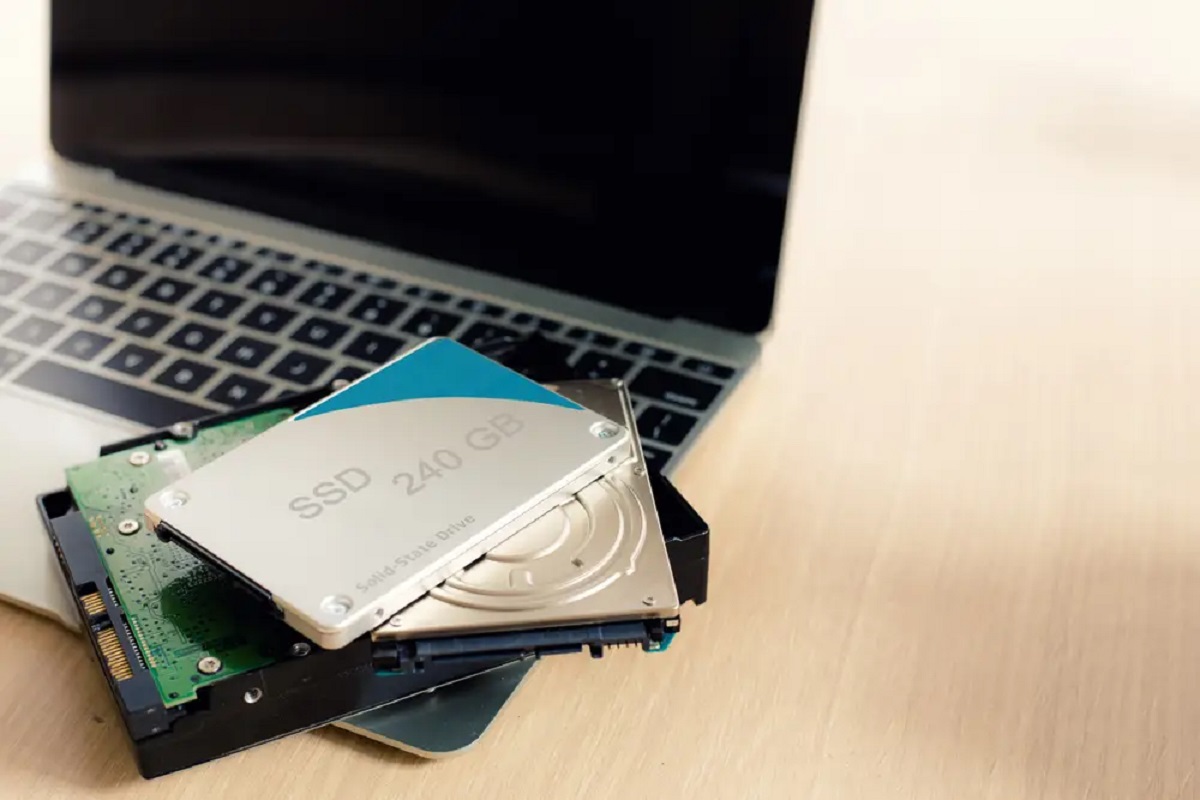
Step 3: Transfer Games from Hard Drive to SSD
Now that your SSD is prepared, it’s time to transfer your games from the hard drive to the SSD. Follow these steps to ensure a smooth and hassle-free transfer:
- Locate the Game Installation Files: Identify the game installation files on your computer. These files are typically stored in the “Program Files” or “Program Files (x86)” folder on your primary hard drive. If you’re using a digital distribution platform such as Steam or Epic Games Store, the files might be located in a different directory.
- Create a New Installation Folder on the SSD: Choose a location on your SSD where you want to transfer the game files. Create a new folder to hold the game files. This can be on the root directory or in a specific folder for organizing your games.
- Copy the Game Files to the SSD: Copy the game installation files from the hard drive to the newly created folder on the SSD. You can do this by simply dragging and dropping the files from the original location to the new location on the SSD.
- Transfer Save Game Files (if necessary): If you have any save game files that you want to transfer as well, locate them in the “Documents” or “AppData” folder on your primary hard drive. Copy these files to the corresponding folders on the SSD to ensure that your progress is retained.
- Verify Game File Integrity (if applicable): If you’re using a digital distribution platform like Steam, it’s recommended to verify the integrity of the game files to ensure that they are not corrupted during the transfer process. This can be done by right-clicking on the game in your library, selecting “Properties,” and choosing the option to verify file integrity.
- Repeat for Each Game: Repeat the above steps for each game you want to transfer to the SSD. Take your time and ensure that all necessary game files and save game files are accurately transferred.
By following these steps, you’ll successfully transfer your games from the hard drive to the SSD. This will enable faster loading times and smoother gaming experiences. Once the transfer is complete, you’re almost ready to enjoy your games on the SSD. However, there are a few more steps to ensure everything runs smoothly, which we’ll cover in the next section.
Step 4: Update Game Settings and Locations
After transferring your games to the SSD, it’s important to update the game settings and locations to ensure a seamless gaming experience. Here’s how you can do it:
- Launch Each Game: Start by launching each game on your computer. This will prompt the game to detect the new location of the game files on the SSD and update its settings accordingly.
- Update Game Settings: Access the settings menu within each game and make any necessary adjustments. This may include graphical settings, resolution, audio settings, and control configurations. Customize these settings to your liking and ensure that they are optimized for your system’s hardware and your preferences.
- Check for Game-Specific Options: Some games offer specific options or settings related to storage devices. Check the game’s options menu or settings to see if there are any settings related to storage or installation locations. If available, update these options to reflect the new storage location on the SSD.
- Verify Game Saves and Progress: Launch each game and verify that your saved game progress is intact. Check that all your saved games and progress are accessible and loading correctly from the new location on the SSD.
- Uninstall Games from the Hard Drive (Optional): If you have successfully transferred your games to the SSD and verified that they are running smoothly, you can consider uninstalling the games from your hard drive to free up space. This step is optional but will help maximize the storage capacity on your hard drive.
By updating the game settings and ensuring that the game progress is retained, you’ll have a seamless gaming experience on the SSD. Remember to go through each game individually and make the necessary adjustments to optimize performance. Now that you’ve updated the game settings, let’s move on to the final step.
Step 5: Delete Games from the Hard Drive to Free Up Space
Now that your games are successfully transferred to the SSD and running smoothly, it’s time to free up space on your hard drive by deleting the games from it. Here’s how you can do it:
- Identify Games to Delete: Take a moment to review the games that you have transferred to the SSD. Identify the games that you no longer need or want to keep on your hard drive.
- Back up Game Saves: Before deleting the games, ensure that you have backed up any save game files that you want to keep. These files are usually located in the “Documents” or “AppData” folder on your hard drive. Back them up to an external storage device or cloud storage for safekeeping.
- Uninstall Games: Open the control panel or application manager on your computer and locate the games that you want to delete from the hard drive. Select each game individually and choose the option to uninstall or remove it from your system. Follow the on-screen prompts to complete the uninstallation process for each game.
- Clean Up Remaining Game Files: After uninstalling the games, there may be residual files left behind on your hard drive. To clean up these remaining files, use a system cleaning or disk cleanup tool. These tools will scan your hard drive for unused files and remove them, freeing up additional space.
- Verify Disk Space: After deleting the games, check the available disk space on your hard drive to ensure that the space has been freed up. You can do this by right-clicking on the hard drive in your file explorer, selecting “Properties,” and checking the available free space.
By following these steps and deleting the games from your hard drive, you’ll be able to reclaim valuable storage space while keeping your preferred games accessible on the SSD. This will not only optimize the performance of your computer but also provide more room for future installations. Enjoy your gaming adventure without worrying about capacity constraints on your hard drive!
Conclusion
Moving your games to a solid state drive (SSD) can have a significant impact on your gaming experience. With faster loading times, reduced lag, seamless open world exploration, and smooth game patching, you can fully immerse yourself in the virtual worlds you love.
In this guide, we’ve covered the step-by-step process of moving games to an SSD. We started by introducing the benefits of using an SSD for gaming and outlined the requirements for a successful transfer. We then discussed the importance of choosing the right SSD and prepared it for game installation. We walked you through the process of transferring games from the hard drive to the SSD, updating game settings and locations, and deleting games from the hard drive to free up space.
By following these steps, you can optimize your gaming experience by harnessing the speed and performance advantages of an SSD. However, it’s important to note that SSDs have a limited lifespan, so it’s essential to regularly back up your game data to prevent loss in case of any hardware failures.
Now that you have the knowledge and tools to move your games to an SSD, it’s time to take action. Get ready to level up your gaming performance, reduce frustration caused by long loading times, and enjoy the seamless and immersive worlds of your favorite games.
So, what are you waiting for? Grab your SSD, follow the steps outlined in this guide, and embark on an unforgettable gaming experience like never before!