Introduction
Welcome to our guide on how to move a Steam game to a Solid State Drive (SSD). If you’re an avid gamer, you’re probably aware of the numerous benefits that an SSD can offer in terms of performance and speed. By transferring your Steam games to an SSD, you can significantly reduce loading times, improve gameplay responsiveness, and enhance overall gaming experience.
But before we delve into the nitty-gritty of transferring Steam games to an SSD, let’s briefly understand what an SSD is and why it’s the preferred storage option for gamers.
An SSD, or Solid State Drive, is a type of storage device that uses flash memory to store data. Unlike traditional Hard Disk Drives (HDDs), which rely on spinning platters and mechanical components, SSDs have no moving parts. This eliminates the delays caused by mechanical seek times, resulting in faster data access and transfer speeds. In simple terms, an SSD can read and write data much faster, leading to quicker game load times and smoother gameplay.
Now that we’ve established the advantages of using an SSD for gaming, let’s explore the steps required to prepare your SSD and transfer your Steam games.
Before proceeding with the transfer, make sure you have a compatible SSD with sufficient storage capacity to accommodate your games. Additionally, ensure that your computer’s operating system recognizes the SSD as a separate drive.
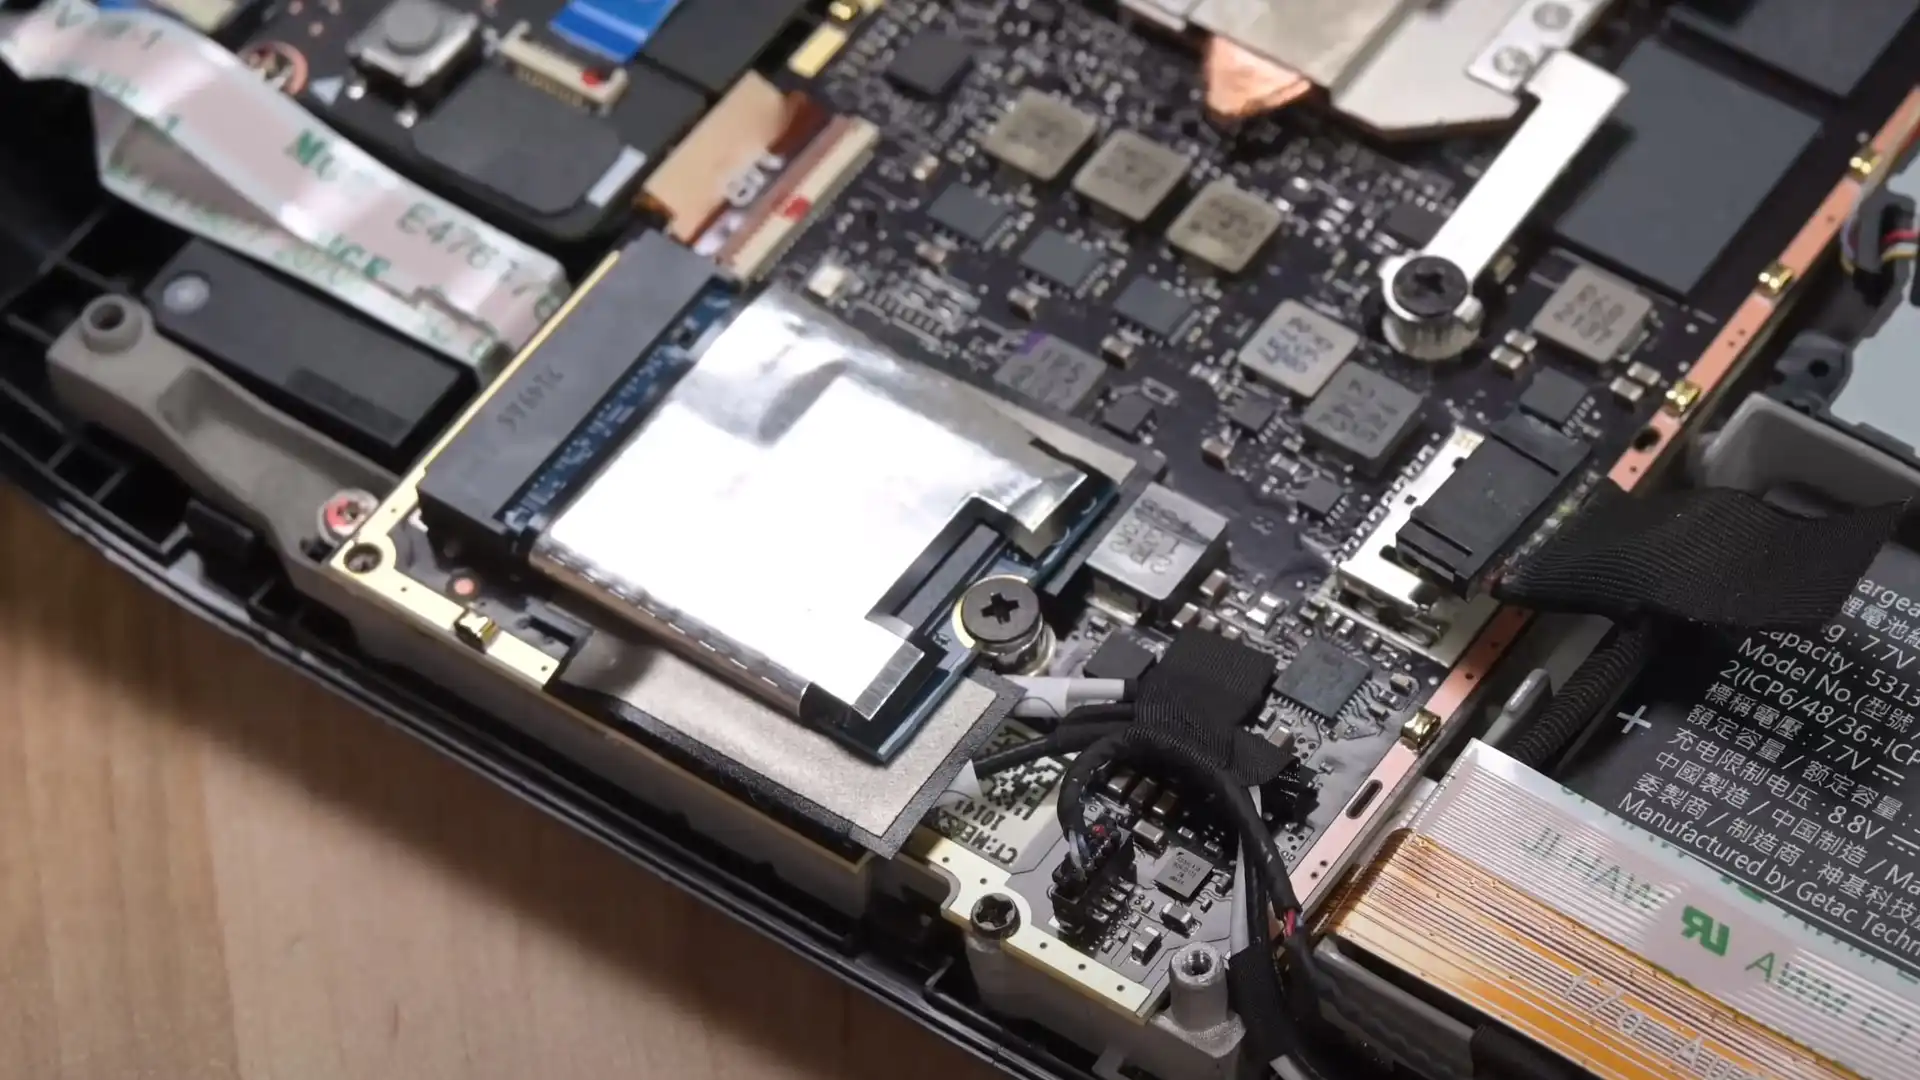
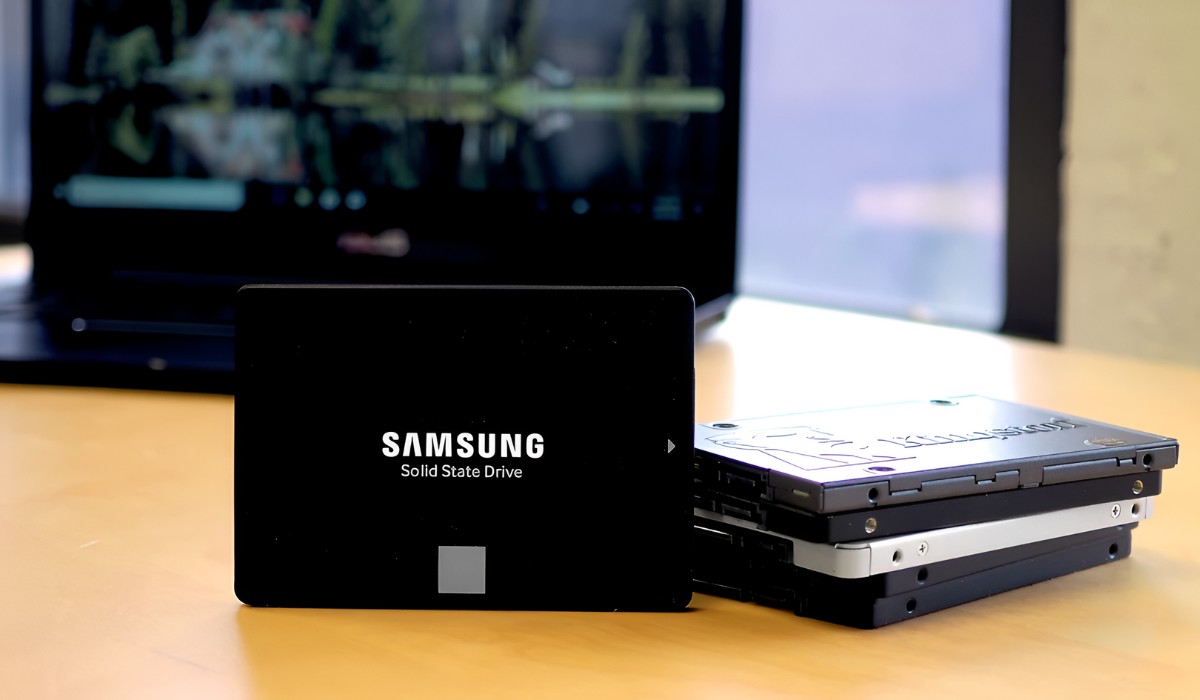
What is a Solid State Drive (SSD)?
A Solid State Drive (SSD) is a type of storage device that has gained immense popularity in recent years due to its superior performance and reliability compared to traditional Hard Disk Drives (HDDs). Unlike HDDs, which use mechanical components to read and write data from spinning platters, SSDs utilize flash memory technology.
Flash memory is a non-volatile storage medium that retains data even when the power supply is disconnected. This means that unlike HDDs, SSDs do not rely on moving mechanical parts, resulting in faster data access and transfer speeds.
One of the primary advantages of SSDs is their remarkable speed. As there are no physical components that need to spin or move, SSDs can retrieve and write data at lightning-fast speeds. This translates to rapid load times for games and applications, allowing you to jump into your favorite game and start playing in no time.
Furthermore, the absence of mechanical parts in SSDs makes them more durable and resistant to shock and vibration. This is particularly important for gamers who may frequently transport their computers or for laptop gaming, ensuring that data remains intact even in more demanding environments.
Another significant benefit of SSDs is their silent operation. Since there are no moving parts, SSDs generate no noise during normal operation, providing a quieter gaming experience without the distractions of whirring HDDs.
In addition to their speed and reliability, SSDs consume less power than traditional HDDs. This not only makes them more energy-efficient but also helps to maximize battery life in laptops, allowing for more extended gaming sessions on the go.
Overall, SSDs offer a significant performance boost compared to HDDs, making them the preferred choice for gamers and professionals who require speed and efficiency. Their faster load times, improved game responsiveness, and enhanced durability make them an essential component for any gaming setup.
Benefits of Using an SSD for Gaming
Using a Solid State Drive (SSD) for gaming offers several notable benefits that can greatly enhance your gaming experience. Let’s explore some of the key advantages of using an SSD:
- Fast Loading Times: One of the primary benefits of using an SSD for gaming is significantly reduced loading times. Traditional Hard Disk Drives (HDDs) can be relatively slow when retrieving data, causing delays in loading screens and game startup. With an SSD, games load much faster, allowing you to jump into the action without the frustration of long waiting times.
- Improved Game Performance: SSDs deliver faster data access and transfer speeds, resulting in improved game performance. Games that require frequent loading of assets, such as open-world environments, benefit greatly from the fast read speeds of an SSD. This leads to smoother gameplay, reduced stuttering, and seamless transitions between scenes.
- Enhanced Responsiveness: SSDs offer improved responsiveness when compared to HDDs. Actions like opening menus, interacting with in-game objects, and navigating through interfaces become faster and more fluid, providing a more immersive gaming experience.
- Reduced Texture Streaming Issues: Texture streaming issues, where low-quality textures are temporarily displayed before high-quality ones load, are often encountered when playing games installed on HDDs. With an SSD, texture streaming becomes significantly faster, resulting in better-looking graphics right from the start.
- Quicker Level Transitions: SSDs allow for seamless level transitions in games. Moving between different levels, areas, or zones becomes more fluid, minimizing interruptions and keeping you immersed in the game world.
- Improved Multiplayer Experience: In multiplayer games, where speed and real-time responsiveness are critical, an SSD can give you a competitive edge. Faster loading times and reduced lag can provide a smoother online gaming experience, giving you a better chance at victory.
- Reduced Noise and Heat: SSDs produce less noise and generate less heat than traditional HDDs. This not only contributes to a quieter gaming environment but also helps maintain lower system temperatures, reducing the risk of overheating and potential performance drops.
- Reliability and Durability: SSDs have no moving parts, making them more resistant to physical damage from drops, shocks, or vibrations. This increased durability ensures that your gaming data remains safe and secure.
- Easier Portability: If you’re a gamer who frequently travels or attends LAN parties, an SSD is a more convenient option. SSDs are lighter, more compact, and less susceptible to damage during transportation compared to HDDs.
By using an SSD for gaming, you can optimize your system’s performance, eliminate unnecessary loading time frustrations, and elevate your overall gaming experience to new heights.
Preparing Your SSD
Before transferring your Steam games to a Solid State Drive (SSD), it’s essential to ensure that your SSD is properly prepared and ready for the task. Here are some steps to follow:
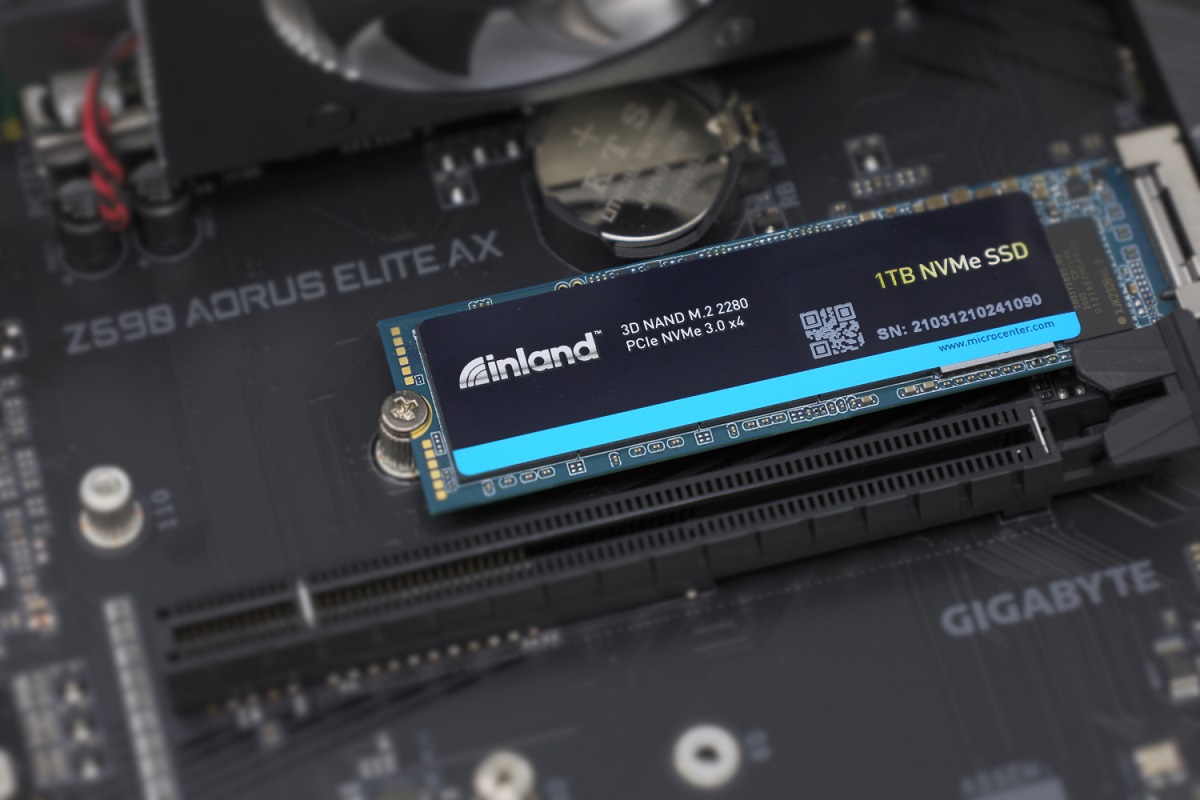
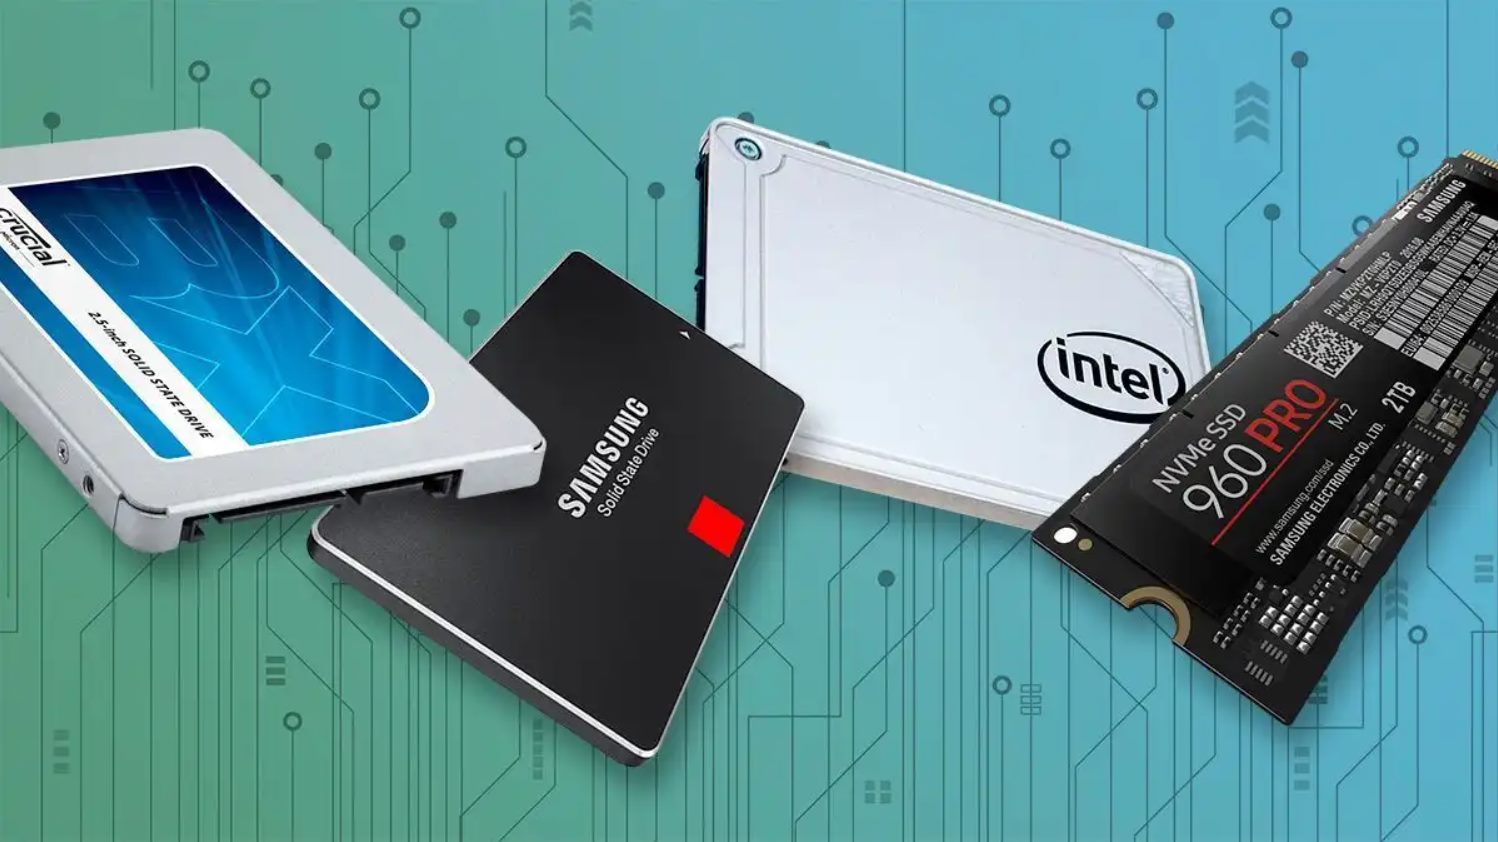
- Check Compatibility: Ensure that your SSD is compatible with your computer system. Check the specifications and requirements of both your SSD and motherboard to ensure they are compatible in terms of interface (e.g., SATA, M.2) and form factor (e.g., 2.5-inch, M.2).
- Verify Drive Health: Confirm that your SSD is in good health and working condition. You can use utilities such as CrystalDiskInfo or SSD Life to check the health and performance of your SSD. If your SSD shows any signs of issues, it’s best to address them before proceeding with the transfer.
- Ensure Sufficient Capacity: Make sure that your SSD has enough available space to accommodate your Steam games. Keep in mind that games can vary greatly in size, so consider the size of the games you want to transfer and ensure that your SSD has ample space to fit them comfortably.
- Update SSD Firmware: Check for any available firmware updates for your SSD and update it if necessary. Firmware updates can provide performance improvements and bug fixes, ensuring that your SSD operates optimally.
- Partition and Format the SSD: If your SSD is brand new or hasn’t been partitioned and formatted yet, you’ll need to do so before transferring your games. This can be done through your computer’s Disk Management utility for Windows or Disk Utility for macOS.
- Backup Important Data: It’s always a good practice to back up any important data on your SSD before proceeding with the transfer process. While the likelihood of data loss is minimal, it’s better to be safe than sorry.
By following these steps, you can ensure that your SSD is ready to handle the transfer of your Steam games. Once you’ve completed these preparations, you can proceed to the next section and explore the different methods of transferring your games to the SSD.
Transferring Steam Games to the SSD
Now that your Solid State Drive (SSD) is prepared, it’s time to transfer your Steam games to the SSD. There are several methods you can use to accomplish this, depending on your preferences and requirements. Here are three common methods:
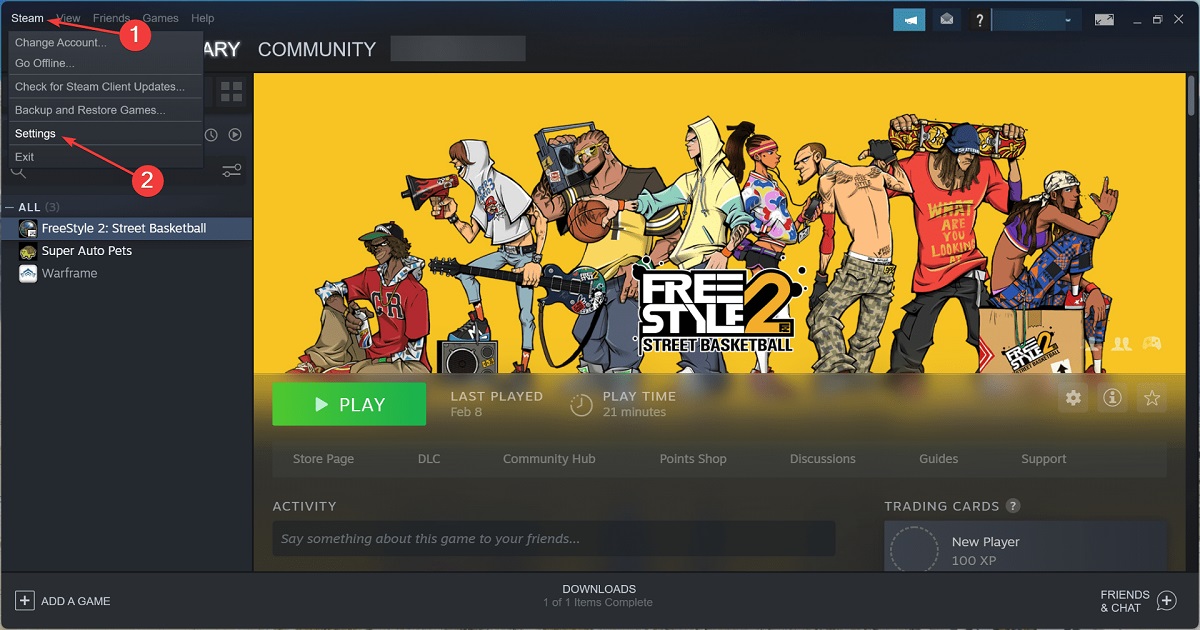
- Method 1: Steam’s Built-in “Move Install Folder” Feature: Steam provides a convenient feature that allows you to move your installed games to a different location, including your SSD. Here’s how to use it:
- Open the Steam client and go to the Library tab.
- Right-click on the game you want to transfer and select Properties.
- In the Properties window, go to the Local Files tab, and click on Move Install Folder.
- Select your SSD as the new location for the game and click Move Folder.
- Steam will then move the game files from the original location to the SSD.
- Method 2: Manual Transfer of Steam Game Files: If you prefer a more hands-on approach, you can manually transfer the game files to your SSD. Here’s how:
- Locate the installation folder for your Steam games. By default, this is usually “C:\Program Files (x86)\Steam\steamapps\common”.
- Copy the entire folder of the game you want to transfer and paste it into your SSD’s desired location.
- Note: It’s important to preserve the folder structure, so ensure that the game’s folder is placed in the “steamapps\common” directory on your SSD.
- Open the Steam client and go to the Library tab.
- Right-click on the game you moved and select Delete Local Content to uninstall it.
- Finally, click on the Install button for the game, and Steam will detect the existing files on your SSD, eliminating the need to re-download the entire game.
- Method 3: Utilizing Third-Party Software: There are various third-party software solutions available that can assist you in transferring your Steam games to your SSD. These tools offer more advanced features and options for managing your game library. Some popular options include Steam Mover, GameSave Manager, and Steam Library Manager. Make sure to research and choose a reputable software that suits your needs.
Regardless of the method you choose, always remember to double-check that the transferred games are functioning correctly on your SSD. Launch the games and verify their integrity to ensure smooth gameplay.
By utilizing one of these methods, you can successfully transfer your Steam games to your SSD, allowing you to take full advantage of the improved performance and faster load times that SSDs offer.
Method 1: Steam’s Built-in “Move Install Folder” Feature
Steam provides a convenient built-in feature that allows you to easily move your installed games to a different location, including your Solid State Drive (SSD). This method eliminates the need for manual file transfers and automates the process for you. Here’s how you can use Steam’s “Move Install Folder” feature:
- Open the Steam client on your computer and navigate to the Library tab at the top.
- Locate the game you want to transfer to your SSD and right-click on it to open a contextual menu.
- In the contextual menu, select the “Properties” option.
- A window will appear with various tabs. Click on the “Local Files” tab.
- In the “Local Files” tab, click on the “Move Install Folder…” button.
- A new window will pop up, displaying a file browser. It will prompt you to select a new location for the game.
- Navigate to your SSD directory and choose the desired location where you want to move the game files.
- Click on the “Move Folder” button to initiate the transfer process.
- Steam will proceed to move the game’s files from the current location to the new location on your SSD.
- Once the transfer is complete, you can close the windows and go back to your Steam library.
Steam will update the game’s installation path within its database and ensure that future updates and launches occur from the new SSD folder. It’s important to note that moving the game files may take some time depending on the size of the game and the speed of your SSD.
After the transfer is complete, you can launch the game from your Steam library and enjoy the improved performance and faster load times provided by your SSD.
This method offers a simple and hassle-free way to move your Steam games to your SSD. It is especially useful if you want to transfer multiple games quickly without manually copying and pasting the files.
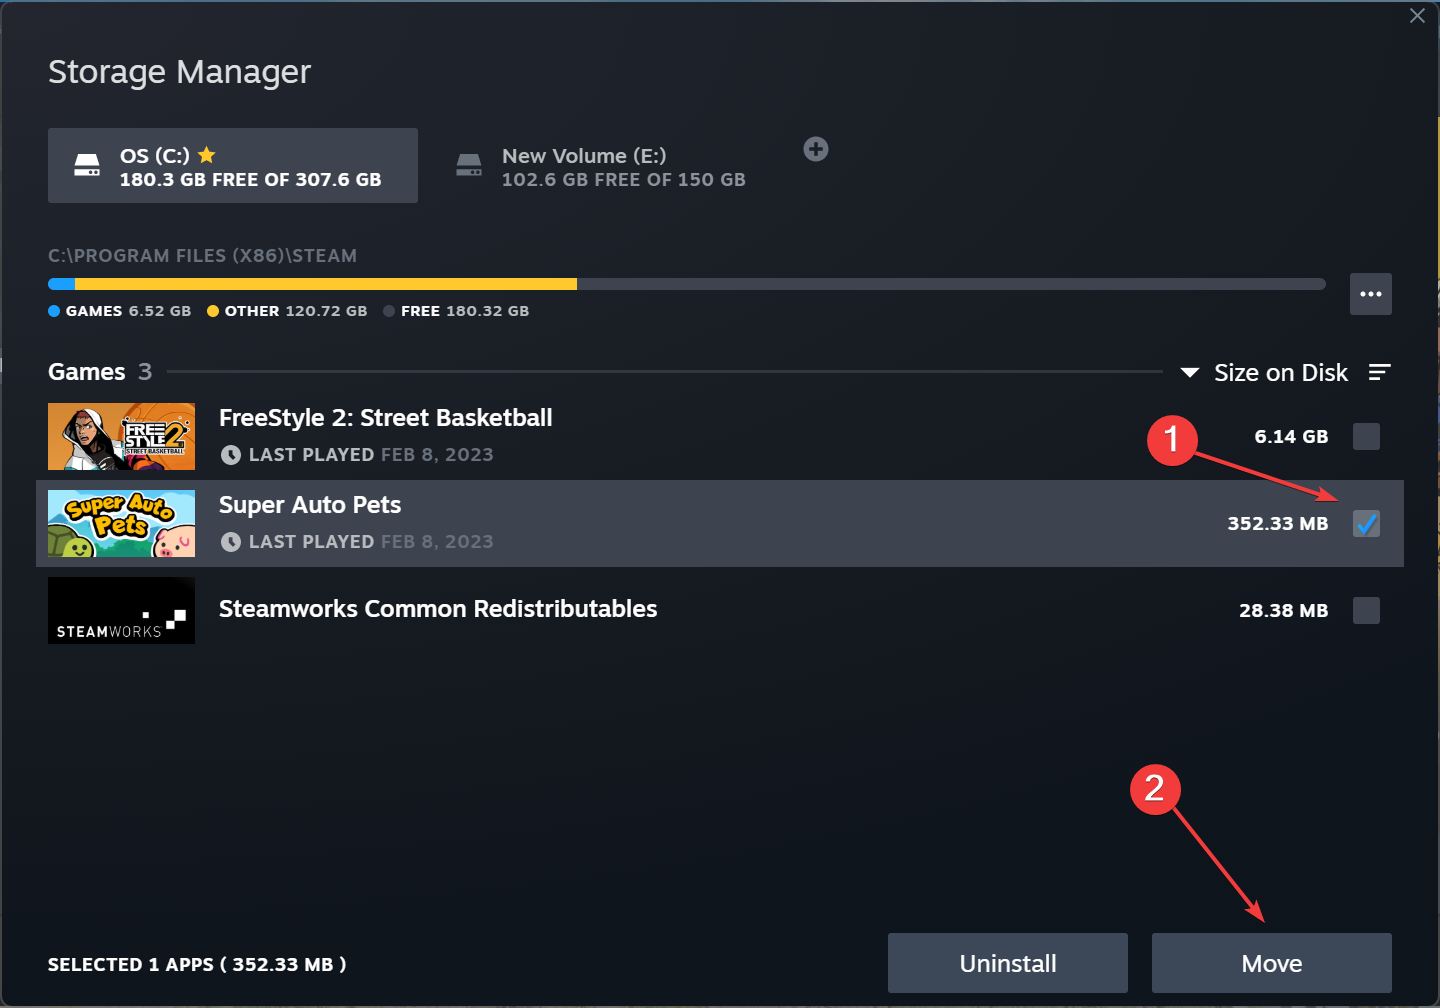
Method 2: Manual Transfer of Steam Game Files
If you prefer a more hands-on approach, you can choose to manually transfer your Steam game files to your Solid State Drive (SSD). This method grants you more control over the transfer process and allows you to customize the location of each game. Here’s how you can manually transfer your Steam game files:
- First, locate the installation folder for your Steam games. By default, this is typically found in the “C:\Program Files (x86)\Steam\steamapps\common” directory on Windows. On macOS, it is usually located in the “/Applications/Steam/steamapps/common” directory.
- Once you locate the installation folder, identify the game you want to transfer to your SSD.
- Copy the entire folder associated with the game and paste it into the desired location on your SSD.
- Ensure that you preserve the folder structure when transferring the game files.
- Next, open the Steam client on your computer and go to the Library tab.
- In your library, right-click on the game you moved to the SSD and select “Delete Local Content”. This will uninstall the game from its original location on your computer.
- After deleting the local content, click on the “Install” button for the game again.
- Steam will detect the existing files in the new location on your SSD and verify them, eliminating the need to download the entire game again. This step saves time and data usage.
- Once the verification process is complete, the game will be ready to play from the SSD.
Remember that when using this method, each game’s folder on the SSD should be placed in the “steamapps\common” directory, maintaining the same folder structure as in the original Steam installation folder. This ensures that Steam recognizes the game’s new location and functions correctly.
By manually transferring your Steam game files to your SSD, you have full control over the transfer process and can customize the storage location according to your preferences. This method is especially useful if you want to organize your games across different folders or drives on your SSD.
Method 3: Utilizing Third-Party Software
If you’re looking for a more advanced and flexible option to transfer your Steam games to your Solid State Drive (SSD), you can consider using third-party software specifically designed for managing game libraries. This method offers additional features and customization options that can simplify the process and provide more control over your game transfers. Here’s how you can utilize third-party software to transfer your Steam games:
- Research and choose a reliable third-party software that suits your needs. Some popular options include Steam Mover, GameSave Manager, and Steam Library Manager. Make sure to download and install the software from reputable sources.
- Launch the third-party software on your computer.
- Depending on the software you choose, you may need to specify the location of your Steam installation or provide the path to your Steam games folder.
- Select the game you want to transfer to your SSD from the software’s interface.
- Choose the destination folder on your SSD where you want the game to be transferred.
- Initiate the transfer process, and the software will proceed to move the game files from the original location to the specified destination on your SSD.
- Once the transfer is complete, launch the Steam client and go to the Library tab.
- Steam should automatically detect the game’s new location on your SSD. If not, right-click on the game and select “Properties.” In the properties window, click on the “Local Files” tab and then click on “Verify Integrity of Game Files” to ensure the game functions properly.
- You can now launch the game from your Steam library and enjoy it from your SSD with improved performance.
Using third-party software offers benefits such as the ability to easily transfer multiple games at once, manage game libraries across multiple drives, and provide options for backing up and restoring game saves. Additionally, some software may offer features like scheduling transfers or synchronizing game installations between computers.
Remember to read through the documentation and user guides provided by the selected third-party software to ensure you understand the process and utilize all the available features effectively.
By utilizing third-party software, you can simplify and streamline the transfer process of your Steam games to your SSD while gaining additional customization options and features.
Tips for Optimizing Game Performance on an SSD
Now that you have successfully transferred your Steam games to your Solid State Drive (SSD), there are a few additional tips you can follow to optimize your game performance for the best gaming experience. Consider implementing these tips to make the most out of your SSD:
- Keep your SSD firmware up to date: Check for any available firmware updates for your SSD and ensure that it is running the latest version. Firmware updates often provide performance improvements and bug fixes that can enhance your game performance.
- Limit background processes: Close any unnecessary background processes and applications running on your computer while gaming. This frees up system resources and allows your game to utilize the full potential of your SSD.
- Regularly clean up your SSD: Over time, your SSD may accumulate temporary files, cache, and other unnecessary data that can affect performance. Use disk cleanup tools or utilities provided by your operating system to regularly clean up your SSD and maintain optimal performance.
- Enable TRIM: TRIM is a feature that helps maintain the performance of your SSD by ensuring efficient data storage. Check that TRIM is enabled on your SSD by going to the settings of your operating system.
- Optimize your operating system: Ensure that your operating system is properly optimized for SSD usage. Some operating systems, like Windows 10, have built-in optimization settings specifically designed for SSDs. Take advantage of these settings to maximize your SSD and game performance.
- Store frequently played games on the SSD: Consider prioritizing the games you frequently play and store them on your SSD. This allows for faster load times and improved responsiveness during gameplay.
- Manage storage space: Monitor the storage capacity of your SSD and ensure that it is not nearing full capacity. SSDs tend to perform better when they have adequate free space. If necessary, remove or transfer games that you no longer play to free up space on your SSD.
- Avoid defragmenting your SSD: Unlike traditional Hard Disk Drives (HDDs), SSDs do not benefit from defragmentation. In fact, defragmentation can reduce the lifespan of your SSD. Modern operating systems are aware of this and typically do not defragment SSDs.
- Regularly update your graphics drivers: Outdated graphics drivers can negatively impact your game performance. Ensure that you regularly update your graphics drivers to take advantage of any optimizations and bug fixes that may enhance your gaming experience.
- Consider using a game optimization software: There are various game optimization software available that can automatically tweak game settings for optimal performance on your system. These programs can help you achieve the best balance between graphics quality and performance.
By following these tips, you can ensure that your games on the SSD run smoothly and take full advantage of the improved performance and fast loading times that SSDs offer.
Conclusion
Transferring your Steam games to a Solid State Drive (SSD) can significantly enhance your gaming experience by reducing loading times, improving game performance, and providing faster data access. Throughout this guide, we explored different methods to facilitate the transfer, including Steam’s built-in “Move Install Folder” feature, manual file transfer, and utilizing third-party software. Depending on your preferences and requirements, you can choose the method that suits you best.
We also discussed the benefits of using an SSD for gaming, such as faster loading times, improved game responsiveness, and reduced texture streaming issues. SSDs offer reliability, durability, and quieter operation compared to traditional Hard Disk Drives (HDDs). By taking advantage of these benefits, you can enjoy a smoother and more immersive gaming experience.
Moreover, we looked at the preparation steps necessary for transferring your games, such as checking compatibility, verifying drive health, ensuring sufficient capacity, updating firmware, partitioning and formatting the SSD, and backing up important data. These steps ensure a smooth transfer process and make sure your SSD is ready to handle your games.
To further optimize game performance on your SSD, we provided some valuable tips. Keeping your SSD firmware up to date, limiting background processes, regularly cleaning up your SSD, and enabling TRIM are just a few ways to maximize SSD performance. Additionally, storing frequently played games on the SSD, managing storage space, and regularly updating graphics drivers can contribute to an optimal gaming experience.
By following these steps and implementing the suggested tips, you can make the most out of your Solid State Drive and enjoy faster load times, improved game performance, and a smoother overall gaming experience.
So, go ahead and start transferring your Steam games to an SSD, and get ready to take your gaming to the next level!