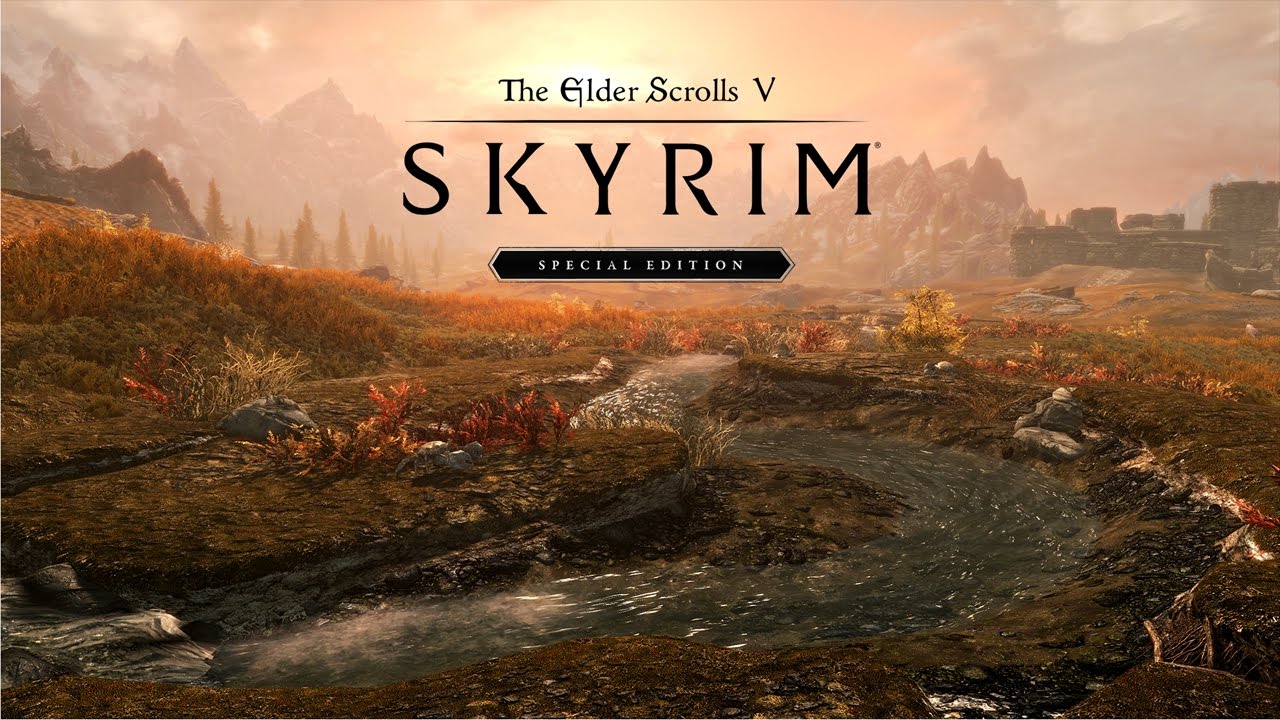
Introduction
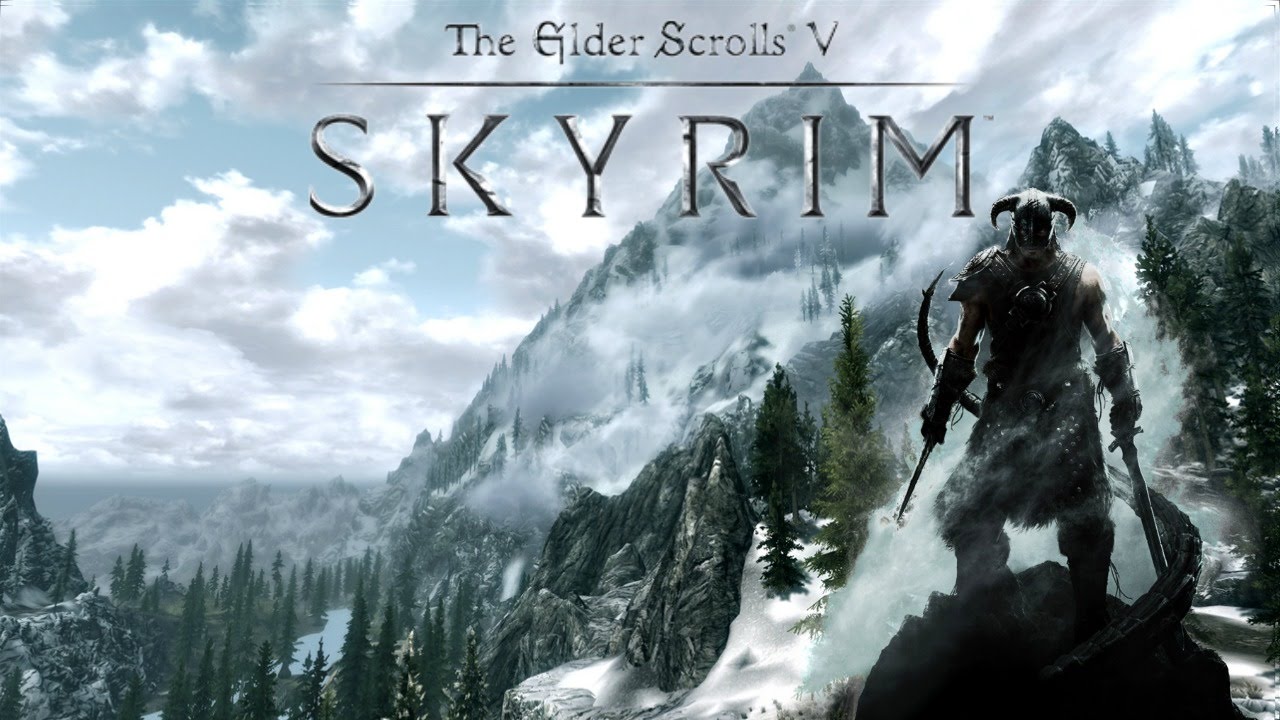
Skyrim is a beloved and highly immersive game that has captured the hearts of millions of gamers around the world. However, as the game has evolved and become more complex, it requires significant processing power and storage space to run smoothly. One way to optimize its performance is by moving the Skyrim game files to a solid-state drive (SSD).
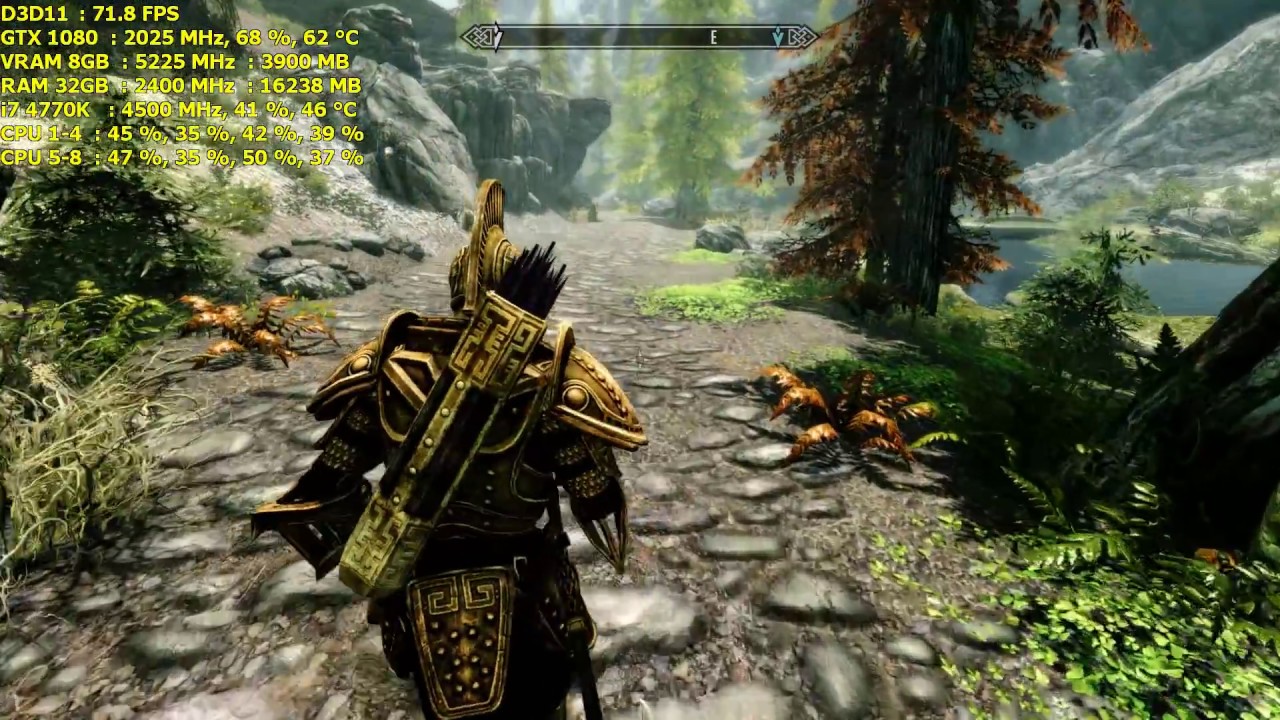
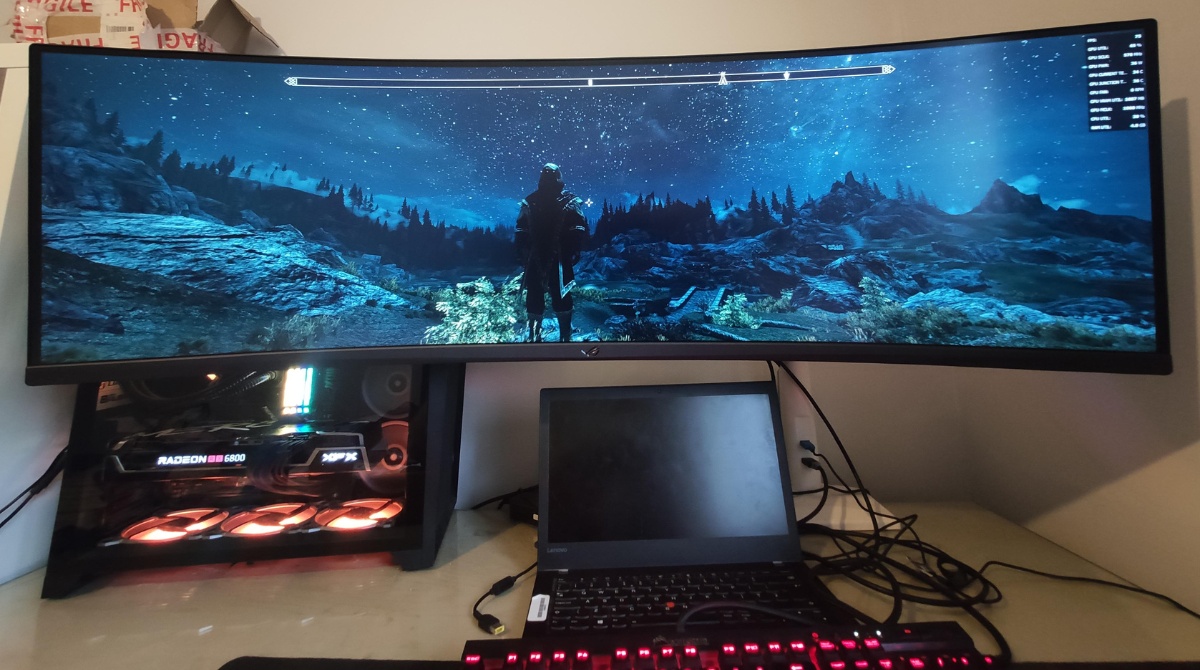
An SSD is a storage device that uses flash memory to store data, providing faster read and write speeds compared to traditional hard disk drives (HDDs). This speed boost can significantly reduce load times, improve game performance, and enhance the overall gaming experience.
In this article, we will guide you through the process of moving Skyrim to an SSD, step by step. But before diving into the steps, it’s essential to check if your computer has an SSD and understand why moving Skyrim to an SSD can benefit you.
So, let’s get started!
Why Move Skyrim to SSD?
Moving Skyrim to an SSD offers several benefits that can greatly enhance your gaming experience. Here are some compelling reasons why you should consider making the switch:
- Improved Loading Times: One of the biggest advantages of moving Skyrim to an SSD is the significant reduction in loading times. With an SSD’s faster read speeds, you can expect shorter load times when entering new areas, fast traveling, or loading saved games. This means less waiting and more time enjoying the game.
- Enhanced Performance: Skyrim is an open-world game with expansive environments and complex graphics. Running it on an SSD can improve the overall performance by reducing stuttering, frame drops, and lag. The improved access speed of an SSD allows for smoother gameplay, especially during intense action sequences, rendering graphics more efficiently.
- Quick Saving and Loading: Saving and loading your game progress becomes nearly instantaneous with an SSD. Whether you’re saving the game to ensure progress or loading a previously saved game, the SSD’s faster read and write speeds will drastically reduce the time it takes, enabling you to jump back into the action without delay.
- Reduced Texture Pop-In: Skyrim’s vast world is filled with stunning landscapes and intricate details. When playing on an HDD, you may experience texture pop-in, where textures take a moment to fully load, resulting in less visually immersive gameplay. By moving Skyrim to an SSD, you can minimize texture pop-in, ensuring a seamless and visually captivating gaming experience.
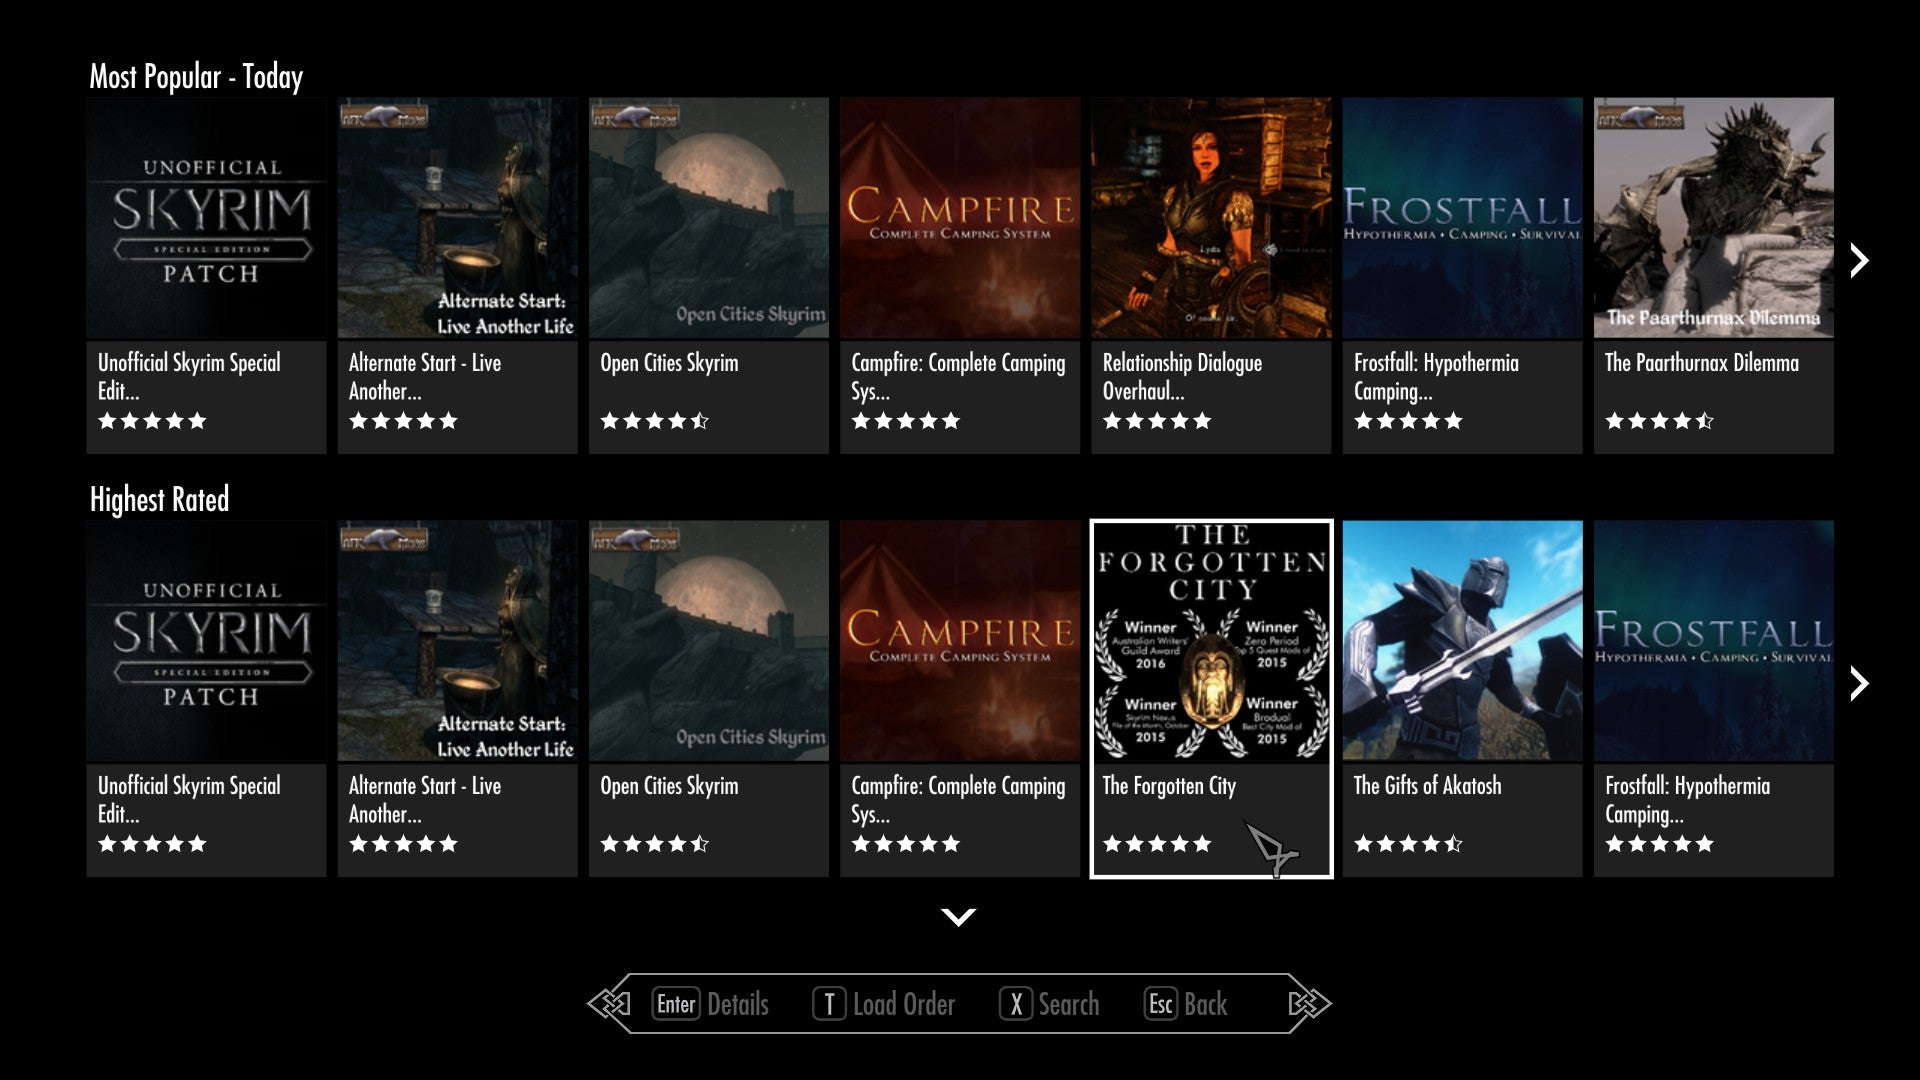
- Better Modding Experience: Skyrim’s modding community has created a vast array of mods that can enhance and customize your gameplay. Installing mods can be resource-intensive, and loading them from an HDD can lead to longer loading times. By moving Skyrim to an SSD, you can enjoy faster mod loading, making the modding experience smoother and more enjoyable.
By moving Skyrim to an SSD, you can truly optimize the performance and enjoy the game as it was intended. The benefits of reduced loading times, improved overall performance, quicker saving and loading, reduced texture pop-in, and an enhanced modding experience make the switch to an SSD a worthwhile investment for any Skyrim enthusiast.
How to Check If Your Computer Has an SSD
Before proceeding with the process of moving Skyrim to an SSD, it’s essential to confirm whether your computer already has an SSD installed. Here are a few simple steps to help you determine if your computer is equipped with an SSD:
- Check the Specifications: You can check your computer’s specifications to see if it mentions an SSD. Go to your computer’s settings or control panel, then look for the system information or hardware specifications. Look for any references to an SSD or solid-state drive.
- Use the Device Manager: Another way to check for an SSD is by using the Device Manager. On a Windows computer, press the Win + X key combination and select “Device Manager” from the menu. In the Device Manager, expand the “Disk drives” category. If you see any drive names that include the term “Solid State” or “SSD,” it indicates the presence of an SSD.
- Inspect the Physical Drive: If you’re comfortable opening your computer, you can visually inspect the physical drives to identify an SSD. An SSD typically has a smaller form factor and doesn’t include any moving parts, making it distinguishable from a traditional HDD. However, exercise caution and consult your computer’s documentation or seek professional assistance if needed.
By following these steps, you can determine whether your computer has an SSD or not. If you find that your computer is already equipped with an SSD, you can proceed with the steps to move Skyrim to the SSD. However, if your computer doesn’t have an SSD, you may consider upgrading to one before moving Skyrim to enhance its performance and enjoy the benefits mentioned in the previous section.
Precautions Before Moving Skyrim to SSD
Before you move Skyrim to an SSD, it’s essential to take certain precautions to ensure a smooth and successful migration. Here are some important steps to follow:
- Create a Backup: Before making any changes, it’s crucial to create a backup of your Skyrim game files. This will safeguard your progress and settings in case anything goes wrong during the migration process. You can copy the entire Skyrim folder or use backup software to create a compressed backup. Store the backup on an external drive or cloud storage for added safety.
- Check Compatibility: Ensure that the SSD you plan to use is compatible with your computer. Check the interface (SATA or NVMe) and the physical dimensions to ensure it fits properly. Also, make sure your computer’s BIOS and operating system support booting from an SSD if you intend to move the entire Skyrim installation, including the operating system, to the SSD.
- Free Up Space: Before transferring Skyrim to an SSD, make sure you have enough available space on the SSD to accommodate the game files. Check the size of your Skyrim installation, including any mods or DLCs you have installed, and ensure the SSD has sufficient capacity. If needed, uninstall any unnecessary applications or move files to a different storage device to free up space.
- Disable Antivirus and Firewall: Temporarily disable your antivirus software and firewall before starting the migration process. Some security software may interfere with file transfers and cause errors. Remember to re-enable them once the migration is complete.
- Update Skyrim: Ensure that you have the latest updates and patches for Skyrim. This will help prevent any compatibility issues that may arise when moving the game files to an SSD. Check for updates through the game launcher or Steam platform and install them if necessary.
By following these precautions, you can minimize the risk of data loss or compatibility issues during the migration process. Taking the time to create a backup, ensure compatibility, free up space, disable antivirus software temporarily, and update Skyrim will help ensure a smooth and successful transition to an SSD.
Step 1: Create a Backup of Your Skyrim Game Files
Before proceeding with the migration process, it’s crucial to create a backup of your Skyrim game files. This ensures that you have a safe copy of your game progress, settings, and modifications in case anything goes wrong during the transfer. Here’s how to create a backup:
- Locate the Skyrim Installation Folder: The default installation folder for Skyrim is usually located in the C:\Program Files (x86)\Steam\steamapps\common\Skyrim directory. If you have installed Skyrim in a different location, navigate to that folder instead.
- Copy the Entire Skyrim Folder: Once you’ve located the Skyrim installation folder, make a copy of the entire folder and its contents. You can do this by right-clicking on the folder, selecting “Copy,” and then pasting it in a safe location, such as an external hard drive or a cloud storage service.
- Create a Compressed Backup: Alternatively, you can create a compressed backup of the Skyrim folder to save space. Right-click on the folder, select “Send to,” and choose “Compressed (zipped) folder.” This will create a compressed backup in the same location as the original folder. You can then move this compressed backup to a safe location.
By creating a backup of your Skyrim game files, you can preserve your progress and configurations. In the event of any mishaps or errors during the migration process, you can easily restore your game to its original state. Remember to keep the backup in a secure location until the entire migration is complete.
Step 2: Check Available Space on Your SSD
Before proceeding with the migration of Skyrim to your SSD, it is important to ensure that you have enough available space on the SSD to accommodate the game files. Here’s how you can check the available space on your SSD:
- Open File Explorer: Open File Explorer by clicking on the folder icon in the taskbar or by pressing the Windows key + E on your keyboard.
- Select the SSD Drive: In File Explorer, locate the SSD drive where you want to move Skyrim. It is usually labeled with the drive letter assigned by your system (e.g., C:, D:, etc.).
- Right-Click on the SSD Drive: Right-click on the SSD drive and select “Properties” from the context menu. This will open the Properties window for the SSD drive.
- Check the Available Space: In the Properties window, you will see a pie chart indicating the used and free space on the SSD drive. Look for the “Free space” value to determine the amount of available space on the SSD.
If the available space on your SSD is sufficient to accommodate the Skyrim game files, you can proceed with the migration process. However, if the available space is limited, you may need to free up some space on the SSD by removing unnecessary files or applications.
It’s important to have enough free space on your SSD to ensure smooth gameplay and optimal performance. By checking the available space beforehand, you can effectively plan for the migration and ensure that there is ample room to accommodate Skyrim and any necessary updates or mods that you may have.
Step 3: Move Skyrim Game Files to SSD
Once you have confirmed the available space on your SSD and backed up your Skyrim game files, you can proceed with moving the game files to the SSD. Here’s a step-by-step guide to help you through the process:
- Open File Explorer: Open File Explorer by clicking on the folder icon in the taskbar or by pressing the Windows key + E on your keyboard.
- Navigate to the Skyrim Installation Folder: Locate the Skyrim installation folder, which holds all the necessary game files. By default, the folder is located in C:\Program Files (x86)\Steam\steamapps\common\Skyrim. However, if you have installed Skyrim in a different directory, navigate to that location instead.
- Select All Skyrim Game Files: Once you are inside the Skyrim installation folder, press Ctrl + A on your keyboard to select all the files and folders within the folder.
- Copy the Selected Files: Right-click on any of the selected files, then click “Copy” from the context menu. Alternatively, you can press Ctrl + C on your keyboard.
- Navigate to the SSD Drive: In File Explorer, navigate to the SSD drive where you want to move the Skyrim game files. It is usually labeled with the drive letter assigned by your system (e.g., C:, D:, etc.).
- Create a New Skyrim Installation Folder: Right-click inside the SSD drive, then click “New” and select “Folder” from the context menu. Name the new folder “Skyrim” or any desired name to designate it as the new installation location for the game.
- Paste the Copied Skyrim Files: Right-click inside the newly created Skyrim folder, then click “Paste” from the context menu. Alternatively, you can press Ctrl + V on your keyboard. This will paste all the copied game files from the original location to the new Skyrim installation folder on the SSD.
After completing these steps, all your Skyrim game files will be transferred to the SSD, ready to be accessed from the new location. This migration will allow the game to load faster and run more smoothly, taking full advantage of the SSD’s faster read and write speeds.
Remember to keep the original backup of your Skyrim game files safe until you have confirmed that the game is working correctly from the SSD. This ensures that you have a backup in case any issues arise during or after the migration process.
Step 4: Update Skyrim Launcher Settings
After moving the Skyrim game files to your SSD, it’s important to update the game launcher settings to ensure that Skyrim recognizes its new location. Follow these steps to update the launcher settings:
- Open the Skyrim Launcher: Launch Skyrim through your preferred method, whether it’s through Steam or a standalone launcher.
- Click on “Options”: In the Skyrim launcher, locate and click on the “Options” button. This will open the game options menu.
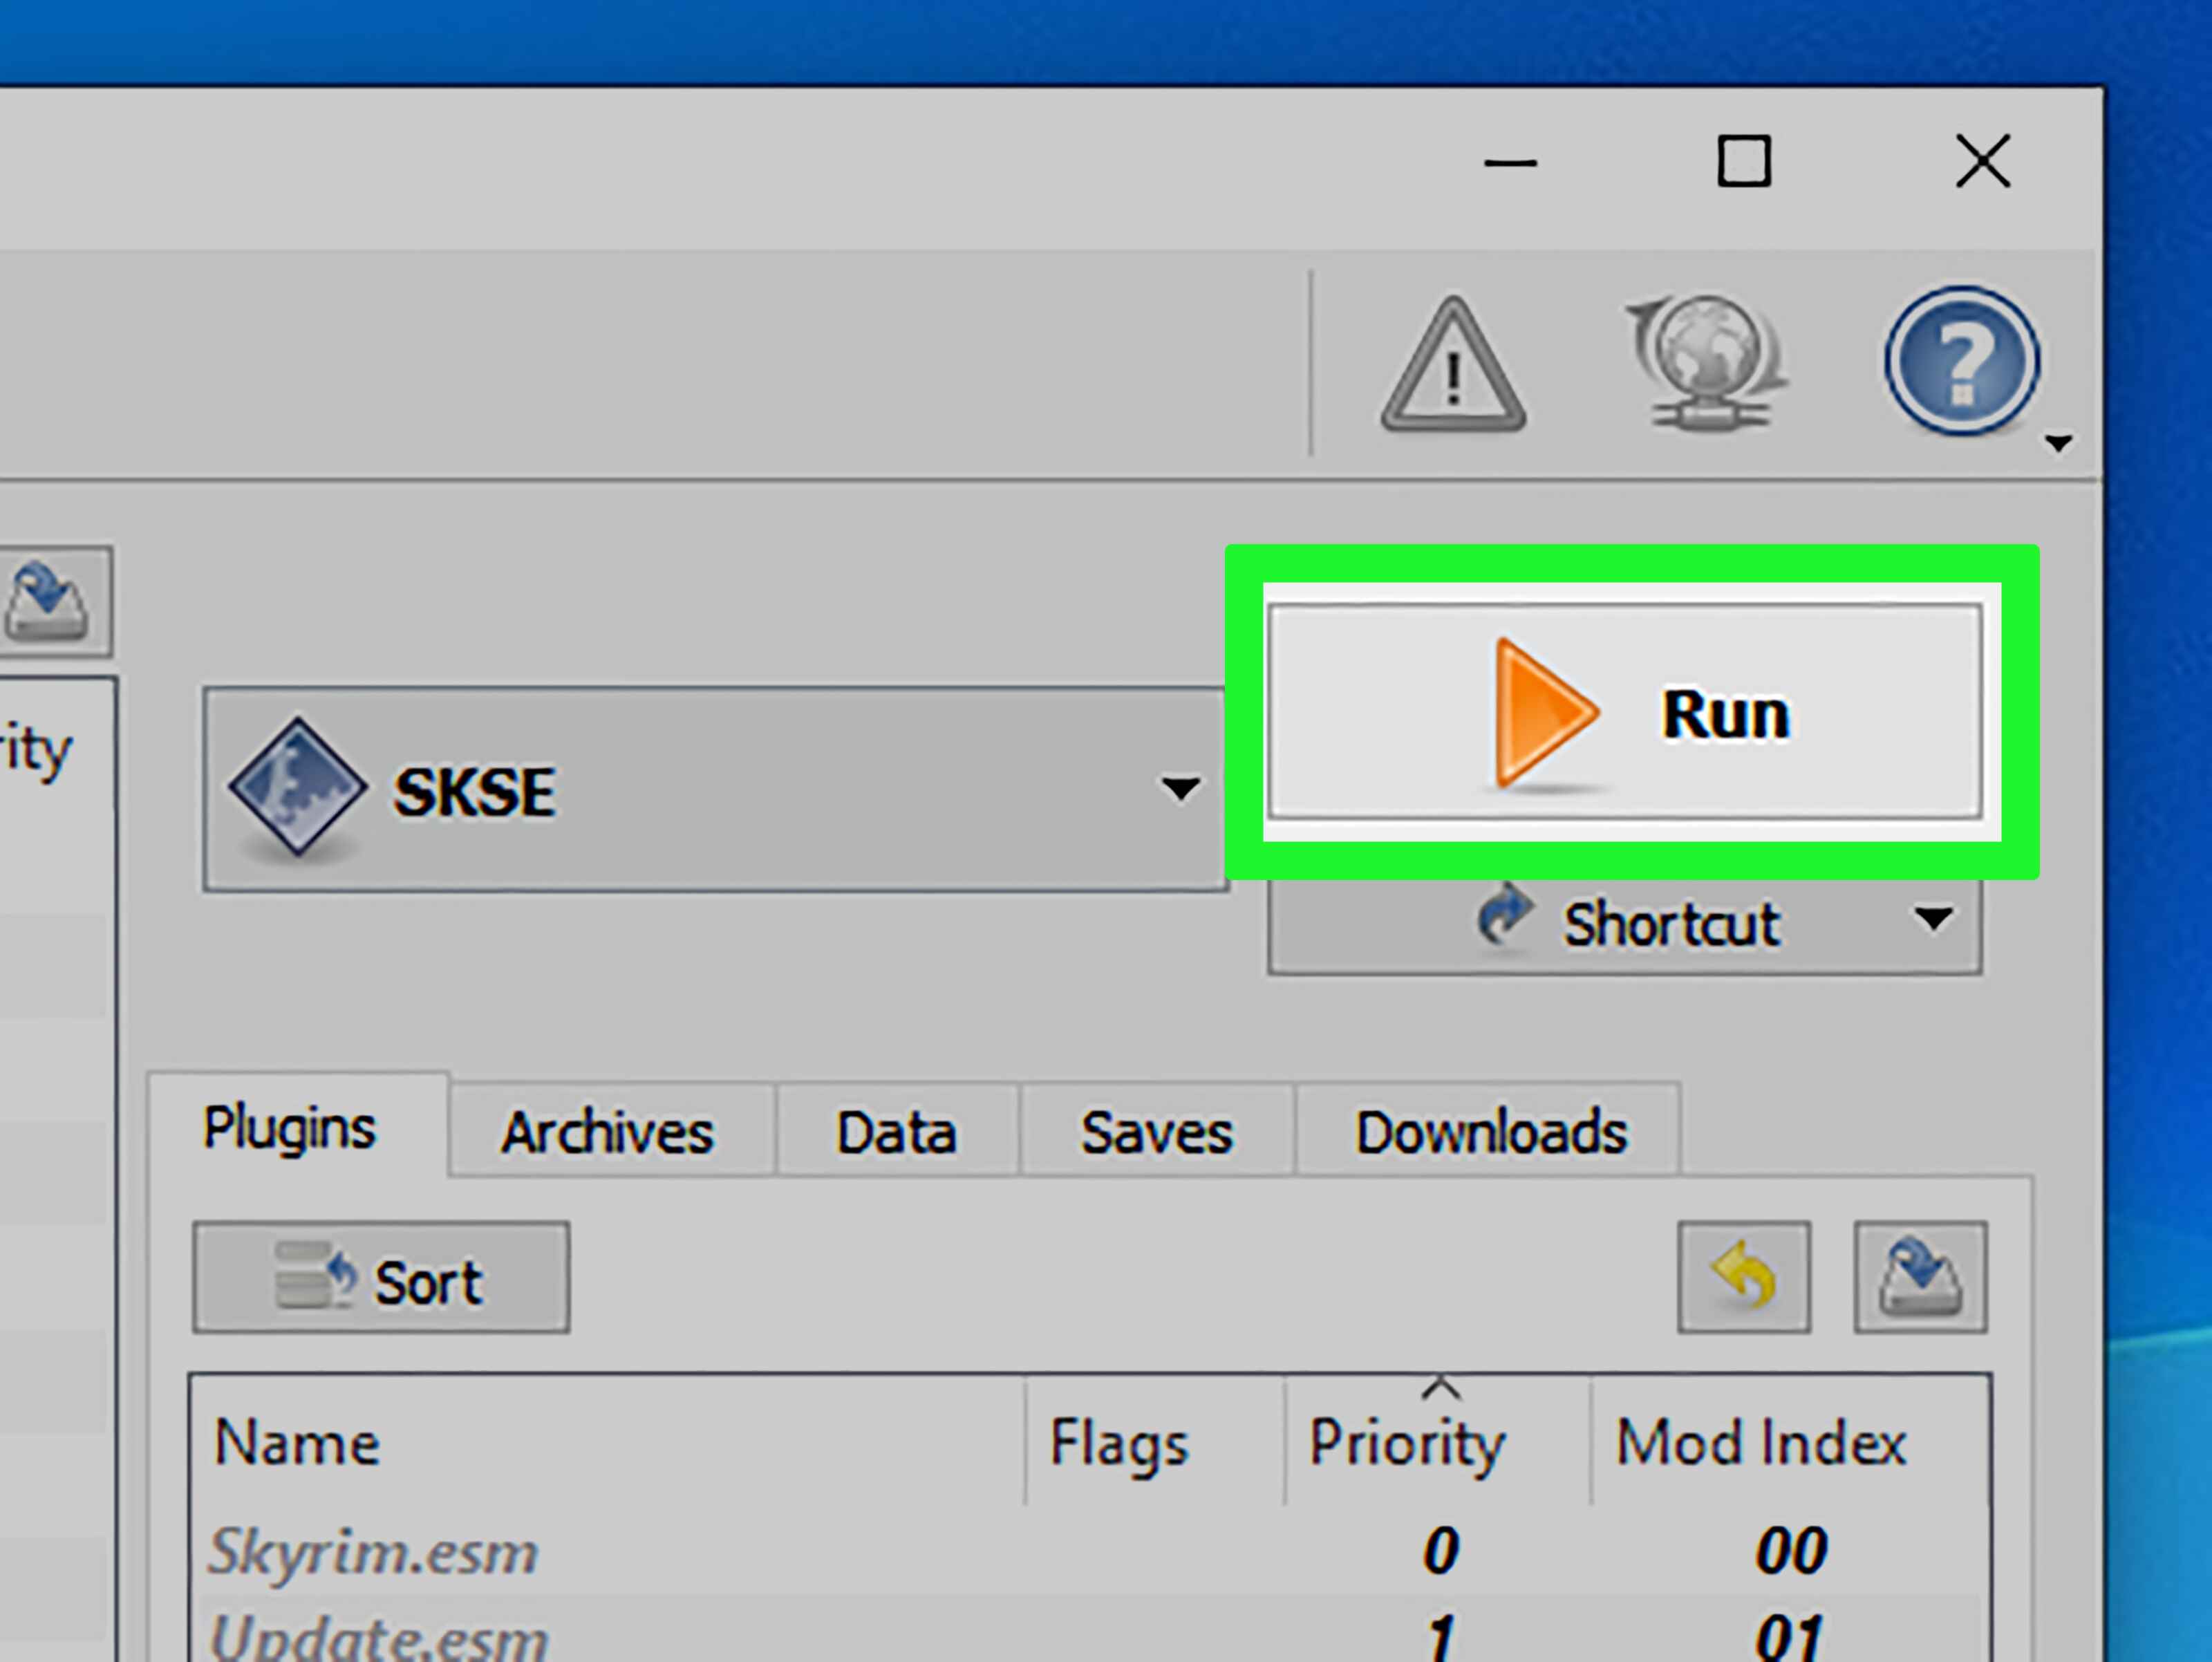
- Select “Data Files”: Within the options menu, select the “Data Files” option. This will display a list of all installed mods and downloadable content (DLC) for Skyrim.
- Verify Mod and DLC Status: Review the list of installed mods and DLCs to make sure they are all checked and enabled. If any mods or DLCs are unchecked, select them to enable them. This step ensures that all desired modifications and additional content are activated for the game.
- Click “OK” to Save Changes: Once you have verified the mod and DLC status, click on the “OK” button to save your changes. This ensures that Skyrim recognizes the new location of the game files and any modifications or additional content.
- Launch and Test Skyrim: Close the Skyrim launcher and relaunch the game to ensure that it starts correctly from the SSD. Test the game to confirm that everything is functioning as expected, including any installed mods or DLCs.
By updating the Skyrim launcher settings, you ensure that the game recognizes its new location on the SSD, along with any modifications or additional content that were previously enabled. This step is crucial to ensure that Skyrim loads and runs correctly from the SSD, providing you with the improved performance and reduced load times that the SSD offers.
If you encounter any issues or discrepancies after updating the launcher settings, double-check that all necessary mods and DLCs are enabled and properly installed. Troubleshoot any potential conflicts or errors to ensure a smooth gaming experience on your SSD.
Step 5: Test the Moved Skyrim Installation
After completing the migration of Skyrim to your SSD and updating the game launcher settings, it’s crucial to test the moved installation to ensure it is functioning correctly. Follow these steps to test your Skyrim installation:
- Launch Skyrim: Start Skyrim from the game launcher or the shortcut on your desktop, as you normally would.
- Check Loading Times: Pay attention to the loading times when accessing new areas, loading saved games, or fast traveling. If the loading times are noticeably faster compared to before the migration, it indicates that the game is running from the SSD successfully.
- Test Gameplay: Engage in various gameplay activities to ensure smooth performance. Move around the game world, engage in combat, and interact with NPCs to ensure that there are no significant delays, stutters, or frame drops. If the gameplay feels more fluid and responsive, it indicates that the SSD migration was successful.
- Verify Mod Functionality: If you have installed any mods, test their functionality to ensure they are working as intended. Check for any mod-specific issues or conflicts that may have arisen due to the migration process. Ensure that the mods are loading correctly and providing the desired enhancements or changes to the game.
- Monitor Game Stability: Play Skyrim for an extended period to monitor the overall stability of the game. Keep an eye out for any crashes, freezes, or other performance issues that may have been introduced during the migration. If the game remains stable and reliable, it indicates a successful move to the SSD.
By thoroughly testing the moved Skyrim installation, you can ensure that the game is functioning optimally from the SSD. Faster loading times, improved performance, and stability are expected outcomes of the successful migration. However, if you encounter any issues during testing, it’s important to troubleshoot and resolve them to fully enjoy Skyrim on your SSD without any hindrances.
Remember to keep the backup of your Skyrim game files on hand, just in case you need to revert to the previous setup or restore any data. With a successful test and a smooth gaming experience, you can now fully immerse yourself in the wonders of Skyrim, benefiting from the improved performance and responsiveness provided by the SSD.
Conclusion
Moving Skyrim to an SSD can greatly enhance your gaming experience by reducing loading times, improving performance, and providing a smoother gameplay experience. By following the steps outlined in this guide, you can successfully migrate Skyrim to an SSD and enjoy the benefits it offers.
We began by understanding the advantages of moving Skyrim to an SSD, including improved loading times, enhanced performance, and reduced texture pop-in. We then explored how to check if your computer already has an SSD installed and the precautions to take before proceeding with the migration.
Step by step, we covered the process of creating a backup of your Skyrim game files, checking the available space on your SSD, moving the game files to the SSD, updating the Skyrim launcher settings, and finally, testing the moved installation for optimal performance.
Through these steps, you can ensure a seamless transition to an SSD and enjoy a faster, smoother, and more immersive Skyrim gaming experience. The reduced loading times, improved performance, quicker saving and loading, and reduced texture pop-in make the move to an SSD well worth it.
Remember, before making any changes, always back up your game files to prevent data loss. Additionally, take note of compatibility requirements and ensure sufficient space on your SSD.
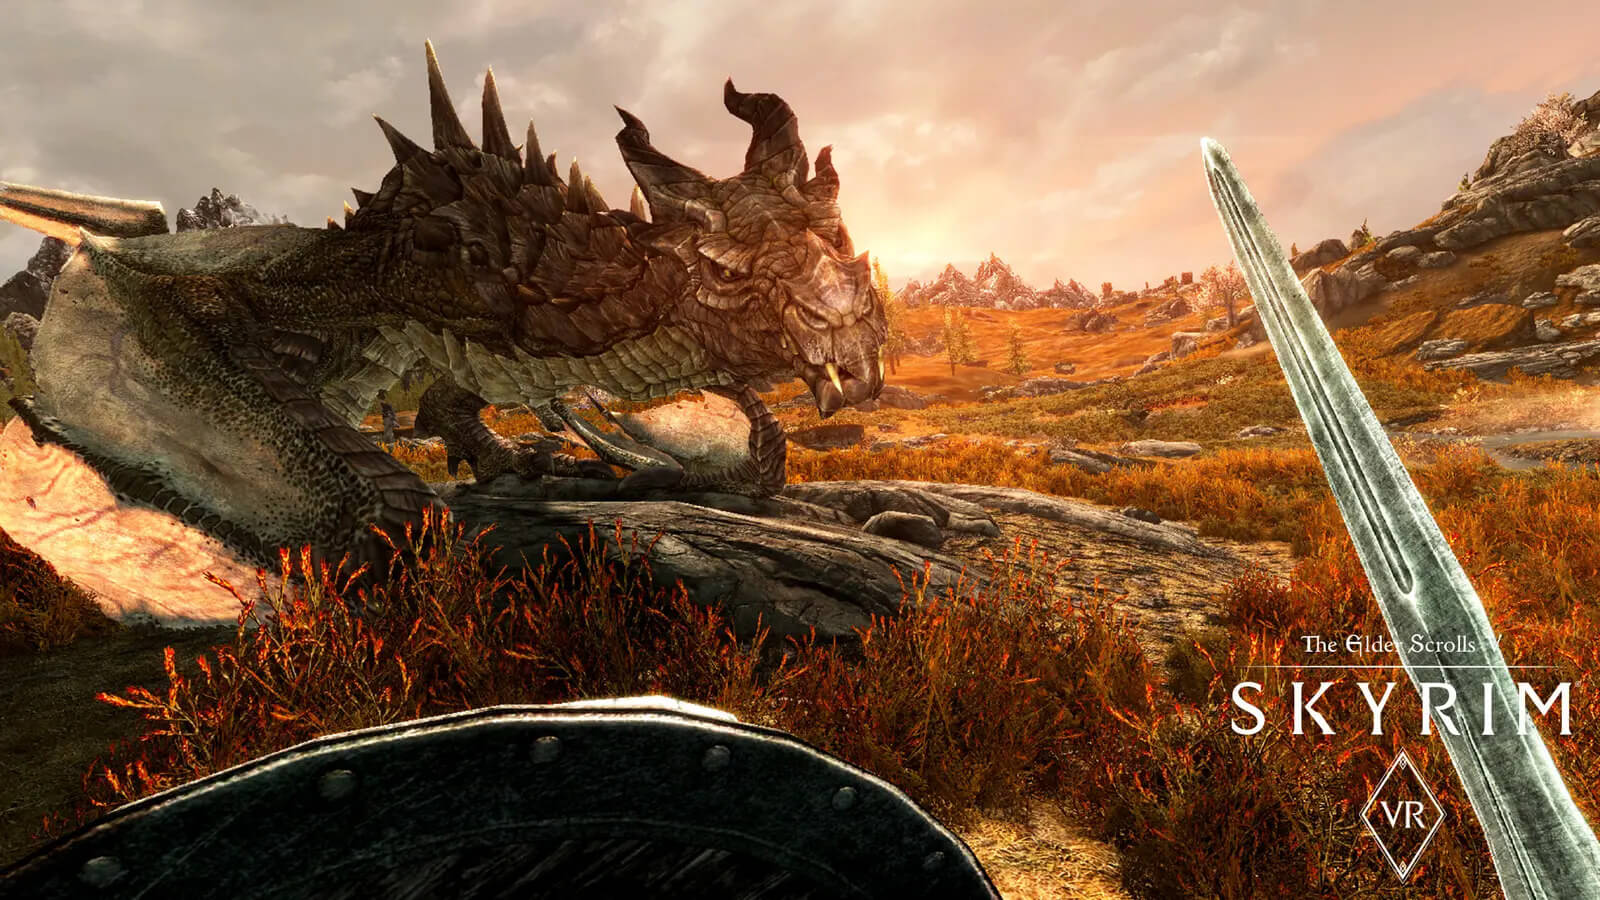
Now that you have successfully moved Skyrim to your SSD and tested its functionality, you can fully immerse yourself in the experience of the game. Embark on epic quests, explore vast landscapes, and enjoy the seamless gameplay that an SSD brings.
So go ahead, embark on your next adventure in the rich and immersive world of Skyrim, now optimized for top-notch performance on your SSD!