Introduction
Welcome to the world of Escape From Tarkov! An intense and immersive first-person shooter game that has gained popularity among gamers due to its realistic combat and challenging gameplay. Whether you are a seasoned player or just starting your journey, optimizing your gaming experience is essential. One way to do this is by moving Escape From Tarkov to an SSD (Solid State Drive).
An SSD is a storage device that offers several advantages over traditional hard drives. It uses flash memory to store data, resulting in faster load times, improved performance, and reduced loading screens. This can significantly enhance your gaming experience, particularly in a demanding game like Escape From Tarkov, where every second matters.
In this article, we will explore the benefits of moving Escape From Tarkov to an SSD, discuss the things you need to consider before making the move, and guide you through the process of transferring the game to your new SSD. So, if you want to level up your gaming experience and gain a competitive edge, let’s dive in and learn how to move Escape From Tarkov to an SSD!
Benefits of Moving Escape From Tarkov to an SSD
Moving Escape From Tarkov to an SSD can provide a range of benefits that can significantly enhance your gaming experience. Here are some of the advantages you can expect:
1. Faster Load Times: One of the most noticeable benefits of using an SSD is the dramatic reduction in load times. With an SSD, Escape From Tarkov will load much quicker, allowing you to jump into the action faster and minimizing the waiting time between matches or game sessions.
2. Improved Performance: An SSD can greatly improve the overall performance of Escape From Tarkov. It provides faster data access and transfer speeds, resulting in smoother gameplay, reduced lag, and improved responsiveness. This means you can react quicker to in-game events and have a more immersive and enjoyable gaming experience.
3. Reduced Loading Screens: Escape From Tarkov has various loading screens when transitioning between different areas or joining a match. With an SSD, these loading screens will be significantly shorter or even non-existent, allowing you to spend less time waiting and more time playing the game.
4. Quicker Inventory Management: Escape From Tarkov requires frequent inventory management, which can sometimes become tedious due to the large number of items and equipment to organize. With an SSD, sorting and navigating through your inventory becomes faster and more efficient, saving you time and streamlining your gaming experience.
5. Enhanced Immersion: Escape From Tarkov is known for its intense and immersive gameplay. By moving the game to an SSD, you can reduce or eliminate texture pop-ins and stuttering, resulting in a more seamless and immersive gaming experience. This allows you to fully immerse yourself in the world of Tarkov without distractions.
6. Future-proofing: As technology advances, game sizes continue to grow. Moving Escape From Tarkov to an SSD ensures that your system is ready for future updates and expansions. You’ll have ample storage space and the fast performance needed to handle larger game files, keeping you at the forefront of the Tarkov gaming community.
By moving Escape From Tarkov to an SSD, you can unlock these benefits and optimize your gaming experience. The next section will explore the things you need to consider before making the move, ensuring that you have a smooth and successful transition.
Things to Consider Before Moving Escape From Tarkov to an SSD
Before diving into the process of moving Escape From Tarkov to an SSD, there are a few important things to consider to ensure a smooth transition. Let’s take a look at these considerations:
1. Available Storage Space: Check the available storage space on your current hard drive and ensure that it will fit comfortably on the SSD. Escape From Tarkov requires a significant amount of space, so make sure you have enough room to accommodate the game and any future updates.
2. System Requirements: Verify that your system meets the recommended specifications for running Escape From Tarkov on an SSD. Ensure that your CPU, GPU, and RAM can handle the game’s demands in combination with the SSD for optimal performance.
3. Compatibility: Ensure your computer has the necessary connections and slots to install an SSD. Most modern systems have SATA or NVMe slots, but it’s crucial to double-check and choose the appropriate type of SSD that your PC supports.
4. Game Launcher: If you are using a game launcher like Steam or the Battle.net client, check if there are any specific steps or requirements for moving the game to an SSD. Some launchers may have built-in tools or settings to easily transfer the game files.
5. Backup: It’s always a good practice to back up your game data before making any changes or transfers. Create a backup of your Escape From Tarkov files and save them on an external storage device or cloud storage, ensuring you can restore them if any unexpected issues occur during the transfer process.
6. Considerations for Laptop Users: If you are a laptop user, check if your laptop supports replacing the internal hard drive with an SSD. Some laptops may have limitations in terms of compatibility and size, so it’s essential to research and make sure your laptop can accommodate the desired SSD upgrade.
By considering these factors beforehand, you can avoid any potential issues or complications during the process of moving Escape From Tarkov to an SSD. It’s better to be prepared and aware of any limitations or requirements that may impact the success of the transfer. Next, we’ll delve into how to check the compatibility of your system to ensure a smooth transition to the SSD.
Checking Compatibility of Your System
Prior to moving Escape From Tarkov to an SSD, it’s crucial to check the compatibility of your system with the SSD. Here are the steps to ensure a smooth transition:
1. Determine SSD Interface: Identify the type of SSD interface your computer supports. The most common interfaces are SATA and NVMe. SATA SSDs are compatible with most systems, while NVMe SSDs offer faster speeds but require a motherboard with an M.2 slot. Check your motherboard specifications and choose the appropriate SSD.
2. Check Available Slots: Open your computer case and inspect the motherboard to determine if there are available slots for installing the SSD. Look for SATA ports or M.2 slots. If you’re unsure, consult the motherboard’s manual or visit the manufacturer’s website for detailed information.
3. Verify Power Supply: Check if your power supply unit (PSU) has enough spare power connectors to provide power to the SSD. SATA SSDs typically require a SATA power connector, while M.2 SSDs don’t require a separate power connection.
4. Compatibility with Operating System: Ensure that your operating system is compatible with the SSD. Most modern operating systems, such as Windows 10, have built-in support for SSDs. However, it’s still important to verify the compatibility to avoid any compatibility issues or conflicts.
5. Considerations for Upgrading Laptop: If you’re upgrading a laptop, compatibility can be more challenging. Check if your laptop’s motherboard supports the desired SSD interface and whether there are any limitations on the maximum size or thickness of the SSD. Additionally, consider whether the laptop’s BIOS supports booting from an SSD.
6. Firmware Updates: Before installing the SSD, check if there are any firmware updates available for the SSD or your motherboard. Updating firmware can address potential compatibility issues and ensure optimal performance.
By thoroughly checking the compatibility of your system with the SSD, you can avoid any compatibility issues or surprises during the installation process. It’s crucial to ensure that your system supports the chosen SSD type and that all necessary connections and power requirements are met. Once you have confirmed compatibility, you’re ready to move on to the next step: choosing the right SSD for Escape From Tarkov.
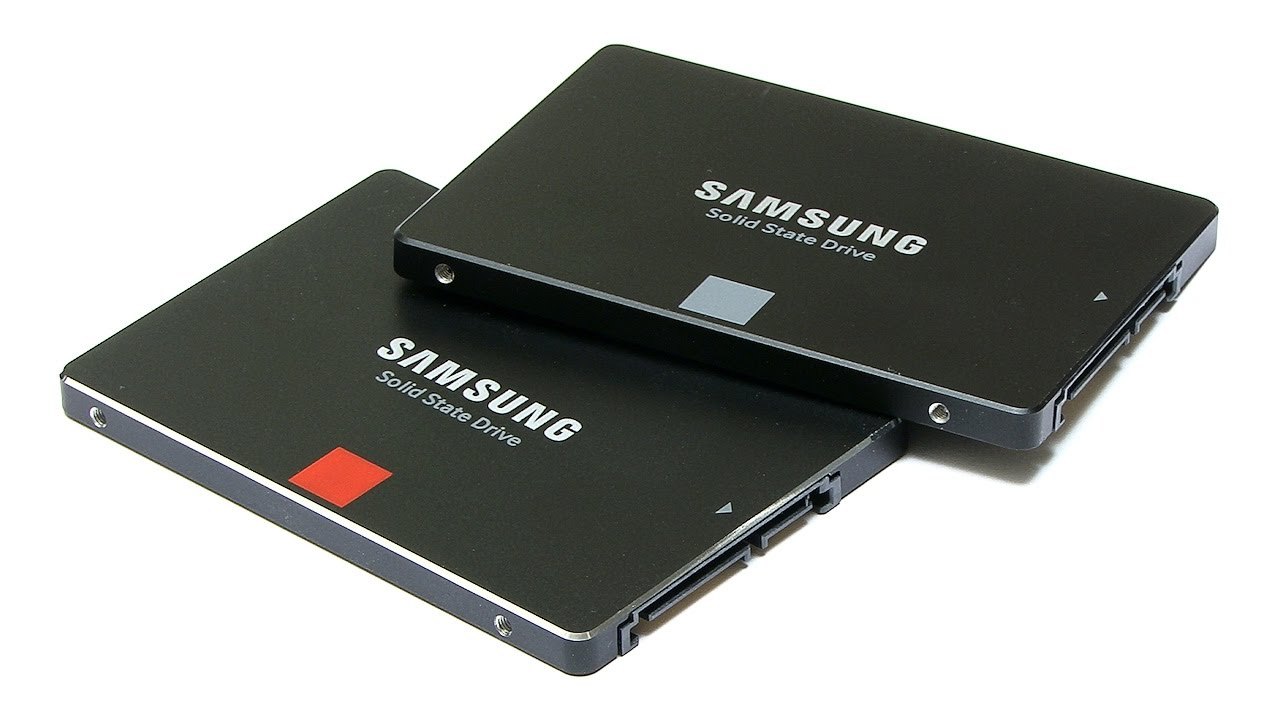
Choosing the Right SSD for Escape From Tarkov
When it comes to choosing the right SSD for Escape From Tarkov, there are a few key factors to consider. Selecting the appropriate SSD will ensure optimal performance and compatibility with the game. Here are some considerations to help you make the right choice:
1. Storage Capacity: Determine the amount of storage space you need for Escape From Tarkov. The game requires a significant amount of storage, so consider getting an SSD with ample space to accommodate the game, updates, and potential future expansions. A general rule of thumb is to select an SSD with at least 500GB or more to have enough room for other games and files as well.
2. SATA or NVMe: Decide whether to go with a SATA or NVMe SSD. SATA SSDs use the traditional SATA interface and are more affordable, while NVMe SSDs use the PCIe interface and offer faster speeds. If your motherboard supports NVMe and you want the best performance, consider opting for an NVMe SSD. However, SATA SSDs will still provide a significant performance boost compared to traditional hard drives.
3. Read/Write Speeds: Pay attention to the read and write speeds of the SSD. Higher read and write speeds result in faster data transfer, reducing load times and improving overall performance. Look for SSDs with faster speeds to ensure a seamless gaming experience.
4. Endurance and Lifespan: Check the endurance rating of the SSD, which represents the total amount of data that can be written to the drive over its lifetime. The higher the endurance rating, the longer the SSD will last. This is particularly important if you plan to play Escape From Tarkov extensively or use the SSD for other data-intensive tasks.
5. Brand and Reliability: Choose a reputable brand when purchasing an SSD. Well-established brands often provide better reliability, performance, and customer support. Read reviews and research the reputation of the brand before making a final decision.
6. Price: Consider your budget and the cost of the SSD. SSD prices have become more affordable in recent years, but higher-capacity or high-performance models can still be more expensive. Find a balance between cost and the features you need, focusing on getting the best value for your money.
By taking these factors into account, you can select the right SSD for Escape From Tarkov that suits your needs and budget. Remember to prioritize storage capacity, consider performance, endurance, and reliability, and ensure compatibility with your system. Once you have chosen the SSD, the next step is to back up your game data before the transfer process.
Backing Up Your Game Data
Before moving Escape From Tarkov to an SSD, it’s crucial to back up your game data to ensure that none of your progress or settings are lost during the transfer. Follow these steps to create a backup of your game data:
1. Locate the Game Files: Find the directory where Escape From Tarkov is installed on your current hard drive. Typically, it is located in the default installation path, such as “C:\Program Files\Escape From Tarkov”, but it may vary depending on your configuration or the game launcher you are using.
2. Copy the Game Files: Once you have located the game folder, copy all the files and folders related to Escape From Tarkov. This includes the game executable, config files, and any additional files or folders associated with the game.
3. Choose a Backup Destination: Select a destination where you want to save the backup. This can be an external hard drive, a separate internal hard drive, or cloud storage. Ensure that you have enough storage space to accommodate the backup.
4. Paste the Game Files: Paste the copied game files into the backup destination. This will create a duplicate of the game data, allowing you to restore it if needed.
5. Verify the Backup: Once the backup is complete, double-check that all the necessary game files and folders are successfully copied to the backup destination. Compare the sizes and contents of the backup files with the original game directory to ensure accuracy.
6. Test the Backup: To ensure the integrity of the backup, you can perform a test restore by copying the files back to the original game directory and launching Escape From Tarkov from the backup. This will ensure that the backup is functional and can be used to restore your game data if necessary.
By following these steps, you can create a backup of your Escape From Tarkov game data, providing peace of mind during the transfer process. In the event of any issues or data loss, you can restore your game files from the backup and continue playing without losing progress or customized settings. Now that you have a backup, it’s time to proceed with transferring Escape From Tarkov to the SSD.
Transferring Escape From Tarkov to the SSD
Now that you have backed up your game data, it’s time to transfer Escape From Tarkov to the SSD. Follow these steps to ensure a successful transfer:
1. Connect the SSD: If you are installing a new SSD, connect it to your computer following the manufacturer’s instructions. If you are replacing an existing hard drive with the SSD, disconnect the power and data cables from the old drive and connect them to the SSD.
2. Format the SSD: If your SSD is brand new or has not been formatted for use, you may need to format it with the appropriate file system. Right-click on the SSD in Windows Explorer, select “Format,” choose the desired file system (such as NTFS), and follow the prompts to complete the process.
3. Install Escape From Tarkov: If you have a physical copy of Escape From Tarkov, insert the installation disc and follow the on-screen instructions to install the game onto the SSD. If you purchased the game digitally, download the installer from the game launcher’s website and select the SSD as the installation location.
4. Restore Game Data: Once the game is installed on the SSD, copy the game files and folders from your backup destination and paste them into the appropriate directory on the SSD. This will overwrite any default game files and restore your backed-up data, including your saves and configuration settings.
5. Verify the Transfer: Double-check that all the game files and folders have been successfully transferred to the SSD. Compare the sizes and contents of the new game directory with the backup to ensure the transfer is accurate.
6. Test the Game: Launch Escape From Tarkov from the SSD and test the game to ensure that everything is working correctly. Verify that your progress, saves, and settings have been successfully transferred and that the game is running smoothly on the new drive.
By following these steps, you can effectively transfer Escape From Tarkov to the SSD, ensuring that you can enjoy the benefits of faster load times, improved performance, and reduced loading screens. Once the transfer is complete and the game is running smoothly, there are a few additional steps you can take to optimize your gaming experience further.
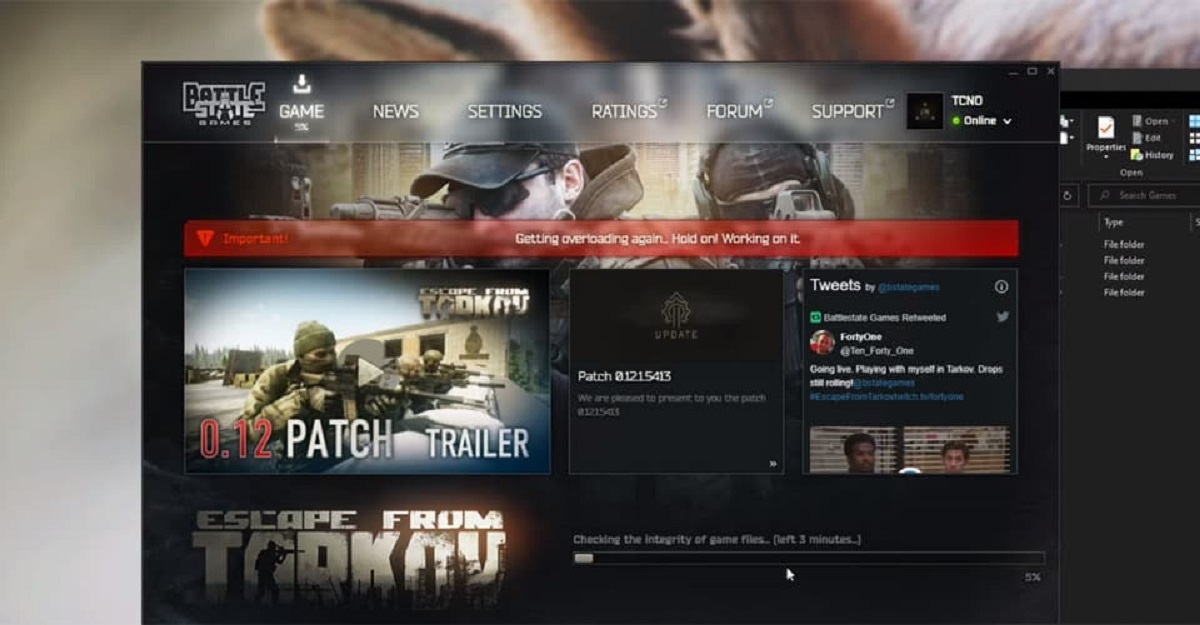
Updating Your Game Launcher
After transferring Escape From Tarkov to your SSD, it’s essential to update your game launcher to ensure compatibility and optimal performance. Follow these steps to update your game launcher:
1. Open the Game Launcher: Launch your game launcher, such as Steam, Epic Games Launcher, or Battle.net, and log into your account if prompted.
2. Check for Updates: Look for an option or tab within the game launcher that allows you to check for updates. This may be labeled as “Updates,” “Library,” or something similar, depending on the specific launcher.
3. Update the Game: Once you locate the updates section, check if there are any available updates for Escape From Tarkov. If an update is available, start the update process and let it complete. This will ensure that you have the latest version of the game, including any bug fixes or performance enhancements.
4. Update Game Launcher: In addition to updating the game itself, it’s also essential to keep your game launcher up to date. Many game launchers receive regular updates that improve stability, security, and overall performance. Look for an option within the launcher to update the launcher software or check for updates automatically.
5. Configure Auto-Updates: If available, enable auto-updates for Escape From Tarkov within the game launcher settings. Enabling this feature ensures that you receive future updates automatically, so you don’t have to manually check for updates each time.
6. Restart the Launcher: After updating the game and the game launcher, close the launcher and restart it. This ensures that the updates take effect properly and that you’re working with the latest version of everything.
By updating your game launcher and ensuring that both the game and the launcher are up to date, you can maximize performance and keep up with any enhancements or bug fixes provided by the game developer. With the game properly updated, it’s time to configure game and system settings for an optimized gaming experience.
Configuring Game and System Settings
After transferring Escape From Tarkov to your SSD, it’s important to configure both game and system settings to optimize your gaming experience. Here are some key settings to consider:
1. Graphics Settings: Access the in-game graphics settings and adjust them according to your system’s capabilities. Optimize settings such as resolution, texture quality, shadows, and anti-aliasing to achieve a balance between visual quality and performance. Experiment with different settings to find the optimal balance for your system.
2. Refresh Rate and V-Sync: If your monitor supports a high refresh rate, such as 144Hz or 240Hz, ensure that Escape From Tarkov is set to utilize the maximum refresh rate for smoother gameplay. Additionally, consider enabling or disabling V-Sync (vertical synchronization) based on your preferences and system capabilities to minimize screen tearing.
3. Audio Settings: Adjust the in-game audio settings to ensure an immersive gaming experience. Customize options such as sound effects, dialogue volume, and background music to suit your preferences. Consider using headphones or a quality sound system to enhance the audio quality and improve your situational awareness in the game.
4. Keyboard and Mouse Settings: Customize your keyboard and mouse settings to suit your personal preferences and play style. Configure keybindings for quick access to essential commands and actions. Fine-tune mouse sensitivity and acceleration to achieve precise aiming and smooth movement in the game.
5. System Performance Settings: Outside of the game, optimize your system’s performance settings for gaming. Ensure that your operating system is up to date with the latest updates and drivers. Disable unnecessary background processes and applications that may impact gaming performance. Consider enabling performance modes or overclocking features, if available, to boost your system’s performance during gameplay.
6. Monitor Calibration: Calibrate your monitor’s settings to achieve accurate colors and optimal visual quality. Consult your monitor’s manual or use built-in calibration tools to adjust settings like brightness, contrast, and color temperature. A properly calibrated monitor can greatly enhance your gaming visuals and provide a more immersive experience.
By configuring both game and system settings, you can optimize Escape From Tarkov to run smoothly on your system and adjust the game experience to your liking. Experiment with different settings and find the perfect balance between performance and visuals to maximize your enjoyment of the game.
Testing and Troubleshooting
Once you have completed the steps to move Escape From Tarkov to your SSD and configure the necessary settings, it’s important to test the game and troubleshoot any potential issues that may arise. Follow these steps to ensure a smooth gaming experience:
1. Load the Game: Launch Escape From Tarkov from the game launcher and ensure that it loads properly from the SSD. Pay attention to any error messages or unusual behaviors during the loading process.
2. Test Performance: Play the game for an extended period to test its performance on the SSD. Pay attention to frame rates, loading times, and overall smoothness of the gameplay. If you notice any performance issues, consider adjusting the graphics settings or updating your system drivers to improve performance.
3. Monitor System Temperatures: During gameplay, monitor your system’s temperatures using software tools or hardware monitoring devices. High temperatures can lead to performance throttling or system instability. Make sure your CPU and GPU temperatures remain within safe limits by ensuring proper ventilation and, if necessary, improving cooling solutions.
4. Address Stuttering or Freezing: If you experience stuttering or freezing during gameplay, try updating your graphics card drivers to the latest version. Additionally, make sure you have the latest patches and updates for Escape From Tarkov. If the issue persists, consider lowering graphics settings or checking for background processes that may be causing performance issues.
5. Check for Game Updates: Keep an eye out for game updates and patches released by the developers. These updates often include bug fixes, performance improvements, and new features. Regularly updating the game ensures that you have the latest optimizations and fixes applied to your installation.
6. Seek Community Support: If you encounter persistent issues or need assistance, consider reaching out to the game’s official forums or online community groups. Often, fellow players or developers can provide guidance, troubleshooting tips, or solutions to common issues.
By thoroughly testing the game and troubleshooting any issues that arise, you can ensure a smooth and enjoyable gaming experience on Escape From Tarkov. Regularly monitoring performance and staying up to date with updates and patches will help keep your game running optimally.
Conclusion
Congratulations! You have successfully moved Escape From Tarkov to your SSD, optimizing your gaming experience with faster load times, improved performance, and reduced loading screens. By considering key factors such as compatibility, choosing the right SSD, backing up your game data, updating your game launcher, configuring settings, and testing the game, you have taken the necessary steps to ensure a smooth transition and maximize your enjoyment of the game.
Moving Escape From Tarkov to an SSD offers numerous benefits, including enhanced immersion, quicker inventory management, and future-proofing your system for larger game files. With reduced load times and improved performance, you can fully immerse yourself in the intense world of Tarkov without interruptions or delays.
Remember to regularly check for game updates and keep your system updated with the latest drivers and patches. This ensures that you stay up to date with the latest optimizations and fixes, maximizing the performance and stability of your gaming experience.
As always, troubleshooting any potential issues that may arise and seeking assistance from the gaming community can help resolve any challenges you encounter along the way. With the proper setup and configurations in place, you can embark on your Tarkov adventures with confidence and enjoy an optimized gaming experience.
So, gear up, fine-tune your settings, and dive back into the intense battles and thrilling encounters of Escape From Tarkov on your newly optimized SSD!