Introduction
Welcome to this guide on how to move your hard drive to an SSD (Solid State Drive). Upgrading your storage from a traditional hard drive to an SSD can greatly enhance your computer’s performance, making it faster and more responsive. With the increasing availability and affordability of SSDs, this is becoming a popular choice for many computer users.
By making this transition, you can experience faster boot times, reduced application load times, and improved overall system responsiveness. The SSD achieves these benefits by using flash memory technology, which allows for much faster data transfer speeds compared to traditional spinning hard drives.
In this step-by-step guide, we will walk you through the process of moving your data from your existing hard drive to a new SSD, ensuring a smooth transition without losing any of your important files. We will cover everything from backing up your data to testing the cloned SSD before swapping it with the old hard drive.
It is important to note that this guide assumes you have a basic understanding of computer hardware and software. If you are not confident in performing these steps yourself, it is recommended to seek professional assistance. However, following this guide should allow most users to successfully upgrade to an SSD without any issues.
So, if you are ready to give your computer a speed boost and optimize its performance, let’s dive into the step-by-step process of moving your hard drive to an SSD. Remember, by the end of this guide, you will have a faster and more efficient computer, ready to handle any task you throw at it!
Step 1: Understand the benefits of moving your hard drive to SSD
Before you embark on the journey of moving your hard drive to an SSD, it’s important to understand the numerous benefits that come with this upgrade. By migrating to an SSD, you can unlock the full potential of your computer and enjoy a host of advantages.
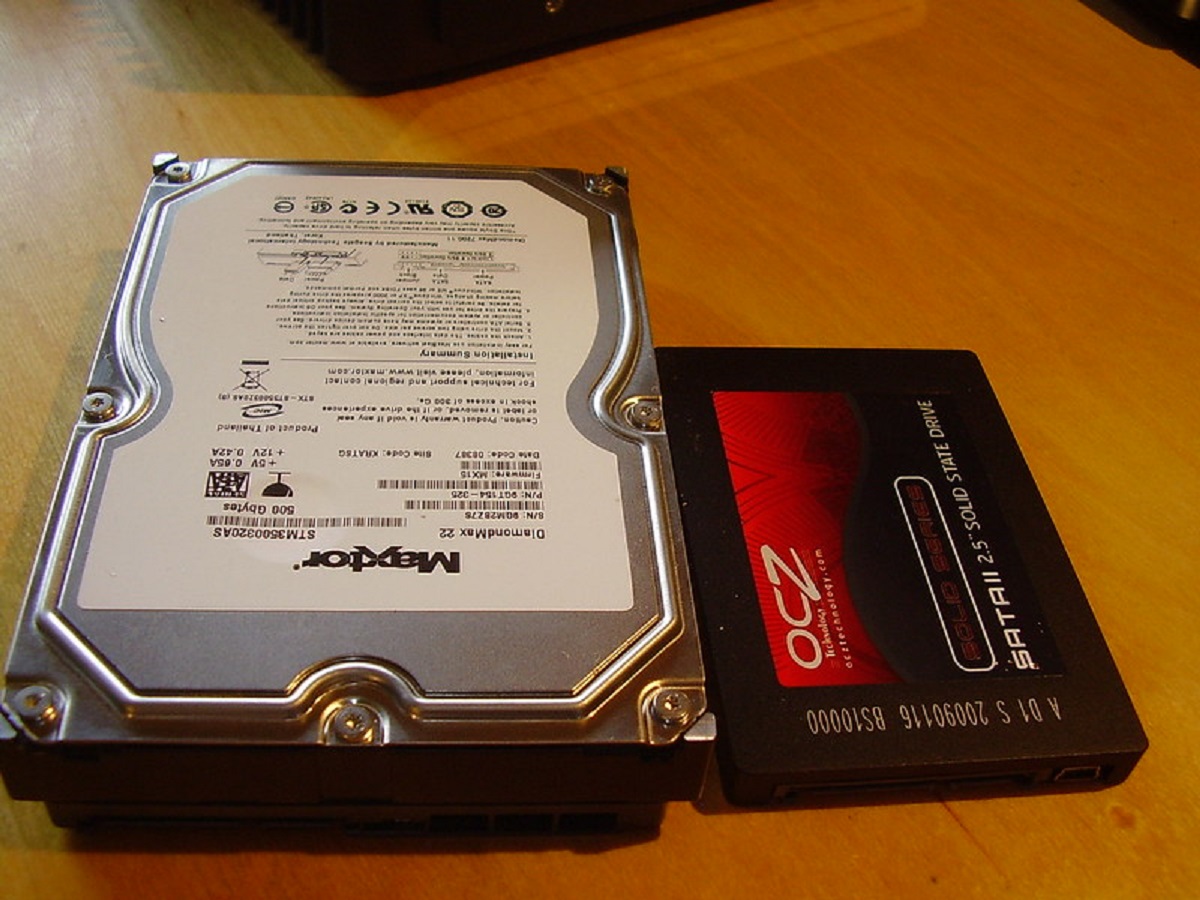
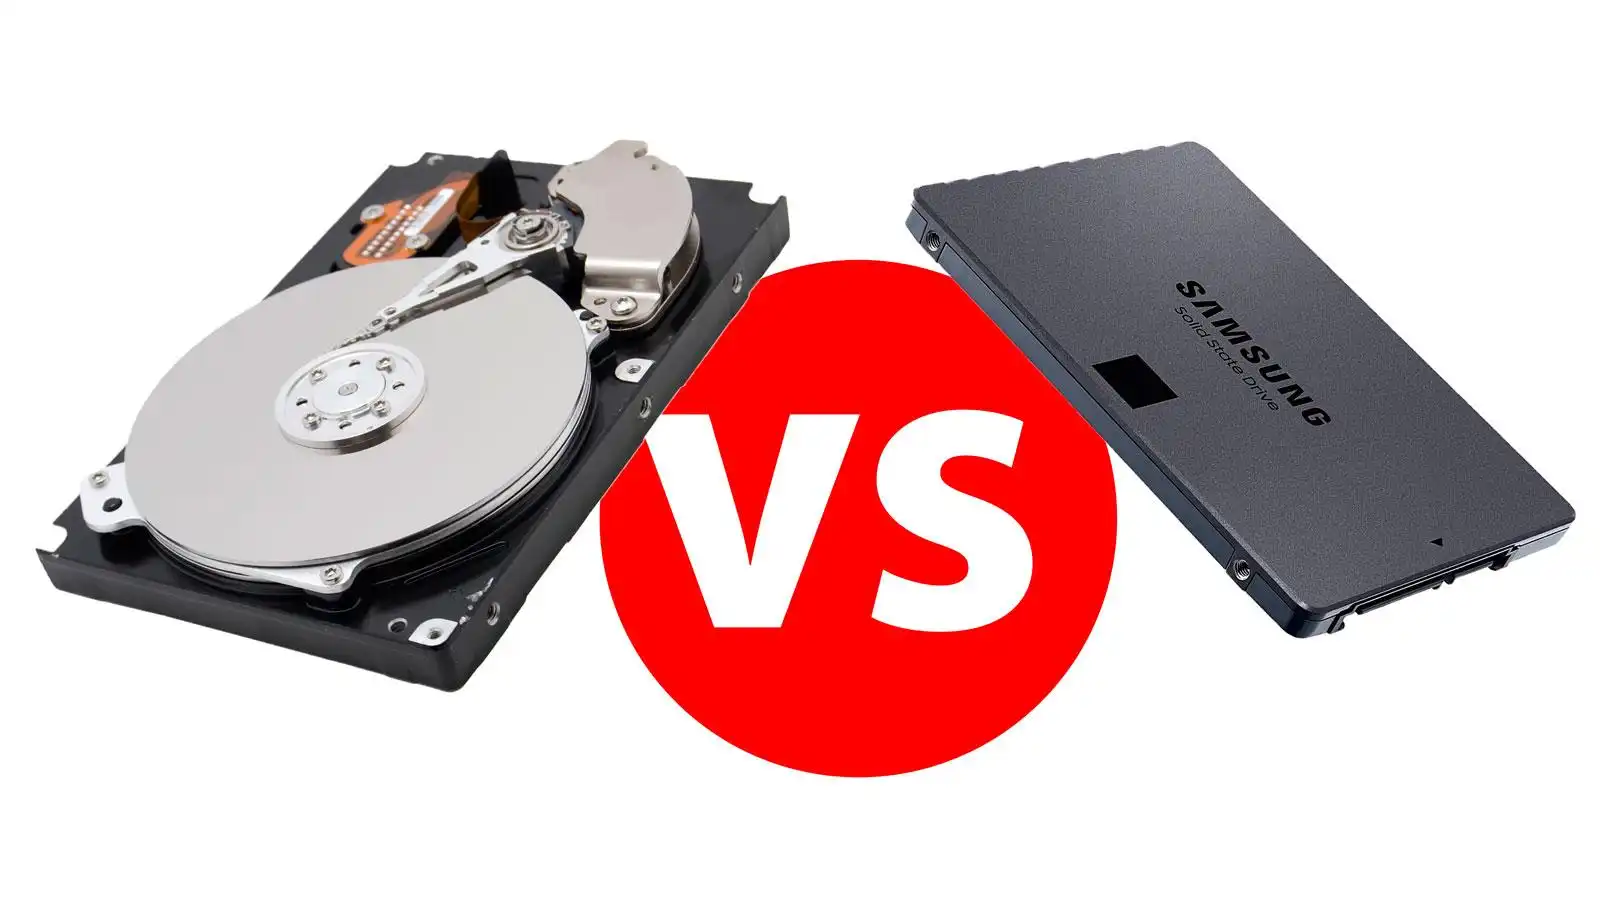
Firstly, one of the most significant benefits of SSDs is their superior speed. Unlike traditional hard drives that rely on spinning disks to access data, SSDs use flash memory technology, allowing for lightning-fast read and write speeds. This means that your operating system will boot up in seconds, and applications will load in a fraction of the time compared to a standard hard drive.
Secondly, SSDs have no moving parts, making them more durable and resistant to physical damage. This means a lower chance of data loss due to accidental drops or impacts. Additionally, the absence of moving parts also results in quieter and cooler operation, contributing to an overall improved computing experience.
Another significant advantage of SSDs is their energy efficiency. SSDs consume less power than traditional hard drives, which can lead to longer battery life in laptops and reduced electricity costs for desktop computers.
Furthermore, SSDs can greatly enhance multitasking capabilities. Because of their fast data access speeds, you can run multiple applications simultaneously without experiencing a significant slowdown in performance. This is particularly useful for tasks that require heavy data processing, such as video editing or running virtual machines.
In addition to the performance benefits, SSDs also offer improved reliability. Traditional hard drives are susceptible to mechanical failures, while SSDs are more resistant to wear and tear over time. This increased reliability ensures that your data remains secure and accessible for a longer period.
Lastly, upgrading to an SSD can breathe new life into older computers. If you have an aging system that struggles to keep up with modern demands, replacing the hard drive with an SSD can give it a substantial performance boost, making it feel like a brand new machine.
Understanding the benefits of moving your hard drive to an SSD is essential to fully appreciate why this upgrade is worth considering. By harnessing the power of an SSD, you can enjoy faster speeds, improved durability, increased multitasking capabilities, enhanced energy efficiency, and better overall system reliability. With these benefits in mind, let’s move on to the next step and start preparing for the migration process.
Step 2: Back up your data
Before proceeding with any major changes to your storage configuration, it’s crucial to back up your data to ensure that nothing important gets lost during the migration process. This step is essential to safeguard your files and provide peace of mind.
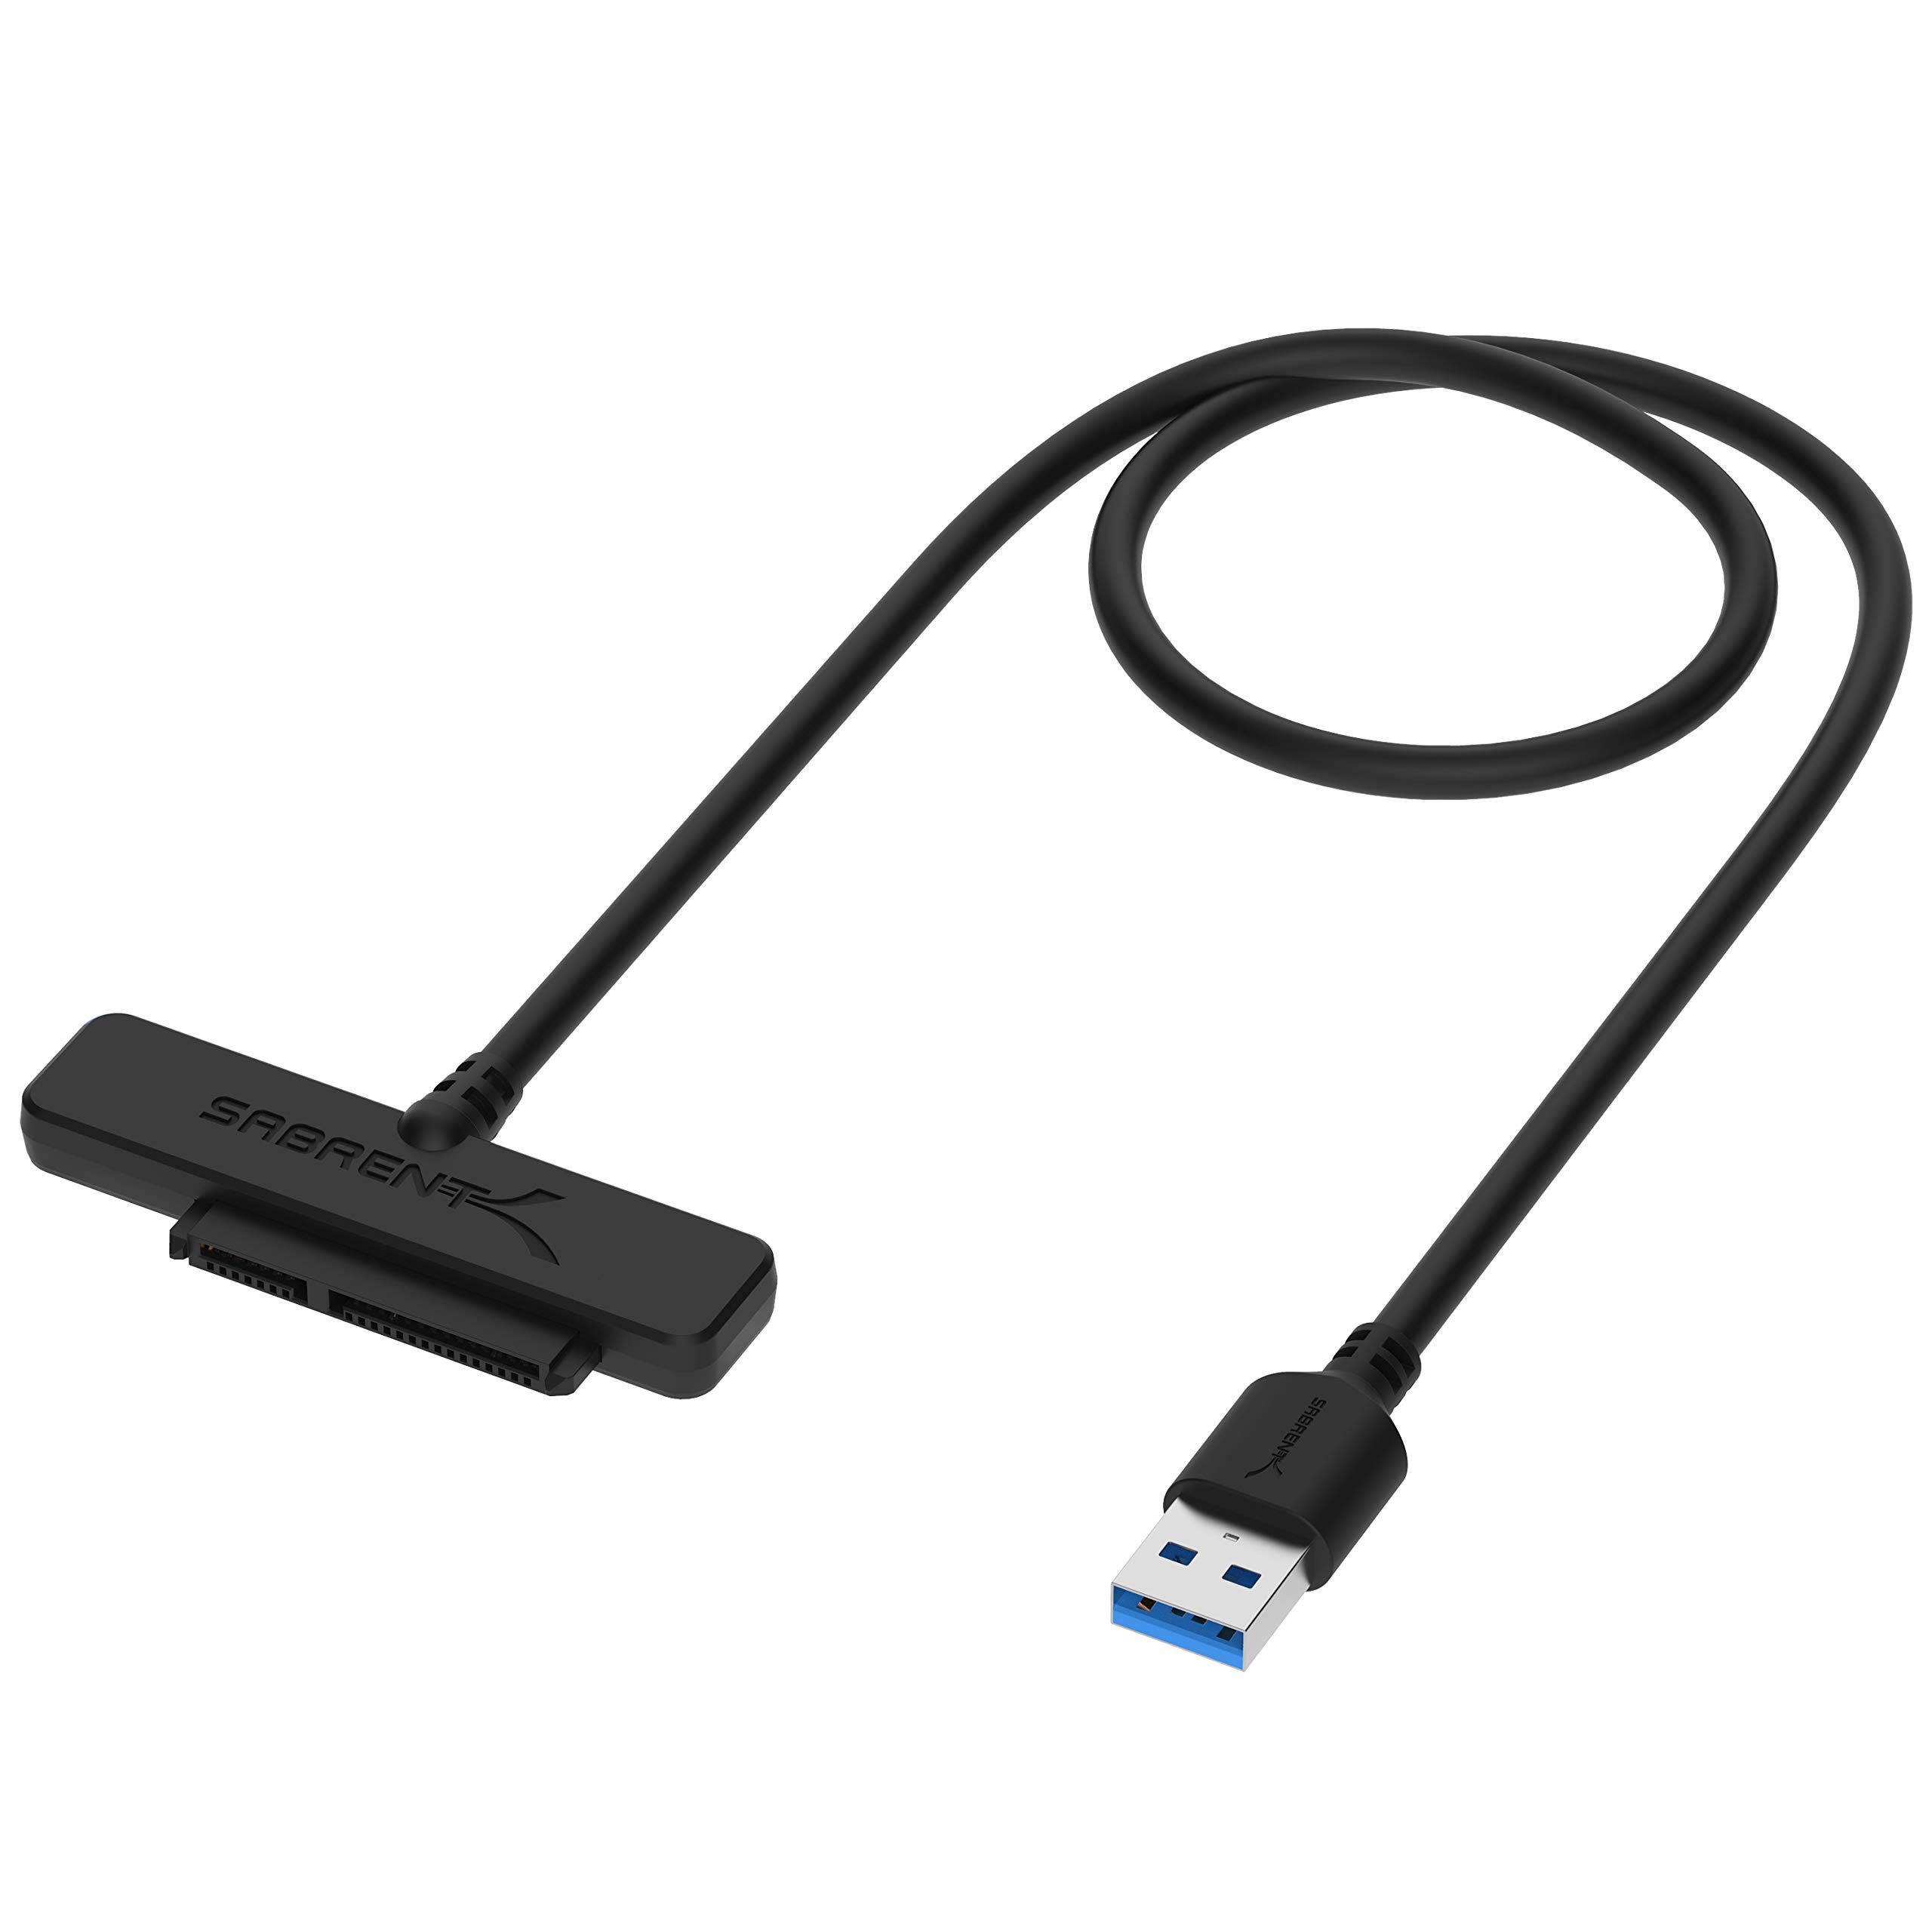
There are several methods you can use to back up your data, depending on your preferences and the amount of data you have. One common approach is to utilize an external hard drive or a USB flash drive to create a full copy of your files. Simply connect the external storage device to your computer and manually copy and paste the files and folders you wish to back up.
Alternatively, you can take advantage of cloud storage services, such as Dropbox, Google Drive, or OneDrive. These platforms allow you to securely upload and store your files on remote servers, providing easy access to your data from any device with an internet connection. Cloud storage ensures that your files are safe even if your computer’s hard drive fails.
Another option is to use specialized backup software that automatically creates a backup of your entire system or specific files and folders. Programs like Acronis True Image, EaseUS Todo Backup, or Macrium Reflect offer easy-to-use interfaces and a range of features to simplify the backup process.
Regardless of the method you choose, it’s important to verify that your data has been successfully backed up and stored correctly. Take the time to double-check that all your important files, documents, photos, videos, and any other data you wish to preserve are accounted for in your backup.
Remember to perform this backup step before proceeding with the migration process to avoid any data loss. It is better to be safe than sorry when it comes to your valuable files and personal information.
Once you have your data safely backed up, you can move on to the next step with confidence, knowing that your important files are protected. We’re now ready to dive into selecting the right SSD for your specific needs.
Step 3: Choose an SSD
Now that you have backed up your data, it’s time to choose the right SSD for your needs. With a wide range of options available on the market, it’s important to consider factors such as storage capacity, performance, and price to make an informed decision.
The first consideration is the storage capacity you require. SSDs come in various sizes, typically ranging from 128GB to 4TB or even higher. Assess your storage needs based on the amount of data you currently have and anticipate needing in the future. Keep in mind that the larger the capacity, the higher the cost, so it’s important to strike a balance between your budget and storage requirements.
In addition to capacity, consider the performance of the SSD. Look for SSDs that offer high read and write speeds, as this will directly impact the overall performance of your system. Factors like the type of NAND flash memory used (SLC, MLC, TLC) and the presence of a DRAM cache can influence speed. Seek out reputable brands known for producing reliable SSDs with favorable performance benchmarks.
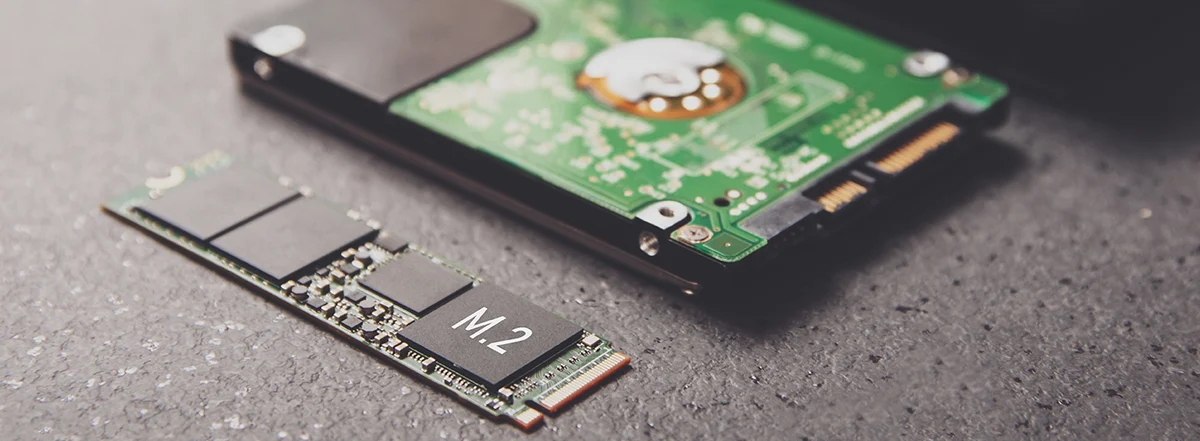
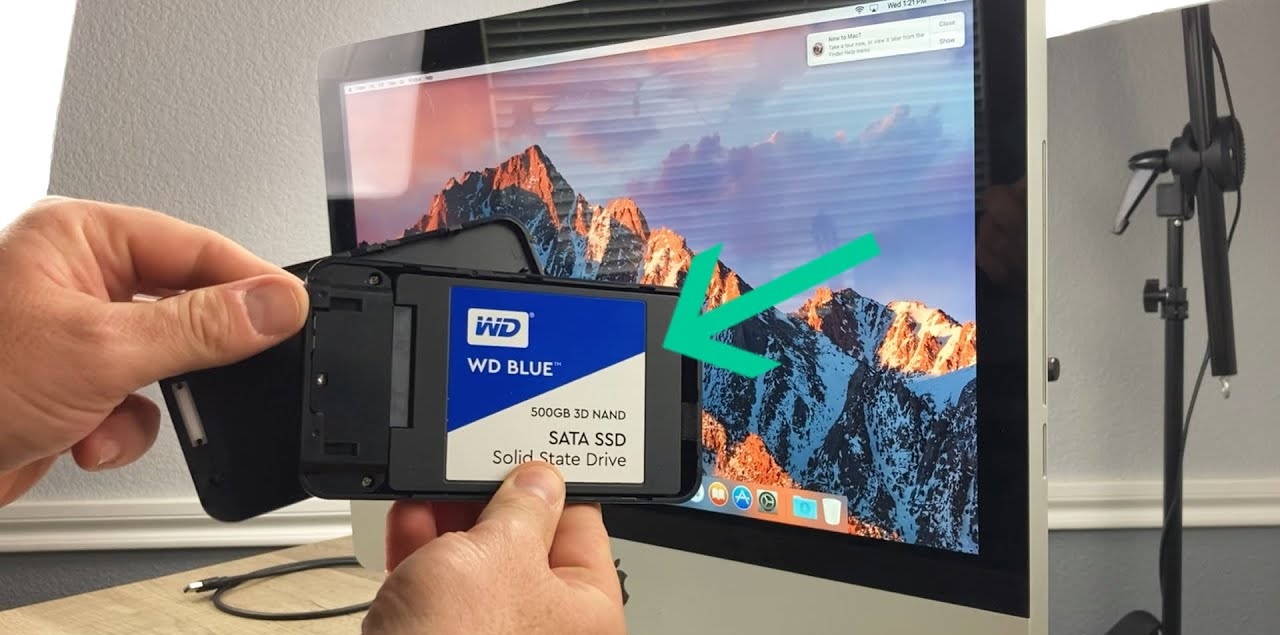
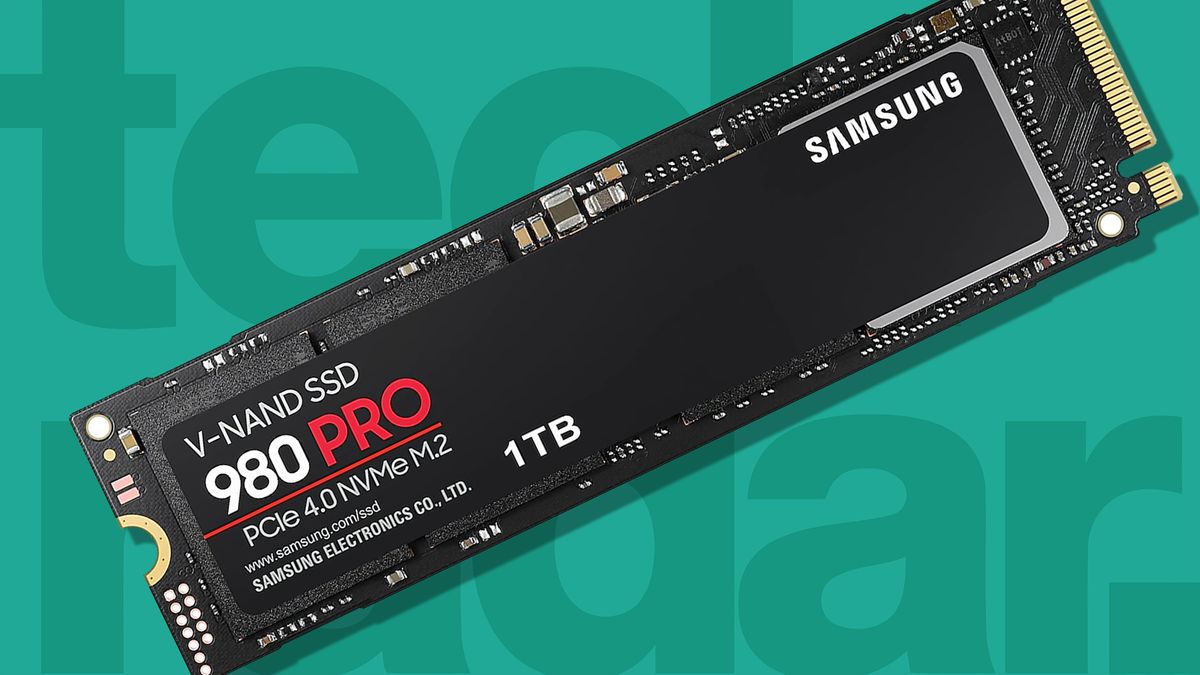
Another aspect to consider is the form factor of the SSD. Common form factors include 2.5-inch, M.2, and PCIe. Ensure that the chosen SSD is compatible with your computer’s interface or slot. Additionally, consider the connection type (SATA or NVMe) and check if your system supports it. NVMe SSDs typically offer faster speeds compared to SATA SSDs, but the performance difference may not be noticeable for everyday tasks.
Price is an important factor for many individuals. SSDs have become more affordable over the years, but prices can still vary significantly depending on the brand and features. Set a budget and try to find the best SSD within that range, considering factors like capacity and performance. Keep an eye out for any ongoing promotions or discounts that could help you get more value for your money.
Last but not least, read reviews and gather information from reputable sources to ensure you choose a reliable SSD. Look for feedback from experts and other users who have experience with the specific model you are considering. Consider factors such as reliability, warranty, and customer service reputation.
By considering these factors, you can make an informed decision and select the right SSD that meets your storage needs and budget. Once you have chosen your SSD, we can move on to the next step and prepare it for the migration process.
Step 4: Prepare your SSD and computer
With your chosen SSD in hand, it’s time to prepare it for the migration process. This step involves ensuring that your SSD is properly connected to your computer and that any necessary software or drivers are updated.
Before physically installing the SSD, it’s important to shut down your computer and disconnect the power cord. This will prevent any accidental damage and ensure your safety.
If you have a desktop computer, you will likely need to open up the case to access the internal components. Carefully remove the side panel, taking note of any screws or clips holding it in place. Ground yourself by touching a metal part of the case to discharge any static electricity before handling the SSD.
Next, locate an available drive bay for the SSD. If you’re replacing your existing hard drive with the SSD, remove the SATA cable and power cable from the hard drive. Gently slide the SSD into the drive bay and secure it with screws if necessary. Connect the SATA and power cables to the SSD.
If you have a laptop, the process may vary depending on the make and model. In most cases, you will need to remove the back panel of the laptop to access the storage drive. Refer to the manufacturer’s instructions or find a specific guide for your laptop model to ensure a smooth installation process.
Once the physical installation is complete, it’s essential to update the firmware and drivers for your SSD. Visit the manufacturer’s website and search for the specific SSD model you purchased. Look for any available firmware updates and download them, following the provided instructions for installation. Updating the firmware can help ensure optimal performance and compatibility with your computer.
Additionally, check if you need to update any software or drivers related to your operating system. This step is particularly important if you’re migrating from a hard drive to an SSD with a different interface, such as from a SATA to NVMe SSD. Visit the support website of your operating system (such as Microsoft or Apple) and update any necessary drivers or software to ensure a smooth transition.
With your SSD properly connected and the necessary updates completed, you’re now ready to proceed with cloning your hard drive to the SSD. This next step will ensure that all your data and settings are transferred to the new drive, allowing for a seamless transition to the faster and more efficient SSD.
Step 5: Clone your hard drive to the SSD
Now that you have prepared your SSD and computer, it’s time to clone your hard drive to the SSD. This process involves creating an exact copy of your existing hard drive and transferring it to the SSD, ensuring that all your data, files, and settings are preserved.
Start by installing a reliable disk cloning software on your computer. There are various options available, such as Clonezilla, Macrium Reflect, or EaseUS Todo Backup. These tools provide an easy-to-use interface and guide you through the cloning process.
Open the disk cloning software and select the source drive (your existing hard drive) and the destination drive (the SSD). Make sure to double-check and confirm the correct drives are selected, as any mistake could result in data loss.
Next, choose the cloning method. Most disk cloning software provides two options: “Clone” or “Disk Imaging.” The “Clone” option will create an exact copy of your source drive, including the operating system, files, and partitions. The “Disk Imaging” option, on the other hand, creates a compressed image file of the source drive, which can be later restored to the SSD. Select the appropriate method based on your preference.
Before proceeding with the cloning process, review the available options and settings provided by the software. Some cloning tools allow you to resize partitions or exclude certain files or folders from the clone. Adjust these settings according to your needs.
Once you have reviewed and confirmed all the settings, start the cloning process. The time it takes will depend on the size of your hard drive and the speed of your computer. You may see a progress bar or estimated time remaining during the cloning process.
After the cloning process is complete, verify that the SSD contains an exact copy of your hard drive. Open File Explorer (Windows) or Finder (Mac) and navigate to the SSD. Check if all your files, folders, and settings are intact.
It is recommended to perform a test boot with only the SSD connected to ensure that the cloned drive is functioning correctly. Restart your computer and access the BIOS or UEFI settings to set the SSD as the boot drive. Save the changes and allow the computer to start up from the SSD. If everything is working as expected, shut down the computer and proceed to the next step.
By cloning your hard drive to the SSD, you have successfully transferred all your data and settings, ensuring a seamless transition to the faster and more efficient storage solution. With the clone completed and verified, it’s time to go ahead and swap the hard drive with the SSD.
Step 6: Test your cloned SSD
With your hard drive successfully cloned to the SSD, it’s crucial to test the functionality and performance of the newly created clone. This step ensures that everything is working as expected before moving on to the final steps of the migration process.
Start by disconnecting the power cord from your computer for safety reasons. Open the case of your desktop computer and locate the cables connected to your old hard drive. Disconnect these cables carefully. If you have a laptop, follow the specific instructions for your model to access the storage compartment and disconnect the cables.
Afterward, connect the cables previously connected to the old hard drive to the newly cloned SSD. Ensure that the SATA and power cables are securely connected to the SSD. Once the connections are made, close the case of your desktop computer or reattach the back panel of your laptop.
Now, it’s time to test the cloned SSD. Plug in the power cord and turn on your computer. If everything went smoothly, your computer should boot up and load the operating system from the SSD without any issues. Pay attention to any error messages or unusual behavior during the booting process.
Once your computer has fully started up, check the performance of the SSD. Open some of your frequently used applications and tasks to see if they are running smoothly and if there is a noticeable improvement in speed and responsiveness. Load times should be significantly faster compared to your previous hard drive.
Verify that all your files and data are accessible on the cloned SSD. Go through your files, folders, and settings to make sure everything has been successfully transferred from the old hard drive to the SSD. Test opening and editing various types of files to ensure compatibility and functionality.
If you encounter any issues or errors during the testing phase, it’s crucial to address them before proceeding further. Troubleshoot any problems by consulting the documentation provided by the cloning software, visiting the manufacturer’s support website, or seeking assistance from reputable forums or technical experts.
By thoroughly testing your cloned SSD, you can ensure that the migration process has been successful and that all your data and settings are intact. If everything is working as expected during the testing phase, you are now ready to proceed to the next step: swapping the hard drive with the SSD.
Step 7: Swap the hard drive with the SSD
In this step, we will swap out your old hard drive with the newly cloned SSD. By physically replacing the hard drive, you will complete the migration process and ensure that your computer boots directly from the faster and more efficient SSD.
Before proceeding, it’s important to shut down your computer and disconnect the power cord for safety purposes. This will prevent any damage to your system while you perform the hardware swap.
If you have a desktop computer, open the case by removing the side panel. Locate the old hard drive and carefully disconnect the SATA and power cables connected to it. Take note of how the cables were connected, as you will need to reconnect them to the SSD in the same way.
Next, remove the old hard drive from its drive bay by unscrewing any screws holding it in place. Gently slide out the hard drive and set it aside; you can choose to keep it as a backup or repurpose it for another use.
Now, carefully slide the SSD into the drive bay and secure it using the appropriate screws. Make sure the SSD is firmly and securely in place.
Reconnect the SATA and power cables to the SSD, ensuring they are properly seated and connected. Take note of the orientation of the connectors to ensure a proper fit.
If you have a laptop, the process may vary depending on the make and model. Consult the manufacturer’s instructions or find a specific guide for your laptop model to ensure a smooth hard drive swap. In most cases, you will need to open the back panel, locate the old hard drive, disconnect it, and replace it with the SSD.
Once the SSD is securely in place and the cables are connected, close the case of your desktop computer or reattach the back panel of your laptop.
With the physical swap complete, reconnect the power cord to your computer and turn it on. It should now boot directly from the SSD, providing faster startup and improved performance.
During the boot process, keep an eye out for any error messages or unusual behavior. If your computer fails to boot, double-check the connections and ensure that the SSD is properly seated in the drive bay. If necessary, consult the manufacturer’s documentation or seek assistance from technical experts.
If your computer successfully boots from the SSD, congratulations! You have successfully completed the swap, and your computer is now running on the new SSD.
Take a moment to verify that all your files, applications, and settings are present and accessible on the SSD. Open and test various programs to ensure they are functioning correctly. Enjoy the increased speed and improved performance that the SSD brings to your computer!
With the hard drive successfully swapped with the SSD, there’s only one final step remaining: starting up your computer with the SSD as the new primary drive.
Step 8: Start up your computer with the SSD
Now that you have successfully swapped out the hard drive with the SSD, it’s time to configure your computer to start up from the SSD as the new primary drive. This final step ensures that your computer harnesses the full potential of the SSD, providing faster boot times and improved overall performance.
To begin, power on your computer and immediately enter the BIOS or UEFI settings. The key to accessing these settings varies depending on your computer manufacturer, but common keys include F2, Del, Esc, or F10. Consult your computer’s manual or the manufacturer’s website if you are unsure of the correct key.
Once you are in the BIOS or UEFI settings, navigate to the “Boot” tab or section. Look for the option to set the boot order or boot priority. Ensure that the SSD is listed as the first boot device.
If you have multiple storage devices connected to your computer, such as additional hard drives or external drives, you may need to rearrange the boot order to prioritize the SSD. Use the instructions provided on the screen or refer to your computer’s documentation for guidance.
Once you have set the SSD as the first boot device, save the changes and exit the BIOS or UEFI settings. Your computer will restart and begin booting directly from the SSD.
During the boot process, pay attention to the startup time. You should notice a significant improvement in speed compared to when your computer was using the traditional hard drive. The operating system should load swiftly, and you should have faster access to your applications and files.
After your computer has fully booted up, take a few moments to test the functionality of your system. Open various applications and tasks to ensure they are running smoothly and efficiently.
Verify that all your files, folders, and settings are intact on the SSD. Access and navigate through your data, ensuring that everything has been successfully transferred from the old hard drive to the new SSD.
Congratulations! Your computer is now up and running with the SSD as the primary drive. Enjoy the increased speed, improved performance, and overall enhanced computing experience that the SSD brings to your system.
In the event that you encounter any issues during the startup or while using your computer, refer to the documentation provided by the SSD manufacturer or seek assistance from technical experts to promptly address and resolve any problems.
With the completion of this step, you have successfully completed the process of moving your hard drive to an SSD. Take a moment to appreciate the significant performance boost and enjoy the benefits of faster startups, quicker application loading times, and an overall smoother computing experience.
Conclusion
Congratulations! You have successfully completed the process of moving your hard drive to an SSD. By following the steps outlined in this guide, you have transformed your computer into a faster, more efficient machine with improved performance and responsiveness.
Throughout this process, you began by understanding the benefits of upgrading to an SSD, including faster boot times, reduced application load times, and enhanced multitasking capabilities. You then learned how to back up your data to ensure nothing was lost during the migration. Next, you carefully selected the right SSD based on factors such as storage capacity, performance, and price. After preparing your SSD and computer, you successfully cloned your hard drive, ensuring all your data and files were transferred to the new SSD. After verifying the functionality and performance of your cloned SSD, you confidently swapped out the hard drive with the SSD. Finally, you configured your computer to start up from the SSD, completing the migration process.
Now that the migration is complete, take a moment to appreciate the significant improvements you’ve achieved. Your computer will now boot up faster, applications will load swiftly, and multitasking will be seamless. Enjoy the enhanced performance and efficiency that the SSD brings to your computing experience.
Remember, regular backups are important to safeguard your data, so continue to implement a backup strategy to protect your files and ensure peace of mind. Additionally, stay up to date with software and firmware updates for your SSD to optimize its performance and reliability.
Thank you for following this guide on how to move your hard drive to an SSD. We hope you found it informative and helpful. If you have any further questions or need assistance, don’t hesitate to seek professional help or consult the manufacturer’s support resources. Enjoy your upgraded system and the benefits of your new SSD!