Introduction
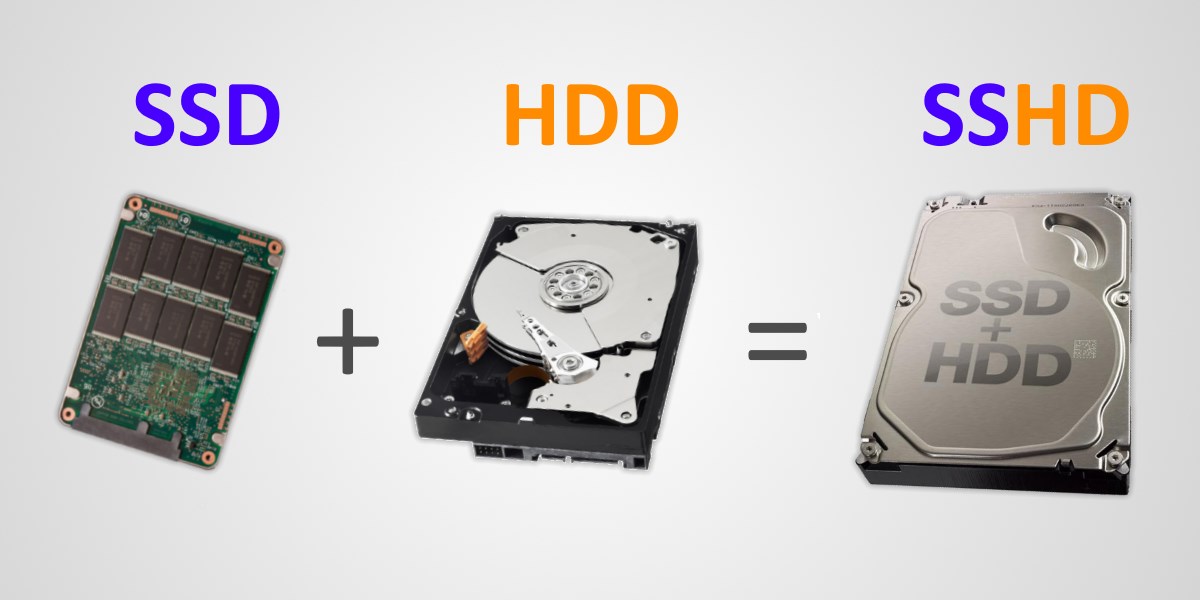
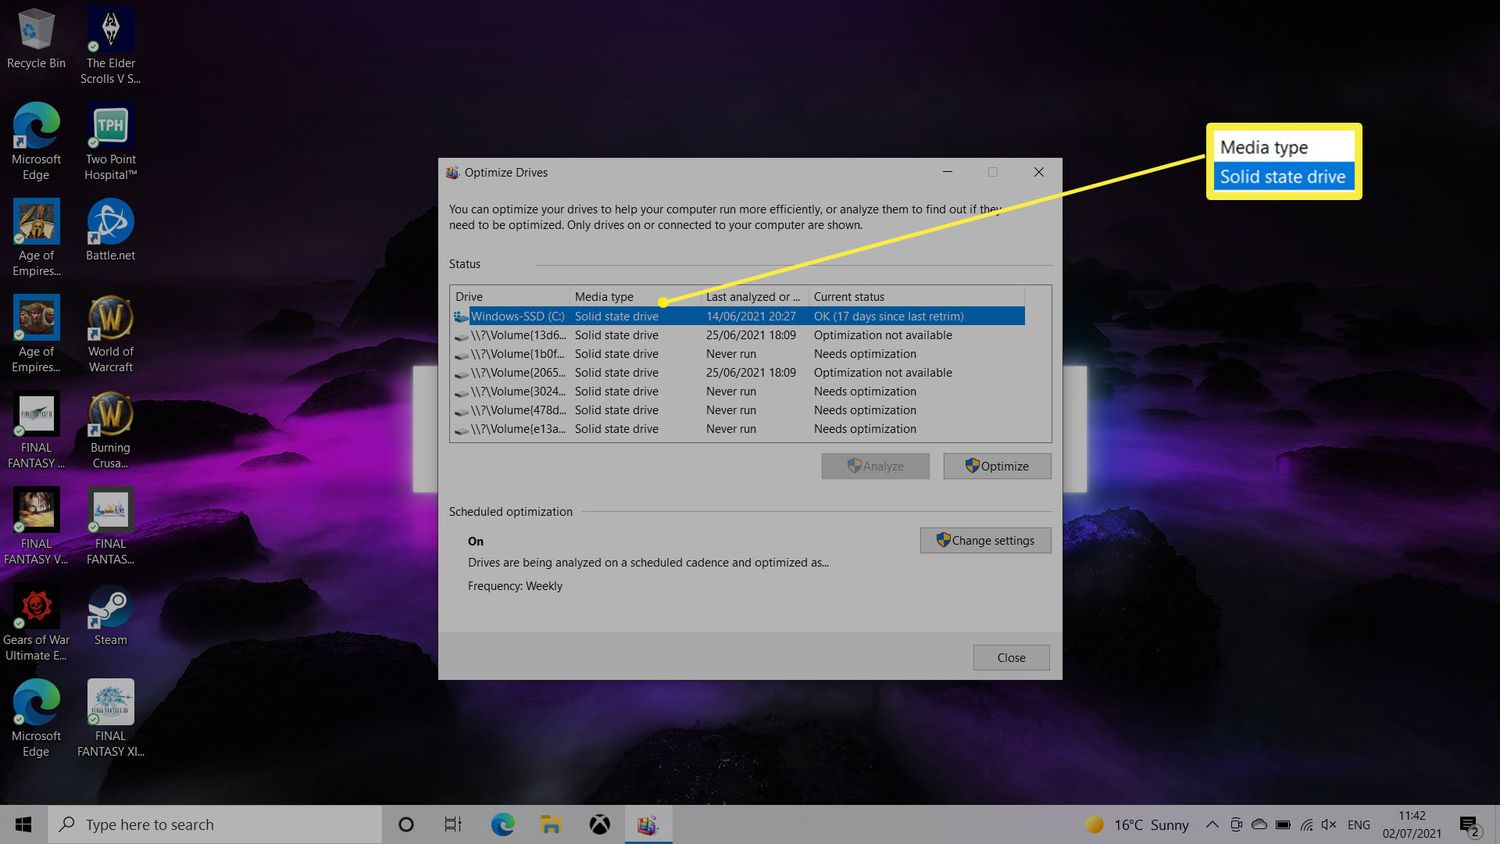
Welcome to the world of technology where speed and storage are crucial. Solid State Drives (SSDs) have gained popularity due to their lightning-fast performance and improved reliability. However, as the demand for space continues to grow, you may find yourself running out of storage on your SSD. In such cases, the question arises: how can you move programs from your solid state drive to a hard drive without compromising their functionality?
This article aims to guide you through the process of transferring programs to a hard drive, ensuring that they remain fully functional and accessible. By moving programs to a hard drive, you can free up valuable space on your SSD while still retaining the convenience of having your applications readily accessible.
While transferring programs may seem like a daunting task for some, fear not! With careful planning and a step-by-step approach, you can easily and successfully move your programs without any data loss or technical glitches.
Before we dive into the nitty-gritty details, let’s understand why you may want to move programs from an SSD to a hard drive in the first place.
Why would you want to move programs from an SSD to a hard drive?
There are several reasons why you might consider moving programs from your SSD to a hard drive. Let’s explore some of the most common scenarios:
- Limited SSD storage: SSDs generally offer smaller storage capacities compared to traditional hard drives. If your SSD is running out of space, moving programs to a hard drive allows you to free up valuable storage on your faster but limited SSD.
- Cost-effective storage: SSDs come at a higher cost per gigabyte compared to hard drives. If you have large programs or a vast collection of applications, storing them on a hard drive can be a more cost-effective solution, as hard drives provide higher storage capacities at a lower cost.
- Priority for frequently used programs: By moving less-frequently used programs to a hard drive, you can prioritize the space on your SSD for applications that require faster access, such as operating systems, productivity tools, or resource-intensive software.
- Optimizing SSD performance: SSDs excel in speed and responsiveness, making them ideal for tasks that require quick data access. By moving less critical programs to a hard drive, you can optimize the performance of your SSD, ensuring smoother and faster operations for the programs that matter the most.
- Organizational reasons: Sometimes, you may want to separate your programs based on categories or usage patterns. By moving specific programs to a hard drive, you can create a more organized system, keeping your frequently used applications easily accessible on your SSD while storing archived or less frequently used programs on the hard drive.
Remember, the decision to move programs from an SSD to a hard drive ultimately depends on your specific needs and preferences. It’s important to assess your storage requirements, prioritize performance, and consider the cost implications when making the move.
Step 1: Assess your storage needs
Before you start moving programs from your SSD to a hard drive, it’s important to assess your storage needs to determine which programs to transfer. Here’s how:
- Analyze your program usage: Take some time to evaluate how frequently you use each program installed on your SSD. Identify programs that you rarely use or ones that don’t require fast access speeds. These programs can be good candidates for moving to a hard drive.
- Estimate storage requirements: Calculate the space required by the programs you’ve identified for transfer. Keep in mind that some applications may have associated data or files that also need to be moved. This will help you determine how much space you’ll need on the hard drive.
- Consider the performance impact: Take into account the performance implications of moving programs to a hard drive. Applications that heavily rely on fast storage access, such as video editing software or games, may be better off remaining on the SSD for optimal performance.
- Identify critical programs: Identify programs that are critical for your day-to-day operations and require fast access. These programs should remain on your SSD to ensure smooth and efficient functionality.
- Create a prioritization plan: Based on your analysis, prioritize the programs you want to move to the hard drive. Consider factors such as usage frequency, storage requirements, and performance impact. This will help you determine the order in which you’ll move them.
By assessing your storage needs and considering the performance impact, you can make informed decisions about which programs to move to a hard drive. Remember that the goal is to optimize storage space while maintaining the functionality and performance of your most important applications.
Step 2: Create a backup
Before you proceed with moving programs from your SSD to a hard drive, it’s essential to create a backup of your data. This ensures that you have a safeguard in case of any unexpected issues or data loss. Follow these steps to create a backup:
- Identify important files: Take note of any files or data associated with the programs you’re planning to move. This includes user settings, preferences, customizations, or any other data that could be lost during the transfer process.
- Choose a backup method: Decide on the most suitable backup method for your needs. You can use an external hard drive, cloud storage services, or a dedicated backup software program. Ensure that the chosen method is reliable and provides sufficient storage capacity for your data.
- Perform the backup: Follow the instructions provided by your chosen backup method to perform the backup. Make sure to include all the necessary files and data associated with the programs you intend to move.
- Verify the backup: After the backup process is complete, double-check the backup files to ensure that they are accessible and intact. This helps to guarantee that you have a reliable backup of your important data.
Creating a backup is a crucial step to protect your data and ensure that you can restore it in case of any unforeseen issues during the program transfer process. It provides peace of mind and reassurance that your files and settings are safe.
Remember to keep the backup files in a secure location until the moving process is complete and tested successfully. Once you have a reliable backup, you can proceed to the next steps with confidence, knowing that your data is protected.
Step 3: Identify the programs to be moved
Now that you have assessed your storage needs and created a backup of your data, it’s time to identify the programs that you want to move from your SSD to a hard drive. This step is crucial to ensure a smooth and organized transfer process. Follow these guidelines:
- Review installed programs: Take a thorough look at the list of programs installed on your SSD. Identify the ones that are suitable for moving based on their usage frequency, storage requirements, and performance impact.
- Consider program dependencies: Keep in mind that some programs may have dependencies on other software or files. Make a note of any such dependencies to ensure that all required components are moved together.
- Check licensing and activation: Verify the licensing and activation requirements of the programs you plan to move. Some software may have restrictions or limitations when it comes to transferring licenses. Ensure that you comply with any applicable licensing agreements.
- Create a list: Make a comprehensive list of the programs you have identified for transfer. Include the program names, versions, and any relevant notes or instructions related to the transfer process.
- Consider program updates: Take note of any pending program updates or patches. It is recommended to install the latest updates before moving the programs to ensure that you have the most up-to-date versions on your hard drive.
By carefully identifying the programs that need to be moved, you can ensure that you don’t overlook any critical applications and that the transfer process goes smoothly. This step also helps in planning the subsequent steps and managing any dependencies or licensing requirements related to the programs.
Once you have your list prepared, you’re ready to proceed to the next step of the process: uninstalling the programs from your SSD.
Step 4: Uninstall the programs
With the identified list of programs that you want to move to the hard drive, it’s time to uninstall them from your SSD. Removing the programs correctly ensures a clean transfer process and helps avoid any conflicts or issues. Follow these steps:
- Access the control panel: Open the Control Panel on your computer. This can usually be done by searching for “Control Panel” in the Start menu or by right-clicking on the Start button and selecting Control Panel.
- Open the Programs and Features menu: Within the Control Panel, locate the “Programs” or “Programs and Features” option and click on it. This will display a list of installed programs on your computer.
- Find the programs to uninstall: Scroll through the list of installed programs and locate the ones you want to move to the hard drive. Select each program one by one and click on the “Uninstall” or “Remove” button.
- Follow the uninstallation process: The uninstallation process may vary depending on the program. Follow the on-screen prompts and instructions to uninstall each program completely. This may include confirming your intention to uninstall, selecting any additional components to remove, and following any post-uninstallation instructions.
- Repeat for all identified programs: Continue the uninstallation process for each program on your list. Take your time and ensure that each program is uninstalled properly, leaving no traces behind on your SSD.
It’s crucial to be careful while uninstalling the programs and follow the instructions provided by each program’s uninstaller. This prevents any potential issues and ensures a clean removal.
Remember to keep track of any uninstallation confirmation numbers, license keys, or activation details that may be required when installing the programs on the hard drive later.
Once you have successfully uninstalled all the programs from your SSD, you’re ready to move on to the next step: installing the programs on the hard drive.
Step 5: Install the programs on the hard drive
Now that you have uninstalled the programs from your SSD, it’s time to install them on the hard drive. Follow these steps to ensure a smooth installation process:
- Prepare the hard drive: Ensure that your hard drive is connected and functioning properly. If necessary, format the hard drive to provide a clean and organized space for the program installations.
- Locate the installation files: Locate the original installation files or setup executable for each program you want to install. This may include CDs, DVDs, downloaded files, or installation packages saved on your computer.
- Run the installation process: Double-click on the installation file or executable to start the installation process. Follow the on-screen prompts and instructions provided by each program’s installer.
- Select the installation location: During the installation process, you will be prompted to choose the destination folder or installation location for each program. Browse through your hard drive and select an appropriate folder or create a new one to store the program files and components.
- Follow the installation prompts: Continue the installation process by following any additional prompts and instructions presented by the installer. This may include accepting the terms and conditions, selecting additional components or features, and configuring program settings.
- Repeat for all programs: Repeat the installation process for each program on your list. Pay attention to any specific requirements or options for each program to ensure a successful installation.
Ensure that you have all the necessary installation files and information, such as license keys or activation details, readily available for each program. This will help streamline the installation process.
Take your time during the installations, ensuring that each program is installed correctly and in the desired location on the hard drive. This ensures that the programs are ready to run smoothly from the hard drive.
After successfully installing all the programs on the hard drive, you’re ready to move on to the next step: updating file paths and shortcuts.
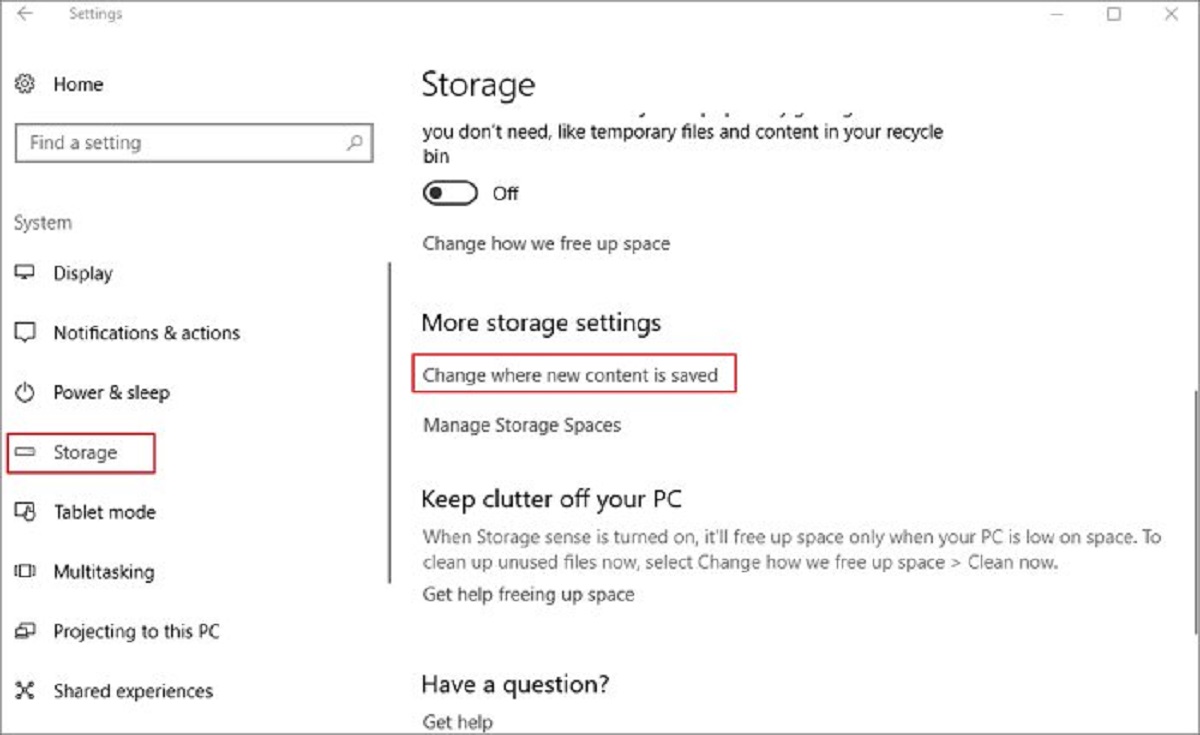
Step 6: Update file paths and shortcuts
After installing the programs on the hard drive, it’s important to update the file paths and shortcuts to ensure that everything points to the new location. This step ensures that the programs function correctly and that you can easily access them. Follow these steps to update file paths and shortcuts:
- Open the program’s settings or preferences: Launch each program that you have installed on the hard drive. Look for a settings or preferences menu within the program.
- Update file paths: Within the program’s settings or preferences, locate any options related to file paths or directories. Update these paths to point to the new location on your hard drive where the program files are stored.
- Check for additional customization: Explore other options or settings within the program’s preferences to ensure that any saved or default paths are also updated to reflect the new installation location on the hard drive.
- Update shortcuts: On your desktop, Start menu, or taskbar, you may have shortcuts to the programs that were previously installed on your SSD. Right-click on each shortcut and select “Properties.” In the properties window, update the “Target” field to point to the new program location on the hard drive.
- Test the updated programs: After updating the file paths and shortcuts, test each program to ensure that it opens and functions correctly. Verify that all program files and dependencies are being accessed from the new location on the hard drive.
Updating file paths and shortcuts is an essential step to ensure that the programs on the hard drive are functioning properly and can be easily accessed from various locations on your computer. By completing this step, you eliminate any potential confusion or errors caused by outdated file references.
Take your time while updating the paths and shortcuts, carefully checking your changes and testing the programs afterwards. This will help guarantee a seamless transition from the SSD to the hard drive.
With the file paths and shortcuts updated, you’re ready for the final step: running a test to ensure the functionality of the transferred programs.
Step 7: Run a test to ensure functionality
After transferring and updating the programs on your hard drive, it’s important to run a test to ensure that everything is functioning correctly. This step helps you verify that the programs have been successfully moved and that they can be accessed and used without any issues. Follow these steps to test the functionality of the transferred programs:
- Open each program: Launch each program that you have transferred and updated on the hard drive. Verify that the program opens without any error messages or issues.
- Perform basic functions: Test the basic functions of each program. Check if you can create, edit, save, and retrieve files as expected. Use the program’s core features to ensure that they are functioning properly.
- Test program dependencies: If the programs you have transferred rely on other software or libraries, ensure that these dependencies are also functioning correctly. Test any integration or interaction with other programs or components to confirm seamless operation.
- Check for performance: Evaluate the performance of the transferred programs on the hard drive. Make sure they are running smoothly and responding quickly. Compare the performance to how the programs were running on the SSD to ensure there are no noticeable performance issues.
- Verify file access: Access files and data associated with the programs to ensure that they can be retrieved properly from the new location on the hard drive. Test any file-saving or importing functions to ensure that files are being stored in the correct locations.
- Document any issues or errors: If you encounter any issues or errors during the testing process, take note of them and document them. This will help you troubleshoot and resolve any problems that may arise later.
By running a comprehensive test, you ensure that the transferred programs on the hard drive are fully functional, allowing you to use them seamlessly in your day-to-day operations.
If you encounter any issues during the testing process, refer to any documentation or support resources provided by the program’s manufacturer. Troubleshoot and resolve any problems to ensure a smooth experience with your programs on the hard drive.
Once you have successfully tested the functionality of the transferred programs, you can confidently enjoy using them from the hard drive, knowing that they are working as intended.
Conclusion
Congratulations! You have successfully moved programs from your solid state drive (SSD) to a hard drive. By following the step-by-step process outlined in this guide, you have freed up valuable space on your SSD while still retaining the accessibility and functionality of your programs.
Throughout this process, you assessed your storage needs, created a backup of your data, identified the programs to be moved, uninstalled them from your SSD, installed them on the hard drive, updated file paths and shortcuts, and ran tests to ensure functionality. Each step was crucial in ensuring a smooth transfer and seamless operation of the programs on the hard drive.
Remember to periodically check for program updates and install them as necessary to maintain the latest features and security patches. Additionally, consider optimizing the storage space on your hard drive by regularly managing and organizing your program installations.
Transferring programs from an SSD to a hard drive provides you with the flexibility to balance storage capacity and performance based on your specific needs. You can allocate your faster but limited SSD storage for critical applications that require quick access, while utilizing the larger capacity of a hard drive for less frequently used programs or files.
Always keep backups of your important data to ensure its safety and to provide a fallback option in case any unexpected issues arise. Regularly reviewing and reassessing your storage needs will ensure that you have an efficient and optimized system.
Thank you for following this guide. We hope it has been helpful in your endeavor to move programs from an SSD to a hard drive. Enjoy the increased storage capacity while maintaining the performance you need!