Introduction
Welcome to our guide on how to convert the Mz-Rpa2560/0S0 Solid State Drive (SSD) to SSD. If you’re unfamiliar with the concept, don’t worry – we’ll explain everything you need to know. Nowadays, storage technology is evolving rapidly, and SSDs have become a popular choice for their improved performance and reliability compared to traditional hard drives. The Mz-Rpa2560/0S0 SSD, while a solid choice, can be upgraded to an SSD for even better performance and speed.
SSDs, or Solid State Drives, utilize flash memory to store data instead of the mechanical components found in traditional hard drives. This technology offers several advantages, such as faster boot times, quicker data transfers, and enhanced durability. By converting your Mz-Rpa2560/0S0 to an SSD, you can unlock these benefits and give your device a significant performance boost.
In this guide, we will walk you through the step-by-step process of converting your Mz-Rpa2560/0S0 SSD to an SSD. We will cover everything from backing up your data to installing the new SSD and ensuring proper connections. Whether you’re a tech enthusiast or a beginner, you will find this guide easy to follow.
Before we dive into the conversion process, it’s important to note that this guide assumes you have some basic technical knowledge and are comfortable opening up your device. If you have any concerns or doubts about your abilities, we recommend consulting a professional to handle the conversion for you.
Now that we’ve covered the basics, let’s gather the tools and materials you’ll need for this conversion process. By following this guide, you’ll be well on your way to enjoying the improved performance and reliability that an SSD can offer. So, without further ado, let’s get started!
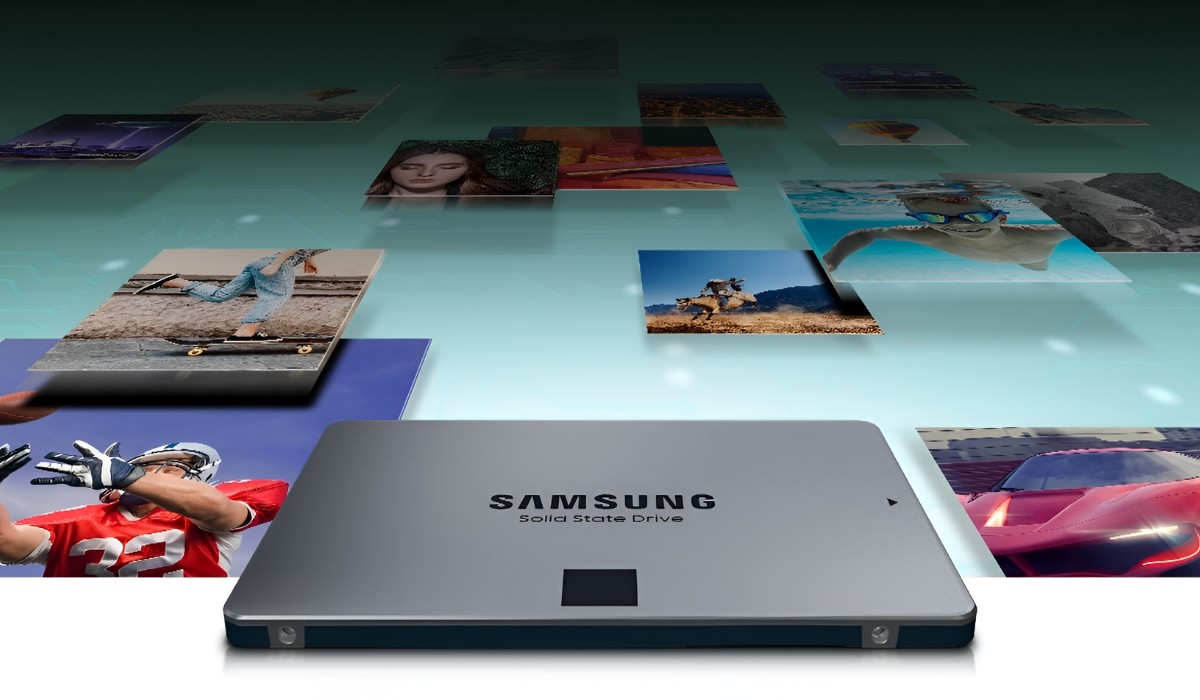
What is Mz-Rpa2560/0S0 Solid State Drive?
The Mz-Rpa2560/0S0 Solid State Drive (SSD) is a high-performance storage device designed to provide fast and reliable data storage for various electronic devices. This particular model is known for its durability, efficiency, and impressive read and write speeds.
SSDs, including the Mz-Rpa2560/0S0, differ from traditional hard drives in their construction and data storage mechanism. Instead of using spinning disks and mechanical components, SSDs utilize flash memory technology. This means that data is stored on interconnected flash memory chips, resulting in faster access times and improved overall performance.
The Mz-Rpa2560/0S0 SSD offers a generous storage capacity of 2560GB, making it suitable for use in various applications, including laptops, desktops, and external storage devices. Its compact form factor allows for easy integration into existing systems while providing ample storage space for large files, applications, and multimedia content.
One of the key advantages of the Mz-Rpa2560/0S0 SSD is its impressive read and write speeds. With sequential read speeds of up to 550MB/s and sequential write speeds of up to 520MB/s, this SSD ensures rapid data access and transfer. This translates into improved system boot-up times, faster application launches, and reduced file transfer wait times. Whether you are a professional who works with large datasets or a gamer looking for faster load times, the Mz-Rpa2560/0S0 SSD can meet your needs.
In addition to its speed and capacity, the Mz-Rpa2560/0S0 SSD also offers enhanced power efficiency. SSDs do not require the same level of power to operate as traditional hard drives, which means your device can benefit from extended battery life. This makes the Mz-Rpa2560/0S0 SSD an excellent choice for portable devices such as laptops or ultrabooks.
Overall, the Mz-Rpa2560/0S0 SSD delivers a significant performance improvement over traditional hard drives. Its durability, speed, and efficiency make it a top choice for those seeking to enhance the performance and storage capabilities of their electronic devices.
Why Convert to SSD?
Converting to a solid state drive (SSD) from the Mz-Rpa2560/0S0 Solid State Drive (SSD) offers numerous benefits that can significantly improve your overall computing experience. Here are some compelling reasons why you should consider making the switch:
- Speed: SSDs are known for their lightning-fast read and write speeds. Unlike traditional hard drives that rely on spinning disks, SSDs use flash memory technology, resulting in near-instantaneous data access. With an SSD, you can experience faster boot times, quicker application launches, and seamless multitasking.
- Reliability: SSDs have no moving mechanical parts, which reduces the risk of failure due to physical damage. This increased reliability means your data is better protected, especially in portable devices that may undergo frequent movement.
- Energy Efficiency: SSDs consume less power than traditional hard drives, resulting in better energy efficiency. This is particularly beneficial for laptops and other battery-powered devices, as it can help extend battery life. Additionally, the reduced power consumption contributes to a cooler and quieter computing experience.
- Durability: With no spinning disks or read/write heads, SSDs are more resistant to shock and vibration. This makes them ideal for portable devices that are often subjected to movement and jostling. Your data will be better protected, and you can have peace of mind knowing that your SSD is designed to withstand these physical stresses.
- Storage Capacity: SSDs are available in various capacities and can offer ample storage space for your needs. While the Mz-Rpa2560/0S0 SSD already provides a generous 2560GB capacity, upgrading to a larger SSD can allow you to store more files, applications, and multimedia content without worrying about running out of space.
- No Noise or Vibrations: Unlike traditional hard drives that produce noise and vibrations due to mechanical parts, SSDs operate silently. This is particularly beneficial if you work in a quiet environment or enjoy a noise-free computing experience.
By converting to an SSD, you can transform your computing experience by enjoying faster performance, enhanced reliability, improved energy efficiency, and increased durability. Whether you use your device for work, gaming, or multimedia, an SSD can provide a significant boost in speed and efficiency, making it a worthwhile investment.
Tools and Materials
Before you begin the conversion process, it’s important to gather all the necessary tools and materials to ensure a smooth and successful upgrade. Here’s a list of what you’ll need:
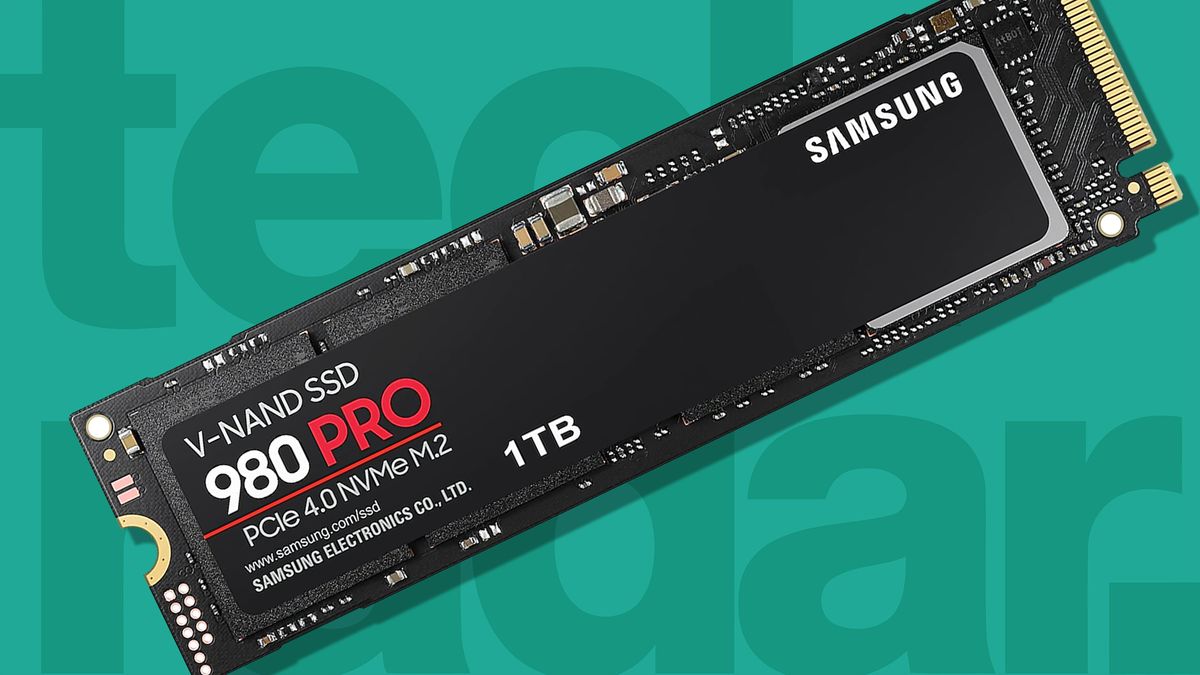
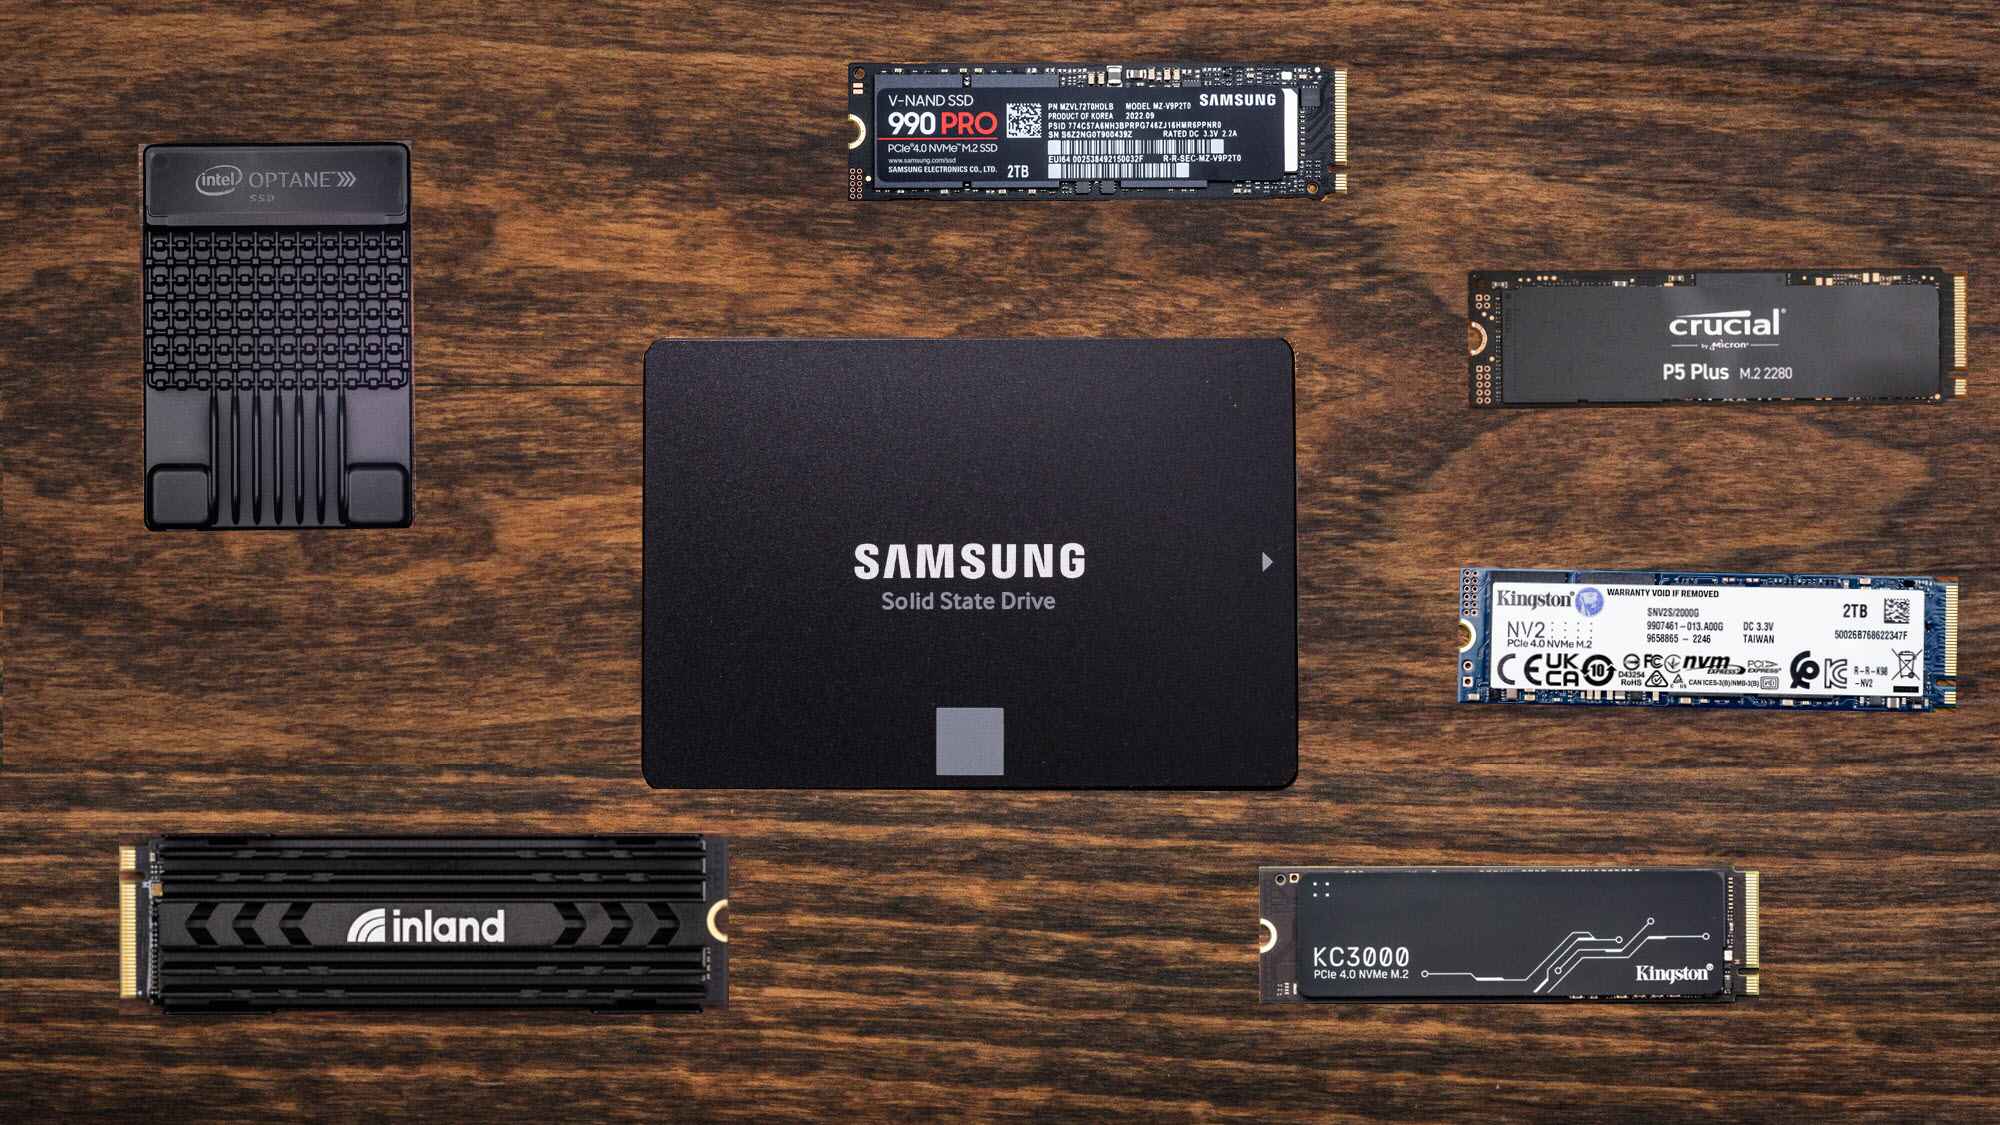
- SSD: Choose an SSD that meets your storage requirements and is compatible with your device. Ensure that the physical dimensions and interface (such as SATA or NVMe) match your Mz-Rpa2560/0S0 SSD.
- Screwdriver: Depending on your device, you may need a Phillips screwdriver or another type of screwdriver to remove screws and secure the SSD in place.
- Antistatic Wrist Strap: An antistatic wrist strap is recommended to prevent electrostatic discharge (ESD) that could potentially damage sensitive electronic components during the installation process.
- External Hard Drive or Cloud Storage: Before starting the conversion, it’s essential to back up all your data. This can be done using an external hard drive or by utilizing cloud storage services. Make sure to have enough storage capacity to hold all your files and documents.
- Microfiber Cloth: A microfiber cloth is useful for cleaning the inside of your device and removing any dust or debris that may accumulate during the conversion process.
- Optional: USB-to-SATA Adapter: If your device has limited internal storage or lacks an available slot for the SSD, a USB-to-SATA adapter allows you to connect the SSD externally. This way, you can still enjoy the benefits of an SSD without having to replace the existing drive.
- Optional: Thermal Paste: If your specific installation requires it, have thermal paste on hand to ensure proper heat dissipation between the SSD and the device.
- Device Manual or Online Resources: Having access to your device’s manual or online resources can be helpful during the conversion process. It provides guidance on disassembly, component locations, and other specific instructions for your particular device.
Remember to review the documentation or resources specific to your device before starting the conversion process. Some devices may have unique requirements or additional tools needed for successful SSD installation. Now that you have gathered all the necessary tools and materials, you’re ready to move on to the next steps of the conversion process.
Step 1: Back Up Your Data
Before you begin the process of converting your Mz-Rpa2560/0S0 Solid State Drive (SSD) to an SSD, it’s crucial to back up all your data. This ensures that your files, documents, and settings are safely stored and can be easily transferred to the new SSD.
Backing up your data can be done in several ways, depending on your preferences and available resources. Here are a few methods you can use:
- External Hard Drive: Connect an external hard drive to your device and transfer all your important files and documents to it. This method allows for quick and easy access to your data once the conversion is complete.
- Cloud Storage Services: Utilize cloud storage services, such as Dropbox, Google Drive, or iCloud, to back up your files. Uploading your data to the cloud ensures that it is safely stored and accessible from any device with an internet connection.
- Network Attached Storage (NAS): If you have a NAS device, you can back up your data directly to it. This option provides an additional layer of security as your data is stored on a separate storage device within your local network.
- Backup Software: Use backup software, such as Acronis True Image or Macrium Reflect, to create a full system backup. This method allows you to restore not only your files but also your system settings and applications to the new SSD.
Regardless of the method you choose, it’s vital to ensure that all your important data is included in the backup. This includes documents, photos, videos, music, bookmarks, and any other files that are important to you.
Take your time to verify that the backup process is complete and all your data is successfully copied to the external storage or cloud service. It’s a good practice to double-check the backup to avoid any potential data loss during the conversion process.
Once you have confirmed that your data is backed up and secure, you are now ready to proceed to the next step of converting your Mz-Rpa2560/0S0 SSD to an SSD. Remember, having a reliable backup ensures that you can easily restore your data if any unforeseen issues arise during the conversion process.
Step 2: Prepare Your Work Area
Before diving into the process of converting your Mz-Rpa2560/0S0 Solid State Drive (SSD) to an SSD, it’s crucial to prepare your work area. By creating a clean and organized workspace, you can ensure a smoother and more efficient conversion process. Here are some steps to help you prepare your work area:
- Cleanliness: Start by thoroughly cleaning your work area. Remove any dust, debris, or clutter that could potentially interfere with the conversion process. A clean work area ensures better focus and reduces the risk of any accidental damage to your device or components.
- Static Control: Electrostatic discharge (ESD) can damage delicate electronic components, so it’s important to minimize the risk. Use an antistatic wrist strap to ground yourself and prevent static discharge during the conversion process. Additionally, work on an anti-static mat or a non-conductive surface to further mitigate any potential ESD risks.
- Organization: Lay out all the necessary tools and materials you gathered for the conversion process. This could include the new SSD, screwdriver, antistatic wrist strap, external hard drive or cloud storage device, microfiber cloth, and any other tools or materials specific to your device. Having everything organized and easily accessible will streamline the conversion process.
- Workspace: Ensure you have enough space to work comfortably. Clear an area on your desk or workbench where you can place your device and have enough room to maneuver without feeling cramped. Consider using a well-lit area with proper overhead lighting to enhance visibility during the conversion process.
- Documentation: Have the device manual or any online resources readily available. Being able to reference specific instructions or diagrams during the conversion process can be incredibly helpful, especially if you’re unfamiliar with disassembling your device.
By preparing your work area in advance, you can minimize potential distractions and create an environment conducive to a successful conversion. Taking the time to ensure cleanliness, static control, organization, workspace, and access to relevant documentation will help you proceed to the next steps with confidence and ease.
Now that your work area is properly prepared, you are ready to move on to the next step of converting your Mz-Rpa2560/0S0 SSD to an SSD. Proceeding in an organized and focused manner will lead to a smoother and more successful conversion process.
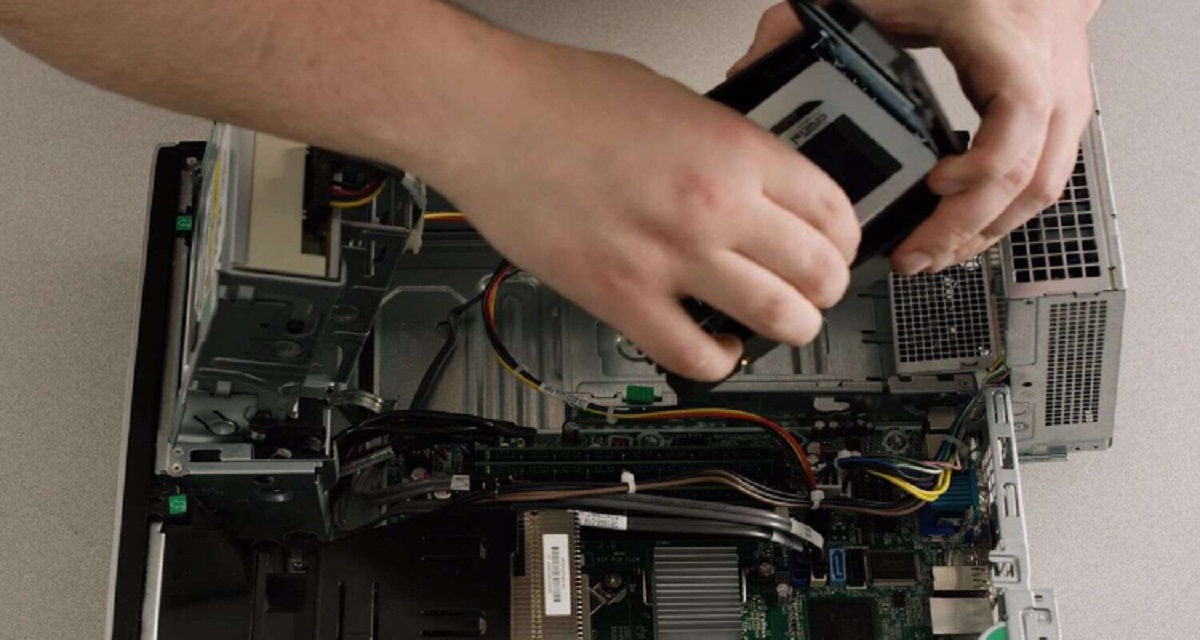
Step 3: Remove the Mz-Rpa2560/0S0 SSD
Now that you have prepared your work area, it’s time to remove the existing Mz-Rpa2560/0S0 Solid State Drive (SSD) from your device. Follow these steps to safely remove the SSD:
- Power Off: Ensure that your device is powered off completely before proceeding. This step eliminates the risk of electrical shock and protects both you and your device.
- Locate the Mz-Rpa2560/0S0 SSD: Consult your device manual or online resources to identify the exact location of the Mz-Rpa2560/0S0 SSD. In most cases, it will be located inside your device’s casing or on the motherboard.
- Open the Casing: If your device has a removable casing, carefully remove any screws or clips that secure it in place. Be gentle and take note of the location of each screw as you remove them to avoid misplacement.
- Identify the Mz-Rpa2560/0S0 SSD: Locate the Mz-Rpa2560/0S0 SSD within the device. It may be connected to the motherboard by a connector or mounted using screws or brackets.
- Disconnect Cables: If the Mz-Rpa2560/0S0 SSD is connected to the motherboard via a cable, gently disconnect the cable by carefully pulling it straight out from the connector. Take care not to apply excessive force or twist the cable.
- Remove Screws or Brackets: If the Mz-Rpa2560/0S0 SSD is mounted using screws or brackets, use the appropriate screwdriver to remove them. Place the screws or brackets aside in a safe location to prevent loss.
- Remove the Mz-Rpa2560/0S0 SSD: Carefully lift the Mz-Rpa2560/0S0 SSD out of its slot or mounting area. Hold it by the edges to avoid touching any connectors or circuitry.
It’s essential to handle the Mz-Rpa2560/0S0 SSD with care to prevent damage to the device or the SSD itself. Avoid excessive force, bending, or dropping the SSD.
Once you have successfully removed the Mz-Rpa2560/0S0 SSD from your device, place it in a safe and static-free location. You can either store it as a backup or recycle it responsibly according to local regulations.
With the Mz-Rpa2560/0S0 SSD removed, you’re now ready to proceed to the next step of preparing the new SSD for installation. Follow the remaining steps in this guide to complete the conversion process and enjoy the improved performance of your upgraded device.
Step 4: Preparing the SSD for Installation
Now that you have removed the Mz-Rpa2560/0S0 Solid State Drive (SSD) from your device, it’s time to prepare the new SSD for installation. Follow these steps to ensure a smooth and successful SSD installation:
- Review Compatibility: Double-check that the new SSD you have chosen is compatible with your device. Verify that the physical dimensions and interface (such as SATA or NVMe) match your device’s specifications. Also, ensure that the capacity of the new SSD meets your storage requirements.
- Check Firmware Update: Visit the manufacturer’s website for the new SSD and check for any firmware updates. Updating the SSD’s firmware to the latest version can ensure optimal performance and compatibility with your device.
- Prepare Mounting: If the new SSD requires mounting, check if it comes with a mounting bracket or adapter. If not, you may need to purchase one separately. Ensure that the mounting bracket or adapter matches the form factor of the new SSD and is compatible with your device’s mounting system.
- Thermal Paste (if applicable): If your device requires the use of thermal paste for heat dissipation, apply a small, pea-sized amount of thermal paste to the center of the SSD’s contact area. Spread it evenly using a plastic card or a non-metallic tool.
- Handle with Care: Similar to the Mz-Rpa2560/0S0 SSD removal process, handle the new SSD with care. Avoid touching any connectors or circuitry, holding it by the edges.
It’s important to note that each SSD and device may have specific requirements or additional steps for preparation. Therefore, make sure to refer to the new SSD’s documentation or manufacturer’s guidelines for any specific instructions related to preparation.
By following these steps, you can ensure that your new SSD is ready for installation and optimized for performance. Preparing the SSD in advance will contribute to a seamless and successful upgrade process. Now that your new SSD is properly prepared, you can proceed to the next step of the installation process.
Step 5: Installing the SSD
With the Mz-Rpa2560/0S0 Solid State Drive (SSD) removed and the new SSD properly prepared, it’s time to install the new SSD into your device. Follow these steps for a successful SSD installation:
- Locate the SSD Slot: Refer to your device’s manual or online resources to identify the SSD slot or bay. It is typically a dedicated space designed to accommodate the SSD.
- Align the SSD: Orient the new SSD in the proper direction and align the connectors with the slot or bay. Make sure the SSD is positioned correctly to ensure a secure and proper connection.
- Insert the SSD: Carefully slide the new SSD into the slot or bay, applying gentle and even pressure. Ensure that the SSD is inserted fully until it is securely seated in place.
- Secure the SSD: If the new SSD requires mounting, use the provided screws or brackets to secure it in place. Make sure the SSD is firmly attached to prevent any movement or displacement.
- Connect Cables: If the new SSD requires a cable connection, carefully connect it to the appropriate connector on the motherboard. Ensure that the cable is securely attached, making sure it is aligned properly before applying gentle pressure.
It’s important to be gentle and cautious during the installation process to avoid damage to the new SSD or any other components in your device.
Once the new SSD is securely installed, double-check all connections to ensure they are properly seated and secure. Ensure that any mounting screws or brackets are tightened but not overtightened.
At this stage, the new SSD is successfully installed in your device. In the next step, we will verify the proper connection of the SSD to ensure optimal performance and functionality.
Step 6: Ensuring Proper Connection
After installing the new SSD into your device, it’s crucial to ensure that it is properly connected for optimal performance and functionality. Follow these steps to verify the SSD’s connection:
- Double-check Connections: Carefully inspect all cable connections and ensure they are properly seated. Verify that any data or power cables connected to the new SSD are securely attached to their respective connectors on the motherboard.
- Check BIOS/UEFI Settings: Access your device’s BIOS/UEFI settings by restarting and pressing the designated key (often Del, F2, or F10) during the startup process. Once in the BIOS/UEFI, navigate to the storage or boot settings. Confirm that the new SSD is detected and recognized by the system. If necessary, adjust the boot order to prioritize the new SSD for the operating system to boot from.
- Update Device Drivers: Visit the manufacturer’s website for your device and download any necessary driver updates specific to the new SSD. Installing the latest drivers can ensure compatibility and optimal performance with the new SSD.
- Perform a Test Boot: Power on your device and observe the startup process. Monitor if the system recognizes the new SSD and if it boots up successfully. Pay attention to any error messages or unusual behavior that may indicate an issue with the connection.
- Check Device Manager: In the operating system, access the Device Manager and confirm that the new SSD is listed without any warnings or errors. If there are any issues indicated, update the drivers or consult the manufacturer’s support resources for troubleshooting assistance.
Verifying the proper connection of the new SSD ensures that it is functioning correctly and integrated seamlessly into your device. By completing these steps, you can address any connectivity issues and ensure optimal performance and reliability.
If everything is working as expected, congratulations! Your device is now equipped with the new SSD, and you can enjoy the improved performance and storage capabilities it provides. If you encounter any issues during this step, consult the manufacturer’s support resources or consider seeking professional assistance to resolve them.
In the next step, we will move on to reassembling your device and putting everything back together.
Step 7: Reassembling Your Device
Now that you have ensured the proper connection of the new SSD in your device, it’s time to reassemble everything and put your device back together. Follow these steps to reassemble your device:
- Refer to Documentation: Consult your device’s manual or any online resources you have to ensure you follow the correct reassembly steps. Different devices may have specific requirements or variations in the reassembly process.
- Replace Casing: If you removed the device’s casing earlier, carefully and properly reattach it. Align the screw holes or clips and secure the casing in place. Use the appropriate screws or clips, ensuring they are tightened without overtightening.
- Cable Management: Pay attention to cable management as you reassemble the device. Ensure cables are neatly arranged and properly routed to avoid any interference with components or obstructed airflow.
- Double-Check Connections: Verify that all cables are securely connected to their respective ports. Ensure that all screws, brackets, or clips holding components in place are tight.
- Cross-Check Your Steps: Go through the steps you followed during the disassembly process in reverse order. Double-check that you haven’t missed any crucial steps or components before finalizing the reassembly.
- Perform External Cleaning: Use a microfiber cloth to clean the external surfaces of your device. This step helps remove any fingerprints, dust, or debris that may have accumulated during the disassembly and reassembly process.
Take your time during the reassembly process to ensure every component is correctly reattached and secured. A properly reassembled device will function optimally and maintain the desired performance and reliability.
Once you complete the reassembly, take a moment to admire your work. Your device is now fully reassembled, and it’s time to move on to the final step – testing the new SSD to ensure everything is functioning as expected.
Step 8: Testing the New SSD
After successfully reassembling your device with the newly installed SSD, it’s essential to test the SSD to ensure proper functionality and performance. Follow these steps to test the new SSD:
- Power On: Power on your device and observe the startup process. Pay attention to any error messages, unusual sounds, or slow boot times that may indicate an issue with the new SSD.
- Check Device Recognition: Once your device has fully booted, check if the new SSD is recognized by the operating system. Access the storage settings or Device Manager to verify that the SSD is listed without any warnings or errors.
- Benchmark Performance: Run benchmark software to test the performance of the new SSD. This software measures read and write speeds, access times, and other performance metrics. Compare the results to the expected performance of the SSD to ensure that it is operating within normal parameters.
- Transfer Files: Transfer a selection of files or documents to and from the new SSD to ensure smooth data transfers and rapid access times. Monitor the speed and responsiveness of the SSD during these transfers.
- Launch Applications: Open various applications and programs that you frequently use. Observe if they load quickly and respond promptly, indicating improved performance from the new SSD.
- Test Boot Times: Restart your device and monitor the boot times. Compare the boot times to what you experienced before the SSD upgrade. Expect significantly faster startup times due to the improved speed of the new SSD.
Through testing, you can evaluate the performance and functionality of the new SSD, ensuring that it meets your expectations and performs as intended. If you encounter any issues during the testing phase, consult the manufacturer’s support resources or consider seeking professional assistance.
Congratulations! With the successful testing of the new SSD, you have completed the conversion process and can now enjoy the enhanced performance and reliability it brings to your device. Take pride in your accomplishment and reap the benefits of a faster and more efficient computing experience.
Conclusion
Congratulations on successfully converting your Mz-Rpa2560/0S0 Solid State Drive (SSD) to an SSD! By following the step-by-step guide outlined in this article, you have unlocked the benefits of improved performance, reliability, and speed in your device.
Throughout the conversion process, you learned about the advantages of SSDs over traditional hard drives, which include faster boot times, quicker data transfers, energy efficiency, durability, and increased storage capacity. By upgrading to an SSD, you have taken a significant step towards optimizing your computing experience.
You started by backing up your data to ensure that your important files and documents were safeguarded. Then, you prepared your work area, gathering the necessary tools and materials for the conversion process. You carefully removed the Mz-Rpa2560/0S0 SSD, ensuring no damage was done to the device or the components.
Next, you prepared the new SSD for installation and securely installed it in your device. You verified the proper connection, performed the necessary tests, and ensured that the SSD was functioning correctly and delivering the expected performance.
By reassembling your device and completing the testing phase, you finalized the conversion process. Now, you can enjoy the benefits of a faster, more reliable, and efficient computing experience with the new SSD.
Remember to consult your device’s documentation and online resources for any specific steps or requirements unique to your device. If you encounter any difficulties or have concerns during the conversion process, it’s always wise to seek professional assistance or consult the manufacturer’s support resources.
We hope this guide has provided you with clarity and confidence for converting your Mz-Rpa2560/0S0 SSD to an SSD. Enjoy the improved performance and reliability that your upgraded device now offers. Happy computing!