Introduction
Welcome to the world of solid-state drives, commonly known as SSDs. These compact and fast storage devices have revolutionized the way we store and access data. Whether you are a regular user or a tech enthusiast, it is essential to understand how to properly manage and maintain your SSD. One important aspect of SSD management is the ability to securely erase the data on your drive.
So, why would you want to erase a Samsung SSD? There are several reasons why you may need to wipe your SSD clean. Perhaps you are planning to sell or donate your SSD and want to ensure that your personal data is completely removed. Maybe you want to reinstall your operating system and start fresh, or you may be experiencing issues with your SSD and want to perform a clean slate reset. Whatever the reason, it is crucial to follow the correct steps to guarantee data integrity and prevent unauthorized access to your sensitive information.
Before we delve into the methods of erasing a Samsung SSD, it is important to take some precautions. First and foremost, it is paramount to back up your data. Erasing an SSD will permanently remove all data, so ensuring that you have a backup will prevent any loss of important files. Additionally, disconnect any external devices or storage drives from your computer to avoid accidentally erasing the wrong drive during the process.
Now that we have covered the importance of securely erasing your Samsung SSD and the necessary precautions, let’s explore three methods to accomplish this task. The first method involves using the Samsung Magician software, a dedicated tool provided by Samsung for managing their SSDs. The second method is performing a secure erase through the BIOS settings, and the third method is utilizing third-party software specifically designed for secure erasure.
What is an SSD?
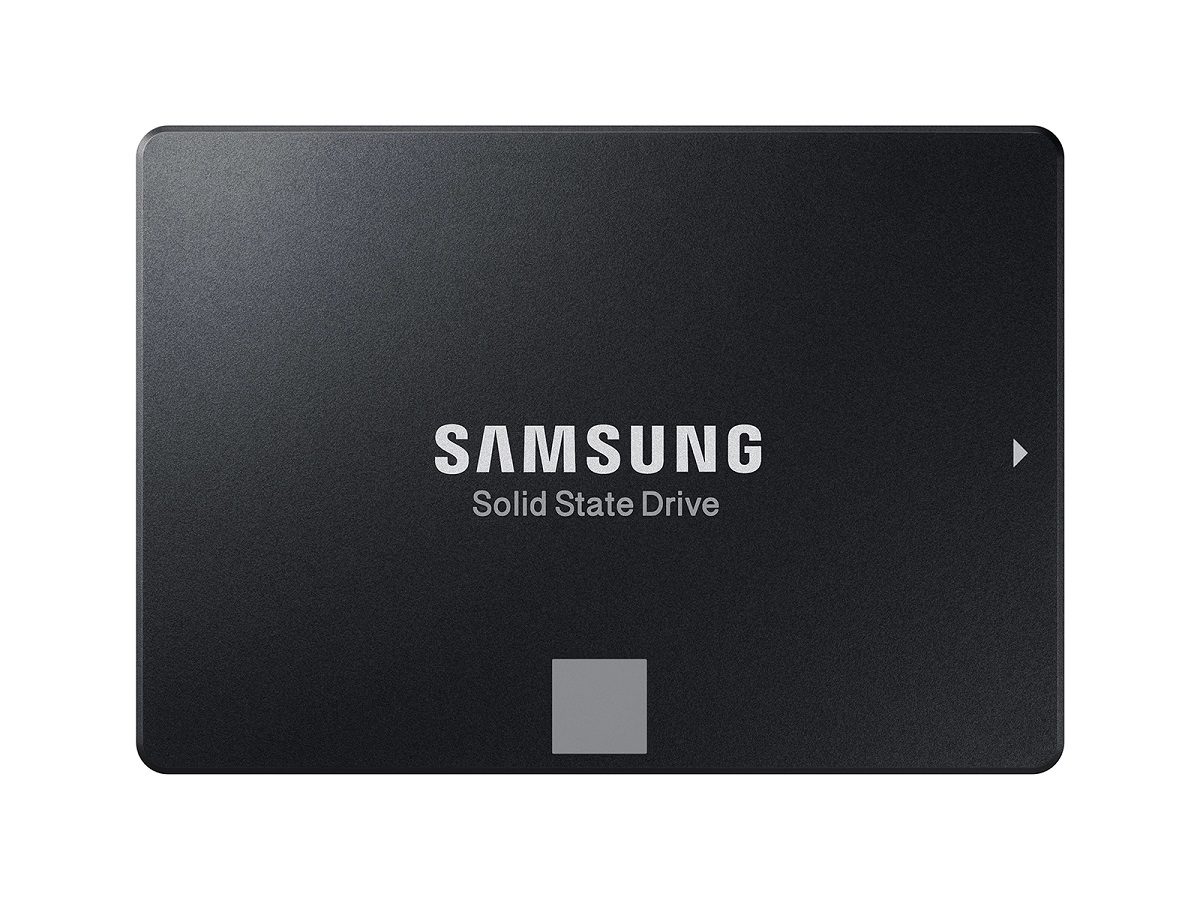
A solid-state drive (SSD) is a type of storage device that uses flash memory to store data. Unlike traditional hard disk drives (HDDs) that rely on spinning disks and mechanical read/write heads, SSDs have no moving parts, making them faster, more durable, and more energy-efficient.
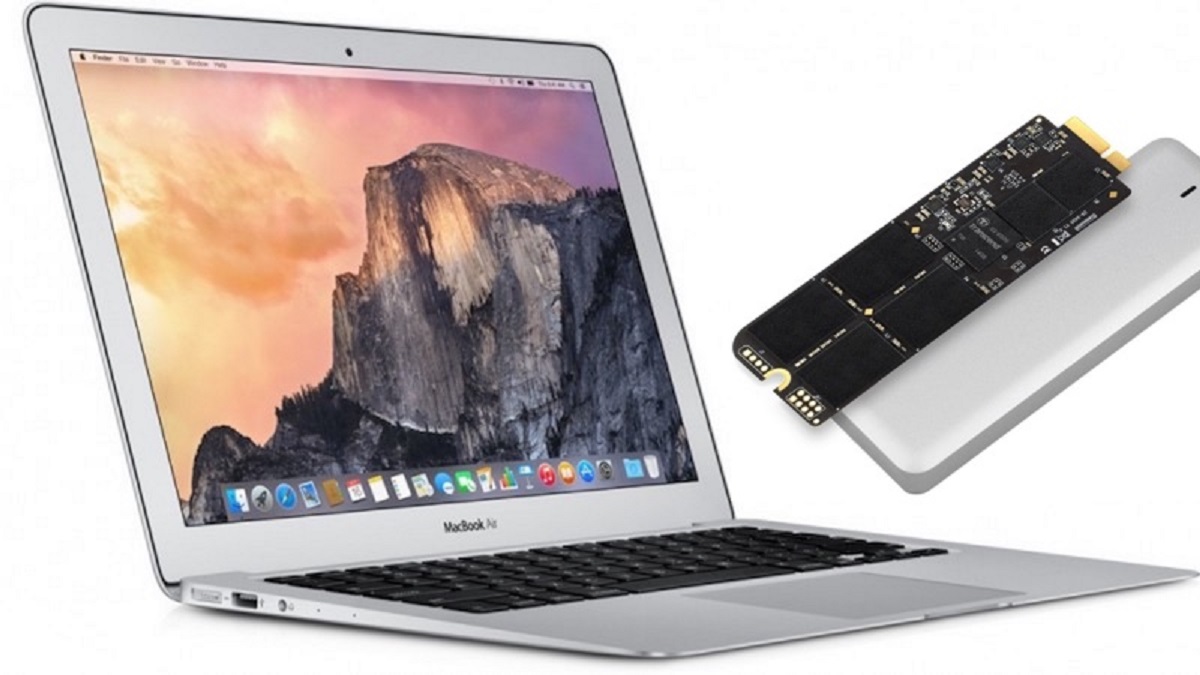
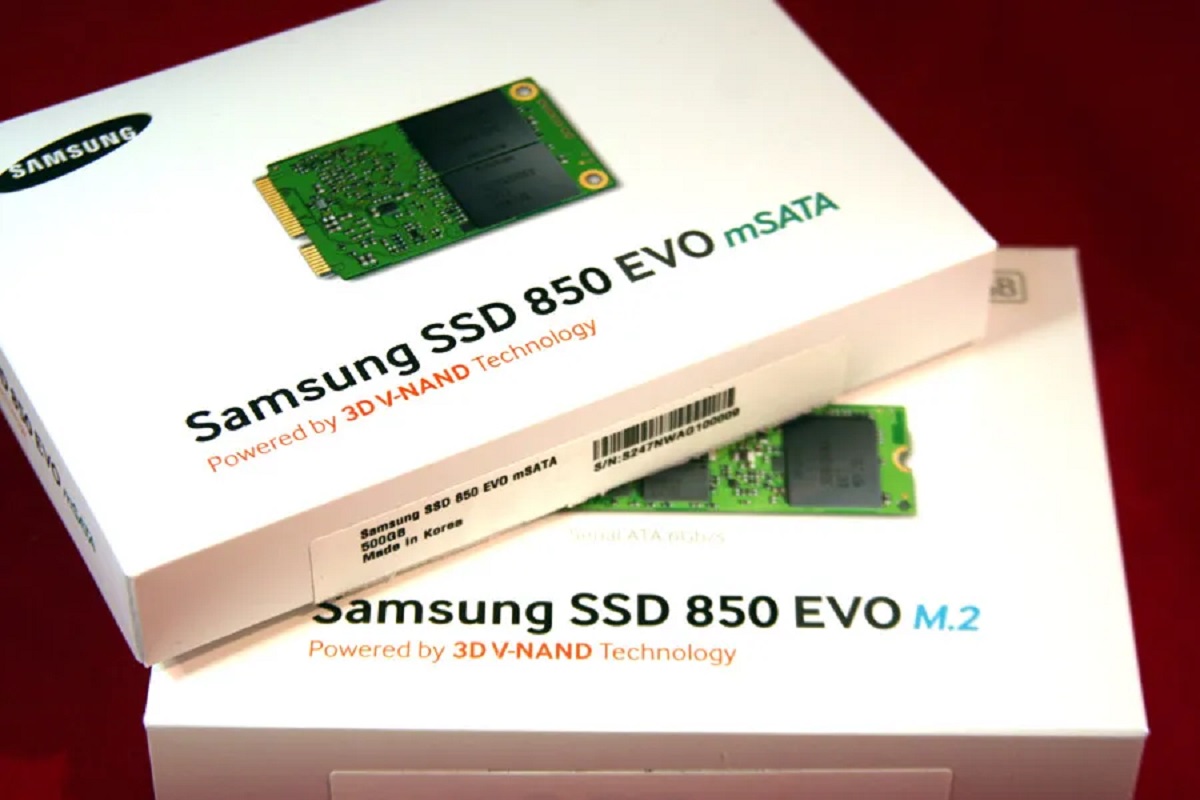
SSDs come in various form factors, including 2.5-inch drives for laptops and desktops, M.2 drives for ultra-thin devices, and PCIe cards for high-performance workstations and servers. Regardless of the form factor, SSDs provide significant advantages over HDDs.
One of the key benefits of SSDs is their speed. Since there are no mechanical components involved, data can be accessed and transferred at much higher speeds compared to HDDs. This results in quicker boot times, faster file transfers, and snappier overall system performance. Whether you are launching applications, loading games, or copying files, you will experience a noticeable improvement in speed with an SSD.
Another advantage of SSDs is their reliability and durability. Since there are no moving parts that can wear out or become damaged, SSDs are less prone to mechanical failures. This makes them ideal for portable devices like laptops, as they can withstand vibrations and shocks better than HDDs. Additionally, SSDs consume less power and generate less heat, which helps increase battery life and maintain cooler operating temperatures.
SSDs also offer improved data security. Many SSDs support hardware encryption, ensuring that your data is protected from unauthorized access. Additionally, when you decide to erase an SSD, the process is typically more secure than with HDDs, as the data can be overwritten more effectively due to the absence of physical read/write heads.
In summary, SSDs are a game-changer in the world of storage devices. They provide faster speeds, improved reliability, and enhanced data security compared to traditional HDDs. Whether you are a casual user or a power user, upgrading to an SSD is a worthwhile investment that will significantly enhance your computing experience.
Why would you want to erase a Samsung SSD?
There are several reasons why you may want to erase a Samsung SSD. Let’s explore some of the most common scenarios:
1. Selling or donating your SSD: If you plan to sell or donate your Samsung SSD, it is crucial to erase all the data on it to protect your privacy. Simply formatting the drive is not enough, as the data can still be recovered using specialized software. By securely erasing the SSD, you will ensure that all your personal files, sensitive information, and any traces of your usage are completely wiped clean.
2. Starting fresh: If you are experiencing performance issues with your Samsung SSD or want to reinstall your operating system, erasing the drive and performing a clean installation can help resolve these problems. By wiping the SSD and reinstalling the operating system, you can eliminate any potential software conflicts or corrupted files that may be affecting the performance of your drive.
3. Protecting sensitive data: If you have sensitive or confidential data on your Samsung SSD that you no longer need, securely erasing the drive ensures that this information cannot be accessed by unauthorized individuals. This is especially important if you are handling sensitive business data or personal financial information.
4. Removing malware or viruses: In rare cases, your Samsung SSD may become infected with malware or viruses that cannot be completely eliminated through traditional antivirus scans. Erasing the SSD and performing a fresh installation of the operating system can help remove any stubborn malware or viruses that may be hiding in the system.
5. Upgrading to a newer drive: If you are upgrading to a newer Samsung SSD or a different brand, you may want to securely erase your current SSD before transferring your data or repurposing it. This ensures that any confidential or personal information remains protected, even if the drive is reused or sold.
Overall, securely erasing a Samsung SSD is essential for maintaining data privacy, resolving performance issues, protecting sensitive information, and preparing the drive for reuse or disposal. Keep in mind that the process of erasing data from an SSD differs from that of a traditional HDD, so it’s crucial to follow the correct steps to ensure the data is properly wiped from the drive.
Precautions before erasing a Samsung SSD
Before you proceed with erasing a Samsung SSD, it is important to take some precautions to ensure a smooth and secure process. These precautions will help protect your data and prevent any accidental loss or damage to your SSD. Here are some key steps to follow:
1. Back up your data: Before erasing your Samsung SSD, it is crucial to back up all your important files and data. This ensures that you have a copy of your data in case anything goes wrong during the erasure process. You can back up your data by transferring it to an external storage device or using a cloud-based backup service.
2. Verify the integrity of your backup: It is not enough to simply create a backup; you also need to ensure that it is reliable and complete. Take the time to verify the integrity of your backup by checking that all files have been successfully copied and are accessible. This step will give you peace of mind knowing that your important data is securely stored.
3. Disconnect external devices: Before erasing your Samsung SSD, disconnect any external devices or storage drives that are connected to your computer. This step is important to avoid any accidental erasure of the wrong drive. By disconnecting external devices, you eliminate the risk of mistakenly erasing important data from another drive.
4. Disable encryption and secure boot: If your Samsung SSD is encrypted or you have secure boot enabled, it is recommended to disable these features before erasing the SSD. Disabling encryption ensures that the data on the drive is accessible during the erasure process. You can re-enable encryption or secure boot after the erasure is complete.
5. Update firmware and software: Before erasing your Samsung SSD, ensure that you have the latest firmware and software updates installed. Firmware updates can provide performance improvements and address any known issues, while software updates, such as the Samsung Magician software, can provide additional tools and features to aid in the secure erasure process.
By following these precautions, you can minimize the risk of data loss and ensure a successful and secure erasure of your Samsung SSD. Taking the time to back up your data and verify its integrity, disconnecting external devices, disabling encryption and secure boot, and updating firmware and software will give you the peace of mind to proceed with the erasure process confidently.
Method 1: Secure Erase using Samsung Magician software
If you have a Samsung SSD, one of the most convenient and reliable methods to securely erase the drive is by using the Samsung Magician software. This dedicated tool provided by Samsung offers a straightforward and user-friendly way to manage and maintain your Samsung SSD.
Before you begin, make sure you have downloaded and installed the latest version of Samsung Magician from the official Samsung website.
Here are the steps to securely erase your Samsung SSD using Samsung Magician:
Step 1: Launch Samsung Magician: Open the Samsung Magician software on your computer. The software should automatically detect and display your Samsung SSD.
Step 2: Switch to the “Toolbox” tab: Once you have opened Samsung Magician, navigate to the “Toolbox” tab located at the top of the interface. This tab contains various tools to manage your Samsung SSD.
Step 3: Select “Secure Erase”: In the “Toolbox” tab, you will find a list of tools. Locate and select the “Secure Erase” tool from the list. This tool is specifically designed to securely erase your Samsung SSD, ensuring that all data is completely wiped from the drive.
Step 4: Select the SSD to erase: Samsung Magician will display a list of your connected Samsung SSDs. Choose the SSD that you want to erase from the list by clicking on it.
Step 5: Confirm the erasure: Before proceeding with the secure erase, Samsung Magician will display a warning message stating that all data on the selected SSD will be permanently erased. Make sure you have backed up your data and are erasing the correct drive. Read the warning message carefully and click on “OK” to confirm the erasure process.
Step 6: Erasing the SSD: Samsung Magician will now begin the secure erase process. This process may take some time, depending on the size of your SSD and the amount of data stored on it. It is recommended to connect your computer to a power source and avoid interrupting the erasure process.
Step 7: Completion and verification: Once the secure erase is complete, Samsung Magician will display a confirmation message. It is advisable to double-check and verify that the SSD has been securely erased by attempting to access any previously stored data. If successful, your Samsung SSD is now clean and ready for its next use.
By following these steps in using Samsung Magician software, you can confidently and securely erase your Samsung SSD, ensuring that all data is permanently wiped from the drive. This method is convenient, reliable, and specifically designed for Samsung SSDs, making it an excellent choice for managing and maintaining your SSD.
Method 2: Secure Erase via the BIOS
If you do not have access to the Samsung Magician software or prefer an alternative method, you can securely erase your Samsung SSD through the BIOS settings of your computer. Note that this method may vary slightly depending on your computer’s BIOS interface, but the general process remains the same.
Here are the steps to securely erase your Samsung SSD via the BIOS:
Step 1: Restart your computer: Begin by restarting your computer and access the BIOS settings. The key to enter the BIOS varies depending on the manufacturer, but it is typically one of the following: F2, Del, Esc, or F12. Refer to your computer’s manual or the manufacturer’s website for specific instructions on how to access the BIOS on your machine.
Step 2: Navigate to the “Storage” or “Drives” section: Once in the BIOS settings, look for a section related to storage or drives. The exact name and location of this section may vary depending on your BIOS interface.
Step 3: Locate your Samsung SSD: In the storage or drives section, you should see a list of all the connected storage devices. Locate and select your Samsung SSD from the list. Be cautious not to accidentally select another drive to prevent data loss.
Step 4: Enable the secure erase feature: Depending on your computer’s BIOS, you may find an option to enable the secure erase feature for the selected drive. Enable this option to initiate the secure erase process.
Step 5: Confirm the erasure: The BIOS may prompt you for confirmation before proceeding with the secure erase. Read the warning message carefully and confirm that you have selected the correct drive. Once you are certain, proceed with the erasure process.
Step 6: Erasing the SSD: The BIOS will now begin the secure erase process on your Samsung SSD. This operation may take some time to complete, depending on the size of your SSD and the amount of data stored on it. Ensure that your computer remains connected to a power source and refrain from interrupting the erasure process.
Step 7: Completion and verification: Once the secure erase is finished, the BIOS interface may display a confirmation message. Afterward, exit the BIOS and restart your computer. You can then proceed to reinstall your operating system or use the SSD as desired.
By following these steps, you can securely erase your Samsung SSD through the BIOS settings of your computer. Although the specific steps may vary, the essential process remains the same. Remember to exercise caution and double-check your selections to prevent accidental data loss.
Method 3: Using a third-party software for secure erasure
If you prefer an alternative method or if you do not have access to Samsung Magician software or BIOS settings that support secure erasure, you can utilize third-party software specifically designed for secure erasure of SSDs. These software tools offer additional features and flexibility in securely erasing your Samsung SSD.
Here are the steps to securely erase your Samsung SSD using a third-party software:
Step 1: Research and choose a reliable software: Look for reputable third-party software specifically designed for secure erasure of SSDs. There are several options available, such as Parted Magic, DBAN (Darik’s Boot and Nuke), and more. Ensure the software you select supports secure erasing of SSDs and has positive reviews from trusted sources.
Step 2: Download and install the software: After choosing the software, visit the official website and download the latest version. Follow the installation instructions provided by the software to properly install it on your computer.
Step 3: Create a bootable USB or CD: Most third-party secure erasure software requires you to create a bootable USB or CD to run the software outside of the operating system. Follow the instructions provided by the software to create the bootable media. This may involve formatting the USB drive or burning the software onto a CD or DVD.
Step 4: Boot from the bootable media: Restart your computer and boot from the bootable media you created in the previous step. This may involve changing the boot order in the BIOS settings or selecting the boot device through a specific key during startup. Consult the software’s documentation or the instructions provided during the boot process for guidance.
Step 5: Select the Samsung SSD for erasure: Once you have successfully booted from the bootable media, you will be presented with the third-party software’s interface. Navigate to the section or option related to secure erasure. Select your Samsung SSD from the list of available drives in the software.
Step 6: Configure the erasure settings: Depending on the software, you may have options to configure the erasure method and level of security. Choose the desired settings based on your requirements, keeping in mind that higher security levels may take longer to complete.
Step 7: Start the erasure process: After configuring the settings, start the erasure process in the software. This may involve clicking a button or following a set of prompts to confirm your choices. Be patient, as the process may take a significant amount of time depending on the size of your SSD and the selected settings.
Step 8: Completion and verification: Once the erasure process is successfully completed, the software will provide confirmation. Restart your computer and verify that the Samsung SSD has been securely erased by attempting to access any previously stored data. If successful, your Samsung SSD is now clean and ready for its next use.
By utilizing third-party software dedicated to secure erasure of SSDs, you have an alternative method to securely erase your Samsung SSD when Samsung Magician software or BIOS settings are not available or preferred. Ensure you carefully follow the software’s instructions to prevent any potential data loss or errors during the erasure process.
Conclusion
Managing and maintaining your Samsung SSD is an important aspect of ensuring its longevity and optimal performance. Securely erasing your Samsung SSD when needed is crucial to protect your data privacy, resolve performance issues, and prepare the drive for reuse or disposal.
In this article, we explored three methods for securely erasing a Samsung SSD. The first method involves using the Samsung Magician software, which is a dedicated tool provided by Samsung for managing their SSDs. This method offers convenience and reliability, specifically tailored to Samsung SSDs.
The second method involves using the BIOS settings of your computer to perform a secure erase. This method is useful when access to Samsung Magician software is unavailable or undesirable. It provides an alternative way to securely erase your Samsung SSD, ensuring the complete wiping of data.
The third method involves utilizing third-party software designed for secure erasure of SSDs. These software tools offer additional features and flexibility, providing an alternative solution for erasing your Samsung SSD when other methods are not accessible or preferred.
Before proceeding with any of these methods, it is essential to take precautions such as backing up your data, disconnecting external devices, and ensuring you have the latest firmware and software updates. These precautions help protect your data and minimize the risk of accidental loss or damage to your SSD.
Whether you choose to use the Samsung Magician software, perform a secure erase via the BIOS settings, or utilize third-party software, the goal is to securely erase your Samsung SSD, ensuring that all data is completely wiped from the drive. By following the appropriate steps and exercising caution, you can confidently erase your Samsung SSD and maintain data privacy.
Remember to choose the method that suits your needs and preferences, and always double-check your selections to prevent accidental data loss. With proper care and management, your Samsung SSD will continue to serve you reliably and efficiently for years to come.


