Introduction
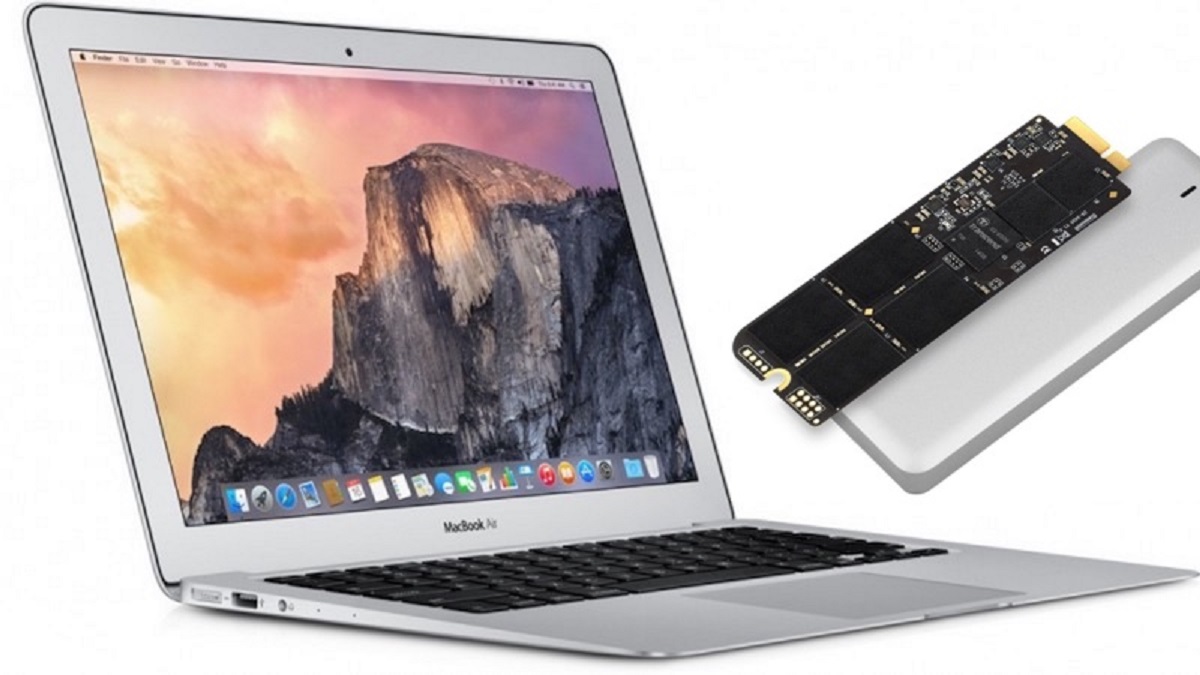
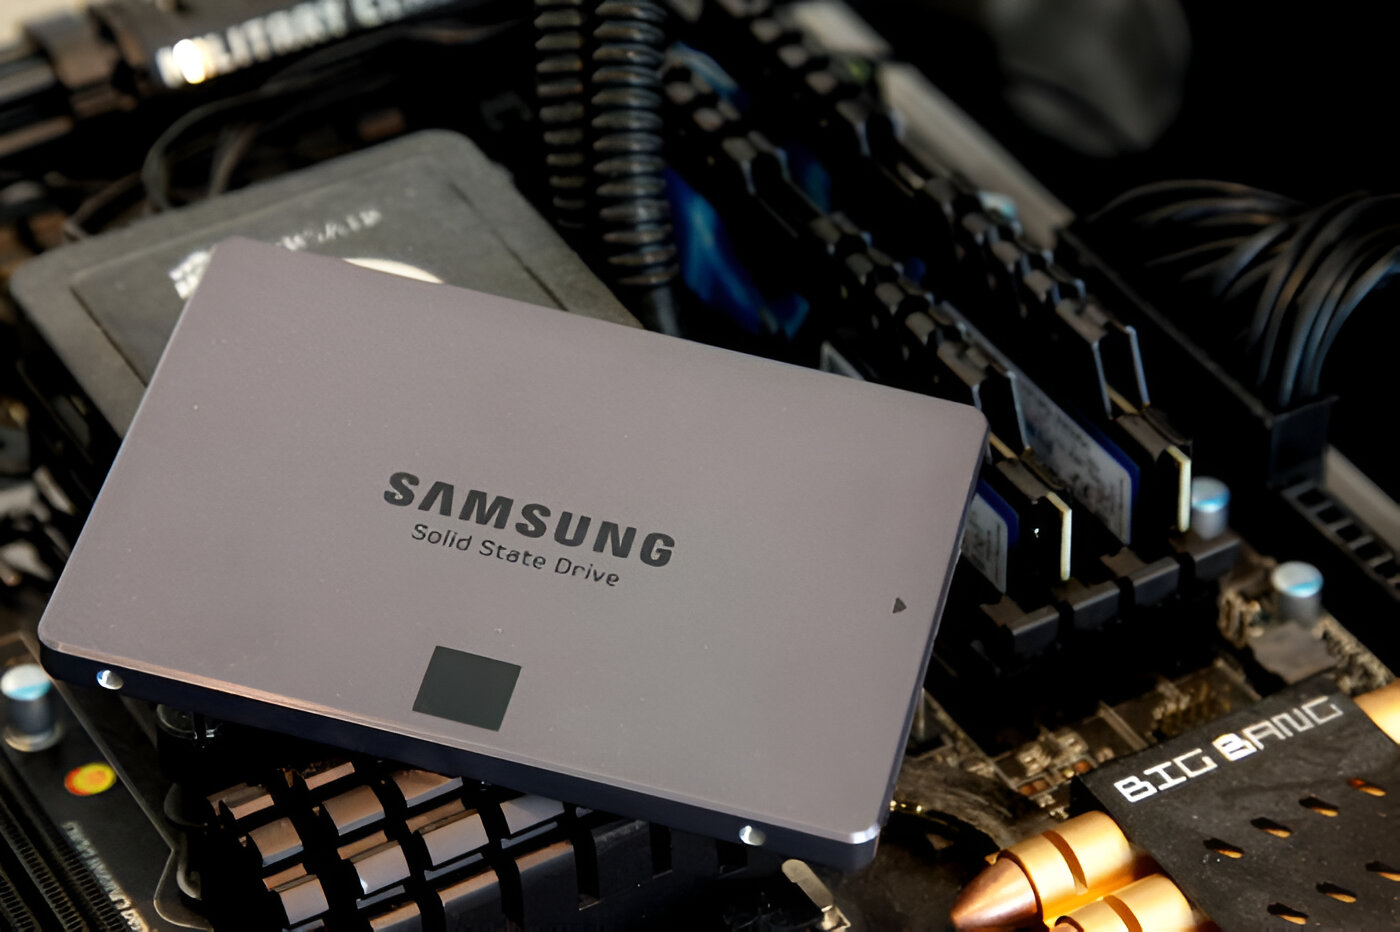
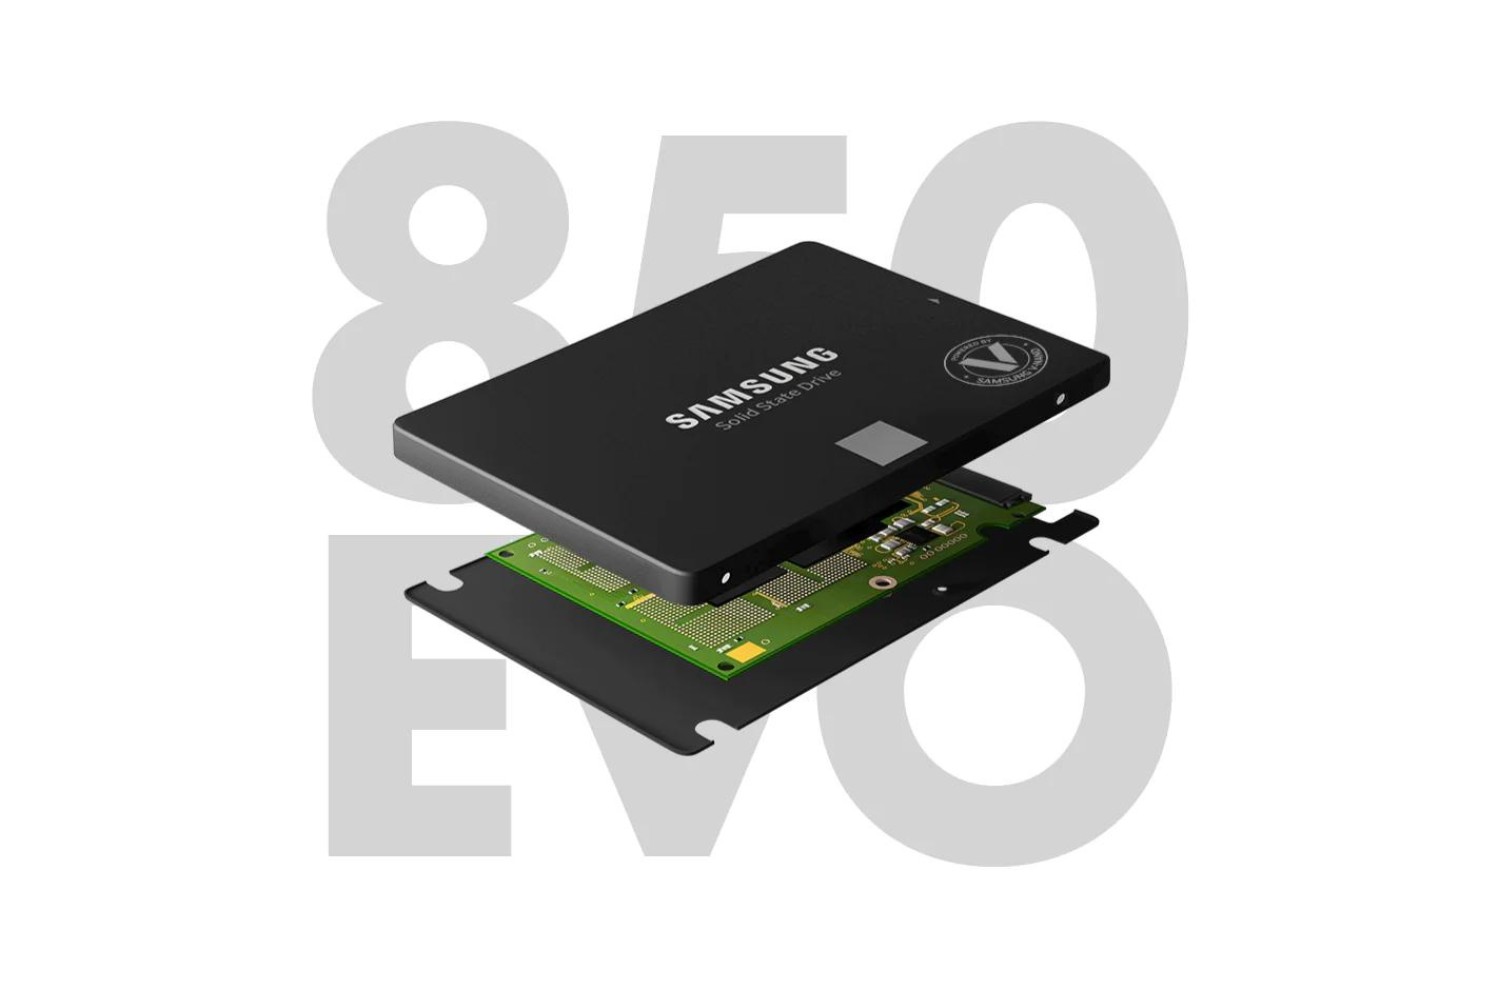
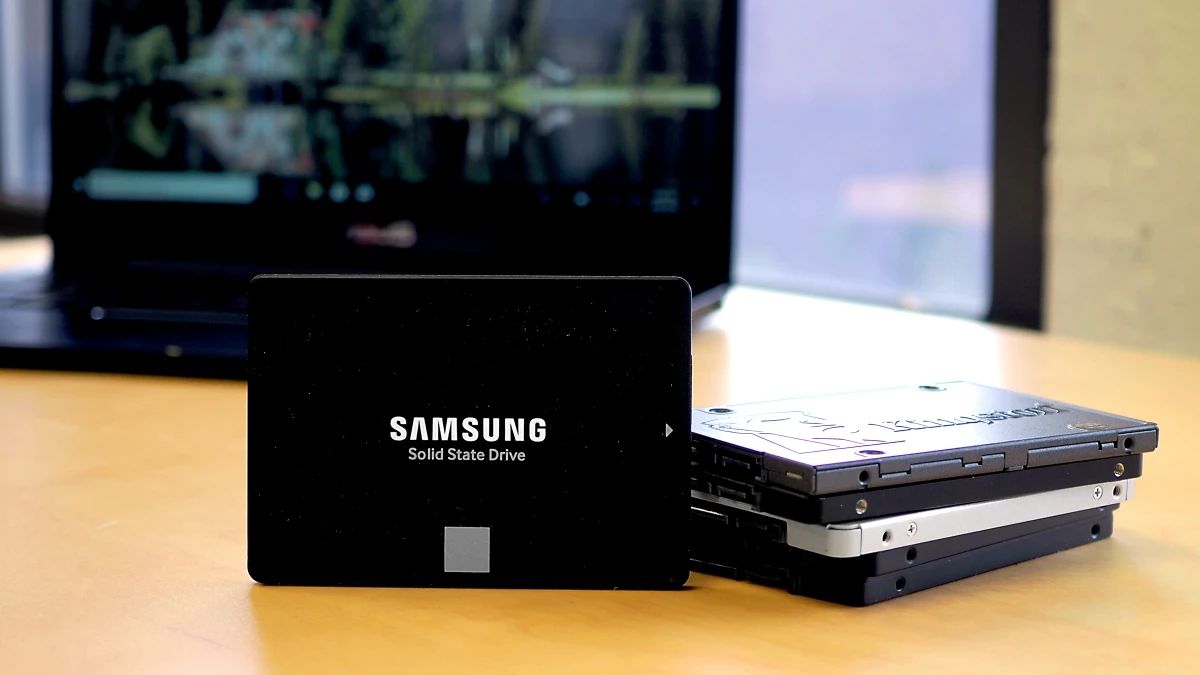
Welcome to this step-by-step guide on how to install memory and a Samsung Solid State Drive (SSD) on your Mac. Upgrading your Mac’s memory and replacing the old hard drive with an SSD can greatly enhance its performance, allowing for faster boot times, improved multitasking capabilities, and smoother data access.
If you’ve noticed that your Mac is becoming slow or you’re running out of storage space, it may be time to consider upgrading your memory and investing in an SSD. This guide will take you through the process, ensuring that you have all the necessary tools and providing clear instructions every step of the way.
By the end of this guide, you’ll be equipped with the knowledge of how to select the right memory and SSD for your Mac, how to install them properly, and how to transfer your files and applications to the new SSD. So, let’s get started on transforming your Mac into a faster and more efficient machine!
What You Need
Before you begin the installation process, it’s important to gather all the necessary tools and components. Here’s a list of what you’ll need:
- A set of screwdrivers (including a small Phillips-head screwdriver)
- Anti-static wrist strap (optional but recommended)
- Replacement memory modules compatible with your Mac model
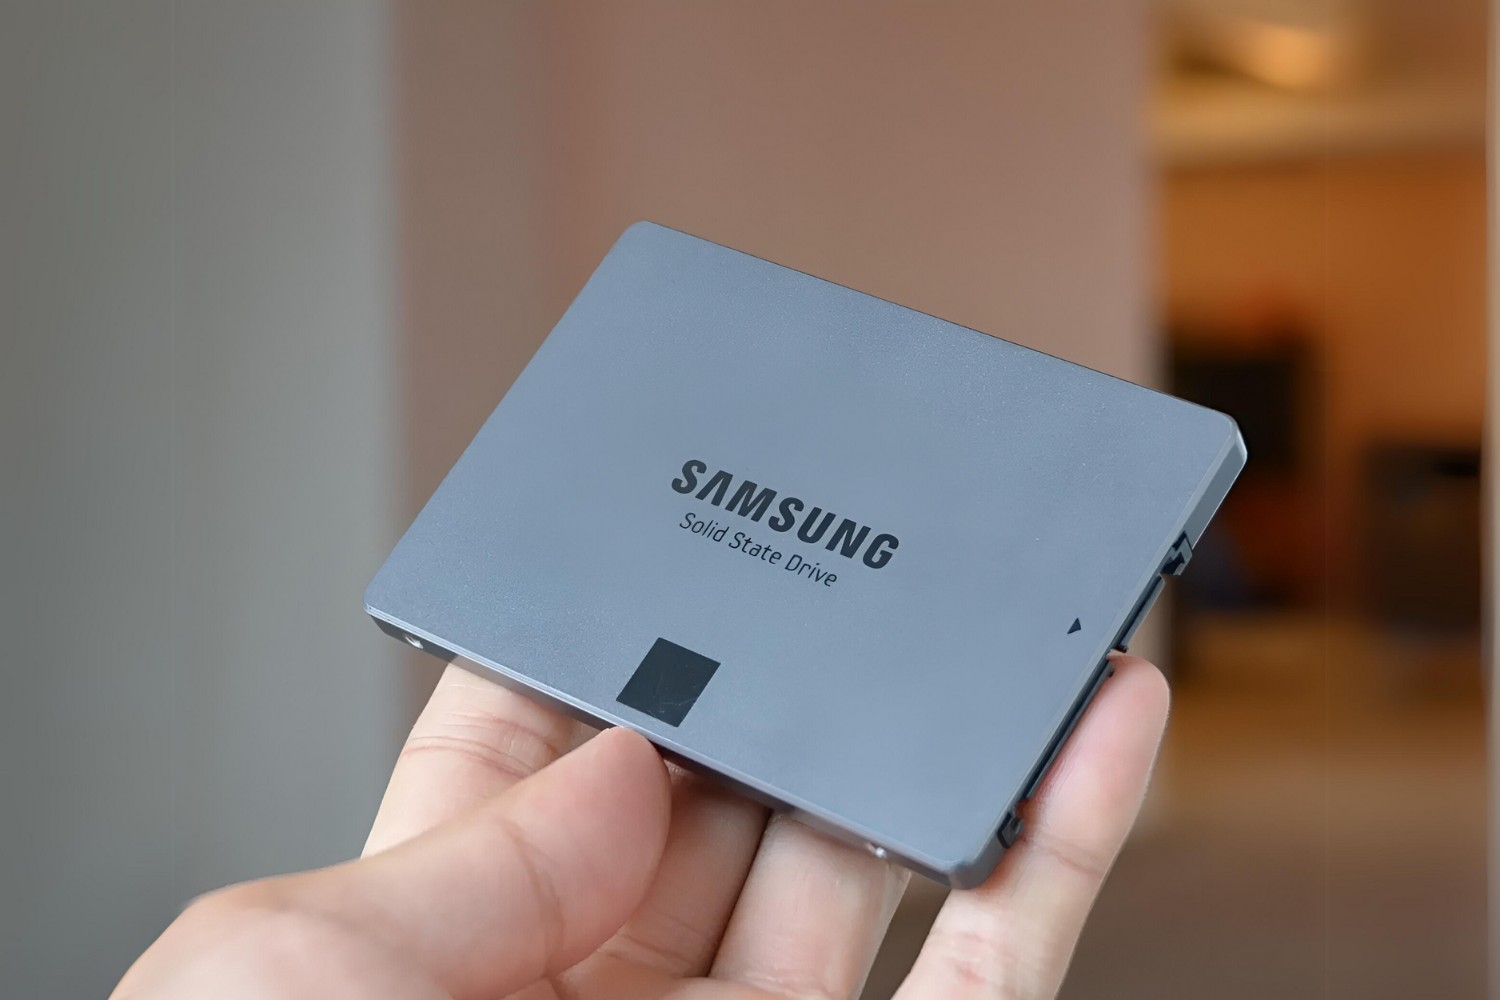
- A Samsung Solid State Drive (SSD) compatible with your Mac model
- An external hard drive or cloud storage for backing up your files
- Mac operating system installation media (such as a USB drive or download file)
It’s essential to ensure that the replacement memory modules and SSD are compatible with your specific Mac model. You can check the specifications on Apple’s website or consult with a professional if you’re unsure about compatibility.
Having an anti-static wrist strap is optional, but it’s highly recommended to minimize the risk of static electricity damaging sensitive components during the installation process. It’s a small investment that can provide peace of mind.
Lastly, before you begin the installation, it’s crucial to back up your important files and applications. This can be done by transferring them to an external hard drive or using cloud storage services. This step is necessary to prevent any data loss during the installation process.
Once you have gathered all the necessary tools and components, you’re ready to proceed with the memory and SSD installation process on your Mac. Let’s move on to the next steps!
Step 1: Gather Tools
Before you begin the installation process, it’s important to gather all the necessary tools. Here’s a list of the tools you’ll need:
- A set of screwdrivers, including a small Phillips-head screwdriver
- Anti-static wrist strap (optional, but recommended)
The first tool you’ll need is a set of screwdrivers, including a small Phillips-head screwdriver. These tools will be used to open your Mac and access the memory slots and hard drive bay. Make sure you have the appropriate screwdriver size to fit the screws on your Mac model.
While not strictly necessary, an anti-static wrist strap is highly recommended. Static electricity can cause damage to sensitive components in your Mac, so wearing an anti-static wrist strap helps to dissipate any static charge from your body and prevent accidental damage. If you don’t have an anti-static wrist strap, make sure to touch a grounded metal object before handling any internal components.
Once you have gathered these tools, you are ready to move on to the next step.
Step 2: Memory Installation
Now that you have the necessary tools, it’s time to install the memory modules in your Mac. Follow these steps:
- Shut down your Mac and unplug the power cable.
- Flip your Mac over and locate the bottom cover. Depending on your Mac model, the cover may have a release latch or be secured by screws.
- Remove the bottom cover carefully, either by unlatching it or unscrewing the screws.
- Locate the memory slots on your Mac’s logic board. The number and location of these slots vary depending on your Mac model.
- If there are any existing memory modules in the slots, gently press the metal levers to release them and remove them from the slots.
- Take your new memory modules and align them with the slots. The notches on the modules should match the notches inside the slots.
- Insert the memory modules into the slots at an angle and press down firmly until they click into place.
- Replace the bottom cover and secure it with the latch or screws.
- Plug in your Mac and power it on. It should detect the new memory modules and automatically adjust the settings.
After completing these steps, you have successfully installed the memory modules in your Mac. It’s recommended to check your Mac’s system information to ensure that the new memory is recognized and functioning correctly.
Now that we’ve installed the memory, we can move on to selecting a Samsung Solid State Drive for your Mac. Let’s proceed to the next step.
Step 3: Solid State Drive Selection
Choosing the right Samsung Solid State Drive (SSD) for your Mac is crucial to ensure compatibility and optimal performance. Here are some factors to consider when selecting an SSD:
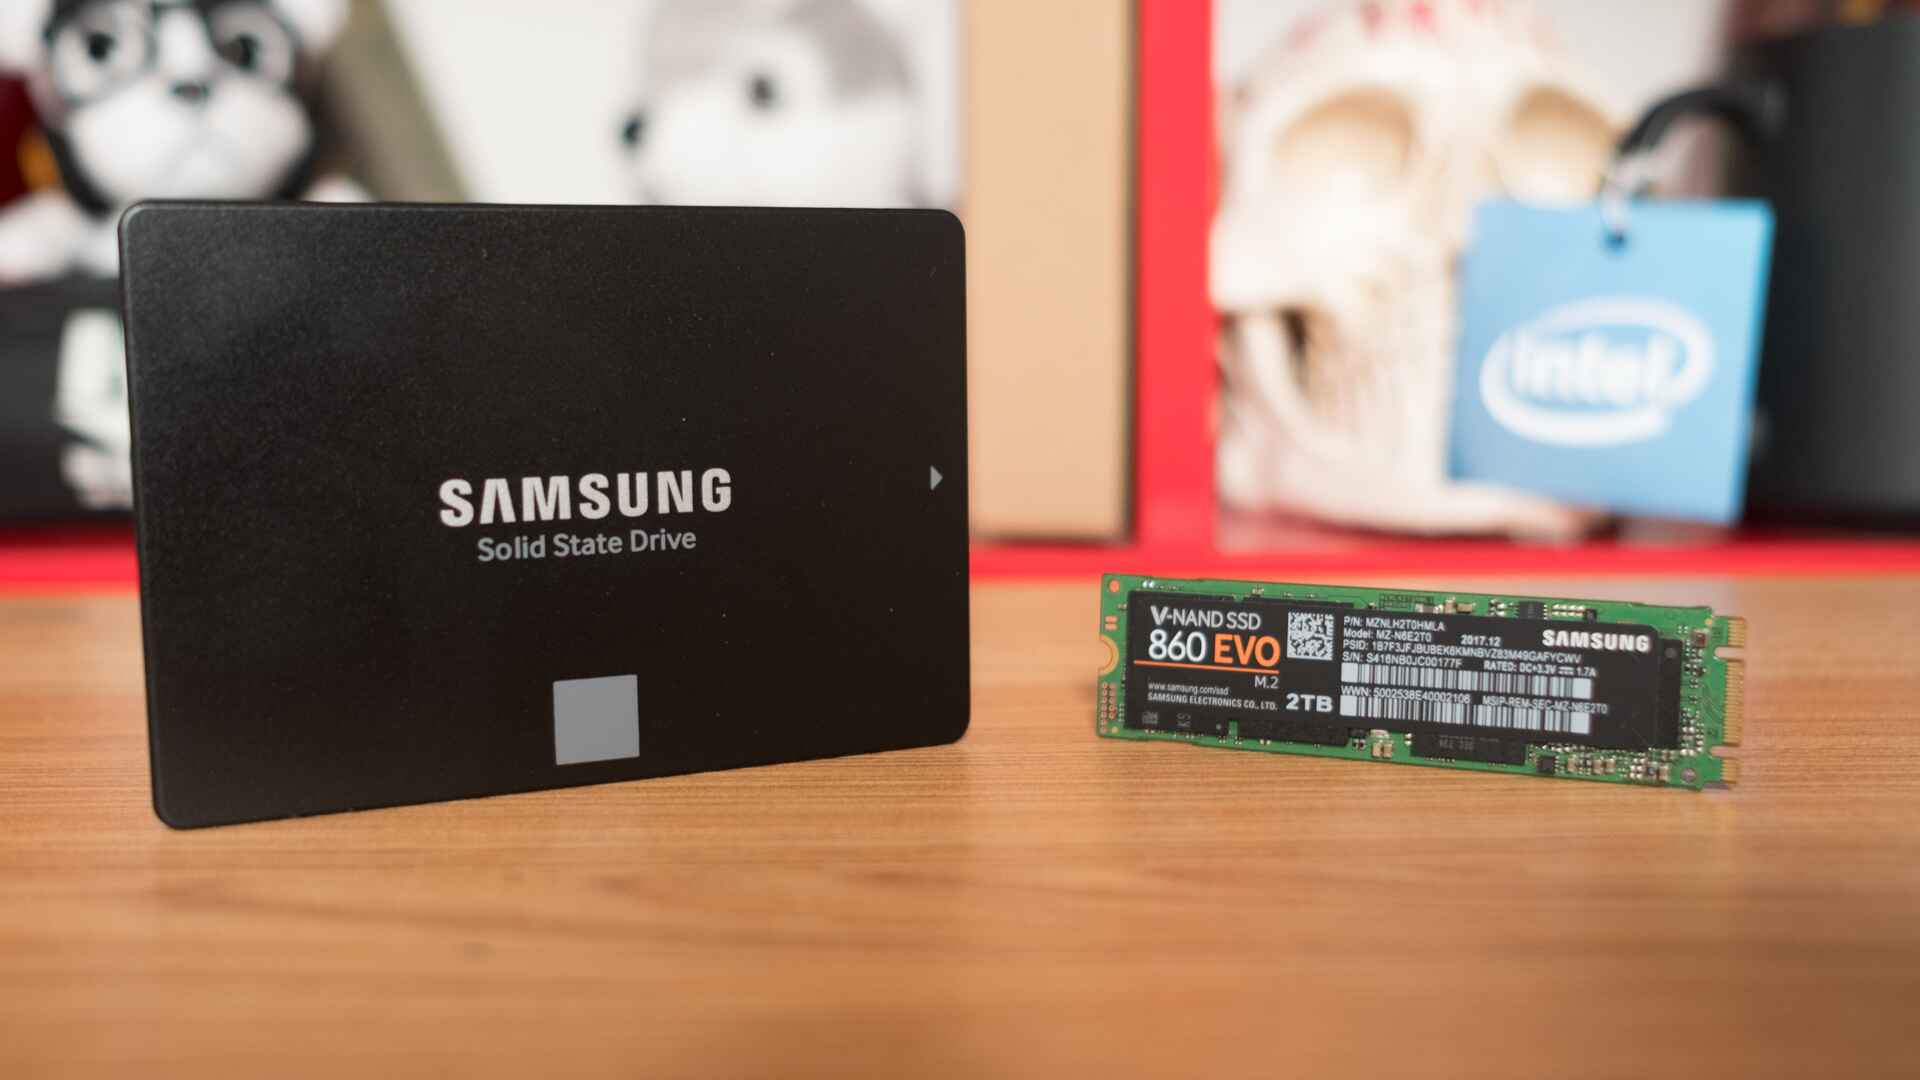
- Capacity: Determine the amount of storage space you require. SSDs are available in various capacities, so consider your storage needs for applications, files, and operating system.
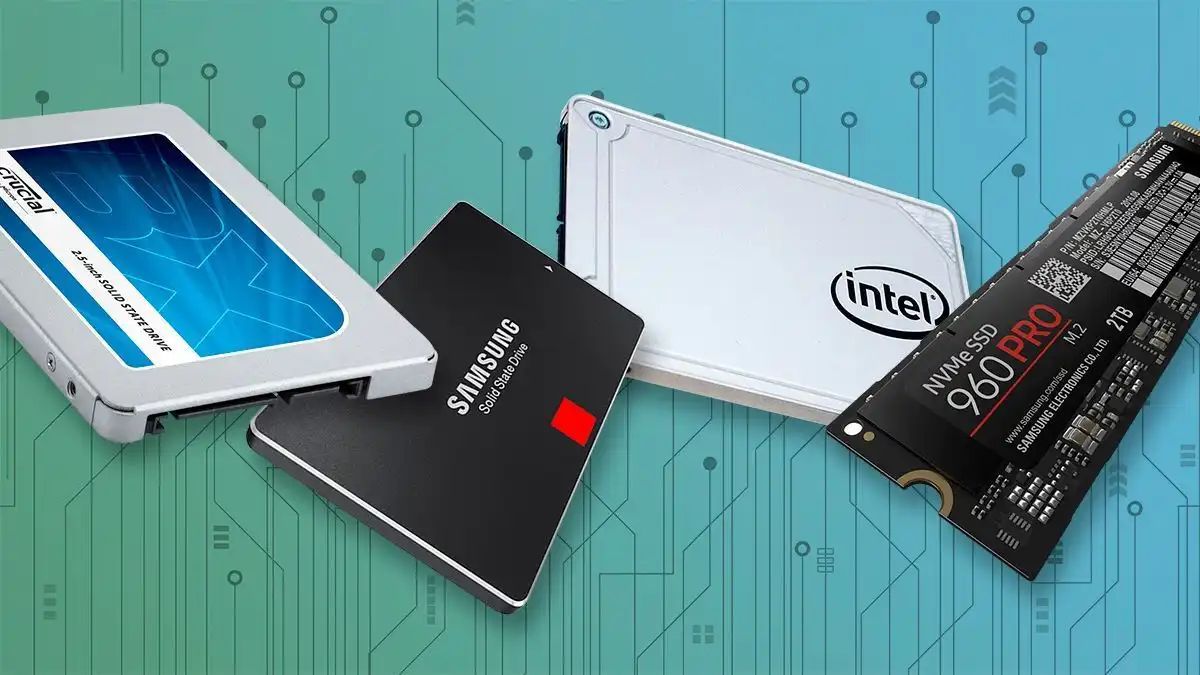
- Interface: Check the interface compatibility of the SSD with your Mac. Common interfaces include SATA, PCIe, and NVMe. Consult your Mac’s specifications to determine the appropriate interface.
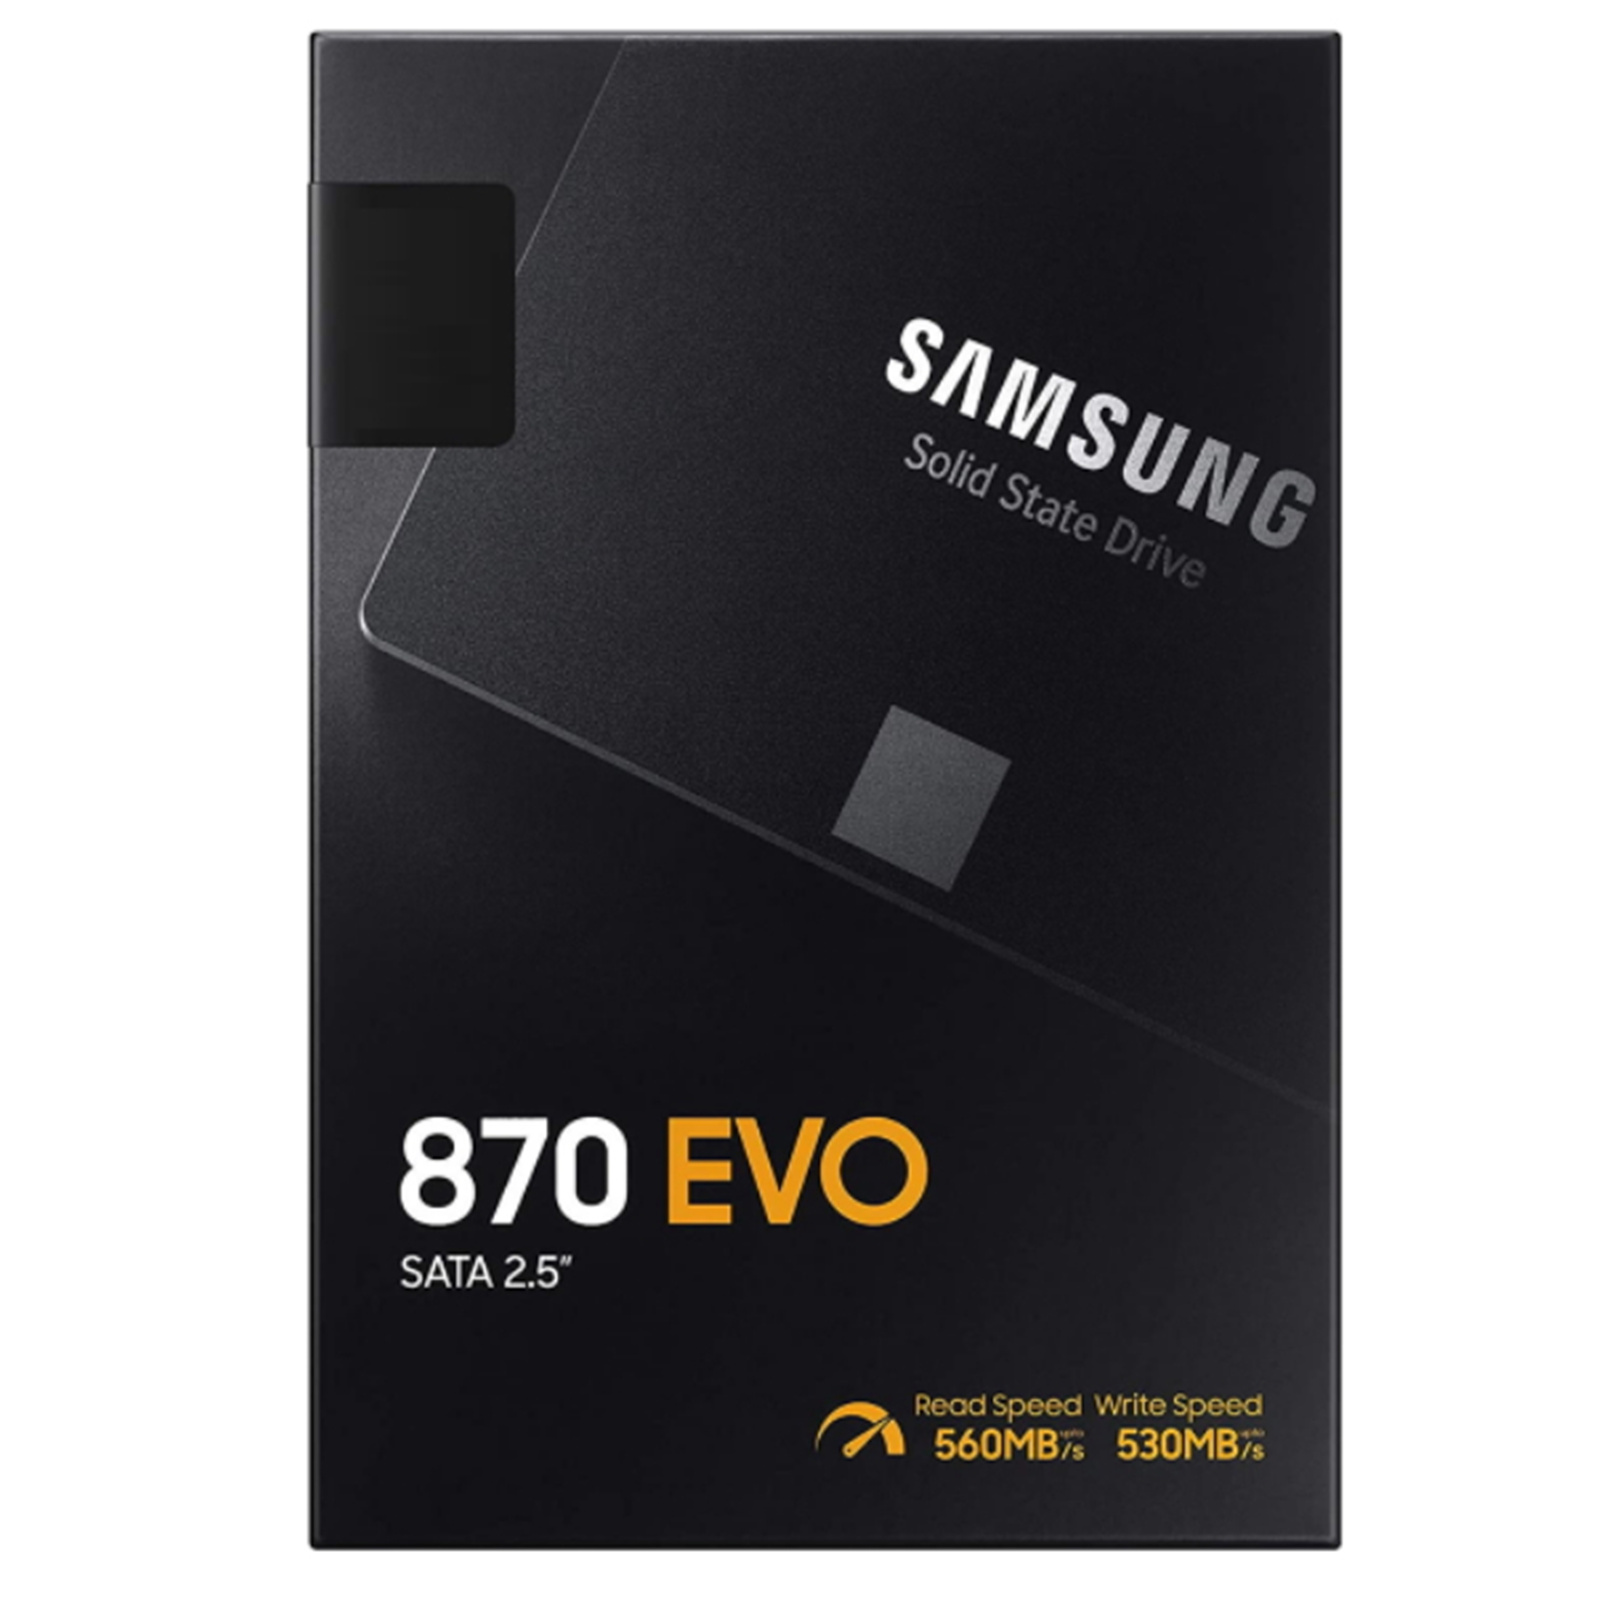
- Speed: Look for SSDs with fast read and write speeds to improve overall performance. Higher speed SSDs can significantly enhance boot times, file transfers, and application loading times.
- Endurance: Consider the durability and lifespan of the SSD. Look for SSDs with high endurance ratings, as this indicates a longer lifespan and better reliability.
- Brand: Samsung is known for manufacturing high-quality SSDs. They offer a range of SSDs designed for Mac systems, ensuring compatibility and top-notch performance.
Once you have considered these factors, research and compare different SSD models to find the one that best suits your needs and budget. Don’t forget to check for customer reviews and ratings to get a better understanding of the SSD’s performance and reliability.
When you have selected the perfect Samsung SSD for your Mac, you’re ready to move on to the next step: preparing the SSD for installation. Let’s proceed!
Step 4: Preparing the Solid State Drive
Before installing the Samsung Solid State Drive (SSD) in your Mac, you need to prep it for installation. Follow these steps:
- Ensure your Mac is turned off and disconnected from the power source.
- If your SSD is an external drive, connect it to your Mac using an appropriate cable.
- Open Disk Utility, which you can find in the Utilities folder within the Applications folder.
- In Disk Utility, select your SSD from the list of drives on the left-hand side.
- Click on the “Erase” tab and choose a file system format. It’s recommended to select “Mac OS Extended (Journaled)” as the format.
- Give your SSD a name, usually something descriptive like “Macintosh SSD”.
- Double-check your settings and click on the “Erase” button to format the SSD.
- Wait for the formatting process to complete. Once done, the SSD will be ready for installation.
Please note that formatting the SSD will erase any existing data on it. Ensure that you have backed up any important files before proceeding with the formatting.
Now that your Samsung SSD is formatted and prepared, it’s time to move on to the actual installation process. Let’s proceed to the next step: installing the SSD in your Mac.
Step 5: Solid State Drive Installation
Now that you have prepared the Samsung Solid State Drive (SSD), it’s time to install it in your Mac. Follow these steps to ensure a successful installation:
- Make sure your Mac is powered off and disconnected from the power source.
- Flip your Mac over and remove the bottom cover, following the same steps as in Step 2.
- Locate the hard drive bay, which may be secured with screws or a latch.
- Remove the existing hard drive by carefully unplugging the connections and unscrewing any screws securing it in place. Make a note of the cable positions and screw locations for reference during reassembly.
- Take your new Samsung SSD and carefully connect it to the appropriate cables, ensuring a secure connection.
- If necessary, use the screws previously removed from the old hard drive to secure the SSD in place.
- Replace the bottom cover and secure it with the latch or screws.
Once the SSD is securely installed in your Mac, you’re ready to move on to the next step: initializing the SSD.
It’s important to note that in some Mac models, particularly newer ones, the SSD may be soldered directly onto the motherboard, making it difficult or impossible to replace. Make sure to research your specific Mac model to determine if the SSD can be replaced.
Now that the SSD is installed, it’s time to set it up and initialize it. Let’s proceed to the next step!
Step 6: Initializing the Solid State Drive
After installing the Samsung Solid State Drive (SSD) in your Mac, you need to initialize it to prepare it for use. Follow these steps to initialize the SSD:
- Power on your Mac and immediately hold down the Command + R keys until the Apple logo appears.
- This will boot your Mac into Recovery Mode.
- In the macOS Utilities window, select “Disk Utility” and click “Continue”.
- In Disk Utility, you should see your newly installed SSD listed on the left-hand side.
- Select the SSD and click on the “Erase” tab.
- Choose a name for your SSD and select the appropriate format (usually “APFS” for modern Macs).
- Click on the “Erase” button to initialize the SSD.
- Wait for the process to complete, and then close Disk Utility.
- In the macOS Utilities window, select “Reinstall macOS” and follow the on-screen instructions to reinstall macOS on your newly initialized SSD.
Initializing the SSD prepares it for use by formatting it with the appropriate file system and installing the operating system. It’s important to note that this process will erase any existing data on the SSD, so make sure you have backed up your important files before proceeding.
Once the installation of macOS is complete, your Mac will boot up using the new SSD. Congratulations! You have successfully initialized your Samsung SSD and installed macOS.
Now, it’s time to move on to the final step: restoring your files and applications to the new SSD. Let’s proceed!
Step 7: Restoring Files and Applications
Now that you have successfully installed the Samsung Solid State Drive (SSD) and initialized it, it’s time to restore your files and applications. Follow these steps to ensure a smooth restoration process:
- Connect your external hard drive or access your cloud storage where you have backed up your files and applications.
- Copy the files and applications you want to restore from the backup to your Mac’s new SSD. You can do this by dragging and dropping them from the backup location to the appropriate folders on the SSD.
- If you were using Time Machine for backup, you can restore your files and applications by following the on-screen instructions when prompted.
- If you have any applications that were not included in your backup, ensure you have the installation files and license keys readily available. You will need to reinstall these applications manually.
- Once you have restored your files and applications, take some time to organize them and ensure everything is in its proper place on the SSD.
After restoring your files and applications, it’s a good idea to test them to make sure everything is functioning correctly. Open your applications and access your files to ensure they are working as expected.
Keep in mind that the restoration process may take some time depending on the size of your backup and the number of applications you’re reinstalling. Be patient and take breaks if needed.
Congratulations! You have successfully completed the entire process of upgrading your Mac with a Samsung SSD, installing the necessary components, initializing the SSD, and restoring your files and applications.
Enjoy the improved performance and faster access to your data that comes with the SSD upgrade. Your Mac should now run much more smoothly and efficiently, allowing you to work and play without any lag or delays.
If you have any questions or encounter any issues during the process, don’t hesitate to consult with a professional or seek support from the Samsung or Apple customer service teams.
Now it’s time to make the most out of your newly upgraded Mac! Good luck and happy computing!
Conclusion
Congratulations on successfully upgrading your Mac with a Samsung Solid State Drive (SSD) and installing additional memory! By following the step-by-step guide in this article, you have transformed your Mac into a faster and more efficient machine.
Upgrading your Mac’s memory and replacing the old hard drive with an SSD can have a significant impact on its performance. You can now enjoy faster boot times, improved multitasking capabilities, and smoother data access.
In Step 1, we emphasized the importance of gathering the necessary tools and components. This ensured that you were well-prepared before starting the installation process.
Step 2 guided you through the process of installing the memory modules in your Mac. By carefully following the instructions, you were able to enhance your Mac’s memory capacity and improve its performance.
Step 3 helped you in selecting the perfect Samsung SSD for your Mac by considering factors such as capacity, interface, speed, endurance, and brand reputation.
In Step 4, you learned how to prepare the SSD for installation by formatting it correctly using Disk Utility.
Step 5 covered the actual installation of the SSD in your Mac, ensuring that it was securely connected and properly secured in the hard drive bay.
In Step 6, you initialized the SSD by formatting it and reinstalling the macOS operating system on it, enabling it to function as the primary storage device for your Mac.
Finally, in Step 7, you restored your files and applications to the new SSD, bringing everything back to its rightful place and ensuring a seamless transition from the old hard drive.
Now, armed with your upgraded Mac, you can enjoy the benefits of improved performance, faster boot times, and smoother workflow. Take full advantage of your upgraded Mac and explore its capabilities to the fullest.
Remember, if you have any questions or encounter any issues during the process, do not hesitate to seek professional assistance or contact the customer support teams of Samsung or Apple.
Thank you for following this guide, and we hope you enjoy your enhanced Mac experience!


