Introduction
Welcome to our step-by-step guide on how to install a WD Blue M.2 500GB Internal SSD Solid State Drive – SATA 6GB/s. Upgrading your computer’s storage with a solid state drive can dramatically improve its performance and speed, and the WD Blue M.2 SSD is a fantastic choice to consider. Whether you’re a computer enthusiast or a DIYer looking to enhance your system, this guide will walk you through the installation process.
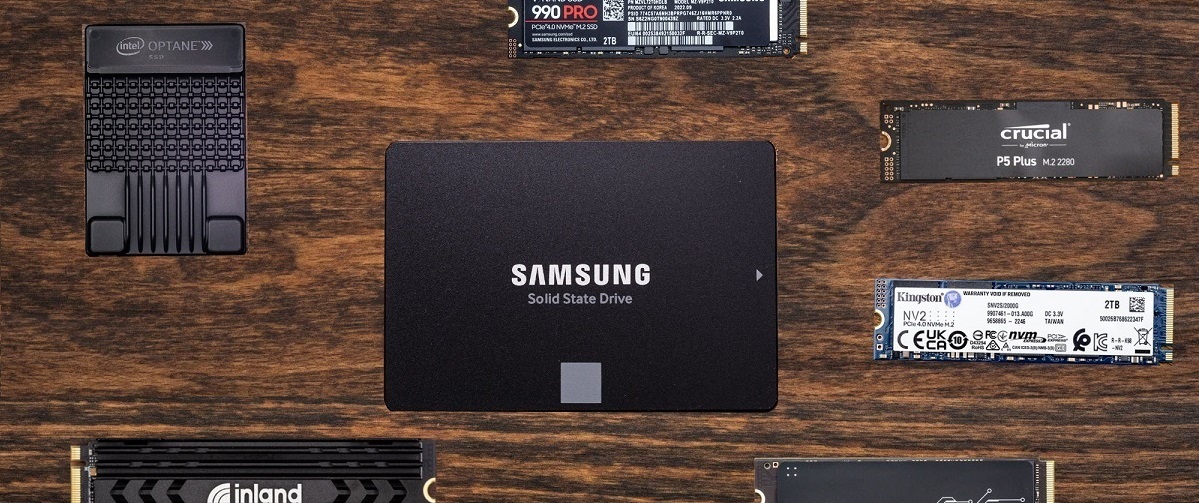
The WD Blue M.2 500GB SSD offers ample storage capacity and delivers impressive read and write speeds, making it an ideal choice for storing and running various applications, games, and multimedia files. Its compact M.2 form factor allows for easy installation, especially on motherboards that support M.2 slots.
In this guide, we’ll provide you with detailed instructions on how to install the WD Blue M.2 SSD into your computer. We’ll cover everything from gathering the necessary tools and preparing your computer to securing the SSD in place and connecting it to power and data. By following these steps carefully, you can ensure a successful installation and start enjoying the benefits of improved storage performance.
Before we begin, it’s important to note that while the installation process may vary slightly depending on your specific computer and motherboard, the overall steps remain similar. It’s always recommended to refer to your motherboard and SSD user manuals for any specific instructions or guidelines provided by the manufacturers.
Now, let’s dive into the step-by-step process of installing the WD Blue M.2 500GB Internal SSD Solid State Drive!
Step 1: Gather the Necessary Tools and Materials
Before you begin the installation process, it’s important to gather all the tools and materials you’ll need. This ensures a smooth and efficient installation without any interruptions. Here’s a list of what you’ll need:
- WD Blue M.2 500GB Internal SSD: This is the main component of the installation. Ensure you have the specific model mentioned to avoid compatibility issues.
- Screwdriver: Depending on your computer’s case, you may need a Phillips or a flat-head screwdriver to remove and secure screws.
- Your computer’s user manual: This will provide you with specific instructions on how to open your computer’s case and locate the M.2 slot.
- Anti-static wrist strap: This will help to prevent any static discharge that could potentially damage the SSD or other components.
- Cable ties or zip ties: These will help with cable management once the installation is complete.
- Optional: Cleaning cloth: A microfiber cloth or an electronics cleaning cloth can be handy in case you need to wipe down any surfaces.
Make sure you have all the necessary tools and materials ready before proceeding to the next steps. Having everything organized will help streamline the installation process and reduce the chances of misplacing or losing any components.
Once you have gathered all the necessary tools and materials, you are ready to move on to the next step: preparing your computer for the WD Blue M.2 SSD installation.
Step 2: Prepare Your Computer
Now that you have all the necessary tools and materials, it’s time to prepare your computer for the installation of the WD Blue M.2 SSD. Follow these steps to ensure a smooth and hassle-free preparation process:
- Shut down your computer: Save any open files and applications and shut down your computer properly. Unplug the power cable and any other peripherals connected to your computer, such as monitors or USB devices.
- Ground yourself: Before opening your computer’s case, it’s crucial to ground yourself to prevent any static electricity discharge that could damage sensitive components. Wear an anti-static wrist strap and connect it to a grounded object, such as the metal frame of your computer case.
- Locate and remove the computer case: Refer to your computer’s user manual to identify the screws or latches that hold the case panels in place. Use the appropriate screwdriver to remove the screws or release the latches, and gently remove the side panel to access the internal components.
- Identify the M.2 slot: Consult your motherboard’s user manual to locate the M.2 slot. It is typically situated near the PCIe slots or RAM slots. Take note of its position for the next step.
- Inspect the M.2 slot key: The M.2 slot has a keying mechanism that ensures proper alignment and prevents the insertion of incompatible M.2 SSDs. Note the type of key required by your WD Blue M.2 SSD – it can be B, M, or B+M, and make sure the key on the SSD matches the key in the slot.
By following these steps, you will have successfully prepared your computer for the installation of the WD Blue M.2 SSD. Next, we will cover how to locate the M.2 slot on your motherboard in the following step.
Step 3: Locate the M.2 Slot on Your Motherboard
Once your computer is prepared, the next step is to locate the M.2 slot on your motherboard. The M.2 slot is where you will insert the WD Blue M.2 SSD. Follow these steps to find the M.2 slot:
- Refer to your motherboard manual: The motherboard manual provides detailed information about the layout and components of your specific motherboard. Look for the section that mentions M.2 slots or storage options.
- Identify the M.2 slot: Locate the M.2 slot on your motherboard. It is typically labeled with “M.2” or “M” and positioned near the PCIe slots or RAM slots. The slot may have a cover or heatsink, which you may need to remove for installation.
- Confirm the slot type: Take note of the slot type supported by your motherboard. It can be SATA or PCIe. This information is crucial as it determines the compatibility of the WD Blue M.2 SSD with your motherboard.
- Inspect the keying mechanism: Pay attention to the keying mechanism of the M.2 slot. It ensures proper alignment and prevents the insertion of incompatible SSDs. The WD Blue M.2 SSD should have the appropriate key type – B, M, or B+M – that matches the key in the slot.
It’s important to carefully locate and identify the M.2 slot on your motherboard to ensure a successful installation. Once you have found the M.2 slot, you are ready to prepare the WD Blue M.2 SSD for installation. We will cover this in the next step.
Step 4: Prepare the WD Blue M.2 SSD
Before inserting the WD Blue M.2 SSD into the slot, it’s important to prepare the SSD for installation. This step involves removing any protective coverings and ensuring the SSD is ready for installation. Follow these steps to properly prepare the WD Blue M.2 SSD:
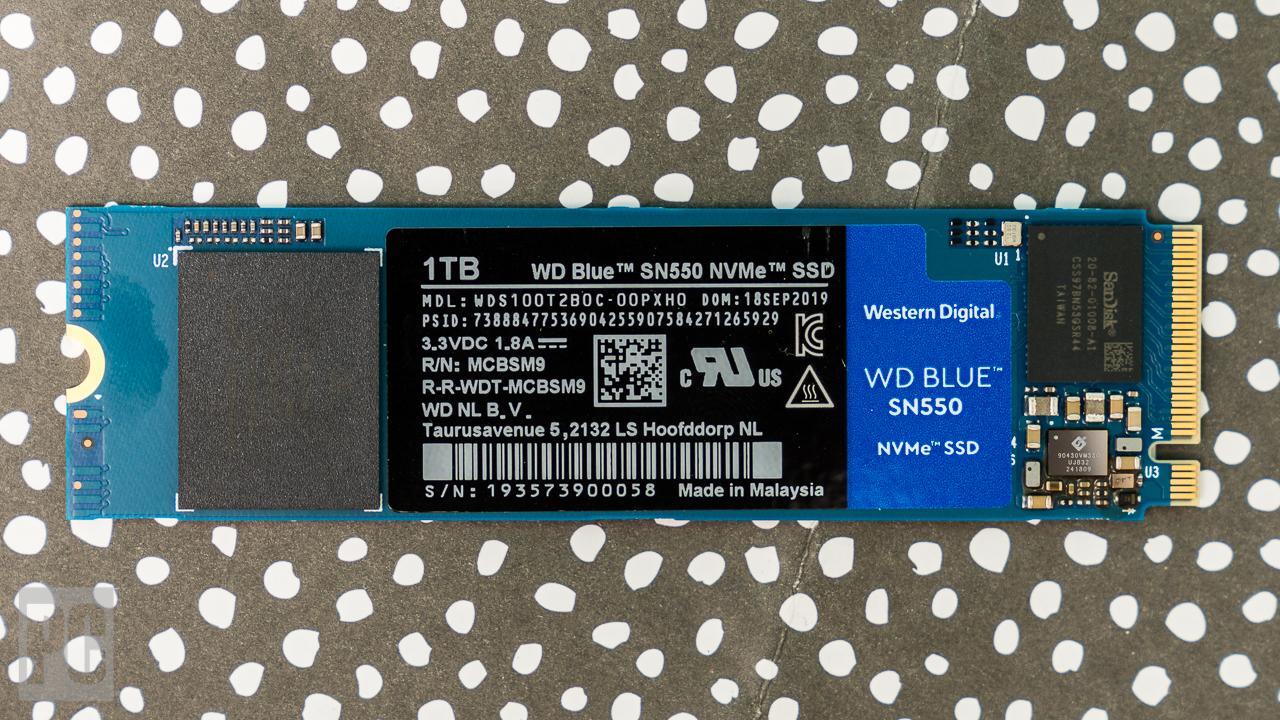
- Inspect the SSD: Take a close look at the WD Blue M.2 SSD and check for any physical damage or defects. Ensure that the gold connectors on the SSD are clean and free from dirt or debris.
- Remove any protective coverings: Some SSDs come with protective coverings to prevent scratches or damage. If your WD Blue M.2 SSD has any protective covers, gently peel them off to expose the gold connectors and the PCB (Printed Circuit Board).
- Avoid touching the gold connectors: The gold connectors on the SSD are delicate and can be easily damaged by static electricity or oils from your fingers. Handle the SSD by holding its edges and avoid touching the connectors.
- Check for heating elements or heatsinks: Some M.2 SSDs, including the WD Blue, may come with a built-in heatsink or have compatibility with optional heatsinks. If your SSD has a heatsink, ensure it is properly attached and aligned. If you are using an optional heatsink, make sure it is compatible with the WD Blue M.2 SSD.
By properly preparing the WD Blue M.2 SSD, you ensure that it is clean, free from any protective coverings, and ready for installation. In the next step, we will guide you through inserting the WD Blue M.2 SSD into the M.2 slot on your motherboard.
Step 5: Insert the WD Blue M.2 SSD into the Slot
With the WD Blue M.2 SSD prepared, it’s time to insert it into the M.2 slot on your motherboard. Follow these steps to correctly insert the SSD:
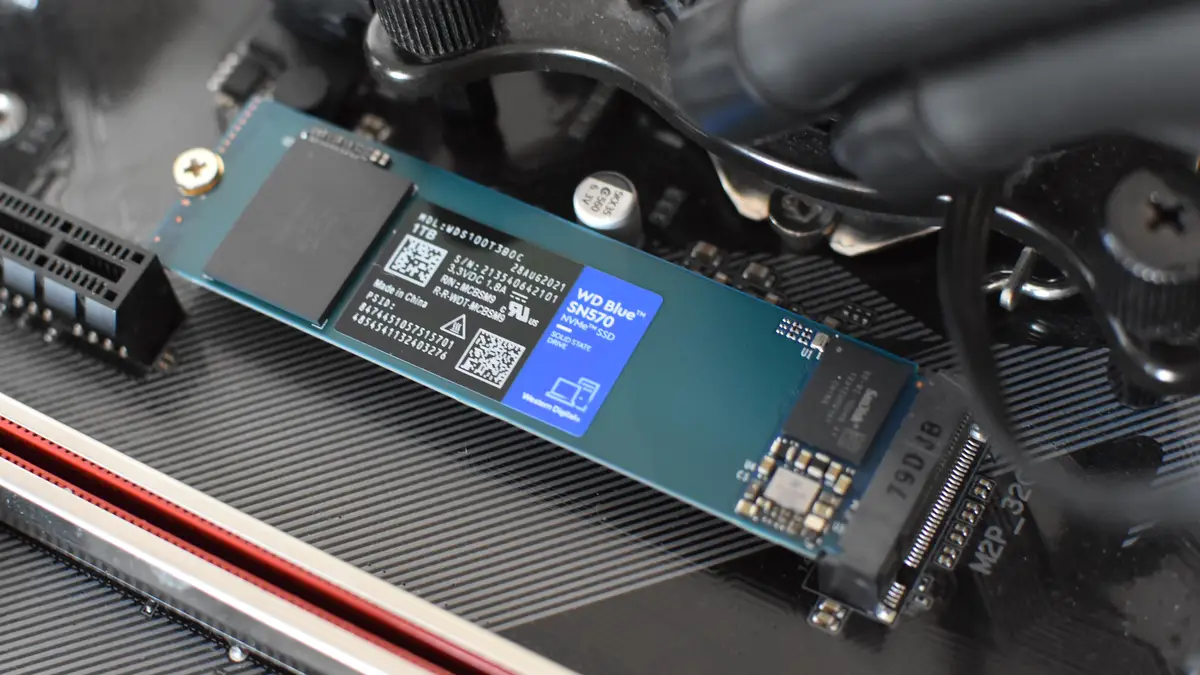
- Orient the WD Blue M.2 SSD: Take note of the alignment notch on the M.2 slot and the corresponding notch on the WD Blue M.2 SSD. Align the SSD with the slot to ensure a proper fit.
- Insert at a 30 to 45-degree angle: Insert the WD Blue M.2 SSD into the M.2 slot at a slight angle, around 30 to 45 degrees. Gently slide it into the slot until the gold connectors are fully inserted.
- Apply gentle pressure: Once the SSD is properly aligned, apply gentle, even pressure on the top of the SSD to push it down and insert it fully into the slot. Take care not to use excessive force, as the SSD should slide in smoothly without resistance.
- Check for a secure fit: After inserting the WD Blue M.2 SSD, ensure that it is securely seated in the slot. The SSD should be level with the surface of the motherboard and the connectors should be fully inserted into the slot.
It’s important to take your time and handle the SSD with care during the insertion process. A proper and secure fit ensures that the SSD will function correctly and establishes a reliable connection with the motherboard. Once the WD Blue M.2 SSD is securely inserted, we can proceed to the next step: securing it in place.
Step 6: Secure the SSD in Place
After inserting the WD Blue M.2 SSD into the M.2 slot, it’s important to secure it in place to prevent any movement or dislodging. Follow these steps to properly secure the SSD:
- Check for securing mechanisms: Some motherboards come with screws or clips to secure the M.2 SSD in place. Check your motherboard manual to see if any securing mechanisms are provided.
- Align the securing mechanism: If your motherboard has a screw or clip, align it with the mounting hole or slot on the WD Blue M.2 SSD. Make sure the mechanism lines up properly with the SSD.
- Attach the securing mechanism: Carefully tighten the screw or secure the clip to secure the WD Blue M.2 SSD in place. Use the appropriate screwdriver to tighten the screw, ensuring it is snug but not overly tightened.
- Verify a secure fit: After securing the SSD, double-check that it is firmly in place. Ensure there is no visible movement or play in the SSD. A secure fit is essential to maintain a stable connection and prevent any potential damage.
Securing the WD Blue M.2 SSD in place provides added stability and reliability for your system. It helps prevent accidental dislodging of the SSD and ensures a consistent connection with the motherboard. Once the WD Blue M.2 SSD is securely fastened, we can move on to connecting it to power and data in the next step.
Step 7: Connect the SSD to Power and Data
After securing the WD Blue M.2 SSD in place, the next step is to connect it to both power and data. Follow these steps to properly connect the SSD:
- Locate the power and data connectors: Identify the SATA power and data connectors on your motherboard. These connectors are usually labeled and situated near the M.2 slot. Consult your motherboard manual if you are unsure about the locations.
- Connect the power cable: Take the SATA power cable from your power supply and connect it to the SATA power connector on your motherboard. Ensure a secure connection by pushing the cable connector in fully.
- Connect the data cable: Take a SATA data cable and connect one end to the SATA data connector on your motherboard. Connect the other end to the SATA data connector on the WD Blue M.2 SSD. Make sure both ends are securely connected.
- Cable management: To improve airflow and reduce clutter, use cable ties or zip ties to neatly secure the power and data cables. This helps maintain a clean and organized system.
By connecting the WD Blue M.2 SSD to both power and data, you ensure that it can receive the necessary power and transfer data seamlessly. Double-check the connections to ensure a secure fit and proper alignment. With the SSD successfully connected, we can now move on to reassembling your computer in the next step.
Step 8: Reassemble Your Computer
After connecting the WD Blue M.2 SSD to power and data, it’s time to reassemble your computer. Follow these steps to put your computer back together:
- Replace the side panel: Gently position the side panel back onto the computer case. Align the screw holes or latches, then secure the panel by tightening the screws or latching it back into place.
- Reconnect peripherals: Reconnect any peripherals you had disconnected earlier, such as monitors, keyboards, and mice. Ensure all cables and connections are secure.
- Plug in the power cable: Connect the power cable back into the power supply unit and plug it into a wall outlet.
- Double-check all connections: Before turning on your computer, double-check all the connections you made during the installation. Ensure the power and data cables are securely connected to the WD Blue M.2 SSD and the motherboard.
Once you have reassembled your computer, you are ready to move on to the next step: checking the BIOS settings to ensure the correct detection and configuration of the WD Blue M.2 SSD.
Step 9: Check BIOS Settings
After reassembling your computer, it’s important to check the BIOS settings to ensure the correct detection and configuration of the WD Blue M.2 SSD. Follow these steps to check the BIOS settings:
- Restart your computer: Restart your computer and access the BIOS by pressing the designated key. The key to enter the BIOS may vary depending on your motherboard manufacturer, such as F2, Del, or Esc. Refer to your motherboard manual if you’re unsure.
- Navigate to the Storage or Boot section: Use the arrow keys on your keyboard to navigate through the BIOS menu. Look for an option related to storage, boot, or SATA settings. The exact name may vary depending on your motherboard.
- Ensure the WD Blue M.2 SSD is detected: Once you are in the storage or boot section, verify that the WD Blue M.2 SSD is detected by the BIOS. It should be listed as a recognized storage device.
- Check the boot order: If you plan to use the WD Blue M.2 SSD as your primary boot drive, ensure that it is listed as the first boot option in the boot order. This ensures that the operating system will boot from the SSD.
- Save and exit the BIOS: After making any necessary changes, save the BIOS settings and exit. Typically, you will have to press a key, such as F10, to save and exit the BIOS. Follow the on-screen instructions.
Checking the BIOS settings ensures that the WD Blue M.2 SSD is recognized by the system and properly configured. If any adjustments are required, make the necessary changes and save the settings before proceeding. With the BIOS settings checked, we can move on to the final step: verifying the installation of the WD Blue M.2 SSD.
Step 10: Verify the Installation
After completing the installation process, it’s important to verify that the WD Blue M.2 SSD has been installed successfully and is functioning properly. Follow these steps to verify the installation:
- Power on your computer: Turn on your computer and allow it to boot up.
- Check BIOS detection: Enter the BIOS settings again and ensure that the WD Blue M.2 SSD is still being detected. Verify that the correct capacity and model information are displayed.
- Check operating system detection: Once your computer has fully booted, open your operating system and navigate to the system settings or disk management utility. Verify that the WD Blue M.2 SSD is listed as a recognized storage device with the correct capacity.
- Perform speed and performance tests: To ensure optimal performance, consider running speed and performance tests on the WD Blue M.2 SSD. There are various benchmarking tools available that can measure the read and write speeds of the SSD.
- Transfer test files: Copy some files to and from the WD Blue M.2 SSD to test its data transfer speed and reliability. This will help confirm that the SSD is functioning as expected.
By following these verification steps, you can ensure that the WD Blue M.2 SSD is installed correctly and functioning optimally. Should you encounter any issues or discrepancies, double-check the connections, BIOS settings, and consult the user manuals for troubleshooting guidance. Congratulations on successfully installing the WD Blue M.2 500GB Internal SSD Solid State Drive!
Conclusion
Congratulations! You have successfully completed the installation of the WD Blue M.2 500GB Internal SSD Solid State Drive. By following the step-by-step guide in this article, you have upgraded your computer’s storage capacity and improved its performance.
The WD Blue M.2 SSD offers impressive read and write speeds, providing faster boot times, quicker application launches, and improved overall system responsiveness. With its compact form factor and easy installation process, it is a fantastic choice for enhancing your computer’s storage capabilities.
Throughout the installation process, you learned how to gather the necessary tools and materials, prepare your computer, locate the M.2 slot on your motherboard, and properly insert and secure the WD Blue M.2 SSD. You also learned how to connect the SSD to power and data, check the BIOS settings, and verify the installation.
Remember to handle the SSD with care, follow all safety precautions, and refer to the user manuals for your specific motherboard and SSD if you need additional guidance. By doing so, you ensure a successful installation and avoid any potential issues.
With the WD Blue M.2 SSD installed, you can now enjoy faster boot times, quicker application launches, and smoother multitasking. Your computer will handle demanding tasks with ease, and you’ll experience improved overall performance in your day-to-day computing activities.
Thank you for following this guide. We hope it has been helpful in guiding you through the installation process of the WD Blue M.2 500GB Internal SSD Solid State Drive. Enjoy the enhanced storage performance and optimize your computing experience!