Introduction
Welcome to our guide on how to get a new SSD to show up on your computer. Solid State Drives (SSDs) offer faster performance and enhanced storage capabilities compared to traditional hard disk drives. However, sometimes when you install a new SSD, it may not show up in your computer’s file explorer or Disk Management tool.
This issue can be frustrating, especially if you’re looking forward to taking advantage of the speed and efficiency benefits that an SSD provides. But don’t worry, we’re here to help you troubleshoot and resolve this problem. In this article, we’ll walk you through the steps to ensure that your new SSD is detected and accessible on your computer.
Before we begin, it’s important to note that the steps mentioned in this guide are applicable for Windows operating systems. The process may vary slightly depending on the version of Windows you’re using, but the general steps should remain the same.
We’ll start by checking the physical connections of your SSD to ensure that it is properly connected to your computer. Then, we’ll guide you through initializing the SSD, assigning a drive letter, and enabling it in the Device Manager. Additionally, we’ll cover the process of formatting the SSD and updating device drivers to ensure compatibility.
Whether you’ve just installed a new SSD or are experiencing issues with an existing one, this guide will provide you with the necessary steps to get your SSD up and running smoothly. So, let’s get started and troubleshoot the issue of your new SSD not showing up on your computer!
Check Physical Connections
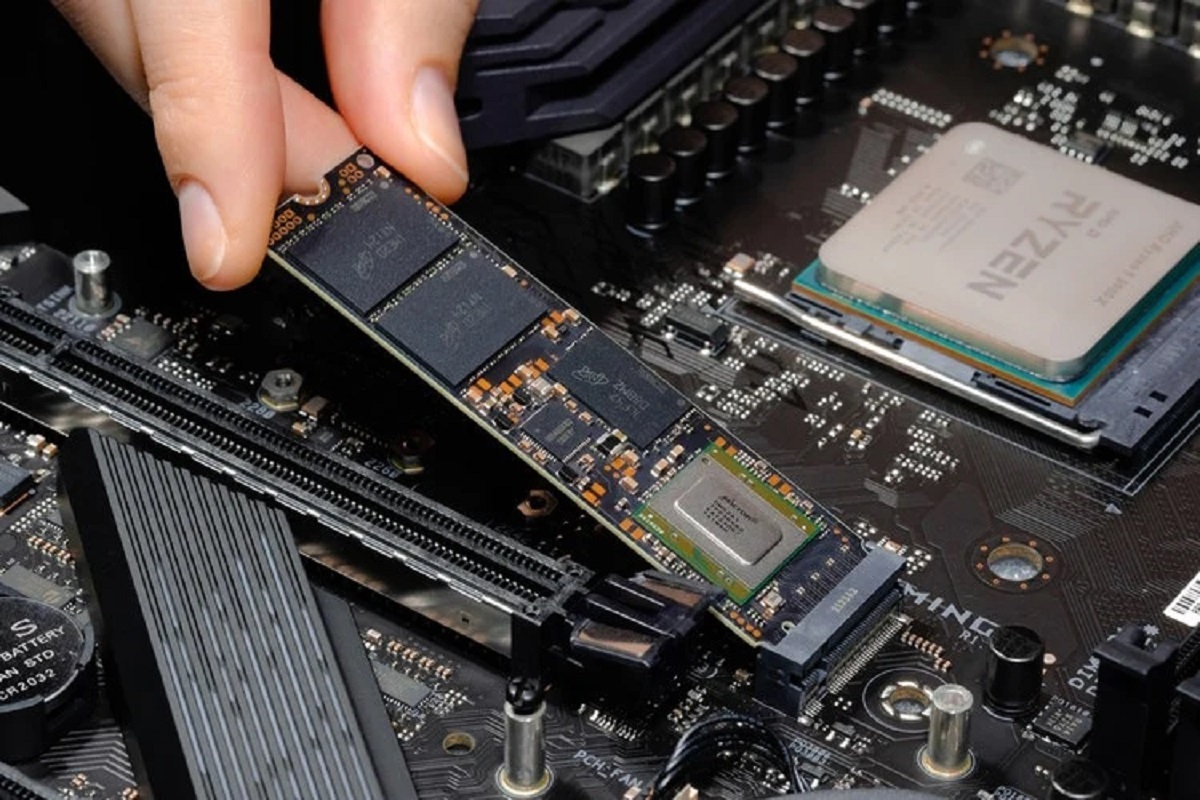
When a new SSD doesn’t show up on your computer, the first step is to ensure that the physical connections are properly established. Here’s what you can do:
- Power off your computer: Before checking the physical connections, it’s important to turn off your computer and disconnect it from the power source.
- Open your computer case: If you’re using a desktop computer, open the case to gain access to the internal components. If you’re using a laptop, skip to the next step.
- Locate the SSD: Identify the SSD among the other components inside your computer. It’s usually a small rectangular device.
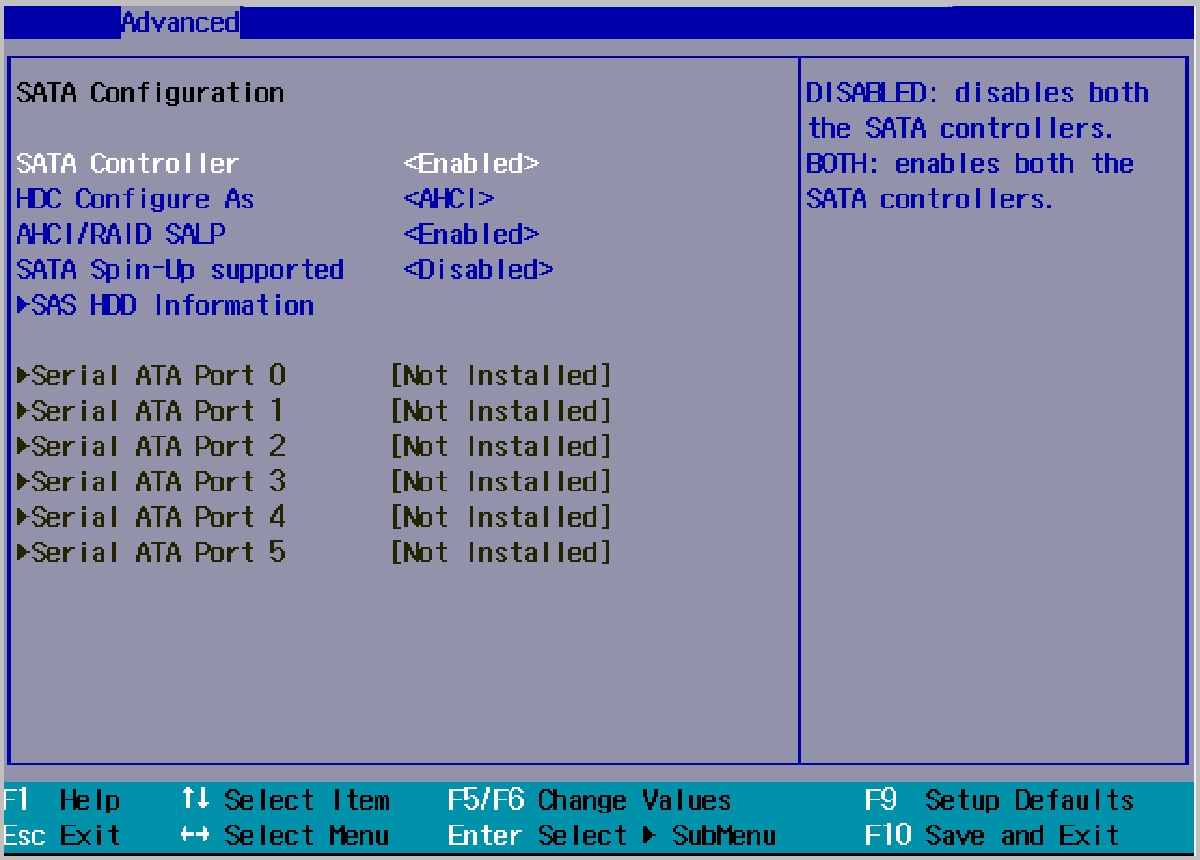
- Check the SATA cable: Ensure that the SATA cable is securely connected to both the SSD and the motherboard. A loose or improperly connected cable can result in the SSD not being detected.
- Inspect the power cable: Verify that the power cable is properly connected to the SSD. Sometimes, a loose power cable can prevent the SSD from showing up.
- Replace the cables: If you suspect that the cables are faulty, try using a different SATA cable or power cable to rule out any connection issues.
- Reassemble and power on your computer: Once you’ve checked and reconnected the cables, close the computer case (for desktops) and reconnect the power source. Then, power on your computer to see if the SSD is now detected.
If the physical connections were the issue, the SSD should now show up on your computer. However, if the problem persists, don’t worry. There are additional troubleshooting steps to try. Let’s move on to the next section to initialize the SSD.
Initialize the SSD
If your SSD is not showing up on your computer, it might be because it hasn’t been initialized yet. Initializing the SSD will prepare it for use and allow the operating system to recognize it. Follow these steps to initialize your SSD:
- Open Disk Management: Press Windows + R on your keyboard to open the Run dialog box. Type “diskmgmt.msc” and press Enter to open the Disk Management utility.
- Locate the unallocated SSD: In the Disk Management window, look for an unallocated space that represents your SSD. It may be labeled as “Unallocated” or “Not Initialized”.
- Right-click on the unallocated space: Right-click on the unallocated space and select “Initialize Disk” from the context menu.
- Select the partition style: Choose between MBR (Master Boot Record) and GPT (GUID Partition Table). If your system uses BIOS, select MBR. If you have UEFI firmware, select GPT. Click “OK” to proceed.
- Create a new partition: Right-click on the newly initialized SSD and select “New Simple Volume” from the context menu.
- Follow the on-screen instructions: The New Simple Volume Wizard will guide you through the process of creating a new partition for the SSD. Set the desired partition size and assign a drive letter.
- Format the partition: Depending on your preference, you can format the partition using the NTFS or FAT32 file system. NTFS is recommended for better performance and larger file size support.
- Complete the process: Once the formatting is complete, the SSD should now be initialized, partitioned, and accessible on your computer.
If the SSD was not showing up due to initialization issues, following these steps should resolve the problem. However, if the SSD still doesn’t appear, continue to the next section to assign a drive letter to the SSD.
Assign a Drive Letter
If your newly installed SSD is not showing up on your computer, it might be because it doesn’t have a drive letter assigned to it. Drive letters are necessary for the operating system to recognize and access storage devices. Here’s how you can assign a drive letter to your SSD:
- Open Disk Management: Press Windows + R on your keyboard to open the Run dialog box. Type “diskmgmt.msc” and press Enter to open the Disk Management utility.
- Locate the SSD: In the Disk Management window, locate your SSD. It should be labeled as “Basic” and show the allocated space.
- Right-click on the SSD: Right-click on the SSD and select “Change Drive Letter and Paths” from the context menu.
- Assign a drive letter: Click on the “Add” button and choose a drive letter from the drop-down menu. Select a letter that is not currently in use by any other drives on your system.
- Confirm and apply the changes: Click “OK” to confirm the drive letter assignment and apply the changes to your SSD.
After assigning a drive letter to your SSD, it should now be visible in the File Explorer or This PC window. If the SSD still doesn’t show up, proceed to the next section to enable the SSD in the Device Manager.
Enable the SSD in Device Manager
If your SSD is not showing up in the File Explorer or Disk Management, it may be disabled in the Device Manager. Enabling the SSD in the Device Manager will ensure that it is recognized and accessible by the operating system. Here’s how to enable the SSD in Device Manager:
- Open Device Manager: Right-click on the Start button and select Device Manager from the context menu.
- Expand the Disk drives category: In the Device Manager window, locate and expand the Disk drives category.
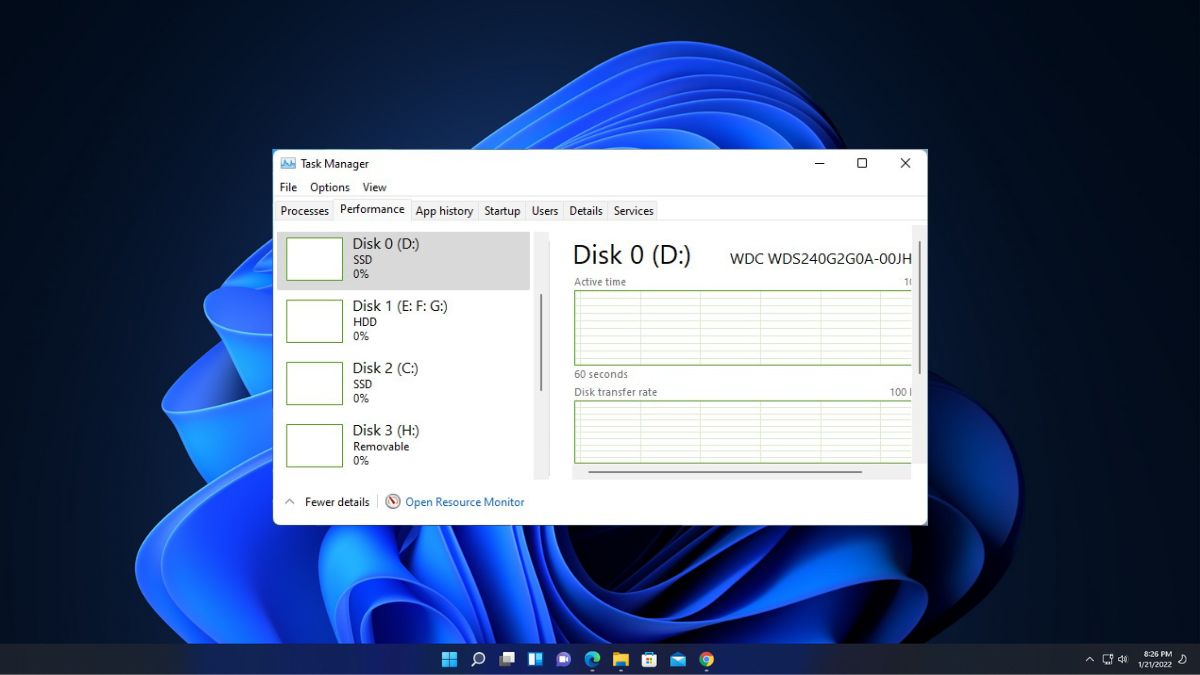
- Find your SSD: Look for your SSD in the list of disk drives. It may be listed with its model number or a generic description.
- Right-click and enable the SSD: Right-click on the SSD and select Enable Device from the context menu. If the SSD is already enabled, you will see the option as Disable Device.
Enabling the SSD in the Device Manager should make it visible in the File Explorer or Disk Management. However, if the SSD still doesn’t show up, there may be issues with the device drivers. In the next section, we’ll cover how to update device drivers for the SSD.
Format the SSD
If your SSD is detected but still not showing up in the File Explorer or Disk Management, it might be unformatted or using an incompatible file system. In such cases, formatting the SSD can resolve the problem and make it accessible. Follow these steps to format your SSD:
- Open Disk Management: Press Windows + R on your keyboard to open the Run dialog box. Type “diskmgmt.msc” and press Enter to open the Disk Management utility.
- Locate the SSD: In the Disk Management window, find your SSD. It should be labeled as “Basic” and show the allocated space.
- Right-click on the SSD: Right-click on the SSD and select “Format” from the context menu.
- Configure the formatting options: In the Format window, you can choose the file system, allocation unit size, and volume label for the SSD. The recommended file system for Windows is NTFS. Adjust the other options according to your preferences.
- Begin the formatting process: Once you have configured the formatting options, click “OK” to initiate the formatting process. Please note that formatting will erase all data on the SSD, so make sure to back up any important files before proceeding.
- Wait for the formatting to complete: The formatting process may take some time, depending on the size of the SSD. Once it is complete, the SSD should be formatted and ready for use.
After formatting the SSD, it should now show up in the File Explorer or Disk Management with a drive letter assigned to it. If the SSD is still not visible, it’s recommended to update the device drivers in the next section to ensure compatibility.
Update Device Drivers
If your newly installed SSD is still not showing up after trying the previous troubleshooting steps, it might be due to outdated or incompatible device drivers. Updating the device drivers can often resolve such issues. Follow these steps to update your SSD’s device drivers:
- Open Device Manager: Right-click on the Start button and select Device Manager from the context menu.
- Locate your SSD: In the Device Manager window, find your SSD under the Disk drives category. Right-click on it and select Update driver from the context menu.
- Search automatically for updated driver software: Choose the option to search automatically for updated driver software. Windows will search online for the latest drivers for your SSD and install them if available.
- Restart your computer: After the driver update is complete, restart your computer to allow the changes to take effect.
If Windows is unable to find updated drivers for your SSD automatically, you can visit the manufacturer’s website and download the latest drivers specifically designed for your SSD model. Once downloaded, run the installation file and follow the on-screen instructions to update the drivers.
By updating the device drivers, you ensure that your SSD is compatible with your operating system and is recognized correctly. After updating the drivers, check the File Explorer or Disk Management to see if your SSD is now visible. If the issue persists, it’s advisable to reach out to the manufacturer’s support for further assistance.
Conclusion
In this guide, we’ve explored various troubleshooting steps to help you get a new SSD to show up on your computer. We started by checking the physical connections to ensure they are properly secured. Then, we walked you through the process of initializing the SSD, assigning a drive letter, enabling it in the Device Manager, formatting it, and updating the device drivers.
By following these steps, you should be able to resolve the issue of your SSD not showing up on your computer. However, it’s important to note that in some cases, there may be underlying hardware or compatibility issues that require further investigation. If you’ve tried all the steps mentioned in this guide and the SSD still doesn’t appear, it’s recommended to seek assistance from the manufacturer’s support or consult with a computer technician for further troubleshooting.
Remember to always double-check your connections, ensure device drivers are up to date, and properly initialize and format your SSD. Taking these steps will not only help in getting your SSD recognized but also ensure its optimal performance.
We hope this guide has been helpful in resolving the issue with your new SSD. Enjoy the improved speed and storage capabilities that your SSD brings to your computer!