Introduction
Booting from an SSD (Solid State Drive) can significantly enhance the performance and speed of your computer. If you’re looking to upgrade your system’s storage, or if you’ve already installed an SSD and want to ensure that your computer is booting from it, this guide will walk you through the process step by step.
An SSD is a type of storage device that uses flash memory to store data. Unlike traditional hard disk drives (HDD), which use spinning disks, SSDs have no moving parts. This makes them faster, more reliable, and quieter than HDDs. By booting from an SSD, you can experience reduced boot times, faster file access, and improved overall responsiveness.
Upgrading to an SSD is an excellent investment, but it’s essential to check if your computer’s BIOS (Basic Input/Output System) is compatible with booting from an SSD. If your BIOS doesn’t support this feature, you may need to update the firmware to enable it. This guide will cover everything you need to know to check your computer’s compatibility and configure the BIOS settings to boot from your SSD.
Before proceeding with the steps outlined in this guide, ensure that you have a basic understanding of navigating through your computer’s BIOS. The exact steps to access the BIOS may vary depending on your computer’s manufacturer and model. Typically, you can enter the BIOS by pressing a specific key (such as F2, Del, or Esc) during the booting process. Consult your computer’s manual or the manufacturer’s website for specific instructions.
Once you’re ready, let’s dive into checking the compatibility and configuring your computer’s BIOS settings to boot from the SSD!
What is SSD?
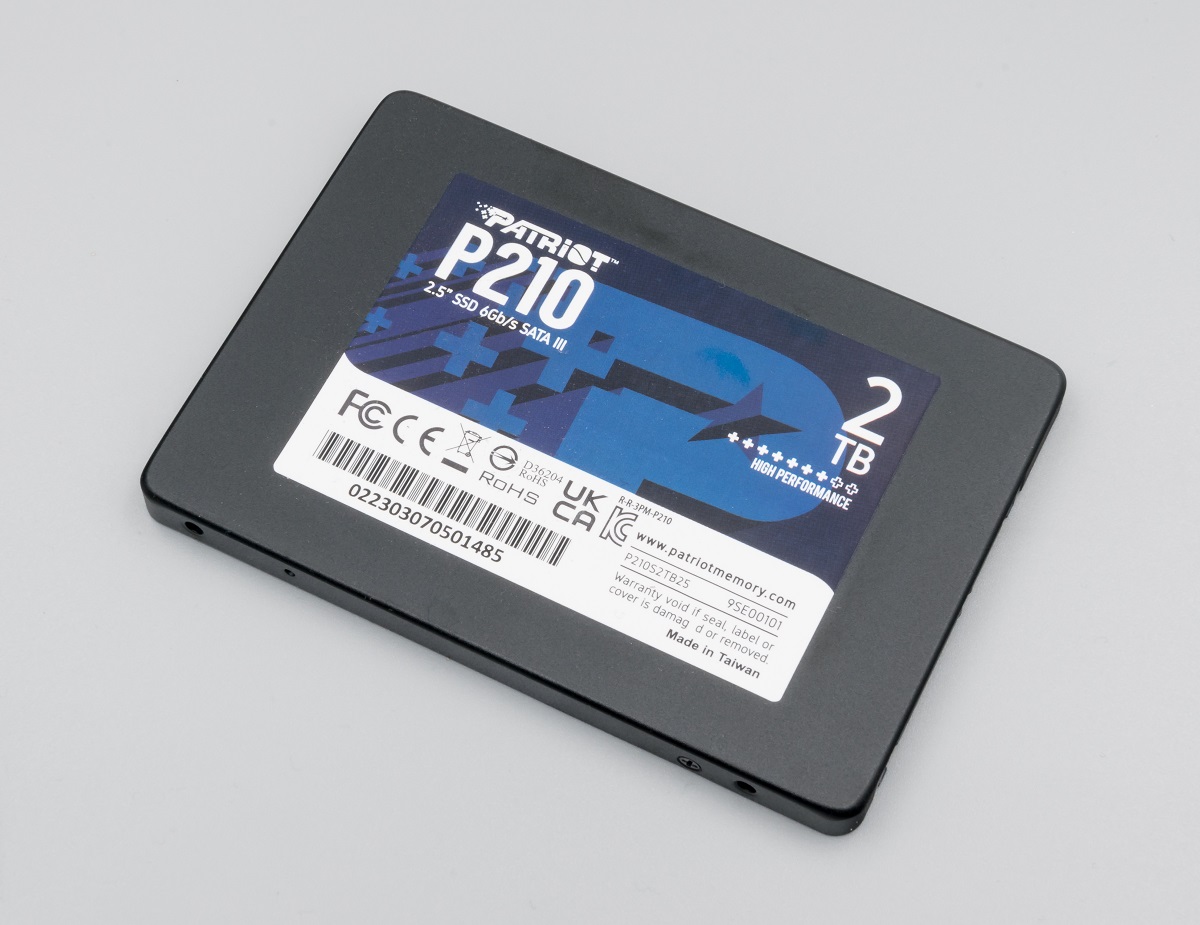
A Solid State Drive (SSD) is a type of storage device that has gained popularity in recent years. Unlike traditional hard disk drives (HDD), which use spinning disks to read and write data, an SSD uses flash memory technology. This means that instead of relying on mechanical components, it uses electronic circuits to store and retrieve data faster and more efficiently.
SSDs are designed to deliver significantly faster performance compared to HDDs. They provide faster boot times, quicker file access, and improved overall system responsiveness. With no moving parts, SSDs are also more reliable and durable than HDDs, as they are less susceptible to mechanical failures and have a lower risk of data loss.
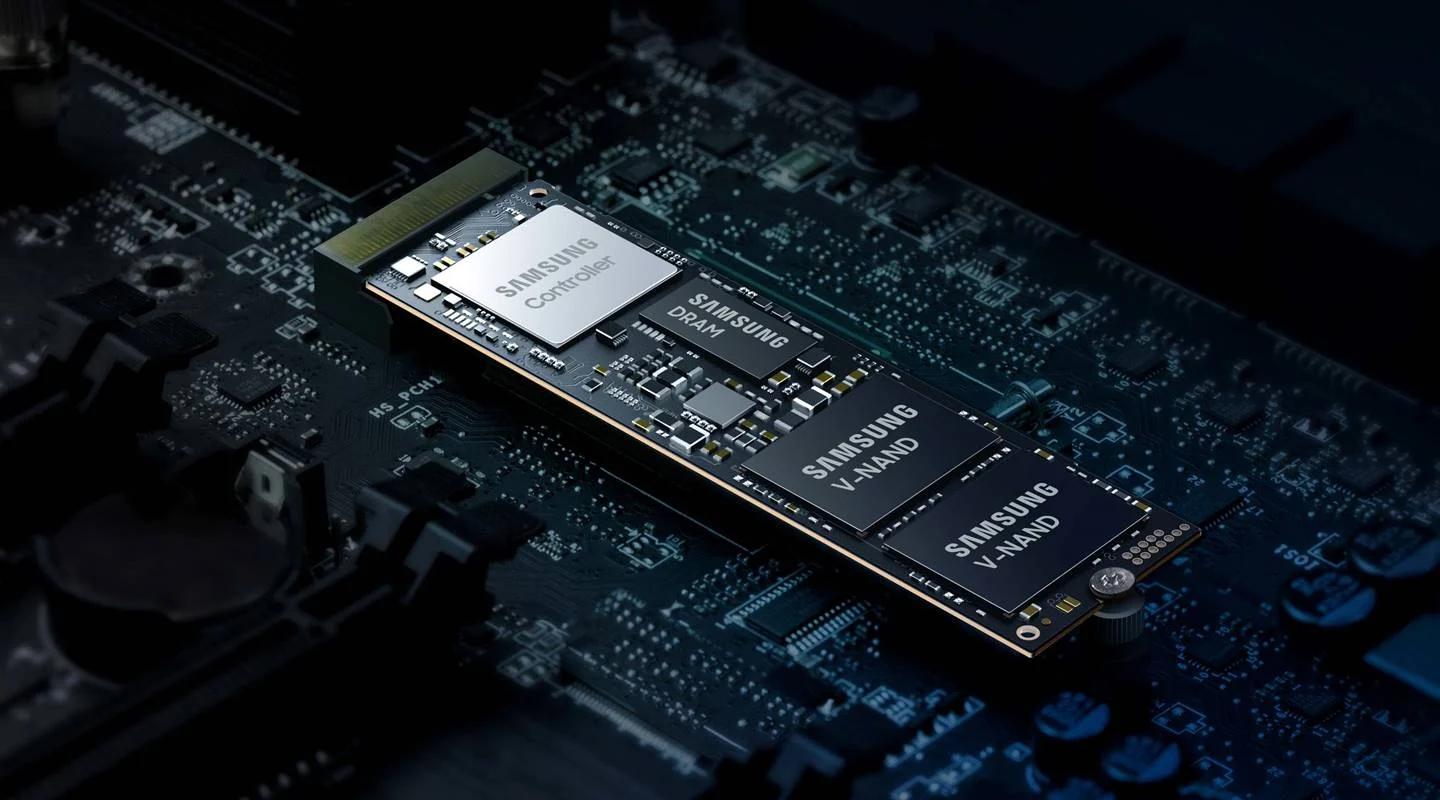
The main component of an SSD is the NAND flash memory, which stores data in a non-volatile manner. This means that the stored data remains even when the power is turned off. The NAND flash memory is divided into cells that can store multiple bits of information. The more bits a cell can store, the higher the capacity of the SSD and the more affordable it becomes.
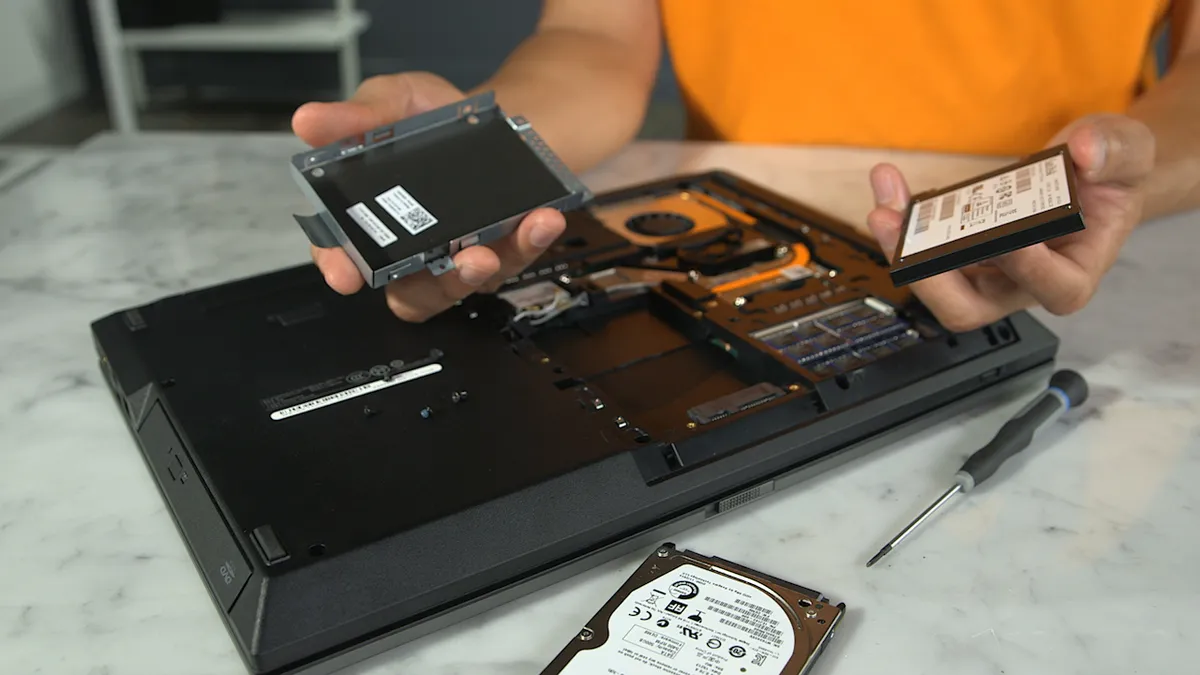
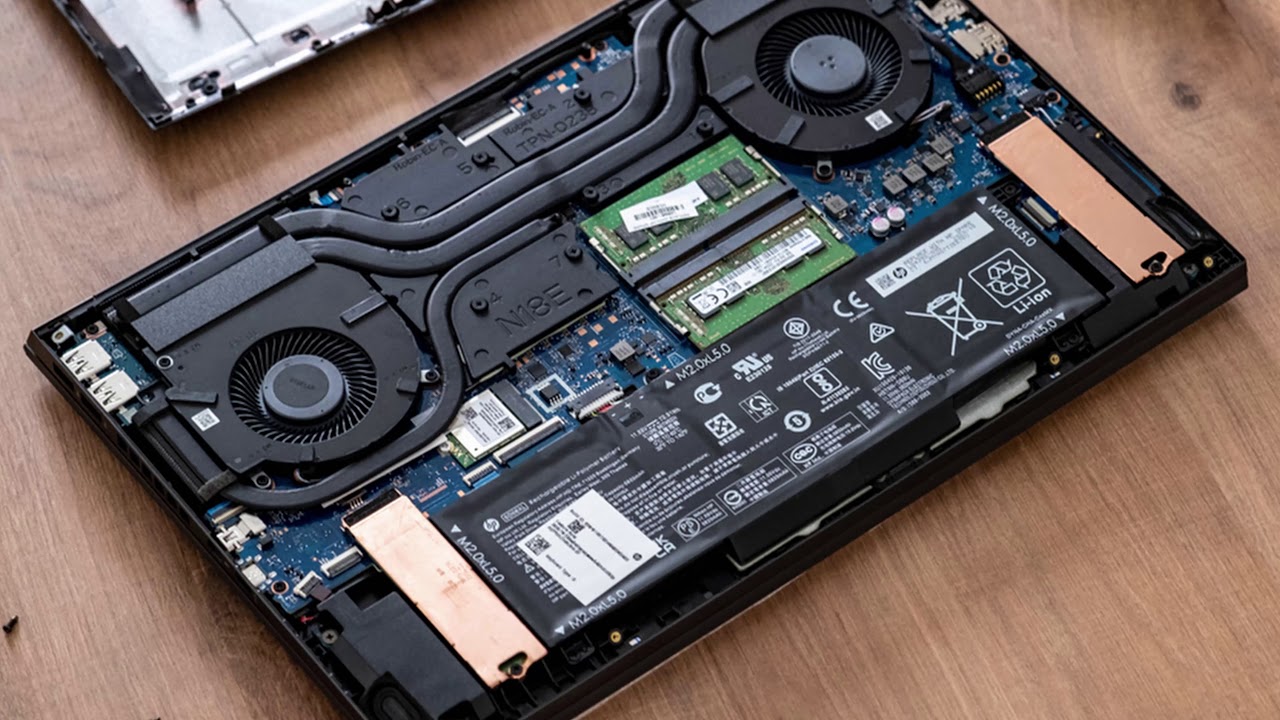
There are different types of SSDs available in the market, including SATA SSDs, PCIe SSDs, and M.2 SSDs. SATA SSDs are the most common type and are widely used in laptops and desktops. They connect to the computer using the SATA interface, providing fast data transfer speeds. PCIe SSDs, on the other hand, connect directly to the computer’s motherboard through a PCIe slot, offering even faster speeds. M.2 SSDs are a compact form factor that connects directly to the motherboard and can provide both SATA and PCIe interfaces.
Overall, SSDs have revolutionized the storage industry by offering improved performance, reliability, and efficiency compared to traditional HDDs. As SSD prices continue to decrease and capacities increase, they have become the preferred choice for many computer users looking to boost their system’s performance and enhance their overall computing experience.
Benefits of Booting from SSD
There are numerous benefits to booting your computer from an SSD (Solid State Drive) rather than a traditional HDD (Hard Disk Drive). Here are some of the key advantages that make SSDs a popular choice for storage:
1. Speed and Performance: One of the most significant advantages of booting from an SSD is the noticeable increase in speed and performance. SSDs have much faster data access times compared to HDDs, resulting in reduced boot times and faster application launches. Your computer will feel more responsive and handle tasks much more efficiently.
2. Improved File Transfer Speeds: SSDs offer faster data transfer rates, allowing you to copy and transfer files at lightning speed. Whether you’re working with large multimedia files, transferring data between drives, or backing up your files, the increased read and write speeds of an SSD will significantly reduce the time required.
3. Reliability and Durability: Unlike HDDs with mechanical moving parts that are prone to wear and tear, SSDs have no such components. This makes them more reliable and durable, with a lower risk of data loss due to physical damage. SSDs are better equipped to withstand physical shocks, vibrations, and temperature fluctuations, making them an ideal choice for laptops and portable devices.
4. No Noise: HDDs generate noise due to the spinning disks and moving parts, which can be distracting in quiet environments. SSDs, on the other hand, are completely silent as they have no moving parts, allowing for a more peaceful computing experience.
5. Energy Efficiency: SSDs are known for their low power consumption, making them more energy-efficient compared to HDDs. This not only helps reduce electricity costs but also extends the battery life of laptops and portable devices. If you’re concerned about environmental impact or looking to reduce your energy consumption, an SSD is a greener option.
6. Compact and Lightweight: SSDs are smaller and lighter than HDDs, allowing for more flexibility in terms of system design and portability. They take up less physical space in your computer, leaving room for other components or providing the possibility to build smaller and more compact systems.
7. Longevity: SSDs typically have a longer lifespan than HDDs. As there are no mechanical components that wear out over time, the risk of failure due to physical wear is significantly reduced. This means that your data is less likely to be lost or corrupted due to drive failure, providing added peace of mind.
By booting from an SSD, you can enjoy a faster, more reliable, and efficient computing experience. Whether you’re a casual user, a creative professional, or a gamer, upgrading to an SSD can dramatically improve your system’s overall performance and enhance your daily computing tasks.
Checking Compatibility
Before you can begin booting from an SSD, it’s crucial to check if your computer’s BIOS (Basic Input/Output System) supports this feature. Here’s how you can check the compatibility:
1. Review the computer specifications: Check the documentation or specifications of your computer or motherboard model. Look for any information or indications regarding support for booting from an SSD or other storage devices.
2. Consult the manufacturer’s website: Visit the website of your computer or motherboard manufacturer and search for your specific model. Look for any available software updates, firmware updates, or BIOS revisions that mention SSD support or enhanced storage capabilities.
3. Update the BIOS firmware: If your computer’s BIOS does not currently support booting from an SSD, there may be a firmware update available from the manufacturer that adds this functionality. Download and install any relevant updates following the manufacturer’s instructions carefully.
4. Search online forums and communities: Join online forums or communities dedicated to computer hardware enthusiasts or the specific brand or model of your computer. Ask questions and seek advice from other users who have already attempted to boot from an SSD with a similar setup. They can provide valuable insights and solutions based on their experiences.
5. Contact technical support: If you’re still unsure about the compatibility of your computer’s BIOS with an SSD, reach out to the manufacturer’s technical support team for assistance. They can provide detailed information about your specific computer model and guide you through the process of checking compatibility or updating the BIOS.
Keep in mind that the steps to check compatibility may vary depending on your computer’s brand, model, and BIOS version. It’s essential to follow the instructions provided by the manufacturer or consult professional advice to ensure accurate and successful results.
Once you have confirmed that your computer’s BIOS supports booting from an SSD or have updated the firmware to enable this feature, you can proceed to the next steps to configure the BIOS settings and ensure that your computer boots from the SSD.
Updating BIOS
If your computer’s BIOS does not currently support booting from an SSD, it may be necessary to update the BIOS firmware to enable this feature. Here’s a step-by-step guide on how to update your BIOS:
1. Identify the BIOS version: Start by identifying the current version of your computer’s BIOS. You can typically find this information by entering the BIOS setup utility during the boot process. Look for the BIOS version number displayed on the screen.
2. Visit the manufacturer’s website: Go to the website of your computer or motherboard manufacturer. Look for the support or downloads section and navigate to the page for your specific model.
3. Find the BIOS update: Look for firmware or BIOS updates for your computer’s model. Download the latest version available. Be sure to select the correct version that matches your computer’s model and current BIOS version.
4. Prepare a bootable USB drive: Most BIOS updates require a bootable USB drive to install. Follow the manufacturer’s instructions to create a bootable USB drive. Make sure to backup any important files on the USB drive, as the process may delete its contents.
5. Restart your computer: Insert the bootable USB drive into a USB port on your computer. Restart your computer and enter the BIOS setup utility by pressing the appropriate key during the boot process (e.g., F2, Del, or Esc).
6. Install the BIOS update: Once you enter the BIOS setup utility, locate the option to update or flash the BIOS. Follow the on-screen instructions to select the BIOS update file from the USB drive and initiate the update process.
7. Do not interrupt the update: It’s crucial to allow the BIOS update process to complete uninterrupted. Do not turn off your computer or remove the USB drive until the update is finished. This can take several minutes, so ensure that your computer is connected to a reliable power source.
8. Restart your computer: After the BIOS update is complete, restart your computer. Enter the BIOS setup utility again to verify that the update was successful. Check the BIOS version to ensure that it matches the latest version you downloaded.
Updating the BIOS can potentially be a sensitive process, so it’s essential to carefully follow the manufacturer’s instructions and take precautions to avoid any interruptions or mistakes. If you’re uncertain about updating the BIOS yourself, it’s recommended to seek assistance from a knowledgeable professional or contact the manufacturer’s technical support for guidance.
Configuring BIOS Settings
Once you have updated your computer’s BIOS to support booting from an SSD, you will need to configure the BIOS settings to ensure that your computer boots from the SSD. Follow these steps to configure the BIOS settings:
1. Access the BIOS setup utility: Restart your computer and enter the BIOS setup utility by pressing the appropriate key (such as F2, Del, or Esc) during the boot process. The specific key may vary depending on your computer’s manufacturer and model. Consult your computer’s manual or the manufacturer’s website for the exact key.
2. Navigate to the Boot menu: Once you’re in the BIOS setup utility, navigate to the “Boot” or “Boot Order” menu. The location and naming of this menu may vary depending on your BIOS version and manufacturer. Look for options related to boot devices and boot order.
3. Set the SSD as the primary boot device: In the boot device menu, locate the listing for your SSD, which may be labeled by its brand or model. Use the instructions provided on the screen or in the manual to set the SSD as the primary boot device. This will ensure that your computer starts up from the SSD instead of other storage devices.
4. Adjust boot order (optional): If you have multiple storage devices connected to your computer and want to prioritize the order in which they are checked for booting, you can adjust the boot order. Use the instructions provided on the screen to reorder the devices and prioritize the SSD.
5. Save and exit: Once you have configured the BIOS settings, save the changes and exit the BIOS setup utility. The exact steps to do this will depend on your BIOS version. Look for an option to save the settings and exit, or press a key combination indicated on the screen.
6. Restart your computer: After saving and exiting the BIOS setup utility, your computer will restart. It should now boot from the SSD as the primary storage device. You can verify this by checking the boot time and ensuring that the operating system loads from the SSD.
Remember to keep any other storage devices connected to your computer, as they can still be used for data storage or as secondary drives. By configuring the BIOS settings correctly, you’re ensuring that your computer starts up quickly and efficiently from the speedy SSD, maximizing its performance benefits.
Changing Boot Order
If you have multiple storage devices connected to your computer, you may need to change the boot order in the BIOS settings to ensure that your system boots from the desired device, such as the SSD. Here’s how you can change the boot order:
1. Access the BIOS setup utility: Restart your computer and enter the BIOS setup utility. The key to access the BIOS may vary depending on your computer’s manufacturer and model. Common keys include F2, Del, and Esc. Consult your computer’s manual or the manufacturer’s website for the exact key.
2. Navigate to the Boot menu: Once you’re in the BIOS setup utility, locate the Boot or Boot Order menu. This menu may have different names depending on your BIOS version. Look for options related to the boot devices and the boot order.
3. View the current boot order: Take note of the current boot order displayed in the BIOS. It will show a list of connected devices and their order of priority for booting. This order determines which device the computer looks to first when starting up.
4. Reorder the devices: Use the instructions provided on the screen to change the boot order. You can typically move devices up or down in the list to adjust their priority. Place the SSD or the desired boot device at the top of the list to ensure that it is checked first during the boot process.
5. Save and exit: Once you have made the necessary changes to the boot order, save the settings and exit the BIOS setup utility. Look for an option to save and exit, or follow the instructions provided on the screen. Ensure that you save the changes to the BIOS before exiting.
6. Restart your computer: After saving and exiting the BIOS setup utility, your computer will restart. It will now attempt to boot from the device that you placed at the top of the boot order. If all settings are correct, your system should now boot from the desired device, such as the SSD.
By changing the boot order in the BIOS settings, you can control the priority of boot devices, enabling you to ensure that your computer boots from the desired storage device, such as an SSD. This allows you to take full advantage of the speed and performance benefits offered by SSDs while customizing your system to meet your specific needs.
Saving and Exiting BIOS
After making changes to the BIOS settings, such as configuring boot order or enabling SSD support, it’s important to save the changes and properly exit the BIOS setup utility. Here’s how:
1. Ensure all changes are made: Before proceeding, double-check that you have made all the desired changes to the BIOS settings. Review the settings to ensure that they are correctly configured for your requirements.
2. Find the Exit or Save option: Look for the option to save the changes and exit the BIOS setup utility. The location and name of this option may vary depending on your BIOS version and manufacturer. It is typically located on a tab or menu labeled “Exit” or “Save & Exit”.
3. Save the changes: Select the option to save the changes. This action will write the updated BIOS settings to the computer’s memory, ensuring that they are preserved even after a system restart.
4. Exit the BIOS: After saving the changes, select the option to exit the BIOS setup utility. This action will close the BIOS interface and allow your computer to proceed with the booting process.
5. Confirm the changes: Depending on your BIOS settings, you may be prompted to confirm the changes before exiting. Follow any on-screen instructions or prompts to acknowledge and confirm the changes you made.
6. Restart your computer: Once you have successfully saved and exited the BIOS setup utility, your computer will restart. It will now boot according to the new settings you configured, such as booting from the SSD or the desired boot device.
It’s important to note that improper changes or accidental modifications to the BIOS settings can lead to system instability or booting issues. It is always recommended to thoroughly review and double-check the changes you make before saving and exiting the BIOS. If you encounter any problems or unexpected behavior after exiting the BIOS, you can reenter the setup utility to revert the changes or consult the manufacturer’s support resources for assistance.
Properly saving and exiting the BIOS ensures that the changes you made take effect and enables your computer to boot according to the updated settings. By carefully following these steps, you can properly configure your BIOS and optimize your system to meet your specific needs.
Troubleshooting Issues
While configuring the BIOS settings and booting from an SSD is a relatively straightforward process, sometimes issues may arise. Here are some common troubleshooting steps to help you resolve any problems you may encounter:
1. Double-check BIOS settings: Verify that you have correctly configured the BIOS settings to boot from the SSD. Check the boot order and ensure that the SSD is set as the primary boot device.
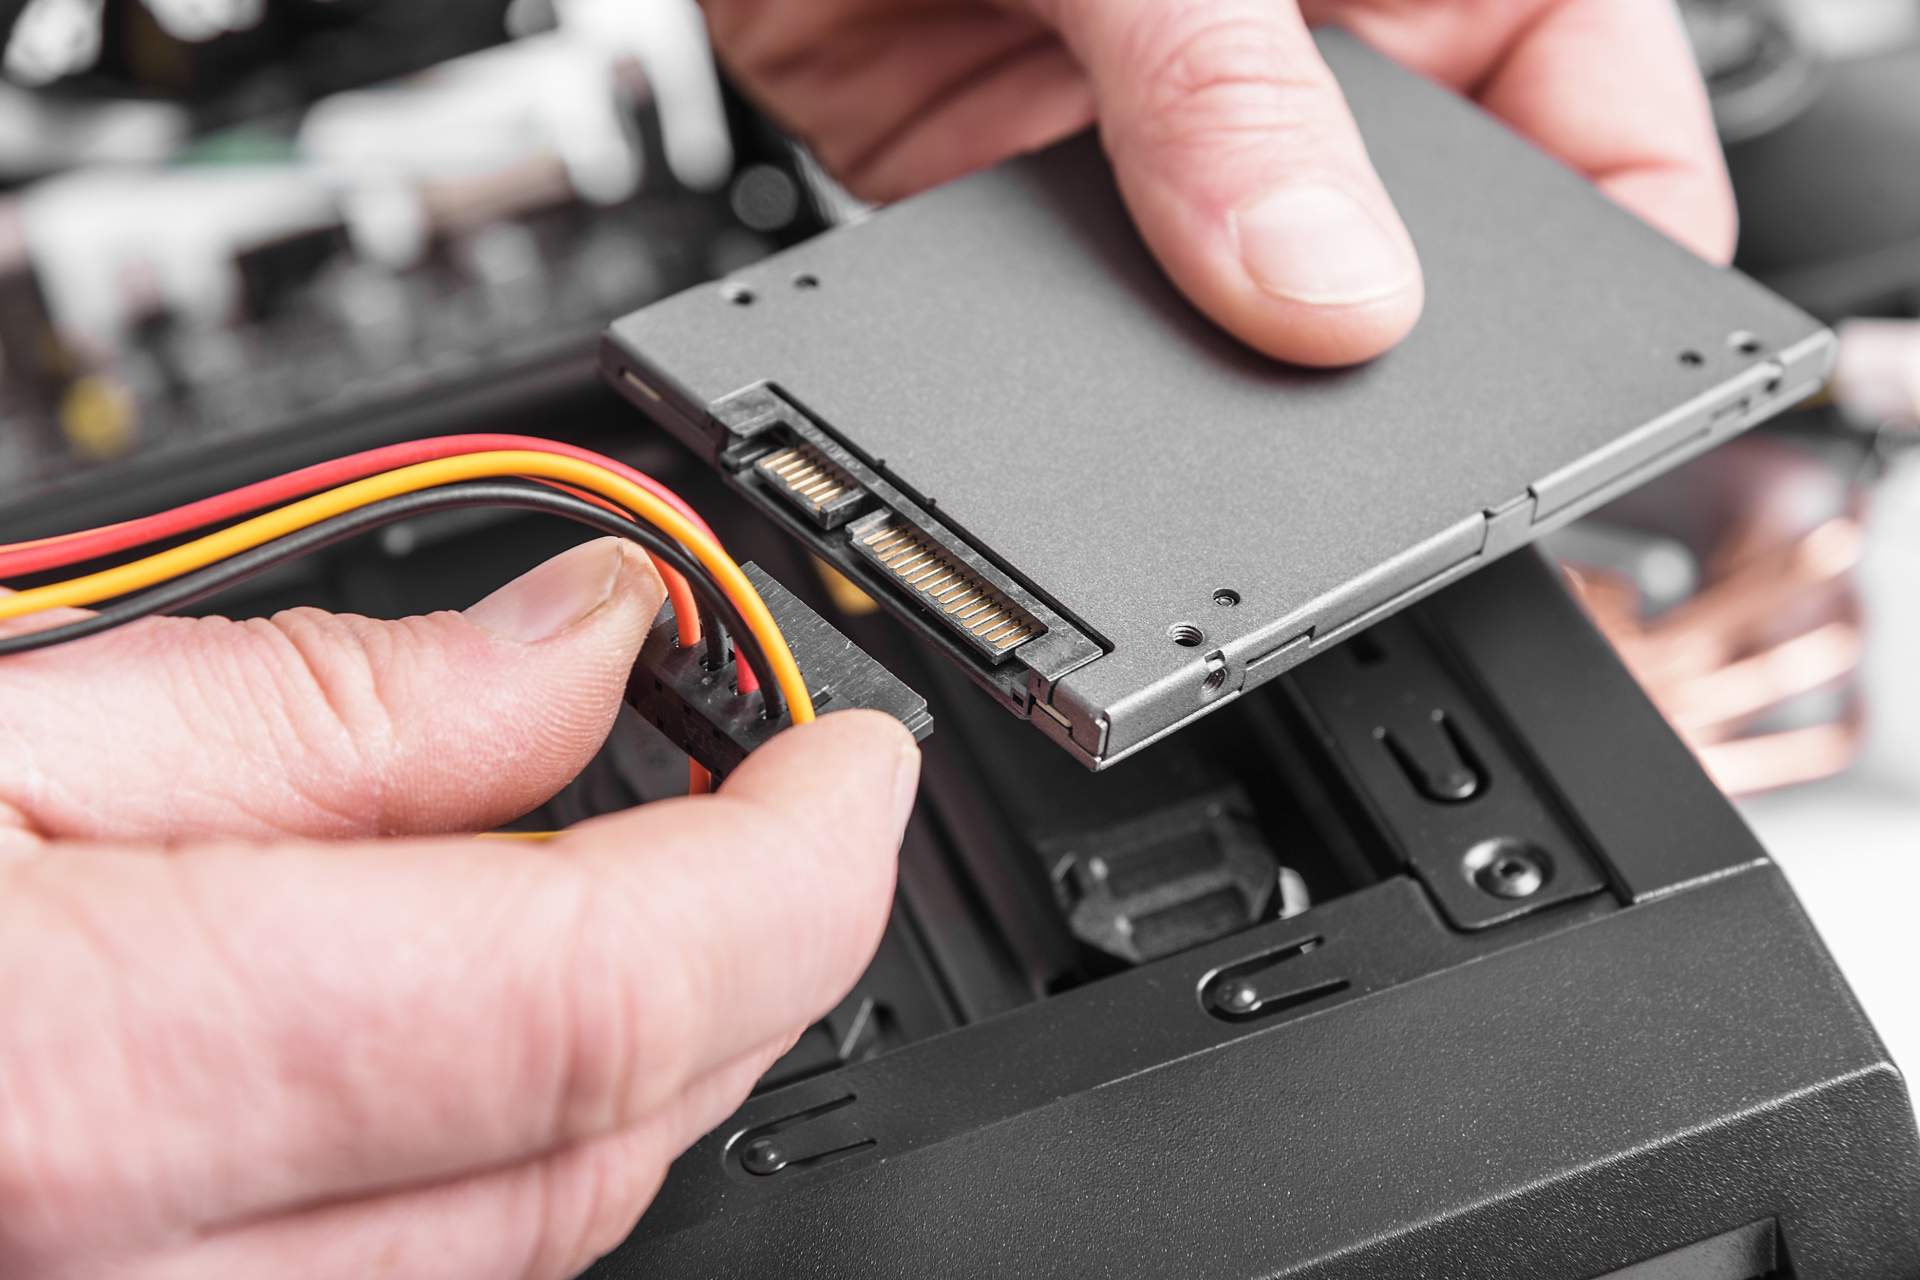
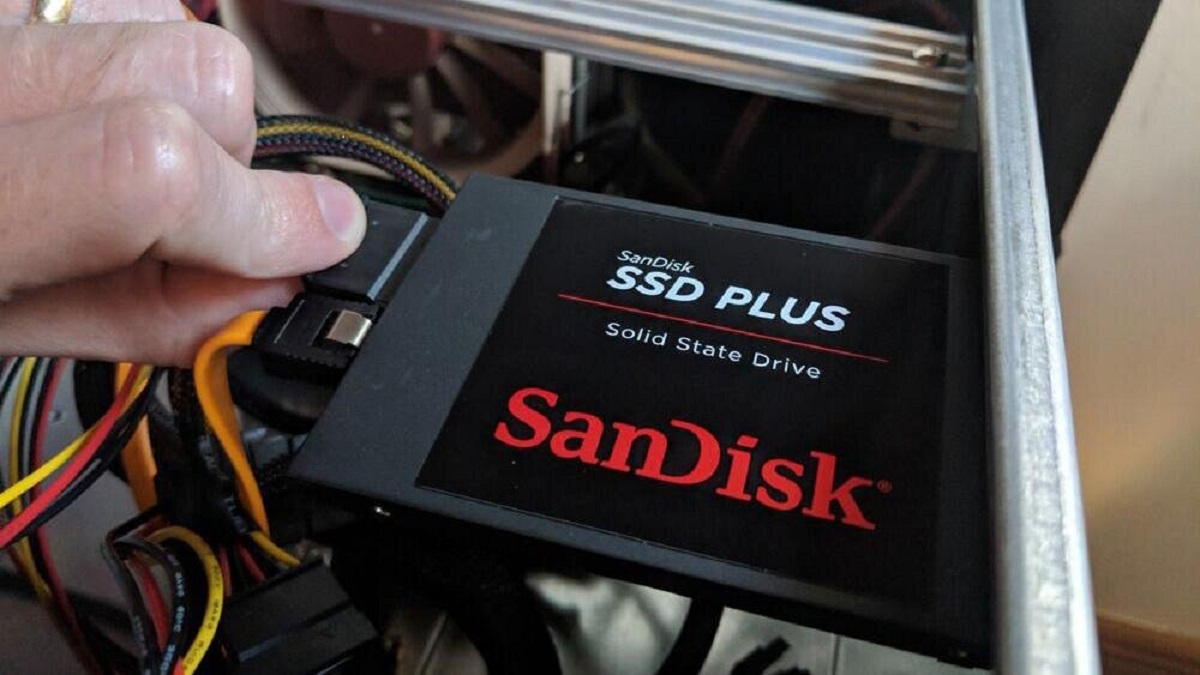
2. Ensure SSD is properly connected: Check the physical connection of the SSD to your computer. Ensure that the SSD is properly connected to the appropriate SATA port or M.2 slot, depending on your SSD type.
3. Update SSD firmware: Visit the manufacturer’s website and check for any firmware updates for your SSD. Updating the firmware can fix compatibility issues and improve performance. Follow the manufacturer’s instructions to update the firmware, if available.
4. Verify SSD compatibility: Double-check that your SSD is compatible with your computer’s BIOS. Ensure that it meets the necessary requirements and specifications.
5. Reset BIOS settings: If you have made multiple changes to the BIOS settings and experience issues, try resetting the BIOS to its default settings. This can be done by locating the option to reset or load the default settings in the BIOS setup utility.
6. Test SSD on another system: If possible, connect the SSD to another computer and check if it is recognized and bootable. This can help determine if the issue lies with the SSD or the computer’s configuration.
7. Check for hardware conflicts: Verify that there are no hardware conflicts or compatibility issues that may be preventing the SSD from being recognized by the system. Ensure that all connections are secure and that there are no loose cables.
8. Consult manufacturer support: If you have exhausted all troubleshooting steps and the issue persists, it may be beneficial to contact the manufacturer’s technical support. They can provide specialized assistance tailored to your specific setup and guide you through further troubleshooting steps.
Remember to take caution when making any changes to BIOS settings and to backup important data before attempting any updates or modifications. It’s essential to follow instructions carefully and seek professional assistance if you are unsure about any procedure or encounter significant issues.
By troubleshooting any potential issues encountered during the process of configuring your BIOS and booting from an SSD, you can maximize the performance and benefits of your SSD while ensuring a smooth and efficient computing experience.
Conclusion
Booting from an SSD can significantly enhance your computer’s performance, providing faster boot times, improved file access, and overall system responsiveness. By following the steps outlined in this guide, you can ensure that your computer is properly configured to boot from an SSD and take full advantage of its benefits.
We started by understanding what an SSD is and the advantages it offers over traditional HDDs. Then, we explored the importance of checking compatibility with your computer’s BIOS and discussed how to update the BIOS firmware if necessary.
We then moved on to configuring the BIOS settings, including changing the boot order to prioritize the SSD and ensuring that it is recognized as the primary boot device. We also discussed saving and exiting the BIOS to apply the changes and allow the computer to boot from the SSD.
In the event of any issues, we provided troubleshooting steps to help identify and resolve common problems. It’s important to remember that proper care should be taken when modifying BIOS settings, and seeking professional assistance is recommended if you encounter significant difficulties.
By successfully booting from an SSD, you can experience the benefits of improved speed, performance, and reliability in your daily computing tasks. From faster boot times to quicker file transfers, upgrading to an SSD can greatly enhance your overall computing experience.
With the information and guidance provided in this guide, you should now have the knowledge and confidence to boot from an SSD and optimize your system for enhanced performance. Enjoy your faster and more efficient computing experience with your newly configured SSD!