Introduction
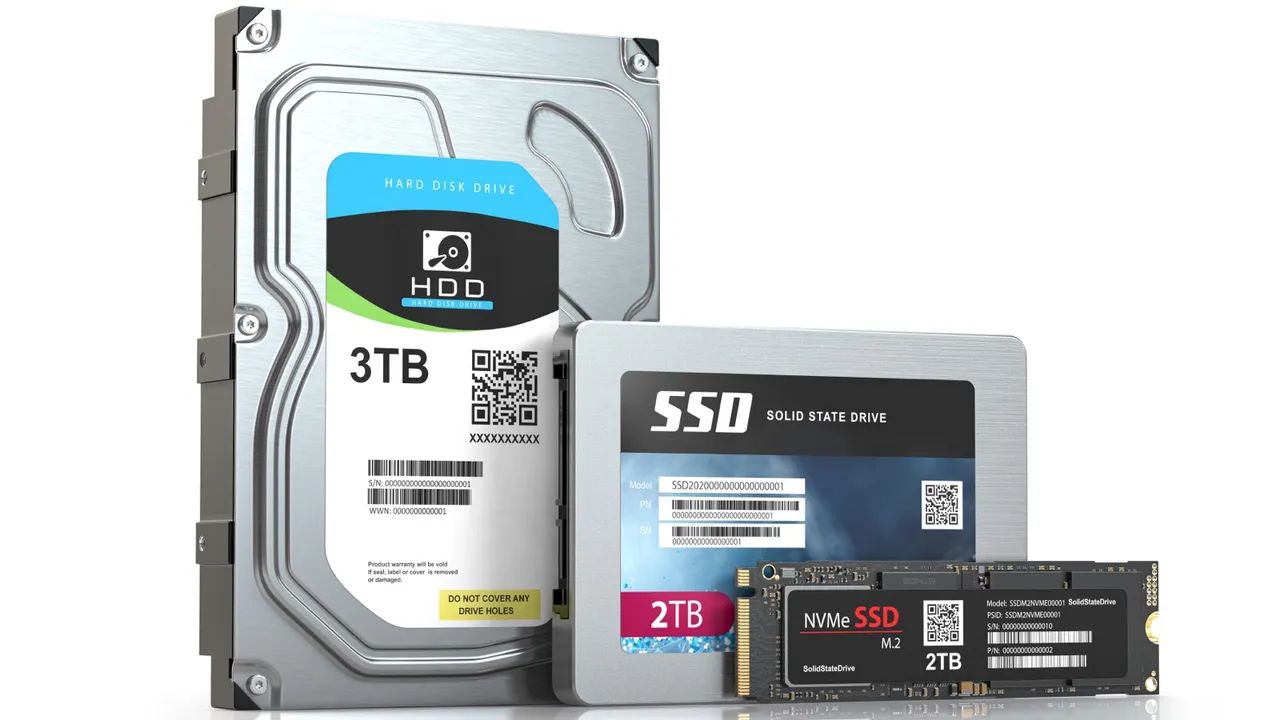
A solid state drive (SSD) is a type of storage device that offers faster data access, improved performance, and greater reliability compared to traditional hard disk drives (HDDs). However, there may be instances where you need to set an SSD to inactive. Whether you’re upgrading your computer’s storage, troubleshooting hardware issues, or simply no longer need the SSD, the process of deactivating it is relatively straightforward. In this guide, we will walk you through the steps to set a solid state drive to inactive.
Before we dive into the details, it’s important to note that the process may slightly vary depending on your computer’s make and model, as well as the specific BIOS settings. However, the general steps provided here should give you a good starting point and help you navigate through the deactivation process.
It’s crucial to emphasize that setting an SSD to inactive will prevent your computer from booting from that drive. Therefore, it’s vital to have a backup of any important data stored on the SSD before proceeding. This ensures that you don’t lose any valuable information during the deactivation process.
With that said, let’s move on to the step-by-step instructions on how to set a solid state drive to inactive. Following these steps carefully will help you safely and effectively render the SSD inactive, allowing you to proceed with further changes or replacements without any complications.
Step 1: Understand the purpose of setting a solid state drive (SSD) to inactive
Before proceeding with the process of setting a solid state drive (SSD) to inactive, it’s important to have a clear understanding of why you might need to do this. There are several reasons why you might want to deactivate an SSD:
- Hardware upgrades: If you’re planning on upgrading your computer’s storage system, you may need to set the existing SSD to inactive before installing a new SSD or HDD.
- Data backup: If you want to ensure the safety of your data, it’s wise to set the SSD to inactive before making any changes. This allows you to back up important files and ensure they are not lost during the deactivation process.
- Troubleshooting: In some cases, an SSD may be causing issues with the computer’s performance or stability. Setting it to inactive can help isolate the problem and determine if the SSD is the source of the issue.
- Temporary disuse: If you have an extra SSD that you don’t currently need, setting it to inactive can help conserve energy and prevent unnecessary wear and tear on the drive.
By understanding the purpose behind setting an SSD to inactive, you can make an informed decision and proceed with the appropriate steps without any hesitation. It’s worth noting that while the process of deactivating an SSD is reversible, it’s always a good idea to backup your data first to avoid any potential loss.
In the next steps, we will guide you through the necessary actions to safely set the solid state drive to inactive, ensuring a smooth and efficient transition for your computer’s storage configuration.
Step 2: Back up your data
Before proceeding with any changes to your solid state drive (SSD), it’s crucial to back up your data. This step ensures that you don’t lose any important files or information during the deactivation process. Here’s how to back up your data:
- Identify your important files: Take some time to identify the files and folders that you consider essential and need to be backed up. These could include documents, photos, videos, music, or any other data that you don’t want to risk losing.
- Choose your backup method: Depending on your preferences and available resources, you can choose between various backup methods, such as external hard drives, cloud storage services, or network storage devices. Select the method that suits your needs and ensures the safety of your data.
- Transfer your files: Once you have decided on your backup method, start transferring your important files to the chosen destination. Be thorough and make sure to double-check that all the necessary files are successfully copied.
- Verify your backup: After the backup process is complete, take a few moments to verify that all your files are intact and accessible in the backup location. This step provides an additional layer of assurance that your data has been successfully backed up.
Backing up your data is a crucial step before making any changes to your SSD. It ensures that you have a safety net in place and minimizes the risk of data loss. By taking the time to back up your files, you can proceed with confidence to the next steps of setting your SSD to inactive without the fear of losing irreplaceable data.
In the next step, we will guide you through the process of physically disconnecting your solid state drive from your computer.
Step 3: Disconnect the SSD physically
Now that you have backed up your data, it’s time to physically disconnect the solid state drive (SSD) from your computer. This step ensures that the SSD is no longer active and is ready for further changes or replacements. Follow these steps to disconnect the SSD:
- Power off your computer: Make sure your computer is completely powered off before proceeding. This ensures your safety and prevents any potential damage to the hardware.
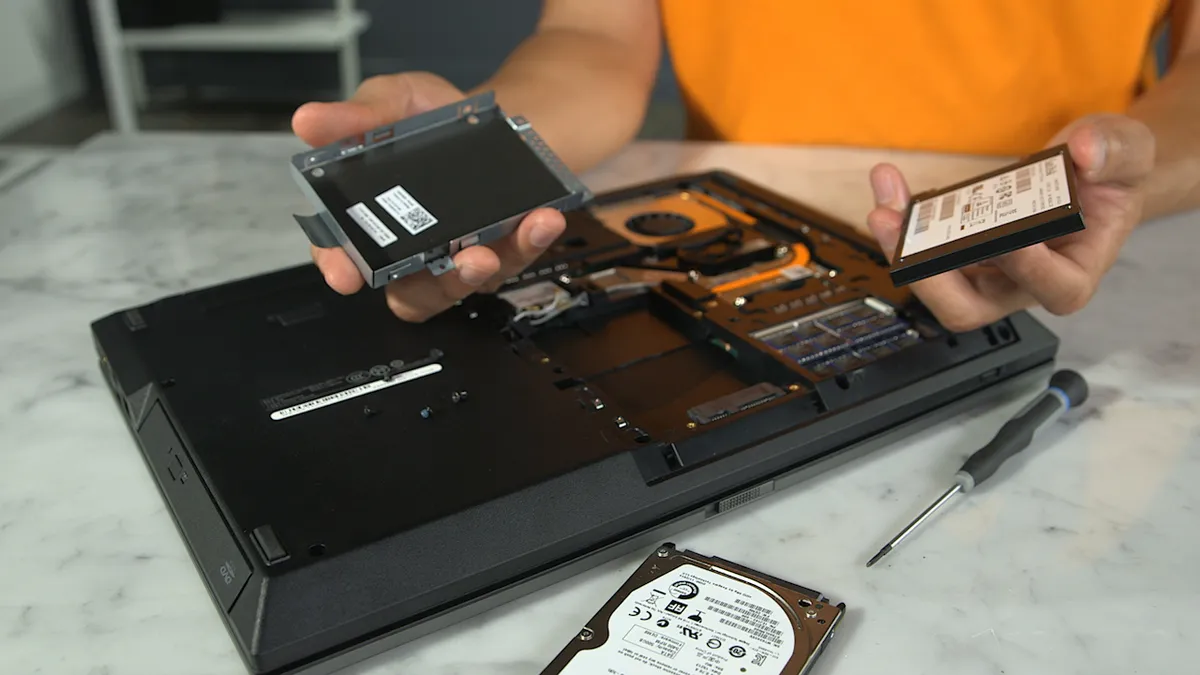
- Open your computer case: Use a screwdriver or follow the manufacturer’s instructions to open the computer case and access the internal components. Be cautious and handle everything with care to avoid any accidental damage.
- Locate the SSD: Identify the solid state drive within your computer. It is typically located near the motherboard and may be labeled with the manufacturer’s name or the storage capacity.
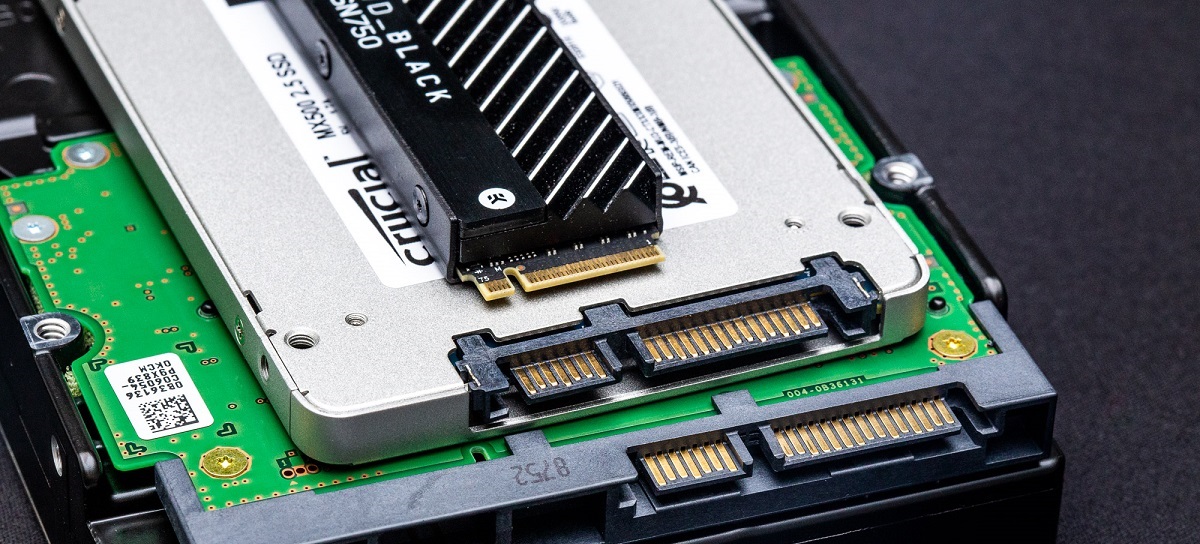
- Disconnect the cables: Gently unplug the cables connected to the SSD. This usually includes the data cable (SATA) and the power cable. Ensure that you grasp the connectors carefully and pull straight out to avoid any damage.
- Remove the SSD: Once the cables are disconnected, carefully detach the SSD from its mounting point, if applicable. Some SSDs may be held in place with screws or brackets. Securely hold the drive and remove any mounting hardware as necessary.
By following these steps, you have successfully disconnected the solid state drive from your computer. The physical disconnection ensures that the SSD is no longer active and ready for further handling. Remember to handle the SSD and other components with care to avoid any potential damage.
In the next step, we will guide you through accessing your computer’s BIOS settings.
Step 4: Access your computer’s BIOS settings
In order to make changes to the status of your solid state drive (SSD) and set it to inactive, you need to access your computer’s BIOS (Basic Input/Output System) settings. The BIOS is a firmware interface that allows you to configure various hardware settings, including the boot order and device status. Follow these steps to access the BIOS settings:
- Power on your computer: Turn on your computer and wait for the initial startup screen to appear. This screen usually displays the motherboard manufacturer’s logo or the computer’s brand.
- Access the BIOS: During the startup process, there is a specific key or combination of keys that you need to press to access the BIOS settings. This key(s) is different for each manufacturer, but commonly used keys include F2, F10, Del, or Esc. Refer to your computer’s manual or look for on-screen prompts to identify the correct key(s) to enter the BIOS.
- Navigate to the boot menu: Once you are in the BIOS settings, navigate to the boot menu. Depending on your computer’s BIOS interface, this may be in a separate tab or section.
- Explore the boot options: Within the boot menu, you will find a list of available boot devices. Look for the entry that corresponds to your solid state drive (SSD). The SSD may be labeled with its brand name, model number, or a generic term such as “SATA SSD.”
By following these steps, you have successfully accessed your computer’s BIOS settings. Navigating to the boot menu and identifying the SSD entry is an essential preparation for the next steps of changing the SSD’s status to inactive.
In the next step, we will guide you through locating the SSD in the boot order.
Step 5: Locate the SSD in the boot order
After accessing your computer’s BIOS settings, the next step in setting your solid state drive (SSD) to inactive is locating the SSD in the boot order. The boot order determines the sequence in which your computer looks for an operating system to load when it starts up. Follow these steps to locate the SSD in the boot order:
- Navigate to the boot order settings: Within the BIOS menu, locate the section or tab that lists the boot order settings. This section may be named “Boot,” “Boot Options,” or “Boot Priority.”
- Find the SSD entry: Look through the list of devices in the boot order and find the entry that corresponds to your SSD. It may be labeled with the brand name, model number, or a generic term such as “SATA SSD.”
- Note the position: Take note of the current position of the SSD in the boot order. This position determines the priority given to the SSD when booting your computer.
Locating the SSD in the boot order is crucial as it allows you to identify its current status and position in the boot sequence. By understanding its placement, you can proceed with the necessary changes to render the SSD inactive.
In the next step, we will guide you through changing the status of the SSD to inactive.
Step 6: Change the SSD’s status to inactive
Now that you have located the solid state drive (SSD) in the boot order, it’s time to change its status to inactive. Modifying the status of the SSD ensures that your computer no longer uses it as a boot device. Follow these steps to change the SSD’s status to inactive:
- Select the SSD: Within the boot order settings, navigate to the SSD entry. Depending on your BIOS interface, you may need to use the arrow keys or the Enter key to select the SSD.
- Change the status: Look for an option or a setting that allows you to change the status of the SSD. This setting is usually labeled as “Active,” “Enabled,” or “Bootable.” Select this setting and change it to “Inactive,” “Disabled,” or “Not Bootable.”
- Save the changes: After changing the status, make sure to save the changes in the BIOS settings. Look for an option such as “Save and Exit” or “Exit Setup.” Use the appropriate key or combination of keys to save the changes and exit the BIOS.
By following these steps, you have successfully changed the status of the SSD to inactive. This ensures that your computer will not boot from the SSD, allowing you to proceed with further changes or replacements.
In the next step, we will guide you through saving and exiting the BIOS settings.
Step 7: Save and exit the BIOS
After changing the status of your solid state drive (SSD) to inactive, it’s important to save the changes and exit the BIOS settings. This ensures that the modified settings take effect and prepares your computer for the next steps. Follow these steps to save and exit the BIOS:
- Verify the changes: Before proceeding, double-check all the changes you made in the BIOS settings, including the status change of the SSD. Ensure that everything is correctly configured as you intended.
- Select the save and exit option: Navigate to the “Save and Exit” or “Exit Setup” option within the BIOS interface. This option may be located in a separate tab or section.
- Confirm the exit: Look for the confirmation prompt to exit the BIOS. This prompt usually asks if you want to save the changes and exit. Select “Yes” or the designated key to confirm and proceed.
- Restart your computer: After saving and exiting the BIOS settings, your computer will automatically restart. Allow the system to boot up, and it should no longer use the SSD as a boot device.
By following these steps, you have successfully saved the changes made in the BIOS settings and exited the interface. The modified status of the SSD is now in effect, ensuring that your computer does not boot from the SSD.
In the final step, we will guide you through the process of rebooting your computer.
Step 8: Reboot your computer
After making changes to your BIOS settings and ensuring that the status of your solid state drive (SSD) is set to inactive, the final step is to reboot your computer. Rebooting allows the system to apply the modified settings and ensure that your computer no longer boots from the SSD. Follow these steps to reboot your computer:
- Close any open programs: Before rebooting, it’s a good practice to close any open programs or files to ensure a smooth restart. Save any unsaved work and exit any applications that are running.
- Click on the “Start” menu: Locate the “Start” button on your computer’s desktop taskbar and click on it.
- Select “Restart”: From the “Start” menu, select the “Restart” option. This will initiate the reboot process.
- Wait for the restart: Allow your computer to complete the reboot process. This may take a few moments as the system applies the modified BIOS settings.
Once your computer has restarted, it should no longer boot from the solid state drive (SSD). The status change you made in the BIOS settings ensures that the SSD is inactive and no longer actively used as a boot device.
Congratulations! You have successfully set your solid state drive to inactive. You can now proceed with further changes to your computer’s storage or continue troubleshooting any hardware issues. Remember, if you ever decide to reactivate the SSD or make any further modifications, you can always revisit the BIOS settings following the same process outlined in this guide.
Conclusion
Setting a solid state drive (SSD) to inactive can be a useful step in various scenarios, such as upgrading storage, troubleshooting hardware issues, or temporarily disabling the SSD. By understanding the purpose and following the step-by-step instructions provided in this guide, you can safely and effectively render your SSD inactive.
Before proceeding with any changes, it’s essential to back up your data to prevent any loss during the deactivation process. Take the time to identify and transfer your important files to a reliable backup location, such as an external hard drive or cloud storage service.
Once your data is backed up, you can physically disconnect the SSD from your computer by opening the case, locating the SSD, and disconnecting the cables. Handle the SSD and other components with care to avoid any accidental damage.
Accessing your computer’s BIOS settings is the next step, allowing you to navigate to the boot order and identify the SSD entry. This ensures that you can accurately change the status of the SSD to inactive.
Changing the status of the SSD involves selecting the SSD, modifying the status setting to inactive, and saving the changes in the BIOS. Once saved, you can proceed to restart your computer, allowing the system to apply the modified settings.
After the reboot, your computer will no longer boot from the SSD, and the SSD will be rendered inactive. This allows you to proceed with further changes or replacements without any complications.
Remember, the process may vary slightly depending on your computer’s make, model, and BIOS interface. Always refer to your computer’s manual or consult the manufacturer’s instructions for any specific guidelines.
Setting a solid state drive to inactive provides flexibility and control over your computer’s storage configuration. Whether it’s for upgrading, troubleshooting, or temporary disuse, these steps allow you to effectively manage your SSD and make necessary adjustments to meet your needs.


