Enable AHCI Mode in BIOS
One crucial step to find your SSD in the BIOS is to ensure that the AHCI (Advanced Host Controller Interface) mode is enabled. By default, some systems may have the SATA mode set to IDE or RAID, which can prevent the SSD from being recognized.
To enable AHCI mode in the BIOS, follow these steps:
- Restart your computer and press the appropriate key to enter the BIOS setup. This key is usually displayed on the screen during the boot process, often labeled as “Press [key] to enter setup.”
- Navigate to the “Storage” or “Configuration” tab using the arrow keys.
- Look for an option related to SATA settings or storage controllers. It may be labeled as “SATA Mode,” “SATA Configuration,” or something similar.
- Select AHCI as the desired mode and save the changes by pressing the corresponding key (often F10) to exit and restart your computer.
Once your computer restarts, it should detect your SSD in the BIOS. If not, continue troubleshooting using the other methods outlined below.
Note that changing the SATA mode to AHCI may require reinstalling the operating system if it was previously installed in IDE or RAID mode. Make sure to back up your data and consult the manufacturer’s instructions or website for further guidance.
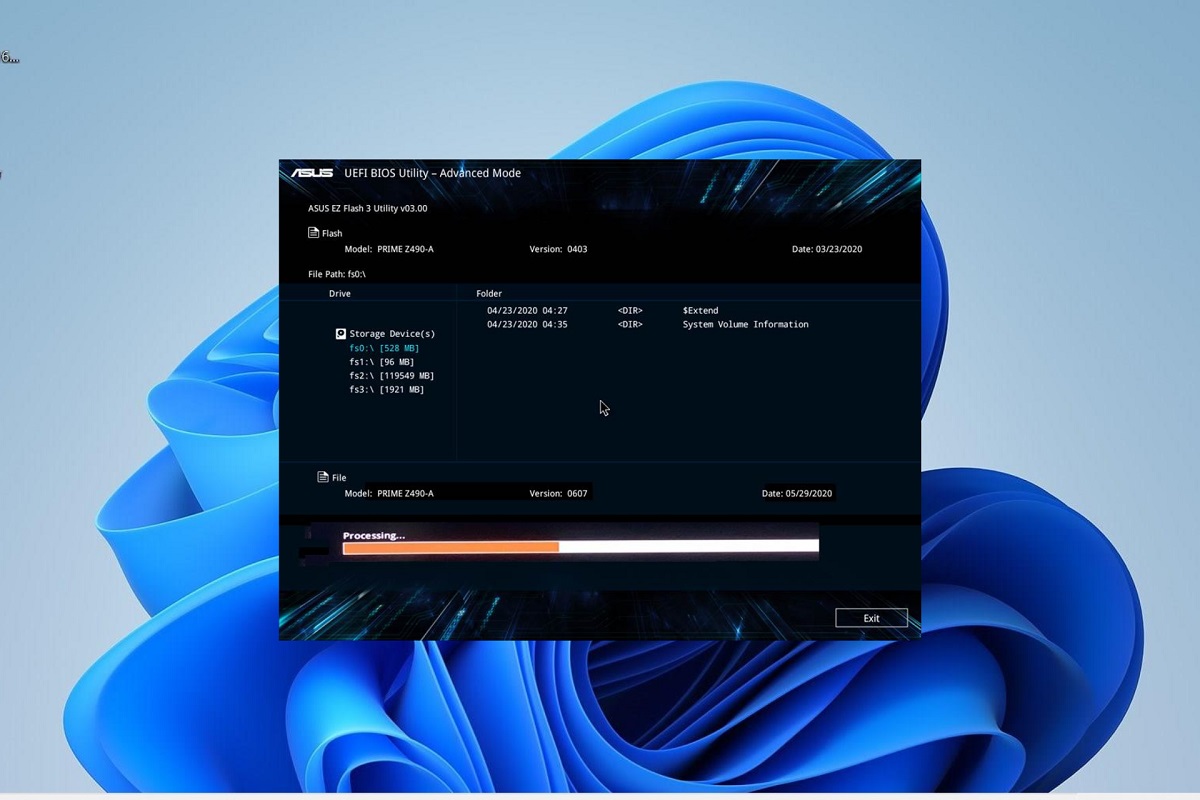
Check BIOS Version
Another important step in finding your SSD in the BIOS is to check if you have the latest version of the BIOS installed. The BIOS (Basic Input/Output System) is firmware that manages the computer’s hardware and acts as an interface between the operating system and the hardware components.
Here’s how you can check your BIOS version:
- Restart your computer and press the appropriate key to enter the BIOS setup.
- Navigate to the “Main” or “System” tab using the arrow keys.
- Look for information about the current BIOS version. It may be displayed as “BIOS Version,” “Firmware Version,” or something similar.
- Note down the current version and compare it to the latest version available on the manufacturer’s website. Ensure that you are checking for the correct BIOS version specific to your computer model.
If you discover that your BIOS version is outdated, it is recommended to update it to the latest version. BIOS updates often include bug fixes, hardware compatibility improvements, and performance optimizations.
However, be cautious when updating the BIOS, as an incorrect installation or interruption during the update process can cause system instability or even render your computer inoperable. To update the BIOS, it’s advisable to follow the manufacturer’s instructions precisely and ensure that your computer is connected to a reliable power source.
Updating the BIOS should not affect the recognition of your SSD, but it can address compatibility issues or provide additional features that may improve its performance.
Update BIOS Version
If you have determined that your current BIOS version is outdated and wish to update it, follow these steps:
- Visit the manufacturer’s website and navigate to the support or downloads section.
- Locate the BIOS update file for your specific computer model. Ensure that you download the correct file to avoid compatibility issues.
- Create a backup of your important files and documents to safeguard against any unforeseen data loss during the update process.
- Read the accompanying documentation provided by the manufacturer for detailed instructions on how to update the BIOS. It may involve running an executable file, using a USB flash drive, or using a specific software utility.
- Before initiating the BIOS update, ensure that your computer is connected to a stable power source to prevent any potential interruptions during the update process.
- Follow the instructions provided by the manufacturer to execute the BIOS update.
- Once the update is complete, restart your computer and re-enter the BIOS setup to verify that the BIOS version has been successfully updated.
It’s important to note that BIOS updates should be performed with caution, as any interruption or incorrect installation may lead to system instability or permanent damage to your computer. Therefore, it is strongly recommended to carefully follow the manufacturer’s guidelines and only perform BIOS updates if necessary or if instructed by technical support.
Remember to regularly check for BIOS updates to ensure that your computer benefits from bug fixes, security enhancements, and improved compatibility with hardware components, including your SSD.
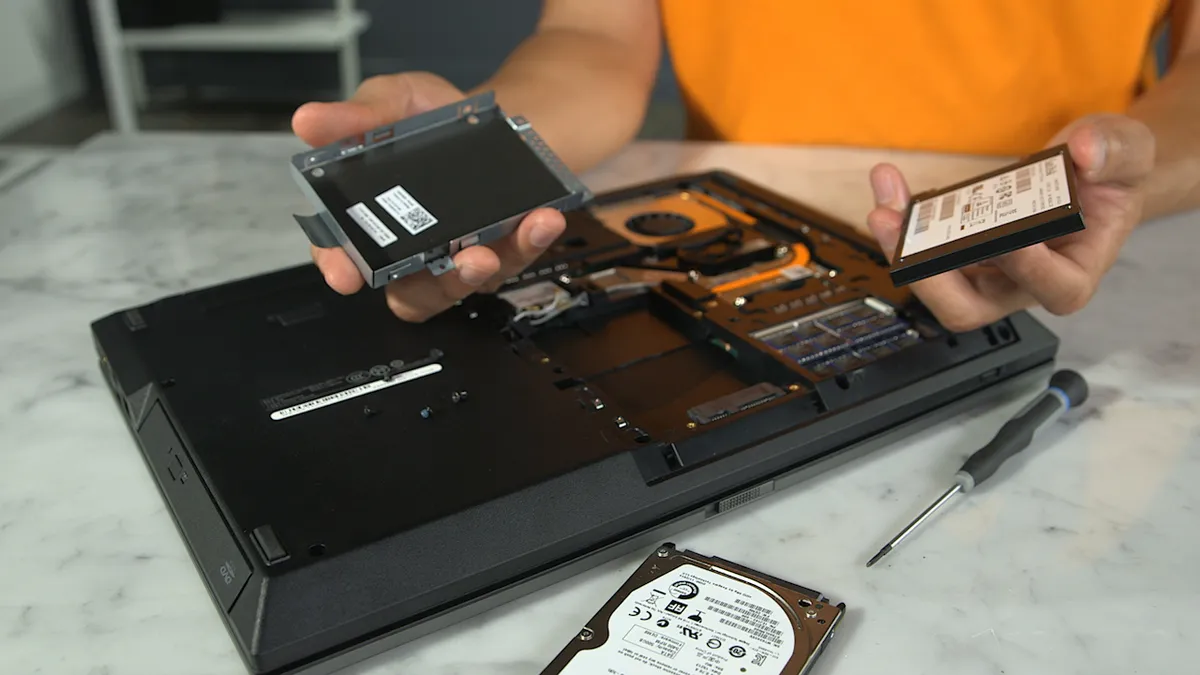
Check Hardware Connections
If your SSD is not being detected in the BIOS, it’s important to verify that all hardware connections are properly established. A loose or faulty connection can prevent the SSD from being recognized by the system.
Follow these steps to check your hardware connections:
- Power off your computer and unplug it from the power source.
- Open the computer case to access the internal components. Refer to the manufacturer’s documentation for instructions specific to your computer model.
- Locate the SATA data cable connected to your SSD and ensure it is securely connected to both the motherboard and the SSD itself. Gently wiggle the cable to ensure it is firmly in place.
- Check the power cable connected to the SSD. Make sure it is securely plugged into a power connector from the power supply unit.
- Inspect the SATA ports on the motherboard. If your motherboard has multiple SATA ports, try connecting the SSD to a different port to see if it is detected.
- If you have multiple drives connected to the same SATA controller, confirm that the drives are properly jumpered (if necessary) and that they are not conflicting with each other.
- Close the computer case and reconnect the power cable.
- Power on your computer and enter the BIOS setup to check if the SSD is now detected.
If, after checking and reseating the hardware connections, your SSD is still not being detected, continue troubleshooting using the other methods described below.
Ensuring that all hardware connections are secure and properly seated can help resolve any connection issues that may be preventing your SSD from being recognized by the BIOS.
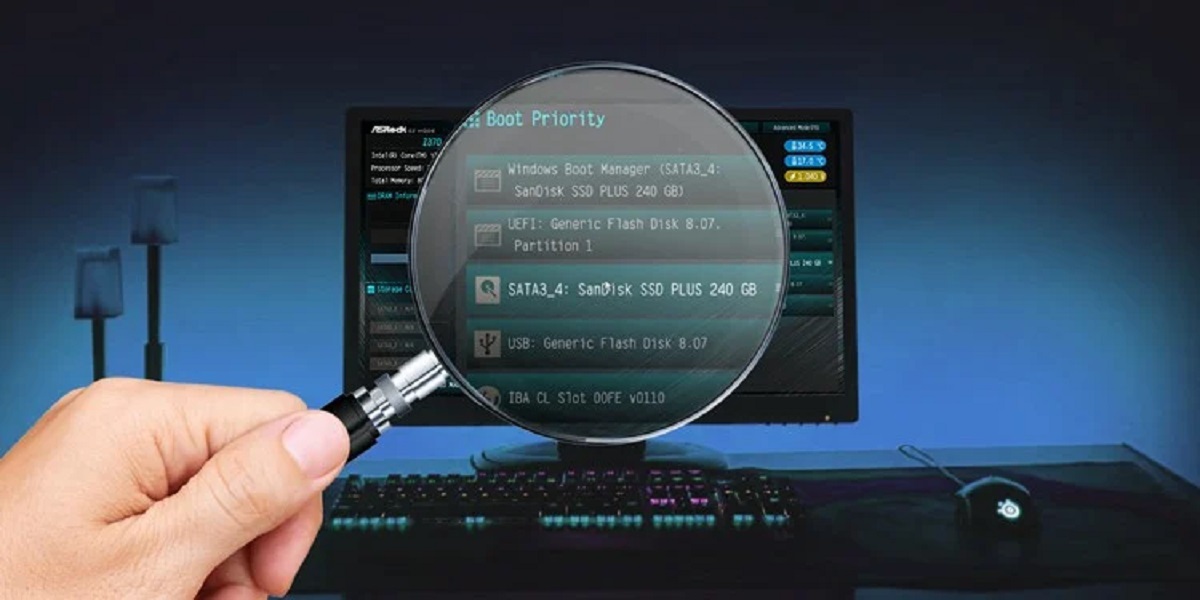
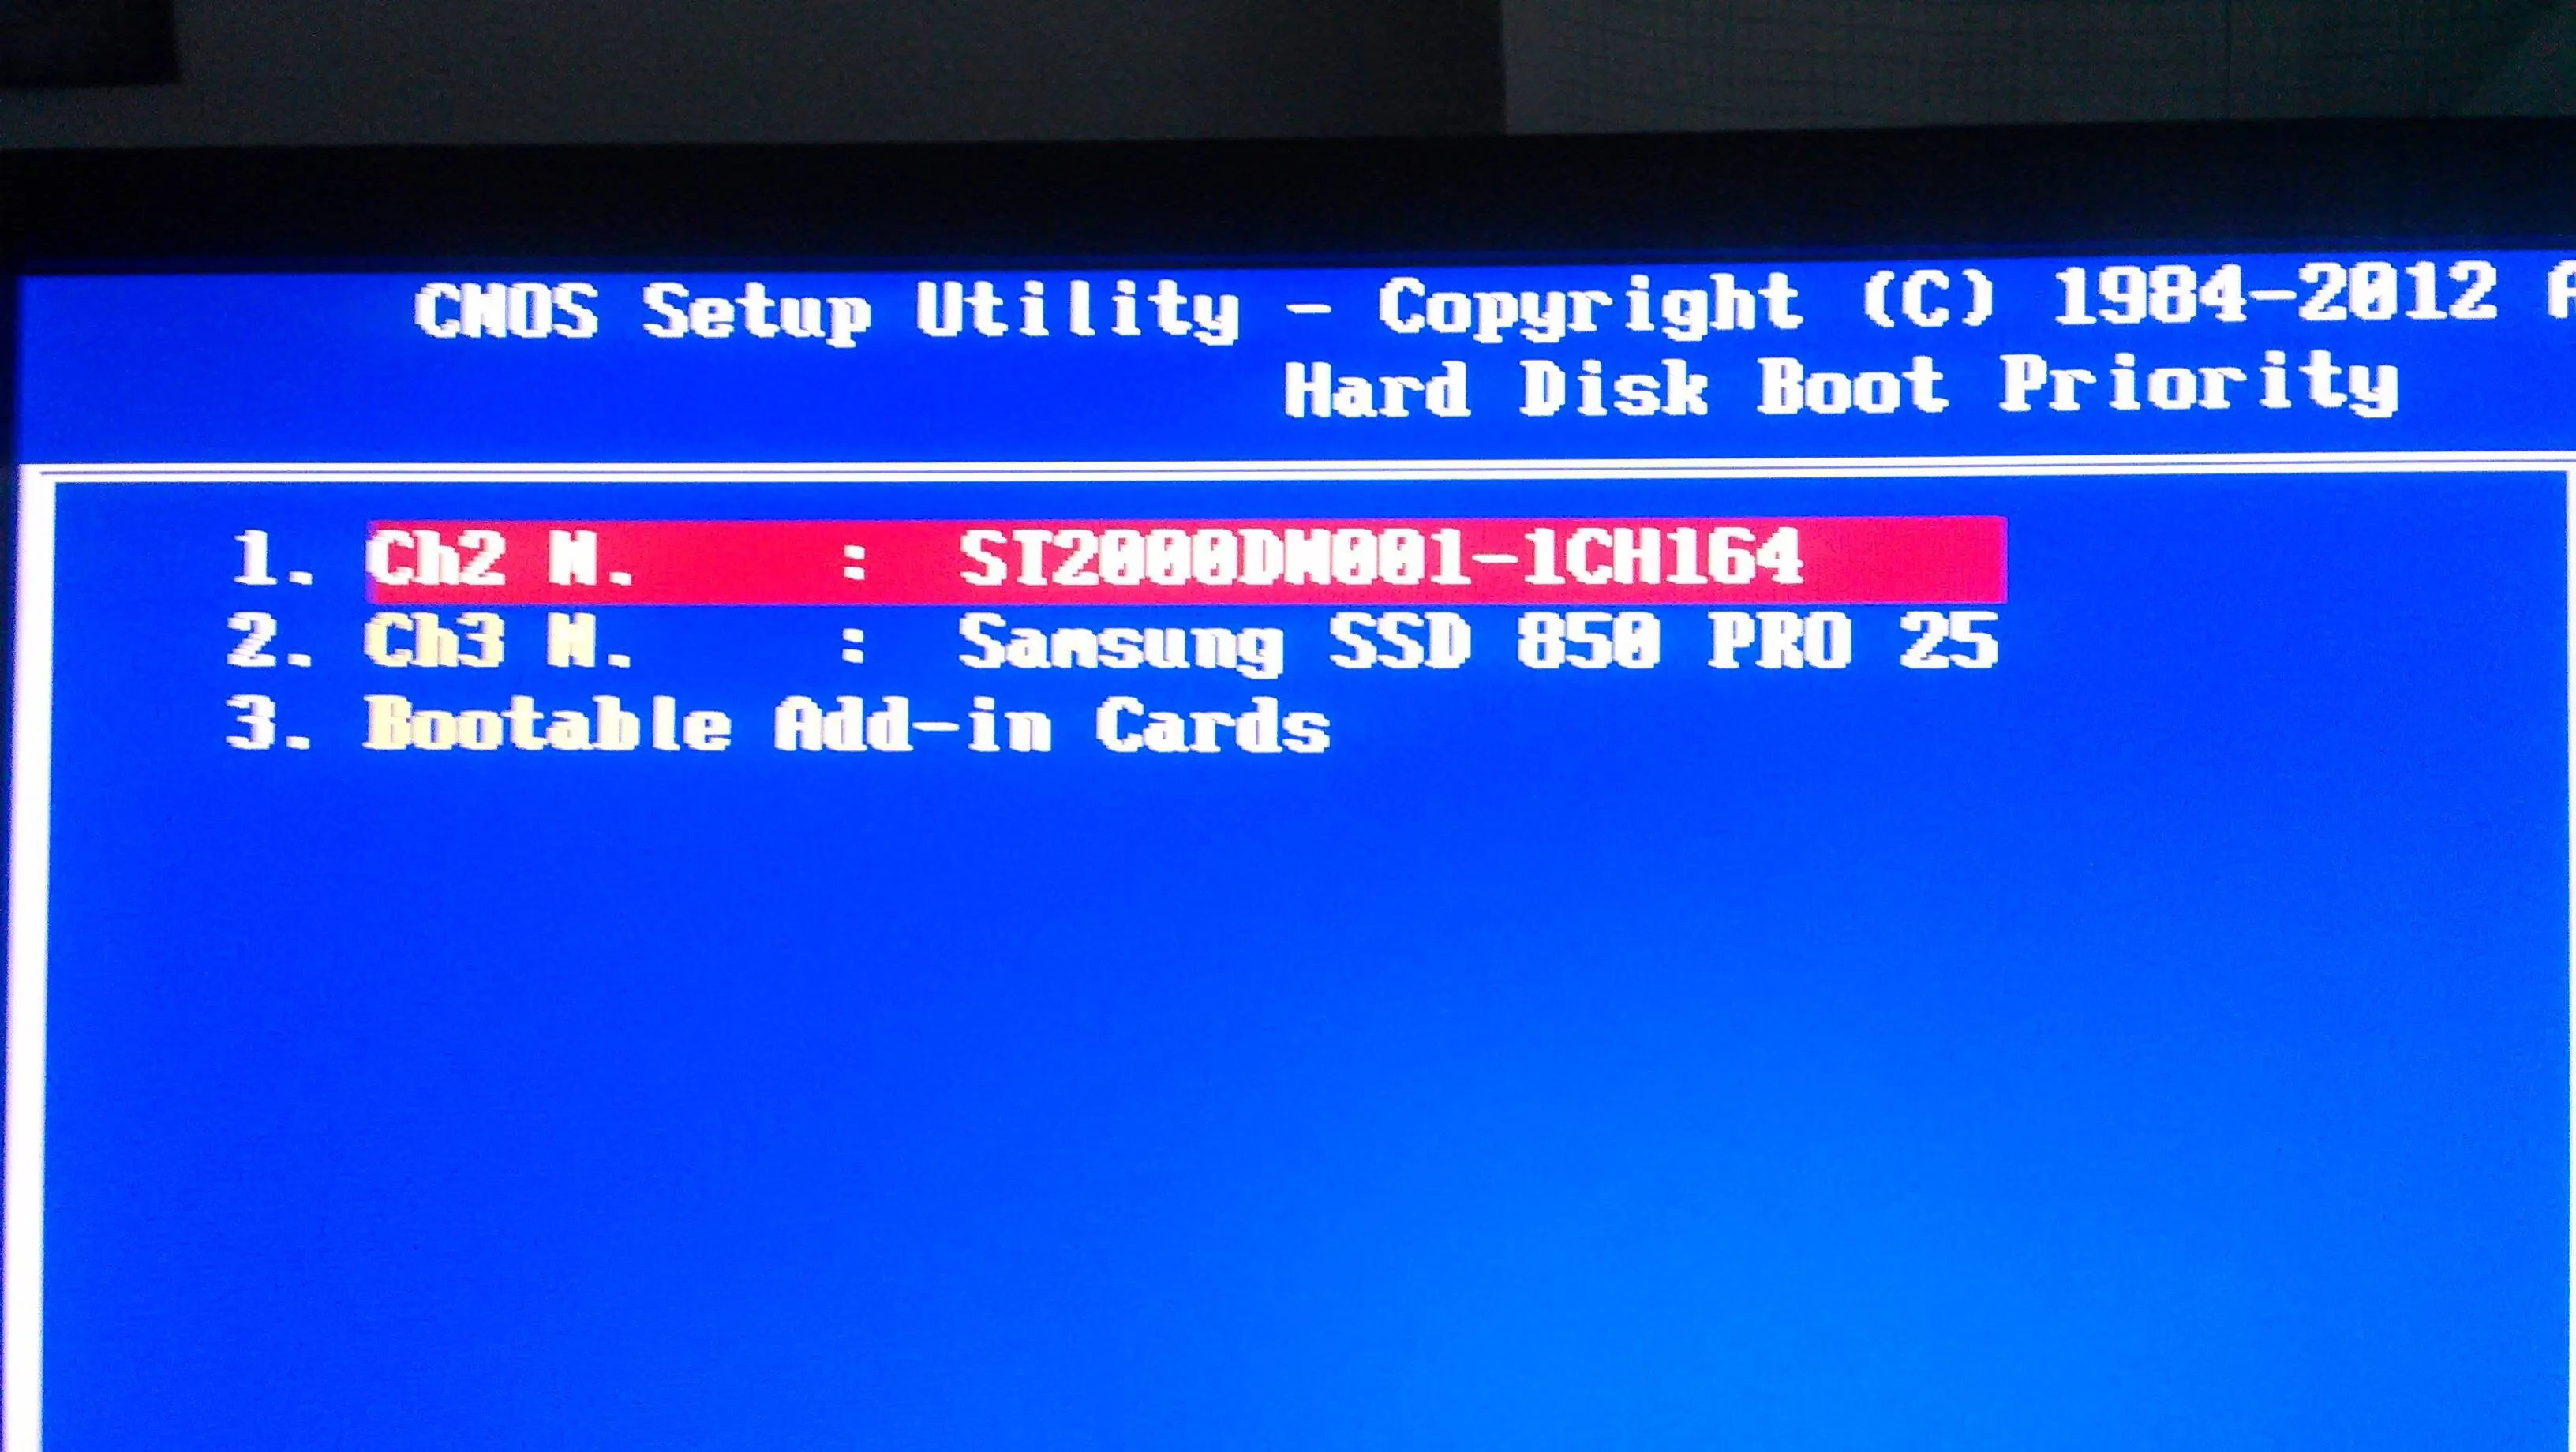
Check Boot Order
If your SSD is not showing up in the BIOS, it is worth checking the boot order to ensure that the system is configured to boot from the SSD. The boot order determines the sequence in which the computer looks for bootable devices when starting up.
Follow these steps to check the boot order:
- Restart your computer and enter the BIOS setup.
- Navigate to the “Boot” or “Boot Order” section using the arrow keys.
- Look for an option called “Boot Order,” “Boot Priority,” or something similar.
- Ensure that the SSD is listed as one of the bootable devices. If it is not, you may need to modify the boot order.
- If the SSD is not in the boot order list, you can usually move it up or down using the arrow keys or specific key combinations (e.g., +/- keys).
- Save the changes and exit the BIOS setup.
After adjusting the boot order, restart your computer and check if the SSD is now detected during the boot process.
If the SSD is still not showing up, make sure that the SSD is properly connected and that it is functioning correctly. You can try connecting the SSD to a different SATA port or using a different SATA cable to eliminate any potential issues with the connections.
It’s also worth noting that some BIOS settings may provide additional options related to boot devices, such as enabling or disabling specific SATA ports. Explore these settings to ensure that the necessary options are enabled for your SSD.
By verifying and adjusting the boot order, you can ensure that the system is set to boot from the SSD as the primary device, increasing the chances of it being recognized by the BIOS.
Check SATA Cables
If your SSD is not being detected in the BIOS, one possible cause could be faulty SATA cables. The SATA cables are responsible for connecting the SSD to the motherboard and transferring data. A loose or damaged SATA cable can result in communication issues, leading to the SSD not being recognized.
Here’s how you can check the SATA cables:
- Power off your computer and unplug it from the power source.
- Open the computer case to access the internal components. Refer to the manufacturer’s documentation for instructions specific to your computer model.
- Locate the SATA cables connected to your SSD and the motherboard.
- Ensure that the SATA cables are firmly connected to both the SSD and the motherboard. Give them a gentle wiggle to check for any loose connections.
- If you have spare SATA cables available, consider replacing the existing cables with the new ones to eliminate the possibility of a faulty cable.
- Carefully route and secure the new cables, ensuring they are not interfering with other components.
- Close the computer case and reconnect the power cable.
- Power on your computer and check if the SSD is now detected in the BIOS.
If the SSD is still not being recognized after checking and potentially replacing the SATA cables, consider trying a different SATA port on the motherboard. Sometimes, certain ports may have issues, and switching to another port can resolve the problem.
By ensuring that the SATA cables are securely connected and in good working condition, you can eliminate any potential cable-related issues that may prevent your SSD from being detected by the BIOS.
Check Power Supply
If your SSD is not being detected in the BIOS, it’s essential to check the power supply to ensure that the SSD is receiving sufficient power. A faulty or inadequate power supply can prevent the SSD from functioning properly and being recognized by the system.
Follow these steps to check the power supply:
- Power off your computer and unplug it from the power source.
- Open the computer case to access the internal components. Refer to the manufacturer’s documentation for instructions specific to your computer model.
- Examine the power supply unit (PSU) and the power cables connected to it.
- Ensure that all power cables, including those connected to the SSD and the motherboard, are securely attached.
- Check the capacity of your power supply. Ensure that it meets the requirements of the SSD and any other components in your system. Insufficient power supply can cause the SSD to malfunction.
- If possible, try connecting the SSD to a different power connector from the power supply.
- Close the computer case and reconnect the power cable.
- Power on your computer and check if the SSD is now detected in the BIOS.
If the SSD is still not detected, consider testing the power supply with a different SSD or a known working SSD to determine if the issue lies with the power supply itself.
If you suspect that your power supply is inadequate or defective, it may be necessary to replace it with a higher-capacity or more reliable unit.
By ensuring a stable and adequate power supply to your SSD, you can ensure that it functions properly and is recognized by the BIOS.
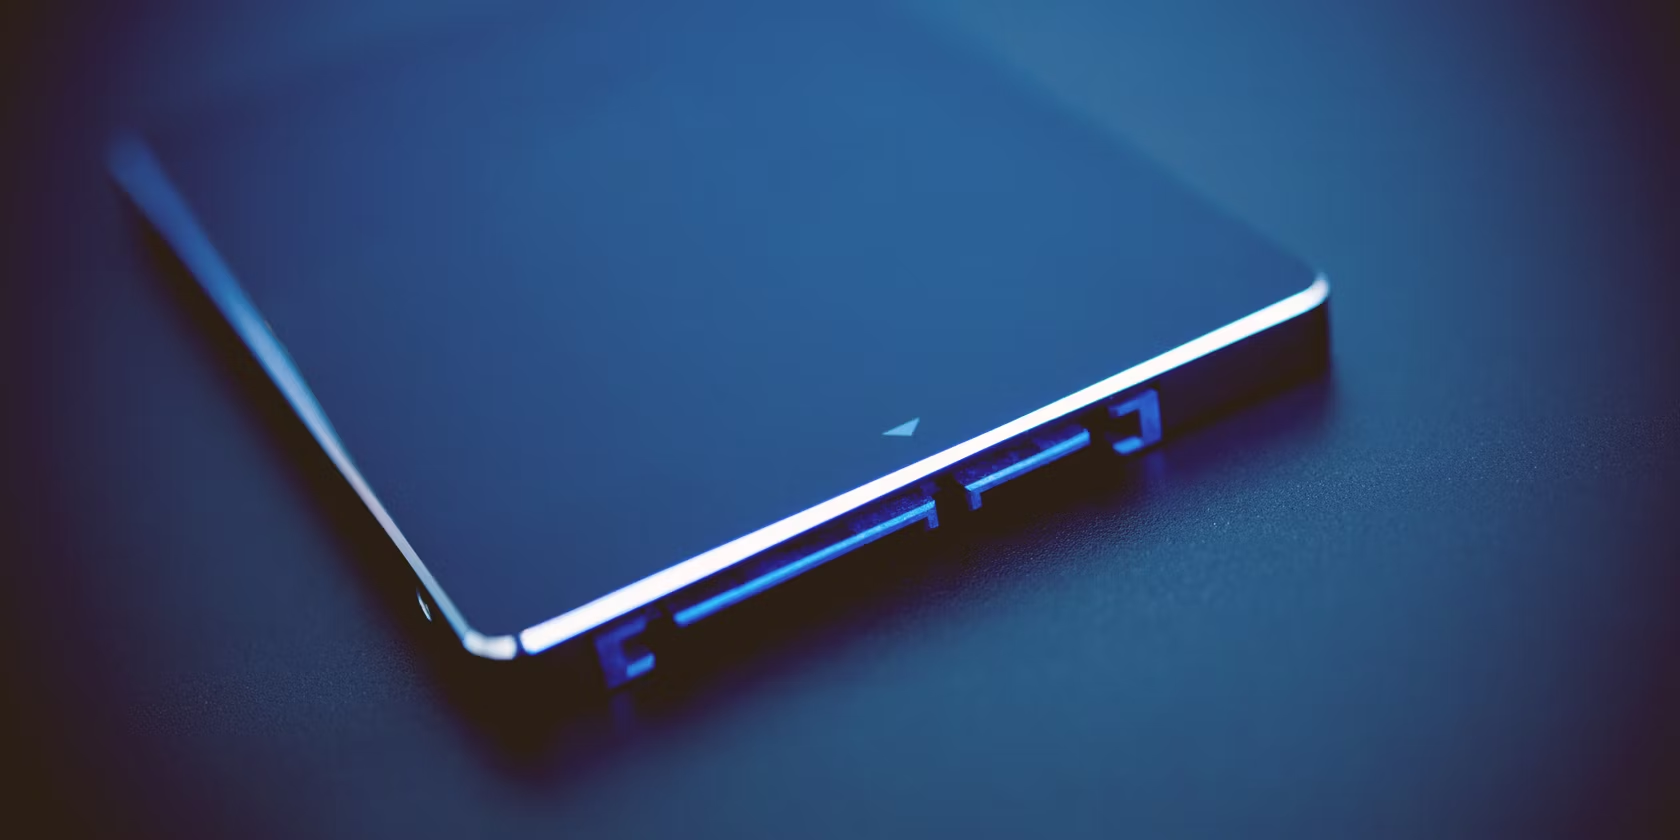
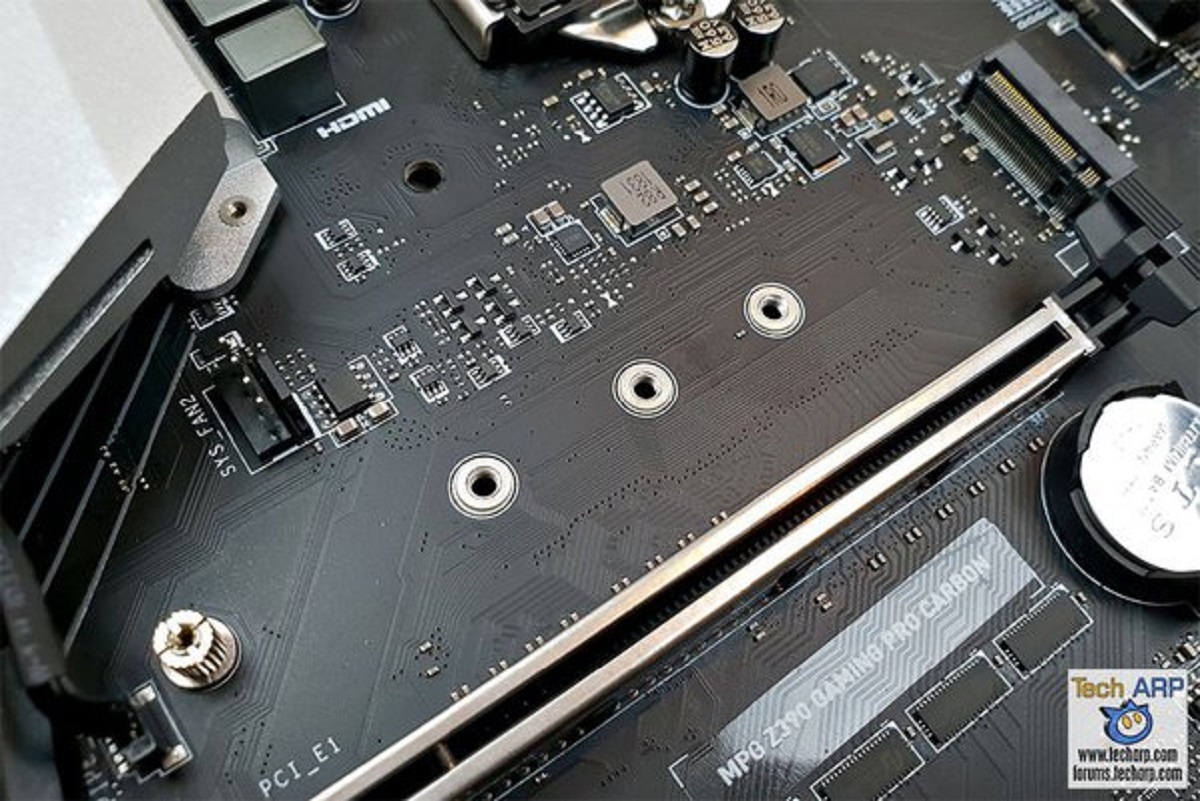
Check SSD Compatibility
If your SSD is not being detected in the BIOS, it is crucial to verify its compatibility with your motherboard and system. Incompatible hardware can lead to issues with detection and functionality. Ensure that your SSD is compatible with your system by following these steps:
- Refer to the documentation or specifications of your motherboard and system to determine the supported interface and form factor.
- Verify that your SSD matches the supported interface, such as SATA or NVMe, and the form factor, such as 2.5-inch or M.2.
- If your SSD is an M.2 form factor, check whether your motherboard supports the specific keying (B or M key) and length of your SSD.
- Consider checking the manufacturer’s website for any additional compatibility information or potential firmware updates for your SSD.
- If your motherboard has multiple M.2 slots, ensure that the SSD is installed in the slot that is compatible with its keying and bandwidth requirements.
- If the SSD is compatible but still not being detected, ensure that you have installed any necessary drivers or firmware updates related to your SSD.
In some cases, certain motherboards or systems may require a BIOS update to ensure compatibility with newer SSD models. Check the manufacturer’s website for any BIOS updates specific to your motherboard.
If your SSD is determined to be incompatible, you may need to consider alternative storage options or upgrade your motherboard to support the desired SSD.
By ensuring that your SSD is compatible with your motherboard and system, you can increase the likelihood of it being recognized by the BIOS and functioning as intended.
Reset BIOS Settings to Default
If you are experiencing issues with your SSD not being detected in the BIOS, resetting the BIOS settings to their default values can help resolve any misconfigurations or conflicts that may be causing the problem.
Please note that resetting the BIOS will revert any customized settings back to their original state, so it’s essential to document any adjustments you have made previously.
Follow these steps to reset the BIOS settings to default:
- Restart your computer and enter the BIOS setup.
- Navigate to the “Exit” or “Reset” tab using the arrow keys.
- Look for an option to restore or reset the BIOS settings to their default values. It may be labeled as “Load Default Settings,” “Reset to Defaults,” or something similar.
- Select this option and confirm your choice if prompted.
- Save the changes and exit the BIOS setup.
- Restart your computer and check if the SSD is now detected in the BIOS.
Resetting the BIOS settings can help eliminate any configurations that may be causing conflicts with the detection of the SSD. It also ensures that the BIOS is in a known, stable state.
If the SSD is still not being recognized after resetting the BIOS, consider trying other troubleshooting methods mentioned earlier or contacting technical support for additional assistance.
Remember to reapply any necessary custom settings after resetting the BIOS, such as enabling AHCI mode or adjusting boot order, if applicable to your system configuration.
Contact Customer Support
If you have exhausted all the above troubleshooting steps and your SSD is still not being detected in the BIOS, it may be time to reach out to the customer support of your SSD manufacturer or your computer manufacturer. They can provide further guidance and assistance specific to your hardware configuration.
Contacting customer support can help in several ways:
- Expert Advice: Customer support teams are equipped with in-depth knowledge and experience with their products. They can provide guidance on resolving compatibility issues, firmware updates, or any specific troubleshooting steps for your SSD.
- RMA / Warranty Support: If your SSD is determined to be faulty or defective, customer support can assist you in initiating the process for a return merchandise authorization (RMA) or warranty claim. They can provide instructions on how to send in your SSD for repair or replacement.
- Escalation to Technical Experts: In complex cases, customer support can escalate your issue to their technical experts who have specialized knowledge and tools to diagnose and resolve more challenging problems.
- Documentation and Resources: Customer support teams can direct you to relevant documentation, user manuals, and online resources that may contain additional troubleshooting steps or FAQs specific to your SSD model.
When contacting customer support, be prepared to provide them with relevant details about your system configuration, including the make and model of your SSD, motherboard, and any other relevant components. This information will help them understand your specific setup and provide tailored support.
Reach out to the SSD manufacturer or computer manufacturer through their official support channels, such as their website or dedicated support phone number or email. Be sure to provide a thorough description of the issue and any steps you have already taken to troubleshoot the problem.
By contacting customer support, you can leverage their expertise and resources to assist you in resolving the issue with your SSD not being detected in the BIOS.