Introduction
Welcome to our guide on how to set the boot priority to your SSD! If you recently upgraded your computer with a solid-state drive (SSD), you might want to make it the primary boot device. By setting the boot priority to the SSD, you can enjoy faster boot times and improved system performance.
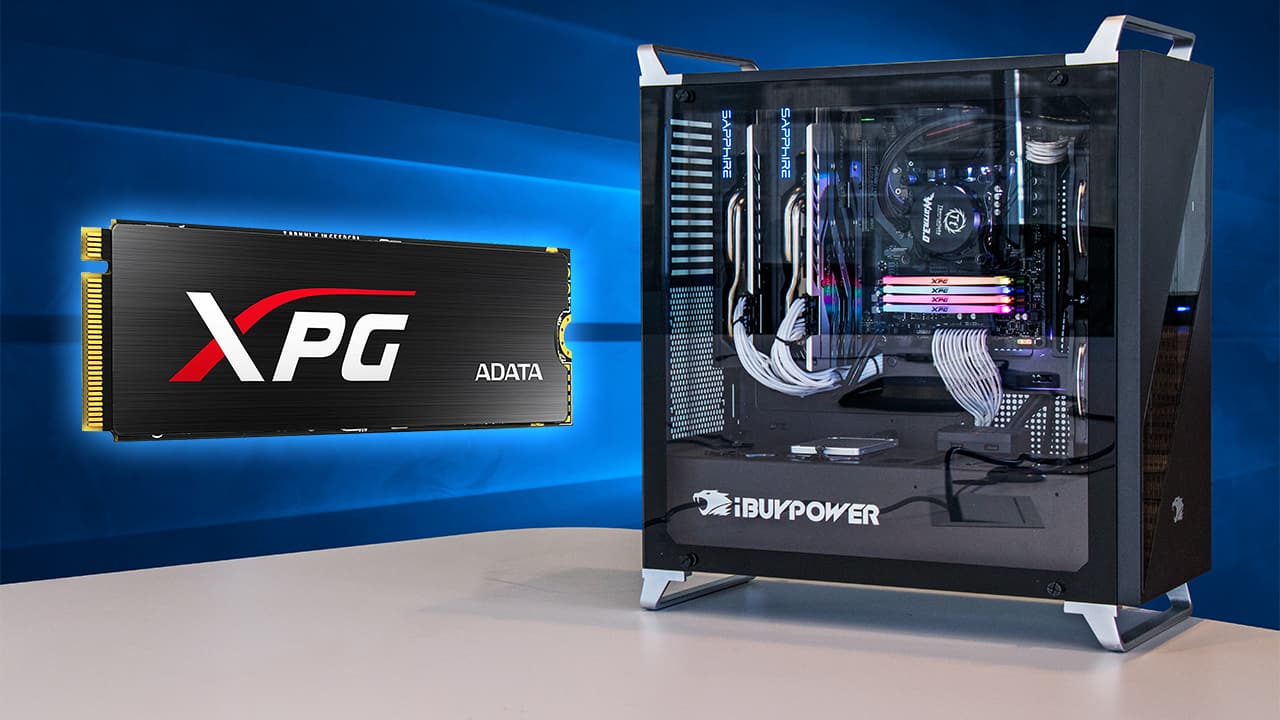
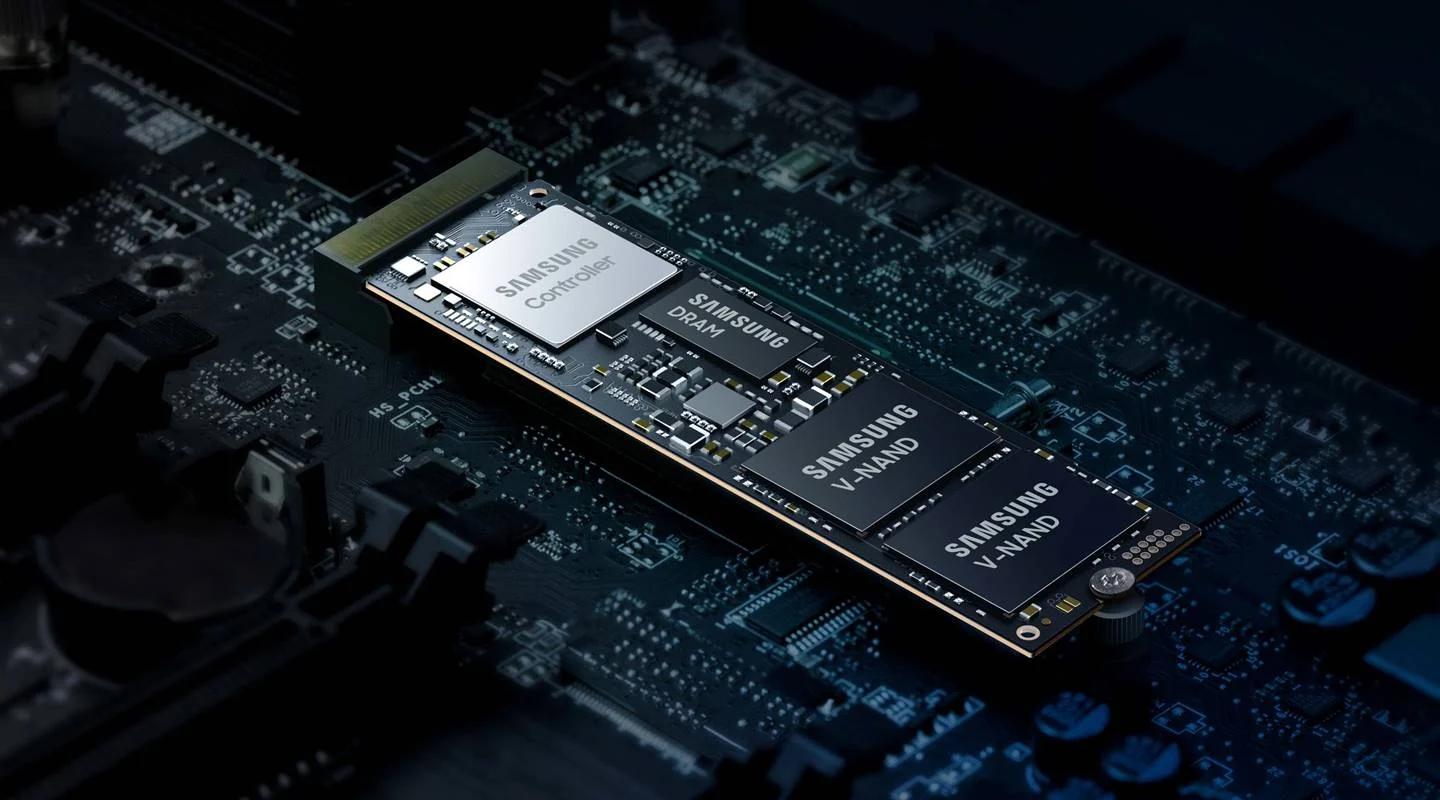
A solid-state drive is a storage device that uses flash memory to store data. Unlike traditional hard disk drives (HDDs) that have spinning disks and mechanical parts, SSDs offer faster read and write speeds. This makes them an excellent choice for the operating system and frequently used programs. By setting your computer to boot from the SSD, you can take full advantage of its speed and responsiveness.
In this guide, we will walk you through the process of setting the boot priority to your SSD. We will explain what boot priority is and how it affects your computer’s startup process. Additionally, we will provide step-by-step instructions on how to access the BIOS menu and make the necessary changes.
It is important to note that accessing the BIOS and changing boot priority settings may vary slightly depending on your computer manufacturer and model. However, the overall process should be similar across most systems. If you encounter any difficulties during the process, consult your computer’s documentation or seek assistance from the manufacturer’s support channels.
Before we proceed, it is recommended to back up any important data on your computer. Although changing the boot priority should not cause data loss, it is always wise to be cautious when making system changes.
Now that we have covered the basics, let’s dive into the world of boot priority and learn how to set it to your SSD for a swifter and more efficient computing experience.
Why set boot priority to SSD?
You may be wondering why it is beneficial to set the boot priority to your SSD. Well, there are several reasons why this is a wise move.
First and foremost, SSDs offer significantly faster boot times compared to traditional HDDs. When your computer starts up, the operating system needs to be loaded into memory. With an SSD as the primary boot device, this process is expedited due to the SSD’s lightning-fast read speeds. This means that you can get to your desktop or login screen in seconds, rather than waiting several minutes with an HDD.
Furthermore, setting the boot priority to your SSD enhances overall system performance. SSDs have faster data transfer rates, resulting in snappier response times when launching applications and accessing files. Tasks that previously took a noticeable amount of time to execute with an HDD can now be completed almost instantaneously with an SSD. Whether you are loading large files, running resource-intensive applications, or multitasking, the improved performance of an SSD can greatly enhance your computing experience.
Another advantage of setting boot priority to your SSD is improved reliability. HDDs consist of moving parts, making them susceptible to mechanical failures and physical damage. SSDs, on the other hand, have no moving parts, which means they are more resistant to shocks and vibrations. This increased durability translates to a lower risk of data loss and system crashes. By prioritizing an SSD as the boot device, you reduce the chances of encountering startup issues caused by HDD failures.
In addition, SSDs require less power to operate compared to HDDs. This means that by setting boot priority to your SSD, you can potentially extend the battery life of your laptop, making it more energy-efficient. Additionally, SSDs produce less heat during operation, contributing to a cooler and quieter computing experience.
Overall, setting the boot priority to your SSD is a smart choice for anyone looking to optimize their computer’s performance and reliability. With faster boot times, improved system responsiveness, enhanced durability, and potential energy savings, the benefits of using an SSD as the primary boot device are evident. Now that you understand why it is advantageous to set boot priority to your SSD, let’s proceed to the next section, where we will explore boot priority in more detail and discuss how it works.
Understanding boot priority and how it works
Before we delve into the process of setting boot priority to your SSD, it’s important to understand what boot priority is and how it functions within your computer system.
Boot priority, also known as boot order or boot sequence, determines the order in which your computer searches for and loads the operating system during startup. When you power on your computer, it goes through a series of steps to initialize the hardware components and launch the operating system.
By default, computers are typically configured to boot from the primary hard drive or storage device, which is often an HDD. This means that the operating system installed on the primary hard drive is loaded first during startup. However, by changing the boot priority settings, you can specify a different storage device as the primary boot device, such as an SSD.
The boot priority settings can be accessed and modified through the computer’s Basic Input/Output System (BIOS) or Unified Extensible Firmware Interface (UEFI) menu. The BIOS/UEFI is a firmware interface that allows you to configure and control various aspects of your computer’s hardware.
When you power on your computer, it performs a Power-On Self-Test (POST), a series of diagnostic tests to ensure that the hardware components are functioning properly. Once the POST is complete, the computer looks for the bootable storage devices based on the boot priority settings.
Usually, the computer checks the primary hard drive first. If it finds a bootable operating system on that drive, it proceeds to load and start it. If not, it moves on to the next storage device in the boot priority list until a bootable operating system is found.
It’s important to note that the boot priority settings often include other storage devices such as optical drives (CD/DVD) and USB drives. These devices can be useful for booting from external installation media or recovery tools. However, for setting the boot priority to your SSD, you will need to modify the settings accordingly.
The ability to change boot priority settings may vary depending on your computer’s manufacturer and model. In some cases, the BIOS/UEFI menu may have a specific section dedicated to boot options, while in others, it may be incorporated into the general settings or advanced options.
Now that you have a solid understanding of boot priority and how it functions within your computer system, let’s proceed to the next section where we will discuss the steps to set boot priority to your SSD.
Steps to set boot priority to SSD
Now that you’re familiar with boot priority and its significance, let’s walk through the steps to set the boot priority to your SSD. Here’s a step-by-step guide to help you accomplish this:
- Check if your computer supports changing boot priority: Before proceeding, ensure that your computer’s BIOS/UEFI allows you to modify boot priority settings. Consult your computer’s documentation or manufacturer’s website for instructions specific to your model.
- Enter the BIOS/UEFI menu: Restart your computer and look for the appropriate key to access the BIOS/UEFI menu. Typically, it’s the Delete or F2 key, but it may vary depending on your computer’s manufacturer. On some systems, you may need to press a combination of keys or a specific function key (e.g., Fn + F2).
- Navigate to the boot priority settings: Once you’re in the BIOS/UEFI menu, navigate to the boot options. The exact location of this option may vary depending on your system. Look for headings like “Boot,” “Boot Options,” “Boot Priority,” or “Boot Sequence.”
- Change the boot priority to SSD: In the boot priority settings, locate the entry for your SSD. It might be listed as the model name of your SSD or a generic label like “UEFI: SSD Name.” Use the appropriate keys (typically the +/- keys or PgUp/PgDn) to move the SSD entry to the top of the boot priority list.
- Save the changes and exit the BIOS/UEFI menu: Once you have set the boot priority to your SSD, save the changes. Look for an option like “Save and Exit,” “Exit Saving Changes,” or “Save Configuration.” Follow the on-screen instructions to confirm and exit the BIOS/UEFI menu. Your computer will restart.
- Verify the boot priority change: After your computer restarts, it should boot from the SSD as the primary boot device. You can verify this by observing the startup process and noting the faster boot times. You may also check the BIOS/UEFI menu again to ensure that the SSD is listed as the first boot option.
Please note that the above steps are general guidelines, and the specific options and procedures may vary depending on your computer manufacturer and model. It’s always a good idea to refer to your computer’s documentation or seek assistance from the manufacturer’s support channels if you encounter any difficulties during the process.
Now that you know the steps to set the boot priority to your SSD, you’re ready to optimize your computer’s performance and enjoy faster boot times. In the next section, we will discuss how to confirm if your computer supports changing boot priority settings.
Checking if your computer supports changing boot priority
Before proceeding with the steps to set the boot priority to your SSD, it’s important to ensure that your computer supports changing boot priority settings. Here’s how you can check:
1. Consult your computer’s documentation: The best place to start is by referring to the user manual or documentation that came with your computer. Look for information about accessing the BIOS or UEFI menu and changing boot settings. This documentation should also mention if your computer supports modifying the boot priority.
2. Visit the manufacturer’s website: If you don’t have the physical documentation or can’t find it, head to the manufacturer’s website. Search for your specific computer model and navigate to the support or downloads section. Look for any available documentation or guides related to the BIOS/UEFI settings. These documents often include instructions on changing boot priority and provide information on whether your computer supports this feature.
3. Try accessing the BIOS/UEFI menu: Restart your computer and look for the key or combination of keys to enter the BIOS/UEFI menu. Common keys include Delete, F2, F10, or Esc, but this can vary depending on the manufacturer and computer model. If you’re not sure, refer to the computer’s documentation or perform an online search specific to your machine. If you can access the BIOS/UEFI menu, it’s likely that your computer supports changing boot priority.
4. Look for boot options in the BIOS/UEFI menu: Once you’re in the BIOS/UEFI menu, look for the boot options or boot priority settings. You can typically find these under headings like “Boot,” “Boot Options,” “Boot Priority,” or “Boot Sequence.” If you see these options, it indicates that your computer supports modifying the boot priority.
5. Seek assistance from the manufacturer’s support channels: If you’re still unsure about whether your computer supports changing boot priority settings, reach out to the manufacturer’s customer support. They can provide you with accurate information regarding your specific computer model and guide you through the process.
Remember that the ability to change boot priority settings can vary depending on your computer’s manufacturer and model. Some older systems may have limitations, while newer systems generally offer more flexibility in this regard. Checking the documentation or contacting support will help ensure that you have the necessary information for your specific computer.
Once you have confirmed that your computer supports changing boot priority settings, you can proceed with the steps outlined in the previous section to set the boot priority to your SSD.
In the next section, we will explore how to enter the BIOS/UEFI menu on your computer.
Entering the BIOS menu
To set the boot priority to your SSD, you need to access the BIOS menu. The BIOS (Basic Input/Output System) is firmware that initializes the hardware and controls the computer’s basic functions. Here’s how you can enter the BIOS menu:
1. Restart your computer: Save any ongoing work and click on the “Restart” option in the Start menu or use the power button to restart your computer.
2. Look for the key or combination of keys: As your computer restarts, pay attention to the initial startup screen or motherboard splash screen. It usually displays the manufacturer’s logo and may include a message like “Press [key] to enter setup” or “Press [key] to enter BIOS/UEFI.” Common keys to access the BIOS menu are Delete, F2, F10, or Esc, but this can vary depending on the manufacturer and computer model.
3. Press the designated key(s): As soon as you identify the key(s) to access the BIOS, press it repeatedly or hold it down until the BIOS menu appears. Timing is crucial, so make sure to press the key(s) during the startup process before the operating system starts loading. If you miss the opportunity, simply restart your computer and try again.
Please note that the key(s) to access the BIOS may be different for different manufacturers and models. If you’re unsure, refer to your computer’s documentation or perform an online search specific to your machine to find the correct key(s) to enter the BIOS menu.
Once you successfully enter the BIOS menu, you’ll have access to various settings and options, including the boot priority settings. In the next section, we will guide you on how to navigate to the boot priority settings within the BIOS menu.
Navigating to the boot priority settings
Once you are in the BIOS menu, you need to navigate to the boot priority settings to set your SSD as the primary boot device. Here’s how you can find the boot priority settings within the BIOS menu:
1. Look for the boot options section: In the BIOS menu, navigate through the different tabs or sections until you find the boot options. This section might be labeled as “Boot,” “Boot Options,” “Boot Priority,” or “Boot Sequence.” The exact name may vary depending on your computer’s manufacturer and BIOS version.
2. Use arrow keys or navigation keys: Once you have located the boot options section, use the arrow keys on your keyboard to navigate through the available options. Some BIOS menus also allow you to use specific navigation keys (e.g., PgUp, PgDn) to scroll through the options.
3. Explore sub-menus if necessary: In some cases, the boot options section may have sub-menus or additional settings related to boot devices. If you see any sub-menus or expandable options, navigate to them and look for the entry corresponding to your SSD or the device you want to set as the primary boot device.
4. Pay attention to boot priority order: Within the boot options, you will find a list or order of the connected storage devices. The device listed at the top of the boot priority order is the one that the computer attempts to boot from first. Look for the entry related to your SSD and take note of its position in the list.
It’s important to follow the on-screen instructions and refer to your computer’s documentation if you encounter any specific navigation challenges or if the options are not clearly labeled.
Now that you have successfully navigated to the boot priority settings within the BIOS menu, we can move on to the next section, where we will guide you on changing the boot priority to your SSD.
Changing the boot priority to SSD
Now that you have reached the boot priority settings in your BIOS menu, it’s time to set your SSD as the primary boot device. Here’s how you can change the boot priority to your SSD:
1. Locate the entry for your SSD: Within the boot priority settings, look for the entry that corresponds to your SSD. It might be listed with the model name of your SSD or identified as “UEFI: [SSD Name].” Take note of its current position in the boot order.
2. Move the SSD to the top: To change the boot priority, use the arrow keys on your keyboard to highlight the SSD entry. Once it is selected, use the appropriate keys specified by your BIOS menu (e.g., “+/-” keys or PgUp/PgDn) to move the SSD entry to the top of the boot priority list. Ensure that the SSD is positioned above any other storage devices, such as HDDs or optical drives.
3. Adjust other boot devices if necessary: If you have other boot devices listed in the boot priority settings, such as secondary HDDs or USB drives, you can arrange their order as desired using the same method mentioned in step 2. However, it’s recommended to set only the necessary boot device(s) to avoid any confusion during system startup.
4. Save the changes: Once you have adjusted the boot priority according to your preference, save the changes by following the on-screen instructions provided in the BIOS menu. Look for options like “Save and Exit,” “Exit Saving Changes,” or “Save Configuration.” Confirm your selection, and the BIOS menu will exit. Your computer will restart automatically.
It’s important to note that the steps and options may slightly vary depending on your computer manufacturer and BIOS version. Ensure to carefully read the instructions provided in your BIOS menu for the specific key combinations and on-screen prompts.
After the restart, your computer will now attempt to boot from the SSD as the primary boot device. This change should result in faster startup times and improved system performance, thanks to the SSD’s speed and responsiveness.
In the next section, we will guide you on how to verify the boot priority change and ensure that your computer is successfully booting from the SSD.
Saving the changes and exiting the BIOS menu
After adjusting the boot priority settings in the BIOS menu, it’s crucial to save the changes to ensure that your computer boots from the SSD as the primary boot device. Here’s how you can save the changes and exit the BIOS menu:
1. Review the changes: Before saving the changes, double-check the boot priority order displayed in the BIOS menu. Ensure that your SSD is listed at the top of the boot priority list, indicating that it is now the primary boot device.
2. Save the changes: In the BIOS menu, look for an option that allows you to save the changes you made. Common options include “Save and Exit,” “Exit Saving Changes,” or “Save Configuration.” Select this option using the instructions provided in the BIOS menu.
3. Confirm the changes: After selecting the option to save the changes, a confirmation prompt may appear. Verify that you want to save the changes by following the on-screen instructions. Press the designated key (e.g., Y or Enter) to confirm and proceed.
4. Exit the BIOS menu: Once you have confirmed the changes, the BIOS menu will exit automatically, and your computer will restart. If the BIOS menu does not exit automatically, use the arrow keys to navigate to the “Exit” or “Exit BIOS” option. Select this option and follow any on-screen prompts to exit the BIOS menu.
5. Wait for the computer to restart: After exiting the BIOS menu, your computer will restart. During this process, the new boot priority settings will take effect, and your computer should now boot from the SSD as the primary boot device.
It’s worth noting that each BIOS menu may have its own specific instructions and prompts, so make sure to read and follow them carefully. The exact steps may vary depending on your computer’s manufacturer and BIOS version.
Once your computer restarts, observe the startup process to ensure that it successfully boots from the SSD. You should notice faster boot times and improved system performance as a result of setting the SSD as the primary boot device.
In the final section, we will discuss how to verify that the boot priority change has been applied and confirm that your computer is indeed booting from the SSD.
Verifying the boot priority change
After setting the boot priority to your SSD in the BIOS menu, it’s important to verify that the change has been applied successfully. Here are a few steps to help you confirm that your computer is now booting from the SSD:
1. Observe the startup process: As your computer starts up, pay attention to the initial boot sequence. If the boot priority change was successful, you should notice a faster startup time compared to when you were using an HDD as the primary boot device. The screen transitions and loading of the operating system should be noticeably quicker.
2. Check the BIOS menu again (optional): If you want to double-check the boot priority settings, you can enter the BIOS menu again by restarting your computer and following the steps outlined earlier. In the boot options or boot priority settings, confirm that your SSD is listed as the first boot option.
3. Monitor the system performance: Once your computer has booted up, you can monitor its performance to see the benefits of using the SSD as the primary boot device. Launch applications and access files to gauge the improvement in speed and responsiveness. Tasks that used to have noticeable loading times should now be snappier and more efficient.
4. Review system information: You can also check the system information to ensure that your computer recognizes and identifies the SSD as the primary boot device. In Windows, you can access the “System Information” or “System Properties” section by right-clicking on the “This PC” or “My Computer” icon and selecting “Properties.” Look for the storage devices listed and confirm that the SSD is identified correctly.
If, after verifying these steps, you still encounter issues or suspect that your computer is not booting from the SSD, it’s advisable to go back into the BIOS menu and recheck the boot priority settings. Ensure that the SSD is positioned correctly at the top of the boot priority list and try saving the changes again.
If you continue to experience difficulties or have concerns about the boot priority change, it may be useful to consult your computer’s documentation or seek assistance from the manufacturer’s support channels. They can provide further guidance and troubleshooting steps specific to your computer model.
By verifying the boot priority change, you can rest assured that your computer is indeed using the SSD as the primary boot device, leading to improved performance and faster startup times.
Conclusion
Setting the boot priority to your SSD is a simple yet powerful way to enhance your computer’s performance and improve its startup time. By following the steps outlined in this guide, you can optimize your system for faster boot times and take full advantage of the speed and responsiveness offered by solid-state drives.
We began by understanding the reasons why setting the boot priority to your SSD is beneficial. The faster boot times, improved system performance, enhanced reliability, and potential energy savings make it a worthwhile endeavor. Additionally, we explored the concept of boot priority and how it works within your computer system.
We then provided detailed instructions on how to set the boot priority to your SSD. From checking if your computer supports changing boot priority to navigating the BIOS menu, changing the boot priority, and saving the changes, we covered each step to ensure a seamless process.
Moreover, we discussed the importance of verifying the boot priority change to ensure that your computer is successfully booting from the SSD. By observing the startup process, checking the BIOS menu, monitoring system performance, and reviewing system information, you can confirm the effective implementation of the boot priority modification.
Remember, every computer may have slight variations in BIOS menus and options, so it’s essential to refer to your specific computer’s documentation for accurate instructions. Seeking assistance from the manufacturer’s support channels is also advisable if you encounter any difficulties or have additional questions.
By setting the boot priority to your SSD, you can unleash the full potential of your system’s performance and enjoy a more efficient computing experience. Faster boot times, quicker application launches, and improved system responsiveness are just some of the benefits you can expect. So go ahead and prioritize your SSD for a smoother, speedier computing journey!


