Introduction
Welcome to the world of Hiveos! If you’re looking to optimize your mining setup, Hiveos is a powerful operating system specifically designed for cryptocurrency miners. By installing Hiveos on an SSD (Solid State Drive), you can enhance the performance and stability of your mining rig. This step-by-step guide will walk you through the process of installing Hiveos on an SSD to maximize your mining efficiency.
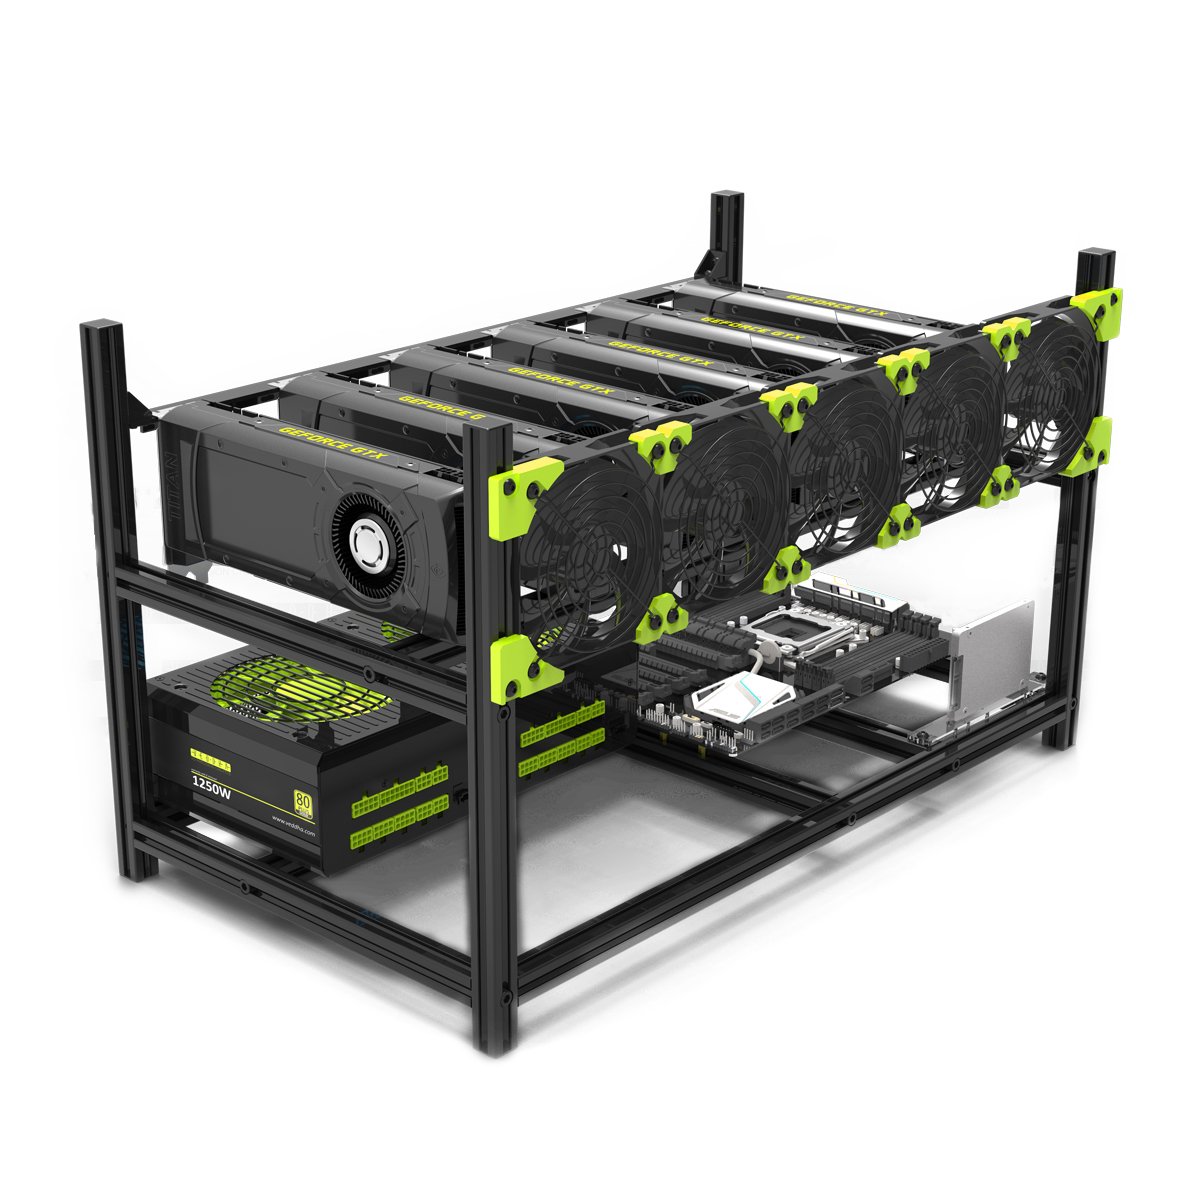
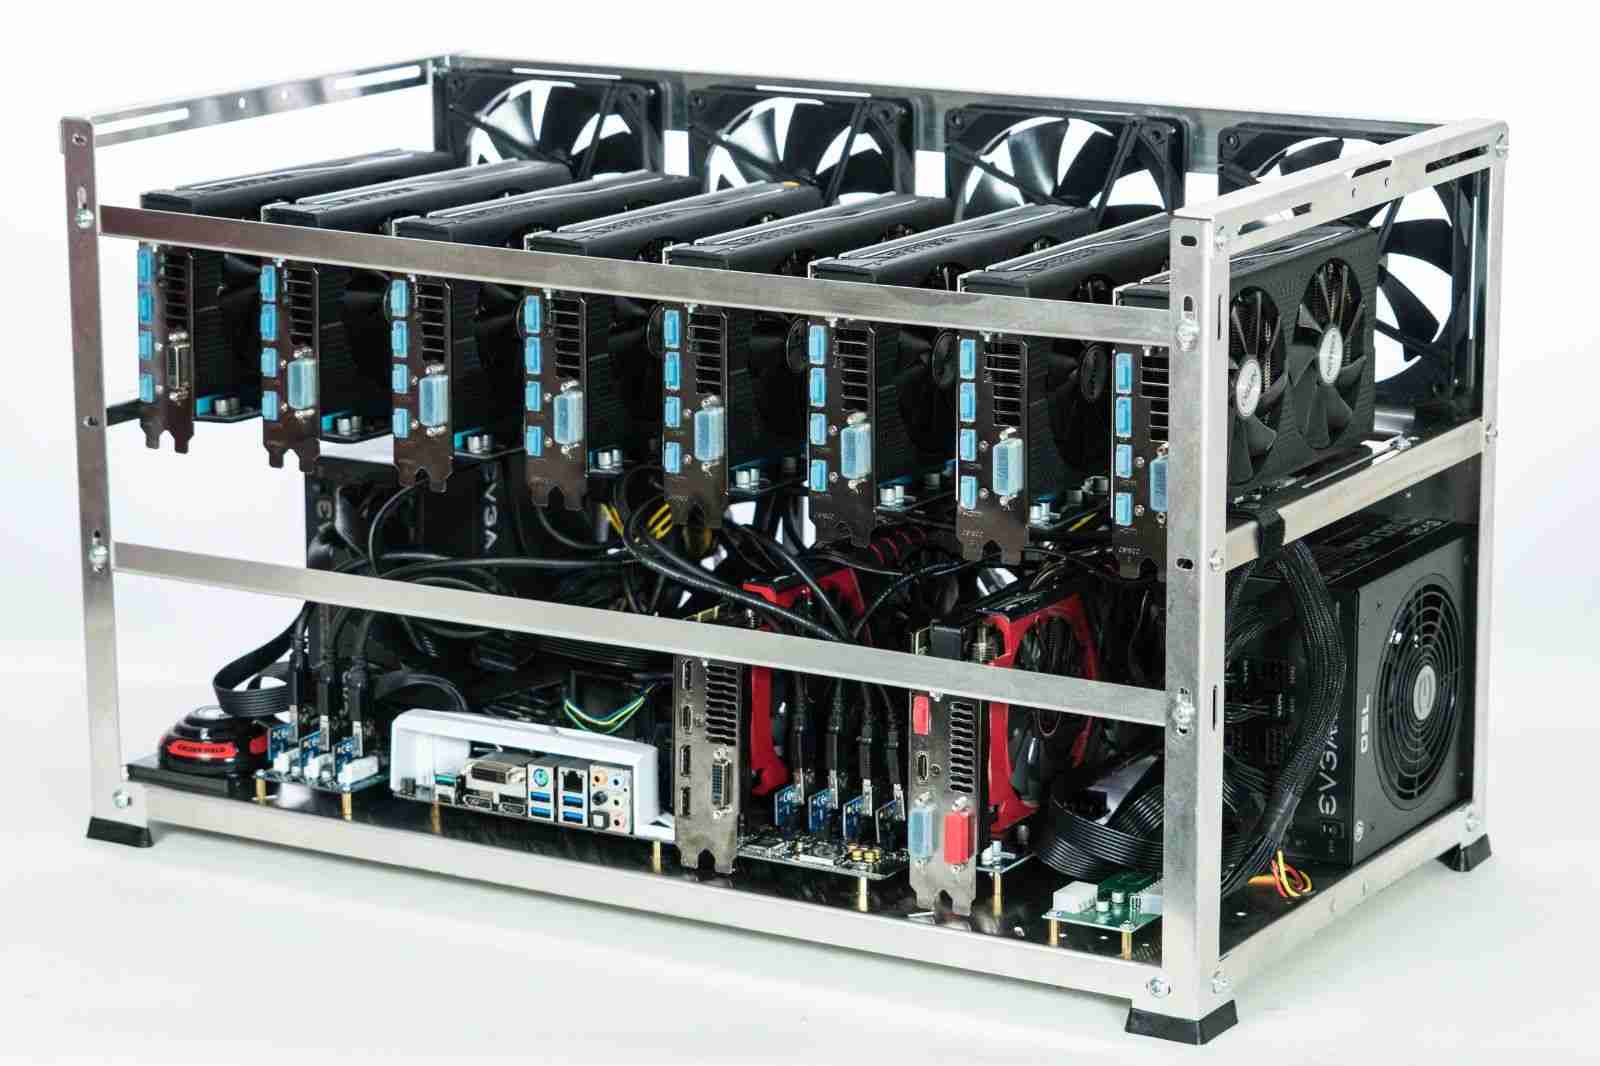
Before we dive into the installation process, it’s important to note that Hiveos is compatible with a wide range of GPU models and mining algorithms. Whether you’re mining Bitcoin, Ethereum, or any other popular cryptocurrency, Hiveos provides a user-friendly interface that allows you to monitor and manage your mining operations with ease.
Installing Hiveos on an SSD offers several advantages. Firstly, an SSD has faster read and write speeds compared to a traditional hard disk drive, resulting in smoother mining performance and reduced downtime. Additionally, an SSD is more durable and less prone to mechanical failures, ensuring that your mining rig operates reliably for extended periods of time.
Now that we’ve established the benefits of installing Hiveos on an SSD, let’s dive into the step-by-step process.
Prerequisites for Hiveos Installation on SSD
Before you proceed with the installation of Hiveos on an SSD, there are a few prerequisites that you need to fulfill:
- 1. Compatible Hardware: Ensure that your mining rig is compatible with Hiveos and meets the minimum hardware requirements. Check the official Hiveos website for a list of supported GPUs and mining algorithms.
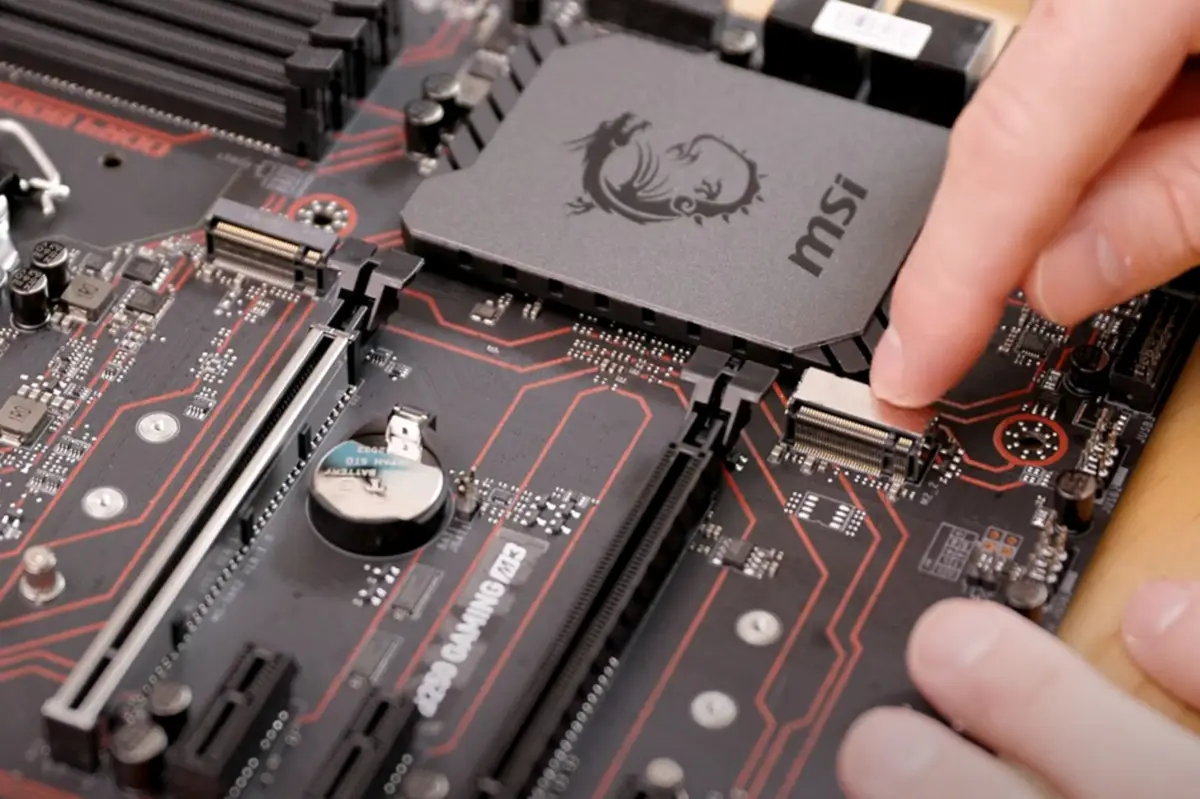
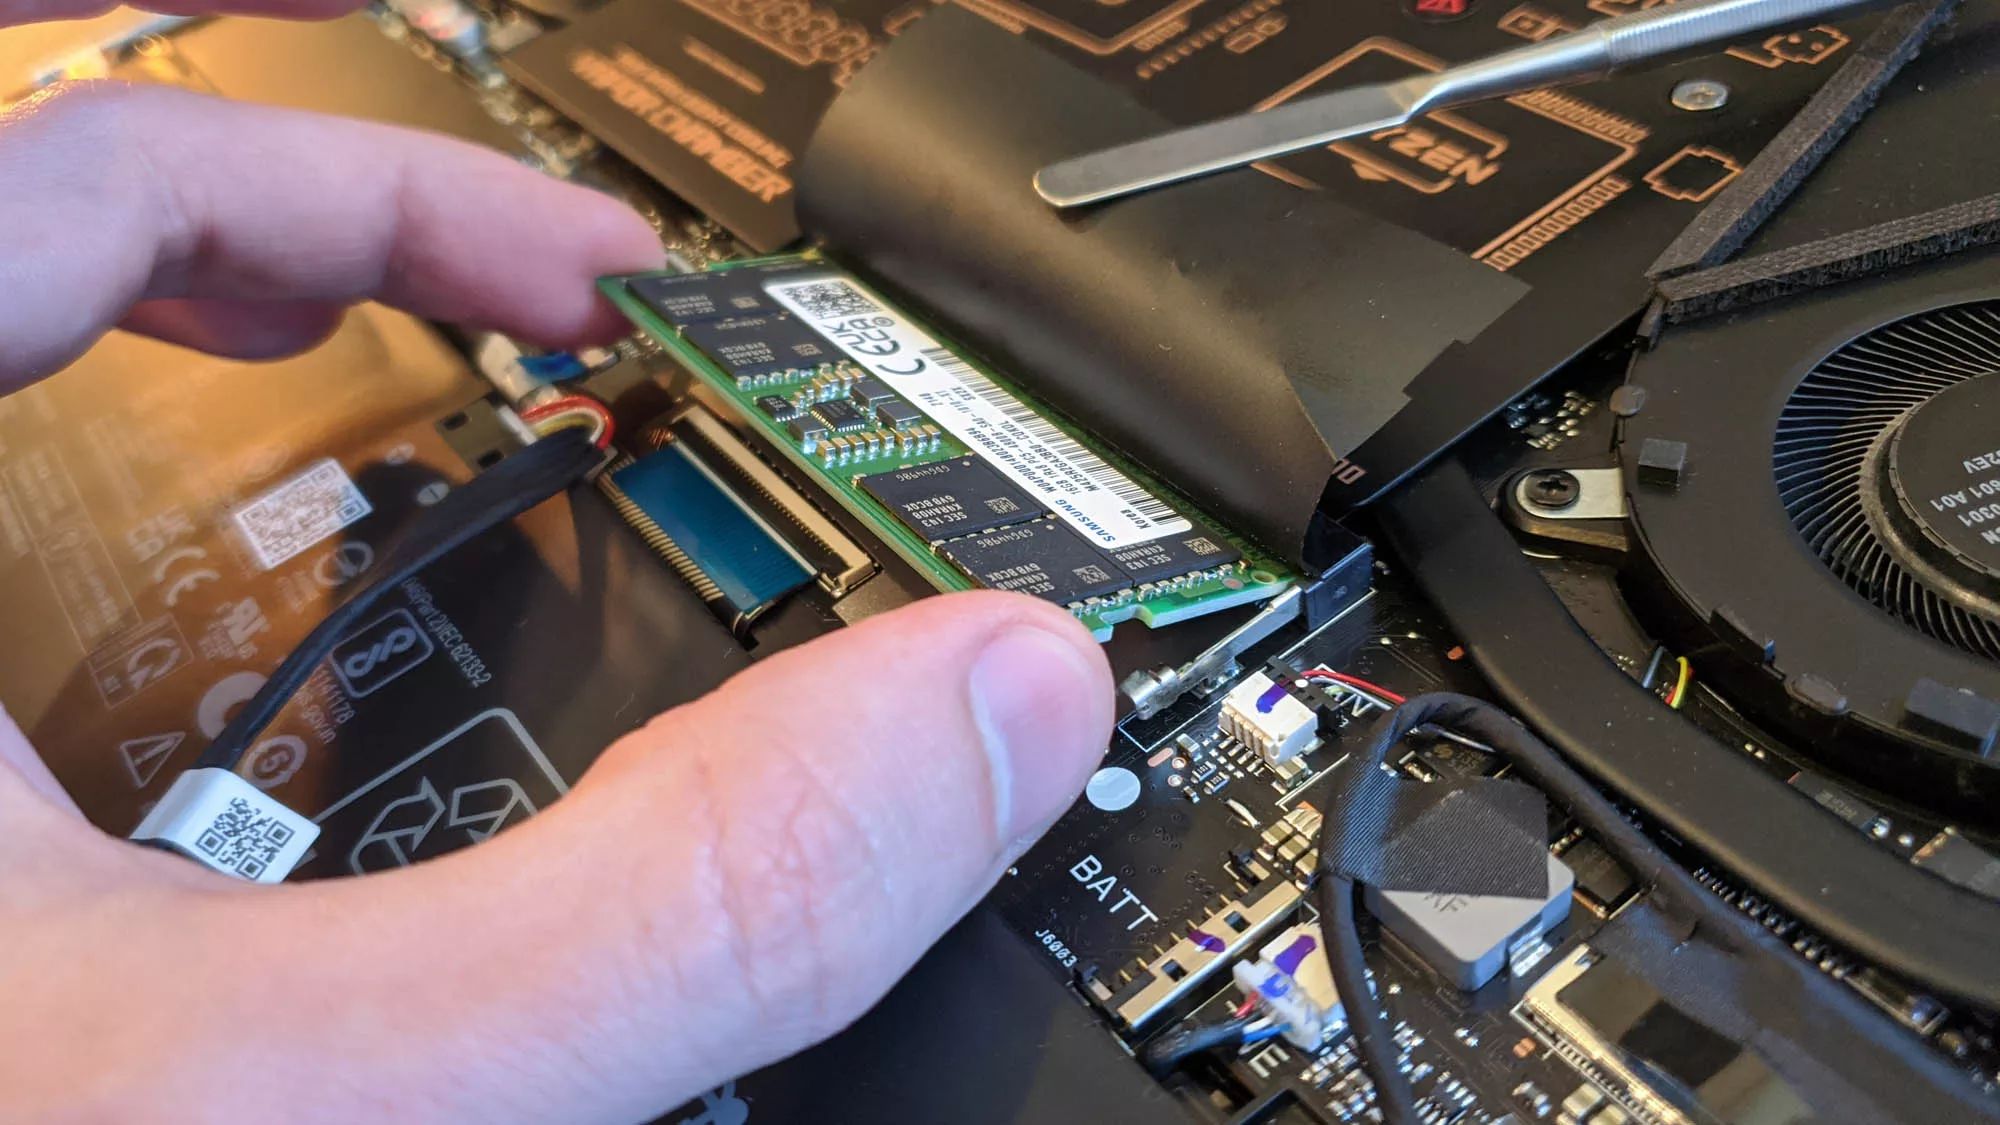
- 2. SSD and USB Drive: You will need an SSD with sufficient storage capacity to accommodate the Hiveos installation. Additionally, you’ll require a USB drive to flash the Hiveos image and boot your mining rig.
- 3. Internet Connection: Make sure you have a stable internet connection to download the Hiveos image and for the subsequent steps during the installation process.
- 4. Mining Wallet: Have your mining wallet address readily available as you’ll need it during the Hiveos configuration.
- 5. BIOS Settings: Check your BIOS settings to ensure that your mining rig is set to boot from a USB drive. Refer to your motherboard’s manual or BIOS documentation for guidance.
It’s important to have these prerequisites in place before starting the installation process to ensure a smooth and successful installation of Hiveos on your SSD. Once you have gathered all the necessary hardware and information, you’re ready to proceed to the next step: downloading the Hiveos image.
Step 1: Download Hiveos Image
The first step in installing Hiveos on your SSD is to download the Hiveos image. Follow these steps to obtain the necessary files:
- Go to the official Hiveos website and create a free account if you don’t have one already. This account will be used to manage your mining operations.
- Once you’ve logged in, navigate to the “Downloads” section on the website. Here, you will find the latest version of the Hiveos image available for download.
- Choose the appropriate image for your mining rig’s architecture. For most rigs, the “ASIC and GPU” image is the recommended option.
- Click on the download button to start the download process. The file size may vary, so ensure you have a stable internet connection and sufficient storage space available.
After the Hiveos image has finished downloading, you’re ready to proceed to the next step: flashing the image to a USB drive.
Step 2: Flashing the Image to a USB Drive
Now that you have downloaded the Hiveos image, the next step is to flash it onto a USB drive. Follow these instructions to complete this process:
- Connect your USB drive to your computer. Ensure that the USB drive has no important data as it will be formatted during the flashing process.
- Download and install a reliable USB imaging tool such as Rufus or Etcher. These tools will allow you to create a bootable USB drive from the Hiveos image.
- Open the USB imaging tool and select the downloaded Hiveos image file as the source image.
- Choose the connected USB drive as the destination device. Make sure you select the correct drive, as all data on it will be erased.
- Configure any additional settings required by the imaging tool, such as partition scheme and file system type. The default settings should work fine in most cases.
- Review the settings and click “Start” to begin the flashing process. Be patient as the process may take a few minutes.
- Once the flashing process is complete, safely eject the USB drive from your computer.
Congratulations! You have successfully flashed the Hiveos image onto a USB drive. In the next step, we will boot your mining rig from this USB drive.
Step 3: Booting from the USB Drive
Now that you have a bootable USB drive with the Hiveos image, it’s time to boot your mining rig from it. Follow these steps to initiate the boot process:
- Insert the USB drive into your mining rig’s USB port.
- Power on your mining rig and quickly access the BIOS settings. The key to enter the BIOS may vary depending on your motherboard manufacturer, but common keys are Del, F2, or F10.
- In the BIOS settings, navigate to the “Boot” or “Boot Priority” section.
- Set the boot priority to prioritize the USB drive. Move it to the top of the boot priority list.
- Save the changes and exit the BIOS settings. Your mining rig will now restart.
- As your mining rig restarts, it should boot from the USB drive. The Hiveos logo and boot menu will appear on your screen.
- Wait for a few moments for the boot process to complete. Hiveos will automatically start loading.
- Once Hiveos has finished loading, you will be prompted to enter your Hiveos username and password. Enter the credentials associated with your Hiveos account.
Great! You have successfully booted your mining rig from the USB drive. In the next step, we will prepare the SSD for the Hiveos installation.
Step 4: Preparing the SSD for Installation
Now that you have successfully booted your mining rig with Hiveos, it’s time to prepare the SSD for the installation. Here’s what you need to do:
- Ensure that the SSD is properly connected to your mining rig. Check the SATA cables and power connections to make sure everything is secure.
- Once you have confirmed the SSD is connected, open the Hiveos command line interface (CLI) by typing “
hive” and pressing Enter. - In the CLI, type “
fdisk -l” and press Enter to list the available storage devices. Locate your SSD in the list – it should be labeled something like “/dev/sdX” (replace “X” with the appropriate letter). - Type “
fdisk /dev/sdX” and press Enter to start the partitioning process for the SSD. - Within the fdisk interface, type “n” to create a new partition.
- Choose the default options for the partition size by pressing Enter. This will utilize the entire storage space of the SSD for Hiveos.
- Once the partition has been created, type “w” to write the changes and exit fdisk.
- Finally, format the newly created partition by typing “
mkfs.ext4 /dev/sdX1” and pressing Enter. Replace “X” with the appropriate letter.
After completing these steps, your SSD is now prepared for the Hiveos installation. In the next step, we will proceed with the installation itself.
Step 5: Installing Hiveos on the SSD
With the SSD prepared, it’s time to install Hiveos onto the SSD. Follow the steps below to complete the installation:
- Ensure that you are still in the Hiveos command line interface (CLI).
- Type “
hive-install -y -d /dev/sdX1” and press Enter to initiate the Hiveos installation. Replace “X” with the appropriate letter of your SSD. - Wait for the installation process to complete. This may take a few minutes. During the installation, Hiveos will be copied from the USB drive to the SSD.
- Once the installation is finished, type “
reboot” and press Enter to reboot your mining rig. - Remove the USB drive from your mining rig while it is rebooting. Your mining rig will now boot directly from the SSD with the newly installed Hiveos.
Congratulations! You have successfully installed Hiveos onto the SSD. Your mining rig will now run with improved performance and stability. In the next step, we will proceed with the final configuration and setup.
Step 6: Final Configuration and Setup
Now that Hiveos is installed on your SSD, it’s time to perform the final configuration and setup to ensure optimal mining performance. Follow these steps to complete the process:
- Once your mining rig has finished booting from the SSD, you will be prompted to log in to your Hiveos account. Enter your username and password to access the Hiveos web dashboard.
- In the web dashboard, navigate to the “Workers” tab and click on the “Add Worker” button to add your mining rig as a worker.
- Enter a name for your worker and select the appropriate mining algorithm and GPU model for your rig. Set the overclocking settings if desired. Click “Add Worker” to save the settings.
- On the “Wallets” tab, add your mining wallet address by clicking on “Add Wallet”. Enter the wallet address and select the appropriate cryptocurrency. Click “Save” to add the wallet.
- Go to the “Flight Sheets” tab and create a new flight sheet. Configure the mining algorithm, miner software, and pool settings according to your preferences. Assign the worker and wallet you created earlier. Save the flight sheet.
- Finally, go to the “Miners” tab and click on “Start” to start mining with your configured flight sheet.
With these steps completed, your mining rig is now configured and ready to start mining with Hiveos. Monitor the performance and adjust the settings as needed to optimize your mining operations.
Remember to regularly check the Hiveos web dashboard for updates and important notifications. Hiveos provides a wealth of features and tools to help you manage and monitor your mining rigs effectively.
Happy mining!
Conclusion
Congratulations on successfully installing Hiveos on your SSD and optimizing your mining rig for improved performance and stability. By following the step-by-step guide outlined in this article, you have set the foundation for efficient cryptocurrency mining.
Hiveos provides a user-friendly interface and a range of features that make managing and monitoring your mining operations a breeze. With your mining rig now running on Hiveos, you can easily configure and fine-tune your settings to maximize your mining profitability.
Remember to regularly check the Hiveos web dashboard for updates and important notifications. This will ensure that your mining rig remains up-to-date and secure.
As the world of cryptocurrency mining continues to evolve, Hiveos will provide ongoing support and updates to keep your mining rig optimized. Stay connected with the Hiveos community to stay informed about new features, mining strategies, and industry trends.
Thank you for choosing Hiveos as your preferred operating system for cryptocurrency mining. With your newfound knowledge and expertise, you are well-equipped to navigate the exciting world of digital mining and potential financial rewards.
Happy mining!