Introduction
Welcome to our guide on how to set up a SSD (solid-state drive) for your computer. If you’re looking to upgrade your storage solution and boost your system’s performance, replacing your traditional hard drive with an SSD is a wise choice. SSDs offer faster data access, quicker boot times, and overall improved responsiveness compared to HDDs.
In this article, we will walk you through the step-by-step process of setting up a SSD in your computer. Whether you’re a beginner or have some experience with computer hardware, this guide will provide you with the necessary knowledge to successfully install and configure your SSD.
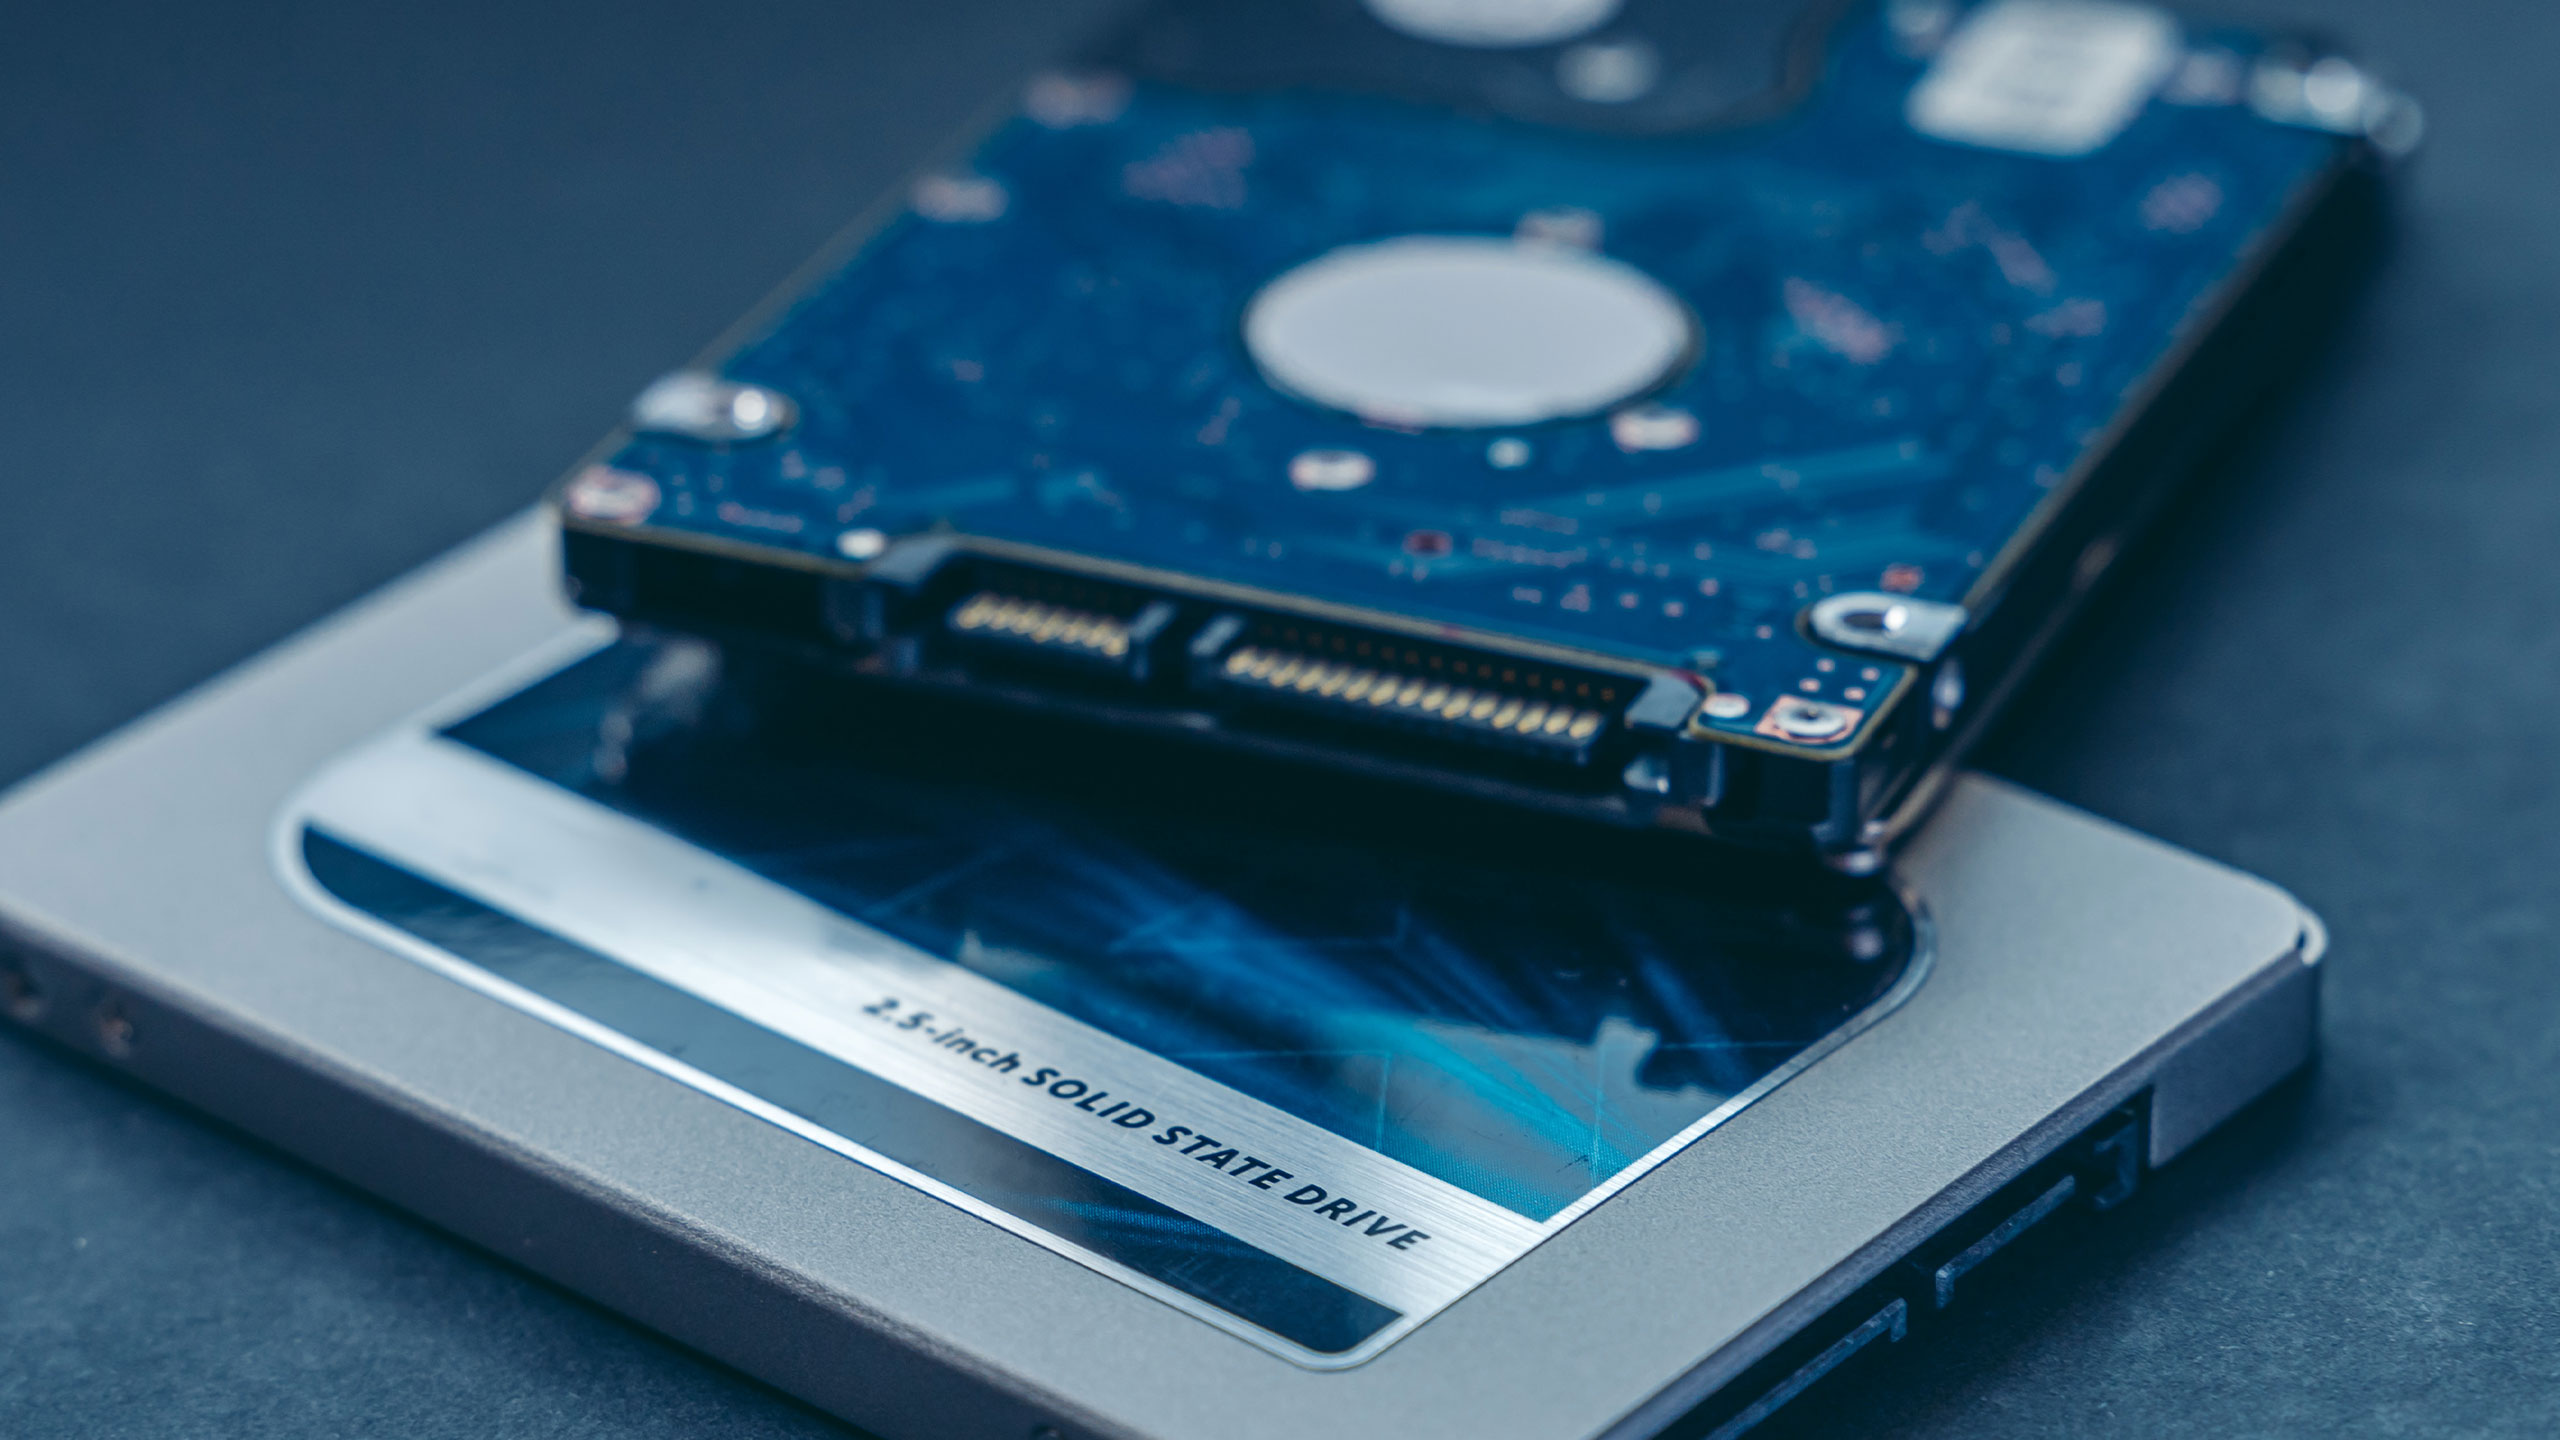
Before we dive into the installation process, it’s essential to understand the benefits of using an SSD. Unlike traditional HDDs that use spinning disks and mechanical parts to store and retrieve data, SSDs leverage flash memory to perform these tasks. This technology results in significantly faster read and write speeds, making your computer feel more snappy and responsive.
Some key advantages of SSDs include:
- Speed: SSDs offer lightning-fast performance compared to HDDs, reducing the loading and boot times of your system.
- Durability: SSDs have no moving parts, making them more resistant to physical shock and less prone to failure.
- Energy Efficiency: SSDs consume less power than HDDs, leading to increased battery life in laptops and decreased electricity usage in desktops.
- No Noise: Without any spinning disks, SSDs are virtually silent, eliminating the annoying hum that often accompanies HDDs.
Now that you understand the advantages of SSDs let’s move on to the next section, where we will discuss how to prepare for the installation process.
Preparing for Installation
Before you begin installing your new SSD, there are a few important steps you need to take to ensure a smooth and successful installation process.
1. Backup Your Data: Before making any changes to your computer’s storage configuration, it’s crucial to back up your important data. This will protect you from any potential data loss during the installation process. You can use an external hard drive, cloud storage, or a backup software solution to create a copy of your files.
2. Check Compatibility: Make sure your computer is compatible with the SSD you intend to install. Check the specifications of your motherboard and determine whether it has the necessary ports and support for the SSD. You should also ensure that your operating system and BIOS are up to date to support SSDs.
3. Gather the Necessary Tools: To install your SSD, you will need a few basic tools such as a screwdriver and any additional cables or brackets that may be required for your specific SSD and computer case. Refer to the instructions provided with your SSD to determine if any additional tools are needed.
4. Choose an Installation Method: There are two primary methods for installing an SSD: as a primary drive or as a secondary drive. If you’re replacing your existing HDD with the SSD, you’ll want to install it as the primary drive. If you’re adding the SSD alongside your current HDD, you’ll be installing it as a secondary drive. Consider your storage needs and determine which method is best for you.
5. Prepare the SSD: Before installing the SSD, it’s a good idea to format and partition it. This will ensure optimal performance and organization of your files. Most SSDs come with software that allows you to easily format and partition the drive. Follow the instructions provided with your SSD or consult the manufacturer’s website for guidance.
By following these preparation steps, you will be well-equipped for a successful installation of your SSD. In the next section, we will guide you through the step-by-step process of physically installing the SSD into your computer.
Installing the SSD
Now that you have prepared for the installation, it’s time to physically install the SSD into your computer. Follow these steps to ensure a smooth and secure installation:
1. Power Off Your Computer: Before working on any internal components, shut down your computer and unplug the power cable. This will prevent any accidental damage and ensure your safety.
2. Open Your Computer Case: Depending on your computer model, you may need to remove screws or slide a latch to open the case. Refer to your computer’s manual or manufacturer’s website for instructions on how to access the internal components.
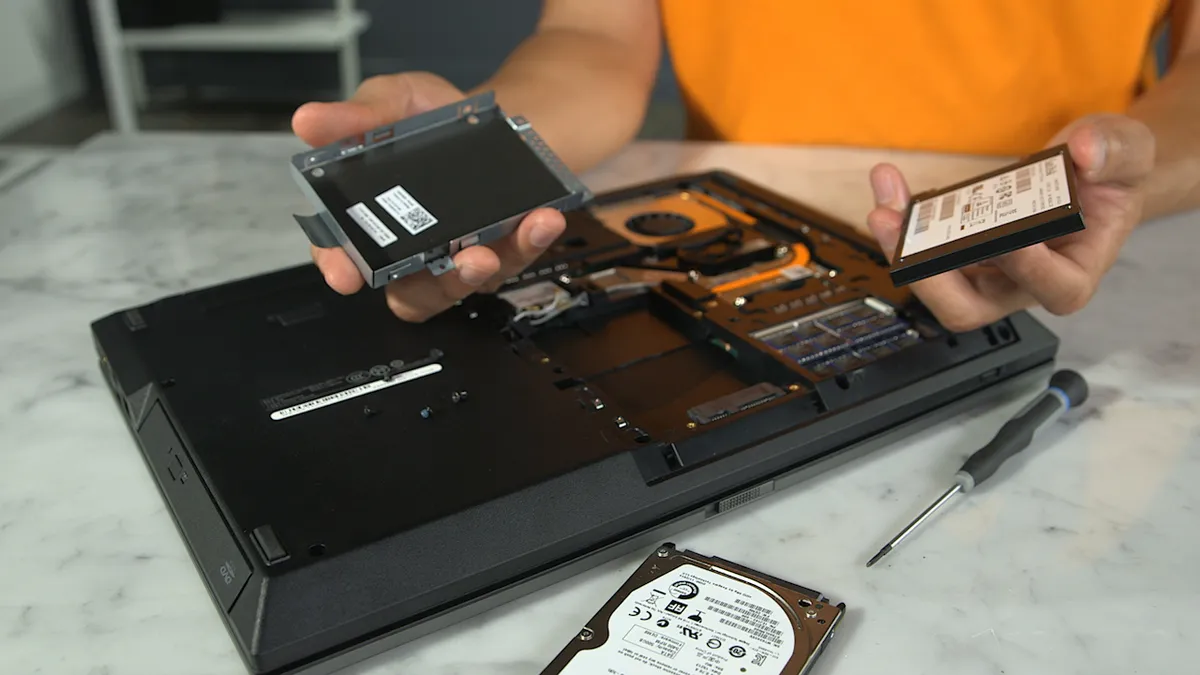
3. Locate an Available Drive Bay: Determine where you want to install the SSD. Most computer cases have designated drive bays for 2.5-inch SSDs. If you’re installing a larger SSD, you may need to use an adapter or find a suitable mounting location.
4. Mount the SSD: Carefully secure the SSD in the chosen drive bay or mounting location. If using a drive bay, slide the SSD into the bay and align the screw holes. Use screws or brackets to secure the SSD in place. Make sure it is firmly attached to prevent any movement.
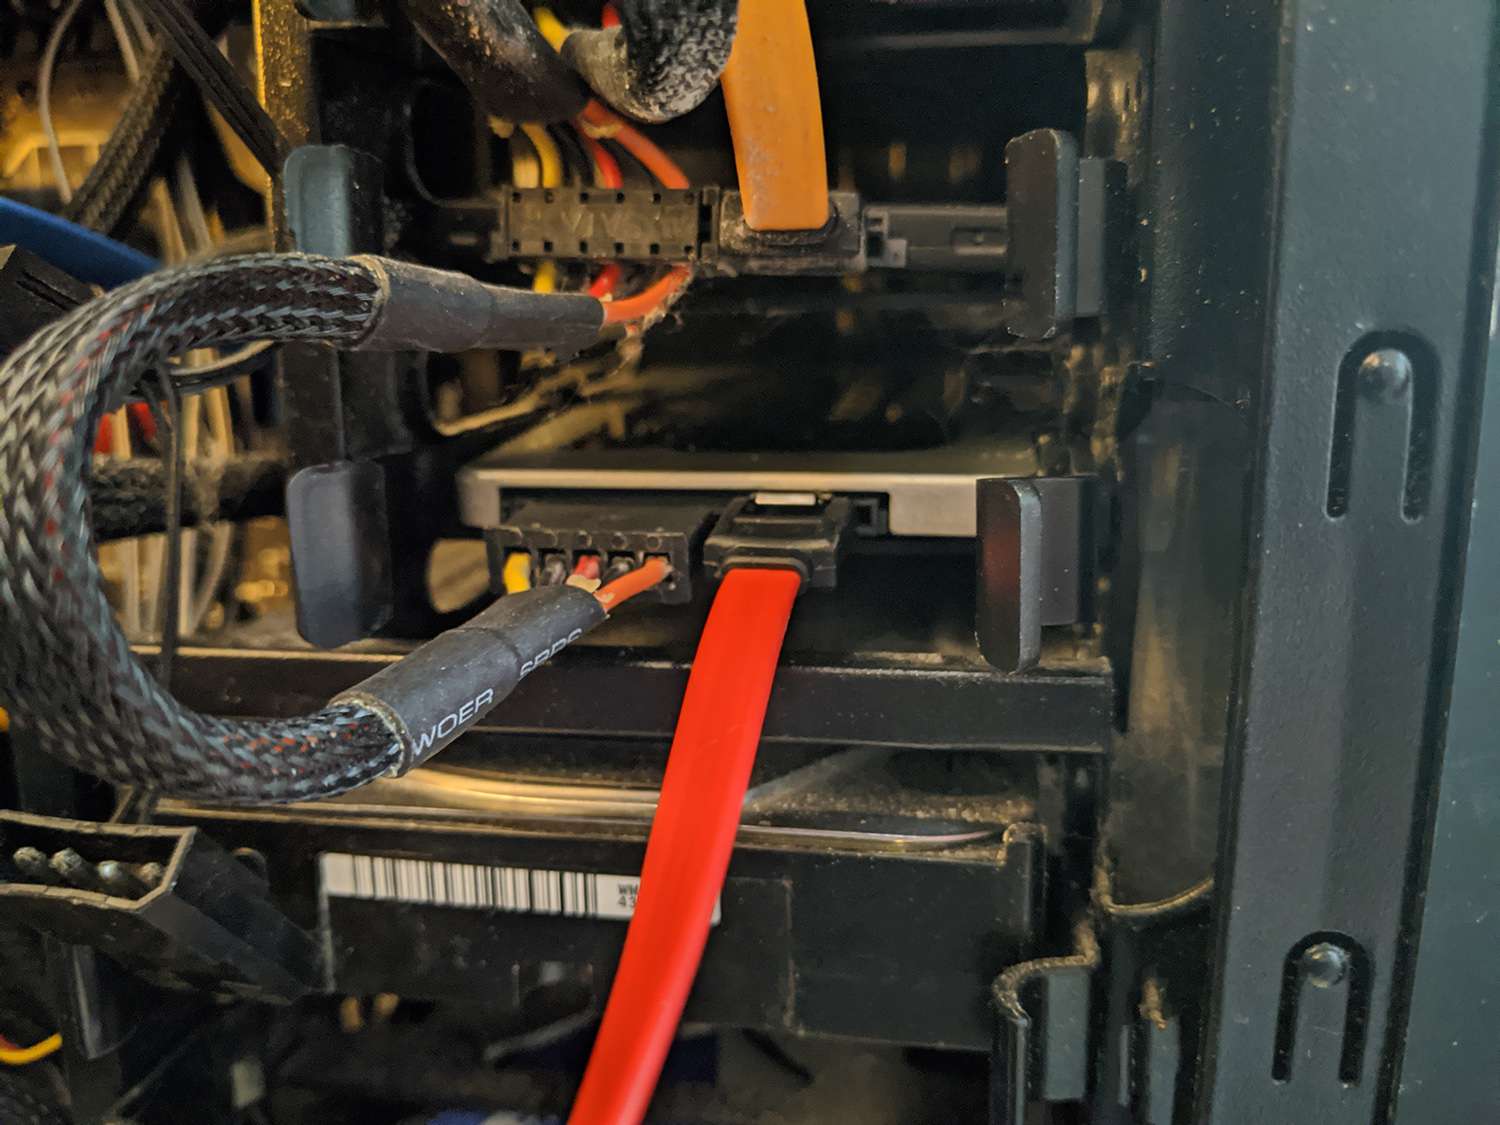
5. Connect the SSD to the Power Supply: Locate the necessary power cables from your power supply unit (PSU) and connect them to the SSD. Most SSDs use a SATA power connector, which is a thin L-shaped connector. Ensure a secure connection, but be gentle to avoid damaging the connectors.
6. Connect the SSD to the Motherboard: Locate an available SATA data port on your motherboard and connect one end of a SATA data cable to it. Take the other end of the cable and plug it into the corresponding port on the SSD. Again, ensure a firm but gentle connection.
7. Close the Computer Case: Once the SSD is securely connected, close the computer case by reattaching any screws or latches. Ensure that the case is properly aligned and sealed to prevent dust or debris from entering.
By following these steps, you have successfully installed the SSD into your computer. In the next section, we will guide you through the process of connecting the SSD to the motherboard.
Connecting the SSD to the Motherboard
After physically installing the SSD into your computer, the next step is to connect it to the motherboard. Follow these steps to ensure a proper connection:
1. Locate the SATA Ports on the Motherboard: Look for the SATA ports on your motherboard. They are usually located near the bottom edge and labeled with numbers, such as SATA1, SATA2, etc. These ports are used to connect storage devices like SSDs.
2. Identify an Available SATA Port: Choose an available SATA port that you will use to connect your SSD. It’s wise to reference your motherboard’s manual for the recommended SATA port for SSD installation.
3. Connect the SATA Data Cable: Take one end of the SATA data cable and plug it into the SATA port on the motherboard. The cable will only fit in one direction, so ensure it aligns with the port before gently pushing it in.
4. Connect the Other End to the SSD: Now, take the opposite end of the SATA data cable and connect it to the corresponding port on the SSD. Again, make sure it fits securely but gently to avoid any damage.
5. Confirm the Connection: Double-check that both ends of the SATA data cable are securely connected. The cables should fit snugly into the ports, but avoid using excessive force that could lead to damage.
6. Optional: Connect the SATA Power Cable: If you haven’t already done so in the previous step of installing the SSD, you can now connect the SATA power cable to provide power to the SSD. Locate a suitable connector from your power supply unit (PSU) and plug it into the corresponding port on the SSD. Ensure a secure connection without applying excessive force.
Once you have successfully connected the SSD to the motherboard, you’re one step closer to enjoying the benefits of increased storage speed and performance. In the next section, we will guide you through the process of powering on your system with the newly installed SSD.
Powering on the System
Now that you have installed and connected your SSD to the motherboard, it’s time to power on your computer and ensure everything is working correctly. Follow these steps to safely power on your system:
1. Double-Check Connections: Before plugging in the power cable, take a moment to review the connections you made during the installation process. Ensure that the SSD is securely mounted, the SATA data cable is connected to the motherboard, and the SATA power cable is properly attached.
2. Plug in the Power Cable: Connect the power cable to your computer and plug it into a power outlet. Ensure that the cable is inserted firmly and securely.
3. Power on the System: Press the power button on your computer to turn it on. You should see the system starting up and the manufacturer’s logo appearing on the screen. If you don’t see any display or signs of power, double-check your connections and make sure everything is properly connected.
4. Access the BIOS/UEFI: During the startup process, you may need to access the BIOS (Basic Input/Output System) or UEFI (Unified Extensible Firmware Interface) settings. Each motherboard manufacturer has a different key or key combination to access these settings, usually displayed on the screen during startup. Enter the BIOS/UEFI and verify that the SSD is recognized by the system. If it isn’t, double-check the connections or consult your motherboard’s manual for further troubleshooting.
5. Check the Boot Order: While in the BIOS/UEFI settings, navigate to the boot order or boot priority section. This allows you to choose which device the system boots from. Ensure that the SSD is set as the primary boot device, or adjust the boot order as desired. Save the changes and exit the BIOS/UEFI settings.
6. System Boot-Up: After saving the BIOS/UEFI settings, the system will continue to boot up. You should now experience faster boot times and overall improved performance with the SSD.
With the system powered on, you have successfully completed the installation and connection of your SSD. In the next section, we will discuss formatting and partitioning the SSD to make it ready for use.
Formatting and Partitioning the SSD
After installing and connecting the SSD to your computer, the next step is to format and partition the drive. This will prepare it for storing data and ensure optimal performance. Follow these steps to format and partition your SSD:
1. Access Disk Management: On Windows, you can access Disk Management by right-clicking on the Start menu and selecting “Disk Management” from the menu. On macOS, you can open Disk Utility by going to Finder, then Preferences, and selecting “Show these items on the desktop” and checking “Hard disks.” Alternatively, you can access Disk Utility from the Applications/Utilities folder.
2. Identify the SSD: In Disk Management or Disk Utility, look for your SSD in the list of available drives. It might be listed as an unallocated or unformatted drive.
3. Format the SSD: Right-click on the SSD (Windows) or click the “Erase” button (macOS) to format the drive. Select the file system you want to use, such as NTFS for Windows or APFS/HFS+ for macOS. Choose a suitable name for the volume and proceed with the formatting process. Be aware that formatting will erase any existing data on the SSD.
4. Partition the SSD (optional): If you want to divide the SSD into multiple partitions, you can do so during the formatting process. Specify the size for each partition and assign a drive letter or mount point for each. This can be useful for organizing your data or creating separate partitions for different purposes.
5. Confirm the Changes: Review your formatting and partitioning choices before proceeding. Once you’re certain, click “OK” or “Apply” to confirm the changes. The formatting and partitioning process may take a few moments to complete.
6. Verify the SSD: After formatting and partitioning, your SSD should now appear as a formatted drive with the assigned drive letter or mount point. You can double-check this in Disk Management (Windows) or Disk Utility (macOS).
Congratulations! You have successfully formatted and partitioned your SSD. It is now ready for use. In the next section, we will guide you through the process of transferring data to your newly installed SSD.
Transferring Data to the SSD
With your SSD formatted and partitioned, it’s time to transfer your data from your old storage device to the newly installed SSD. Follow these steps to ensure a smooth and successful data transfer process:
1. Identify the Data to Transfer: Determine which files and folders you want to transfer to the SSD. This may include your operating system, applications, documents, media files, and other important data.
2. Choose a Transfer Method: There are several methods you can use to transfer your data to the SSD:
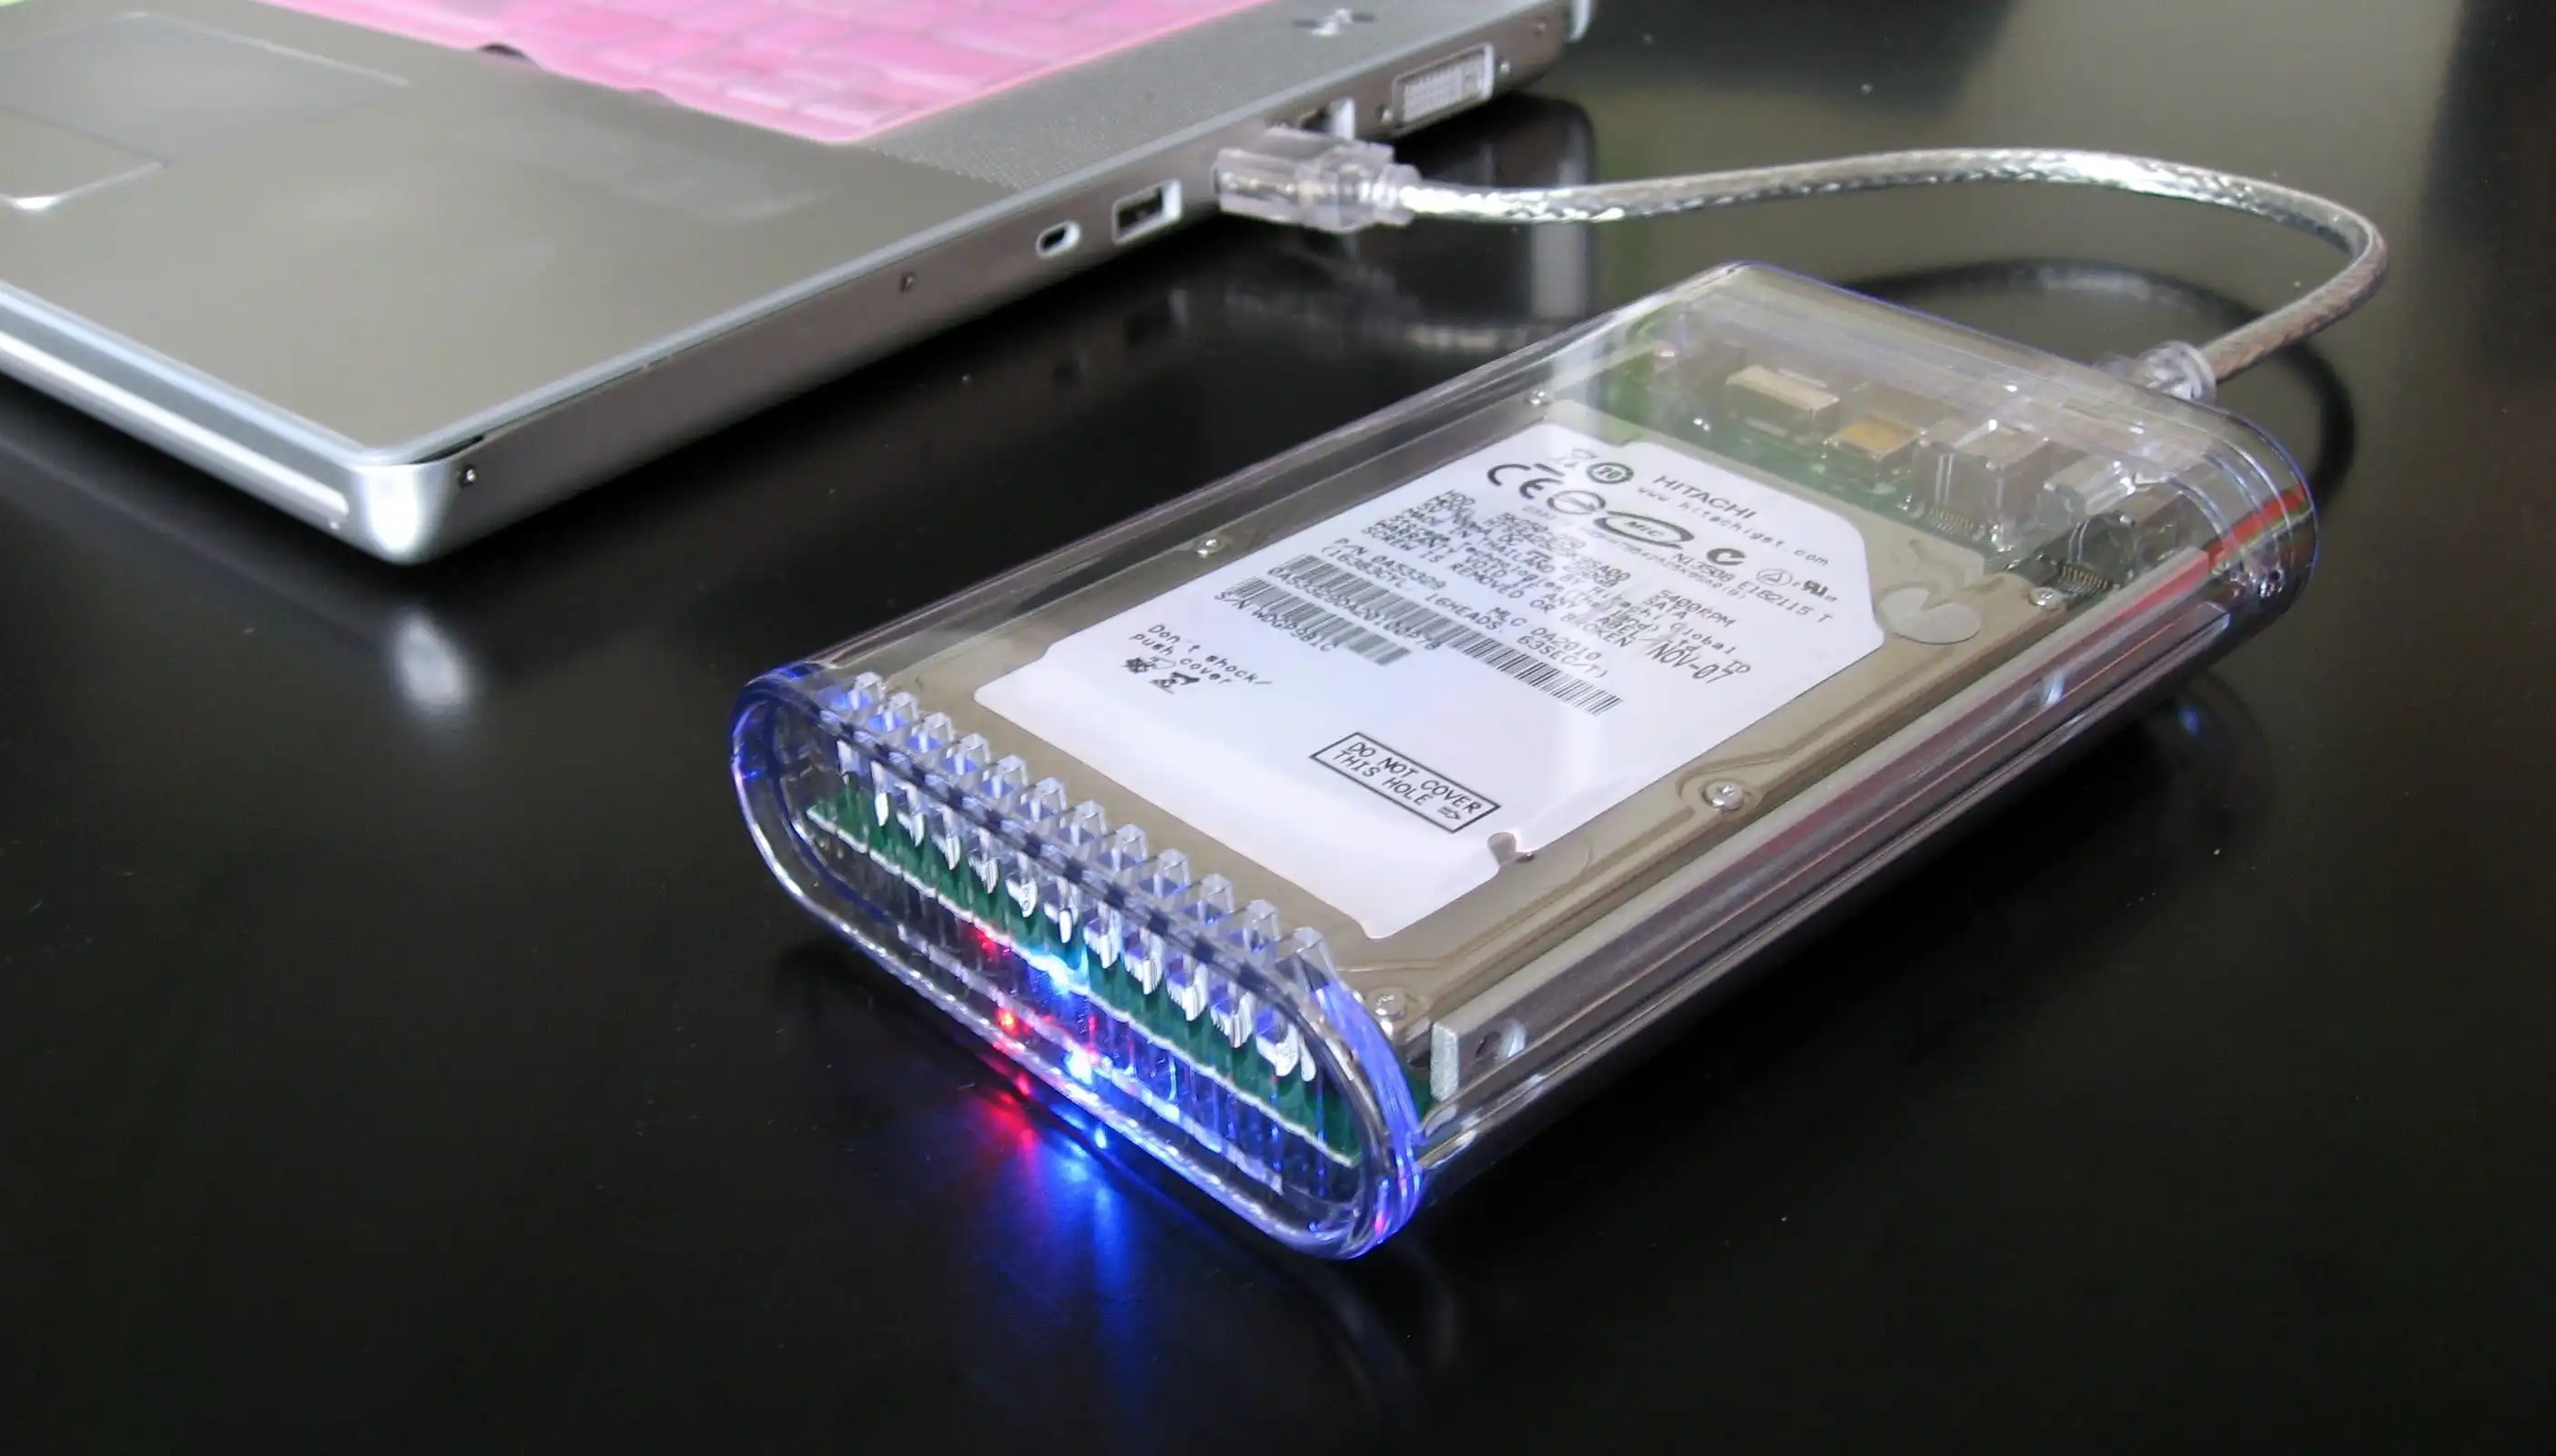
- Manual Copy: You can manually copy and paste your files and folders from the old storage device to the SSD. This method is suitable for smaller amounts of data.
- Disk Cloning: Disk cloning software allows you to create an exact replica of your old storage device on the SSD. This method is useful if you want to transfer everything, including the operating system and applications, to the SSD.
- Data Migration Software: Some SSD manufacturers provide proprietary data migration software that simplifies the transfer process. Check the manufacturer’s website for any available software specific to your SSD.
Choose the method that best suits your needs and preferences.
3. Follow the Transfer Method Instructions: Depending on the method you chose, follow the instructions provided by the software or the steps involved in manual copying or disk cloning. Be sure to carefully review the instructions to avoid any data loss or errors.
4. Verify the Transfer: Once the data transfer is complete, verify that the transferred files and folders appear correctly on the SSD. Check that your applications are functioning properly and that your documents are accessible.
5. Safely Disconnect the Old Storage Device: If you’re no longer using your old storage device, ensure that it is safely disconnected from your computer. You can remove it from the system, format it for reuse, or securely wipe the data from it.
By following these steps, you have successfully transferred your data to the SSD. Your computer should now be running faster and more efficiently, thanks to the improved speed and performance of the SSD. In the next section, we will discuss some tips for optimizing SSD performance.
Optimizing SSD Performance
After setting up your SSD, you can further enhance its performance to ensure optimal speed and longevity. Here are some tips to optimize the performance of your SSD:
1. Enable TRIM: TRIM is a feature that allows the SSD to efficiently manage its performance over time. Check if TRIM is enabled on your operating system. On Windows, open the Command Prompt as an administrator and type “fsutil behavior query DisableDeleteNotify.” If the result is “DisableDeleteNotify = 0,” TRIM is already enabled. On macOS, TRIM is typically enabled by default for Apple-supported SSDs.
2. Update Firmware: Regularly check for firmware updates from the SSD manufacturer’s website. Firmware updates can improve performance and fix any potential issues. Follow the manufacturer’s instructions to safely update the firmware of your SSD.
3. Don’t Defragment the SSD: Unlike traditional hard drives, SSDs don’t benefit from defragmentation. In fact, defragmenting an SSD can shorten its lifespan. The built-in TRIM function of the SSD takes care of organizing and optimizing data placement, so manual defragmentation is unnecessary.
4. Disable Indexing: SSDs are faster at accessing data than HDDs, so disabling indexing can help improve performance. On Windows, you can disable indexing for the SSD by right-clicking on the drive, selecting “Properties,” and unchecking the “Allow files on this drive to have contents indexed” option. On macOS, go to System Preferences, click on Spotlight, and navigate to the Privacy tab. Add the SSD to the list of excluded locations.
5. Avoid Overfilling the SSD: Leaving some free space on the SSD is important for its performance and longevity. Aim to keep at least 10-20% of the SSD capacity free to allow for efficient wear leveling and garbage collection.
6. Regularly Update Drivers: Keep your computer’s drivers, including storage controller drivers, up to date. Check the manufacturer’s website or use driver update software to ensure you have the latest drivers installed for optimal SSD performance.
7. Enable AHCI Mode: Advanced Host Controller Interface (AHCI) mode enables the full capabilities of your SSD. Ensure that your system’s SATA controller is set to AHCI mode in the BIOS/UEFI settings. Please note that changing this setting after the operating system is installed may require additional steps, such as enabling AHCI drivers.
By following these optimization tips, you can enhance the performance and lifespan of your SSD. Enjoy the fast and responsive experience that your SSD provides. In the next section, we will conclude our guide on setting up your SSD.
Conclusion
Congratulations on successfully setting up your SSD! By following the steps outlined in this guide, you have upgraded your computer’s storage solution to enjoy faster speeds, improved performance, and enhanced overall responsiveness. Your new SSD will provide you with a more seamless computing experience, whether you’re running applications, loading games, or accessing your files.
We began by introducing the benefits of using an SSD compared to a traditional hard drive. We discussed the importance of preparing for installation, gathering the necessary tools, and ensuring compatibility with your computer. Then, we delved into the installation process, guiding you through mounting the SSD into your computer and connecting it to the motherboard and power supply.
Once the physical installation was complete, we covered the steps to format and partition the SSD, preparing it for storing data. We then explored various methods to transfer your data from the old storage device to the newly installed SSD, ensuring a smooth transition without any loss or corruption of your valuable files.
To further optimize the performance of your SSD, we provided tips such as enabling TRIM, updating firmware, avoiding defragmentation, and disabling indexing. These recommendations will help you make the most of your SSD’s capabilities while ensuring its longevity and reliability.
Now that you have set up and optimized your SSD, you can expect faster boot times, quicker application launches, and improved overall system performance. Enjoy the benefits of your new SSD as you reap the rewards of its speed and efficiency.
We hope this guide has been informative and has provided you with the knowledge and confidence to successfully set up your SSD. Should you encounter any issues or have further questions, consult the manufacturer’s documentation or seek assistance from their support team. Embrace the power of your SSD and take your computing experience to new heights!