Introduction
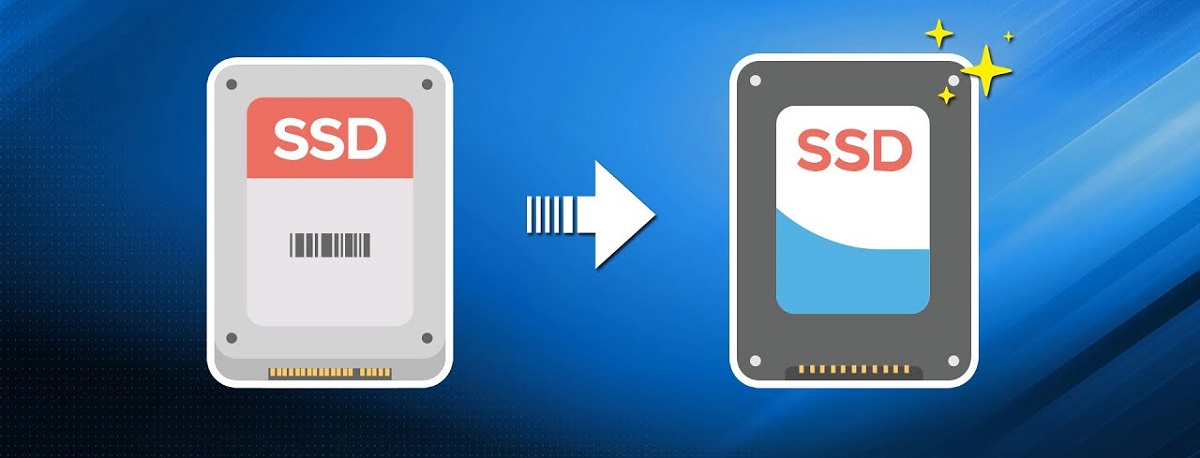
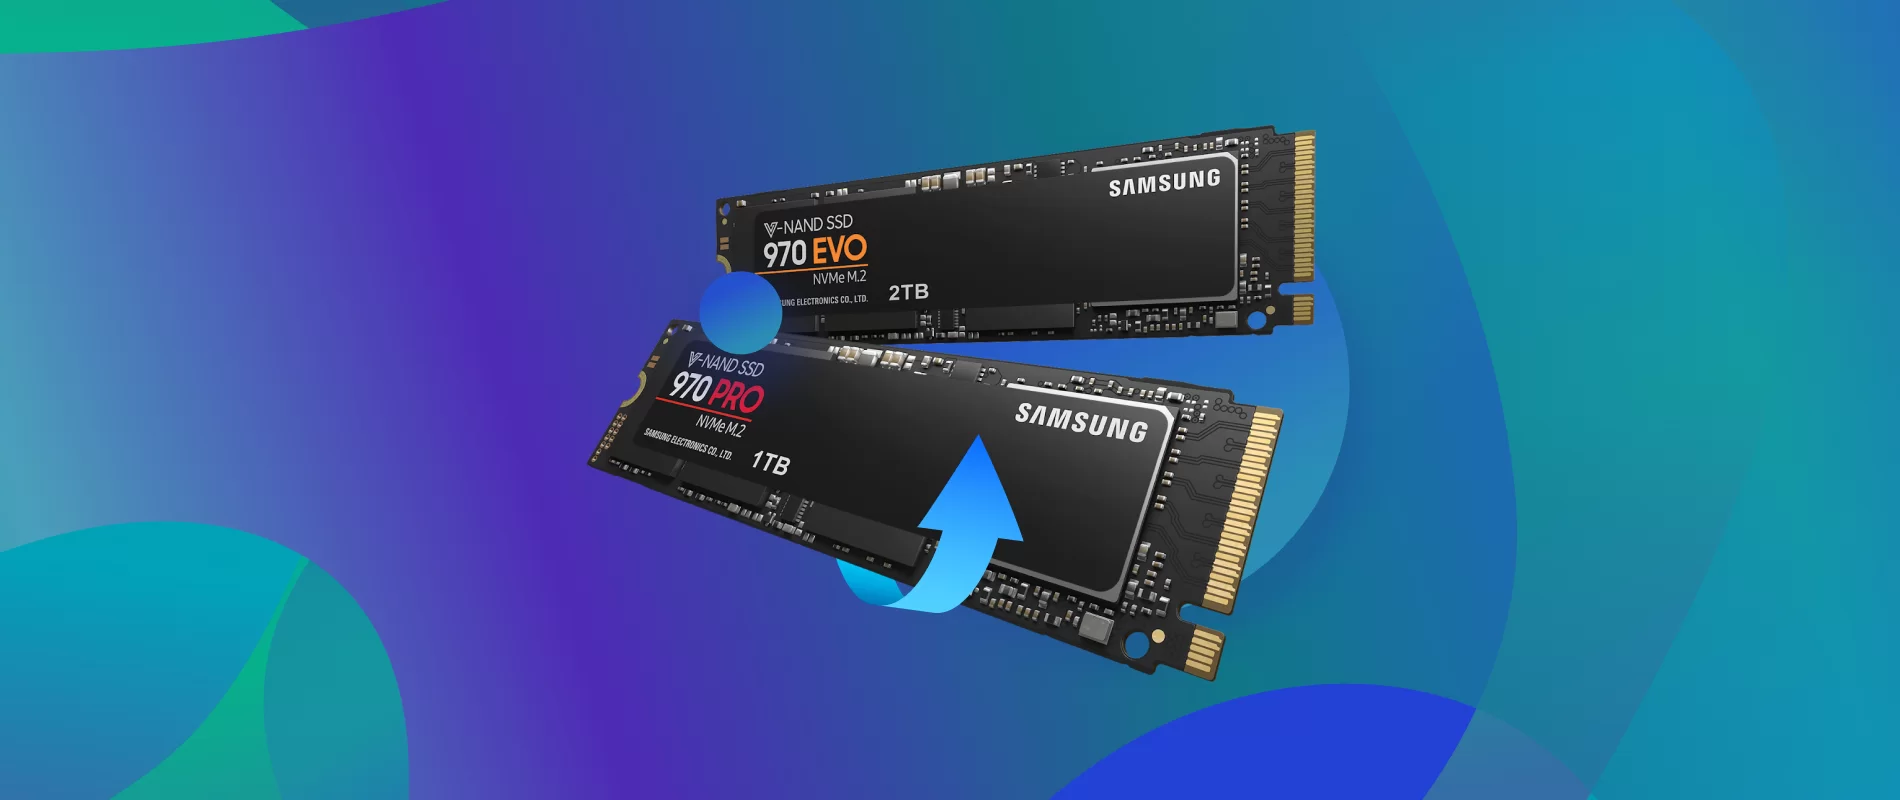
Welcome to our comprehensive guide on how to transfer all files from one SSD to another. If you are planning to upgrade your computer’s storage or simply want to replace a smaller SSD with a larger one, this step-by-step tutorial will help ensure a seamless and hassle-free process.
SSDs, or Solid State Drives, have become increasingly popular due to their faster performance, durability, and energy efficiency compared to traditional hard drives. As a result, many users find themselves needing to migrate their files from one SSD to another. Whether you are a casual computer user or a seasoned professional, transferring all your files from one SSD to another can be a daunting task.
Fortunately, with the right tools and techniques, you can easily and efficiently transfer all your files to a new SSD without losing any data or experiencing any downtime. In this guide, we will cover the various methods you can use to transfer your files, including cloning the SSD, using data migration software, and manually transferring files.
Please note that the exact steps and options may vary depending on your operating system and the specific tools or software you choose to use. It is always recommended to backup your important files before proceeding with any major changes to your computer’s storage configuration.
So, whether you’re a tech enthusiast looking to upgrade your hardware or a business professional needing to transfer files to a faster and more reliable SSD, this guide will provide you with the knowledge and steps necessary to successfully complete the transfer. Let’s dive in and explore the different methods of transferring all files from one SSD to another!
Understanding SSDs and their Differences
Before delving into the process of transferring files between SSDs, it’s essential to have a basic understanding of what SSDs are and the key differences between different types of SSDs. SSDs, or Solid State Drives, are storage devices that use flash memory to store data. Unlike traditional hard drives that utilize spinning disks and magnetic storage, SSDs offer faster access times, low latency, and higher read and write speeds.
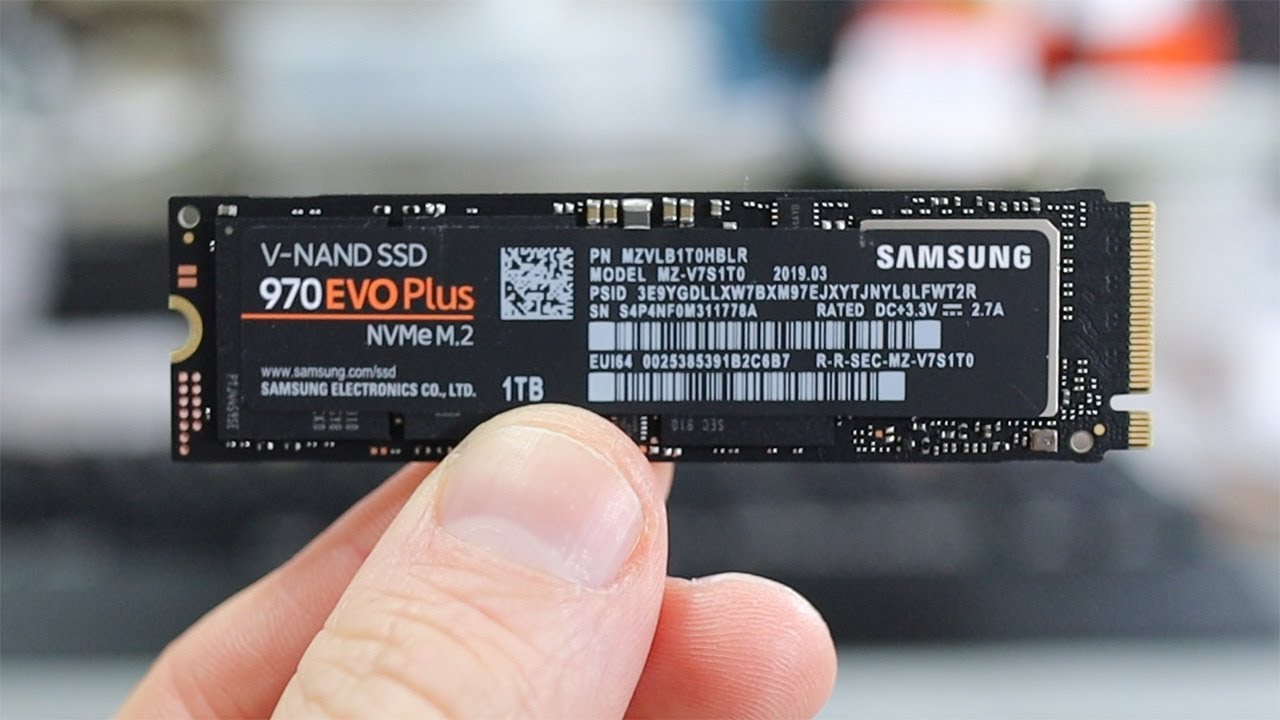
There are various types of SSDs available in the market, each with its own set of characteristics and performance levels. The most common types are SATA SSDs and NVMe SSDs. SATA SSDs, which connect using the SATA interface, are widely used due to their compatibility with most computers. They offer significant improvements in speed compared to traditional hard drives and are usually available in 2.5-inch form factor.
On the other hand, NVMe SSDs, which stand for Non-Volatile Memory Express, are designed to take full advantage of the PCIe architecture in modern computers. NVMe SSDs have significantly higher speeds and lower latencies compared to SATA SSDs, making them ideal for high-performance computing and demanding applications such as gaming or video editing.
Another aspect to consider when choosing an SSD is the storage capacity. SSDs come in various sizes, ranging from 120GB to 4TB or more. It’s crucial to assess your storage needs before selecting an SSD to ensure you have enough space to transfer all your files.
Finally, it’s worth noting that SSDs have a limited number of write cycles, which means that over time, the performance and lifespan of an SSD can degrade. However, modern SSDs are designed with features like wear leveling and over-provisioning to mitigate these issues and prolong the lifespan of the drive.
To summarize, SSDs offer faster speeds, reliability, and increased performance compared to traditional hard drives. Understanding the different types of SSDs and their characteristics will help you make an informed decision when choosing an SSD for your transfer process. Now that we have a clear understanding of SSDs and their differences, let’s move on to the next steps of preparing for the transfer.
Preparing for the Transfer
Before embarking on the process of transferring files from one SSD to another, it is crucial to adequately prepare for the transfer to ensure a smooth and successful transition. Here are the essential steps to follow:
1. Backup Your Data: Before initiating any transfer process, it is essential to create a backup of all your important files and data. This backup will serve as an additional safeguard in case of any unforeseen issues during the transfer. You can use an external hard drive, cloud storage, or any other reliable backup method to store your data safely.
2. Check Your Available Space: Take note of the storage capacity and available space on your current SSD. This information will help you determine whether your new SSD has sufficient capacity to handle all your files or if you need to prioritize certain data for the transfer.
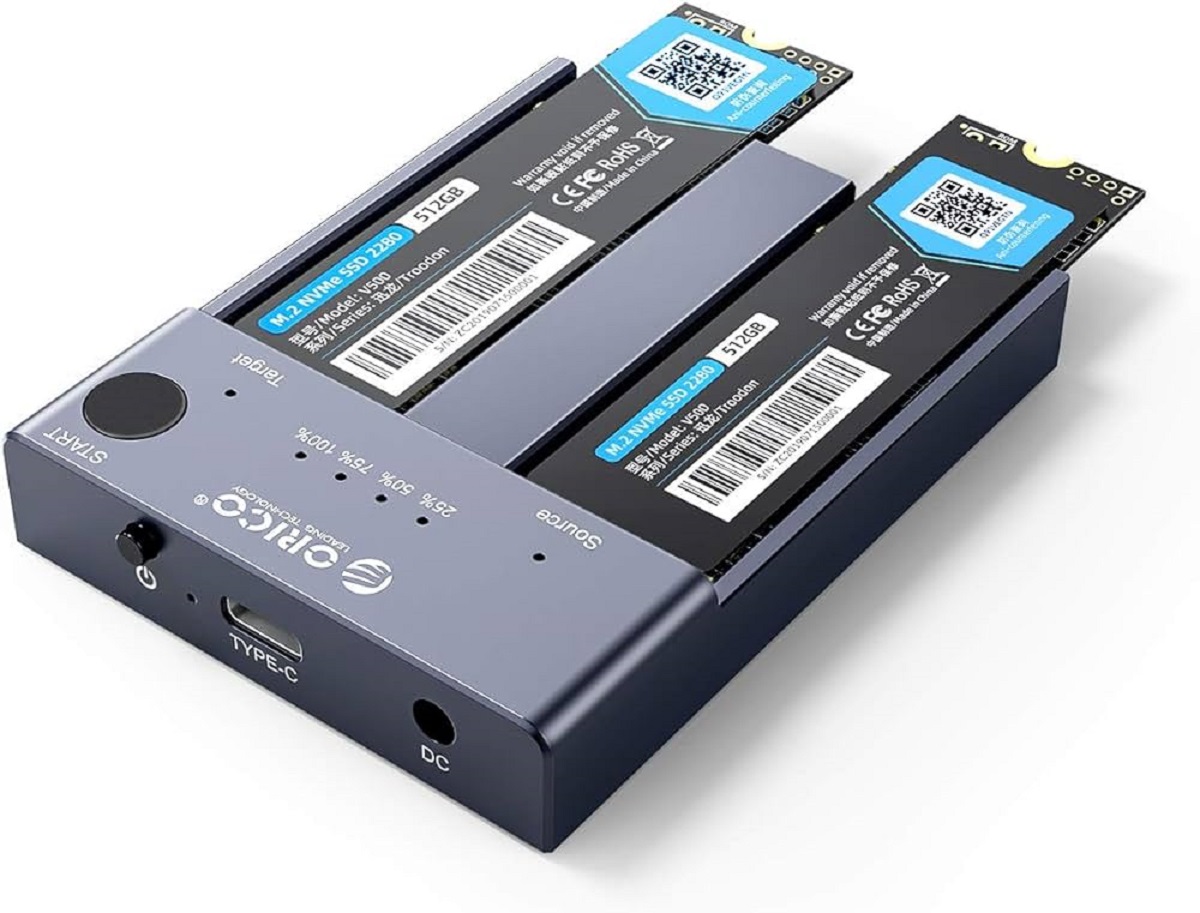
3. Gather Necessary Tools: Depending on the method you choose for transferring the files, you may need certain tools or software. For instance, if you plan to clone the SSD, you will need cloning software. Research and gather the appropriate tools before proceeding with the transfer.
4. Organize Your Files: It’s a good idea to organize your files and remove any unnecessary or duplicate data before transferring to a new SSD. This will help optimize storage space and make the overall transfer process more efficient.
5. Update Your System: Make sure that your operating system and any relevant drivers or firmware are up to date before starting the transfer. This will help prevent any compatibility issues and ensure that the new SSD can function properly with your system.
6. Disconnect External Devices: Before initiating the transfer, it is advisable to disconnect any external devices or peripherals connected to your computer. This will minimize any potential disruptions during the transfer process.
7. Read the Documentation: If you are using a new SSD or software for the transfer, it is essential to read the user manual or documentation provided. Understanding the specific instructions and requirements will help you navigate through the transfer process more effectively.
By following these preparatory steps, you will be ready to proceed with the transfer process confidently and minimize the chances of encountering any issues along the way. Now that you have prepared for the transfer, let’s explore the different methods you can use to transfer your files between SSDs.
Cloning the SSD
One of the most efficient methods for transferring all files from one SSD to another is by using the cloning process. Cloning involves creating an exact replica of the source SSD on the target SSD, including the operating system, applications, and all data. Here is a step-by-step guide on how to clone an SSD:
1. Choose a Cloning Software: There are many cloning software options available, both free and paid. Popular choices include Acronis True Image, EaseUS Todo Backup, and Clonezilla. Research the features and compatibility of the software before selecting one that suits your needs.
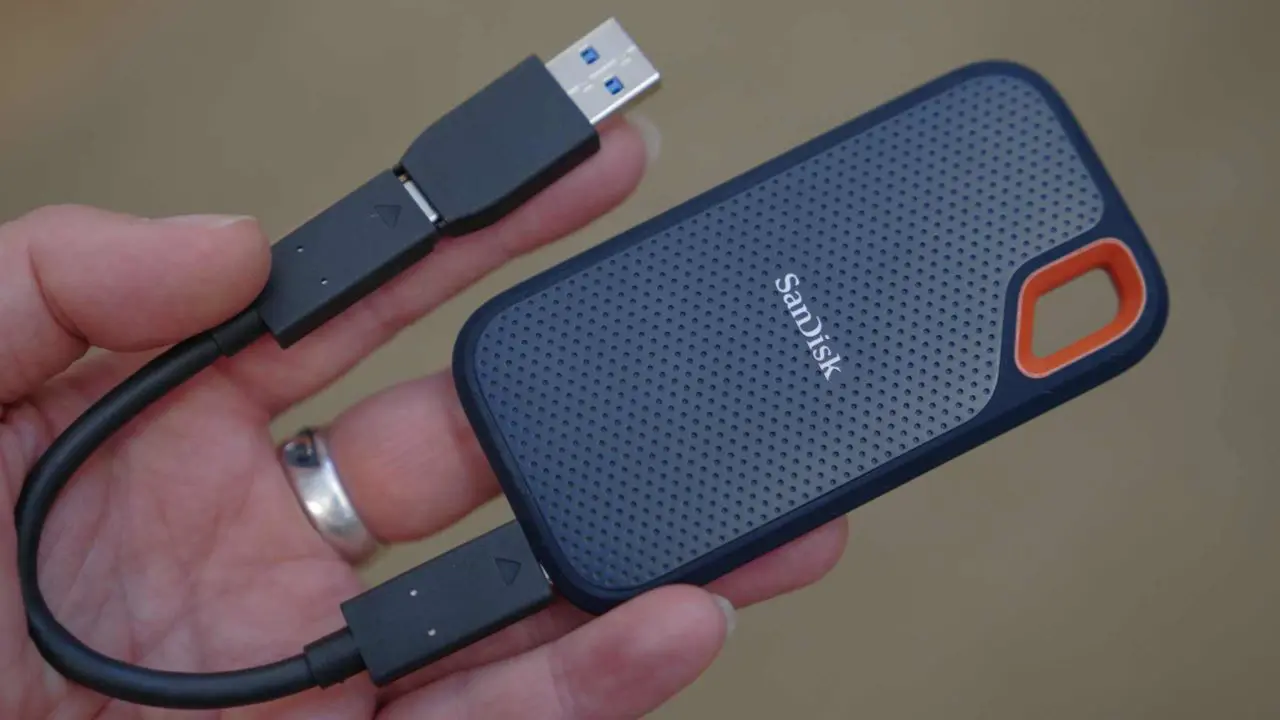
2. Connect the Target SSD: Connect the destination SSD to your computer using an appropriate cable or through an external enclosure. Ensure that the target SSD has sufficient storage capacity to accommodate all the data from the source SSD.
3. Launch the Cloning Software: Open the cloning software and select the option to clone the entire source SSD to the target SSD. This process may vary depending on the software you are using, but most applications have a straightforward and intuitive interface.
4. Select the Source and Target SSD: In the cloning software, choose the source SSD as the disk you want to clone. Then select the target SSD as the disk where you want to copy all the data. Double-check the selections to ensure accuracy.
5. Customize the Cloning Settings: Some cloning software allows you to customize the cloning process according to your preferences. For example, you can choose to resize partitions, exclude certain files or folders from the cloning process, or adjust other specific settings. Make any necessary adjustments based on your requirements.
6. Initiate the Clone: Once you have reviewed and customized the cloning settings, initiate the cloning process. The software will then start copying all the data from the source SSD to the target SSD.
7. Monitor the Cloning Process: It may take some time for the cloning process to complete, depending on the size of the data being transferred. Monitor the progress on the software interface, and ensure that your computer remains connected to a power source throughout the process.
8. Verify the Cloned SSD: Once the cloning process is finished, restart your computer and access the newly cloned SSD as the primary storage device. Verify that all your files, applications, and settings have been successfully transferred to the new SSD.
Cloning is an excellent method for transferring all files from one SSD to another while maintaining the exact configuration and operating system of the source drive. It’s important to note that during the cloning process, the source SSD will be overwritten, so make sure to have a backup of your data beforehand. Now that you are familiar with the cloning method, let’s explore an alternative approach – using data migration software.
Using Data Migration Software
If you prefer a more streamlined and automated approach to transfer all files from one SSD to another, using data migration software can be an excellent option. Data migration software simplifies the process by copying all the data, including the operating system, applications, and files, from the source SSD to the target SSD. Here’s how to use data migration software:
1. Select a Data Migration Software: There are several data migration software available, such as Samsung Data Migration, Intel Data Migration Software, and Aomei Partition Assistant. Choose a software that is compatible with your SSD and suits your needs.
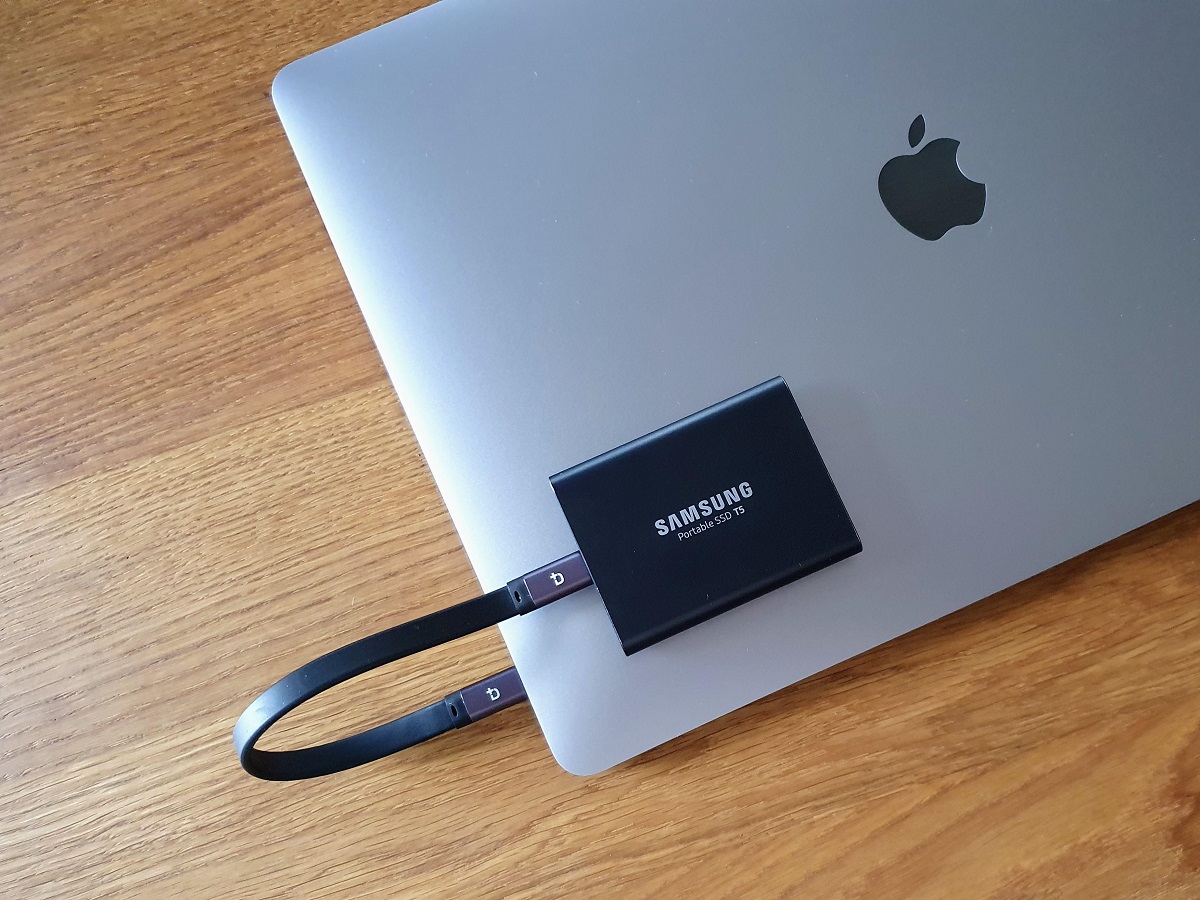
2. Connect the Target SSD: Connect the target SSD to your computer using the appropriate method, such as a SATA or USB connection. Ensure that the target SSD has enough storage capacity to accommodate all the data from the source SSD.
3. Install and Launch the Data Migration Software: Install the selected data migration software and launch it on your computer. Follow the on-screen instructions to ensure the software is detected and recognizes both the source and target SSDs.
4. Select the Source and Target SSDs: In the data migration software, select the source SSD as the disk you want to transfer the data from, and choose the target SSD as the destination where you want to copy the data. Double-check your selections to ensure accuracy.
5. Customize the Transfer Settings (if Available): Some data migration software allows you to customize settings such as partition size, alignment, or exclude certain files or folders from the transfer. Customize these settings according to your preferences or leave them as default.
6. Initiate the Data Migration: Once you have reviewed and adjusted the settings, start the data migration process. The software will begin copying all the data from the source SSD to the target SSD. The time required for migration will depend on the size of the data being transferred.
7. Verify the Transferred Data: After the migration process is complete, restart your computer and access the newly migrated SSD as the primary storage device. Verify that all your files, applications, and settings have been successfully transferred to the target SSD.
Data migration software provides a convenient and efficient method for transferring all files from one SSD to another, eliminating the need for manual copying and configuring. Keep in mind that the data migration process may overwrite the target SSD, so it is essential to have a backup of your data beforehand. Now, let’s explore an alternative approach – manually transferring files from one SSD to another.
Manually Transferring Files
If you prefer more control and flexibility over the transfer process, manually transferring files from one SSD to another is a viable option. This method allows you to selectively copy files, folders, and settings to the new SSD. Here’s a step-by-step guide on how to manually transfer files:
1. Connect the Target SSD: Connect the target SSD to your computer using the appropriate connection method, such as SATA or USB. Make sure the target SSD has enough storage capacity to accommodate the files you plan to transfer.
2. Identify the Files to Transfer: Determine the specific files and folders you want to transfer from the source SSD to the target SSD. You can focus on important documents, media files, software installers, or any other data you wish to preserve on the new SSD.
3. Copy the Files: Navigate to the source SSD and locate the files and folders you selected for transfer. Select them and copy them to a temporary location, such as a folder on your desktop or an external storage device.
4. Paste the Files onto the Target SSD: Access the target SSD and navigate to the desired location where you want to store the transferred files. Paste the files from the temporary location onto the target SSD.
5. Repeat the Process (if necessary): If you have additional files or folders to transfer, repeat the copying and pasting process until you have transferred all the necessary data from the source SSD to the target SSD.
6. Configure Applications and Settings: If there are specific applications or settings you want to transfer, ensure you reinstall or reconfigure them on the new SSD. Take note of any customizations or preferences you had on the source SSD and apply them accordingly.
7. Verify the Transferred Data: Once the manual transfer is complete, restart your computer and access the target SSD to confirm that all the files, folders, and settings have been successfully transferred. Check the functionality of any transferred applications to ensure they work without any issues.
Manually transferring files offers flexibility and control over the transfer process, allowing you to choose exactly what gets transferred to the new SSD. However, it requires more effort and meticulousness compared to the cloning or data migration methods. Before proceeding with this method, create a backup of your files to prevent any accidental data loss. With the files successfully transferred, you can now proceed with transferring critical system files and settings, which we will discuss in the next section.
Transferring System Files and Settings
When transferring all files from one SSD to another, it is crucial to ensure that your system’s files and settings are properly transferred as well. System files and settings include your operating system, drivers, preferences, and customizations. Here’s a guide on how to transfer system files and settings:
1. Create a System Backup: Before transferring any system files or settings, create a backup of your entire system. Use a reliable backup tool or software to create a system image or backup, ensuring that all critical files and settings are saved.
2. Install the Operating System: If your new SSD does not have the operating system installed, you will need to install it. Insert the installation media (DVD or USB) and follow the installation prompts. Choose the new SSD as the destination for the operating system installation.
3. Install Drivers: After the operating system is installed, install the necessary drivers for your hardware components. You can download the latest drivers from the manufacturer’s website and follow the installation instructions to ensure proper functionality of your system.
4. Configure User Settings: Transfer your user settings, such as desktop wallpaper, folder settings, and browser bookmarks, to the new SSD manually. Locate the respective configuration files or use migration tools provided by the software or operating system to ease this process.
5. Reinstall Applications: If your applications were not included in the file transfer process, you will need to reinstall them on the new SSD. Use the installation files or download the latest versions from the software’s official website. If possible, record any license keys or activation information beforehand.
6. Transfer Application Settings: Some applications store their settings and preferences in specific locations. Look for configuration files, folders, or registry entries related to your applications and transfer them to the new SSD. This way, you can preserve your customizations and preferences.
7. Test and Verify: Once the system files, drivers, settings, and applications are transferred, restart your computer and ensure that everything is functioning correctly. Test the functionality of critical applications and verify that all your customizations and preferences have been successfully transferred.
Transferring system files and settings can be more involved compared to transferring regular files and folders. Take the necessary precautions to ensure a smooth transition and consider seeking assistance from online resources or professional support if needed. With your system files and settings successfully transferred, it’s time to verify the overall transfer process.
Verifying the Transfer
Once you have completed the transfer of all files, including system files and settings, from one SSD to another, it is crucial to verify the success of the transfer. Verification ensures that no data was lost or corrupted during the process and that everything is functioning correctly. Here’s a guide on how to verify the transfer:
1. Check File Integrity: Take the time to browse through the transferred files and folders on the new SSD. Open various file types, such as documents, images, videos, and ensure they can be accessed without any errors or issues.
2. Test Applications: Launch and test all important applications that were transferred to the new SSD. Ensure that they open without any problems and that you can access and work with your files within those applications.
3. Verify System Settings: Check your system settings, including display resolution, sound preferences, network configurations, and any other customized settings. Make sure that the settings have been transferred correctly to the new SSD.
4. Test Performance: Assess the performance of your computer after the transfer. Run benchmark tests or perform tasks that typically stress the system, such as video editing or gaming, to ensure that the new SSD is performing optimally.
5. Check External Connections: If you have any external devices or peripherals connected to your computer, such as printers, scanners, or external hard drives, ensure that they are recognized and functioning correctly after the transfer.
6. Verify Boot and Startup: Restart your computer and verify that the new SSD is recognized as the boot drive. Check the startup process and timing to ensure that the system boots up efficiently with the new SSD.
7. Monitor Stability: Keep an eye on your system’s stability in the days following the transfer. Pay attention to any abnormal behavior, such as frequent crashes, freezes, or application errors. If any issues arise, troubleshoot them promptly.
Verifying the transfer of files, system files, and settings is an essential step to ensure that the new SSD is functioning correctly and that all your data remains intact. If you encounter any issues or inconsistencies during the verification process, refer to your backup files or seek professional assistance to address and resolve them.
Now that you have successfully transferred and verified all files and system settings to the new SSD, you can enjoy the benefits of improved storage capacity, faster performance, and a more efficient computing experience.
Conclusion
Transferring all files from one SSD to another may seem like a daunting task, but with the right methods and tools, it can be accomplished smoothly and efficiently. In this comprehensive guide, we have explored three main methods for transferring files:
1. Cloning the SSD: This method creates an exact copy of the source SSD on the target SSD, including the operating system, applications, and all data. It is a convenient option when you want to replicate your current setup onto a new SSD.
2. Using Data Migration Software: Data migration software simplifies the transfer process by copying all your files, settings, and even the operating system from the source SSD to the target SSD. It provides an automated and streamlined approach to transferring your data.
3. Manually Transferring Files: This method is suitable if you prefer more control over the transfer process. You can selectively copy files and folders from the source SSD to the target SSD and manually configure system settings and reinstall applications.
Regardless of the method you choose, it is essential to prepare for the transfer, including backing up your data, checking available space, gathering necessary tools, and organizing your files. Transferring system files and settings, as well as verifying the successful transfer, are critical steps to ensure the new SSD functions properly and all data is intact.
Remember, always back up your data before proceeding with any transfer process, as it adds an extra layer of protection in case of any unforeseen issues. Additionally, consult the documentation provided with your specific SSD or software for detailed instructions and guidance.
By following the steps outlined in this guide, you can successfully transfer all files from one SSD to another, ensuring a seamless transition to your new storage device. Whether you’re upgrading to a larger SSD or seeking better performance, this guide has provided you with the knowledge and tools to make the transfer process efficient and effective.
Now, armed with this knowledge, go ahead and confidently transfer your files, embrace the benefits of your new SSD, and enjoy a faster and more reliable computing experience!