Introduction
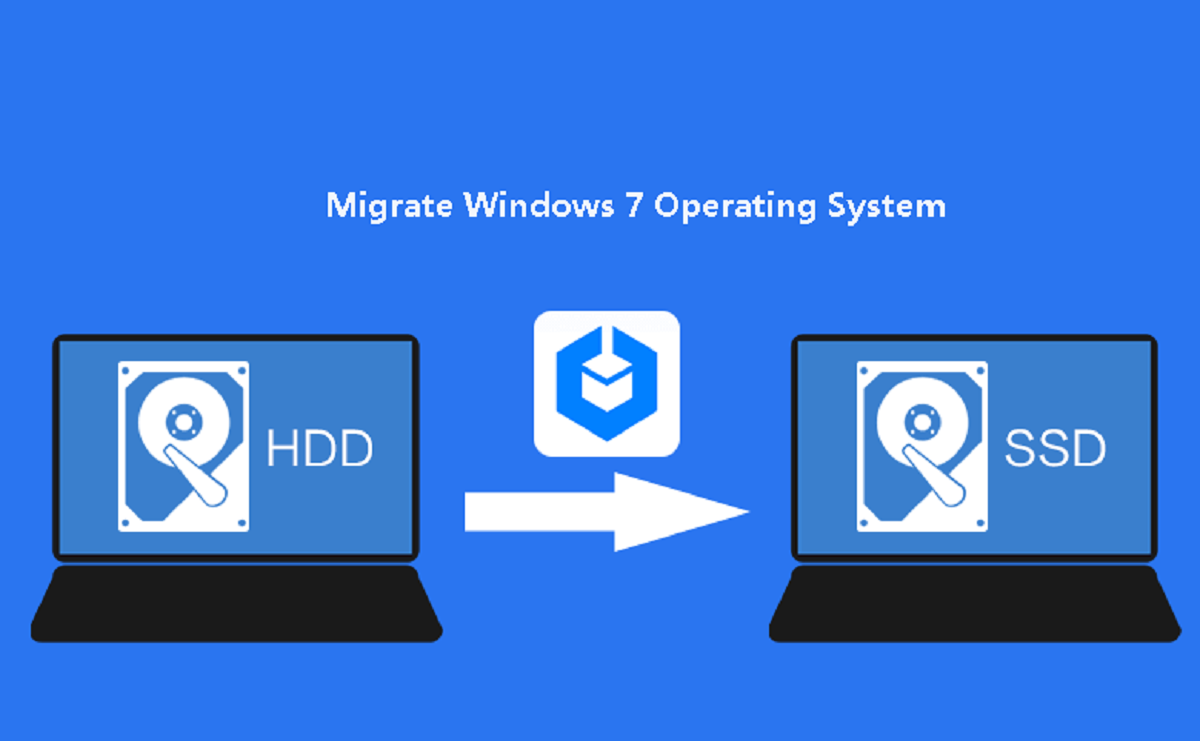
When it comes to transferring data from one SSD (Solid State Drive) to another, having a clear and efficient process is key. Whether you are upgrading to a larger SSD or simply replacing a faulty one, ensuring a smooth transition will help you avoid data loss and minimize downtime.
In this article, we will guide you through the steps to transfer data from one SSD to another. From backing up your data to cloning your SSD, we will provide you with the necessary information and tools needed to successfully complete the transfer.
It’s important to note that while the process of transferring data from one SSD to another may seem daunting, it can be easily accomplished with the right tools and preparation. By following our step-by-step guide, you’ll be able to seamlessly migrate your data to a new SSD without any hassle or stress.
Before we dive into the specific steps, it’s crucial to emphasize the importance of backing up your data. Transferring data always carries a risk of data loss or corruption, so it’s essential to have a backup in case anything goes wrong during the transfer process. If you don’t have a backup already, now is the time to create one.
Additionally, it’s worth considering the capacity of your new SSD. If you’re upgrading to a larger SSD, you’ll want to ensure that the new drive has enough space to accommodate all your data. If you’re replacing a faulty SSD with a similar-sized one, this won’t be a concern.
With that said, let’s move on to the next step: choosing the right tools for the data transfer process.
Back up your data
Before you start the process of transferring data from one SSD to another, it is crucial to back up your data. This step is essential to ensure that your important files and documents are safe in case anything goes wrong during the transfer.
There are various options available for backing up your data. One popular method is using an external hard drive or a cloud storage service to create a copy of your files. This allows you to easily retrieve your data if needed. Alternatively, you can also make use of backup software that offers automatic data backup and restoration functionality.
When creating a backup, make sure to include all the files and folders that you want to transfer to the new SSD. This may include documents, photos, videos, and any other relevant data. It is always better to be safe than sorry, so ensure that you have all the necessary files backed up.
Once you have completed the backup process, double-check to ensure the integrity of your backup. You can do this by verifying that all the files have been successfully copied and that they can be accessed without any errors. Taking the time to verify your backup will give you peace of mind and ensure that your data is secure.
Remember, the backup process is not a step to be skipped or rushed through. It is a vital precautionary measure that can save you from potential data loss. Take the time to back up your data thoroughly to protect your files and give yourself the confidence you need to proceed with the transfer process.
With your data securely backed up, you can now move forward with the next steps of transferring data from one SSD to another. In the following sections, we will guide you through the necessary tools and steps to successfully complete the transfer.
Choose the right tools
When it comes to transferring data from one SSD to another, having the right tools is essential. These tools will facilitate the transfer process and ensure that your data is successfully migrated to the new SSD. Here are some important tools to consider:
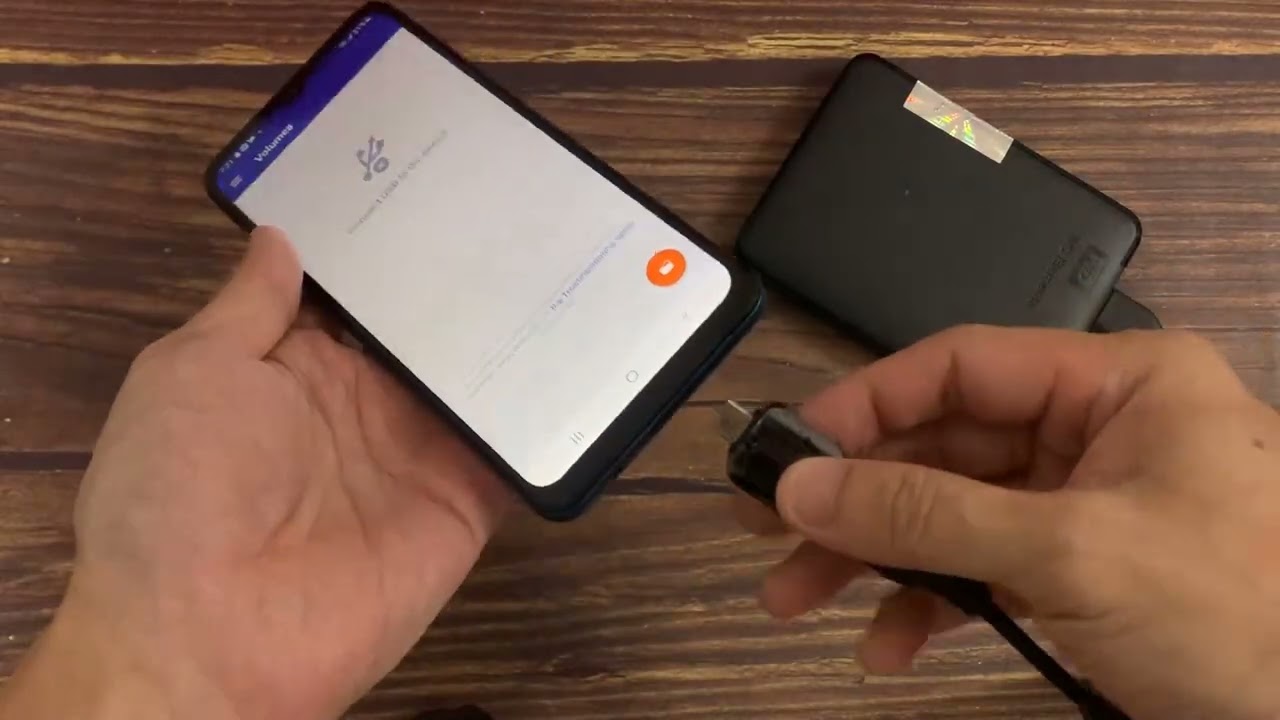
1. USB/SATA adapter: This adapter allows you to connect your old SSD to your computer via USB or SATA, depending on the available ports. It is an essential tool for establishing a connection between the SSD and your computer, enabling data transfer.
2. Cloning software: To transfer your data from one SSD to another, you will need cloning software. This software creates a copy of your old SSD and transfers it to the new one. There are various cloning software options available, both free and paid, so choose one that suits your needs and budget.
3. Screwdriver: Depending on the type of SSD and the enclosure it is housed in, you may need a screwdriver to open the enclosure and access the SSD. It’s important to have the correct type and size of screwdriver to avoid any damage while handling the SSD.
4. External storage device: If your new SSD doesn’t come with an enclosure, you may need an external storage device to temporarily store your data during the transfer process. An external hard drive or USB drive will work perfectly for this purpose.
5. Protective gloves and antistatic wrist strap: While optional, wearing protective gloves and using an antistatic wrist strap can prevent electrostatic discharge (ESD) that can potentially damage your SSD. These precautions are especially important if you’re handling the delicate components of the SSD directly.
Before proceeding with the transfer, ensure that you have all the necessary tools readily available. This will prevent any delays or interruptions during the process and allow for a smooth data transfer from one SSD to another.
Now that you have the right tools in hand, let’s move on to the next step: connecting the SSDs.
Connect the SSDs
Once you have gathered all the necessary tools, the next step in transferring data from one SSD to another is connecting the SSDs. Follow the steps below to establish a connection between the old and new SSD:
- Power off your computer: Before connecting or disconnecting any hardware, it’s important to power off your computer to avoid any potential damage.
- Open your computer case: If your SSD is installed internally, you will need to open your computer case to access it. Use a screwdriver to remove the screws securing the case, then carefully remove the side panel.
- Identify the old and new SSDs: Locate your current SSD and the new SSD you’ll be transferring the data to. They should be clearly labeled and easily identifiable.
- Connect the USB/SATA adapter: If you’re using a USB/SATA adapter, connect it to the old SSD using the appropriate cables. Make sure to align the connectors correctly and secure them tightly.
- Connect the adapter to your computer: Depending on the type of adapter, connect it to your computer using either a USB or SATA cable. USB cables are typically used for external SSDs, while SATA cables are used for internal SSDs.
- Power on your computer: Once the adapter is connected, you can power on your computer, allowing it to recognize the old SSD and establish a connection.
At this point, both the old and new SSDs should be connected to your computer. The next step is to clone the data from the old SSD to the new one using specialized cloning software.
It’s worth mentioning that if your new SSD is an external drive or comes with an enclosure, you can skip the step of opening your computer case. Simply connect the new SSD to your computer using the provided cables or enclosure, and it should be recognized as an external drive.
Now that the SSDs are successfully connected, let’s proceed to the next step: cloning your SSD.
Clone your SSD
Once you have established the connection between the old and new SSDs, the next step in transferring data is to clone your SSD. Cloning allows you to create an exact replica of your old SSD and transfer all the data, including the operating system and applications, to the new SSD. Here’s how to clone your SSD:
- Select the cloning software: Choose the cloning software that you have previously installed. Launch the software on your computer.
- Select the source and destination drives: In the cloning software, you will be prompted to select the source and destination drives. The source drive is your old SSD, and the destination drive is your new SSD. Ensure that you have correctly identified the drives before proceeding.
- Configure the cloning settings: Depending on the cloning software you are using, you may have additional settings to configure. These settings may include options to resize partitions, exclude certain files, or optimize the transfer process. Review the options and adjust them according to your preferences.
- Start the cloning process: Once you have configured the settings, initiate the cloning process. The software will begin copying the data from the old SSD to the new one. The time taken for the cloning process will depend on the size of the data and the speed of your drives.
- Monitor the cloning process: While the cloning process is underway, it is recommended to monitor its progress. You can do this by periodically checking the cloning software or referring to any progress indicators provided by the software. Ensure that the process completes without any errors.
- Verify the cloned data: Once the cloning process is complete, it is crucial to verify the data on the new SSD. Take a few moments to browse through the files and folders to ensure that everything has been successfully transferred. Check if your operating system and applications are functioning as expected on the new SSD.
By following these steps, you can successfully clone your SSD and transfer all your data to the new drive. Cloning your SSD eliminates the need to reinstall the operating system and applications, saving you time and effort.
Once you have verified the data transfer, you can proceed to the next step: removing the old SSD from your computer.
Verify the data transfer
After completing the cloning process and transferring the data from the old SSD to the new one, it is crucial to verify the data transfer to ensure that everything has been successfully copied. Verifying the data transfer helps to confirm that all your files, folders, and settings are intact on the new SSD. Here are some steps you can follow to verify the data transfer:
- Boot up your computer: Power on your computer and allow it to start up using the new SSD as the boot drive. It should load the operating system from the new SSD.
- Check files and folders: Take some time to explore the files and folders on the new SSD. Navigate through different directories and check if all your important files and folders have been successfully transferred. Pay attention to any specific directories or files that you were concerned about during the transfer.
- Test applications: Open various applications that were installed on your old SSD and ensure that they are functioning properly on the new SSD. Test different features and functionalities to confirm that all settings and configurations have been retained.
- Test system performance: Use your computer as you normally would and monitor its overall performance. Run some benchmark tests or demanding tasks to ensure that the new SSD is performing on par or better than the old one. If you notice any performance issues, it may indicate a problem with the data transfer.
- Compare data: If you still have access to the old SSD, you can compare specific files or folders on both the old and new SSDs to ensure that they are identical. This step can provide an extra level of assurance that the data transfer was successful.
- Backup verification: If you had created a backup of your data before the transfer, you can now compare the data on the new SSD with your backup to ensure that they match. This is an additional way to confirm the accuracy of the data transfer.
By following these verification steps, you can ensure that your data has been successfully transferred from the old SSD to the new one. If any issues or discrepancies are discovered, you can take corrective measures such as restoring from the backup or repeating the data transfer process.
Once you are confident that the data transfer has been successful and verified, you can proceed to the final step: removing the old SSD from your computer.
Remove the old SSD
After successfully transferring and verifying the data on the new SSD, it’s time to remove the old SSD from your computer. Removing the old SSD ensures that it is no longer used or taking up unnecessary space. Here are the steps to safely remove the old SSD:
- Power off your computer: Before making any hardware changes, ensure that your computer is turned off to avoid any damage.
- Open your computer case: If the old SSD is installed internally, open your computer case by removing the necessary screws and carefully sliding off the side panel. Take caution to avoid static discharge by grounding yourself and wearing an anti-static wrist strap.
- Locate the old SSD: Identify the old SSD inside your computer. It is usually easy to spot as it will have a similar appearance to the new SSD you installed.
- Disconnect cables: Carefully disconnect any cables attached to the old SSD, including the data cable and power cable. Gently wiggle the cables off the SSD connectors to avoid any damage.
- Remove the old SSD: In most cases, the old SSD will be secured using screws or brackets. Use a screwdriver to remove these screws or brackets and then slide out the old SSD from its slot. Be gentle and avoid pulling or forcing the SSD to prevent any damage.
- Replace the case panel: Once the old SSD has been removed, reattach the side panel of your computer case using the screws you previously removed. Ensure that all screws are tightly secured.
Congratulations! You have successfully removed the old SSD from your computer. Remember to handle the old SSD with care, as it may still contain sensitive data. Depending on your preference, you can either store the old SSD in a safe place as a backup or dispose of it following proper electronic waste recycling protocols.
With the old SSD removed, your computer is now solely using the new SSD for storage and performance. Enjoy the benefits of increased storage capacity and improved speed that the new SSD provides.
As a final note, it’s always a good idea to update your computer’s BIOS or boot settings to ensure that it recognizes the new SSD as the primary boot device. This will optimize the performance and functionality of your new SSD.
Now that you have successfully removed the old SSD, you can conclude the process knowing that your data has been securely transferred to the new SSD.
Conclusion
Transferring data from one SSD to another may seem like a complex process, but with the right tools and steps, it can be accomplished smoothly. In this article, we have guided you through the essential steps to transfer data from one SSD to another. By following these steps, you can ensure a successful and hassle-free transfer.
First, we emphasized the importance of backing up your data before starting the transfer process. This ensures that your files are protected and can be easily recovered if anything goes wrong during the transfer.
Next, we discussed the significance of choosing the right tools, including a USB/SATA adapter, cloning software, screwdriver, and external storage device if needed. Having these tools readily available streamlines the transfer process and ensures that the necessary connections can be made.
We then proceeded to the steps of connecting the SSDs, cloning the data, and verifying the data transfer. Establishing a connection between the old and new SSDs, using cloning software to copy the data, and verifying the transfer guarantee that all your files, applications, and settings are successfully transferred to the new SSD.
Finally, we covered the process of removing the old SSD from your computer, ensuring that it is no longer in use and freeing up space.
By following these steps and taking the necessary precautions, you can confidently and efficiently transfer data from one SSD to another. Remember to handle your SSDs with care, protect your data through backups, and dispose of electronic waste responsibly. With your new SSD in place, you can enjoy increased storage capacity, faster performance, and a seamless computing experience.
Thank you for reading this guide, and we hope it has been helpful in assisting you with the transfer of data between SSDs. May your new SSD serve you well!