Introduction
Introducing the New SSD Boot Drive
Welcome to this comprehensive guide on how to set up a new SSD as your boot drive. Upgrading to a solid-state drive (SSD) can significantly enhance your computer’s performance by speeding up the boot time and improving data transfer rates. Whether you’re a gamer looking to reduce load times or a professional seeking faster application launches, switching to an SSD as your primary boot drive is a great investment.
In this article, we will walk you through the step-by-step process of installing a new SSD and setting it up as your boot drive. We’ll cover everything from backing up your data to configuring your computer’s BIOS and setting up the necessary software. By the end of this guide, you’ll have a comprehensive understanding of how to seamlessly transition to a new boot drive.
If you’re ready to supercharge your computer’s performance and enjoy faster load times and improved overall responsiveness, let’s get started!
Requirements
What You’ll Need
Before diving into the process of setting up a new SSD as your boot drive, make sure you have the following requirements in place:
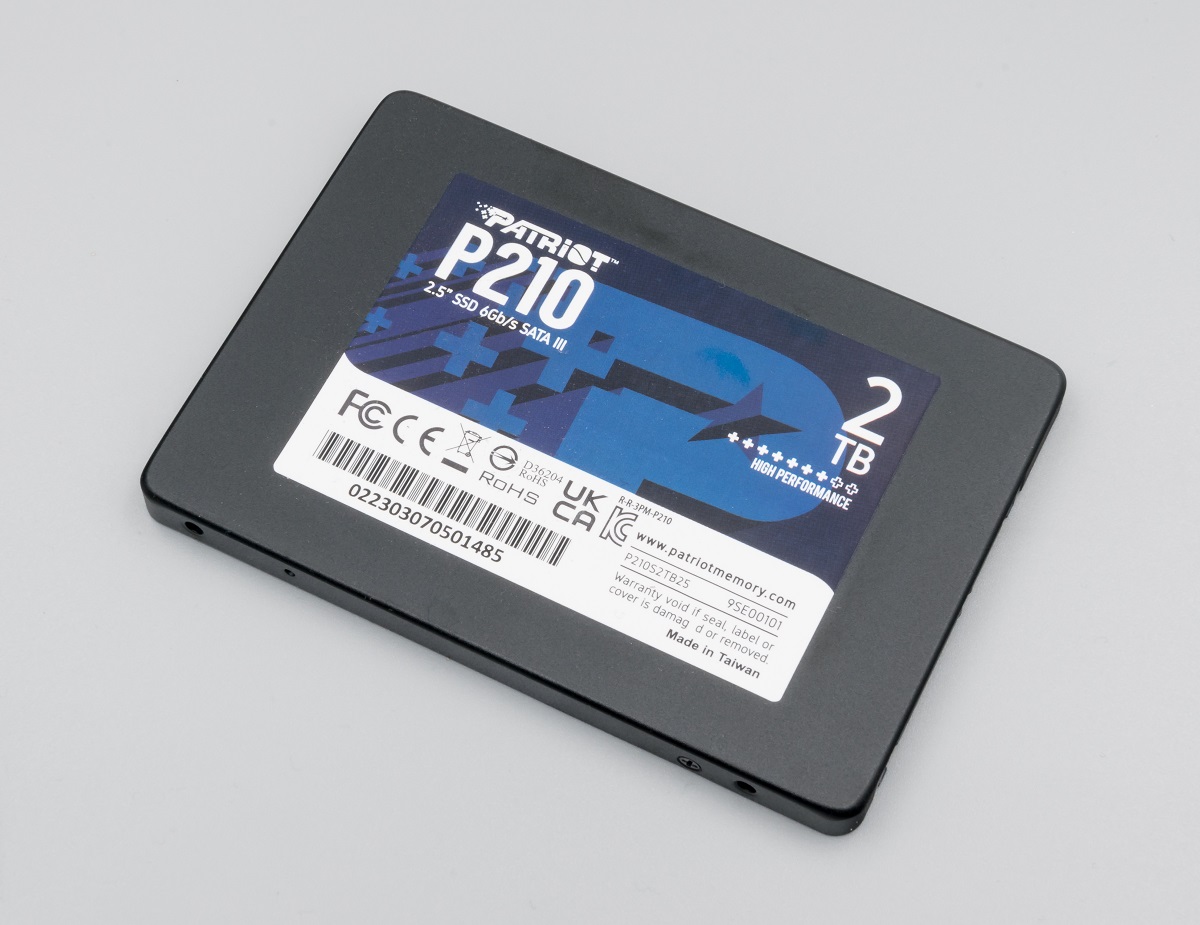
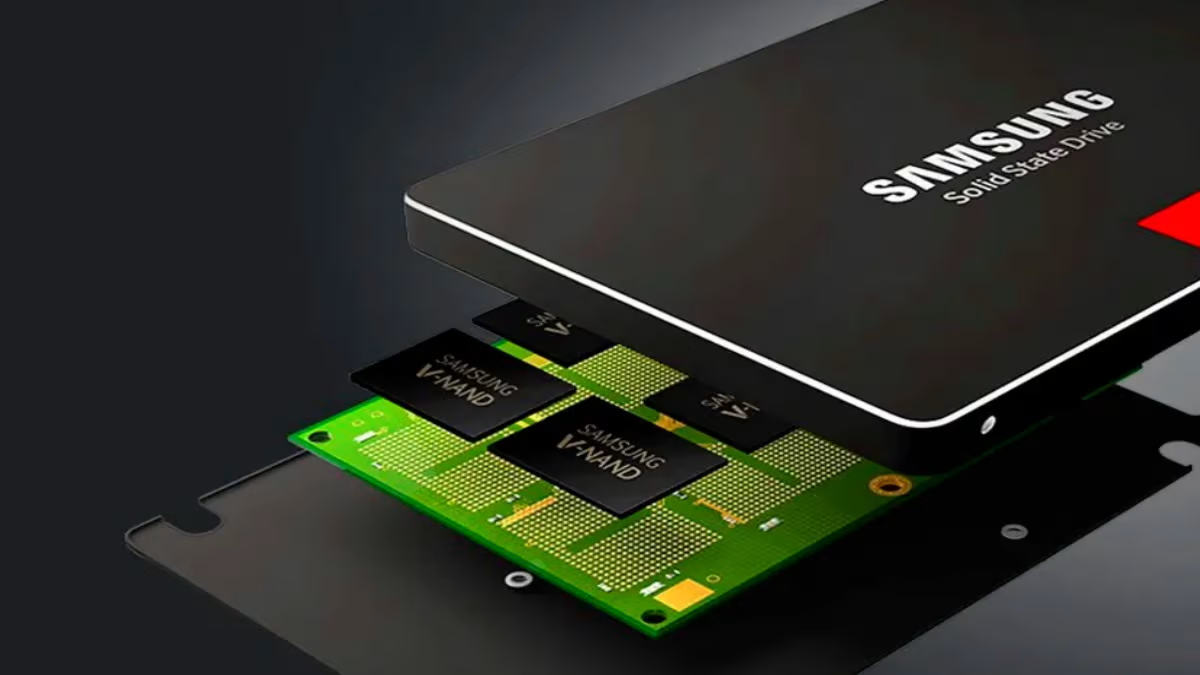
- New SSD: Purchase a reliable and compatible solid-state drive (SSD) with sufficient capacity to store your operating system and applications. Consider factors such as storage capacity, read and write speeds, and warranty.
- SATA Cable: Ensure you have a SATA cable to connect the new SSD to your motherboard. Most SSDs come with a SATA cable, but it’s always a good idea to have an extra one handy.
- Power Cable: Check that you have an available power cable to connect the SSD to your power supply unit (PSU). This connector is usually a SATA power cable, but the specific connector type may vary depending on your PSU.
- Screwdriver: Prepare a screwdriver (usually a Phillips-head or Torx) to securely mount the SSD inside your computer’s case. The screwdriver should match the type of screws used in your computer’s chassis.
- External Storage: It’s crucial to have an external storage device to back up your data before proceeding with the installation. This can be an external hard drive, USB flash drive, or cloud storage service.
- Software Clone Tool: Consider using a software clone tool if you want to transfer your existing operating system, applications, and files to the new SSD seamlessly. Some popular options include Acronis True Image, Macrium Reflect, and EaseUS Todo Backup.
- Internet Connection: Ensure you have a stable internet connection to download any necessary software and updates for your operating system and drivers.
By gathering these requirements, you’ll be well-prepared to proceed with the installation process and ensure a smooth transition to your new SSD boot drive.
Step 1: Backing up Your Data
Ensure the Safety of Your Data
Prior to making any changes to your computer’s storage configuration, it’s crucial to back up your data. This step helps protect your valuable files and ensures that you won’t lose any important information during the installation process.
Here’s how to back up your data in a few simple steps:
- Select and Prepare an External Storage Device: Connect your external storage device, such as an external hard drive or USB flash drive, to your computer. Make sure it has sufficient storage capacity to hold all your important files and folders.
- Choose Your Backup Method: Decide on the backup method that suits your needs. You can either manually copy and paste your files to the external storage device, use built-in backup software on your operating system, or utilize a third-party backup solution.
- Select the Files and Folders to Backup: Identify the files and folders that you want to back up. It’s recommended to include documents, photos, videos, music, and any other important files. Don’t forget to back up your browser bookmarks, email data, and other application-specific settings if necessary.
- Start the Backup Process: Initiate the backup process by copying the selected files and folders to your external storage device. Ensure that the process completes successfully and double-check that all the data is intact.
- Verify Your Backup: Once the backup process is complete, take a moment to verify the integrity of your backup. Cross-check a few randomly selected files or folders to ensure they can be accessed and opened without any issues.
By following these steps, you can safeguard your data and have peace of mind knowing that your files are safely backed up. This will allow you to proceed with the installation process without worrying about potential data loss.
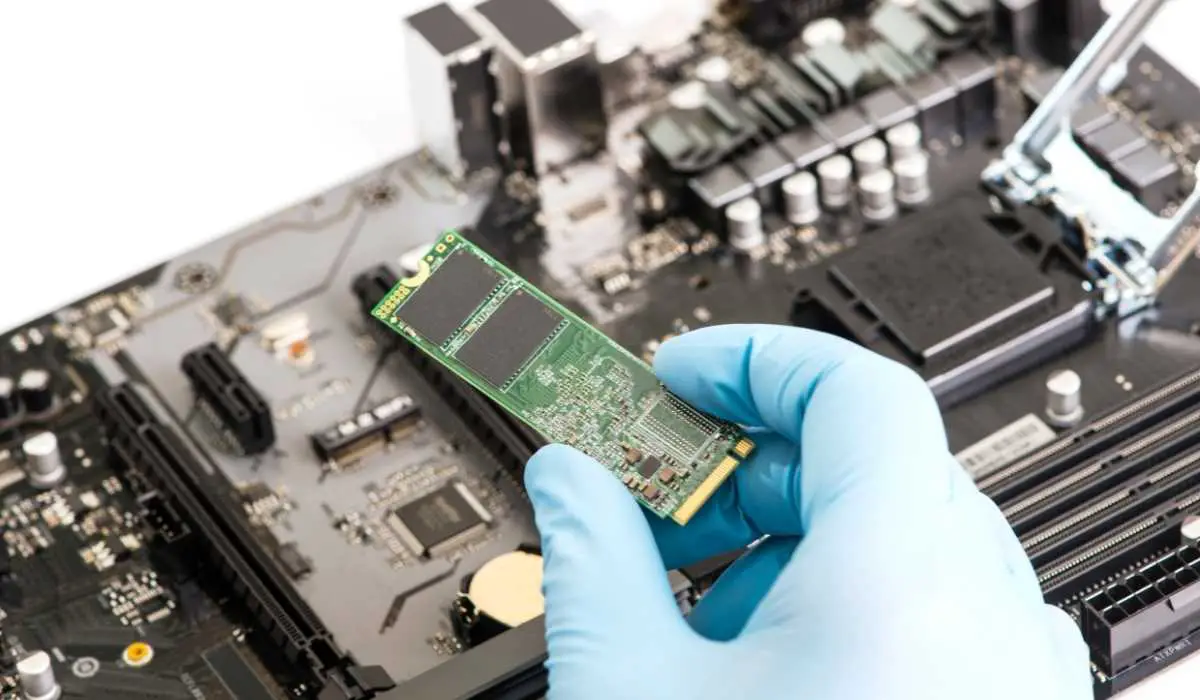
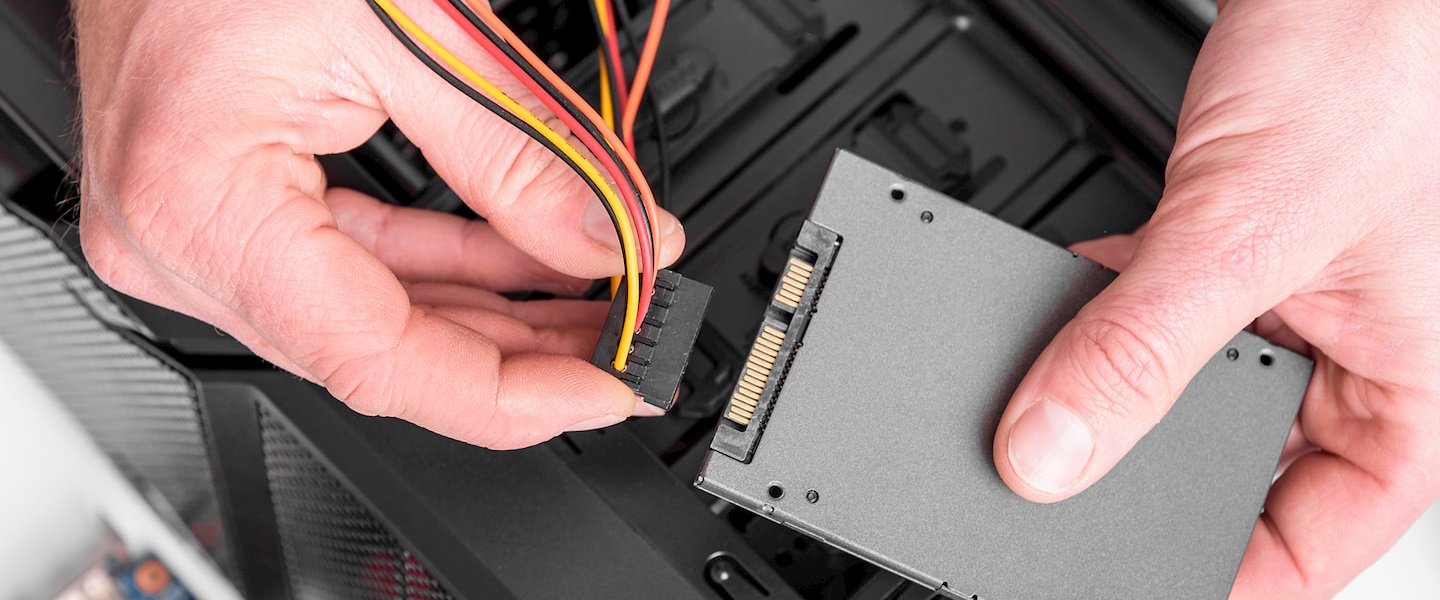
Step 2: Installing the New SSD
Set Up Your New SSD
Now that you have backed up your data, it’s time to install your new SSD into your computer. The installation process may vary slightly depending on your computer’s make and model, but the general steps remain the same.
Follow these instructions to install your new SSD:
- Prepare Your Workspace: Start by powering down your computer and unplugging all cables. Find a well-lit, flat surface to work on that provides sufficient space to maneuver your computer’s case.
- Access Your Computer’s Interior: Open your computer’s case by removing the screws or releasing the latches on the side panel. Consult your computer’s manual if you’re unsure how to access the interior. Remember to ground yourself by touching a metal surface to discharge any static electricity.
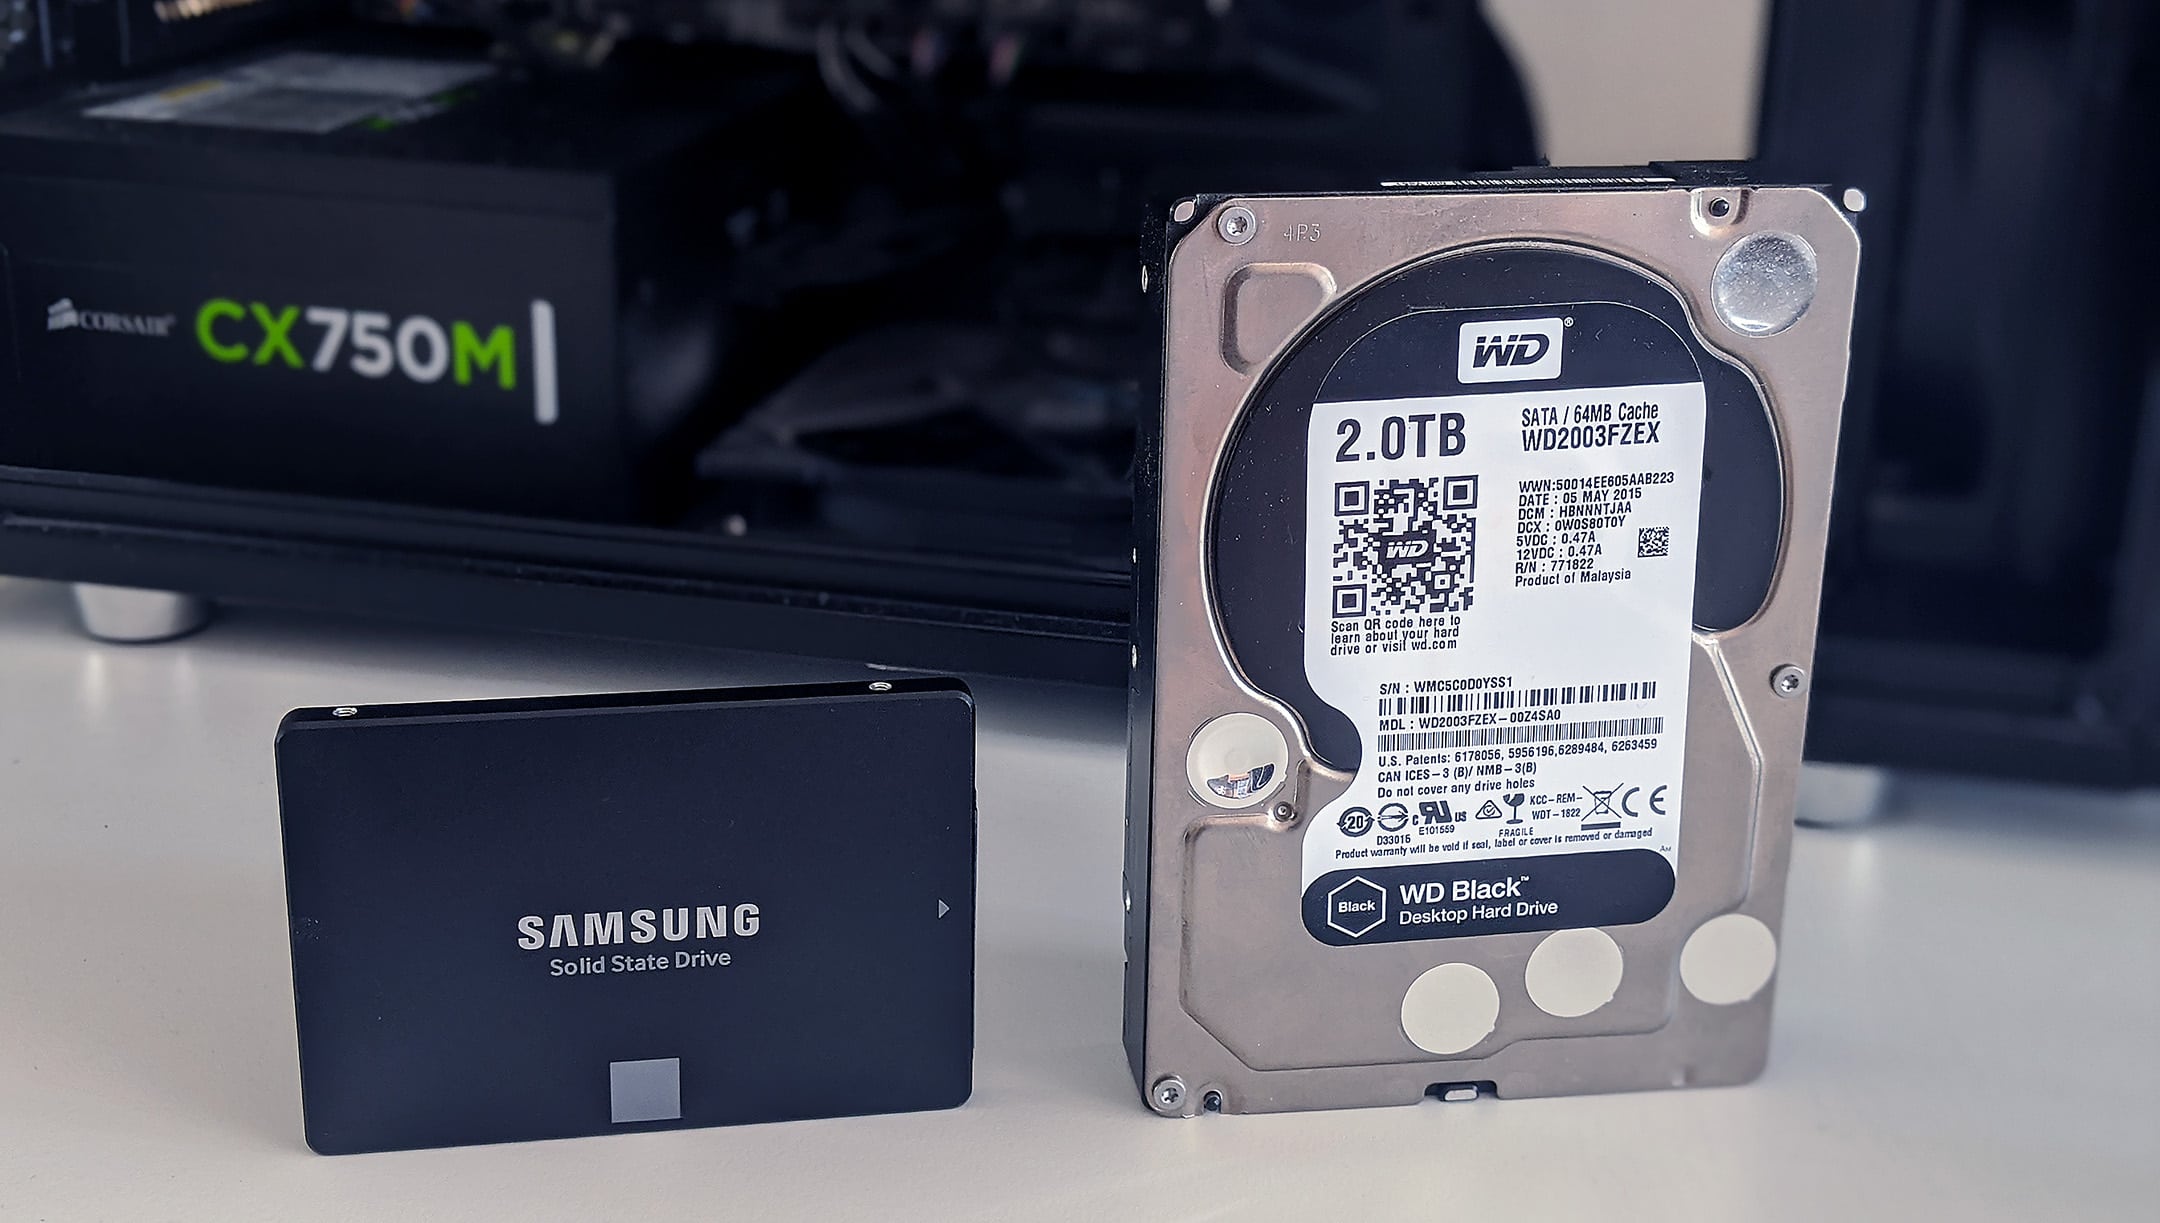
- Locate the Old Boot Drive: Identify the current boot drive in your computer. This is typically a hard disk drive (HDD) with your operating system installed on it. Take note of its location and how it is connected.
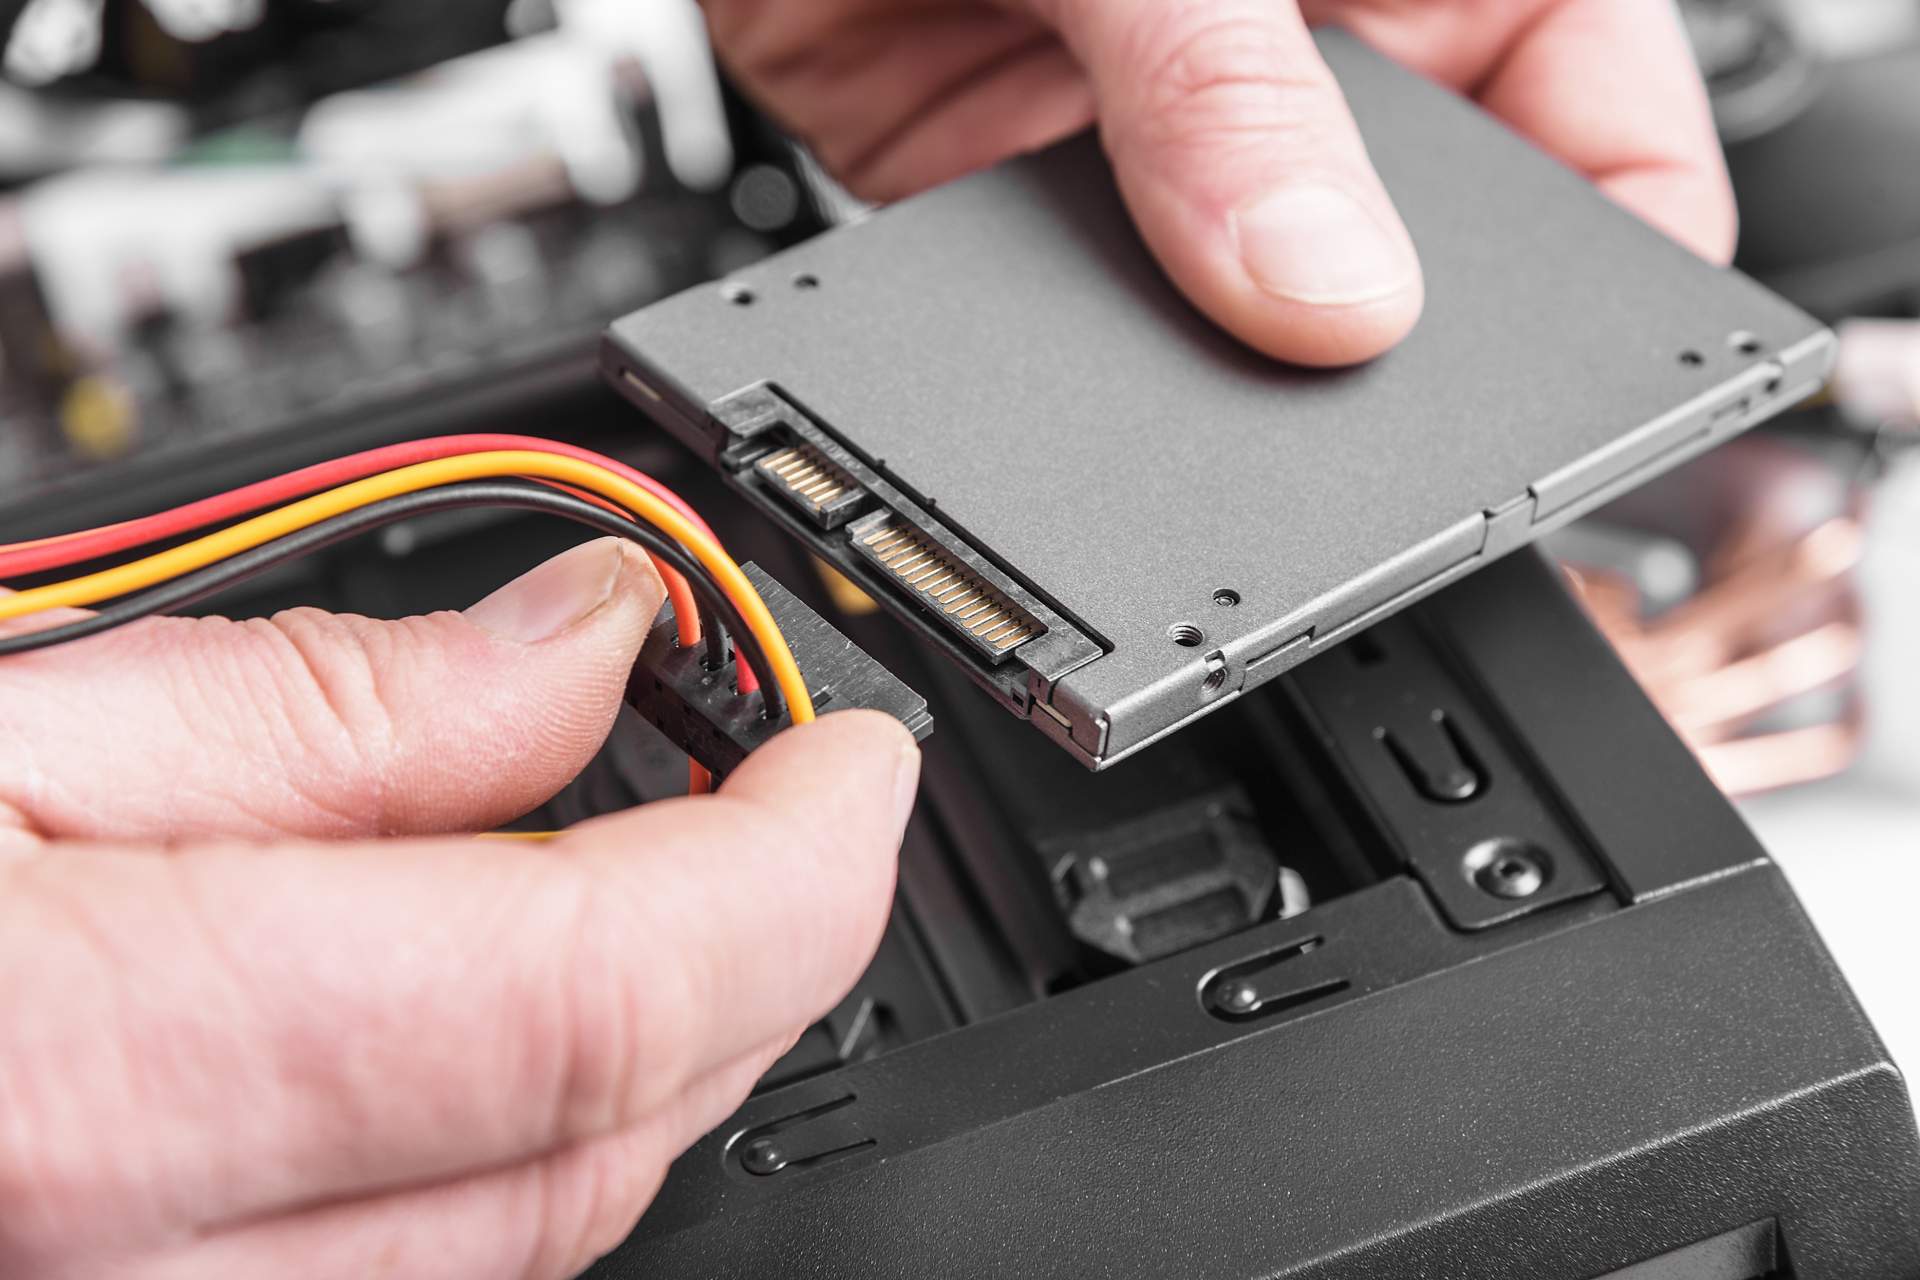
- Remove the Old Boot Drive: Carefully disconnect the cables attached to the old boot drive, including both the SATA data cable and the power cable. Use a screwdriver to remove any screws securing the drive in place. Gently slide the old boot drive out of its slot.
- Install the New SSD: Insert your new SSD into the vacant slot, aligning the SATA connectors. Securely attach the SSD using the screws you removed from the old boot drive. Connect the SATA data cable and the power cable to the new SSD. Ensure the connections are tight and secure.
- Close Your Computer’s Case: Once the new SSD is installed, carefully close your computer’s case and secure it with the screws or latches. Double-check that all cables are properly connected and that there are no loose components inside the case.
With the new SSD installed, you’ve successfully completed the physical installation process. The next step involves configuring your computer’s BIOS to recognize the new SSD as the boot drive, which we will cover in the next section.
Step 3: BIOS Configuration
Configure Your Computer’s BIOS
After installing the new SSD, it’s important to configure your computer’s BIOS (Basic Input/Output System) to recognize the SSD as the boot drive. This step ensures that your computer knows where to look for the operating system during startup.
Here’s how to configure your computer’s BIOS:
- Access the BIOS: Start by booting up your computer and entering the BIOS setup. The specific key to press varies depending on your computer’s manufacturer but is often the Delete, F2, or F10 key. Refer to your computer’s manual or look for on-screen instructions during startup.
- Navigate to the Boot Menu: Once inside the BIOS setup, look for the “Boot” or “Startup” section. Use the arrow keys on your keyboard to navigate to the boot menu.
- Set the New SSD as the Boot Drive: In the boot menu, locate the option to select the primary boot device or boot order. Select the new SSD from the available drives and set it as the primary boot device. This may involve rearranging the boot order or selecting the SSD as the first boot option.
- Save and Exit: After configuring the boot device priority, save the changes by pressing the appropriate key (usually F10) or selecting the option to save and exit the BIOS setup. Confirm your selection and allow your computer to restart.
By configuring your computer’s BIOS, you have successfully instructed your system to boot from the new SSD. Upon restarting, your computer will recognize the SSD as the primary boot drive and initiate the operating system from there.
Note: If your computer doesn’t boot from the SSD or you encounter any issues, check that the SSD is properly connected, the BIOS settings are correct, and the SSD firmware is up to date. Consult your computer’s manual or seek additional support if needed.
Step 4: Software Installation
Install Necessary Software
Now that you have successfully installed and configured the new SSD, it’s time to install the necessary software to fully utilize its capabilities. This includes installing the operating system onto the SSD and transferring your files and applications.
Follow these steps to install the necessary software:
- Install the Operating System: If you are starting with a clean SSD or want a fresh installation of the operating system, insert the installation media (such as a USB drive or DVD) and follow the on-screen prompts to install the operating system onto the SSD. Make sure to select the SSD as the installation destination.
- Clone or Transfer Data: If you wish to transfer your existing operating system, applications, and files to the new SSD, you can use a software cloning tool. Connect your external storage device with the backup data and follow the instructions provided by the cloning software to clone your data onto the SSD.
- Update Drivers and Software: After the operating system installation or data transfer is complete, ensure that all necessary drivers and software are up to date. Visit the websites of your computer’s manufacturer, as well as the manufacturers of your devices, to download and install the latest drivers. Additionally, update any essential software programs you frequently use.
- Configure Drive Optimization: To maximize the performance of your SSD, consider configuring certain settings. Enable TRIM, which helps maintain the performance of the SSD over time, by ensuring that TRIM is enabled in your operating system settings. Additionally, disable any automatic defragmentation for the SSD, as it doesn’t benefit from this process and may have a negative impact on its longevity.
By following these steps, you will ensure that your new SSD is properly configured and optimized, providing you with faster boot times, improved application loading speeds, and overall better system performance.
Step 5: Verifying the New Boot Drive
Double-Check Your Boot Drive
After completing the software installation and configuration, it’s essential to verify that your computer is indeed booting from the newly installed SSD. This step ensures that everything is functioning correctly and that your computer is taking full advantage of the new boot drive’s capabilities.
Follow these steps to verify the new boot drive:
- Restart Your Computer: Start by restarting your computer and pay close attention to the startup process.
- Monitor the Boot Sequence: As your computer restarts, look for any messages or prompts on the screen. Most computers display the manufacturer’s logo or a similar indicator during the boot process.
- Ensure Fast Boot Times: One of the benefits of an SSD as a boot drive is the significantly faster boot times. If you notice a substantial improvement in the time it takes for your computer to reach the login screen or desktop, it indicates that your new SSD is functioning as the boot drive.
- Confirm Operating System Appearance: Once you reach the desktop, confirm that your operating system is indeed running from the new SSD. You can do this by navigating to File Explorer (Windows) or Finder (Mac) and checking the properties of the main drive. It should reflect the specifications of your new SSD.
- Test Application Load Times: Launch a few applications or games that were previously time-consuming to load. If you notice a significant improvement in the loading speed, it further confirms that your computer is using the new SSD as the boot drive.
By following these steps and verifying that your computer is booting from the new SSD, you can have confidence that your installation was successful and your system is functioning optimally.
Conclusion
Enjoy the Benefits of a New SSD Boot Drive
Congratulations! You have successfully set up a new SSD as your boot drive. By following the step-by-step process outlined in this guide, you have significantly improved your computer’s performance and overall user experience.
With the new SSD as your boot drive, you can expect faster boot times, quicker application launches, and improved data transfer speeds. The smooth installation process, proper configuration of the BIOS, and installation of necessary software ensure that your new SSD is fully utilized and optimized.
Remember to regularly update your operating system, drivers, and software to maintain optimal performance. It’s also a good idea to periodically back up your data to keep it safe and secure.
Enjoy the benefits of your new boot drive and explore the speed and efficiency that an SSD brings to your daily computing tasks. Whether you’re a gamer, a creative professional, or just a regular user, the increased responsiveness and improved performance of your computer will enhance your productivity and enjoyment.
Thank you for following this guide, and we hope you find your new SSD boot drive to be a game-changer in your computing experience!