Introduction
Welcome to the world of solid-state drives (SSDs), where speed and performance take center stage. Upgrading your computer with a new SSD can drastically improve its overall responsiveness and reduce loading times for applications and files. However, if you’re new to the realm of SSDs, the process might seem daunting at first.
In this guide, we will walk you through the step-by-step process of connecting a new SSD to your computer. Whether you’re upgrading an existing drive or adding a new one, our detailed instructions will ensure a successful installation.
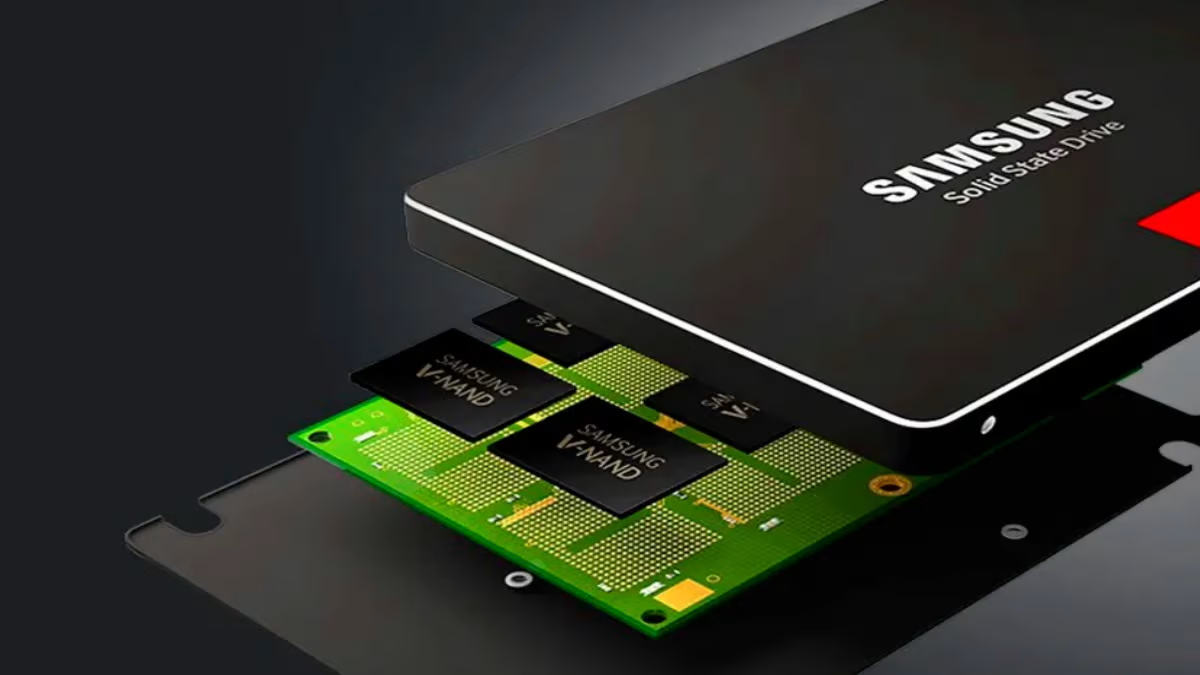
Before diving into the installation process, it’s important to familiarize yourself with the benefits of using an SSD. Unlike traditional hard drives, which rely on spinning magnetic disks to read and write data, SSDs utilize flash memory technology. This makes them faster, more reliable, and less susceptible to physical damage.
With an SSD, you can enjoy lightning-fast boot times, speedy application launches, and seamless multitasking. Whether you’re a gamer, content creator, or a professional in need of a reliable computer system, upgrading to an SSD is a wise investment.
Throughout this guide, we will provide detailed instructions and tips to ensure a smooth installation process. From gathering the necessary tools and equipment to properly formatting and partitioning the SSD, we’ve got you covered.
Now, let’s dive in and start the journey of upgrading your computer with a new SSD. Get ready to experience the power of speed and performance!
Before You Begin
Before embarking on the installation process, it’s important to take a few preparatory steps to ensure a seamless and successful SSD connection. Here are some essential things to consider before you begin:
- Backup your data: Before making any hardware changes, it’s crucial to back up all your important data. This will safeguard your files in case of any unforeseen issues during the installation process.
- Check compatibility: Ensure that your computer’s motherboard and operating system support the SSD you plan to install. Check the manufacturer’s documentation or website for compatibility information.
- Calculate storage needs: Determine the storage capacity you require for your new SSD. Assess your current storage usage and consider future needs to select an appropriate size.
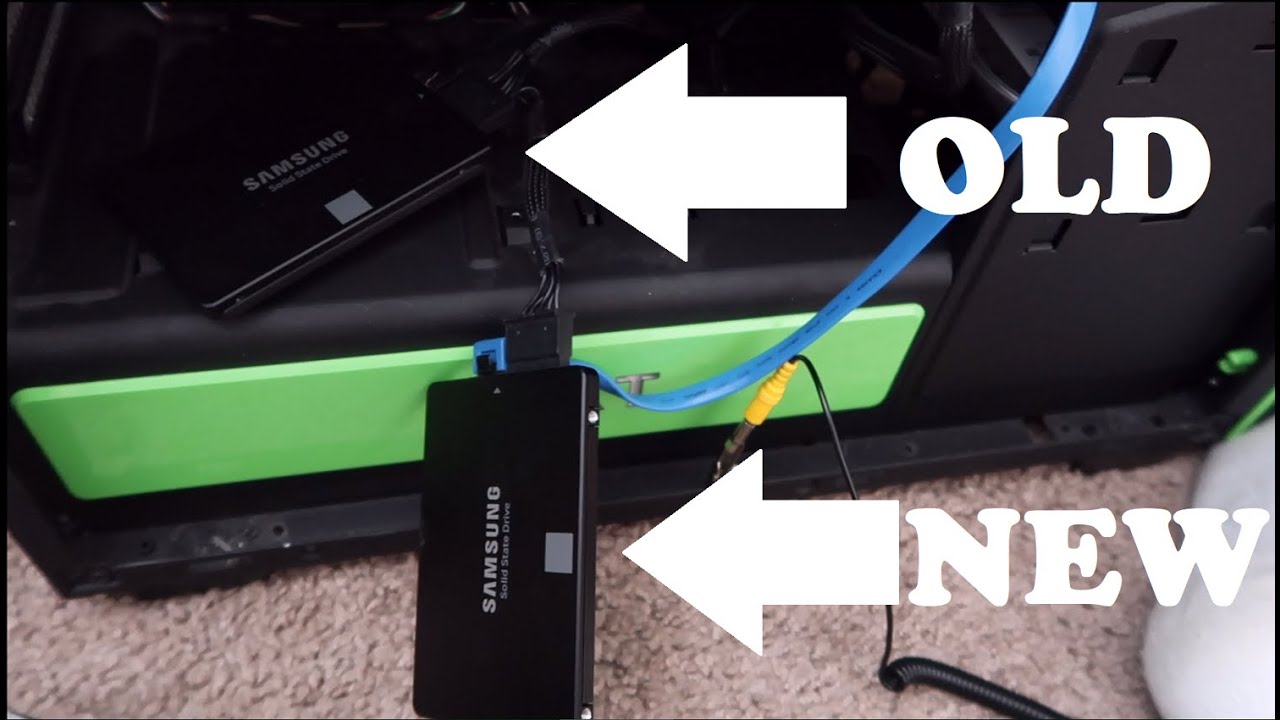
- Secure an external enclosure (if necessary): If you’re replacing your existing drive and want to transfer your data, you may need an external enclosure to connect your old drive and clone its contents to the new SSD. Ensure you have the necessary enclosure or adapter for this process.
- Acquire necessary cables and connectors: Check if any additional cables or connectors are required to connect the SSD to your computer’s power supply and motherboard. Consult the SSD manufacturer’s documentation for specific requirements.
- Update your computer’s firmware and drivers: It’s a good practice to update your computer’s firmware and drivers to the latest versions before installing the SSD. Visit the manufacturer’s website for updates and follow the instructions for installation.
By taking these preliminary steps, you’ll ensure a smoother and more efficient installation process. Now that you’ve covered the essentials, let’s move on to gathering the necessary tools and equipment for the SSD installation in the next step.
Step 1: Gathering the Necessary Tools and Equipment
Before you can begin the SSD installation process, it’s important to gather all the necessary tools and equipment. Having everything at your disposal will make the process smoother and ensure you have everything you need. Here are the essential tools and equipment you’ll need:
- Screwdriver: Most SSDs come in a standard 2.5-inch form factor and require screws to secure them in place. Depending on your computer’s design, you may need a Phillips or Torx screwdriver to remove and install the SSD.
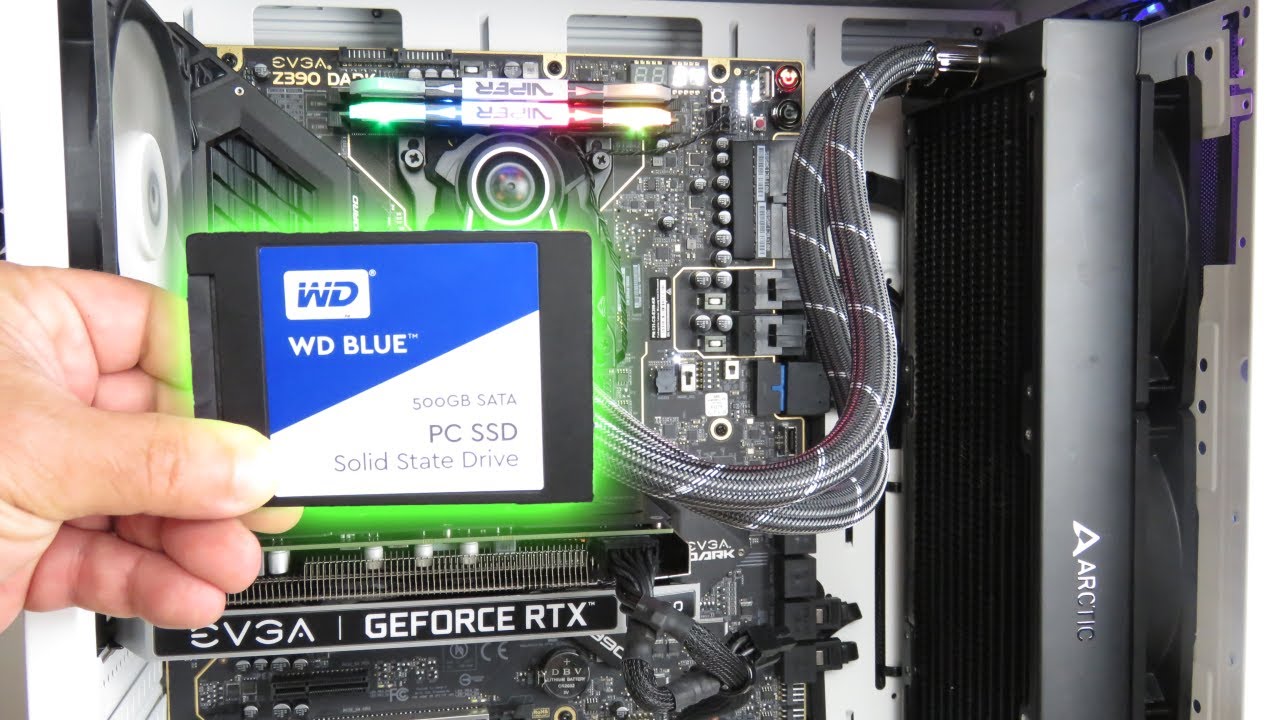
- SSD: Of course, you’ll need the SSD itself. Make sure to choose a model that’s compatible with your computer’s interface (SATA, NVMe, etc.) and meets your storage requirements.
- Power and data cables: Check if your SSD requires any additional power or data cables. SATA SSDs usually connect using standard SATA cables, while NVMe SSDs often require an M.2 or PCIe adapter.
- Anti-static wrist strap (optional): While not necessary, an anti-static wrist strap can help prevent static electricity from damaging sensitive components during the installation process. If you have one, it’s a good idea to use it.
- External enclosure (optional): If you’re replacing an existing drive and want to transfer your data, you may need an external enclosure or adapter to connect your old drive to your computer to facilitate the data transfer process.
Before proceeding, ensure you have all the necessary tools and equipment readily available. It’s always better to be fully prepared before opening up your computer.
Now that you’re armed with the necessary tools, you’re ready to move on to the next step: shutting down and opening your computer.
Step 2: Shutting Down and Opening Your Computer
Before you can proceed with installing the SSD, you need to ensure that your computer is powered off and safely opened. Follow these steps to shut down and open your computer:
- Save your work and close all applications: Before shutting down your computer, save any unsaved work and close all open applications. This will prevent data loss or corruption.
- Shut down your computer: Click on the Start menu, select “Shut Down,” and wait for your computer to power off completely. Alternatively, you can choose to restart your computer and proceed with the installation process from the BIOS menu.
- Unplug your computer: Once your computer is shut down, unplug it from the power source. This will prevent any accidental electrical discharge during the installation process.
- Ground yourself: To prevent static electricity from damaging any sensitive components, ground yourself by touching a metal surface, such as the computer case or a grounded object.
- Open the computer case: Use the appropriate screwdriver to remove the screws that secure the side panel of your computer case. Gently slide or lift the panel off to expose the internal components.
With your computer powered off and the case open, you’re now ready to move on to the next step: locating the SSD slot.
Step 3: Locating the SSD Slot
Now that you have your computer case open, the next step is to locate the SSD slot where you’ll install your new SSD. Follow these steps to find the appropriate slot:
- Consult the computer manual: If you’re unsure where the SSD slot is located, refer to your computer’s manual or visit the manufacturer’s website for specific information. The manual will provide detailed instructions and illustrations to help you locate the slot.
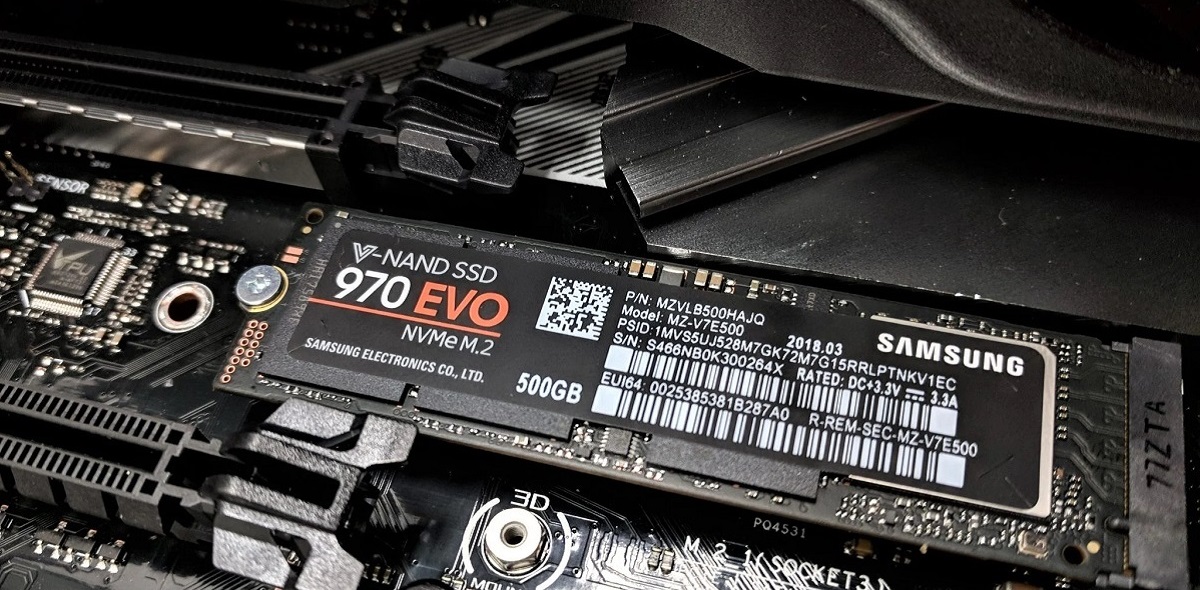
- Check the motherboard: The SSD slot is typically located on the motherboard of your computer. Look for a PCIe or SATA connector. It may be labeled as “M.2,” “PCIe,” or “SATA.” The slot’s location can vary depending on the motherboard and computer model.
- Consider existing drives: If you’re replacing an existing drive with the new SSD, take note of the current drive’s location. This will give you a reference point for where the SSD slot might be.
- Look for vacant slots: If you have multiple SSD slots on your motherboard, ensure that you select a vacant slot for the installation. Avoid removing or interfering with existing components.
- Ensure proper orientation: Take note of how the SSD slot is positioned on the motherboard. Some slots may be angled or require the SSD to be inserted in a specific direction. Align the SSD accordingly when the time comes for installation.
By carefully locating the SSD slot, you’ll be prepared for the next step: installing the SSD into the designated slot.
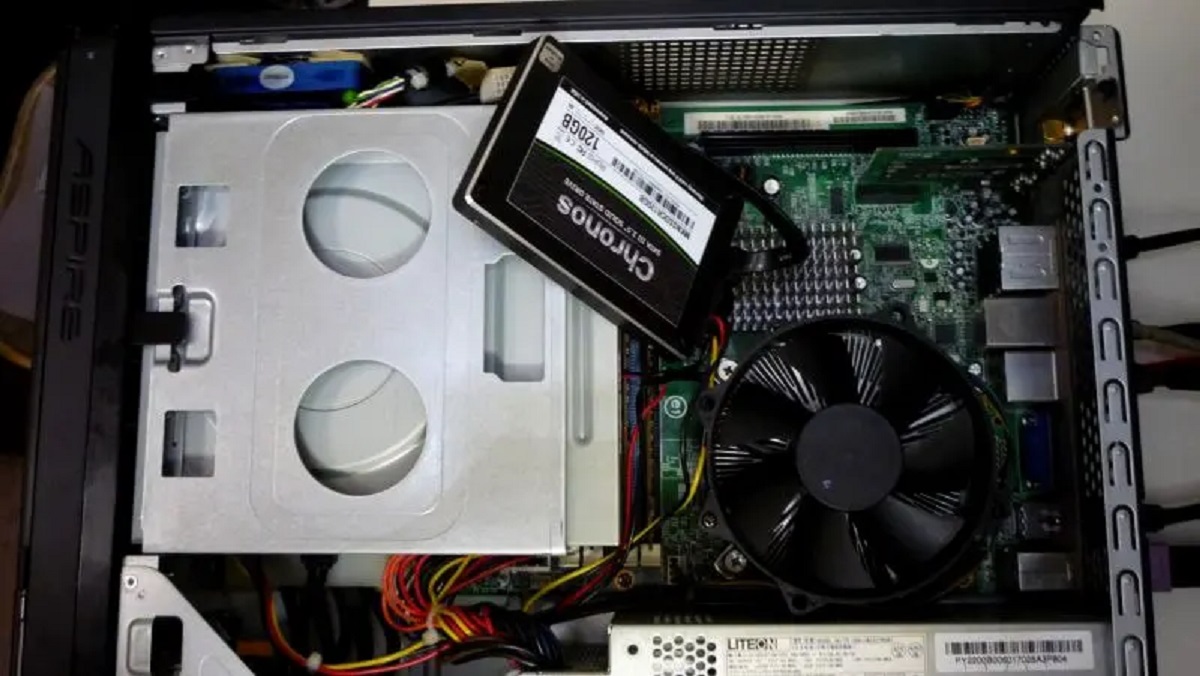
Step 4: Installing the SSD
With the SSD slot located, it’s time to install your new SSD into your computer. Follow these steps carefully to ensure a proper installation:
- Handle the SSD with care: Avoid touching the connectors or any exposed circuitry on the SSD. Hold the SSD by its edges to prevent static electricity from damaging the internal components.
- Position the SSD: Align the SSD with the slot you located in the previous step. Ensure that the connectors on the SSD match the connectors in the slot.
- Insert the SSD: Gently insert the SSD into the slot, applying even pressure. Be cautious not to force it or bend any connectors. The SSD should slide in smoothly until it is fully seated in the slot.
- Secure the SSD: Once the SSD is inserted, use the appropriate screws to secure it in place. Refer to your computer’s manual or manufacturer’s documentation for the specific screw size and placement. Tighten the screws gently, being careful not to overtighten.
- Double-check the connection: Ensure that the SSD is securely connected to the slot and that there are no loose connections. A loose connection could result in poor performance or intermittent issues.
Once you have successfully installed the SSD, you’re ready to move on to the next step: connecting the power and data cables.
Step 5: Connecting Power and Data Cables
Now that your SSD is securely installed in the slot, it’s time to connect the necessary power and data cables to ensure proper functionality. Follow these steps to connect the cables:
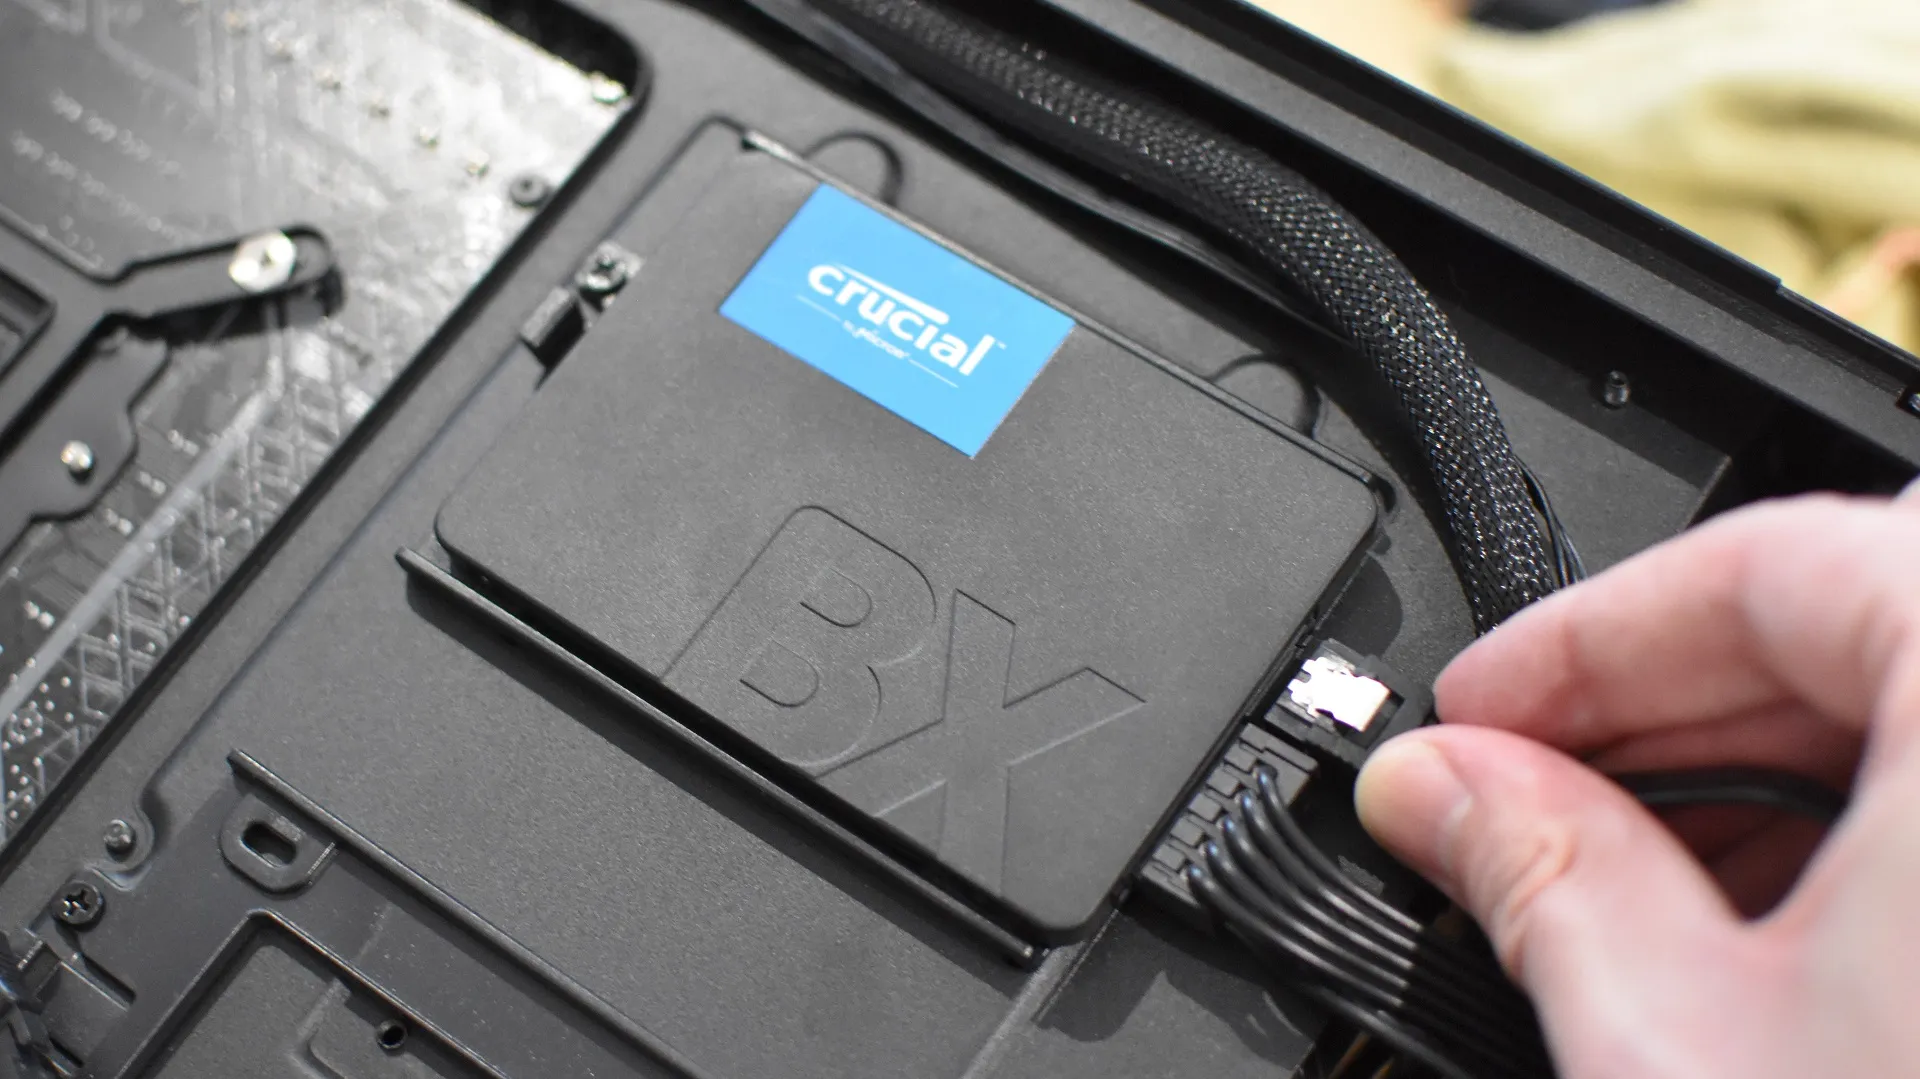
- Identify the power and data connectors: Locate the appropriate power and data connectors on your SSD. These connectors will vary depending on the type of SSD you have. SATA SSDs typically have two connectors: one for power and one for data. NVMe SSDs may require a different type of connector, such as an M.2 or PCIe adapter.
- Connect the power cable: Take the power cable from your power supply unit (PSU) and connect it securely to the power connector on your SSD. Ensure that the connection is firm and doesn’t wobble. The power cable should provide sufficient power to the SSD to operate smoothly.
- Connect the data cable: Take the appropriate data cable (usually a SATA cable) and connect one end to the data connector on your SSD. Connect the other end of the cable to an available SATA port on your motherboard. Make sure the connection is secure and properly aligned.
- Organize and secure the cables: Once the power and data cables are connected, ensure that they are neatly organized and secured away from any fans or moving parts. This will prevent them from interfering with the operation of the computer and ensure a clean and tidy setup.
After connecting the power and data cables, you have successfully completed the essential connections for your SSD. The next step is to close the computer and power it on.
Step 6: Closing the Computer and Powering it On
With the SSD connected and all cables in place, it’s time to close up your computer and power it on. Follow these steps to ensure a proper closure and smooth startup:
- Reattach the computer case panel: Carefully line up the side panel of your computer case with the screw holes. Slide or press the panel back into place until it is securely attached. Use the appropriate screws to fasten it back in position.
- Ensure all cables are properly organized: Before powering on the computer, double-check that all cables, including the power and data cables connected to the SSD, are neatly organized and secured. This will prevent any accidental disconnections or cable interference.
- Plug in your computer: Reconnect your computer to the power source by plugging it back into an electrical outlet. Ensure that the power cable is securely inserted into both the PSU and the outlet.
- Power on your computer: Press the power button on your computer to start it up. Listen for fans spinning and watch for any power indicators that confirm the computer is receiving power.
- Check if the SSD is recognized: During the startup process, enter your computer’s BIOS or UEFI settings by pressing the appropriate key (usually Del, F2, or F10) as indicated on the screen. Verify if the SSD is detected in the system information or storage configuration.
- If the SSD is recognized: If the SSD is detected, proceed with booting your computer into the operating system. Your computer should now benefit from the improved speed and performance provided by the new SSD.
- If the SSD is not recognized: In the event that the SSD is not recognized, double-check all cable connections and ensure they are firmly attached. If the issue persists, refer to your computer’s manual or consult with a technical expert for troubleshooting assistance.
With your computer closed and powered on, you have completed the installation process. The next step involves formatting and partitioning the SSD to prepare it for use, which will be covered in the next section.
Step 7: Formatting and Partitioning the SSD
After successfully installing the SSD and powering on your computer, the next step is to format and partition the SSD to prepare it for use. Follow these steps to complete the formatting and partitioning process:
- Access the Disk Management tool: In Windows, you can access the Disk Management tool by right-clicking on the Start button and selecting “Disk Management” from the menu. Alternatively, you can type “Disk Management” in the search bar and click on the relevant result.
- Identify the newly installed SSD: In the Disk Management window, locate the new SSD among the list of available drives. It may be labeled as “Unallocated” or have a capacity that matches your SSD’s specifications.
- Initialize the SSD: Right-click on the SSD and select “Initialize Disk.” Choose the appropriate disk initialization method, such as MBR (Master Boot Record) or GPT (GUID Partition Table), based on your system requirements. Click “OK” to proceed.
- Create a new partition: Right-click on the “Unallocated” space of the SSD and select “New Simple Volume.” Follow the on-screen prompts to specify the partition size, assign a drive letter, and choose the file system format (typically NTFS for Windows). Click “Next” to proceed.
- Format the partition: Choose the desired file system and allocation unit size for the partition. You can also assign a volume label for easy identification. Click “Next” to proceed.
- Complete the process: Review the summary of the partition details and click “Finish” to complete the formatting and partitioning process. The SSD will now be ready for use.
Once the formatting and partitioning process is complete, your SSD is ready to be used for storage and perform at its optimal level. You can now start transferring files, installing applications, and enjoying the improved speed and responsiveness of your upgraded storage solution.
It’s important to note that formatting and partitioning an SSD will erase any existing data, so make sure to back up any important files before proceeding with this step.
Conclusion
Congratulations! You have successfully connected a new SSD to your computer, unlocking the power of speed and performance. By following the step-by-step instructions provided in this guide, you have completed the installation process with confidence and precision.
Upgrading your computer with an SSD can significantly improve its overall responsiveness, reduce application loading times, and enhance your overall computing experience. With faster boot times and seamless multitasking, you’ll be able to work and play more efficiently.
Remember, before you begin the installation process, always make sure to back up your important data and ensure compatibility with your computer’s hardware and software. Additionally, gather the necessary tools and equipment to avoid any unnecessary disruptions during the installation.
Throughout this guide, we covered the essential steps, from locating the SSD slot and installing the SSD to connecting power and data cables. We also discussed the importance of properly formatting and partitioning the SSD for optimal performance.
Now that your new SSD is up and running, take some time to explore its capabilities and enjoy the improved speed and responsiveness it offers. Whether you’re a creative professional, a gamer, or a multitasking enthusiast, this upgrade will undoubtedly enhance your computing experience.
Thank you for choosing this guide as your resource for connecting a new SSD. Embrace the power of speed, and make the most out of your upgraded computer system!