Introduction
Setting up a solid-state drive (SSD) as the boot drive and a hard disk drive (HDD) as storage is a popular configuration choice for computer enthusiasts and professionals alike. This setup allows for faster boot times, improved system performance, and ample storage space for all your files and applications.
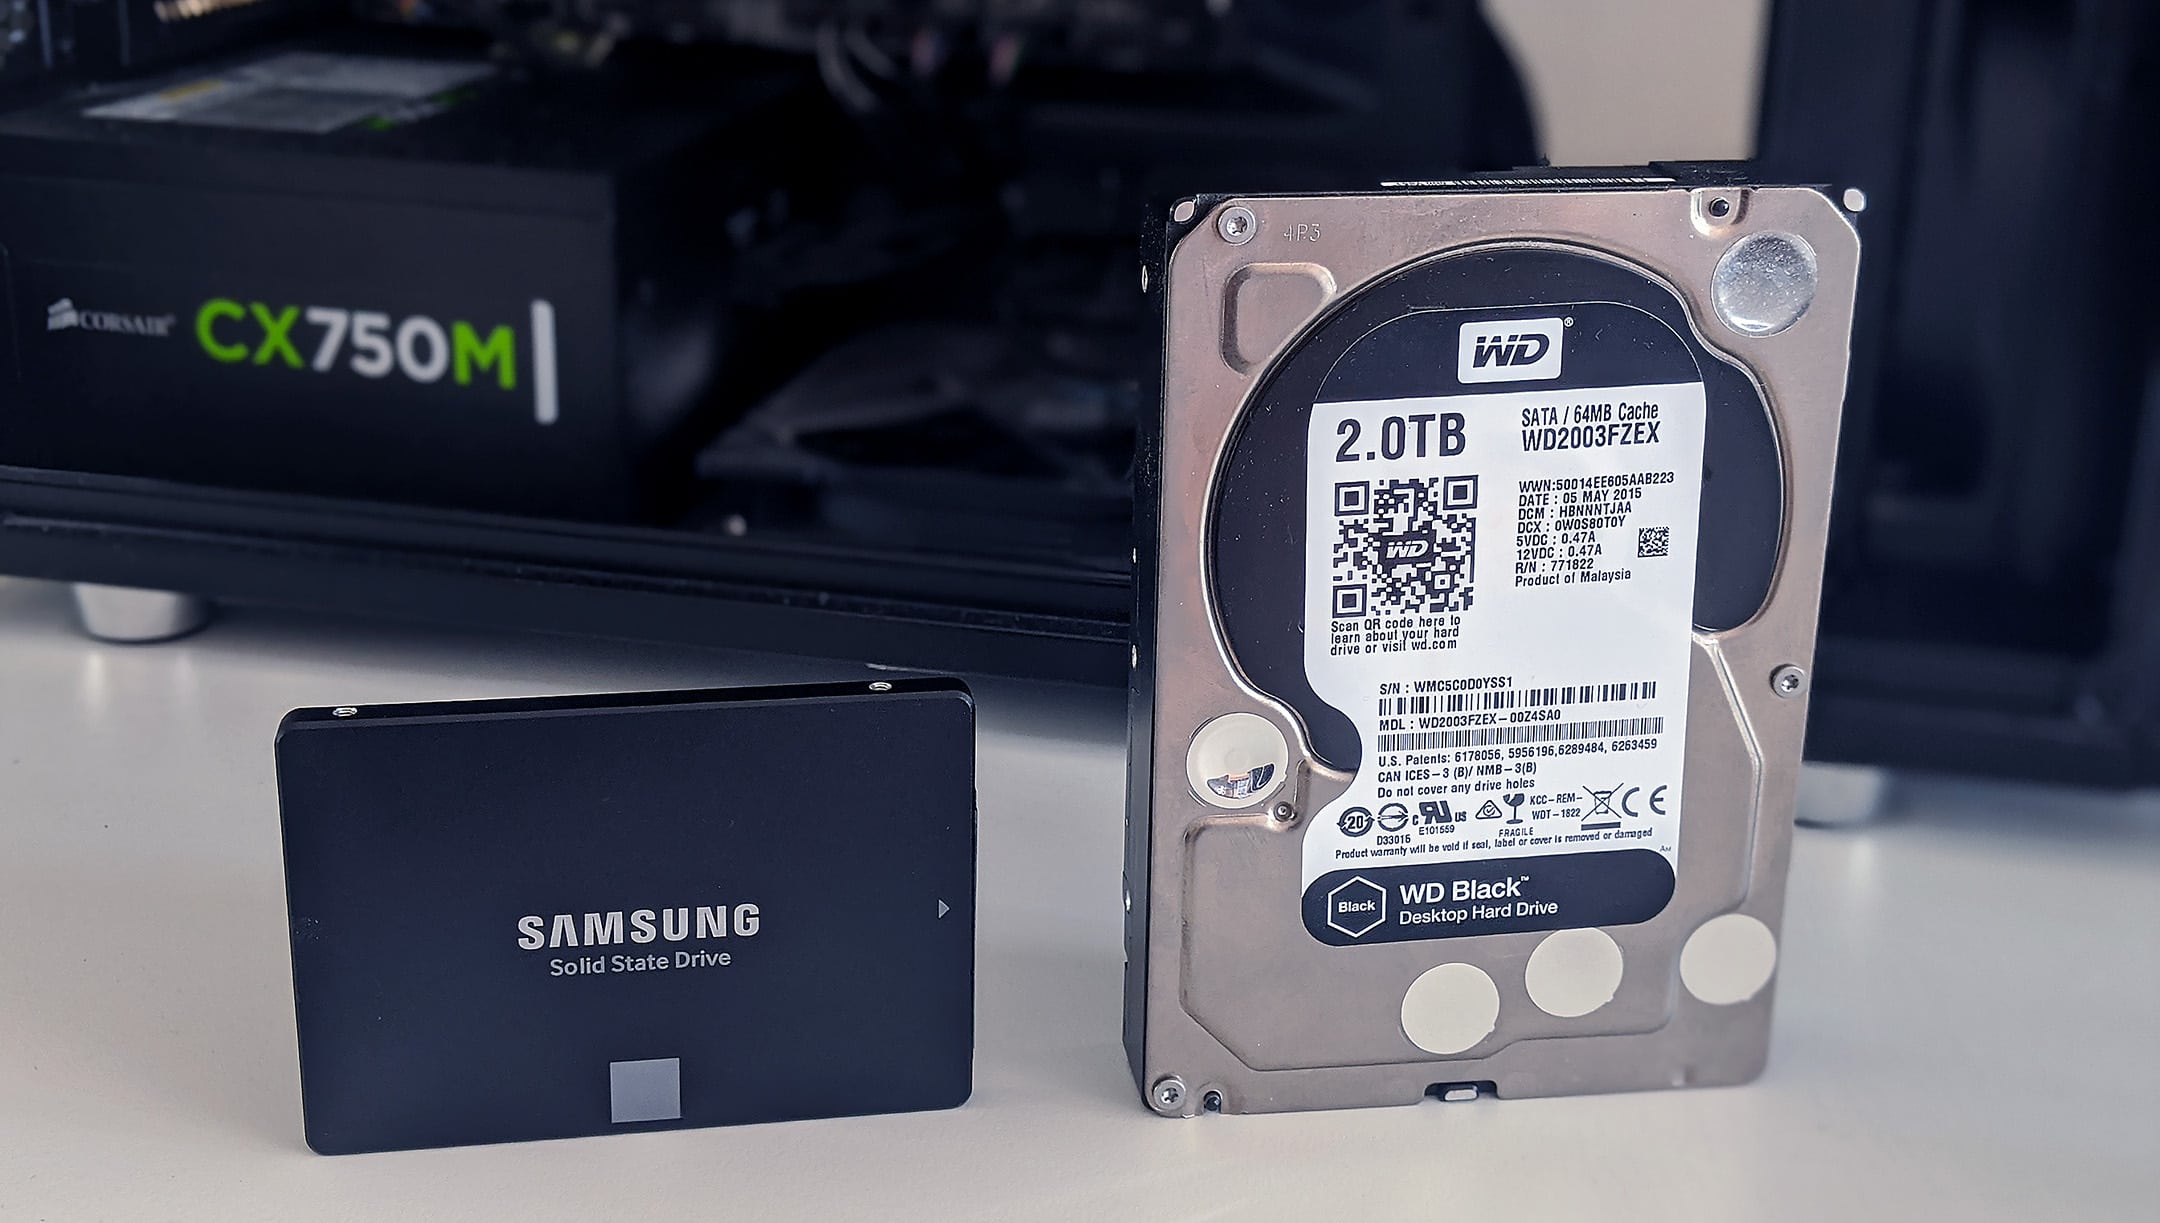
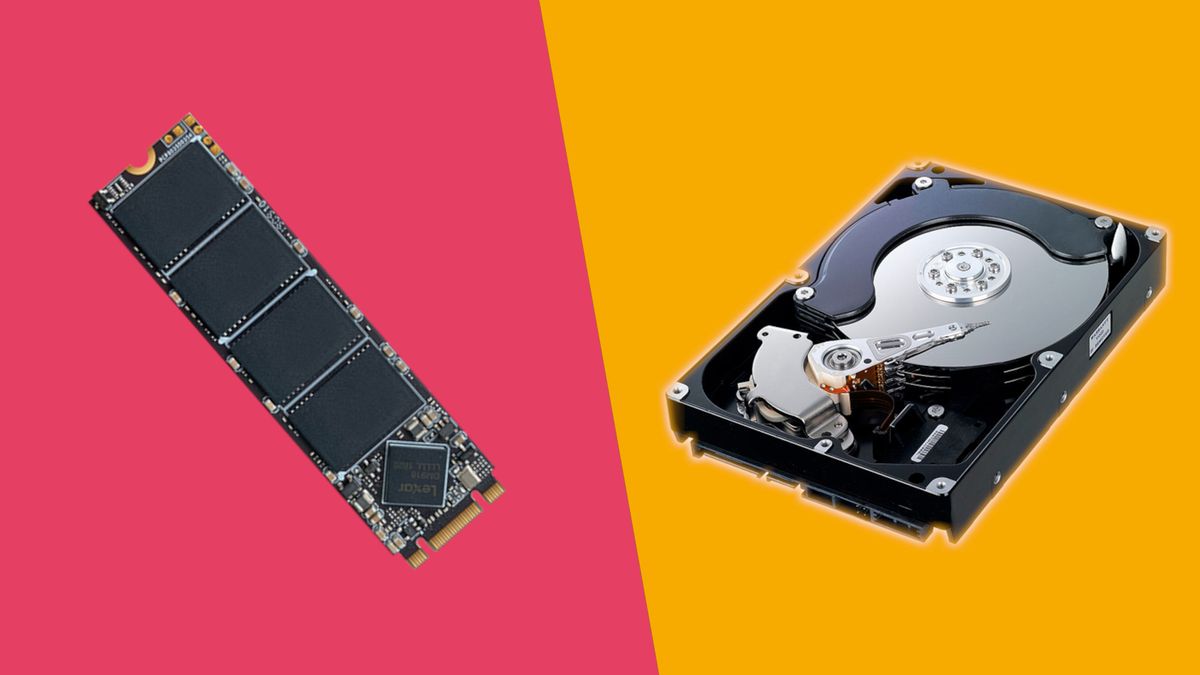
An SSD is a type of storage device that uses flash memory to store and retrieve data. It offers faster read and write speeds compared to traditional HDDs, resulting in quicker application launch times and reduced file transfer durations. On the other hand, HDDs provide larger storage capacities at a more affordable price, making them ideal for storing large files such as multimedia libraries and backups.
By combining the strengths of both SSDs and HDDs, you can create an efficient and balanced system that optimizes speed and storage capacity. In this article, we will guide you through the process of setting up an SSD as the boot drive and an HDD as storage, ensuring an effective and seamless configuration.
Whether you are building a new system or upgrading your existing one, following the steps outlined in this guide will help you achieve the desired setup. We will cover everything from selecting the right SSD and HDD to cloning the operating system and configuring the boot order in the BIOS. By the end of this article, you will have a fully functional system that capitalizes on the benefits of both SSD and HDD technologies.
Before we dive into the setup process, let’s take a closer look at the advantages of using an SSD as a boot drive and an HDD as storage.
Benefits of Using an SSD as Boot Drive and HDD as Storage
Using an SSD as the boot drive and an HDD as storage offers several significant advantages for your computer system. Let’s explore the key benefits of this configuration:
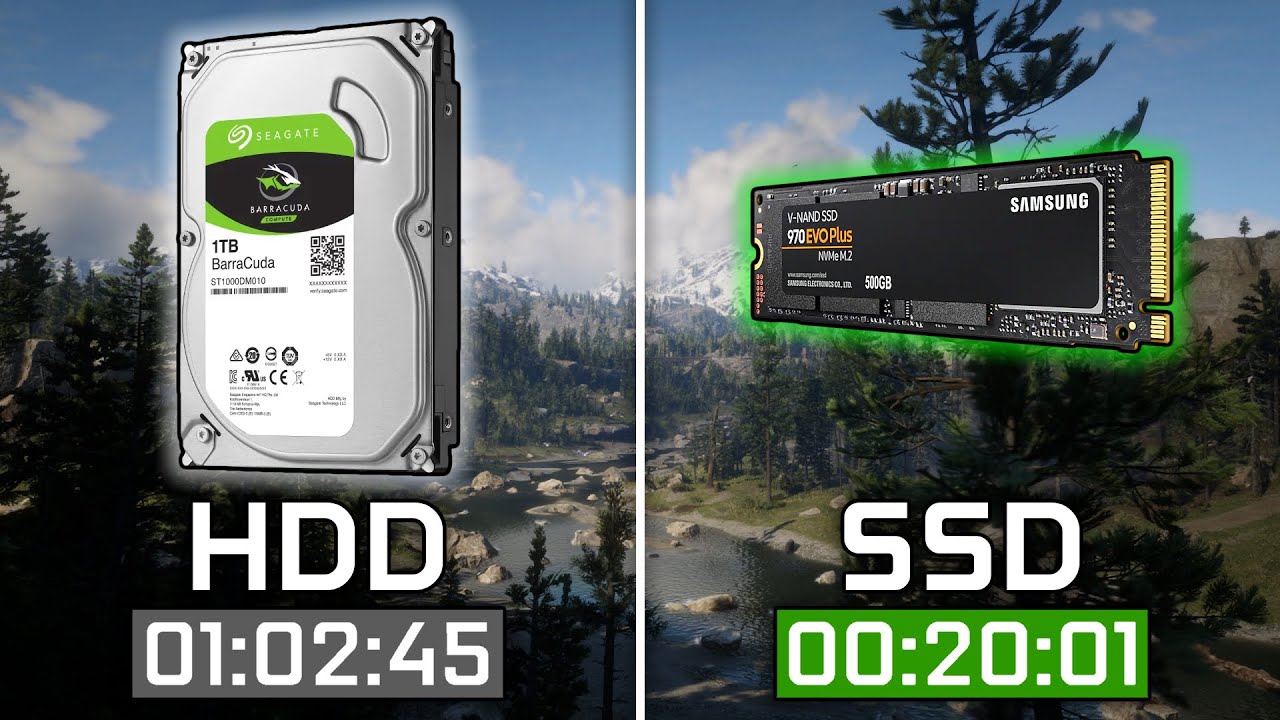
- Lightning-fast boot times: SSDs have significantly faster read and write speeds compared to HDDs. By installing your operating system on the SSD, your computer will boot up in seconds, saving you valuable time and improving overall productivity.
- Improved system performance: SSDs not only enhance boot times but also provide faster application load times. This means that you can open your favorite software and launch games quickly, experiencing smooth and seamless performance.
- Efficient multitasking: With an SSD as the boot drive, your operating system will respond more swiftly to tasks, allowing you to run multiple applications simultaneously without experiencing lag or slowdowns. This is particularly useful for professionals who need to handle resource-intensive tasks or multimedia editing software.
- Ample storage space: By utilizing an HDD as the storage drive, you can benefit from its larger storage capacity at a more affordable price per gigabyte compared to SSDs. This allows you to store a vast amount of files, including videos, music, images, and documents, without worrying about running out of space.
- Cost-effective solution: SSDs are generally more expensive than HDDs, but by using them as the boot drive and combining them with an HDD for storage purposes, you can take advantage of the speed benefits of an SSD without breaking the bank on purchasing a large-capacity SSD.
Overall, the combination of an SSD as the boot drive and an HDD for storage offers the best of both worlds in terms of speed and storage capacity. You can enjoy fast boot times, improved system performance, and ample storage space for all your files, ensuring a smooth and efficient computing experience.
Preparing for the Setup
Before diving into the setup process, there are a few essential steps you should take to ensure a smooth and successful transition to using an SSD as the boot drive and an HDD as storage:
- Backup your data: It’s crucial to create a backup of all your important files and documents on the HDD before starting the setup process. This will help avoid any potential data loss during the installation and cloning process.
- Check compatibility: Ensure that your motherboard supports both SATA connections for the SSD and HDD. Most modern motherboards have multiple SATA ports, but it’s always good to double-check.
- Choose the right SSD and HDD: Selecting the appropriate SSD and HDD for your system is essential. Consider factors such as storage capacity, performance, and budget to find the best options that meet your needs.
- Gather necessary tools: Make sure you have all the necessary tools for the setup, including a screwdriver, SATA cables, and power cables. These will be required when installing the SSD and connecting the HDD.
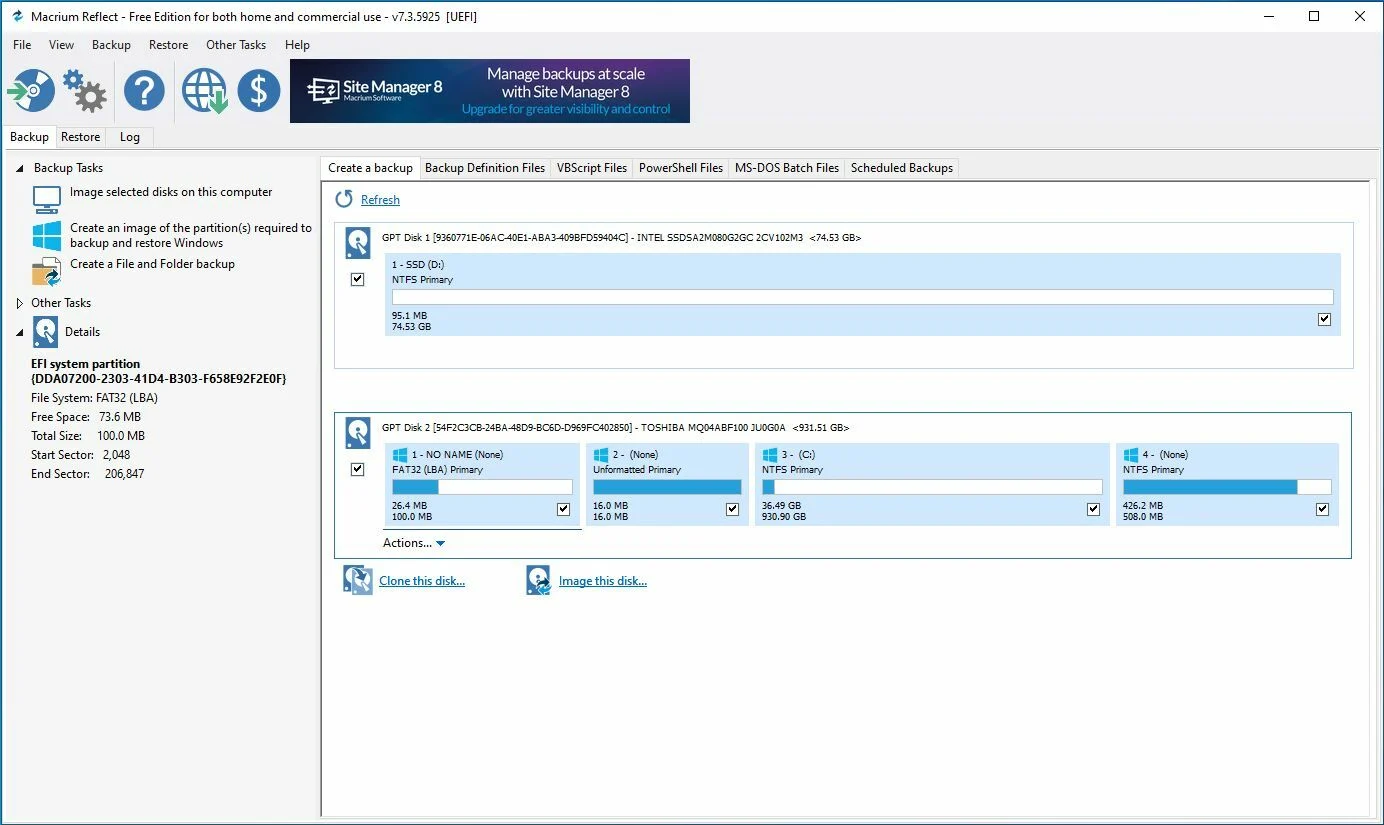
- Download cloning software: You will need cloning software to transfer your operating system and files from the HDD to the SSD. There are multiple options available, such as Clonezilla and EaseUS Todo Backup, which can facilitate this process.
- Create a USB bootable drive: Prepare a USB flash drive with a bootable operating system installer. This will be used to install the operating system on the newly installed SSD.
By completing these preliminary steps, you will ensure that you are well-prepared for the setup process. Backing up your data, checking compatibility, and choosing the right components will minimize the chances of encountering any issues during the installation. Additionally, having the necessary tools and software at hand will streamline the entire process, making it easier and more efficient.
Step 1: Choosing the Right SSD and HDD
The first step in setting up an SSD as the boot drive and an HDD as storage is selecting the appropriate components for your system. Here are some key factors to consider:
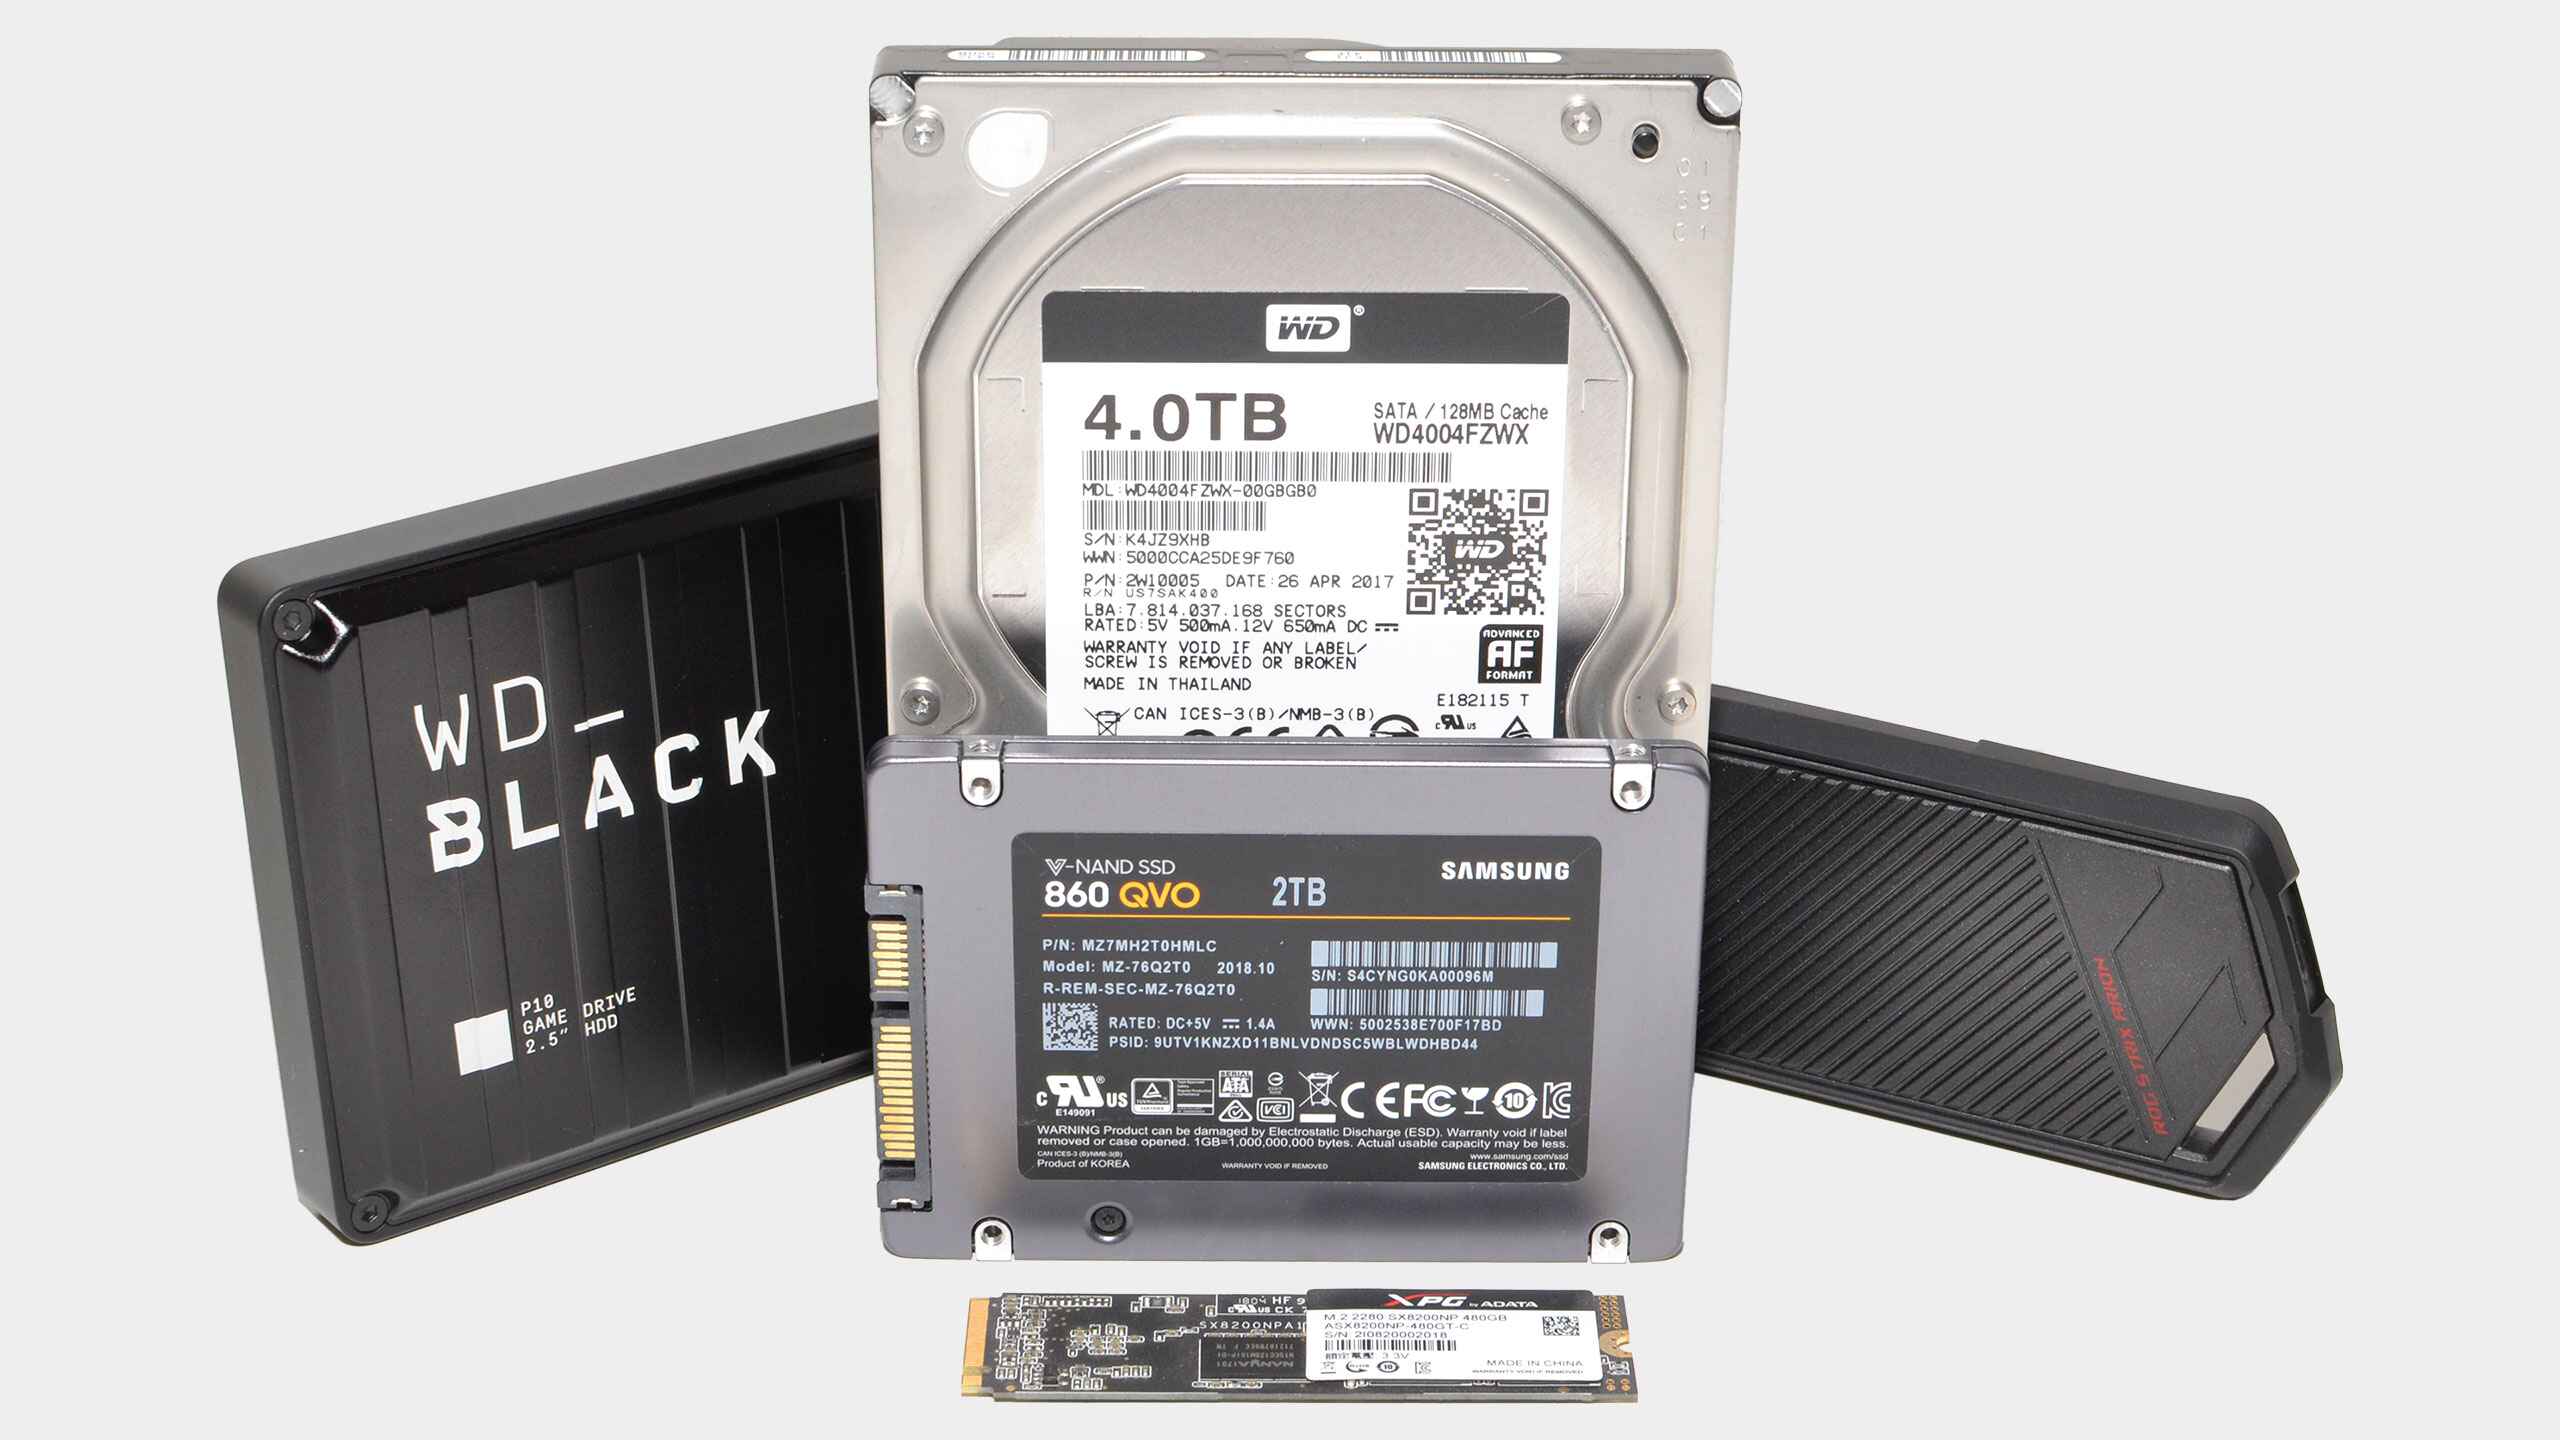
- Storage capacity: Determine your storage needs based on the amount of data you plan to store. SSDs typically come in capacities ranging from 120GB to 4TB, while HDDs offer larger capacities up to 16TB or more.
- Performance: SSDs provide faster read and write speeds compared to HDDs, resulting in snappier system performance. Look for SSD models with high sequential read and write speeds for optimal performance.
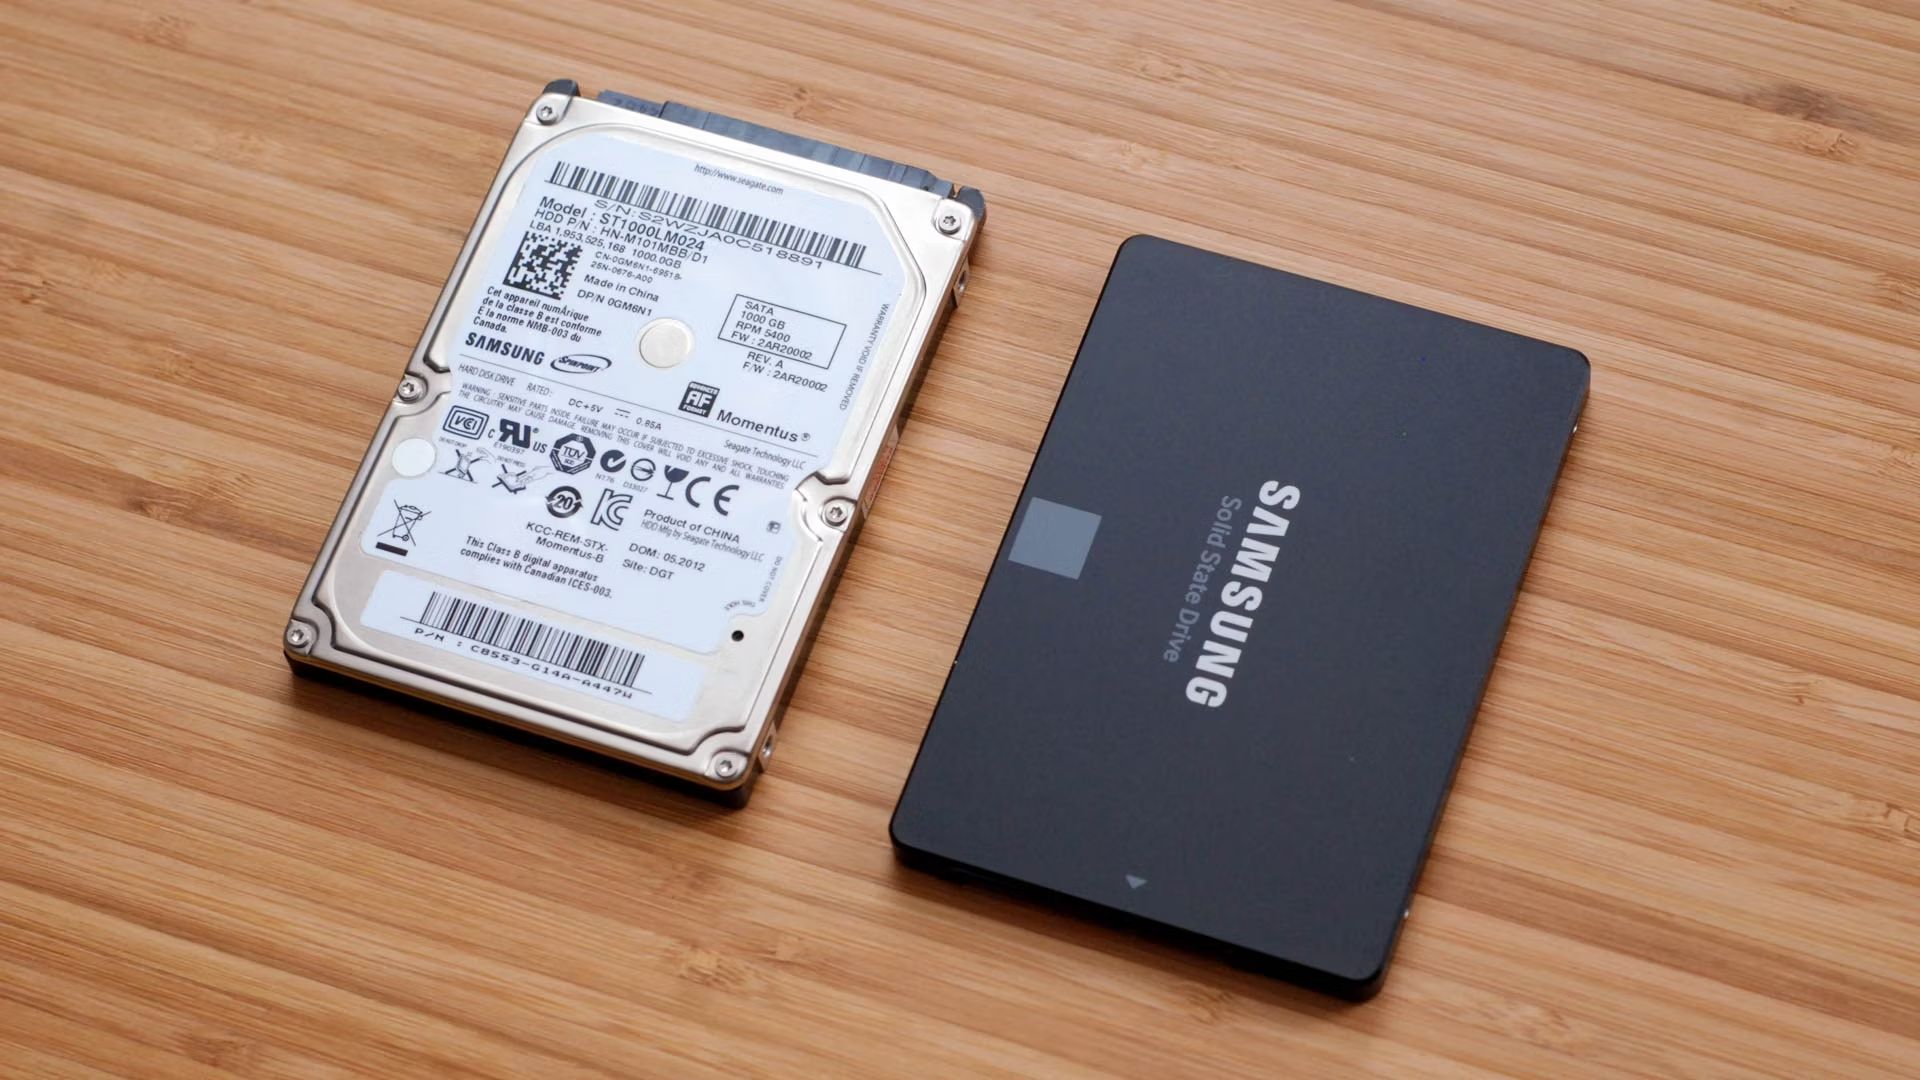
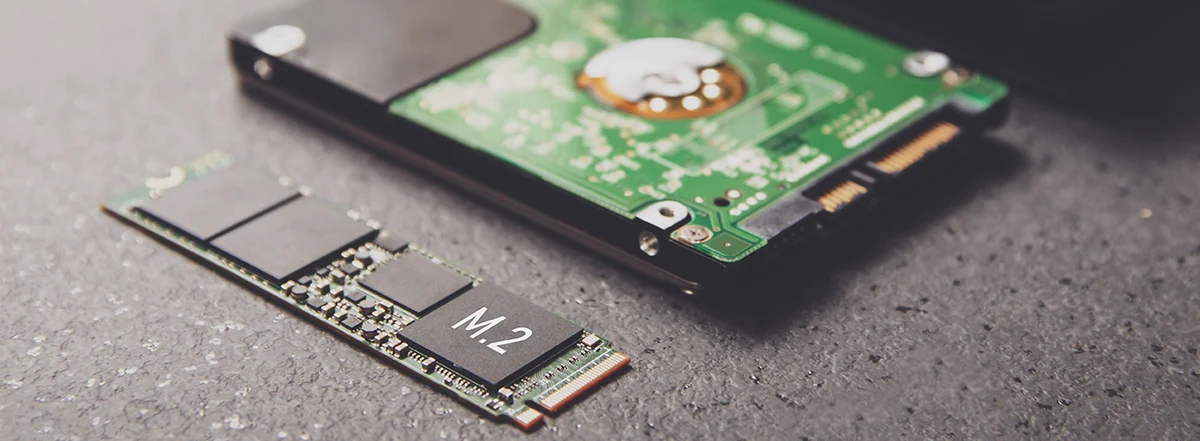
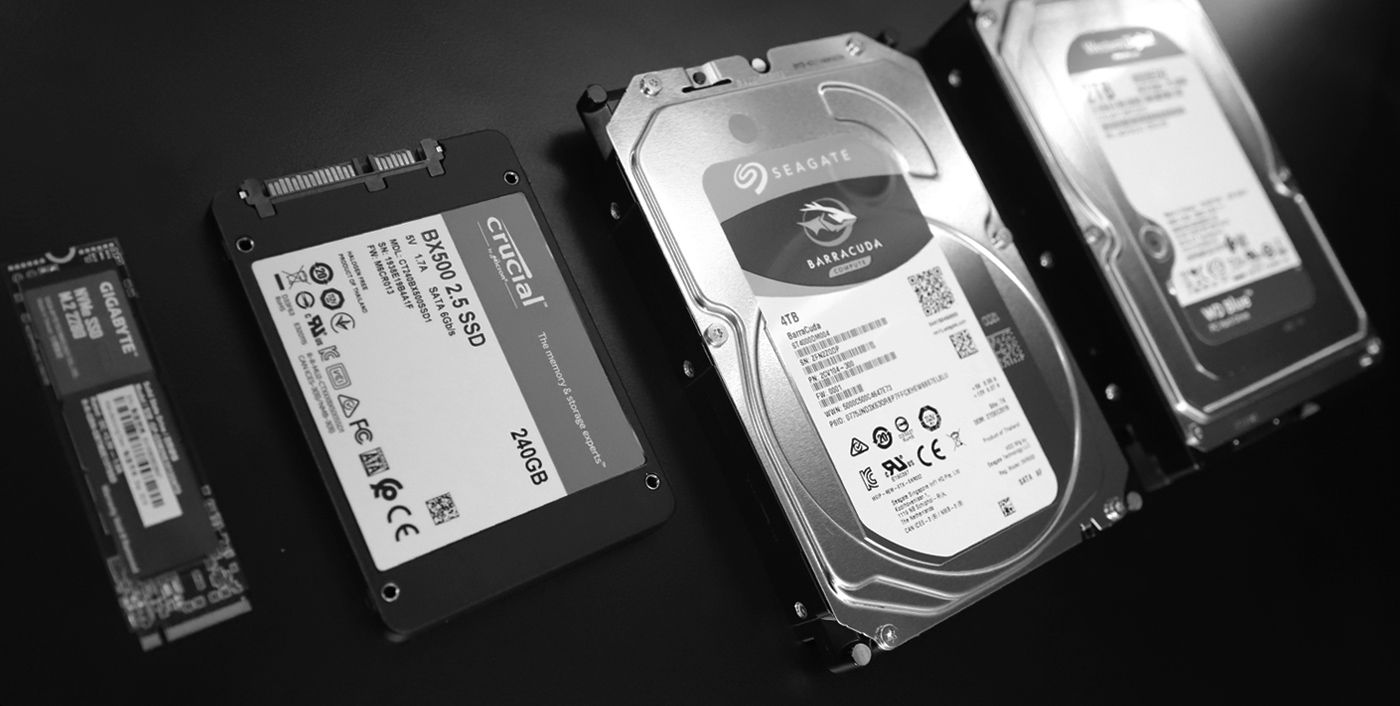
- Form factor: Consider the form factor compatibility with your motherboard and computer case. The most common form factors for SSDs are 2.5-inch and M.2, while HDDs typically come in a 3.5-inch form factor.
- Price: SSDs tend to be more expensive per gigabyte of storage compared to HDDs. Determine your budget and find the best balance between performance and storage capacity that fits your needs.
- Brand and reliability: Choose reputable brands known for their reliability and quality. Research customer reviews and ratings to ensure that you are selecting SSD and HDD models with a good track record.
Once you have considered these factors, make your selection based on your requirements and budget. It’s often recommended to invest in a high-quality SSD for the boot drive to maximize speed and performance, while opting for a larger-capacity HDD for ample storage space.
After deciding on the SSD and HDD models, make the purchase from a trusted retailer or online marketplace. Ensure that the components are compatible with your system by checking the specifications of your motherboard and verifying the available SATA ports. Once you have the SSD and HDD in your possession, you can proceed to the next step of the setup process.
Step 2: Backing Up Data from the HDD
Before proceeding with the installation process, it is crucial to back up all your important data from the HDD. This ensures that you have a secure copy of your files in case of any unforeseen issues during the setup. Here’s how to back up your data:
- Organize your files: Take some time to organize your files and identify the data you want to back up. Sort through your documents, photos, videos, and any other files stored on the HDD.
- Select a backup method: Choose a backup method that suits your needs. You can use an external hard drive, cloud storage services, or a network-attached storage (NAS) device for the backup.
- Copy files to the backup location: Transfer your files from the HDD to the chosen backup destination. You can either manually copy and paste the files or use backup software to automate the process.
- Verify the backup: Once the backup is complete, verify that all your important data has been successfully copied to the backup destination. Check that the files are intact and accessible.
- Create a system image (optional): Consider creating a system image of your entire HDD to have a complete backup of your operating system and installed applications. This allows for a full system restore if needed.
Backing up your data ensures that you have a failsafe in case anything goes wrong during the installation process. It is essential to make sure that all your important files, documents, photos, and other data are safely stored in a separate location.
Once you have completed the backup process and verified the integrity of your files, you can proceed with confidence to the next step of setting up the SSD as the boot drive and the HDD as storage.
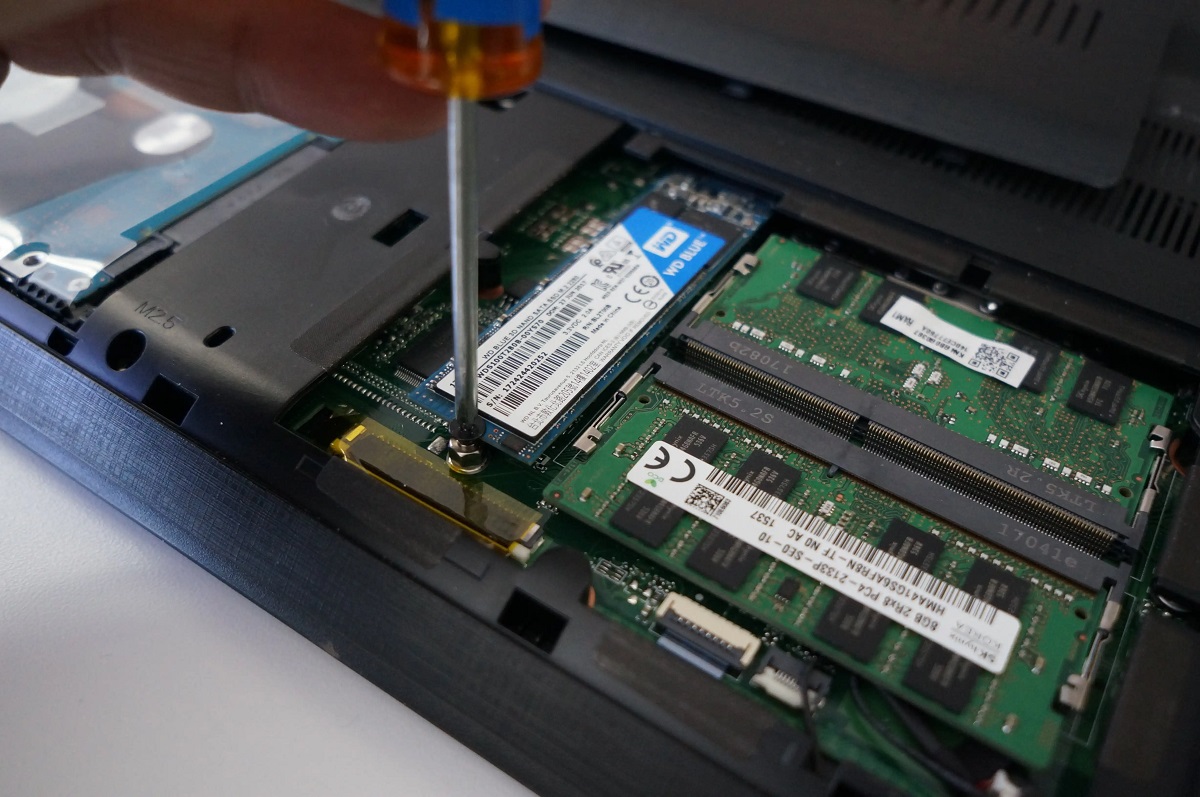
Step 3: Installing the SSD
Now that you have backed up your data, it’s time to install the SSD into your system. Follow these steps to install the SSD:
- Power down your computer: Shut down your computer completely and unplug the power cable to ensure safety during the installation process.
- Open your computer case: Depending on the design of your computer case, remove the side panel or any necessary screws to gain access to the internal components.
- Identify an available drive bay: Locate an available drive bay in your computer case where you can install the SSD. Most cases have dedicated drive bays or mounting brackets for storage drives. Refer to your case’s manual if needed.
- Mount the SSD: Depending on the drive bay and mounting method, attach the SSD securely. It may require screwing the SSD into place or using tool-less installation methods provided by your case.
- Connect the SSD to the motherboard: Locate a free SATA data cable from your motherboard and connect one end to the SSD. Then, connect the other end to an available SATA port on the motherboard.
- Connect the SSD to the power supply: Locate an available SATA power cable from your power supply unit (PSU) and connect it to the SSD, providing the necessary power for the drive.
Once you have securely attached the SSD and connected it to the motherboard and power supply, you can proceed to the next step of formatting and partitioning the SSD.
Note: It’s important to consult your motherboard manual and the SSD manufacturer’s instructions for any specific installation steps or considerations based on your hardware configuration.
Step 4: Formatting and Partitioning the SSD
With the SSD installed in your system, the next step is to format and partition the drive to prepare it for the operating system installation. Follow these steps to format and partition the SSD:
- Boot into the operating system: Power on your computer and boot into your current operating system that is installed on the HDD.
- Open Disk Management: Press the Windows key + R to open the Run dialog box. Type “diskmgmt.msc” and press Enter to open the Disk Management utility.
- Identify the SSD: In Disk Management, locate the SSD. It should be listed as a new drive with unallocated space.
- Initialize the SSD: Right-click on the unallocated space of the SSD and select “Initialize Disk.” Choose the appropriate partition style (usually MBR or GPT) and proceed with the initialization.
- Create partitions: Right-click on the unallocated space of the SSD and select “New Simple Volume.” Follow the wizard to create a new partition on the SSD. You can specify the partition size, assign a drive letter, and choose the file system format.
- Format the partition: Once the partition is created, right-click on it and select “Format.” Choose the desired file system format, such as NTFS, and proceed with the formatting process.
- Assign a drive letter: After formatting, right-click on the partition and select “Change Drive Letter and Paths.” Assign a drive letter to the partition, which will make it accessible in the File Explorer.
By formatting and partitioning the SSD, you are preparing it to receive the operating system and any other files you wish to store on it. Creating partitions allows you to organize your data and allocate space as needed.
Once you have completed the formatting and partitioning process, you are ready to proceed with cloning the operating system from the HDD to the newly formatted SSD.
Step 5: Cloning the Operating System to the SSD
After formatting and partitioning the SSD, the next step is to clone the operating system from the HDD to the newly prepared SSD. Follow these steps to clone the operating system:
- Download and install cloning software: Choose a reliable cloning software such as Clonezilla or EaseUS Todo Backup. Download and install the software on your computer.
- Launch the cloning software: Open the cloning software and select the option to clone a disk or system.
- Select the source and destination: Choose the HDD as the source disk and the SSD as the destination disk for the cloning process.
- Configure cloning settings: Depending on the software, you may have options to adjust the cloning settings such as disk alignment, partition resizing, and sector-by-sector cloning. Review the settings and make any necessary adjustments.
- Start the cloning process: Initiate the cloning process and wait for it to complete. The time taken for cloning may vary depending on the size of the data being cloned.
- Verify the cloned data: Once the cloning process is finished, verify that the data has been successfully cloned to the SSD. Check that all the files and folders are intact and accessible on the SSD.
Cloning the operating system from the HDD to the SSD ensures that you have an exact replica of your current system configuration, including the operating system, installed applications, and files. Once the cloning process is complete, you will be able to boot your computer from the SSD and enjoy the improved performance and faster boot times.
It’s important to note that cloning software may differ in terms of functionality and user interface. Therefore, it’s recommended to refer to the specific instructions provided by the chosen cloning software to ensure a successful and accurate cloning process.
Step 6: Setting Up the HDD as Storage Drive
With the operating system successfully cloned to the SSD, the next step is to set up the HDD as a storage drive. Follow these steps to configure the HDD:
- Boot into the operating system: Start your computer and ensure that it boots from the newly installed SSD.
- Open Disk Management: Press the Windows key + R to open the Run dialog box. Type “diskmgmt.msc” and press Enter to launch the Disk Management utility.
- Locate the HDD: In Disk Management, identify the HDD. It should be listed as a separate drive, usually with a larger storage capacity than the SSD.
- Initialize the HDD: If the HDD is not initialized, right-click on the drive and select “Initialize Disk.” Choose the appropriate partition style (MBR or GPT) and proceed with the initialization process.
- Create partitions on the HDD: Right-click on the unallocated space of the HDD and select “New Simple Volume.” Follow the steps in the wizard to create partitions on the HDD according to your storage needs.
- Format the partitions: Once the partitions are created, right-click on each partition and select “Format.” Choose the desired file system format, such as NTFS, and proceed with the formatting process.
- Assign drive letters: After formatting, right-click on each partition and select “Change Drive Letter and Paths.” Assign a drive letter to each partition to make them accessible in File Explorer.
By setting up the HDD as a storage drive, you can now utilize its larger capacity for storing files, documents, multimedia, and any other data you prefer to keep outside of the operating system drive. The partitions allow you to organize your data into separate sections for better management and accessibility.
Ensure that you have properly configured the HDD and that all partitions are formatted and assigned drive letters. Once that is done, you are ready to enjoy the benefits of having a dedicated storage drive alongside your SSD boot drive.
Step 7: Configuring the Boot Order in BIOS
Configuring the boot order in the BIOS is an important step to ensure that your computer boots from the SSD, which is now your designated boot drive. Follow these steps to set the proper boot order:
- Restart your computer: Save any open files and restart your computer.
- Access the BIOS: During the startup process, there is usually a key or combination of keys to access the BIOS setup. Common keys include F2, Del, F10, or Esc. Refer to your motherboard’s manual or the on-screen prompts during startup to determine the key(s) for entering the BIOS.
- Navigate to the Boot menu: Once you are in the BIOS setup utility, navigate to the Boot or Boot Order menu using the arrow keys on your keyboard.
- Set the SSD as the first boot device: Locate the option to change the boot order and set the SSD as the first boot device. This ensures that your computer will prioritize booting from the SSD.
- Save and exit: Save the changes you made in the BIOS and exit the setup utility. The computer will restart.
Upon restarting, your computer should now boot from the SSD as the primary boot drive, resulting in faster boot times and improved system performance. It’s important to note that accessing the BIOS and navigating the menus may vary depending on the motherboard manufacturer and model. Refer to the documentation provided with your motherboard or consult the manufacturer’s website for specific instructions.
If your computer does not boot from the SSD after configuring the boot order in the BIOS, double-check that the SSD is properly connected and initialized. You may also need to revisit the BIOS settings to ensure that the SSD is selected as the first boot device.
Step 8: Testing and Verifying the Setup
After completing the setup process, it’s essential to test and verify that the configuration is working as expected. Here are some steps to test and verify the setup:
- Boot up your computer: Power on your computer and observe the boot time. It should be significantly faster with the SSD as the boot drive.
- Check system performance: Launch various applications and monitor their loading times and responsiveness. The system should feel snappier and more responsive overall.
- Verify storage functionality: Access the HDD and SSD drives in the File Explorer. Make sure that you can navigate, copy, and access files on both drives without any issues.
- Run benchmark tests (optional): If desired, you can run benchmark tests to measure the performance of your SSD and compare it to previous results. This can provide a quantitative measure of the performance improvement.
- Validate drive recognition: Open the Disk Management utility and ensure that both the SSD and HDD are recognized and listed with the correct sizes and partitions.
- Check system stability: Monitor your system for stability and ensure that there are no sudden crashes, freezes, or other issues. If you encounter any issues, troubleshoot them accordingly.
By following these steps, you can effectively test and verify the setup of your SSD as the boot drive and HDD as storage. It’s important to note that every computer environment is unique, and results may vary. If you encounter any issues or notice any unexpected behavior, refer to the documentation provided with your hardware or seek assistance from technical support.
With a successful setup and verification, you can now take full advantage of the improved performance and ample storage capacity provided by the SSD and HDD combination. Enjoy your faster boot times, enhanced system responsiveness, and the convenience of having separate drives for the operating system and data storage.
Conclusion
Setting up an SSD as the boot drive and an HDD as storage is a practical and efficient configuration that offers the best of both worlds in terms of speed and storage capacity. With this setup, you can enjoy lightning-fast boot times, improved system performance, and ample storage space for all your files and applications.
Throughout this guide, we have walked you through the step-by-step process of setting up the SSD as the boot drive and the HDD as storage. From choosing the right components to formatting, cloning, and configuring the boot order, each step was designed to ensure a seamless and successful setup.
By following these instructions and recommendations, you can take advantage of the benefits that an SSD brings to your computer system. The faster boot times and improved overall performance will enhance your productivity and workflow. Additionally, the use of an HDD for storage provides you with ample space to store large files, multimedia libraries, and backups without sacrificing speed.
Remember to always back up your data before making any changes to your system and consult the documentation provided with your hardware for specific steps and instructions.
Now, armed with the knowledge and guidance presented in this guide, you are ready to embark on your own journey of setting up an SSD as the boot drive and an HDD as storage. Enjoy the optimized performance and increased storage capacity that this configuration provides!