Introduction
Welcome to our comprehensive guide on how to copy your primary hard disk drive (HDD) and re-use it on a solid-state drive (SSD). If you’re looking to upgrade your computer’s storage and improve its performance, swapping your HDD for an SSD is a great choice. Not only do SSDs offer faster data transfer speeds and quicker system boot times, but they are also more resistant to physical damage.
In this guide, we’ll walk you through the step-by-step process of copying your existing HDD to an SSD, ensuring a seamless transition without losing any of your important data or system settings. We’ll cover everything from choosing the right SSD for your needs to cloning your HDD and installing the SSD into your computer. By the end of this guide, you’ll have a fully functional and optimized SSD-based system.
Before we get started, it’s important to note that this guide assumes you have a basic understanding of computer hardware and software. Additionally, make sure to back up all your important data before proceeding with any drive cloning or installation processes. With that said, let’s dive right in!
Understanding the Basics
Before we delve into the process of copying your HDD to an SSD, let’s take a moment to understand the basics. At the core, both HDDs and SSDs are storage devices used to store and retrieve data in your computer. However, they differ significantly in terms of technology and performance.
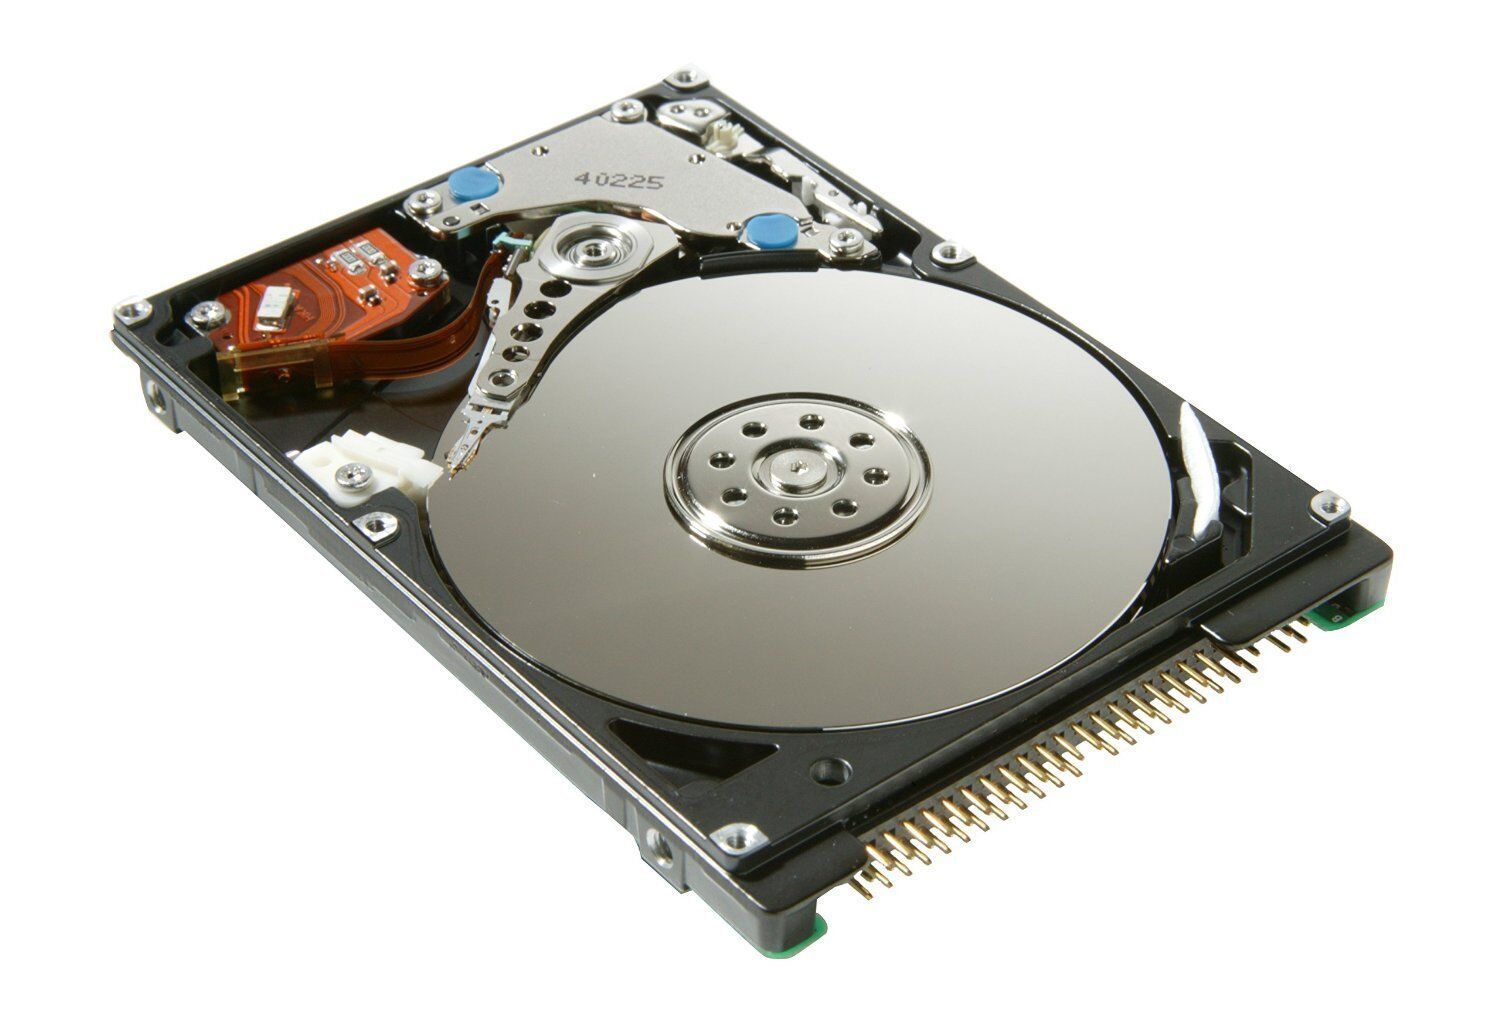
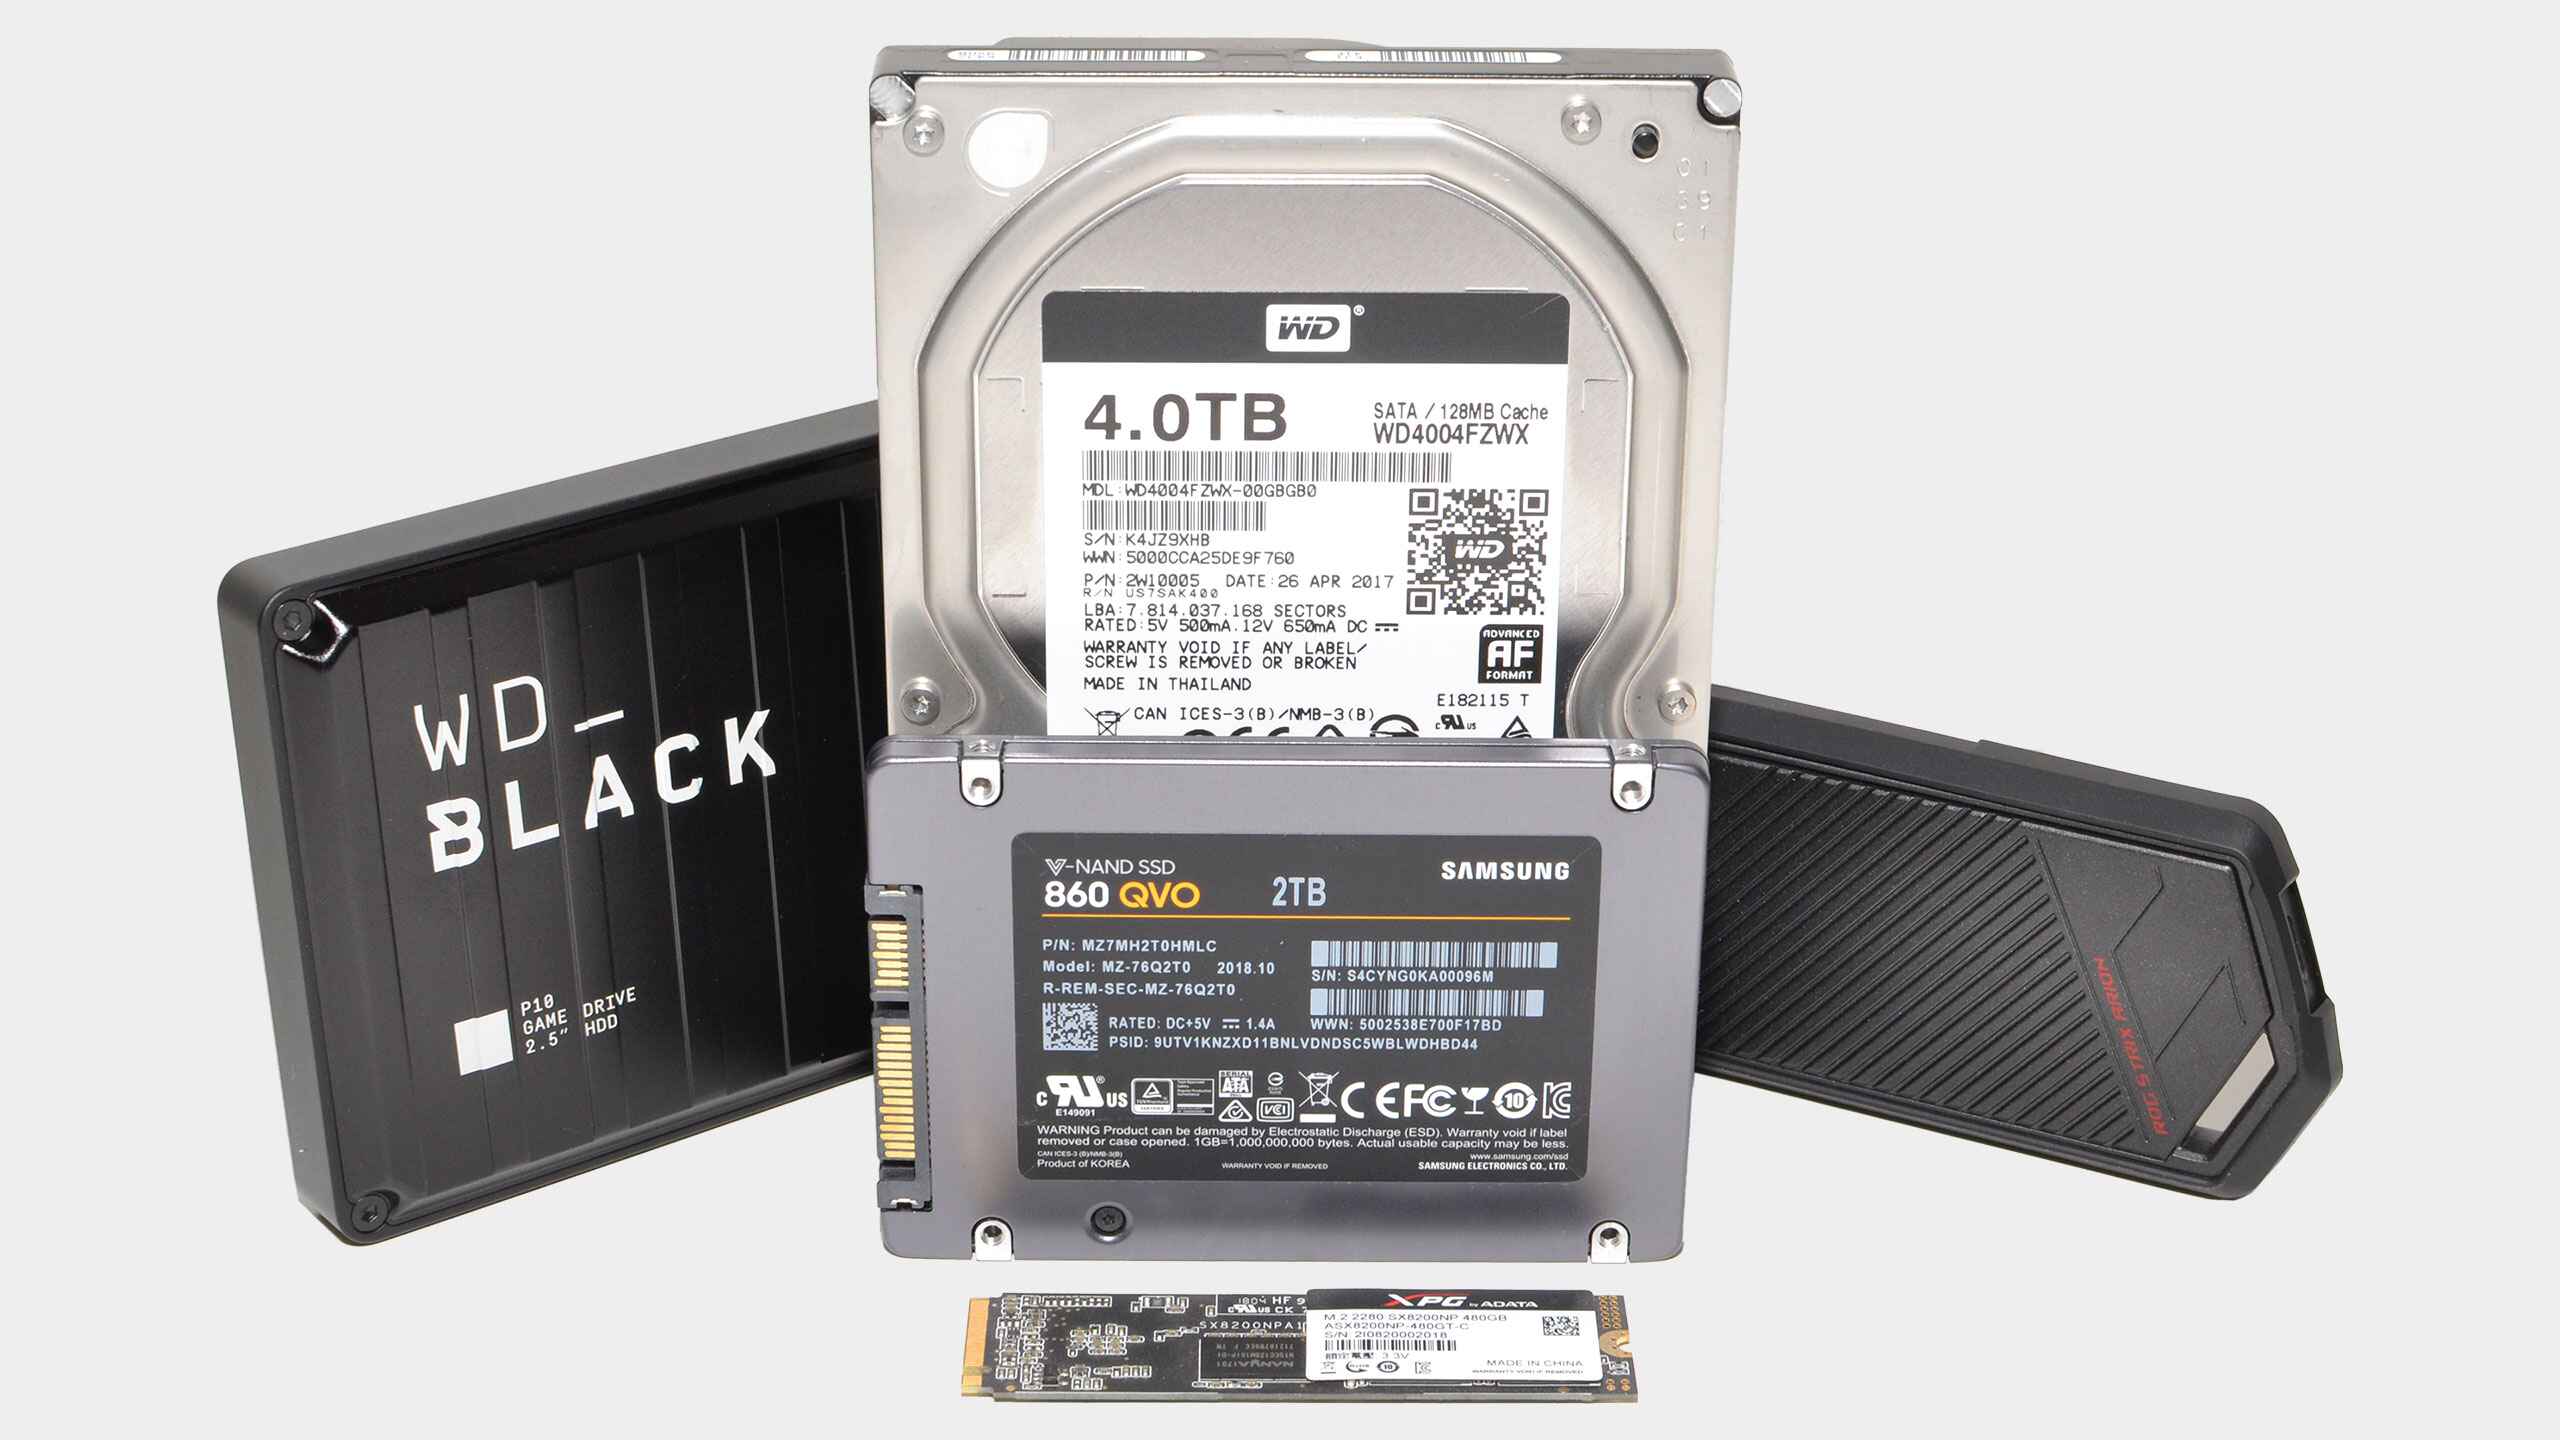
A hard disk drive (HDD) consists of one or more spinning platters that store data magnetically. It uses a mechanical arm with a read/write head to access and retrieve data from the platters. HDDs have been the standard storage option for many years, offering large storage capacities at a relatively affordable price point. However, they tend to be slower in terms of data transfer and system responsiveness.
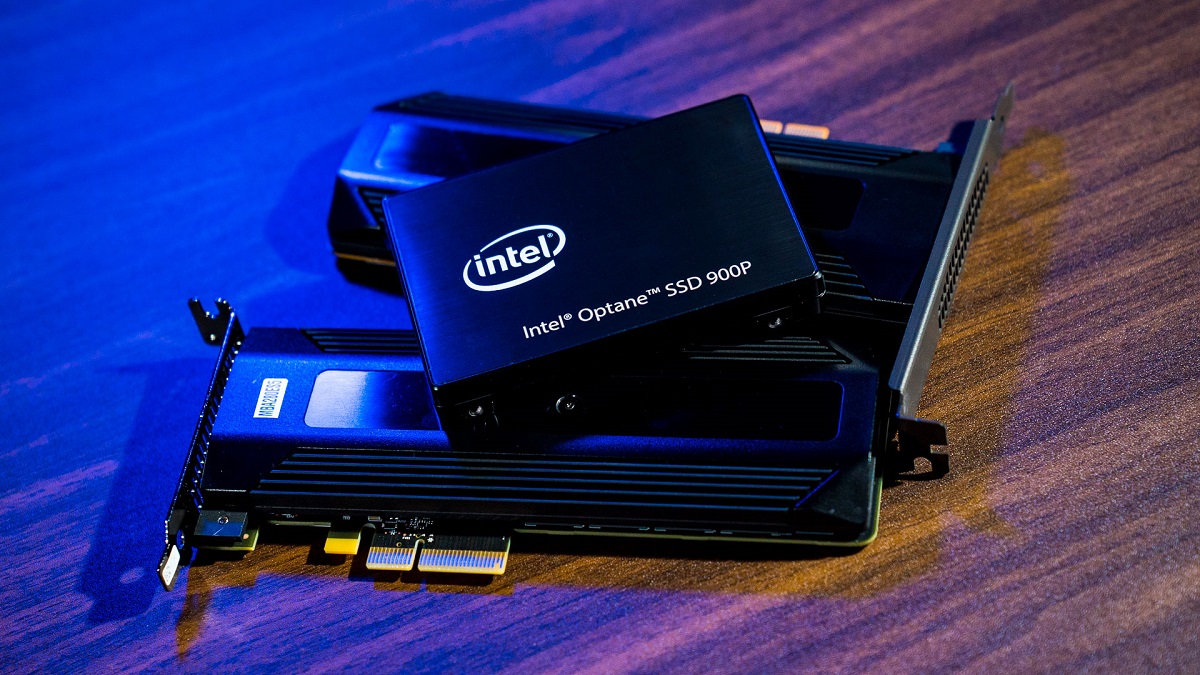
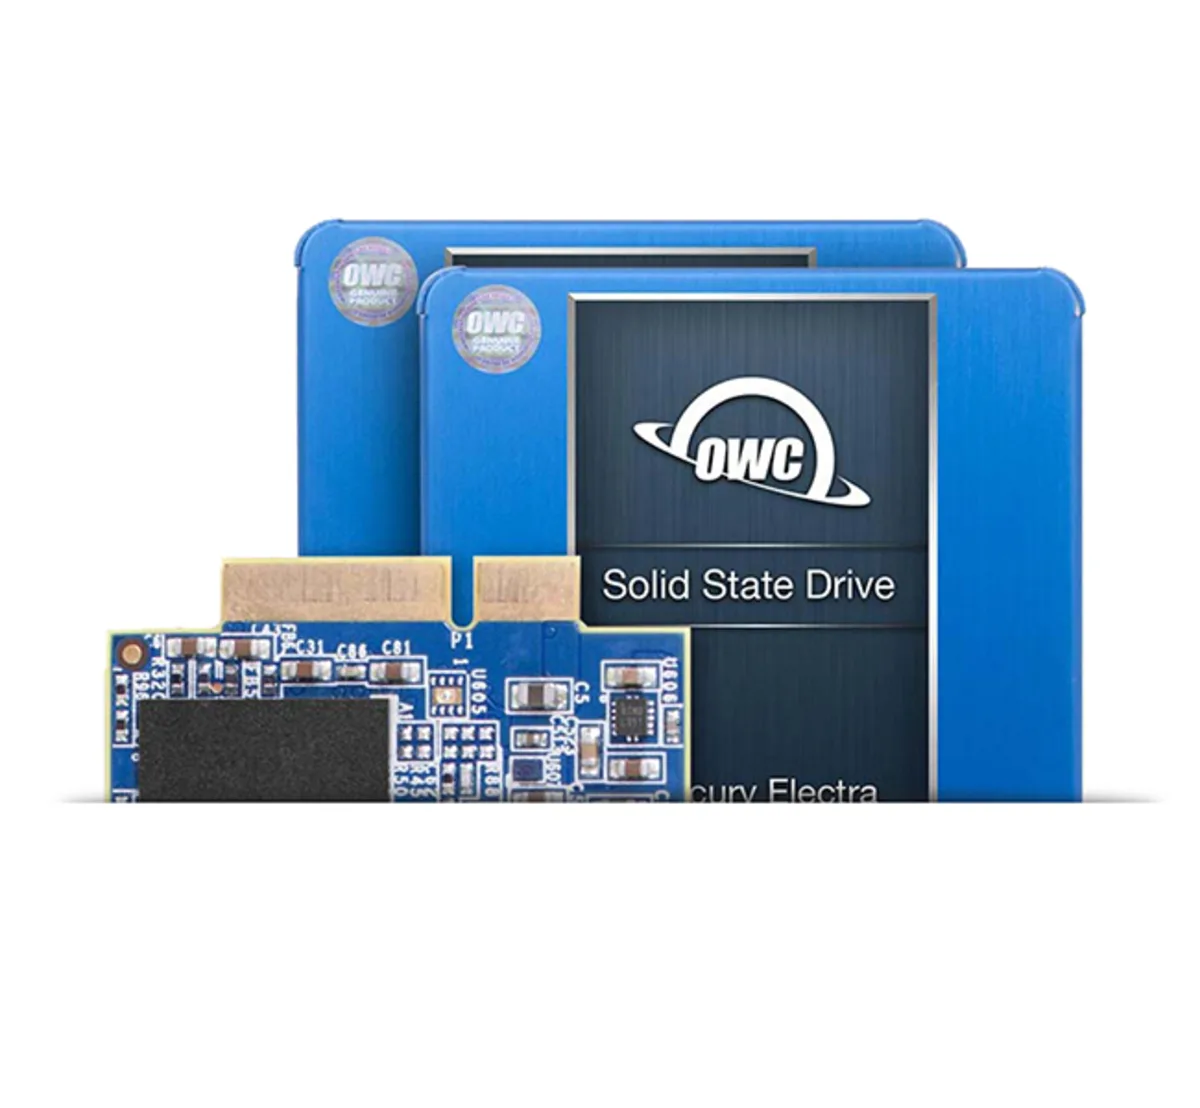
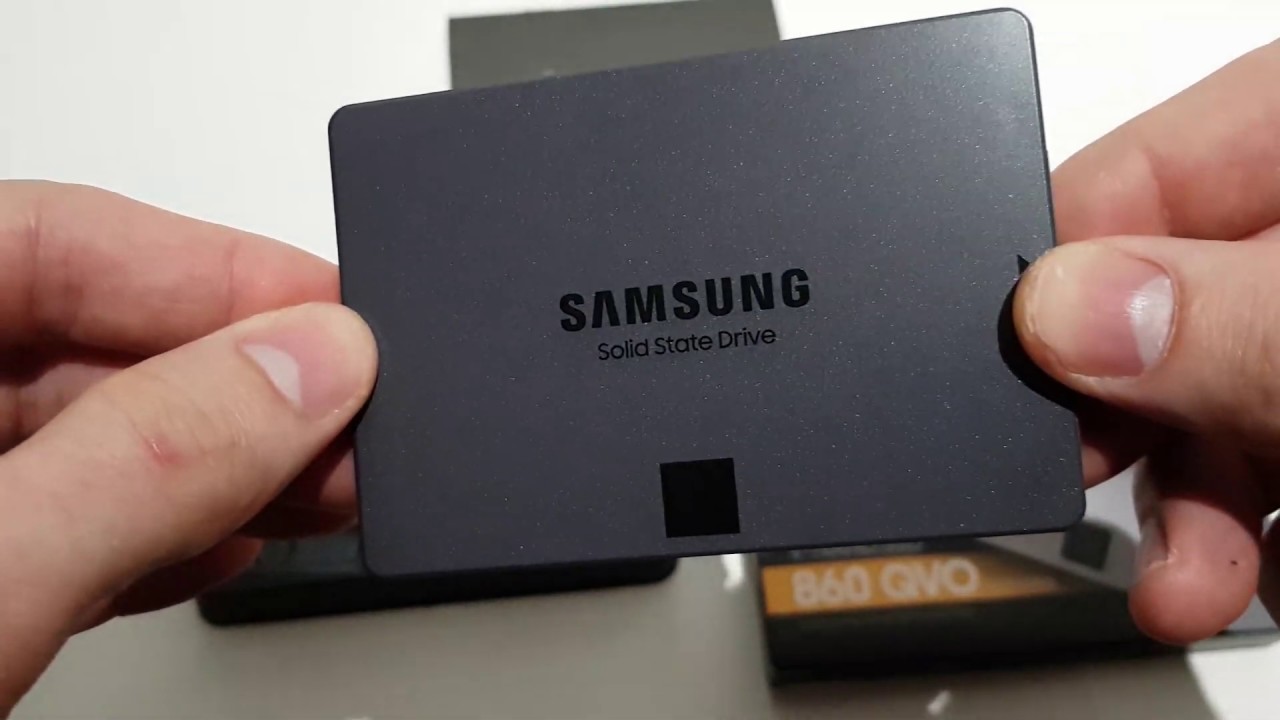
A solid-state drive (SSD), on the other hand, utilizes flash memory technology to store data. This technology does not rely on moving components, making SSDs significantly faster than HDDs. SSDs provide faster boot times, quicker file transfers, and improved overall system performance. While they tend to offer smaller storage capacities compared to HDDs, their price has become more affordable in recent years.
When considering a transition from an HDD to an SSD, it’s important to determine your storage needs. If you have a large amount of data that requires frequent access, you may consider investing in a larger capacity SSD or using an HDD as secondary storage. However, if speed and performance are your primary concerns, opting for a smaller SSD as your primary drive can yield significant improvements.
Furthermore, it’s important to note that not all SSDs are created equal. Factors such as read and write speeds, endurance, and reliability vary between different models and brands. Therefore, it’s crucial to do some research and choose an SSD that suits your requirements and budget.
In the next section, we’ll guide you through the process of choosing the best SSD for your needs. By considering factors such as storage capacity, performance, and budget, you’ll be able to make an informed decision that will maximize the benefits of your upgrade.
Choosing the Best SSD for Your Needs
When it comes to choosing the best SSD for your needs, there are a few key factors to consider. These factors will help you determine the optimal balance between performance, storage capacity, and price. Let’s explore them in more detail.
1. Storage Capacity: Assess how much storage you require for your daily tasks. SSDs generally come in a range of capacities, from 128GB to 4TB or more. Take into consideration the size of your operating system, applications, and files when deciding on the appropriate storage capacity.
2. Performance: SSDs offer varying levels of performance, measured by their read and write speeds. Look out for SSDs with higher read/write speeds, as they will provide faster data transfer and system responsiveness. Consider your usage patterns and prioritize performance accordingly.
3. Endurance and Reliability: Check the endurance rating of the SSD you are considering. This rating indicates the total amount of data that can be written to the drive over its lifetime. Pay attention to the warranty period provided by the manufacturer, as it can give you an idea of the SSD’s expected lifespan.
4. Budget: Set a budget for your SSD upgrade and explore options within that range. SSD prices vary based on factors such as capacity and performance. Comparing different models and brands will help you find an SSD that offers a good balance between cost and features.
5. Compatibility: Ensure that the SSD you choose is compatible with your computer’s interface. The most common interfaces for SSDs are SATA (Serial ATA) and NVMe (Non-Volatile Memory Express). Check the specifications of your computer’s motherboard or consult the manufacturer’s documentation to determine which interface is supported.
6. User Reviews and Ratings: Read user reviews and ratings of different SSD models to gain insights into their real-world performance and reliability. Pay attention to both professional reviews and customer feedback to get a comprehensive understanding.
By carefully considering these factors, you can select the best SSD that meets your requirements and offers the performance boost you desire. In the next section, we’ll cover how to backup your important data before proceeding with the cloning process to ensure that no data is lost during the transition.
Backing Up Important Data
Before you begin the process of cloning your HDD to an SSD, it’s crucial to back up all your important data. This step is essential to safeguard your files and ensure that you have a copy in case of any unforeseen issues during the cloning process. Here’s how to back up your data:
1. Identify Important Files: Take inventory of the files, documents, photos, videos, and any other data that you cannot afford to lose. This can include personal files, work documents, or any other irreplaceable data.
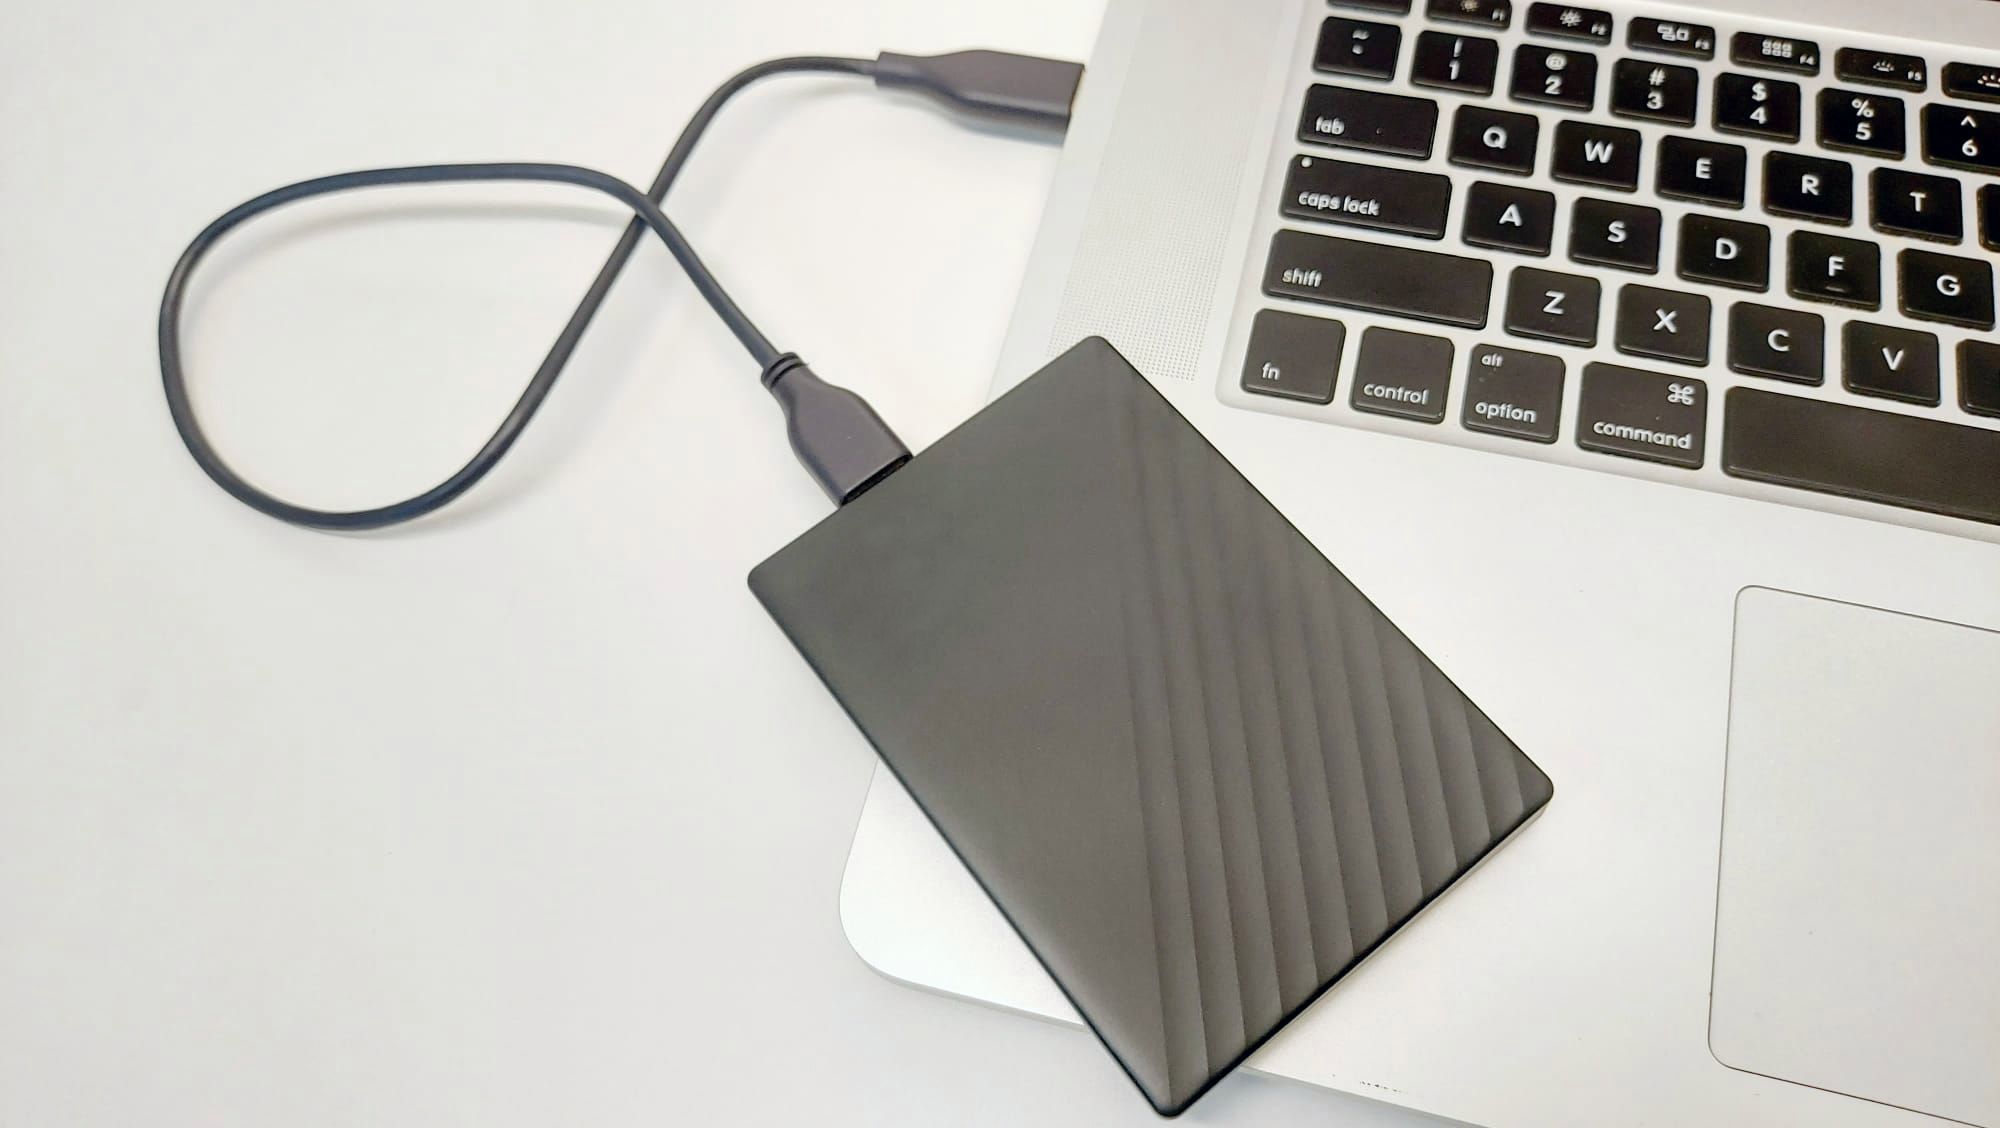
2. Choose a Backup Method: Select a backup method that suits your needs. You can use an external hard drive, a network-attached storage (NAS) device, or cloud storage services such as Google Drive or Dropbox. Consider the storage capacity and accessibility of each method.
3. Copy Files to Backup Location: Transfer the identified important files to the designated backup location. If you’re using an external hard drive or NAS device, connect it to your computer and drag-and-drop or use backup software to copy the files. For cloud storage, simply upload the files to the chosen service.
4. Verify Backup Success: Double-check that all your important files have been successfully transferred to the backup location. Take a moment to confirm that the files are intact and accessible. It’s always better to be safe than sorry.
5. Test Data Recovery: Depending on the backup method chosen, it’s a good idea to perform a data recovery test to ensure that you can retrieve your files if needed. Restore a small set of files from the backup and verify that they are restored correctly.
By following these steps, you can ensure that your crucial files are safely backed up before proceeding with the cloning process. In the next section, we’ll guide you through preparing your SSD for the cloning process to ensure a smooth transition from your HDD to the SSD.
Preparing Your SSD
Now that you have successfully backed up your important data, it’s time to prepare your solid-state drive (SSD) for the cloning process. Follow these steps to ensure a smooth transition:
1. Connect the SSD: If your SSD is an external drive, connect it to your computer using the appropriate cable. If it’s an internal drive, follow the manufacturer’s instructions to install it properly.
2. Check Drive Health: Before proceeding, it’s a good idea to check the health of your SSD. Use software like CrystalDiskInfo or SSD Life to verify that the SSD is in optimal condition. This step helps ensure that the SSD’s performance and reliability are at their best.
3. Format the SSD: If the SSD is new or has existing data, it’s recommended to format it before proceeding. Formatting will erase all existing data on the SSD and prepare it for the cloning process. You can format the drive using the built-in disk management tool in your operating system or a third-party disk utility program.
4. Allocate a Drive Letter: Assign a drive letter to the SSD if it doesn’t already have one. This will allow your operating system to recognize and assign a unique identifier to the SSD, making it accessible for the cloning process.
5. Disable Sleep Mode: To prevent any interruptions during the cloning process, disable sleep or hibernation mode on your computer. These power-saving features can cause the computer to go into a low-power state and interrupt the cloning process.
6. Update SSD Firmware: It’s a good practice to check for any firmware updates for your SSD. Visit the manufacturer’s website and search for the latest firmware version for your SSD model. Updating the firmware can improve performance and address any known issues.
By following these steps, you’ll ensure that your SSD is properly prepared for the cloning process. In the next section, we’ll guide you through the step-by-step process of cloning your HDD to the SSD, ensuring a seamless transition of your data and system settings.
Cloning Your HDD to the SSD
Now that you have prepared your SSD, it’s time to clone your primary hard disk drive (HDD) and transfer all its contents to the solid-state drive (SSD). Cloning allows you to create an exact replica of your existing HDD, including your operating system, applications, and data. Follow these steps to clone your HDD to the SSD:
1. Choose a Cloning Software: Select a reliable cloning software that supports HDD to SSD cloning. Popular options include Macrium Reflect, Acronis True Image, and Clonezilla. Download and install the chosen software on your computer.
2. Connect the SSD: If your SSD is an external drive, connect it to your computer using the appropriate cable. Ensure that the SSD is recognized by your operating system.
3. Launch the Cloning Software: Open the cloning software you installed in Step 1. Follow the software’s instructions to launch the cloning process.
4. Select the Source and Destination Drives: Choose your HDD as the source drive and your SSD as the destination drive within the cloning software. Make sure to double-check the selection to avoid any accidental data loss.
5. Configure Cloning Options: Depending on the cloning software, you may have various options to configure. These can include resizing partitions, aligning the SSD, or excluding certain files and folders from the clone. Adjust the settings according to your preferences.
6. Start the Cloning Process: Once the source and destination drives are selected and the cloning options are configured, start the cloning process. The software will begin copying the data from your HDD to the SSD. The time required will depend on the size of your HDD and the speed of your drives.
7. Verify Successful Cloning: After the cloning process is complete, verify the successful transfer of data by comparing the contents of the SSD to the HDD. Check that all your files, applications, and settings have been replicated correctly.
8. Keep the Original HDD as Backup: It’s advisable to keep your original HDD as a backup for a short period after successful cloning. This provides an additional layer of security in case any issues arise with the SSD or if you need to retrieve specific data from the original drive.
By following these steps, you’ll be able to clone your HDD to the SSD and ensure a seamless transition of all your data and system settings. In the next section, we’ll guide you through transferring the system reserve partition to the SSD.
Transferring the System Reserve Partition
When cloning your HDD to an SSD, it’s crucial to transfer the System Reserved partition to the SSD to ensure that your new drive functions properly. The System Reserved partition contains critical boot files and system configuration data. Follow these steps to transfer the System Reserved partition:
1. Open Disk Management: Open the Disk Management utility on your computer. You can do this by searching for “disk management” in the Windows search bar and selecting the “Create and format hard disk partitions” option.
2. Identify the System Reserved Partition: In the Disk Management window, locate the System Reserved partition. It is usually a small partition labeled as “System Reserved” or “EFI System Partition”. Note the drive letter assigned to it.
3. Copy the System Reserved Partition: Right-click on the System Reserved partition and select “Copy”.
4. Select the SSD as the Destination: Right-click on the unallocated space on your SSD and select “Paste”. This will copy the System Reserved partition to the SSD.
5. Assign Drive Letter: Right-click on the copied System Reserved partition on the SSD and select “Change Drive Letter and Paths”. Assign the same drive letter that was assigned to the original System Reserved partition.
6. Verify Partition Transferred Successfully: Open Windows Explorer and ensure that the drive letter assigned to the System Reserved partition on the SSD is accessible. Verify that the partition contains the necessary boot files and system configuration data.
7. Remove the System Reserved Partition from the HDD: In Disk Management, right-click on the System Reserved partition on the HDD and select “Delete Volume”. Confirm the deletion. Please note that this step will permanently remove the System Reserved partition from the HDD.
By following these steps, you’ll successfully transfer the System Reserved partition from your HDD to the SSD. This ensures that your new SSD retains all the necessary boot files and system configuration data for proper functioning. In the next section, we’ll guide you through installing the SSD into your computer.
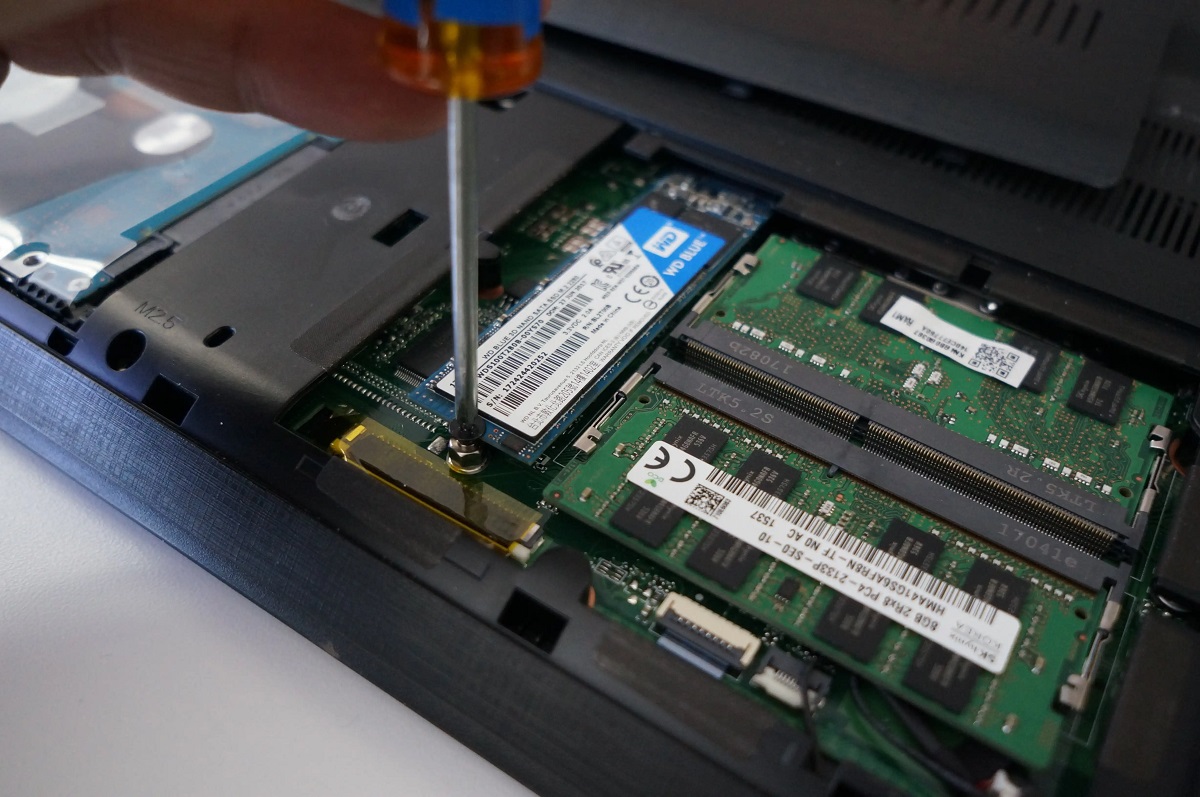
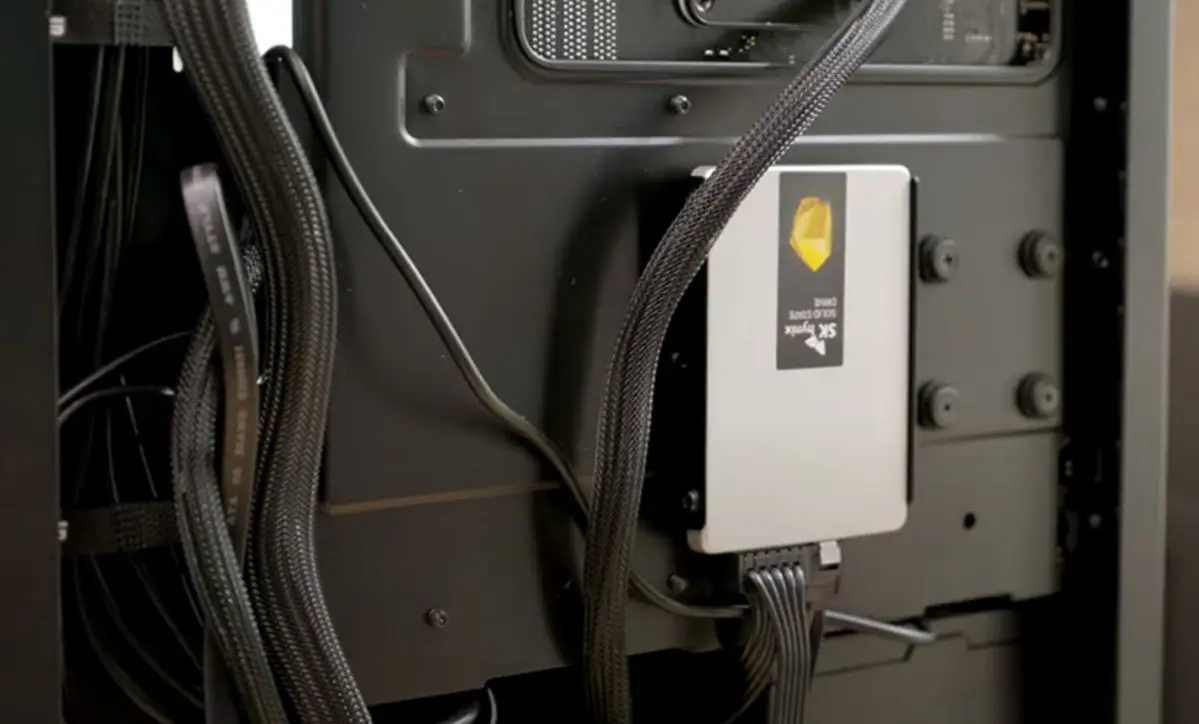
Installing the SSD into Your Computer
Now that you have successfully cloned your HDD to the SSD and transferred the System Reserved partition, it’s time to install the SSD into your computer. Follow these steps to ensure a proper installation:
1. Power Off Your Computer: Shut down your computer and unplug it from the power source. This is an essential safety measure to avoid any damage to your system or SSD during the installation process.
2. Open Your Computer: Depending on the type of computer case you have, you may need to remove the side panel or access another specific opening to gain access to the internal components. Consult your computer’s manual or manufacturer’s instructions for guidance.
3. Locate the Drive Bays: Identify the drive bays in your computer case. These are the slots designed to hold storage drives such as HDDs and SSDs. Typically, they are located in the front or back of the case and may be labeled or color-coded.
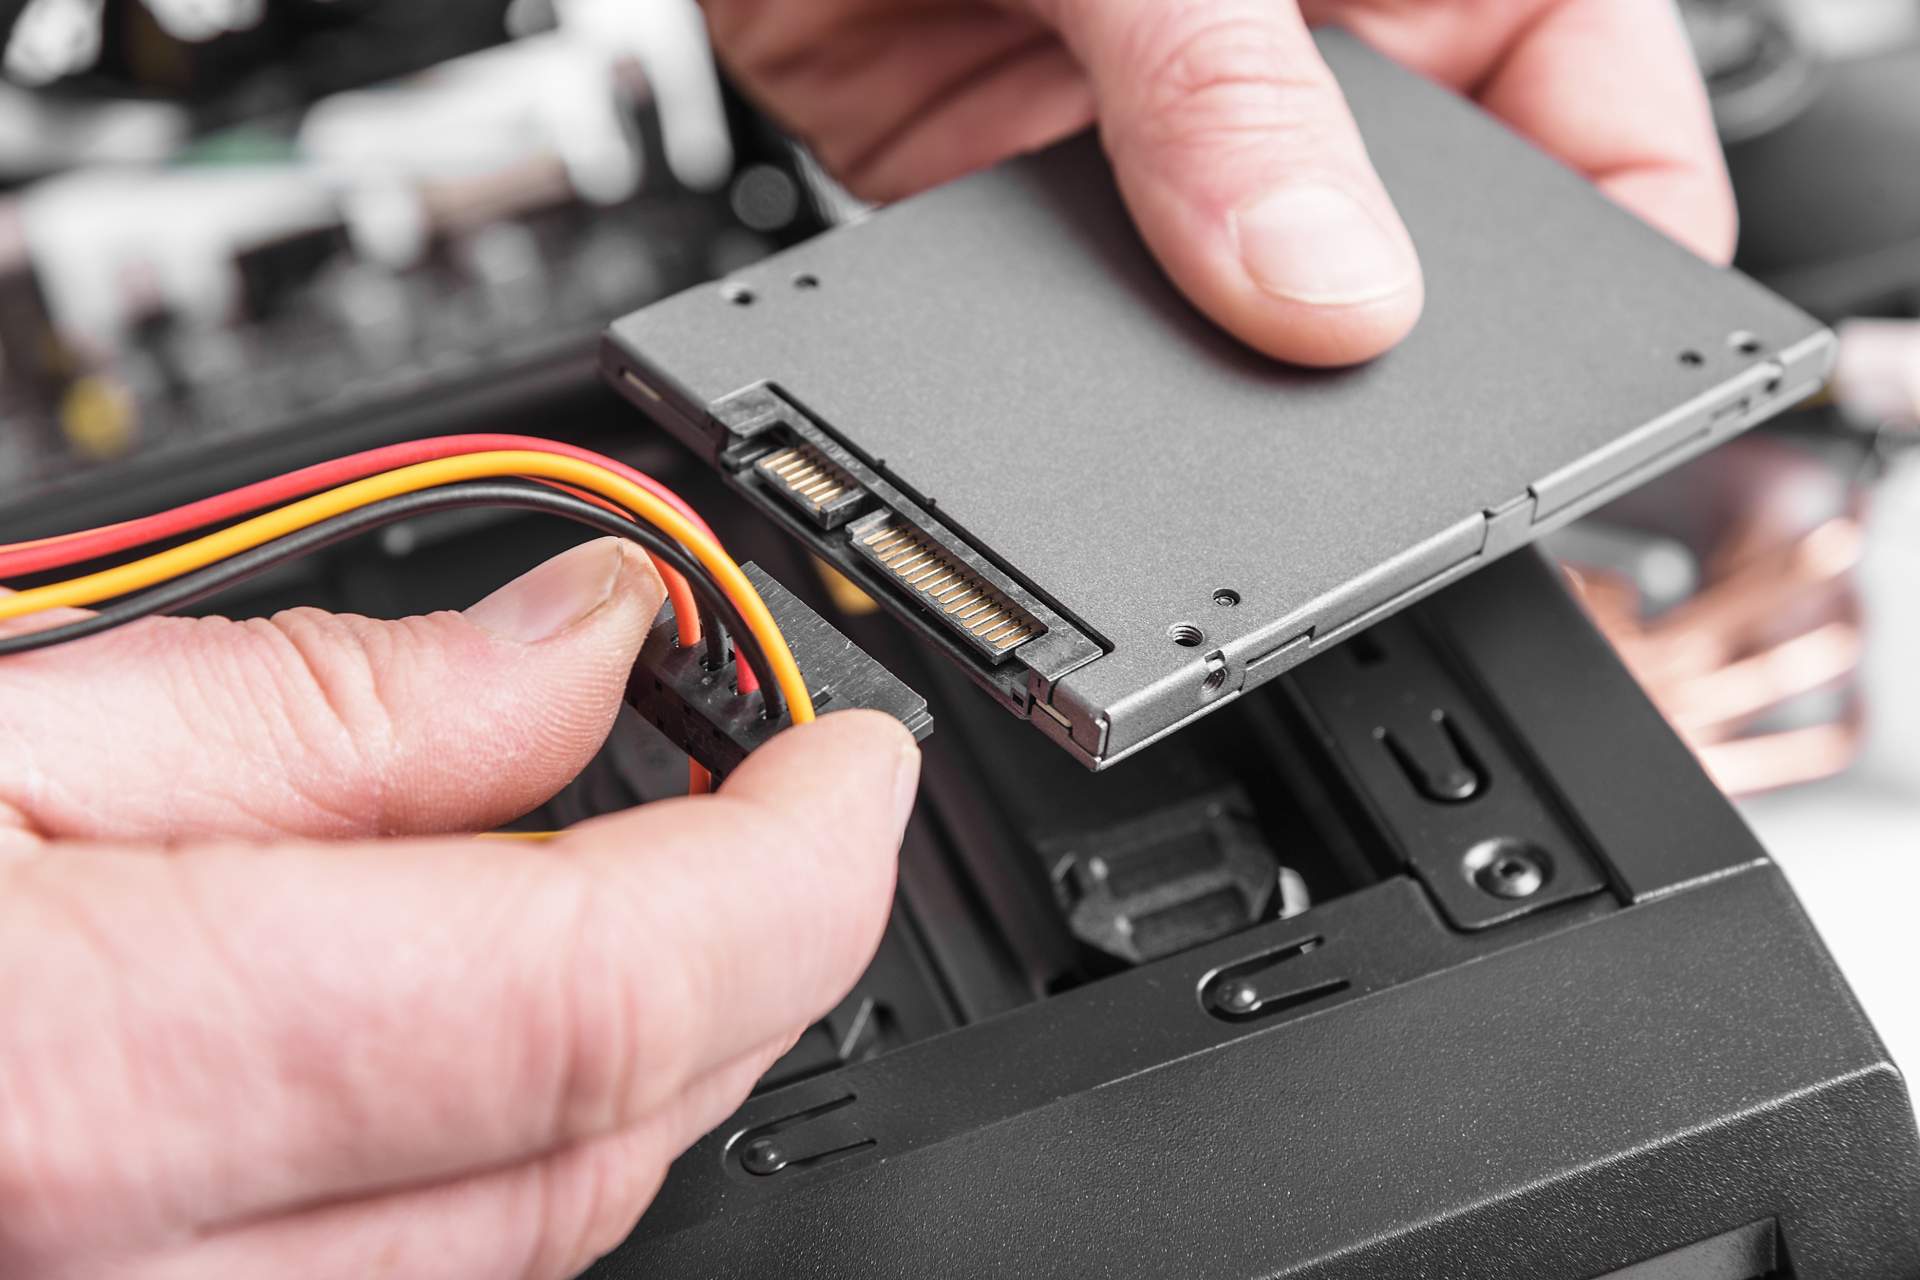
4. Mount the SSD: Secure the SSD in the available drive bay using the appropriate mounting brackets or screws. Make sure to align the SSD’s connectors with the corresponding connectors in the drive bay.
5. Connect the Cables: Connect the necessary cables to the SSD. This includes the power cable from the power supply unit (PSU) and the data cable (SATA or NVMe) to the respective ports on the SSD. Ensure a secure connection by firmly plugging in the cables.
6. Close Your Computer: Once the SSD is securely installed and the cables are connected, close your computer case by reattaching the side panel or any access panels you removed earlier. Ensure that all screws are tightened to secure the case properly.
7. Power On Your Computer: Plug your computer back into the power source and turn it on. Confirm that the SSD is detected by checking the system BIOS or the operating system’s device manager. If the SSD is recognized, you have successfully installed it into your computer.
By following these steps, you’ll be able to install the SSD into your computer and ensure that it is properly connected and securely mounted. In the next section, we’ll guide you through configuring your BIOS settings to optimize the performance of your SSD.
Configuring Your BIOS Settings
Once you have installed your SSD into your computer, it’s important to configure your BIOS settings to ensure optimal performance. The BIOS (Basic Input/Output System) is responsible for controlling the basic functions of your computer’s hardware. Follow these steps to configure your BIOS settings:
1. Access Your BIOS: Restart your computer and enter the BIOS setup by pressing the designated key during the boot process. The key to access the BIOS varies depending on your computer’s manufacturer, but commonly used keys include F2, Del, or Esc.
2. Enable AHCI Mode: Locate the SATA Configuration or Storage Configuration option in the BIOS settings. Enable AHCI (Advanced Host Controller Interface) mode for your SSD. This mode allows the SSD to operate at its full potential.
3. Disable Boot Delay: Disable any boot delays or splash screens in the BIOS settings. This ensures that your computer boots up quickly and reduces any unnecessary waiting time during the startup process.
4. Set SSD as the Boot Drive: In the Boot Options or Boot Priority section of the BIOS, set your SSD as the primary boot drive. This prioritizes the SSD over any other drives, ensuring that your computer boots up from the SSD.
5. Save Changes and Exit: Once you have made the necessary configurations, save the changes you made to the BIOS settings and exit the BIOS setup. Restart your computer for the changes to take effect.
6. Verify Boot Drive: After your computer restarts, confirm that it boots from the SSD. Check the operating system’s device manager or BIOS system information to ensure that the SSD is recognized as the primary boot drive.
By configuring your BIOS settings properly, you can optimize the performance of your SSD and maximize its potential. In the next section, we’ll guide you through verifying the cloned drive to ensure that the transition from HDD to SSD was successful.
Verifying the Cloned Drive
After completing the cloning process and configuring your BIOS settings, it’s crucial to verify the success of the cloned drive. This step ensures that all your data, applications, and system settings have been correctly transferred to the solid-state drive (SSD). Follow these steps to verify the cloned drive:
1. Boot from the SSD: Restart your computer and ensure that it boots from the SSD. Check the BIOS settings or the boot order to confirm that the SSD is the primary boot drive.
2. Check System Performance: Once your computer has booted up from the SSD, assess the overall system performance. Notice if there is a noticeable improvement in the system’s speed, responsiveness, and load times when compared to the previous HDD.
3. Test Applications and Files: Open various applications and access different files to confirm that they are functioning properly. Check for any errors, compatibility issues, or missing data. Pay close attention to critical applications and files that were frequently used on the HDD.
4. Check Disk Space: Verify that the SSD has the expected amount of available disk space. Compare it to the usage on the previous HDD to ensure that all the data has been successfully transferred.
5. Monitor Drive Health: Keep an eye on the health of the SSD by using monitoring tools provided by the manufacturer or third-party software. Monitor aspects such as temperature, wear leveling, and any potential errors or issues that may arise.
6. Run System Updates: Make sure to run any pending operating system updates, driver updates, and firmware updates for the SSD. Keeping your system and the SSD up to date ensures optimal performance and stability.
7. Verify Data Integrity: Double-check specific files and folders to verify that the data they contain has been successfully transferred to the SSD without any corruption or loss. Perform file comparisons or checksum checks if necessary.
By following these steps to verify the cloned drive, you can ensure that the transition from your HDD to the SSD was successful. If you encounter any issues or discrepancies, refer to the troubleshooting section or consult the manufacturer’s support for assistance.
Troubleshooting Common Issues
While the process of cloning your HDD to an SSD is generally straightforward, there may be instances where you encounter common issues or challenges. It’s important to troubleshoot and address these issues to ensure a successful transition. Here are some common issues and their corresponding solutions:
1. SSD Not Recognized: If your computer does not recognize the SSD after the cloning process, double-check the connections between the SSD and your computer. Ensure that the power and data cables are securely connected. If the issue persists, try connecting the SSD to a different SATA port or contact the SSD manufacturer for further assistance.
2. Incorrect Boot Drive: If your computer continues to boot from the previous HDD instead of the newly cloned SSD, check the boot order in the BIOS settings. Ensure that the SSD is set as the primary boot drive. If necessary, consult your computer’s manual or manufacturer’s support for specific instructions on changing the boot order.
3. System Instability or Crashes: If you experience system instability or crashes after transitioning to the SSD, ensure that all software and drivers are up to date. Check for any firmware updates for the SSD and install them if available. Additionally, running a system diagnostic or memory test may help identify any underlying hardware issues.
4. Data Corruption or Missing Files: If you notice any data corruption or missing files on the SSD, make sure that the cloning process completed successfully without any interruptions. Double-check the source HDD to ensure that the data is intact. If necessary, repeat the cloning process, ensuring that all steps are followed accurately.
5. Insufficient Disk Space: If you find that the SSD does not have enough disk space to accommodate all your data and applications, consider removing unnecessary files or programs from the drive. Alternatively, upgrade to a larger capacity SSD to meet your storage needs.
6. Slow Performance: If the performance of your SSD is slower than expected, verify that the SSD is operating in the appropriate mode (AHCI or NVMe) and that TRIM is enabled. Ensure that the SSD’s firmware is up to date to address any performance-related issues. Additionally, check for any background processes or software that may be impacting overall system performance.
If you encounter other issues not mentioned here, consult the documentation provided by the SSD manufacturer or seek assistance from their technical support team. Remember to always backup your data before attempting any troubleshooting steps to avoid potential data loss.
If troubleshooting steps don’t resolve the issue, it may be necessary to consult a professional technician for further assistance. They will be able to diagnose and address more complex issues related to the cloning process or the SSD itself.
Conclusion
Congratulations! You have successfully learned how to copy your primary hard disk drive (HDD) and re-use it on a solid-state drive (SSD). By following the steps outlined in this guide, you have transformed your computer’s storage, improving performance, and enhancing overall speed and responsiveness.
We started with understanding the basics of HDDs and SSDs, highlighting the advantages of SSDs in terms of speed, durability, and reliability. We then explored how to choose the best SSD for your needs, considering factors such as storage capacity, performance, and budget.
Next, we discussed the importance of backing up your important data before proceeding with the cloning process. By following the steps outlined, you ensured that your data was safely stored and protected during the transition.
We then moved on to preparing the SSD for cloning, transferring the System Reserved partition, and installing the SSD into your computer. With detailed instructions, you successfully completed these crucial steps to ensure a smooth and error-free setup.
Furthermore, we guided you through configuring your BIOS settings to optimize the performance of your SSD and provided guidance on verifying the success of the cloned drive, as well as troubleshooting common issues that may arise during the process.
Remember, transitioning from an HDD to an SSD can provide significant performance improvements, but it’s essential to regularly update your SSD’s firmware, drivers, and system software to maintain optimal performance. Additionally, maintaining good data backup practices will further safeguard your important files and ensure peace of mind.
Thank you for following this guide on how to copy your primary HDD to an SSD. We hope that this information has empowered you to make the most out of your upgraded storage solution and enjoy the benefits of a faster and more efficient computer system.