Introduction
Welcome to the world of faster boot times and improved system performance! If you’re tired of waiting ages for your computer to start up, it’s time to consider switching from a traditional Hard Disk Drive (HDD) to a Solid State Drive (SSD) for your boot drive. This simple upgrade can significantly enhance your overall computing experience.
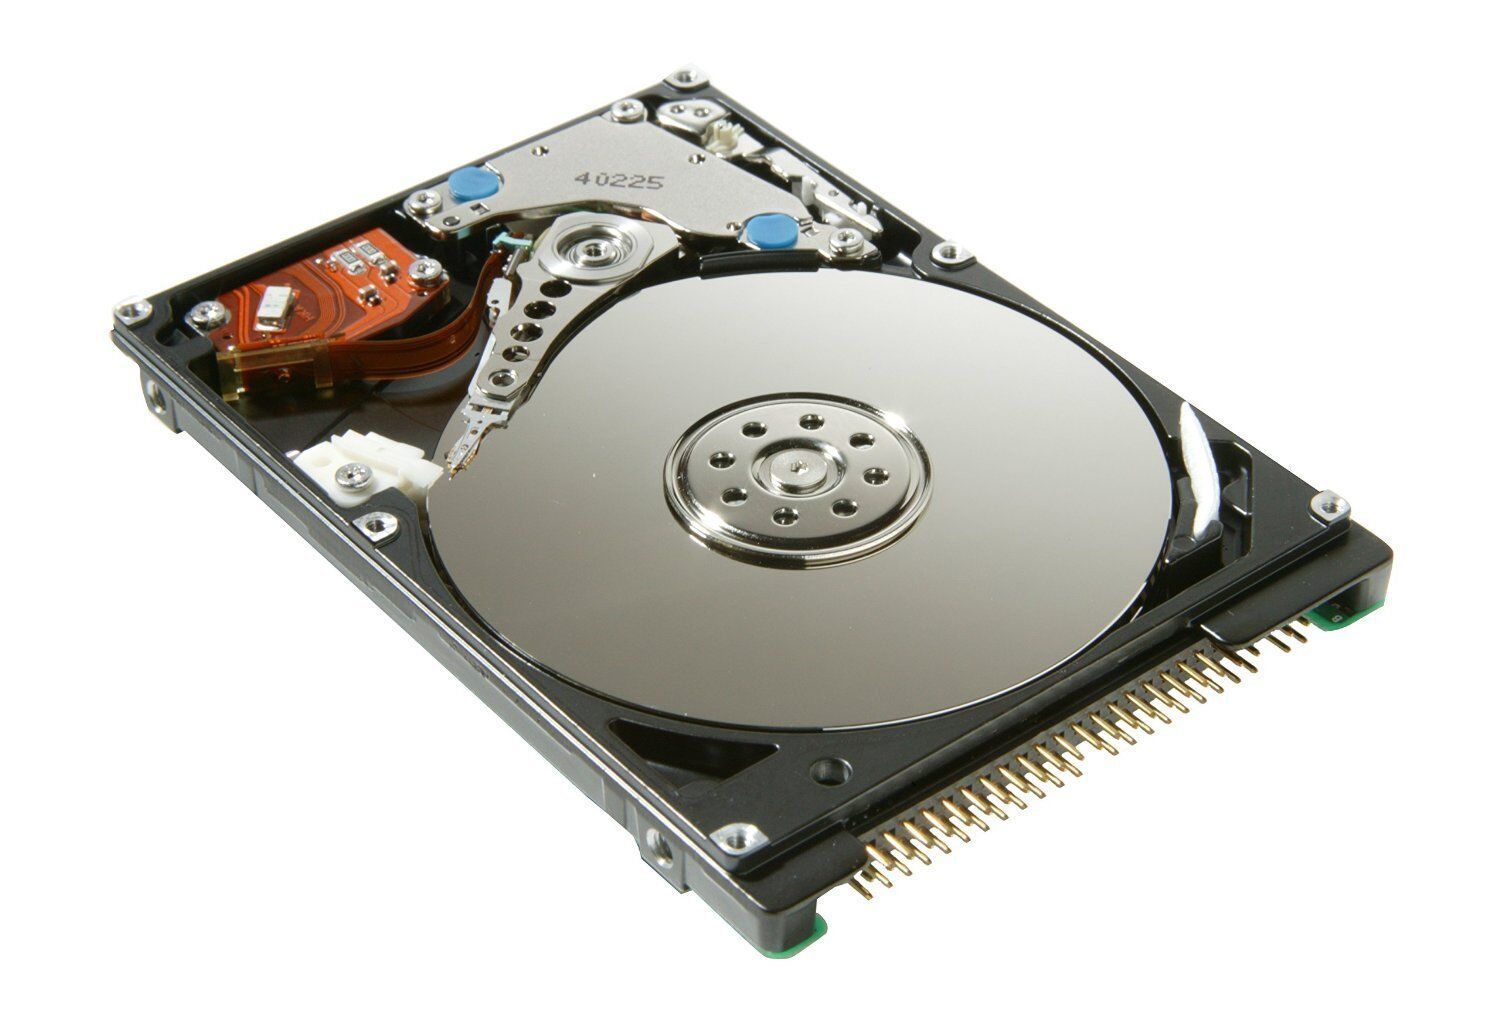
An SSD is a storage device that uses flash memory to store data, unlike HDDs that rely on spinning platters and mechanical parts. This fundamental difference results in faster read and write speeds, making SSDs the preferred choice for boot drives. Switching to an SSD for your boot drive can provide remarkable improvements in responsiveness, reducing startup time, and accelerating software loading.
In this guide, we will walk you through the process of switching from an HDD to an SSD boot, covering everything from choosing the right SSD to cloning your data and setting up your new drive as the boot device. Whether you’re a beginner or a tech-savvy user, this guide will provide you with the necessary steps and information to make a smooth transition.
Before we dive into the details, it’s essential to note that switching to an SSD boot drive requires some technical knowledge and caution. It involves opening your computer, handling sensitive hardware components, and making changes to your BIOS settings. If you’re uncertain or uncomfortable with these procedures, we recommend seeking assistance from a knowledgeable friend or a professional.
Now that you understand the benefits and precautions let’s start with the first step – choosing the right SSD for your system.
Reasons to switch from HDD to SSD boot
There are several compelling reasons why switching from a traditional Hard Disk Drive (HDD) to a Solid State Drive (SSD) for your boot drive is a worthwhile investment. Let’s explore some of the key benefits:
- Improved speed and performance: One of the most significant advantages of an SSD is its lightning-fast read and write speeds. Unlike HDDs, which rely on mechanical components, SSDs use flash memory to store and retrieve data quickly. This means that your computer will start up faster, applications will load quicker, and file transfers will be significantly speedier.
- Enhanced durability and reliability: Unlike HDDs, which have moving parts that can wear out over time, SSDs have no such components. This makes SSDs more resistant to physical damage, such as drops and impacts, and less prone to failure. Additionally, SSDs are not affected by magnetic fields, making them ideal for portable devices.
- Quieter and cooler operation: HDDs generate noise and heat due to their spinning platters and moving read/write heads. In contrast, SSDs produce zero noise and emit less heat. This not only contributes to a quieter and more comfortable computing experience but also helps extend the lifespan of other components in your system.
- Energy efficiency: SSDs consume less power than HDDs, resulting in improved energy efficiency. This can lead to longer battery life for laptops and lower electricity bills for desktop computers. Additionally, the reduced power consumption contributes to a greener environment by minimizing energy waste.
- Compact and lightweight: SSDs are smaller and lighter in comparison to HDDs, making them a perfect choice for laptops and other portable devices. The compact form factor of SSDs allows for more space in your computer case, enabling better airflow and potentially improving overall system temperature and performance.
By switching to an SSD boot drive, you can significantly enhance your computer’s performance, durability, and overall user experience. Whether you’re a casual user or a power user, the benefits of an SSD are undeniable. Now that you understand the reasons behind the switch, let’s move on to the next step – choosing the right SSD for your system.
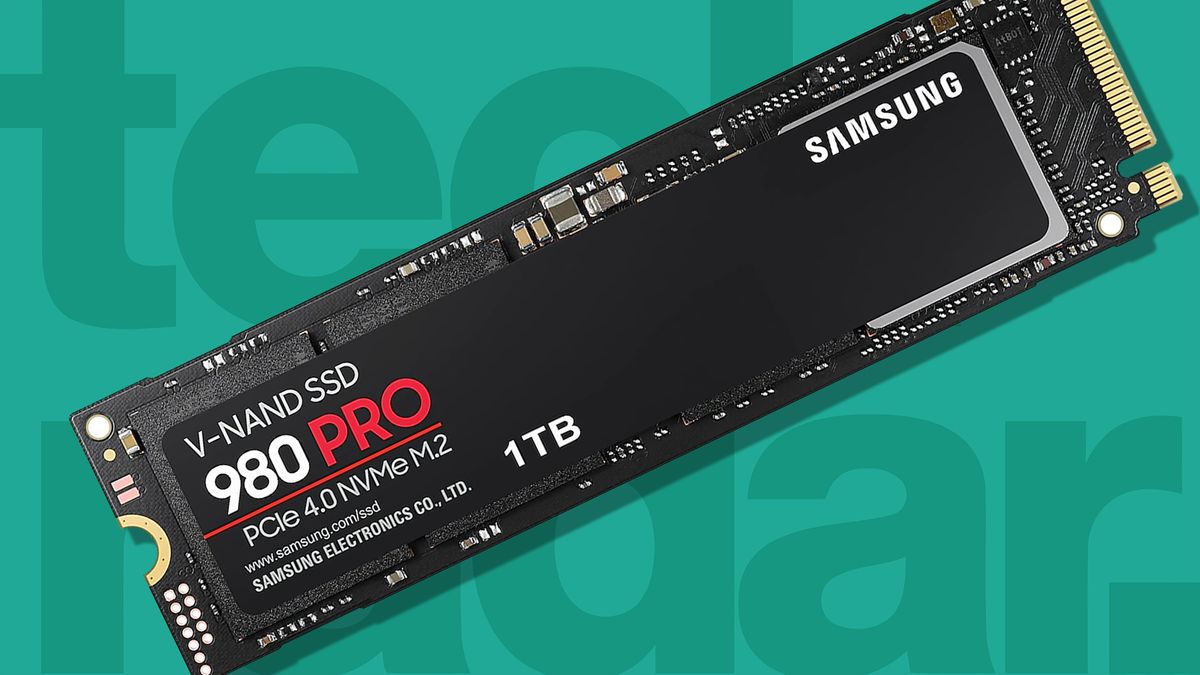
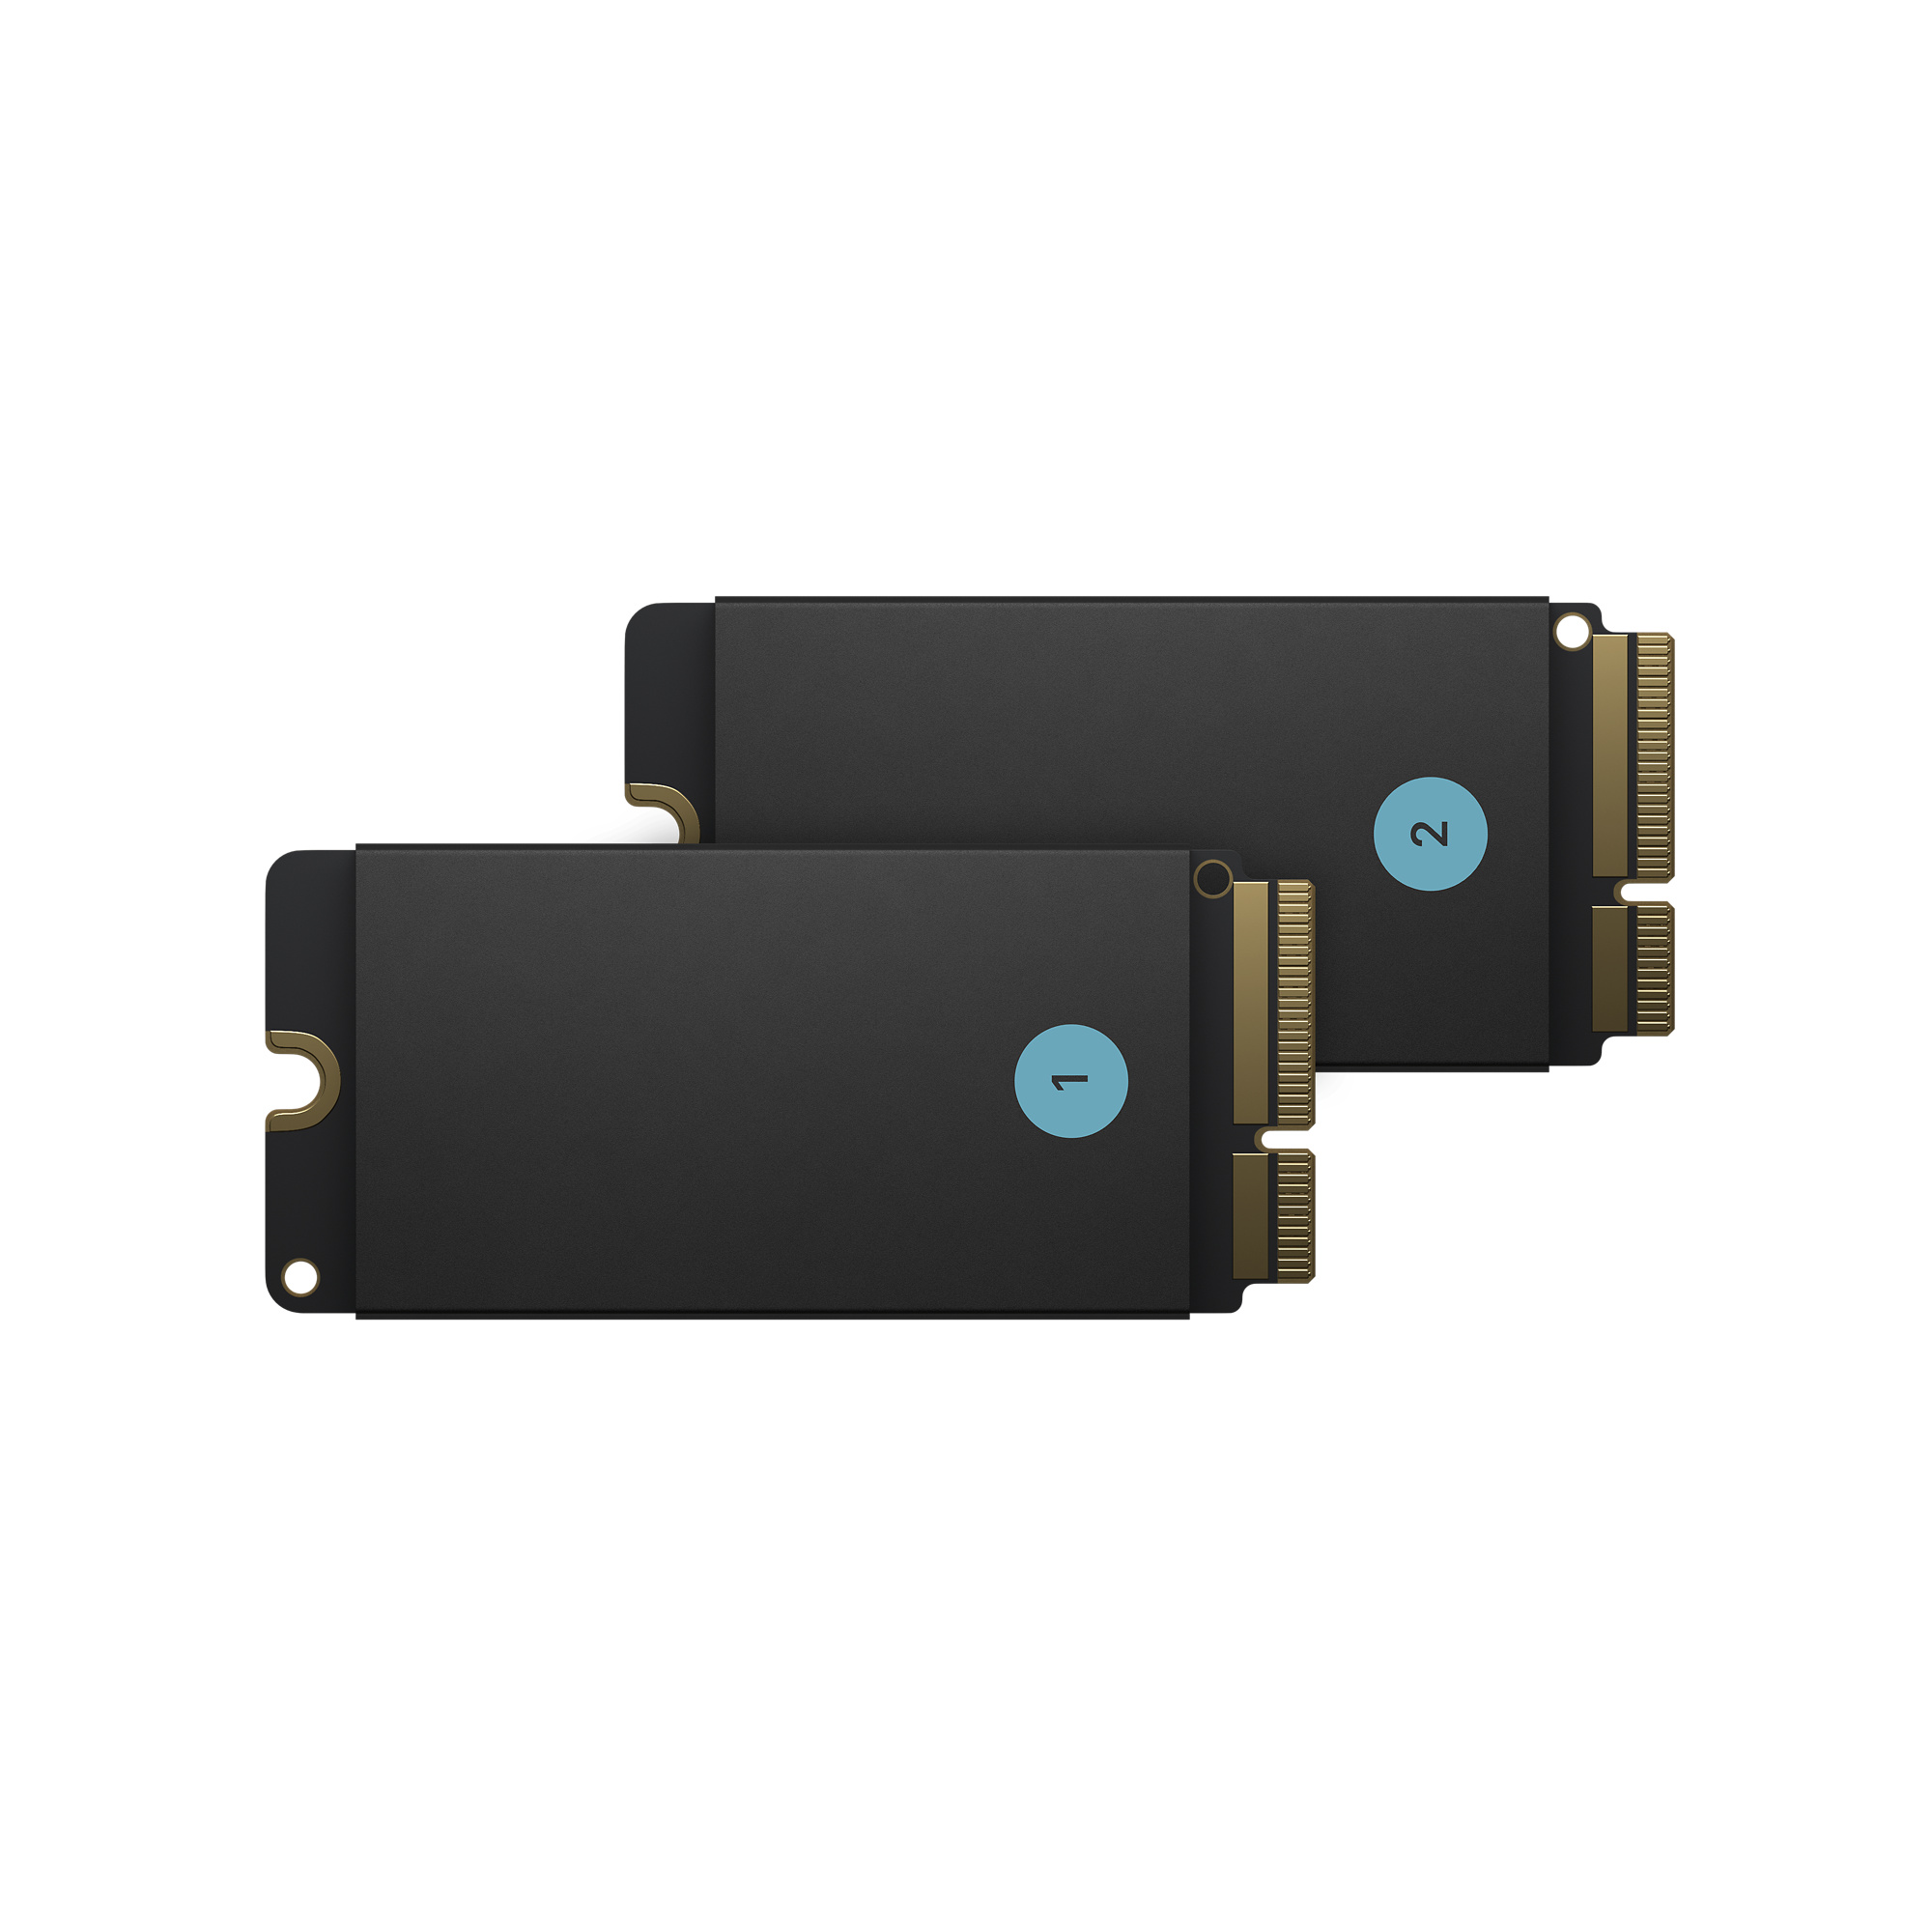
Choosing the right SSD for your system
Now that you’re convinced about the benefits of switching from a traditional Hard Disk Drive (HDD) to a Solid State Drive (SSD) for your boot drive, it’s time to choose the right SSD that meets your needs and system requirements. Here are some factors you should consider when making your selection:
- Capacity: Determine how much storage space you need for your operating system, applications, and files. SSDs come in various capacities, ranging from 128GB to multiple terabytes. Consider your storage requirements, keeping in mind that SSD capacities are generally smaller than HDDs at similar price points.
- Compatibility: Check the compatibility of the SSD with your computer’s interface. Most modern systems utilize the SATA III interface, but some newer systems might support the faster PCIe NVMe interface. Confirm what type of interface your computer supports before purchasing an SSD to ensure compatibility.
- Performance: Look for SSDs that offer high read and write speeds for optimal performance. The performance of an SSD is usually measured in terms of sequential read and write speeds, as well as random 4K read and write speeds. Consider your usage patterns and requirements to select an SSD with suitable performance capabilities.
- Brand reputation: Choose SSDs from reputable brands known for their reliability and quality. Well-established brands often invest in research and development, resulting in better performance and longevity. Do some research and read reviews from trusted sources to gauge the reputation of different SSD manufacturers.
- Warranty: Check the warranty policy offered by the SSD manufacturer. A longer warranty period indicates the manufacturer’s confidence in their product’s reliability. Look for SSDs with at least a three-year warranty to ensure you’re protected against any potential defects or failures.
- Price: Consider your budget and find a balance between cost and performance. While SSDs tend to be more expensive per gigabyte compared to HDDs, their performance benefits outweigh the price difference. Compare prices from different retailers and consider any ongoing promotions or discounts.
By carefully evaluating these factors, you can select an SSD that suits your storage needs, provides reliable performance, and fits within your budget. Once you’ve chosen the perfect SSD for your system, it’s time to move on to the next steps in the migration process – backing up your data and creating a bootable USB drive.
Backing up your data
Before proceeding with the transition from a Hard Disk Drive (HDD) to a Solid State Drive (SSD) for your boot drive, it is crucial to back up your data to ensure that no important files are lost during the migration process. Follow these steps to create a backup of your data:
- Identify important data: Determine which files and folders on your HDD are essential and need to be backed up. This may include personal documents, photos, videos, music, and any other data you cannot afford to lose.
- Choose a backup method: Select a suitable backup method that fits your needs. You can opt for a physical external hard drive, cloud storage services, or even a combination of both. Physical drives offer convenience and offline access, while cloud storage provides accessibility from anywhere with an internet connection.
- Transfer files to backup location: Copy your important files and folders from your HDD to the selected backup destination. For physical external drives, connect it to your computer and transfer the files through file explorer or backup software. For cloud storage, upload the files using the respective service’s desktop or web-based applications.
- Verify backup integrity: After the data transfer is complete, verify that the files are successfully copied and intact in the backup location. Compare file sizes, check for any corrupted files, and ensure that the backup is an accurate representation of your original data.
- Test data restoration: Perform a test restoration of a few files from the backup to confirm that the restoration process works smoothly. This step gives you confidence that your backup is viable and can be relied upon when needed.
- Maintain backup regularly: Make it a habit to regularly update your backup to ensure that new files and changes are included. Consider setting up automatic backup solutions or creating a schedule to remind yourself to perform manual backups at regular intervals.
By backing up your data, you have an extra layer of protection against data loss during the migration process. Accidents can happen, and having a backup ensures that even if something goes wrong, your files can be easily restored. Once you have securely backed up your data, you’re ready to proceed to the next step – creating a bootable USB drive to install the SSD and transfer the operating system.
Creating a bootable USB drive
Creating a bootable USB drive is an essential step in the process of transitioning from a Hard Disk Drive (HDD) to a Solid State Drive (SSD) for your boot drive. This allows you to install the SSD and transfer the operating system. Follow these steps to create a bootable USB drive:
- Obtain a USB drive: Ensure you have a USB drive with sufficient capacity. It’s recommended to use a USB 3.0 drive with at least 8GB of storage space. Keep in mind that all data on the USB drive will be erased during the creation process, so make sure to back up any important files before proceeding.
- Download a bootable USB creation tool: Choose a reliable bootable USB creation tool, such as Rufus, UNetbootin, or Windows USB/DVD Download Tool. Visit the official website of your chosen tool and download the latest version compatible with your operating system.
- Launch the USB creation tool: Open the bootable USB creation tool and follow the on-screen instructions. Typically, you will need to select the USB drive you want to use, choose the operating system image file or installation media, and specify the desired bootable drive format.
- Start the bootable USB creation process: Initiate the creation process by clicking the “Start” or “Create” button in the USB creation tool. This action will format the USB drive and copy the necessary files to make it bootable. The process may take some time, depending on the size of the operating system image file and the speed of your USB port.
- Confirm bootable USB completion: Once the bootable USB creation process is complete, verify that the USB drive is now bootable. Some tools may display a completion message or progress bar. You can also check if the USB drive contains the necessary files and folders typically associated with a bootable device.
- Label and store the bootable USB drive: To avoid confusion, label the bootable USB drive with the name of the operating system or its purpose. Store it in a safe and easily accessible location, as you will need it in subsequent steps of the migration process.
Creating a bootable USB drive is essential for initiating the installation process on the SSD. It allows you to transfer the operating system to the new drive and make it ready for use as the boot drive. With a bootable USB drive in hand, you’re now ready to proceed to the next step – installing the SSD into your computer.
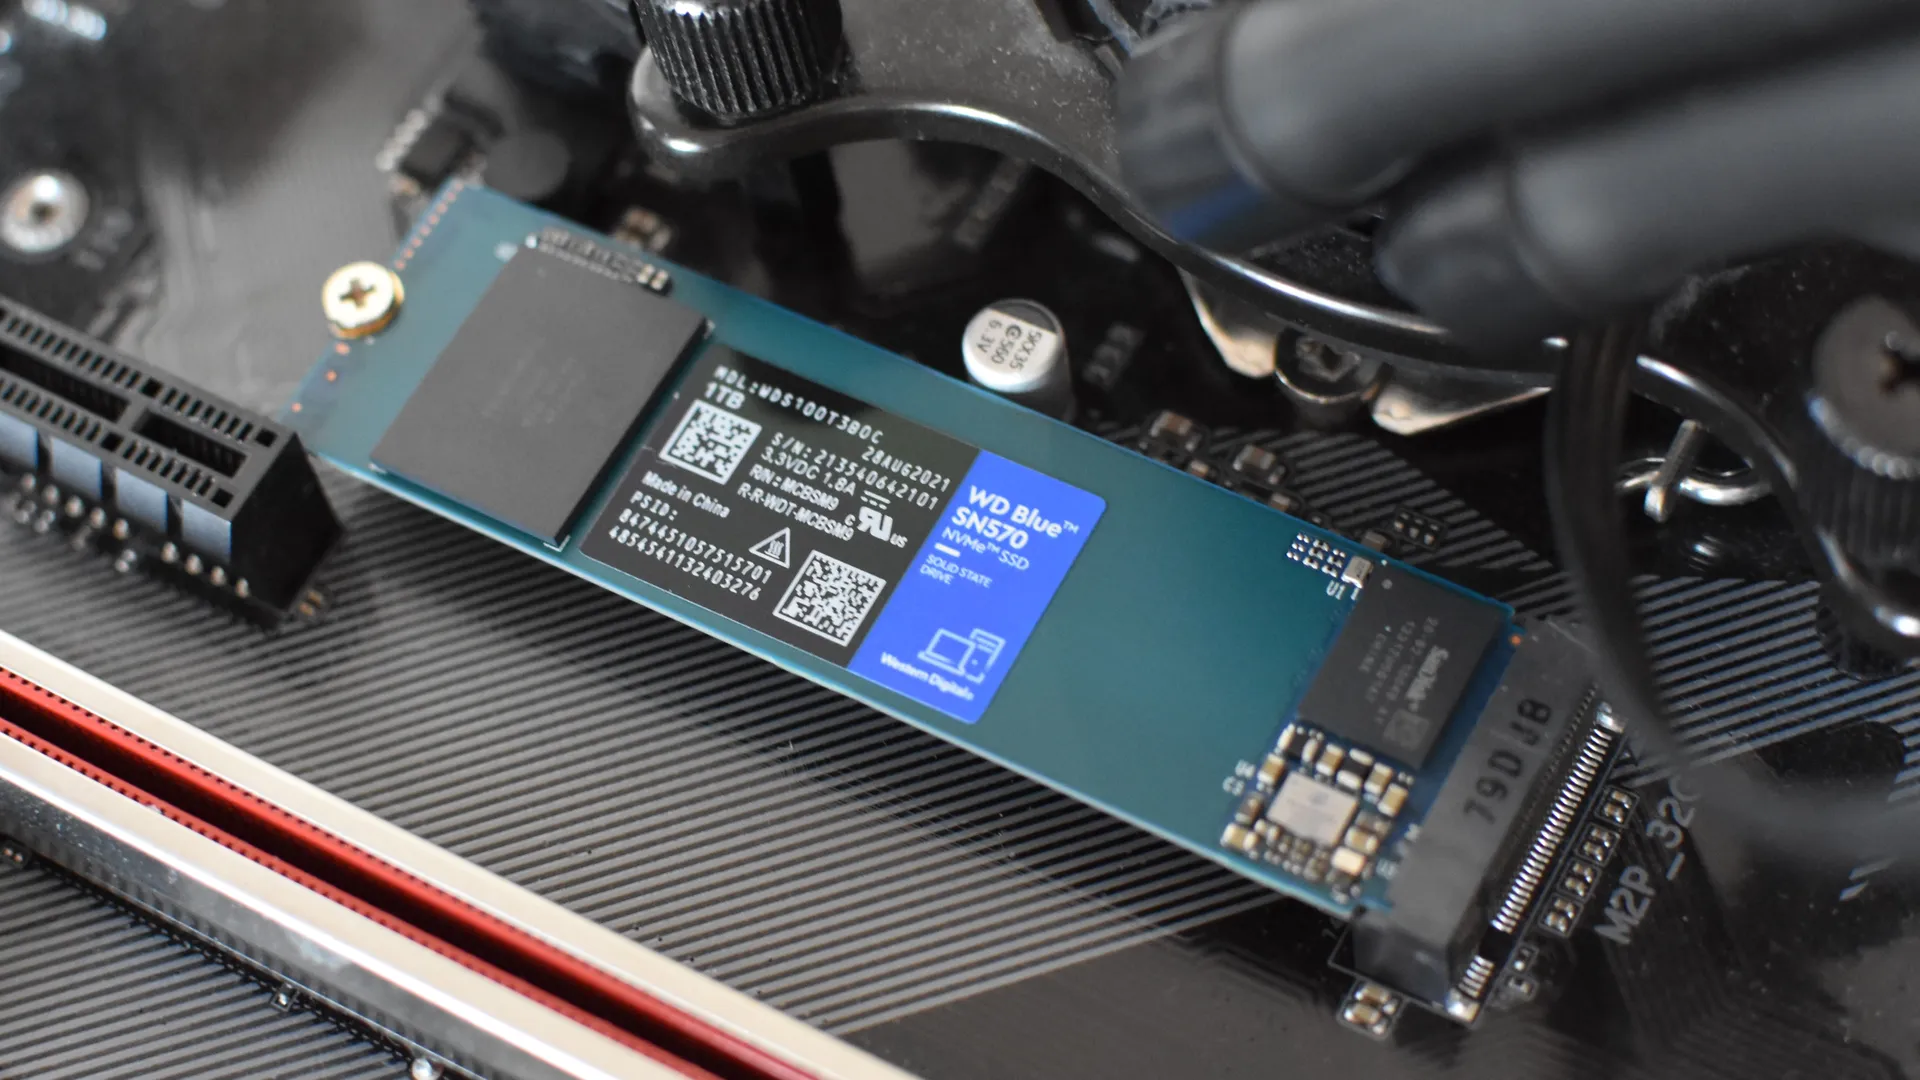
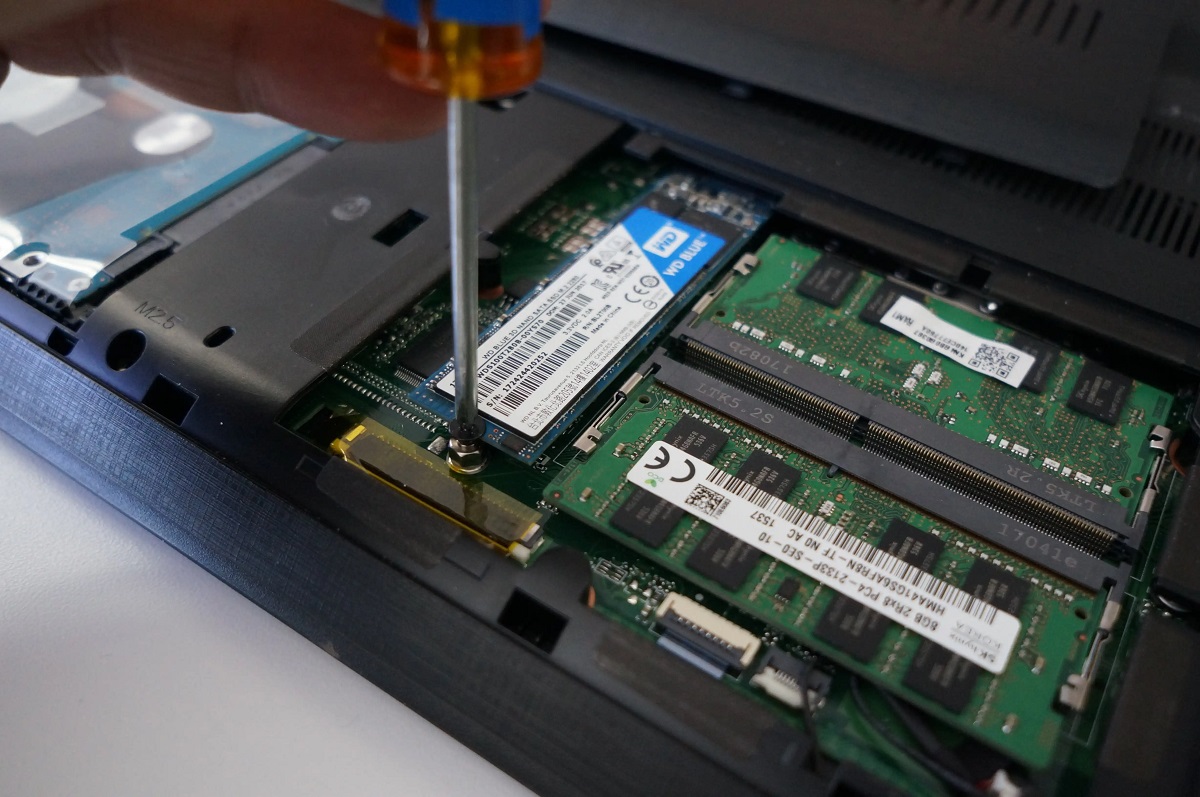
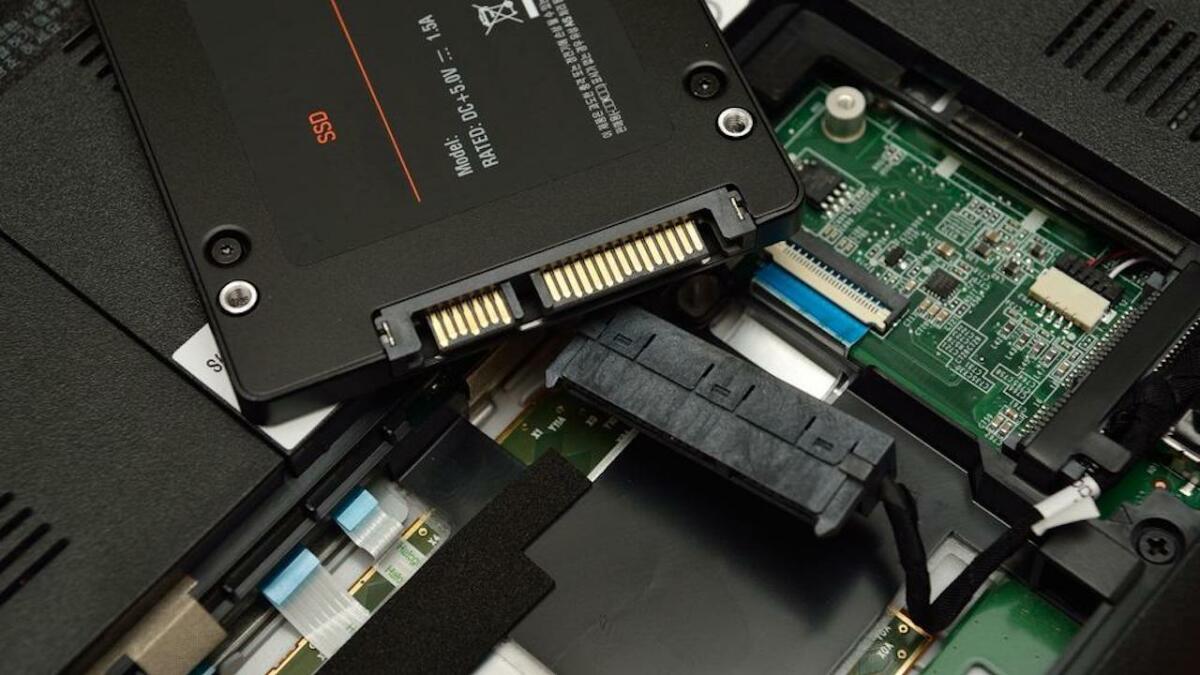
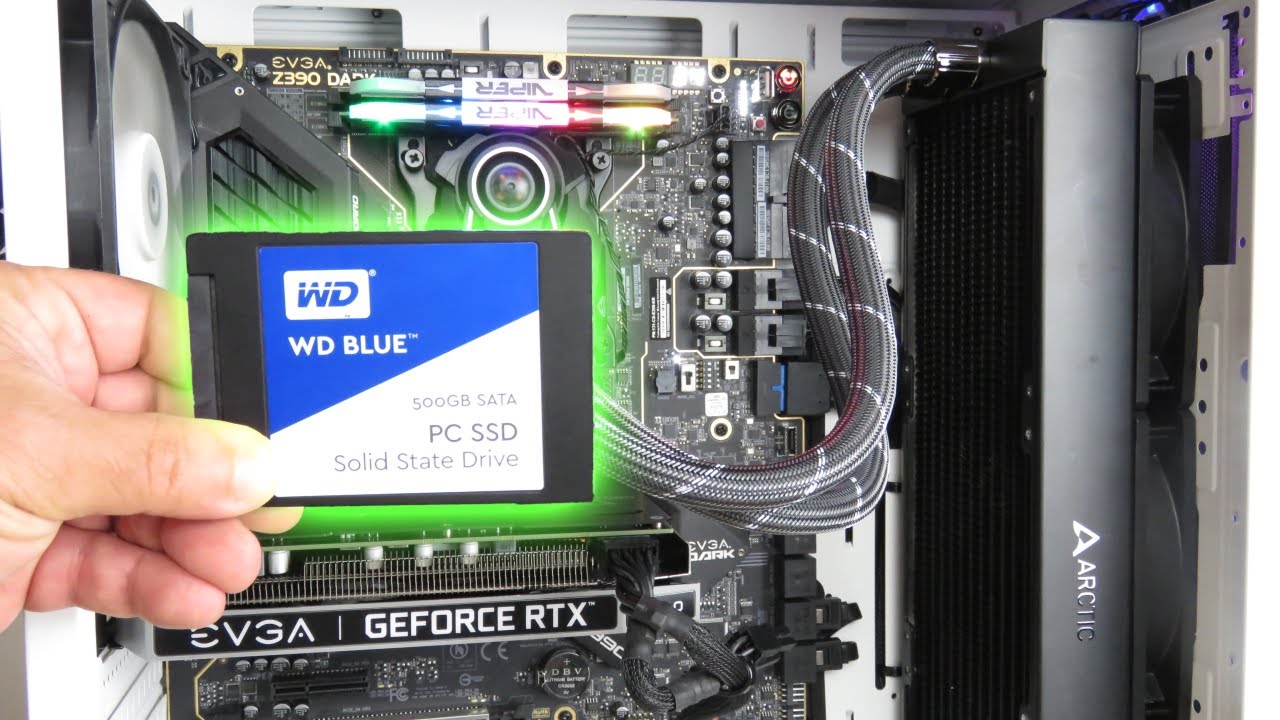
Installing the SSD into your computer
Now that you have created a bootable USB drive, it’s time to physically install the Solid State Drive (SSD) into your computer. Follow these steps to properly install the SSD:
- Turn off your computer: Shut down your computer and ensure that it is completely powered off. Unplug the power cable and any other connected cables.
- Open the computer case: Carefully remove the screws or clips securing the computer case. Gently slide or lift off the case panel to expose the internal components. Take precautions to avoid static electricity discharge by grounding yourself before touching any components.
- Identify the storage bay: Locate the storage bay in your computer where the HDD is currently installed. It is usually a metal bracket or tray designed to securely hold the storage device.
- Remove the HDD (optional): If you have enough available storage bays, you may choose to remove the existing HDD from the storage bay. This step is optional, and you can keep the HDD as an additional storage device if desired.
- Install the SSD: Carefully insert the SSD into the vacant storage bay. Align the SATA connectors on the SSD with the SATA data and power cables inside the bay. Apply gentle pressure until the SSD is securely seated in the bay.
- Secure the SSD: Use screws or clips to secure the SSD in place. Make sure it is tightly fastened to prevent any movement or damage during use. Follow any specific instructions or guidelines provided by your computer manufacturer.
- Connect the cables: Connect the SATA data and power cables to the SSD. These cables are already connected to the SATA ports on the motherboard. Ensure a secure and snug connection.
- Close the computer case: Replace the computer case panel and secure it back in place with screws or clips. Ensure that all connections are tidy and organized inside the case.
- Reconnect the cables and power on: Reconnect the power cable and any other cables you had previously disconnected. Double-check that all connections are secure. Power on your computer to confirm that the SSD is recognized.
By following these steps, you have successfully physically installed the SSD into your computer. The next step is to clone your HDD to the SSD, ensuring that all your data and operating system are transferred seamlessly. We will cover the cloning process in the next section.
Cloning your HDD to SSD
With the Solid State Drive (SSD) physically installed in your computer, it’s time to clone your existing Hard Disk Drive (HDD) to the SSD. This process allows you to transfer all your data, including the operating system, from the HDD to the SSD seamlessly. Follow these steps to clone your HDD to the SSD:
- Prepare cloning software: Install a reliable disk cloning software, such as Clonezilla, Macrium Reflect, or EaseUS Todo Backup, on your computer. Ensure that the cloning software supports the HDD and SSD interfaces for successful cloning.
- Launch the cloning software: Open the disk cloning software and select the option to create a disk clone or disk image. Choose the source drive (HDD) and the destination drive (SSD) in the cloning software interface.
- Configure cloning settings: Configure any settings or options provided by the cloning software. This might include selecting specific partitions to clone, adjusting partition sizes on the destination drive, or choosing a cloning method (sector-by-sector or intelligent cloning).
- Start the cloning process: Initiate the cloning process by clicking the “Start” or “Clone” button in the cloning software. The software will begin copying all the data from the HDD to the SSD. The time taken depends on the amount of data being cloned.
- Verify the cloned data: Once the cloning process is complete, carefully inspect the cloned data on the SSD. Compare the structure, files, and folders to ensure that the clone is an accurate representation of the HDD. Verify that the operating system and all your personal data are present.
- Change boot order (optional): If the cloning software did not automatically change the boot order, you may need to adjust the boot order in the BIOS settings. Set the SSD as the primary boot device to ensure that the computer boots from the SSD instead of the HDD.
- Test the cloned SSD: Restart your computer and check if it boots up from the SSD successfully. Ensure that all your applications and files are accessible and that everything functions as expected.
- Format the HDD (optional): If you no longer need the HDD as a boot drive and have successfully migrated all your data to the SSD, you have the option to format the HDD. However, ensure that you have a backup of any important data on the HDD before formatting.
By cloning your HDD to the SSD, you have successfully transferred all your data, including the operating system, while preserving your files and settings. The SSD should now serve as the primary boot drive, providing faster performance and improved overall system responsiveness. The next step is to change the boot order in the BIOS settings to ensure the computer boots from the SSD seamlessly.
Changing the boot order in BIOS
After cloning your Hard Disk Drive (HDD) to the Solid State Drive (SSD) and physically installing the SSD in your computer, you need to change the boot order in the Basic Input/Output System (BIOS) settings. This ensures that your computer boots from the SSD and takes full advantage of the faster boot times and improved performance. Follow these steps to change the boot order in BIOS:
- Access the BIOS: Restart your computer and, during the startup process, press the appropriate key to access the BIOS settings. This key might vary depending on your computer’s manufacturer, but common keys include Esc, F2, F10, or Delete. Refer to your computer’s user manual to identify the correct key.
- Navigate to the boot options: Once you’re in the BIOS settings, navigate to the section that contains boot options. The location and naming of this section may differ depending on your computer’s BIOS interface, but it is usually labeled as “Boot” or a similar term.
- Change the boot order sequence: Locate the boot order sequence or boot priority list within the boot options section. Modify the order to prioritize the SSD over the HDD. Move the SSD to the top of the list or set it as the first boot device.
- Save and exit: Save the changes you made to the boot order sequence. Look for an option labeled “Save and Exit,” or a similar term, in the BIOS settings. Select this option to save the changes and exit the BIOS interface.
- Restart your computer: Restart your computer for the changes to take effect. The computer should now boot from the SSD as the primary boot drive, resulting in faster startup times and improved overall system performance.
- Verify the boot sequence: After the computer restarts, pay attention to the boot process. Ensure that the SSD is being recognized as the boot drive. You may see an indication on the screen or in the system information that confirms the SSD as the primary boot device.
By changing the boot order in BIOS, you have ensured that your computer boots from the Solid State Drive (SSD) instead of the Hard Disk Drive (HDD). This optimization ensures that you fully benefit from the improved speed and performance of the SSD as your primary boot device. Now, your computer is ready to boot from the SSD, providing a faster and more responsive computing experience. It’s time to proceed to the next step – booting from the SSD.
Booting from the SSD
With the boot order correctly adjusted in the BIOS settings, your computer is now ready to boot from the Solid State Drive (SSD), unleashing its full potential. Follow these steps to ensure a seamless booting process from the SSD:
- Restart your computer: If your computer is still running, restart it to initiate the booting process. Make sure to save any unsaved work before restarting.
- Monitor the startup sequence: During the startup process, pay attention to the screen for any prompts or messages related to the boot process. Some systems may display a logo or provide brief details about the devices being detected.
- Observe the boot time: As your computer starts up, take note of the boot time. It should be noticeably faster compared to when you were using the Hard Disk Drive (HDD) as the boot drive. The SSD’s improved read and write speeds contribute to a faster boot experience.
- Confirmation of successful boot: Once your computer completes the booting process, log in to your operating system as usual. Verify that all your applications and files are accessible and that the system runs smoothly.
- Enjoy the benefits of SSD boot: With your computer now booting from the SSD, you can enjoy significant improvements in speed, responsiveness, and overall system performance. Applications will launch faster, file transfers will be quicker, and you’ll experience reduced load times throughout your computing sessions.
By successfully booting from the SSD, you have effectively harnessed the advantages of fast boot times and superior performance. The transition from the Hard Disk Drive (HDD) to the SSD is complete, and you are now experiencing the remarkable benefits it offers. Congratulations on a successful migration process!
Finalizing the transition
Now that you have successfully completed the process of switching from a Hard Disk Drive (HDD) to a Solid State Drive (SSD) for your boot drive, there are a few final steps to ensure the transition is complete. Follow these steps to finalize the migration:
- Verify data integrity: Take a final look at your data on the SSD and ensure that everything has been transferred successfully. Double-check that all your files, folders, and applications are intact and accessible on the new SSD.
- Format the HDD (optional): If you have chosen to keep the HDD as an additional storage drive, you may want to format it to remove any remnants of the old operating system and data. However, before formatting, ensure that you have backed up any necessary data from the HDD.
- Update SSD firmware (optional): Check if there are any firmware updates available for your SSD. Visit the manufacturer’s website and follow their instructions to update the SSD firmware. Firmware updates can improve SSD performance and address any known issues or bugs.
- Optimize SSD settings (optional): Explore your operating system’s settings or third-party software to optimize the performance of your SSD. Adjust settings such as TRIM support, power management, and disk caching for optimal SSD performance based on your specific requirements.
- Regularly perform maintenance: Keep your SSD in top condition by periodically performing maintenance tasks. This may include running disk cleanup tools, optimizing your operating system, and regularly checking for updates to the SSD drivers or software.
- Enjoy the benefits: With the transition to an SSD boot drive complete, take a moment to appreciate the significant improvements in speed, responsiveness, and overall system performance. Enjoy faster boot times, swift application loading, and a more enjoyable computing experience.
By finalizing the transition, you have successfully completed the process of switching from an HDD to an SSD boot drive. Your computer is now equipped with the latest technology that significantly enhances performance and efficiency. Embrace the benefits of the SSD and enjoy a faster, more responsive computing experience.
Conclusion
Congratulations on successfully transitioning from a traditional Hard Disk Drive (HDD) to a cutting-edge Solid State Drive (SSD) for your boot drive. Throughout this guide, we have explored the reasons to switch, the process of choosing the right SSD, backing up your data, creating a bootable USB drive, installing the SSD, cloning your HDD, changing the boot order in BIOS, and finally booting from the SSD.
By making this transition, you have unlocked a multitude of benefits that come with SSD technology. You can now experience faster boot times, improved performance, enhanced durability, and increased energy efficiency. The SSD’s ability to access data quickly and efficiently will provide you with a smoother and more responsive computing experience.
Remember to keep your SSD optimized by performing regular maintenance and keeping the firmware up to date. This will ensure that you continue to enjoy the full performance and longevity of your SSD.
We hope this guide has been informative and helpful in guiding you through the process of switching from an HDD to an SSD boot drive. Whether you’re a casual user seeking a more responsive system or a power user in need of lightning-fast performance, upgrading to an SSD is a worthwhile investment.
Thank you for taking the time to follow this guide, and we wish you many enjoyable and productive hours of computing with your new SSD boot drive!