Introduction
Welcome to the world of solid-state drives (SSDs)! If you’re looking to boost your computer’s performance and storage capabilities, you’ve come to the right place. In this article, we’ll guide you through the process of installing an M.2 2280 SSD hard drive, one of the latest advancements in storage technology.
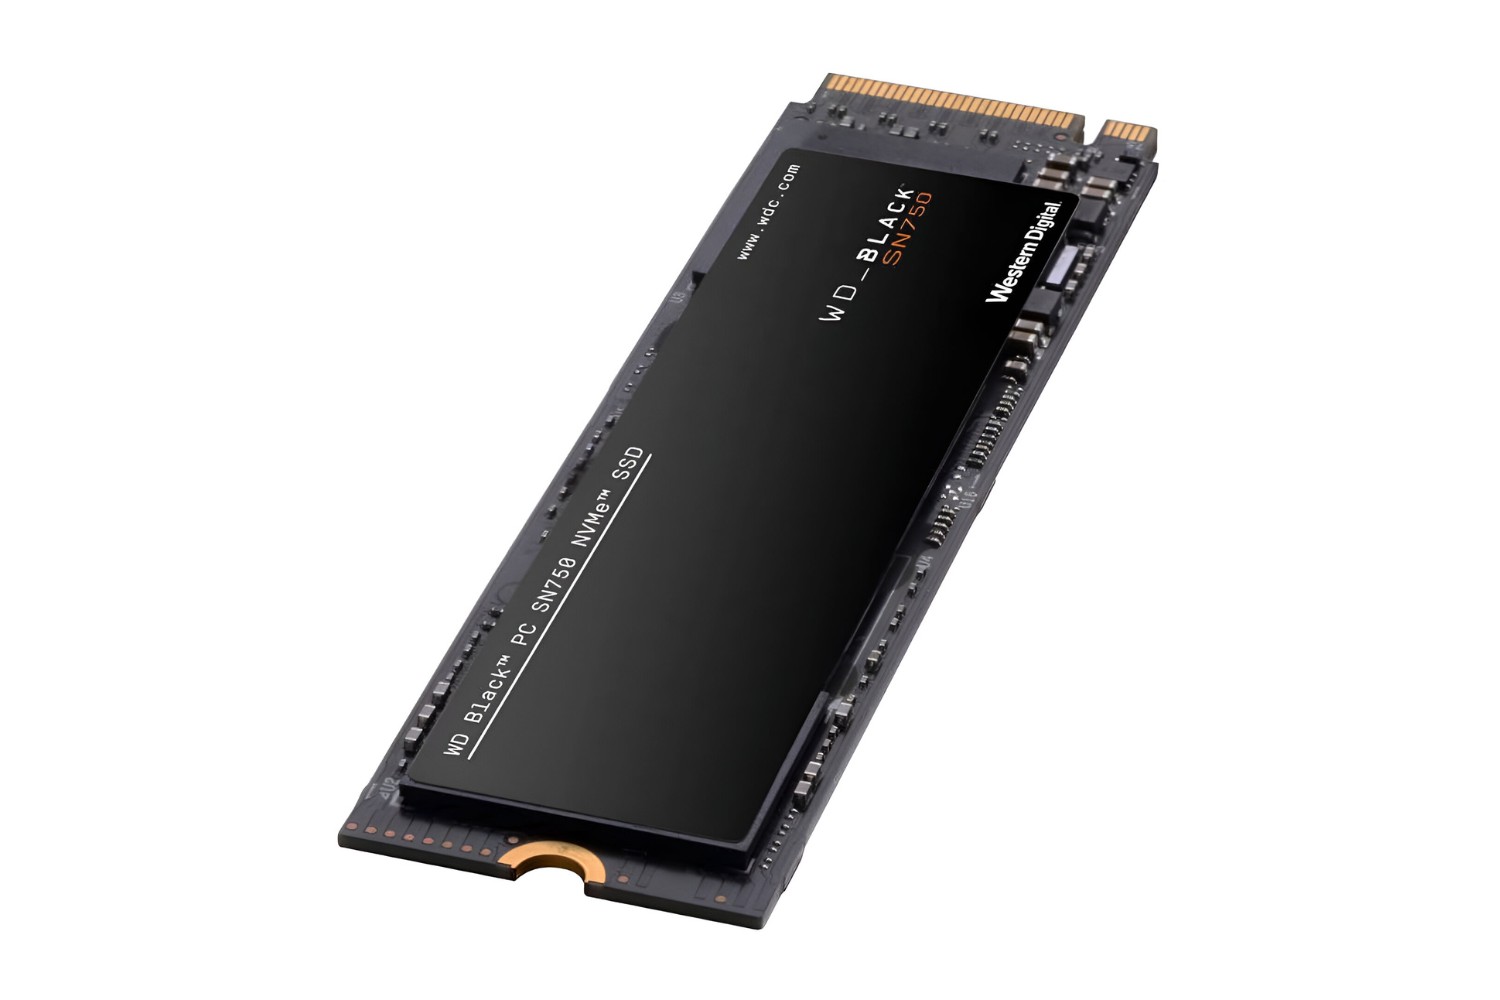
Technology continues to evolve at a rapid pace, and traditional hard disk drives (HDDs) are gradually being replaced by SSDs. What makes an SSD so special? Unlike HDDs, which rely on mechanical moving parts to read and write data, SSDs use flash memory chips, resulting in faster data transfer rates, improved durability, and enhanced energy efficiency. With an M.2 2280 SSD, you can expect lightning-fast boot times, instantaneous file access, and seamless multitasking.
Upgrading to an SSD not only enhances your computer’s performance but also breathes new life into older systems that may be showing signs of sluggishness. Whether you’re a casual user, a gamer, or a professional in need of faster data processing, installing an M.2 2280 SSD guarantees a significant performance boost.
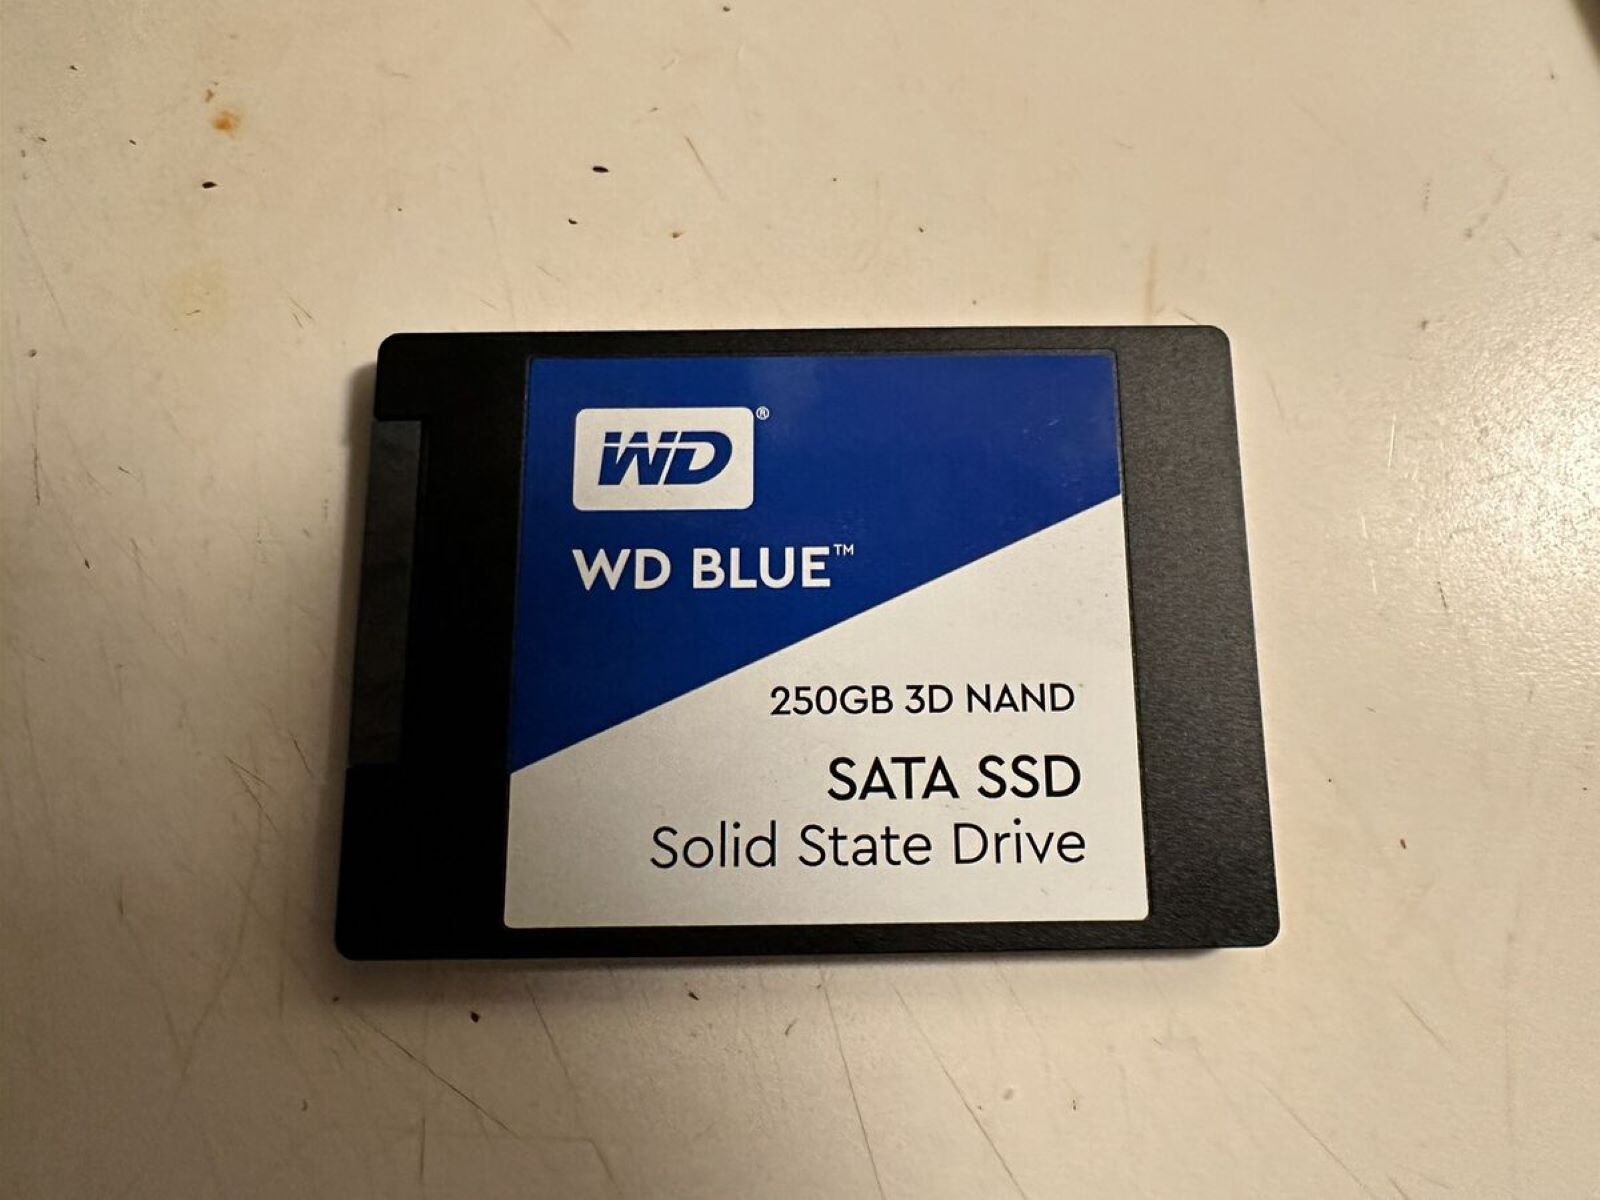
Before diving into the installation process, it’s essential to ensure that your computer is compatible with an M.2 2280 SSD. These drives come in different sizes and interfaces, so double-check your computer’s specifications to ensure a proper fit. Don’t worry if your computer doesn’t support an M.2 2280 SSD. There are other SSD types available, such as SATA SSDs, that can also deliver impressive performance improvements.
Now that you’re familiar with the benefits of an SSD and have confirmed your computer’s compatibility, it’s time to gather the necessary tools for the installation. To complete the process smoothly, you’ll need a few essential tools that we’ll cover in the next section. So, let’s gather our tools and get ready to unleash the power of an M.2 2280 SSD!
What is an SSD Hard Drive?
An SSD hard drive, also known as a solid-state drive, is a storage device that uses solid-state flash memory to store data. Unlike traditional hard disk drives (HDDs) that use spinning disks and mechanical components, SSDs have no moving parts. Instead, they rely on NAND flash memory chips to store and retrieve data, resulting in faster access times and improved performance.
SSDs have gained popularity in recent years due to their numerous advantages over HDDs. One of the key benefits of an SSD is its speed. Because SSDs don’t have to wait for a spinning disk to reach the desired data location, they can access files almost instantaneously. This significantly reduces boot times, application loading times, and file transfer speeds.
Another advantage of SSDs is their durability. Since there are no moving parts to wear out, SSDs are more resistant to physical shocks and vibrations. This makes them ideal for laptops and portable devices, as they can withstand the rigors of everyday use and transportation without compromising data integrity.
Energy efficiency is yet another benefit of SSDs. Compared to HDDs, which require more power to spin the disks and move the mechanical components, SSDs consume significantly less energy. This can lead to longer battery life in laptops and lower electricity bills for desktop computers.
SSDs also have a smaller physical footprint compared to HDDs. With advancements in technology, SSDs can now be as thin as a credit card and as small as a postage stamp. This makes them perfect for ultra-thin laptops, compact desktops, and even some tablets and smartphones.
Overall, SSD hard drives offer improved performance, increased durability, energy efficiency, and a smaller form factor compared to traditional HDDs. Whether you’re a casual user, a gamer, or a professional, upgrading to an SSD can dramatically enhance your computing experience. So, if you’re ready to unlock the true potential of your computer, it’s time to consider installing an SSD hard drive.
Benefits of an SSD Hard Drive
Upgrading to an SSD hard drive can revolutionize your computing experience. With their lightning-fast speeds and numerous advantages over traditional hard disk drives (HDDs), SSDs have become the preferred choice for many users. Let’s explore some of the key benefits of an SSD.
1. Increased Speed: One of the most significant advantages of an SSD is its speed. Unlike HDDs, which rely on spinning disks and mechanical parts to read and write data, SSDs use flash memory chips, resulting in significantly faster data transfer rates. This means that your computer boots up in seconds, applications launch almost instantly, and files transfer quickly and efficiently.
2. Improved Performance: The speed of an SSD translates into overall improved performance for your computer. No longer will you have to wait for programs to load or files to open. With an SSD, multitasking becomes seamless, and you can effortlessly switch between applications without any lag or delay.
3. Enhanced Durability: SSDs have no moving parts, which makes them more resistant to physical shock and vibration compared to HDDs. This durability factor is especially important for laptops and portable devices that are prone to accidental drops or bumps. With an SSD, you can have peace of mind knowing that your data is safe, even in rugged environments.
4. Energy Efficiency: SSDs are more energy-efficient than HDDs since they don’t have to power spinning disks or move mechanical parts. As a result, SSDs consume less power and generate less heat. This not only extends the battery life of laptops but also reduces the overall energy consumption of desktop computers.
5. Noiseless Operation: Without any moving parts, SSDs operate silently. This is a stark contrast to the humming sound produced by HDDs when they’re reading or writing data. With an SSD, you can enjoy a quiet computing experience, allowing you to focus on your tasks without any distracting background noise.
6. Compact Form Factor: SSDs are available in various form factors, including the smaller M.2 2280 SSDs. This compact size makes them ideal for modern devices like ultrabooks and mini PCs, where space is limited. The smaller form factor also means that system builders have more flexibility in designing sleek and portable computers.
Upgrading to an SSD hard drive is a worthwhile investment that can significantly improve your computer’s performance and user experience. With their speed, durability, energy efficiency, and compact form factor, SSDs are the future of storage technology. So, if you’re looking to take your computer’s performance to the next level, it’s time to make the switch to an SSD hard drive.
Compatibility: Is Your Computer Ready for an M.2 2280 SSD?
Before diving into installing an M.2 2280 SSD, it’s crucial to ensure that your computer is compatible with this type of storage device. M.2 2280 SSDs come in different sizes and interface types, so it’s essential to double-check your computer’s specifications to determine its compatibility.
The first thing to consider is whether your motherboard has an M.2 slot that supports the M.2 2280 form factor. You can find this information in your motherboard’s user manual or by visiting the manufacturer’s website. The motherboard’s specifications should clearly indicate whether it has an M.2 slot and which form factors it supports.
Next, check whether your computer supports the NVMe (Non-Volatile Memory Express) interface. NVMe is a modern storage protocol designed explicitly for SSDs, offering faster data transfer speeds compared to traditional SATA connections. Most modern motherboards support NVMe, but it’s always worth verifying to ensure compatibility.
If your computer doesn’t have an M.2 slot or doesn’t support NVMe, don’t worry. There are other options available. SATA SSDs, for example, use the standard SATA interface and can still provide a significant performance upgrade compared to traditional hard disk drives. A SATA SSD can be easily connected to your computer using the SATA data and power cables already present in most desktop computers.
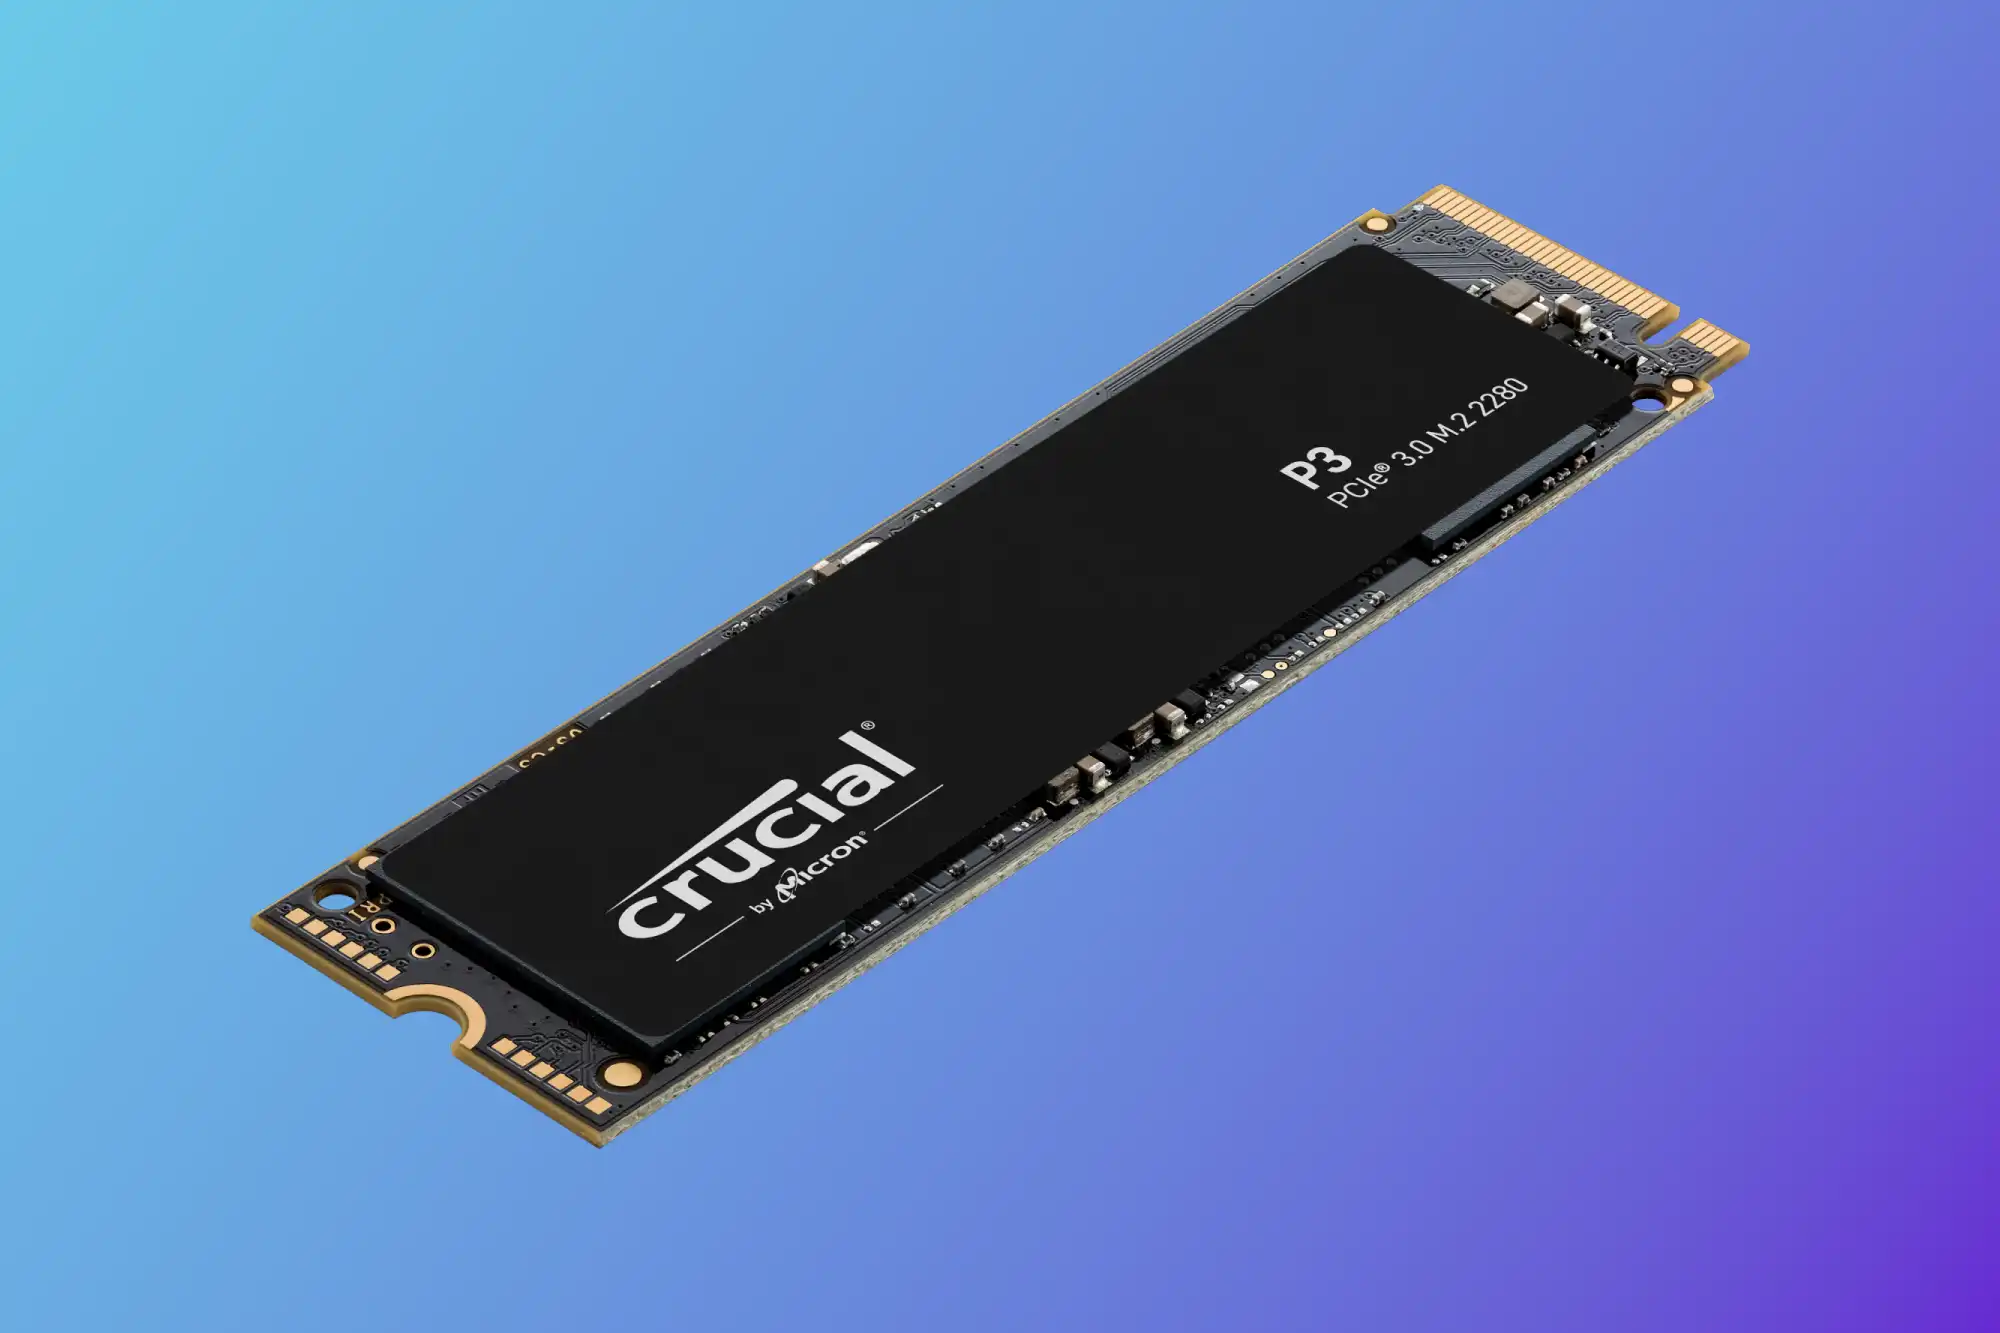
Another factor to consider is the length of the M.2 2280 SSD. The “2280” refers to the dimensions of the drive, where 22 represents the width in millimeters, and 80 represents the length. While most modern motherboards accommodate the 2280 length, it’s essential to check your motherboard’s specification to ensure compatibility, especially if you’re upgrading an older system.
Additionally, make sure to check whether your computer’s BIOS or UEFI firmware supports booting from an M.2 SSD. This is crucial if you want to install your operating system on the M.2 2280 SSD to benefit from fast boot times. Most modern systems have the necessary support, but it’s worth verifying to avoid any compatibility issues.
Once you’ve confirmed that your computer is compatible with an M.2 2280 SSD, you’re ready to proceed with the installation process. In the next section, we’ll discuss the tools you’ll need to successfully install an M.2 2280 SSD, ensuring a smooth and trouble-free upgrade for your computer.
Tools Needed for Installation
Before you begin installing your M.2 2280 SSD hard drive, it’s important to gather the necessary tools to ensure a successful upgrade. Fortunately, the tools required for this installation are minimal and readily available. Here are the essential tools you’ll need:
1. Screwdriver: Depending on your computer’s design, you may need a small Phillips or Torx screwdriver to remove the cover or secure the SSD in place. Check your computer’s user manual or the manufacturer’s website to determine the type and size of screws required. Having the appropriate screwdriver will make the installation process more convenient and prevent any damage to your computer.
2. Antistatic Wrist Strap: Electrostatic discharge (ESD) can cause damage to sensitive electronic components, including your M.2 2280 SSD. To prevent this, it is recommended to use an antistatic wrist strap. An antistatic wrist strap will ground you to prevent static electricity from building up on your body and potentially damaging the SSD or other components. If you don’t have an antistatic wrist strap, make sure to touch a grounded metal object to discharge any static electricity before handling the SSD.
3. Cleaning Cloth: Before installing your M.2 2280 SSD, it’s a good idea to clean the area where it will be inserted. Dust and debris can affect the performance and longevity of the SSD, so using a soft, lint-free cloth to wipe down the area will help ensure a clean installation.
4. Documentation: While not a physical tool, having the documentation for your motherboard and SSD handy is essential. This includes the motherboard’s user manual and any specific installation instructions provided by the SSD manufacturer. These documents will provide guidance on locating the M.2 slot, confirming compatibility, and ensuring a proper installation.
With these tools in hand, you’re ready to move on to the next step: actually installing the M.2 2280 SSD. Having the necessary tools ensures that you have a smooth and hassle-free installation experience, making the upgrade process more convenient and efficient.
In the following section, we’ll guide you through the step-by-step process of installing your M.2 2280 SSD hard drive, helping you unleash its full potential and transforming your computer’s performance.
Step-by-Step Guide: Installing an M.2 2280 SSD Hard Drive
Now that you have gathered the necessary tools, it’s time to dive into the installation process of your M.2 2280 SSD hard drive. Follow these step-by-step instructions to ensure a successful installation:
Step 1: Prepare Your Workspace
Before you begin, ensure you have a clean and well-lit workspace. Power off your computer and unplug the power cable. This will prevent any accidental electrical discharge or damage to your components.
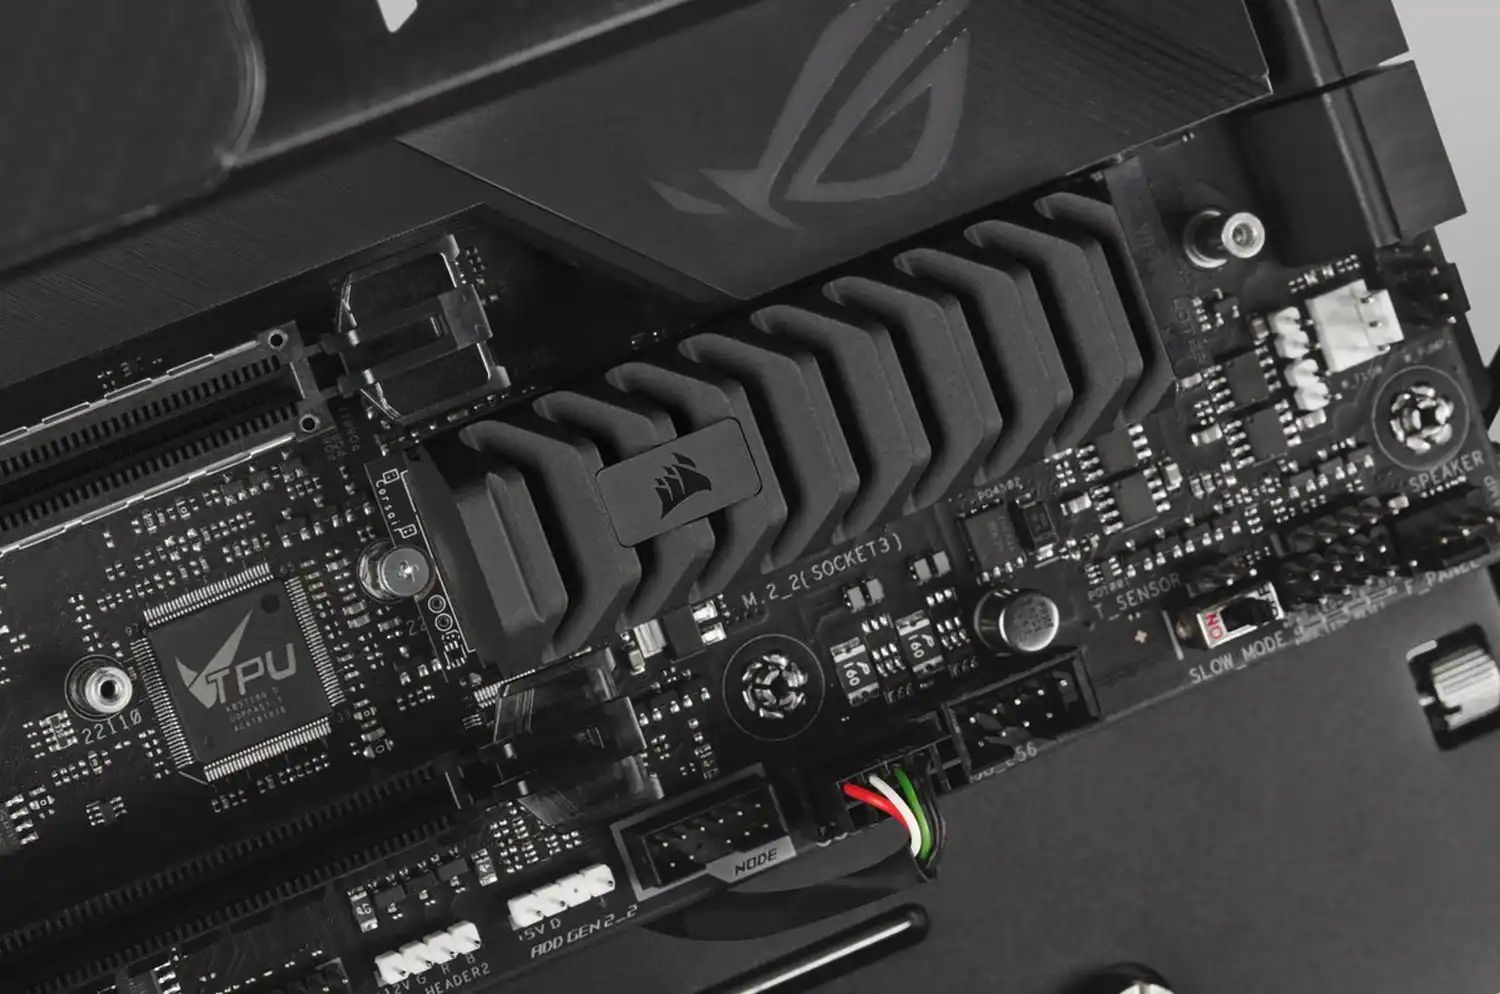
Step 2: Locate the M.2 Slot
Consult your motherboard’s user manual to locate the M.2 slot. It is typically found near the center of the motherboard, labeled “M.2,” and may have a small mounting screw or standoff nearby. Take note of the type and length of the M.2 slot supported by your motherboard.
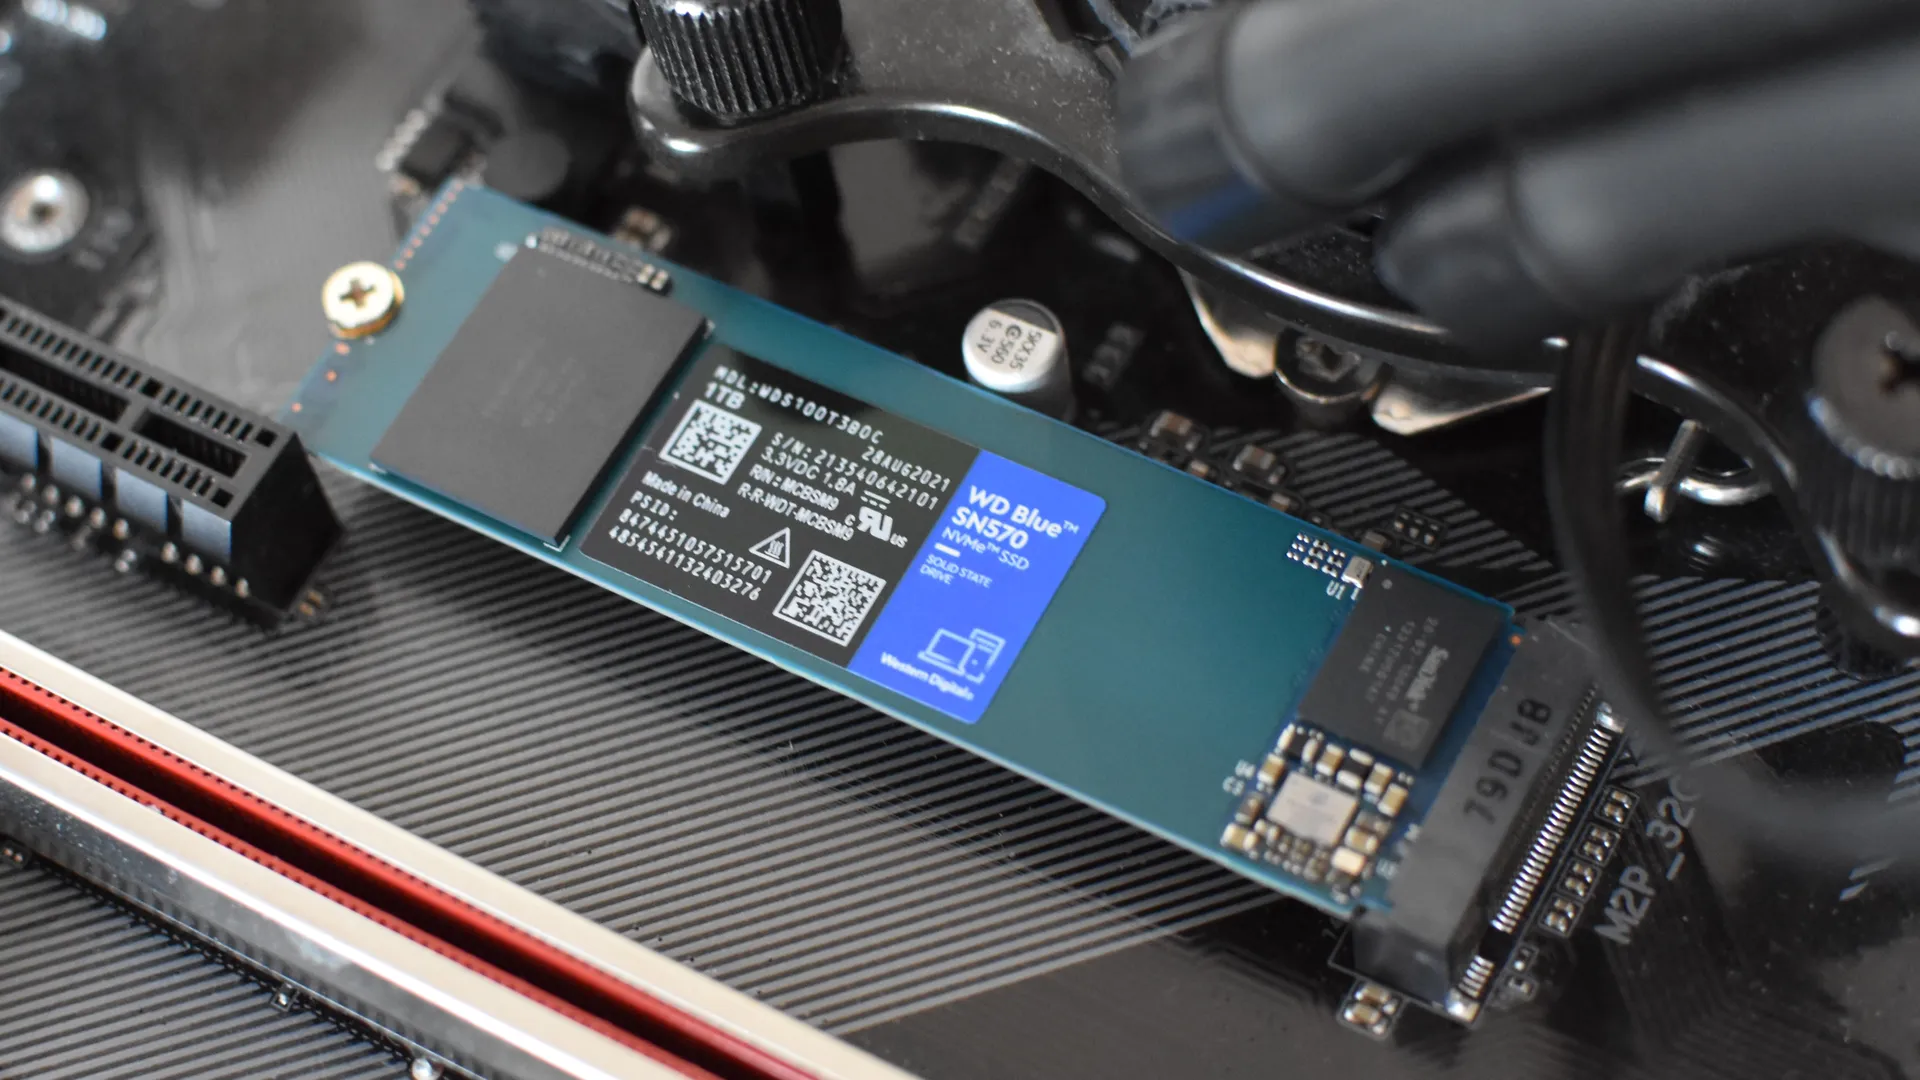
Step 3: Insert the M.2 2280 SSD
Hold the M.2 2280 SSD by the edges, aligning the notches on the SSD with the key on the M.2 slot. Gently insert the SSD at a slight angle, making sure it’s fully seated in the slot. Apply gentle pressure until the SSD is in place, and then press it down until it lies flat against the motherboard.
Step 4: Secure the M.2 SSD
If there is a mounting screw or standoff near the M.2 slot, use your screwdriver to secure the SSD in place. Tighten the screw until it’s snug, but be careful not to overtighten, as this can damage the SSD or motherboard. If your motherboard does not have a mounting screw or standoff, don’t worry as the SSD is still secured in the slot.
Step 5: Reassemble Your Computer
Replace any covers, panels, or components that were removed earlier. Make sure everything is securely in place before moving forward.
Step 6: Power On Your Computer
Reconnect the power cable, and then power on your computer. The BIOS or UEFI firmware should automatically detect the newly installed SSD. If not, you may need to access the BIOS or UEFI settings to enable the M.2 slot or configure the boot order, depending on your specific motherboard.
Step 7: Verify the Installation
Once your computer has booted up, go to the operating system and verify that the SSD is recognized and available in your system. You can do this by checking the drive listing in the Disk Management utility on Windows or the Disk Utility on macOS.
Congratulations! You have successfully installed an M.2 2280 SSD hard drive. Get ready to experience faster boot times, improved application performance, and seamless multitasking.
In the next section, we’ll provide guidance on transferring data from your old hard drive to the newly installed SSD, so you can fully utilize its storage capacity and enjoy the benefits of your upgrade.
Verifying the Installation
After installing your M.2 2280 SSD hard drive, it’s important to verify that the installation was successful and that your computer recognizes the SSD. Follow these steps to ensure a proper verification:
Step 1: Check BIOS or UEFI Settings
Restart your computer and access the BIOS or UEFI settings. Look for the Storage or Boot section, where you should find a list of detected drives. Verify that the M.2 2280 SSD is listed and properly identified by its model or capacity. This confirms that the SSD is recognized at the hardware level.
Step 2: Check Operating System Recognition
Boot into your operating system and check if the M.2 2280 SSD is recognized. On Windows, you can open Disk Management (right-click on the Start button and select Disk Management) to see if the SSD is listed as a storage device with the correct capacity. On macOS, open the Disk Utility (found in the Utilities folder) to view and verify the SSD’s presence.
Step 3: Ensure Proper Functionality
Once you’ve confirmed that the SSD is recognized by both the BIOS/UEFI and the operating system, it’s time to test its functionality. You can do this by performing various tasks, such as copying files to and from the SSD, opening applications, or running disk benchmarking tools. Pay attention to the speed and responsiveness of the SSD, as this will indicate its proper functioning.
Step 4: Monitor Temperature and Health
Monitoring the temperature and the health status of your SSD is crucial for its long-term reliability and performance. There are various third-party software applications available that can display the SSD’s temperature and provide detailed information about its health and lifespan. Regularly check these metrics to ensure that your SSD is operating within acceptable temperature ranges and maintaining good health.
Step 5: Data backup
Once you have verified the successful installation and functionality of your M.2 2280 SSD, it’s important to back up critical data regularly. Although SSDs are generally reliable, unexpected failures can still occur. By keeping backups of your important files, you can ensure that your data remains safe and accessible even in the event of an unforeseen circumstance.
By following these verification steps, you can have peace of mind knowing that your M.2 2280 SSD hard drive is functioning properly and providing the enhanced performance and storage capabilities you expect. In the next section, we’ll discuss how to transfer data from your old hard drive to the new SSD, allowing you to fully utilize its storage capacity and enjoy a seamless computing experience.
Transferring Data from the Old Hard Drive to the SSD
Now that you have installed your M.2 2280 SSD, you may want to transfer data from your old hard drive to take advantage of the improved performance and storage capacity. There are several methods you can use to transfer your data, depending on your specific needs and preferences. Here are a few options:
Option 1: Manual File Transfer
If you only need to transfer a few specific files or folders, you can do so manually. Simply locate the files or folders you want to transfer on your old hard drive, and copy them to the M.2 2280 SSD. This can be done using the file explorer on your operating system. It’s a straightforward method but can be time-consuming if you have a large amount of data to transfer.
Option 2: Disk Cloning
If you want to transfer your entire operating system, applications, and files to the SSD, disk cloning is a viable option. You’ll need a disk cloning software like Clonezilla or Macrium Reflect. These tools create an exact replica of your old hard drive’s contents on the new SSD. Once the cloning process is complete, you can boot directly from the SSD and continue using your computer seamlessly.
Option 3: Fresh Operating System Installation
If you prefer to start with a clean slate, you can perform a fresh installation of your operating system on the SSD. This option requires you to reinstall all your applications and then manually transfer your files from the old hard drive to the SSD. Although it may require more effort, this approach can help eliminate any unnecessary system clutter and optimize your computer’s performance.
Option 4: Cloud Storage or External Drive
If you have limited storage needs or want to keep your data accessible across multiple devices, you can use cloud storage services such as Dropbox, Google Drive, or Microsoft OneDrive. Simply upload your files to the cloud, and then download them to the SSD. Alternatively, you can transfer your data to an external hard drive or USB flash drive and then copy it over to the SSD.
Option 5: Data Migration Software
There are several data migration software tools available that can simplify the transfer process. These tools, such as EaseUS Todo PCTrans or Acronis True Image, offer a user-friendly interface and automate the data transfer, making it quick and efficient. Simply connect both the old hard drive and the SSD to your computer, select the files and applications you want to transfer, and let the software handle the rest.
Choose the method that best suits your needs and follow the appropriate steps to transfer your data from the old hard drive to your new M.2 2280 SSD. Once the transfer is complete, you can enjoy the improved performance, faster load times, and enhanced storage capabilities that an SSD offers.
In the final section, we’ll provide some concluding thoughts and insights on the benefits of upgrading to an M.2 2280 SSD and the impact it can have on your overall computing experience.
Final Thoughts
Congratulations on successfully installing your M.2 2280 SSD hard drive! By upgrading to an SSD, you have unlocked the full potential of your computer and taken a significant step toward a faster, more efficient computing experience.
An M.2 2280 SSD offers numerous benefits, including lightning-fast speeds, improved performance, enhanced durability, energy efficiency, and a compact form factor. With faster boot times, near-instantaneous file access, and seamless multitasking, tasks that used to take minutes will now be accomplished in seconds.
Whether you’re a casual user looking to speed up everyday computing tasks, a gamer seeking reduced load times and smoother gameplay, or a professional in need of faster data processing, the upgrade to an SSD will make a noticeable difference.
Remember to regularly back up your data to ensure its safety and consider monitoring the temperature and health of your SSD to maintain its longevity and performance over time. Taking these precautions will further enhance your computing experience and give you peace of mind.
It’s worth noting that while M.2 2280 SSDs are a popular choice for their high performance and small form factor, they may not be compatible with all computers. Ensure that your motherboard supports an M.2 2280 SSD before making a purchase. Alternatively, there are other SSD options available, such as SATA SSDs, that can still provide a significant performance upgrade.
Upgrading to an SSD is an investment that can transform your computer’s performance and user experience. Whether you’re breathing new life into an older system or enhancing the capabilities of a newer machine, the benefits of an SSD are undeniable.
So, if you’re ready to take your computing experience to the next level, go ahead and install that M.2 2280 SSD. Enjoy the speed, responsiveness, and increased storage capacity as you work, play, and create with newfound efficiency.
Thank you for following this guide, and we hope that it has been helpful in your journey to install and embrace the power of an M.2 2280 SSD hard drive!