Introduction
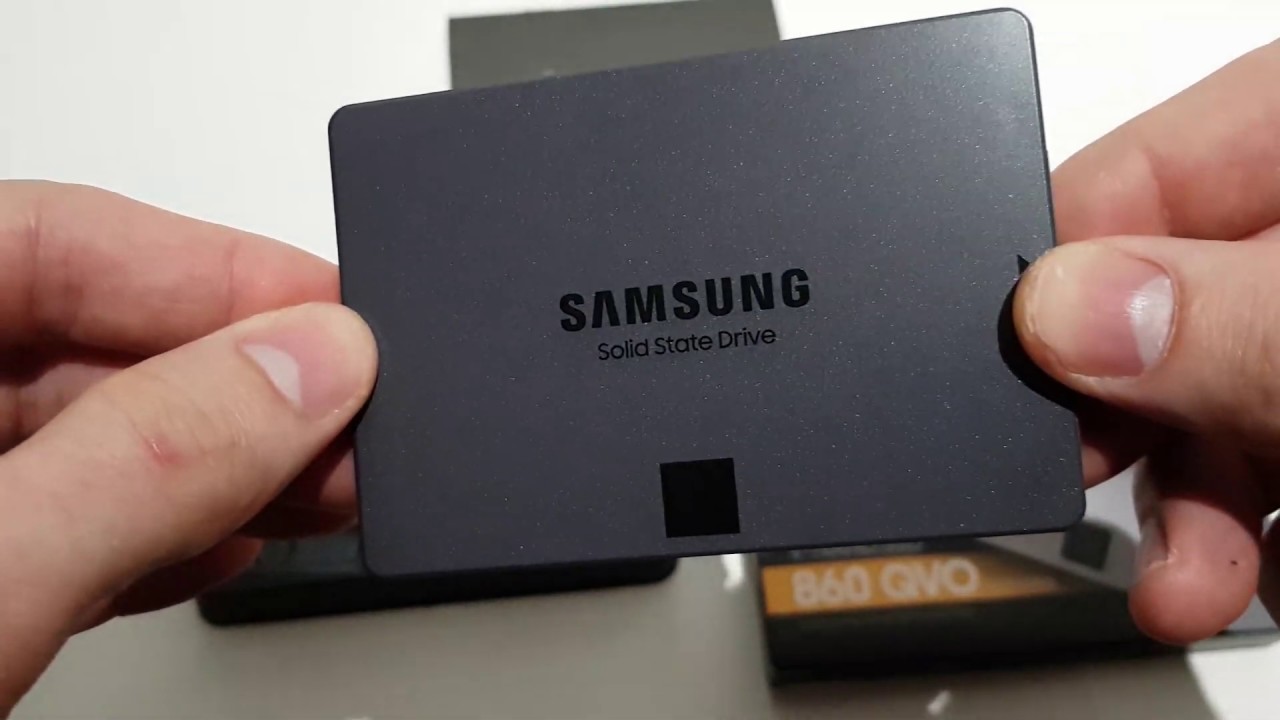
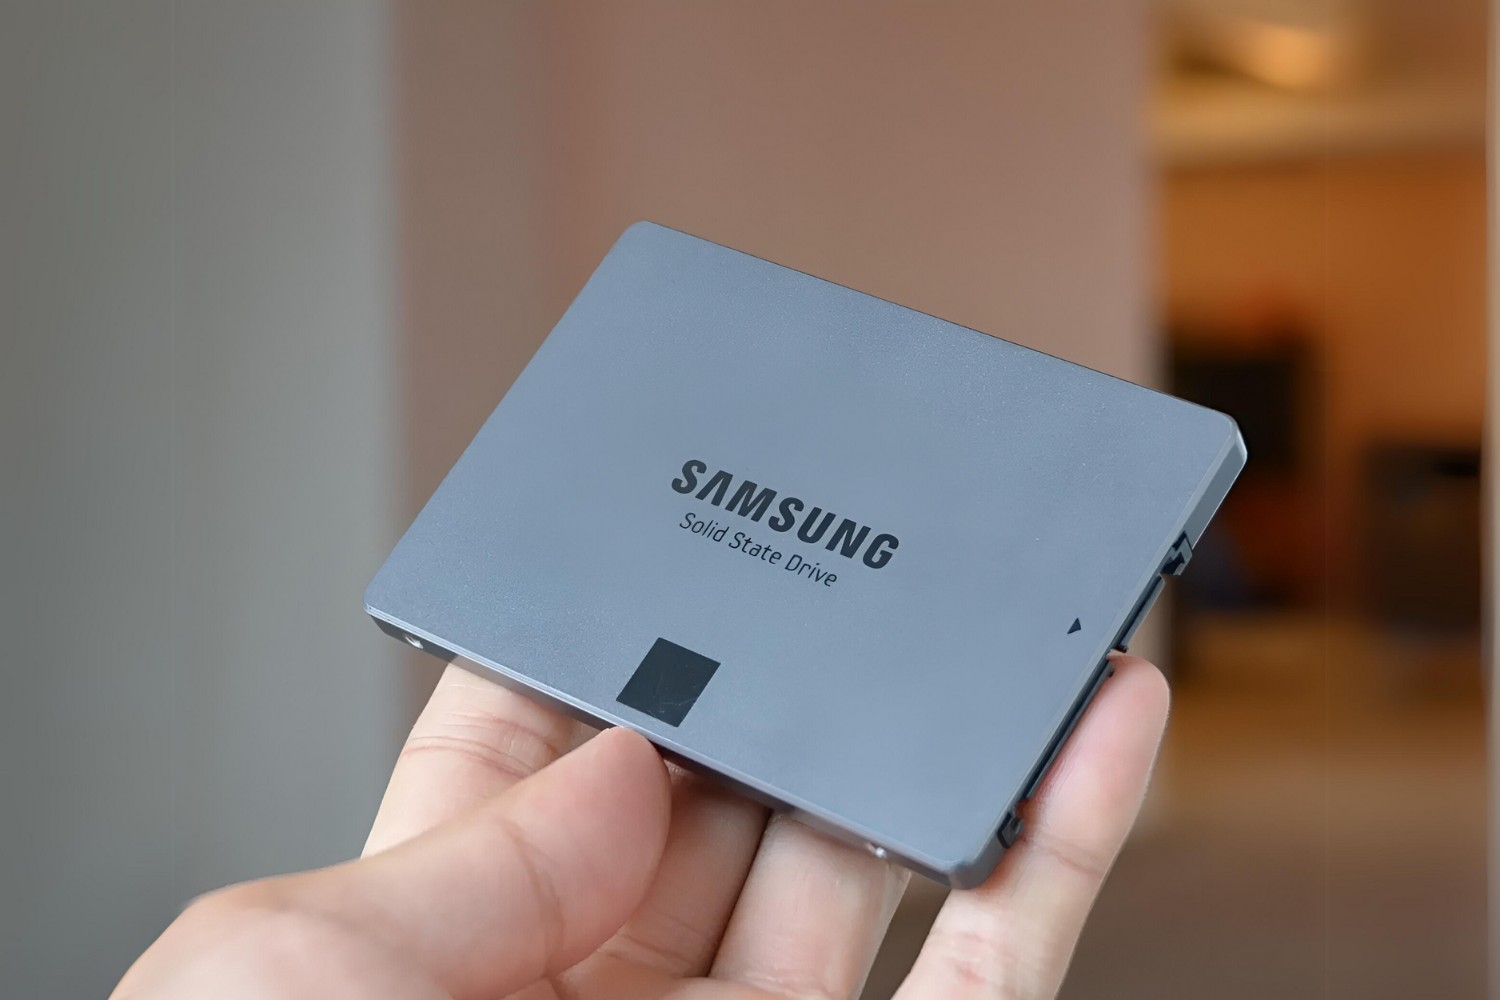
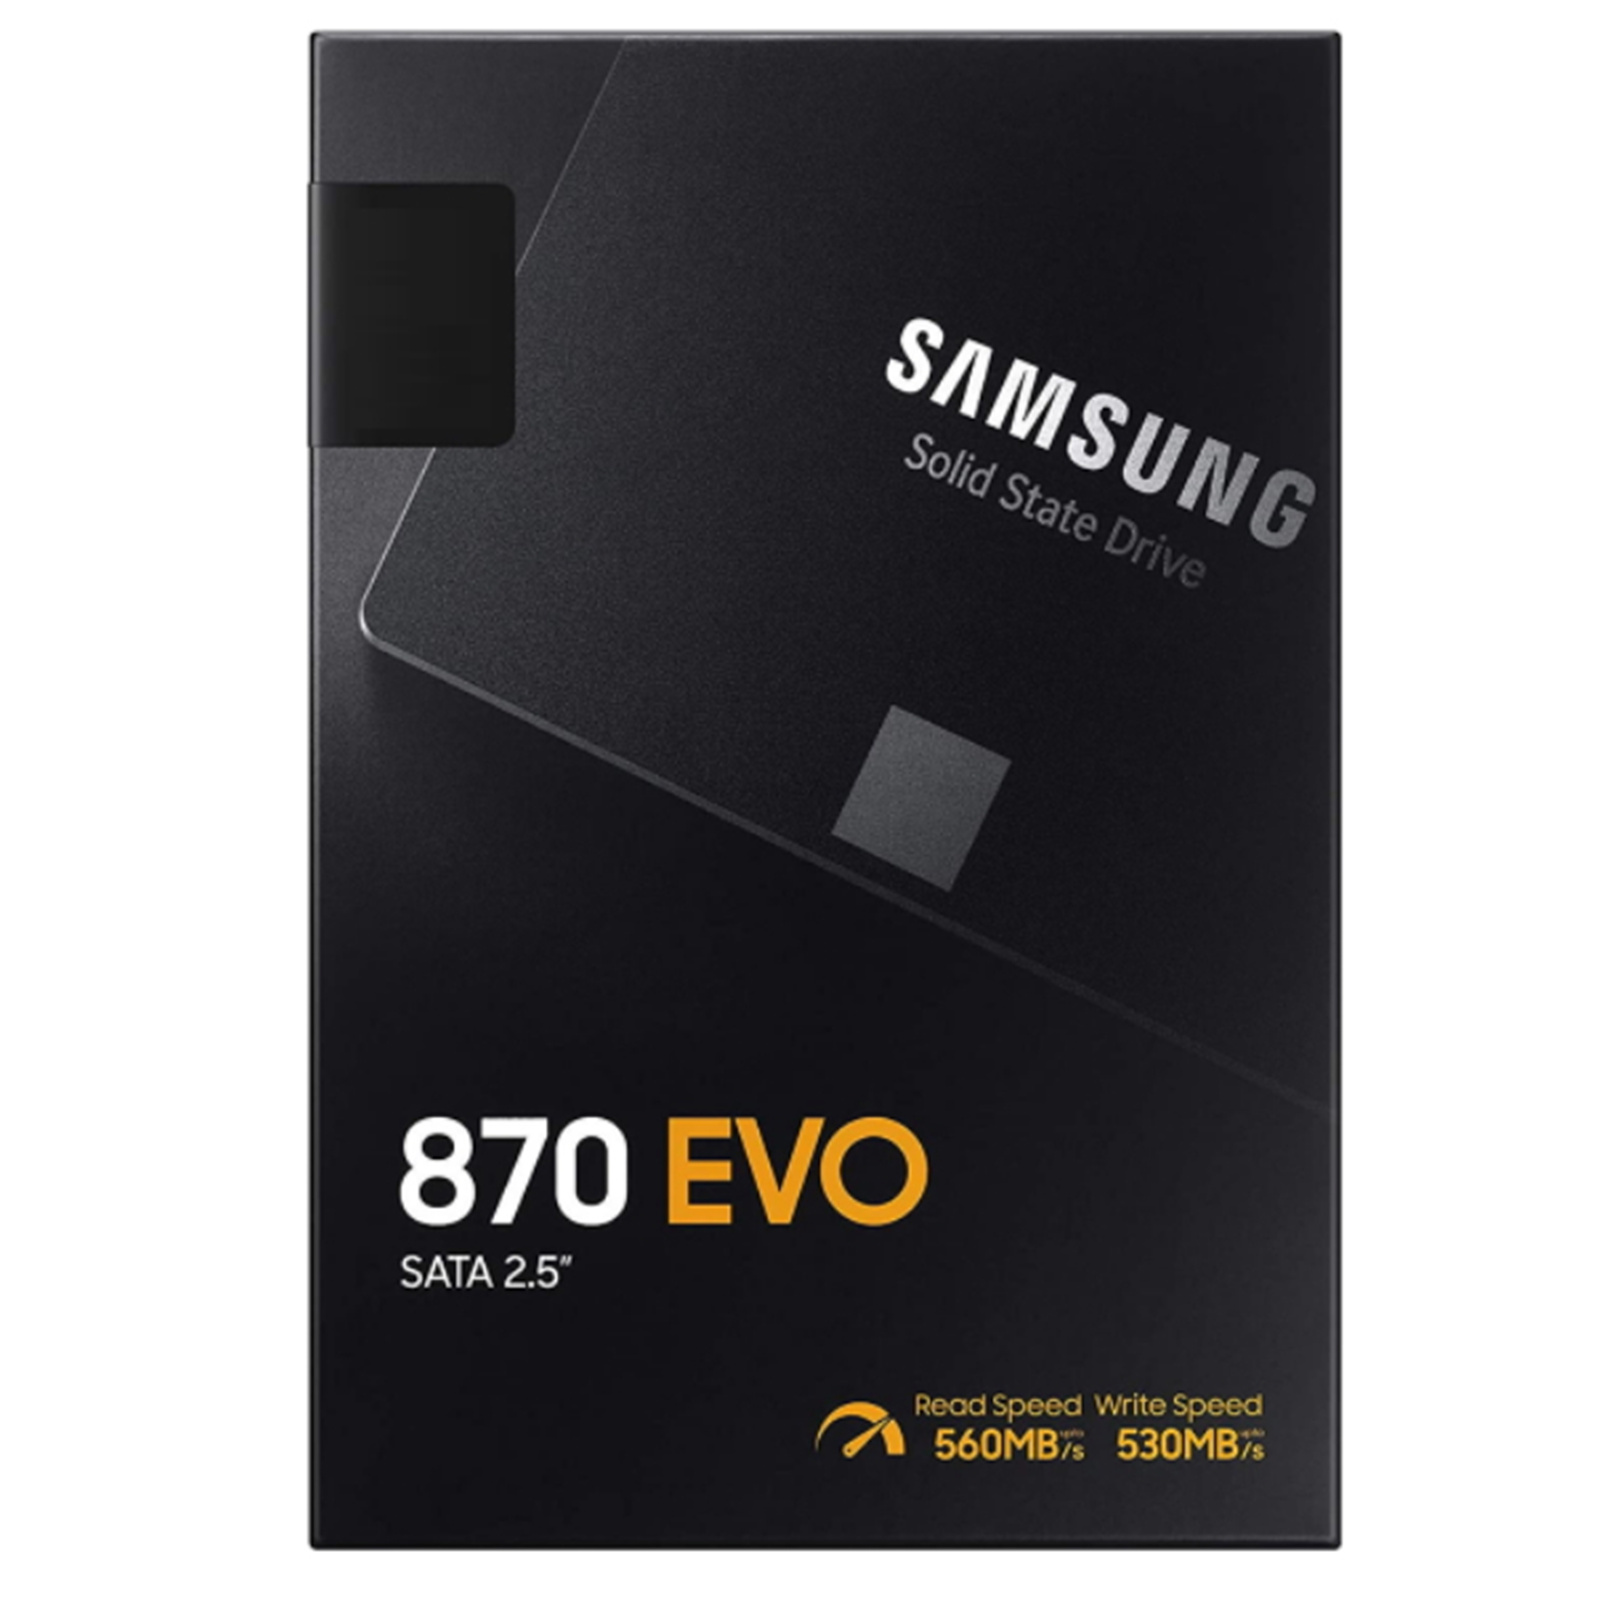
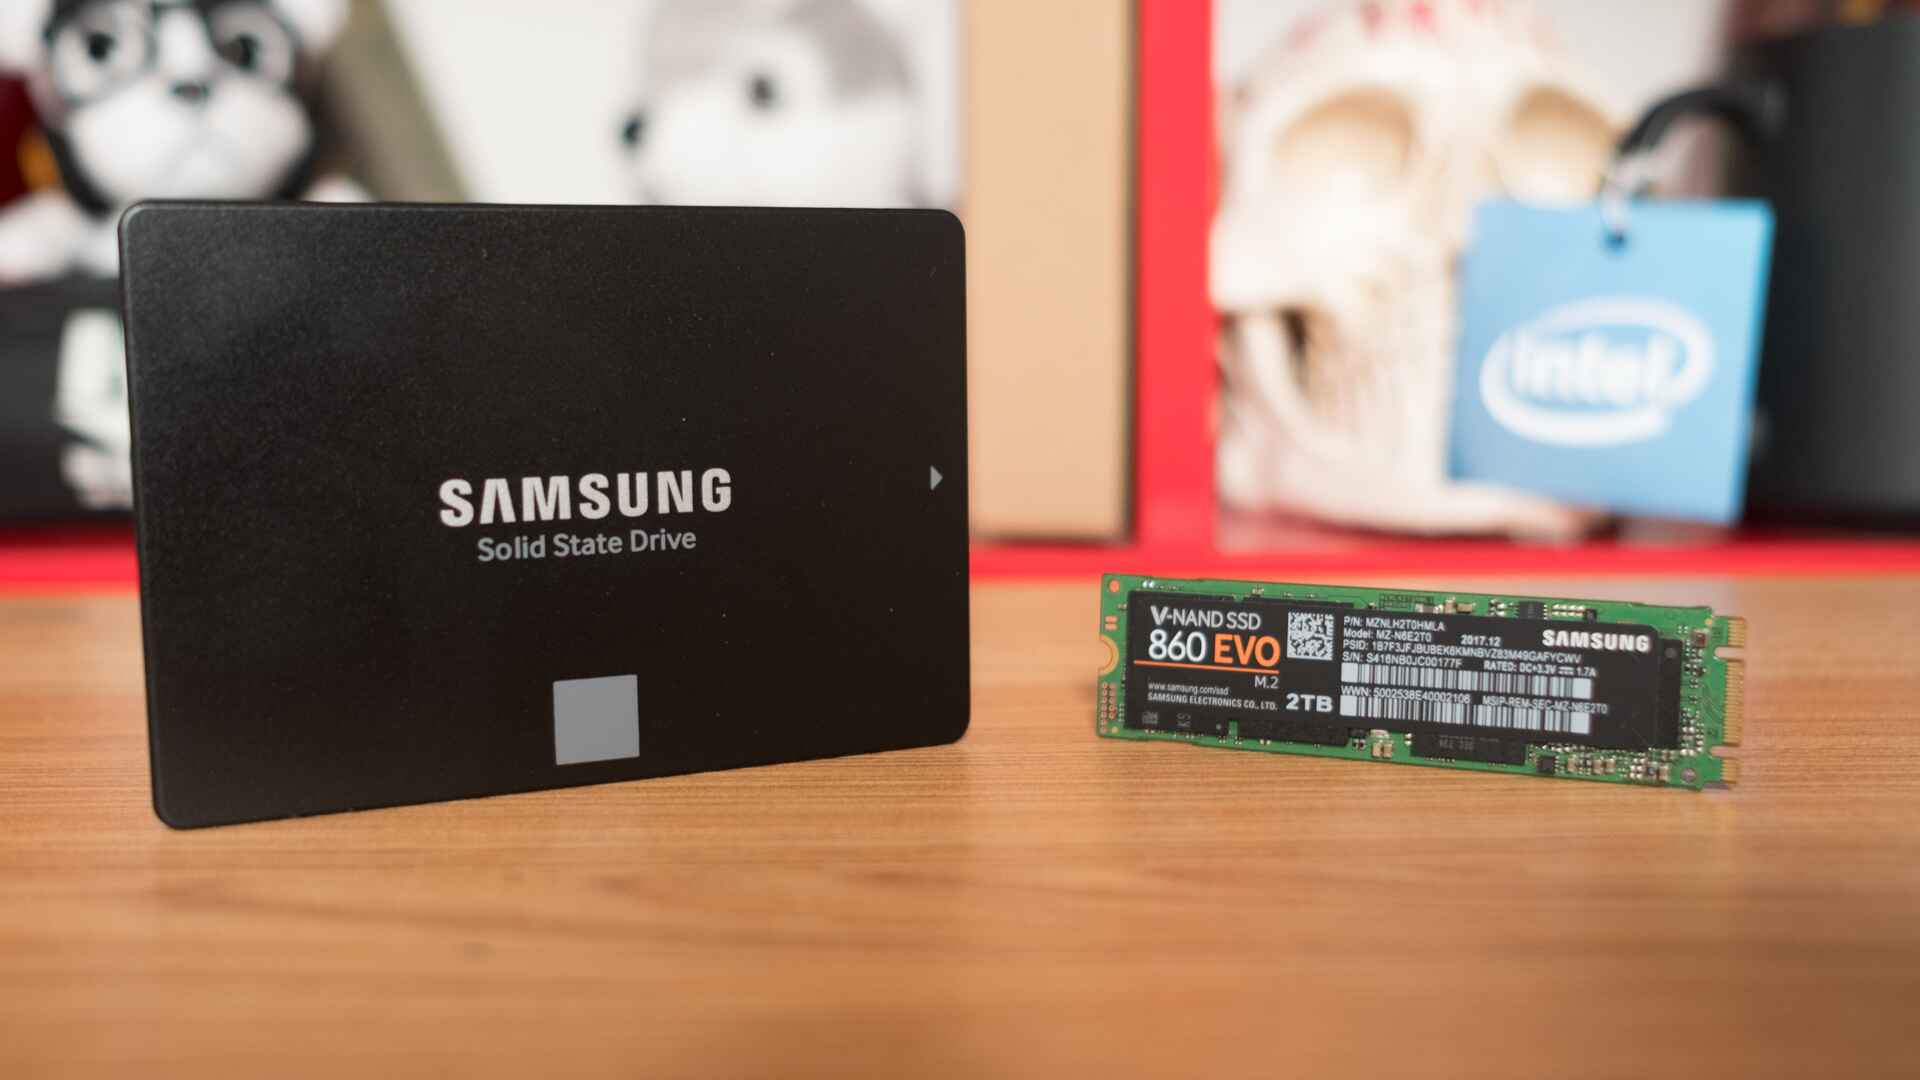
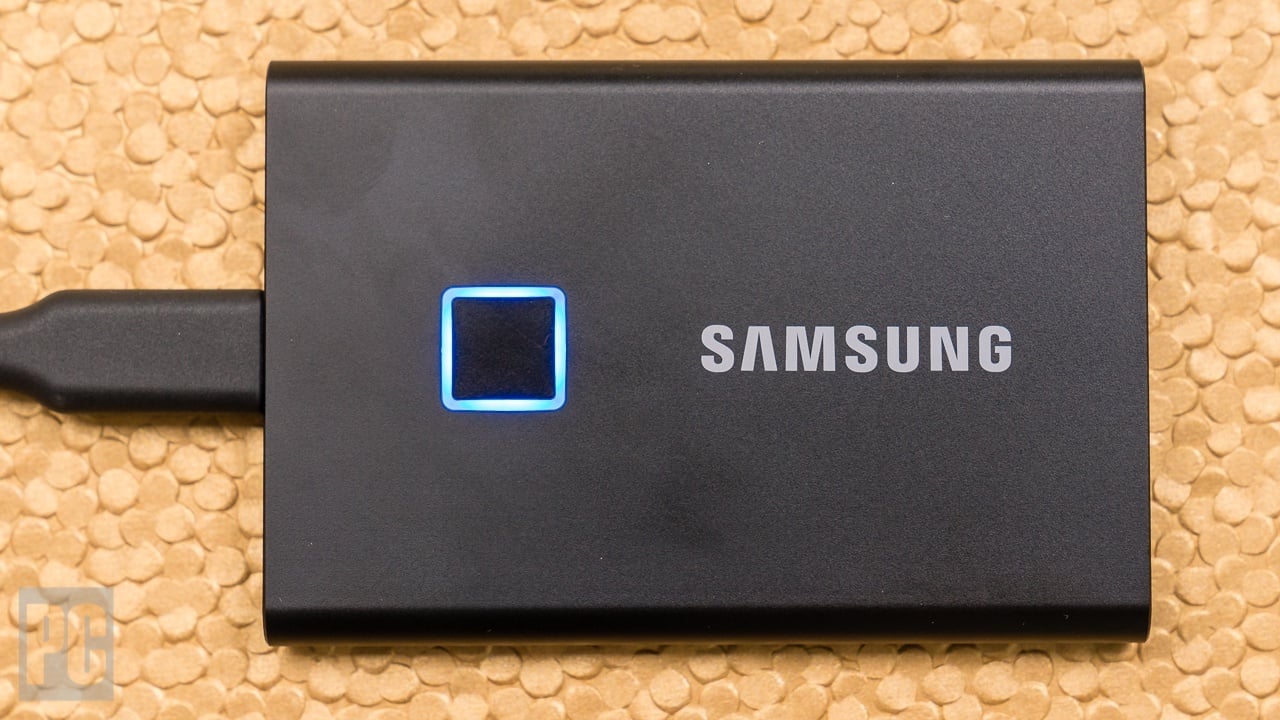
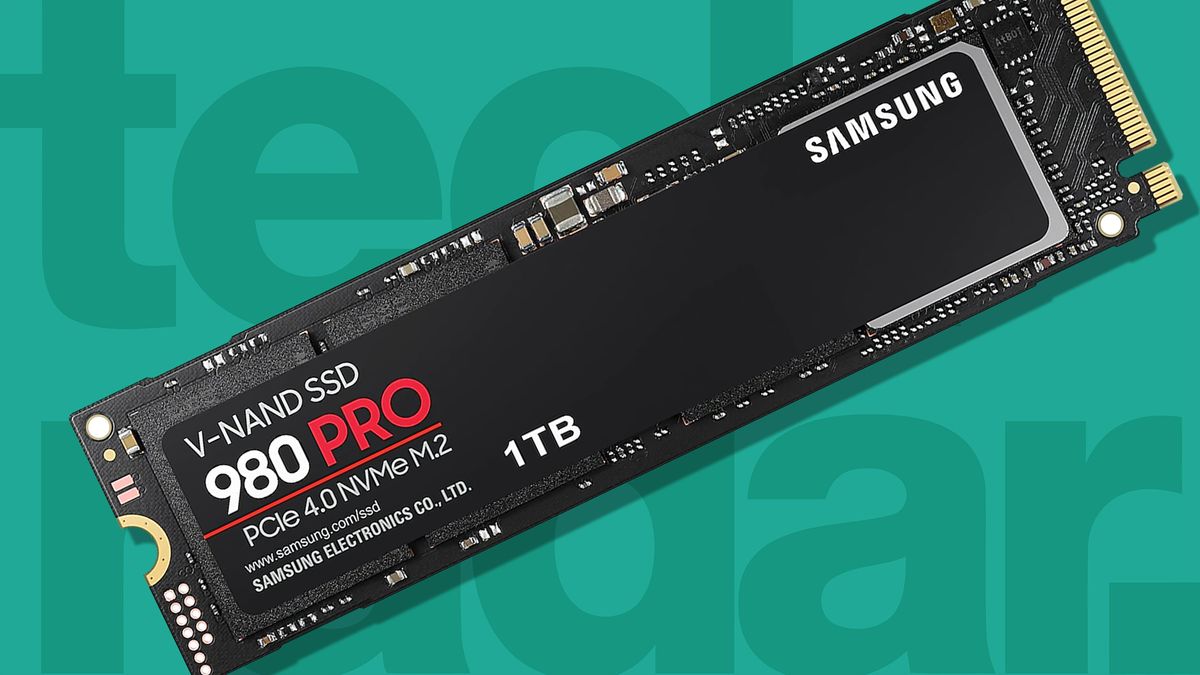
Welcome to the world of solid state drives (SSDs) by Samsung! If you’re looking to boost the performance and storage capacity of your computer, SSDs provide a reliable and efficient solution. In this guide, we’ll walk you through the steps of installing, formatting, and transferring data to a Samsung SSD. We’ll also provide some tips and troubleshooting advice to ensure a smooth transition. Whether you’re a tech enthusiast or a casual user, this article will equip you with the knowledge you need to make the most of your Samsung SSD.
Samsung’s solid state drives offer faster data access speeds, improved reliability, and a compact form factor compared to traditional hard disk drives. By switching to an SSD, you can enjoy shorter boot times, quicker application launches, and snappier overall system performance. Additionally, an SSD can provide a significant increase in storage capacity, allowing you to store more files, photos, videos, and games without worrying about running out of space. If you’re ready to experience the benefits of an SSD, let’s get started with the installation process.
Getting Started
Before you begin the installation process, there are a few things you’ll need to ensure a smooth setup. First and foremost, make sure you have the necessary tools, including a screwdriver, SATA cable, and a power cable. Additionally, you’ll need to back up your data from your current drive, as the installation process may require reformatting or replacing your existing drive. Once you have these essentials in place, you’re ready to dive into the installation process.
Start by shutting down your computer and disconnecting the power cable. Open your computer case and locate an available drive bay where you can install the Samsung SSD. Most desktop computers have multiple drive bays, so choose an empty one that is compatible with the size of your SSD. If you’re unsure, consult your computer’s documentation or manufacturer’s website for guidance.
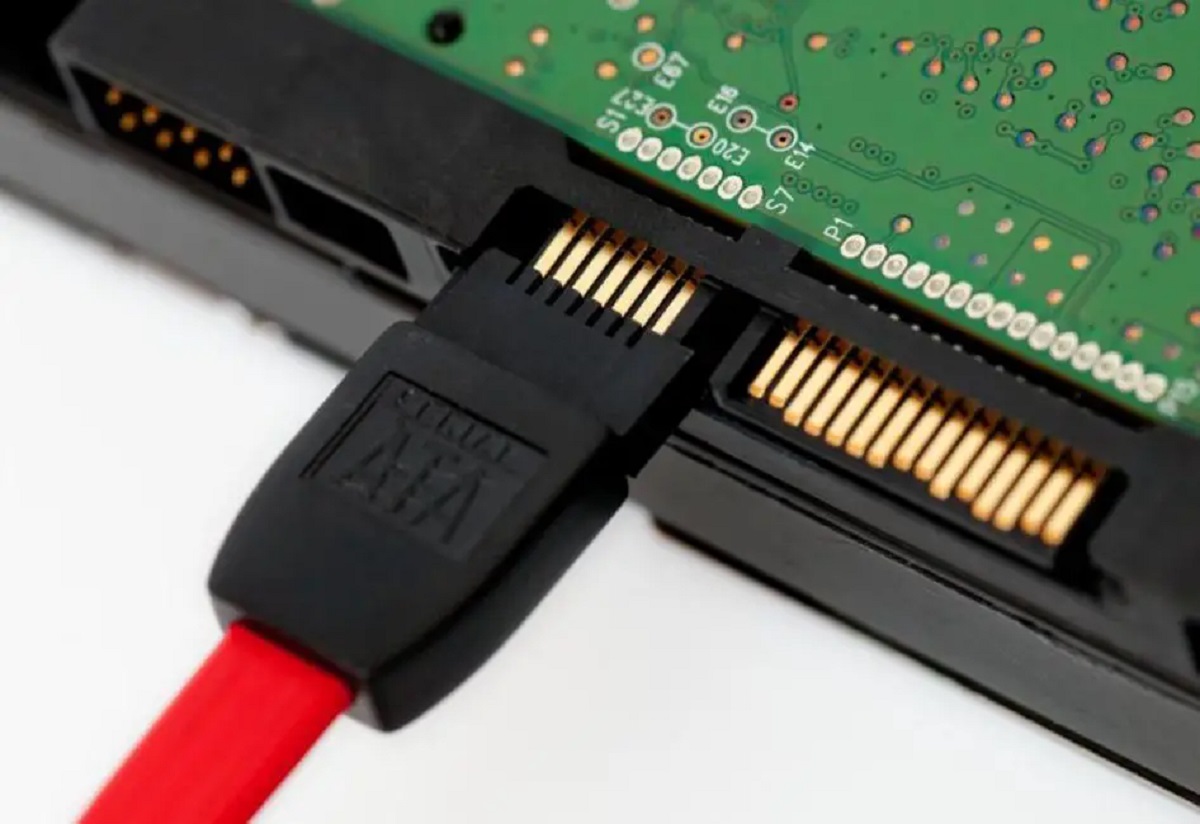
Once you’ve identified the appropriate drive bay, carefully insert the Samsung SSD into the bay and secure it in place using the provided screws. Make sure the SSD is firmly seated and aligned correctly with the connectors before fastening it. Once secured, connect the SATA cable to the SSD and the corresponding SATA port on your motherboard. Next, connect the power cable to the SSD.
Now that the physical installation is complete, it’s time to power on your computer and proceed with formatting the drive. Keep in mind that formatting will erase any existing data on the SSD, so be sure to back up your important files beforehand. Let’s move on to the next step: formatting the Samsung SSD.
Installing the Samsung Solid State Drive
Now that you’ve completed the physical installation of your Samsung SSD, it’s time to initialize and format it. Follow these steps to get started:
- Power on your computer: After inserting the SSD into the appropriate drive bay and connecting the necessary cables, power on your computer.
- Access the BIOS menu: Different computer manufacturers use different keys to access the BIOS menu. Typically, it’s either the Del or F2 key. Consult your computer’s documentation or manufacturer’s website for the specific key to press during startup.
- Navigate to the Boot Order section: In the BIOS menu, locate the Boot Order section. You may find this under the Boot or Advanced tab.
- Set the SSD as the primary boot device: Select the SSD as the first boot device in the Boot Order section. This ensures that your computer will boot from the SSD instead of the previous drive.
- Save and exit the BIOS: After setting the boot order, save the changes and exit the BIOS menu.
- Boot into your operating system: Restart your computer, and it should now boot from the Samsung SSD.
- Initialize and format the SSD: Once your operating system is up and running, open the Disk Management tool. You can access this by right-clicking on the Start button and selecting Disk Management from the menu.
- Select the SSD: In the Disk Management screen, locate your Samsung SSD. It should be listed as a new or unallocated drive.
- Initialize the SSD: Right-click on the SSD and select the “Initialize Disk” option. Choose the appropriate partition style (MBR or GPT) and click OK.
- Create a new partition: Once the disk is initialized, right-click on the unallocated space and select the “New Simple Volume” option. Follow the on-screen instructions to create a new partition and assign a drive letter to the SSD.
- Format the SSD: Right-click on the newly created partition and select the “Format” option. Choose a file system, allocation unit size, and volume label. Click OK to start the formatting process.
After formatting is complete, you have successfully installed and set up your Samsung SSD. In the next section, we’ll discuss the process of transferring your data to the newly installed SSD.
Formatting the Drive
After installing your Samsung SSD, the next step is to format the drive to prepare it for data storage. Formatting ensures that the drive is properly organized and ready to receive files. Here’s how you can format your Samsung SSD:
- Open Disk Management: Press the Windows key + R to open the Run dialog box. Type “diskmgmt.msc” and press Enter to open the Disk Management utility.
- Locate your Samsung SSD: In the Disk Management window, you will see a list of drives. Look for your Samsung SSD, which should be listed as a new or unallocated drive.
- Right-click on the SSD: Right-click on the Samsung SSD and select the “Format” option from the context menu.
- Choose file system and allocation unit size: In the Format window, choose a file system for the SSD. The default file system for Windows is NTFS, which is recommended for most users. You can also select the allocation unit size, which determines the cluster size for storing data. For most SSDs, the default allocation unit size is recommended.
- Assign a volume label: To easily identify your SSD, you can assign a volume label. This is an optional step but can be helpful when managing multiple drives.
- Enable quick format (optional): If you want to speed up the formatting process, you can check the “Perform a quick format” option. Note that a quick format only erases file system metadata, and not the actual data.
- Click “OK” to start formatting: Once you’ve selected the options, click on the “OK” button to start the formatting process. A warning message will appear, notifying you that all data on the drive will be erased. Make sure you have backed up any important data before proceeding.
- Wait for formatting to complete: The formatting process may take a few minutes, depending on the size of your SSD. A progress bar will indicate the status of the formatting.
- Formatting is complete: Once the formatting is finished, you will see the status change to “Healthy (Primary Partition)” for the Samsung SSD in the Disk Management window.
Now that your Samsung SSD is properly formatted, you can start transferring your data to enjoy faster and more efficient storage. In the next section, we’ll discuss the process of transferring data to your newly formatted SSD.
Transferring Data to the SSD
With your Samsung SSD properly formatted, it’s time to transfer your data from your old storage drive to the SSD. Follow these steps to ensure a smooth and efficient data transfer:
- Identify the data you want to transfer: Decide which files, folders, and applications you want to transfer to the SSD. It’s a good idea to prioritize important documents, media files, and frequently used applications.
- External storage device (optional): If your data exceeds the capacity of your Samsung SSD, consider using an external storage device, such as a USB drive or an external hard drive, to temporarily store the excess files.
- Manual file transfer: You can manually copy and paste files and folders from your old drive to the Samsung SSD. Open File Explorer and navigate to your old drive, select the desired files and folders, then right-click and choose “Copy”. Navigate to your Samsung SSD and choose the destination folder, right-click, and choose “Paste”. Repeat this process for all the files and folders you want to transfer.
- Application reinstallation: For applications, you will need to reinstall them on your Samsung SSD. Make a note of the applications you want to transfer, and download or install them directly to the SSD, following the installation prompts.
- Migration software: If you prefer a more automated approach, you can use migration software provided by Samsung or third-party tools. These tools simplify the process by cloning the entire contents of your old drive onto the Samsung SSD, ensuring an exact replica of your data and applications.
- Keep your old drive as a backup: After the data transfer is complete, consider keeping your old drive as a backup storage device. This ensures that you have a secondary copy of your data in case of any unforeseen issues with your SSD.
- Verification: Once the data transfer is complete, verify that all your files, folders, and applications are working correctly on the Samsung SSD. Test the performance of your applications and access files to ensure everything is functioning as expected.
By following these steps, you can successfully transfer your data to your Samsung SSD and enjoy the benefits of faster and more reliable storage. In the next section, we’ll explore some tips for optimizing the performance of your SSD.
Optimizing Performance
Once you’ve transferred your data to your Samsung SSD, there are a few additional steps you can take to optimize its performance and ensure the best possible experience. Consider implementing the following tips:
- Enable TRIM: TRIM is a feature supported by modern operating systems and SSDs. It helps maintain the longevity and performance of your SSD by efficiently managing data. To enable TRIM, open the Command Prompt as an administrator and type the command “fsutil behavior set DisableDeleteNotify 0”.
- Update SSD firmware: Check for firmware updates for your Samsung SSD on the manufacturer’s website. Updating the firmware can address any known issues, improve performance, and add new features.
- Enable AHCI mode: If your SSD is not already running in AHCI (Advanced Host Controller Interface) mode, consider enabling it in your computer’s BIOS settings. AHCI mode provides better performance and more advanced features for SSDs compared to IDE mode.
- Manage power settings: Adjust your computer’s power settings to prevent your SSD from entering sleep mode too quickly. SSDs have faster wake-up times than traditional hard drives, so it’s unnecessary to conserve power by putting them to sleep frequently.
- Regularly update drivers: Keep your computer’s drivers up to date, including storage, chipset, and SATA drivers. Updated drivers can optimize compatibility, enhance performance, and fix bugs that may affect SSD performance.
- Minimize unnecessary write operations: Avoid excessive write operations on your SSD to prolong its lifespan. This includes minimizing unnecessary file transfers, disabling hibernation, and redirecting temporary files and browser caches to a different drive.
- Perform regular maintenance: Periodically perform maintenance tasks such as disk cleanup and disk optimization to keep your Samsung SSD running efficiently. These tasks help free up space, organize data, and optimize file access.
- Monitor drive health: Monitor the health and performance of your SSD using Samsung’s SSD management software or third-party utilities. Keeping an eye on the drive’s health can help you identify any potential issues and take appropriate action.
Implementing these optimization techniques will help you maximize the performance and lifespan of your Samsung SSD. By keeping your SSD running at its best, you can enjoy fast and reliable storage for years to come. In the next section, we’ll discuss some common issues you may encounter and provide troubleshooting solutions.
Troubleshooting Common Issues
While Samsung SSDs are known for their reliability, you may come across some common issues during the installation or usage process. Here are a few troubleshooting tips to help you resolve these issues:
- Drive not recognized: If your Samsung SSD is not being detected by your computer, ensure that it is properly connected to the SATA port and power supply. You can also try connecting the SSD to a different SATA port on your motherboard to see if that resolves the issue.
- SSD not booting: If your computer doesn’t boot from the Samsung SSD, make sure that it is set as the primary boot device in the BIOS settings. Verify that the operating system is installed correctly on the SSD and that the boot settings are configured properly.
- Slow performance: If you’re experiencing slow performance, check if your SSD firmware is up to date. Additionally, ensure that your computer’s operating system, drivers, and applications are all updated. Performing regular disk cleanup and optimization can also help improve SSD performance.
- Compatibility issues: If you encounter compatibility issues with your Samsung SSD, check for any firmware updates and driver updates for your motherboard. Updating to the latest versions can often resolve compatibility problems.
- Data transfer errors: If you encounter errors during the data transfer process, try using a different SATA cable or port. Additionally, ensure that your computer’s power supply is stable and providing sufficient power to the SSD.
- Overheating: If your Samsung SSD gets hot during operation, ensure that it has proper airflow and ventilation in your computer case. Excessive heat can affect performance and potentially damage the SSD. Consider adding additional cooling solutions if necessary.
- Data corruption: If you experience data corruption on your Samsung SSD, perform a thorough scan for malware and viruses. Malicious software can sometimes cause data corruption. Additionally, make sure that you have a reliable backup system in place to safeguard your files.
If you continue to experience issues even after troubleshooting, consider reaching out to Samsung support or consulting with a professional for further assistance. They can provide guidance specific to your situation and help you resolve any persistent problems.
By addressing these common issues promptly, you can ensure a smooth and trouble-free experience with your Samsung SSD. Now, let’s wrap up this guide with a quick summary of what we’ve covered.
Conclusion
Congratulations! You have successfully learned how to install, format, and optimize your Samsung Solid State Drive (SSD). By following the steps outlined in this guide, you have taken a significant step towards improving the performance and storage capacity of your computer.
We began by introducing you to the benefits of using Samsung SSDs, including faster access speeds, improved reliability, and increased storage capacity. We then walked you through the installation process, ensuring that you properly connected the SSD to your computer and set it as the primary boot device.
Next, we discussed the importance of formatting the SSD to ensure it is ready for data storage. We provided step-by-step instructions on how to format the drive using the Disk Management utility, guiding you through the process of selecting a file system, allocating unit size, and assigning a volume label.
Transferring data to the SSD was the next topic we covered. Whether you chose to manually copy and paste files or use migration software, we provided you with the necessary guidance to ensure a smooth and efficient data transfer process. We also emphasized the importance of verifying the transferred data to ensure its integrity and functionality.
To optimize the performance of your Samsung SSD, we shared valuable tips such as enabling TRIM, updating firmware, enabling AHCI mode, managing power settings, updating drivers, minimizing unnecessary write operations, performing regular maintenance, and monitoring drive health.
Lastly, we addressed common issues users may encounter during the installation or usage of their Samsung SSDs. By troubleshooting these issues and following the suggested solutions, you can overcome any challenges and ensure a seamless experience.
Remember, if you ever encounter persistent issues, it’s recommended to reach out to Samsung support or consult a professional for further assistance.
We hope this guide has provided you with the necessary knowledge and confidence to make the most of your Samsung Solid State Drive. Enjoy the enhanced performance, increased storage capacity, and improved reliability that your new SSD brings to your computer. Happy computing!


