Introduction
Backing up your Solid State Drive (SSD) is an essential task to protect your valuable data and prevent potential data loss. Whether you use your SSD for work, personal files, or even gaming, accidents can happen, and having a backup ensures you can easily recover your data in case of a failure or accidental deletion.
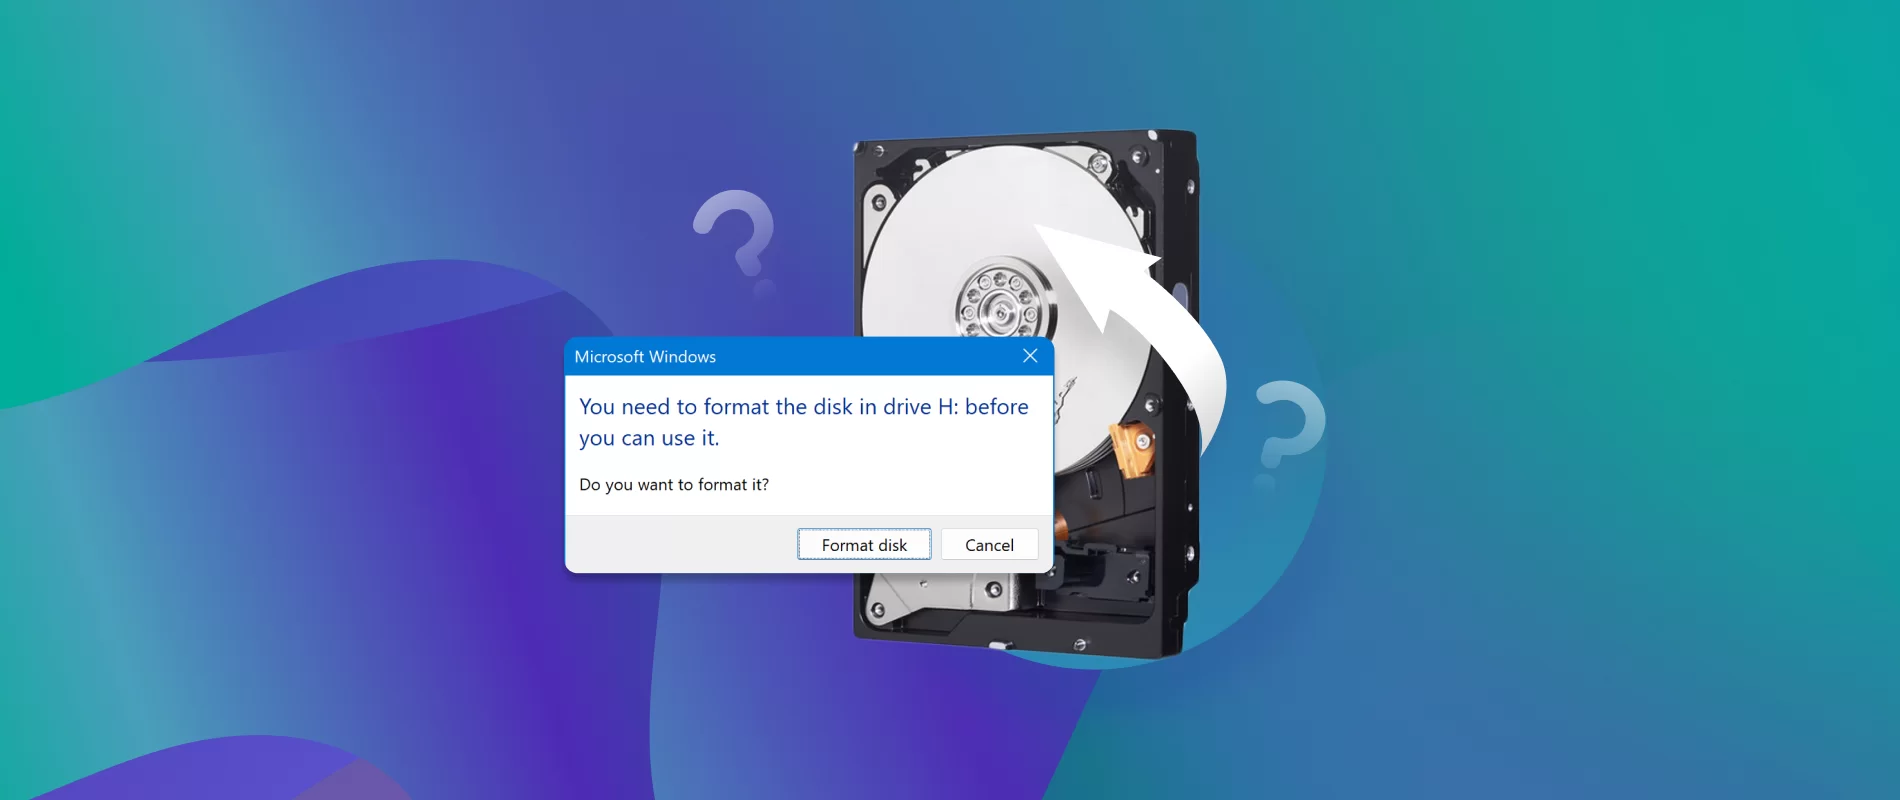
While SSDs are known for their durability and fast performance, they are not immune to failure. Hardware malfunctions, accidental damage, or software errors can all result in the loss of data stored on your SSD. This is why it is crucial to have a reliable backup strategy in place.
In this article, we will guide you through the process of backing up your Solid State Drive, keeping your data safe and secure. Whether you are using a Windows PC, Mac, or Linux machine, we will cover various backup methods and tools that you can utilize to create a backup of your SSD.
By following the steps outlined in this guide, you can ensure that your valuable data is protected and easily recoverable. Don’t wait until it’s too late to discover the importance of regularly backing up your Solid State Drive.
Why Backing Up Your Solid State Drive is Important
Backing up your Solid State Drive (SSD) is not just an optional task; it is a critical step in protecting your important data. Here are some key reasons why backing up your SSD is important:
- Data Loss Protection: SSDs, like any other storage device, are prone to hardware failures, system crashes, and accidental deletions. If you don’t have a backup, you risk losing all your valuable files, documents, and media.
- Recovery from Accidental Deletions: We’ve all accidentally deleted files or folders at some point. Without a backup, recovering those files can be a challenging task, if not impossible. Having a backup enables you to restore accidentally deleted files with ease.
- Protection Against Ransomware: Ransomware attacks can encrypt your files, rendering them inaccessible until you pay a ransom. With a backup, you can restore your data without having to give in to the hacker’s demands.
- System Failure Recovery: If your SSD encounters a hardware failure or your operating system becomes corrupt, reinstalling everything from scratch can be time-consuming and frustrating. With a backup, you can quickly restore your entire system, including your files, settings, and applications.
- Peace of Mind: Knowing that you have a backup of your SSD provides peace of mind. You no longer have to worry about losing your important files or spending hours trying to recover them. Instead, you can focus on your work or activities, knowing that your data is safe.
As you can see, having a backup of your Solid State Drive is not just a precautionary measure; it is a necessary step in safeguarding your valuable data. It ensures that you can restore your files with ease and minimize downtime in case of data loss or system failures.
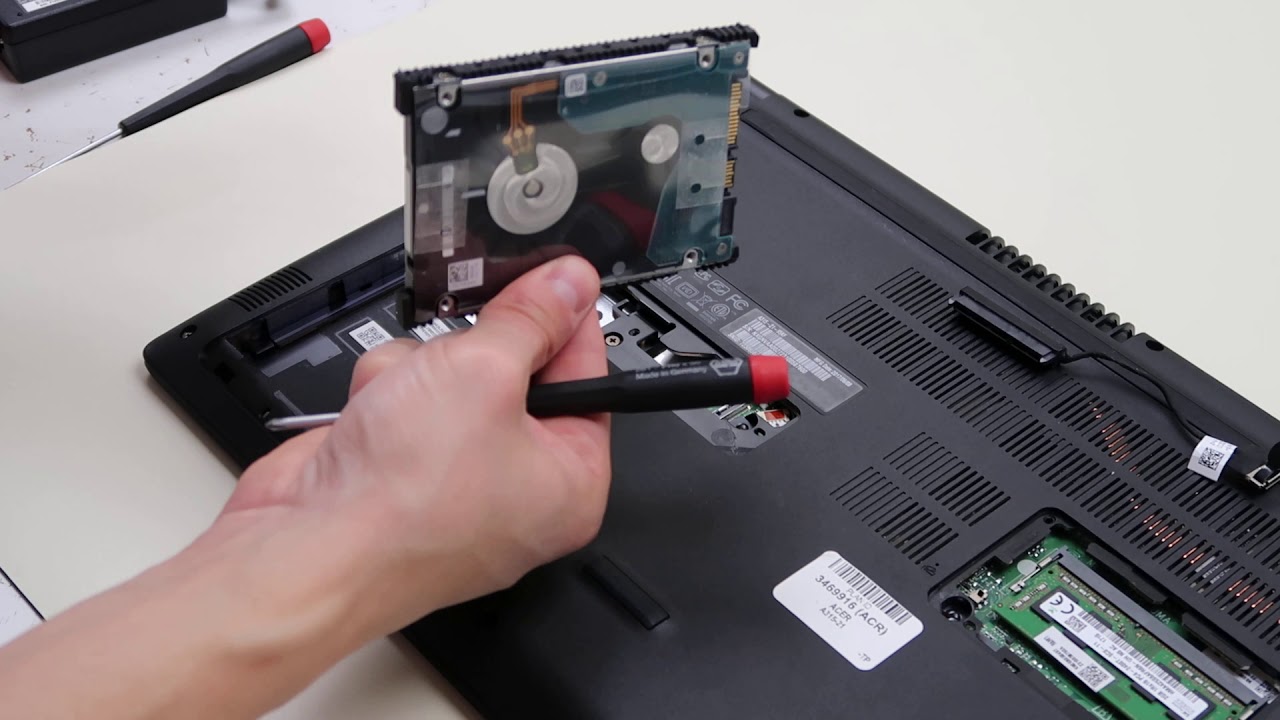
Step 1: Determine the Backup Method
The first step in backing up your Solid State Drive (SSD) is to determine the backup method that best suits your needs. There are several backup methods available, including:
- Full System Backup: This method involves creating a complete backup of your entire SSD, including the operating system, applications, settings, and files. It provides the highest level of data protection and allows for a complete system restore in case of hardware failure or system crashes. However, full system backups can take up a significant amount of storage space and may require a longer backup process.
- Incremental Backup: With incremental backups, only the changes made since the last backup are saved. This method is more efficient in terms of storage space and backup time but requires a full system backup as the baseline. Incremental backups are ideal for regular and frequent updates where you only need to back up the changes made since the last backup.
- Selective File Backup: If you want to back up specific files or folders rather than the entire system, selective file backup is the way to go. This method allows you to choose the files and directories you want to include in the backup, saving storage space and backup time. It is suitable for users who have specific data that needs to be regularly backed up.
Consider your specific needs and requirements when determining the backup method. If you want a complete system backup for maximum data protection, a full system backup is the way to go. If storage space and backup time are a concern, incremental or selective file backups may be more suitable.
Additionally, consider the backup software or tools you have available. Some operating systems come with built-in backup utilities, while others may require third-party software. You may need to research and choose the right backup software that supports your chosen backup method and offers the features you require.
Once you have determined the backup method, you are ready to proceed to the next step of actually creating the backup.
Step 2: Use Built-in OS Tools to Create a Backup
If you are using a modern operating system, such as Windows, macOS, or Linux, you likely have built-in tools that can help you create a backup of your Solid State Drive (SSD). These tools provide a convenient and straightforward way to back up your data without the need for third-party software. Here’s how to use them:
1. Windows: Windows users can take advantage of the built-in backup utility called “File History.” To access it, go to the Control Panel and search for “File History.” Set up an external storage device, such as an external hard drive, for your backups. Then, choose the folders you want to back up and the frequency of backup. Windows will automatically back up the selected files and folders to the designated external storage.
2. macOS: Mac users can use the built-in tool called “Time Machine” to create a backup of their SSD. Connect an external storage device, such as an external hard drive, to your Mac. Then, go to System Preferences, select “Time Machine,” and choose the external device as the backup destination. Time Machine will automatically back up your entire system, including files, applications, and settings, on a regular basis.
3. Linux: Linux users can utilize various backup tools available for different distributions, such as “Déjà Dup” for Ubuntu or “rsync” for more advanced users. These tools allow you to specify the files and directories you want to back up and the backup destination. Consult the documentation or community resources specific to your Linux distribution for the recommended backup tools and instructions.
Using the built-in OS tools provides a user-friendly and reliable way to back up your SSD data. However, keep in mind that these tools may have limitations, such as limited customization options or the inability to perform certain backup types. If you require more advanced features or flexibility, you may need to consider using third-party backup software, which we will explore in the next step.
Before moving on, verify that the backup generated by the built-in tools is accessible and can be restored successfully. This step ensures that your backup is valid and that you can rely on it in case of data loss or system failure.
Step 3: Use Third-Party Software to Create a Backup
In addition to the built-in backup tools provided by your operating system, you may also consider using third-party software to create a backup of your Solid State Drive (SSD). Third-party backup software often offers more advanced features, customization options, and additional functionalities that cater to specific backup needs. Here are some steps to follow when using third-party software to back up your SSD:
1. Research and Choose Reliable Software: Start by researching and selecting a reputable third-party backup software that is compatible with your operating system. Look for software that has positive user reviews, a consistent update history, and a robust set of features that align with your backup requirements.
2. Install and Set Up the Software: After downloading and installing the chosen backup software, launch the application and follow the provided instructions to set it up. Configure the backup settings, including the source and destination for the backup, the backup method (e.g., full, incremental), and any other preferences or options available.
3. Customize Backup Options: Depending on the software you choose, you may have various customization options available. For example, you may be able to exclude specific files or folders from the backup, set up scheduled backups, encrypt your backup for added security, or define retention policies for older backups. Take advantage of these options to tailor the backup process to your specific needs.
4. Initiate the Backup: Once you have configured the backup settings, initiate the backup process by clicking on the appropriate button within the software. The software will then start creating a backup of your SSD according to the specified settings. Depending on the size of your SSD and the selected backup method, the process may take some time to complete.
5. Verify the Backup: After the backup is completed, it is crucial to verify that the backup is valid and can be restored successfully. Most backup software provides a verification feature that ensures the integrity of the backup. Take the time to verify the backup and ensure it can be accessed and restored when needed.
Using third-party backup software can offer added flexibility and advanced features for your SSD backup process. However, it’s essential to regularly update the software and perform periodic checks to ensure its compatibility with your operating system and any security measures in place.
Now that you have created a backup of your SSD using either the built-in OS tools or third-party software, you can proceed to the next step and select an external storage device to store your backup securely.
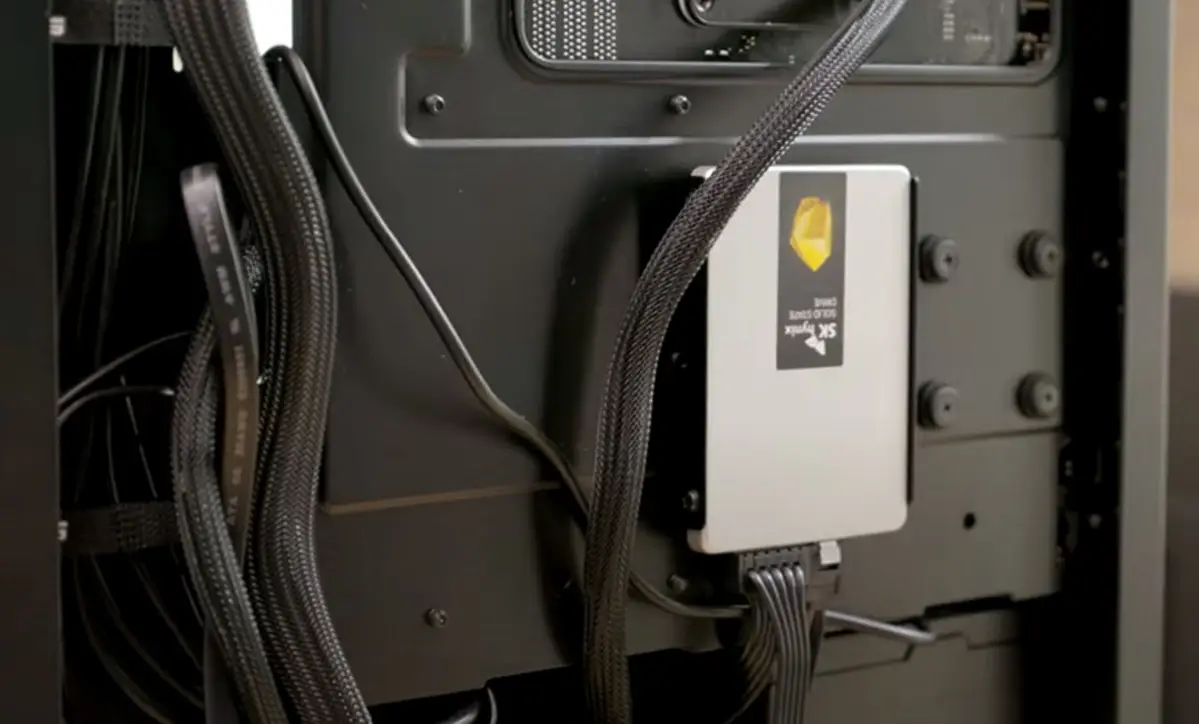
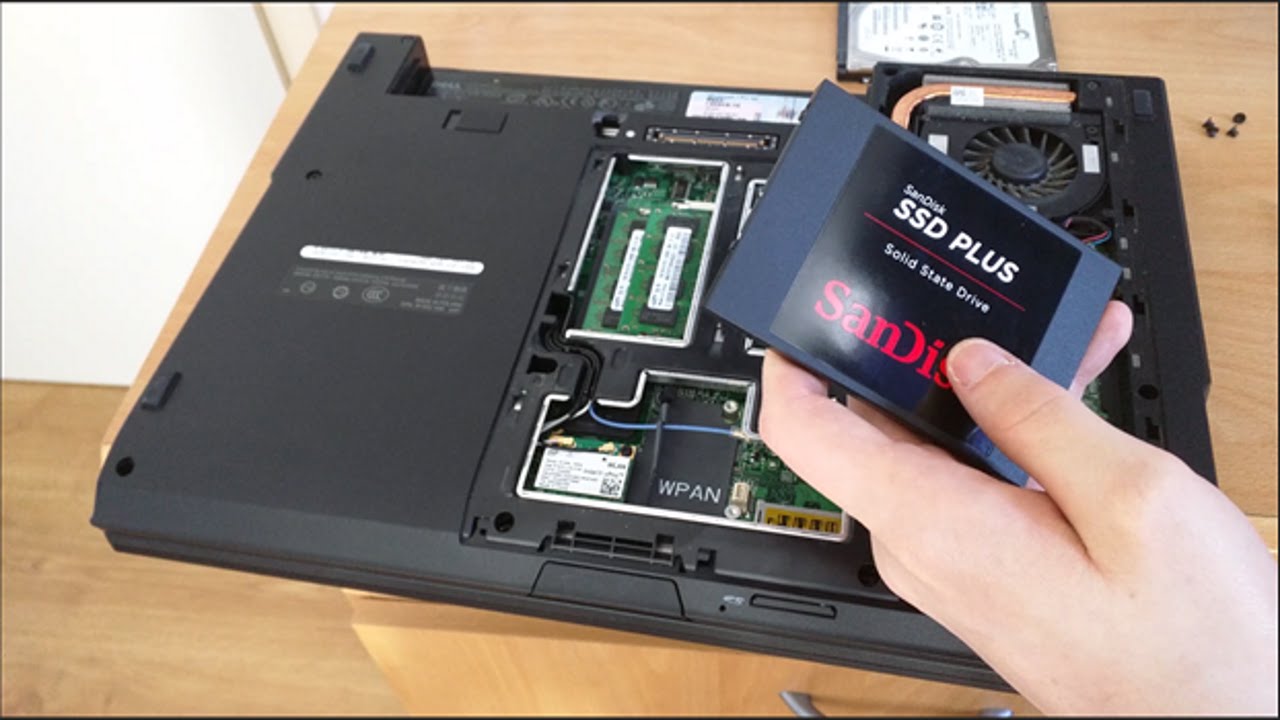
Step 4: Choose an External Storage Device for Backup
Once you have created a backup of your Solid State Drive (SSD), the next step is to choose an external storage device to store your backup. Selecting the right external storage device is crucial for ensuring the security and accessibility of your backup. Here are some factors to consider when choosing an external storage device:
1. Capacity: The capacity of the external storage device should be large enough to accommodate your backup size, as well as any future backups you may create. Consider the size of your SSD and the amount of data you want to back up. It is recommended to choose a storage device with a capacity larger than your SSD to allow for future growth.
2. Portability: If you plan to frequently move your backup or need to access your data on different devices, consider the portability of the external storage device. Portable options, such as external hard drives or USB flash drives, offer convenience and flexibility in terms of mobility.
3. Reliability: Look for an external storage device from reputable manufacturers known for their reliability and durability. Read customer reviews and check the product specifications to ensure that the device is dependable and can withstand regular use.
4. Connectivity: Consider the connectivity options available on your computer or other devices you plan to use with the external storage device. Common options include USB, Thunderbolt, or eSATA. Ensure that your chosen storage device is compatible with your computer’s available ports.
5. Security: If your backup contains sensitive or confidential information, consider choosing an external storage device with built-in encryption features or password protection. This helps safeguard your data in case of theft or unauthorized access.
6. Redundancy: To further protect your data, consider implementing a redundant backup strategy by using multiple external storage devices. This way, if one device fails or becomes corrupted, you still have another backup available for recovery.
7. Longevity: Choose an external storage device that has a long lifespan and offers reliable performance over time. Consider factors such as the type of storage technology used, the warranty provided by the manufacturer, and any known failure rates.
Remember that the external storage device you choose should be solely dedicated to storing your backups. Keep it in a safe and secure location to prevent loss, damage, or theft. Regularly test the device and ensure that your backups are accessible and can be restored when needed.
With your backup stored on a reliable and suitable external storage device, you can proceed to the next step and initiate the backup process.
Step 5: Initiate the Backup Process
Now that you have chosen the external storage device for your Solid State Drive (SSD) backup, it’s time to initiate the backup process. This step involves transferring your data from your SSD to the external storage device, ensuring that your backup is up-to-date and comprehensive. Here’s how to initiate the backup process:
1. Connect the External Storage Device: Plug in your chosen external storage device to the appropriate port on your computer. Ensure that the device is recognized and accessible by your operating system.
2. Launch the Backup Software: If you are using third-party backup software, launch the application and navigate to the backup settings or control panel. If you are using the built-in backup utility provided by your operating system, open the respective tool, such as File History on Windows or Time Machine on macOS.
3. Select the Source and Destination: In the backup software interface, specify the SSD as the source drive, which contains the data you want to back up. Then, designate the external storage device as the destination where the backup will be stored. Ensure that these selections are accurate to avoid any data loss or confusion.
4. Choose the Backup Method and Options: Select the appropriate backup method based on your preferences and backup strategy. This may include options such as full backup, incremental backup, or selective file backup. Additionally, configure any specific backup options provided by the software, such as compression, encryption, or scheduling.
5. Start the Backup Process: Once all the settings and options are configured, initiate the backup process by clicking on the “Start Backup” or similar button within the backup software. The backup software will then begin transferring the data from your SSD to the external storage device. The time it takes to complete the backup depends on the size of your data and the speed of your storage devices.
6. Monitor the Backup Progress: During the backup process, monitor the progress to ensure that everything is running smoothly. Keep an eye on any error messages or warnings that may indicate issues with the backup. If any problems arise, consult the documentation or support resources provided by the backup software or consult with the manufacturer of your external storage device.
7. Verify the Backup: Once the backup process is complete, take the time to verify the integrity and accessibility of the backup data. Check if you can restore files or access specific data from the backup on the external storage device. This step helps ensure that your backup is valid and can be relied upon in case of data loss or system failure.
By following these steps, you can effectively initiate the backup process for your SSD and ensure that your valuable data is securely transferred to an external storage device. With the backup in place, you can now proceed to the next step and set up a regular backup schedule to keep your data up-to-date.
Step 6: Verify the Backup
After successfully creating a backup of your Solid State Drive (SSD), it is crucial to verify the backup to ensure its integrity and reliability. Verification is an essential step in the backup process as it confirms that the backup data can be restored and accessed when needed. Here’s how you can verify the backup:
1. Check File Integrity: Start by randomly selecting some files or folders from your SSD backup and compare them with the original copies on your SSD. Verify that the files in the backup are identical to the ones on your SSD in terms of content, size, and properties. This step ensures that the backup process didn’t lead to any data corruption or loss.
2. Restore Sample Files: Select a few files or folders from the backup and attempt to restore them to a different location on your computer or another device. Verify that the restored files are accessible and can be opened without any errors. This test confirms that the backup can be successfully restored, which is crucial in case you need to recover your data.
3. Test System Restore: If you created a full system backup, consider testing the system restore feature provided by your backup software or operating system. Follow the instructions to initiate a system restore process using the backup file. Make sure that the restoration process completes successfully and that your system is restored to the desired state without any issues.
4. Validate Backup Software Logs: If your backup software generates logs or reports about the backup process, review them for any errors or warnings. Look for any indications of failed or incomplete backups, as these could impact the reliability and recoverability of the backup. Address any identified issues promptly to ensure the effectiveness of future backups.
5. Periodic Data Restoration: As a good practice, periodically restore some files or folders from the backup to ensure that the backup remains accessible and functional over time. By regularly testing the restoration process, you can identify any potential issues or limitations before a critical data loss situation occurs.
6. Perform Data Integrity Checks: Some backup software provides built-in features to verify the integrity of the backup file. These checks involve performing hash or checksum comparisons to confirm the integrity of the backup data. Utilize this feature if available to ensure that your backup remains intact and free from any manipulation or corruption.
7. Monitor and Update Backup: After verifying the initial backup, it is crucial to continuously monitor and update the backup as new data is added or modified on your SSD. Regularly review and adjust your backup schedule to ensure that your backup remains up-to-date. This proactive approach minimizes the risk of relying on outdated or incomplete backup data.
By following these verification steps, you can have confidence in the reliability of your SSD backup. Remember to regularly perform these checks to ensure the ongoing effectiveness of your backup strategy and to provide peace of mind in case of any data loss or system failure.
Step 7: Create a Backup Schedule
To ensure the continuous and effective protection of your Solid State Drive (SSD) data, it is essential to create a backup schedule. A regular backup schedule ensures that your data is consistently backed up, minimizing the risk of data loss and allowing for quick recovery in case of any unforeseen events. Here’s how you can create a backup schedule:
1. Determine Backup Frequency: Consider the importance of your data and the frequency of changes made to it. For critical data that frequently changes, daily or weekly backups may be necessary. However, for less critical data or data that doesn’t change frequently, scheduling backups at longer intervals (e.g., monthly) may be sufficient.
2. Select a Suitable Time: Choose a time for backup when your computer or device is typically idle or not in heavy use. This minimizes any disruption caused by the backup process and ensures that the backup completes successfully. Avoid scheduling backups during times when your network connection or system resources are heavily utilized.
3. Use Automation: Take advantage of automation features provided by your backup software or operating system. Set up automated backups to run at specified intervals or during specific times of the day. Automation eliminates the need for manual initiation of backups and ensures consistency in your backup schedule.
4. Consider Incremental Backups: If your backup software supports incremental backups, consider using this method to optimize storage space and reduce backup time. Incremental backups only back up the changes made since the last backup, resulting in faster and more efficient backups. This approach is especially beneficial for large SSDs or data that undergoes frequent modifications.
5. Retention Period: Determine how long you want to retain your backups. Consider the importance of your data and any legal or compliance requirements. Balancing storage capacity with data retention needs, establish a retention period for your backups. This allows you to maintain multiple versions of your data over a specified timeframe.
6. Test the Backup Schedule: Once you have set up your backup schedule, test it to ensure that the backups are initiated and completed as intended. Monitor the backups to verify that they are happening at the desired frequency and without any errors. If any issues arise, adjust the schedule accordingly to address any inconsistencies or conflicts.
7. Regularly Review and Update: Backup requirements and data usage patterns may change over time, so it is essential to periodically review and update your backup schedule. As you introduce new applications or modify your data organization, ensure that your backup schedule aligns with these changes. Regularly assess the effectiveness and adequacy of your backup strategy to address any evolving needs.
By creating and maintaining a backup schedule, you ensure that your SSD data is consistently backed up and protected. Regular backups mitigate the risk of data loss and provide you with peace of mind, knowing that your valuable information is secure and recoverable.
Step 8: Keep Your Backup Drive Safe and Secure
Once you have created a backup of your Solid State Drive (SSD), it is crucial to prioritize the security and safety of your backup drive. Protecting your backup ensures that your data remains accessible and intact, even in the face of unforeseen events or disasters. Here are some essential steps to keep your backup drive safe and secure:
1. Store in a Secure Location: Choose a safe and secure physical location to store your backup drive. Keep it away from potential physical hazards such as water damage, extreme temperatures, direct sunlight, or high humidity. Consider using a fireproof and waterproof safe or storage container for additional protection.
2. Use Encryption: If your backup drive contains sensitive or confidential information, consider encrypting the data stored on it. Encryption ensures that even if the drive is lost or stolen, unauthorized individuals cannot access your data without the encryption key. Many backup software and operating systems offer encryption features that you can enable for added security.
3. Regularly Test Restore Functions: Perform periodic tests to ensure that you can successfully restore files or entire backups from your backup drive. This ensures the integrity of the backup and verifies that it can be relied upon in case of data loss or system failure. Regular testing helps identify any potential issues or corruption early on.
4. Keep Multiple Copies: Consider creating multiple copies of your backup and storing them in different locations. This provides redundancy and protection against the loss of your primary backup due to theft, damage, or other unforeseen events. Store backup copies at an off-site location such as a trusted friend or family member’s house, a secure storage facility, or cloud storage services.
5. Use Reliable Backup Software: Ensure you are using reliable and reputable backup software to create your backups. Read reviews and seek recommendations from trusted sources to ensure the software provides strong data protection features and has a track record of successfully creating and restoring backups. Regularly update the backup software to take advantage of the latest security enhancements and bug fixes.
6. Secure Network Access: If you store your backups on a network-attached storage (NAS) device, wireless drive, or cloud storage, ensure that the access to these devices is secure. Use strong passwords, enable two-factor authentication, and regularly update firmware or software to protect against potential vulnerabilities.
7. Periodically Check Backup Health: Regularly assess the health of your backup drive by monitoring its storage capacity and ensuring that it is functioning properly. Perform periodic checks for bad sectors or errors that could compromise the integrity of your backup. If any issues are detected, take appropriate measures to address them promptly.
8. Monitor for Software Updates: Keep an eye out for software updates for your backup software, operating system, and any encryption tools or other utilities used to secure your backup drive. Frequently updating these applications helps ensure that you have the latest security patches and bug fixes, reducing the risk of compromise.
By following these steps, you can effectively protect your backup drive and the data it contains. Safeguarding your backup is just as important as creating it, as it ensures that your valuable information remains secure and recoverable in case of any data loss or unexpected events.
Conclusion
Backing up your Solid State Drive (SSD) is a critical task that ensures the safety and recoverability of your valuable data. Whether you use the built-in backup utilities provided by your operating system or opt for third-party software, following the steps outlined in this guide will help you create a reliable backup system.
Remember to determine the backup method that suits your needs, whether it’s a full system backup, incremental backup, or selective file backup. Utilize the built-in OS tools or choose reputable third-party software to create your backups. Select an external storage device that provides sufficient capacity, portability, reliability, and security.
Once the backup is created, it’s crucial to verify its integrity and accessibility through file checks and data restoration tests. Create a backup schedule that meets your data requirements and ensures regular backups. Keep your backup drive safe and secure by storing it in a secure location, using encryption, and maintaining multiple copies.
Regularly monitor and test your backup system to ensure its effectiveness and make any necessary updates or adjustments. By following these steps and best practices, you can have peace of mind knowing that your SSD data is protected and can be easily recovered in the event of data loss or system failure.
Don’t wait until it’s too late. Take action now to implement a robust backup strategy for your Solid State Drive. By doing so, you can safeguard your valuable data and ensure that you can quickly restore it when needed. Protect your SSD and secure your peace of mind with regular backups.