Introduction
Welcome to our guide on how to repartition a solid state drive (SSD). Solid state drives have become a popular choice for storing data due to their fast read and write speeds. However, there may be instances where you need to repartition your SSD to better suit your storage needs or optimize its performance.
In this article, we will explore the process of repartitioning a solid state drive, step-by-step. We will discuss the reasons why you might consider repartitioning, important considerations before undertaking the task, the tools you’ll need, and provide a detailed guide to help you through the process. Whether you’re looking to create separate partitions for different types of data or simply want to reallocate space more efficiently, this guide will assist you in achieving your goals.
Please note that repartitioning a solid state drive involves making changes to its existing partitions, which could lead to data loss if not done correctly. It is crucial to back up your data before proceeding with any repartitioning activities. Additionally, it’s essential to have a basic understanding of SSDs and how they function to ensure a successful and risk-free repartitioning process.
Now, let’s delve into the world of solid state drives and explore the reasons why you might need to repartition one.
Understanding Solid State Drives
Before we delve into the process of repartitioning a solid state drive, it’s crucial to have a basic understanding of what exactly a solid state drive is and how it differs from traditional hard drives.
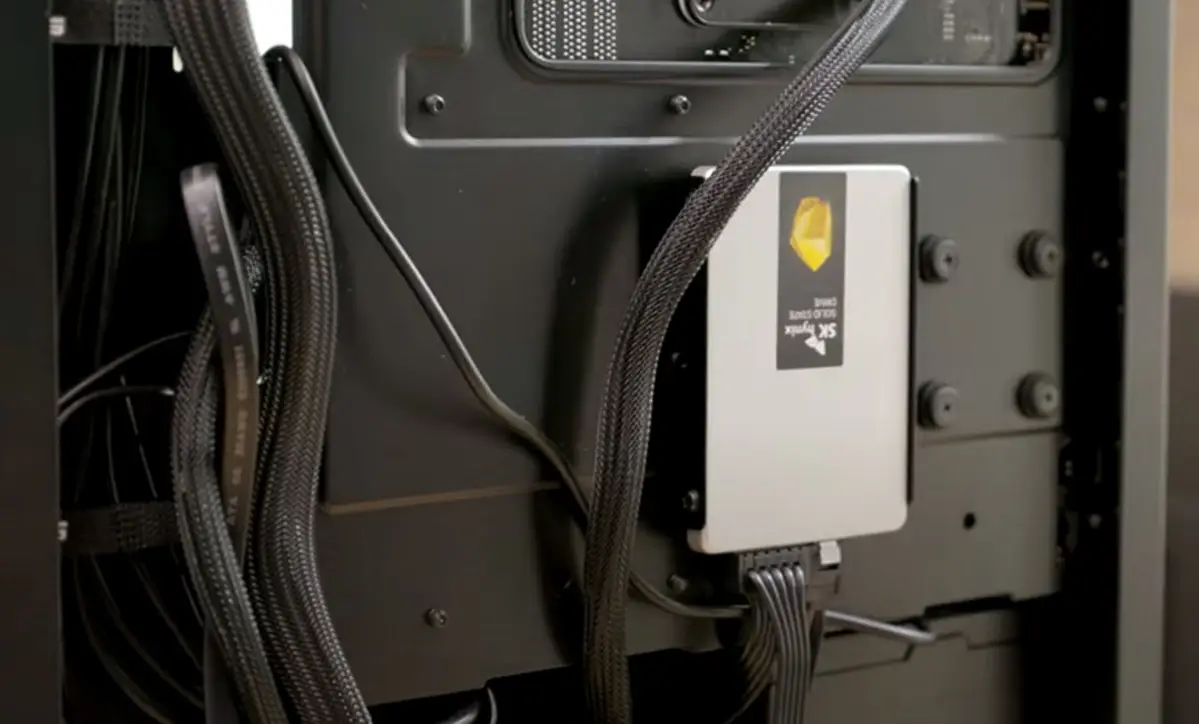
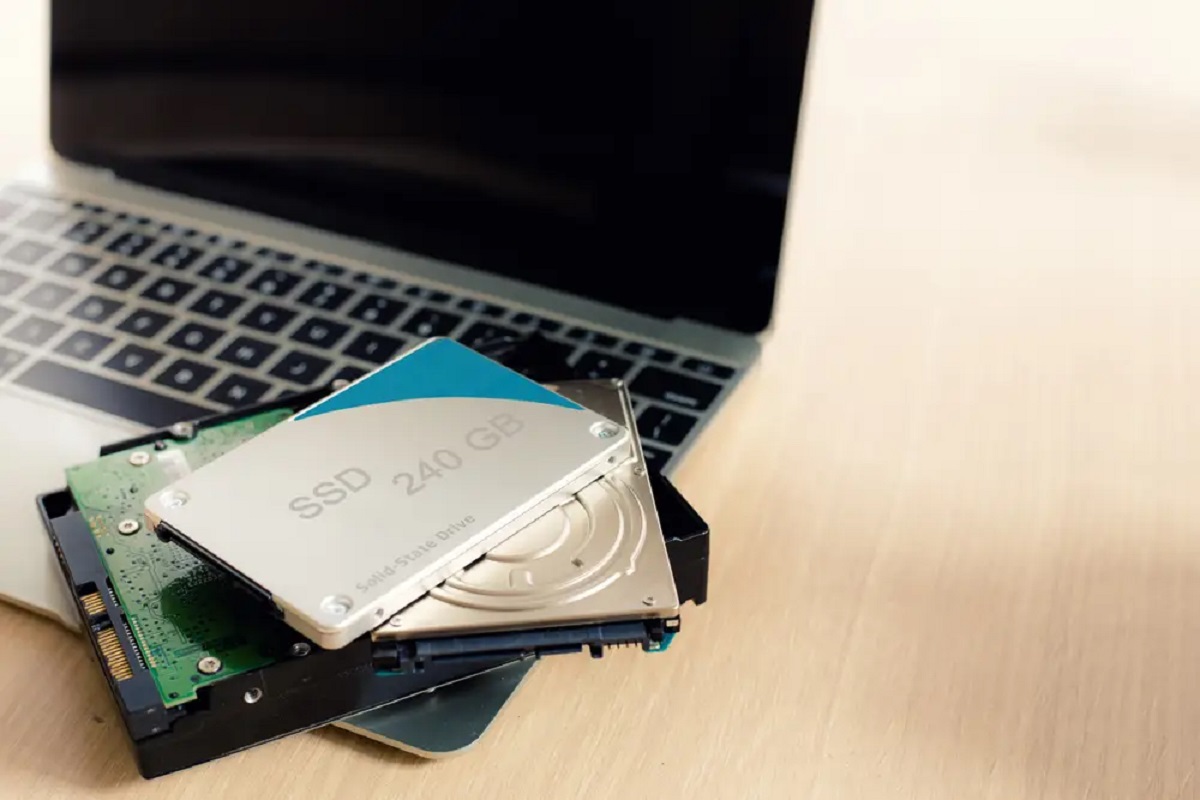
A solid state drive, or SSD, is a type of storage device that uses flash memory to store data, whereas traditional hard drives use spinning magnetic disks. This fundamental difference in storage technology brings several advantages to SSDs, including faster read and write speeds, lower power consumption, and increased durability. SSDs have no moving parts, which means they are less prone to physical damage. They also generate less heat, making them ideal for laptops and other portable devices.
SSDs have gained popularity in recent years due to their superior performance compared to traditional hard drives. They significantly reduce the time it takes to boot up your computer, launch applications, and access files. This speed boost can greatly enhance the overall user experience and productivity.
Another essential aspect of SSDs is their lack of fragmentation issues. Unlike traditional hard drives, where files can become fragmented and scattered across different sectors, SSDs have no mechanical constraints, resulting in faster file access times. This means that defragmentation, a common maintenance task for traditional hard drives, is unnecessary for SSDs.
While the benefits of SSDs are undeniable, they are not without a few limitations. The most notable is their finite lifespan, as they have a limited number of write cycles before they start to degrade. However, modern SSDs are designed with wear-leveling algorithms that distribute write operations evenly across the drive, prolonging its lifespan.
Now that we have a basic understanding of solid state drives, let’s explore the reasons why you may need to consider repartitioning your SSD.
Reasons for Repartitioning a Solid State Drive
There are several situations where you may find it necessary to repartition your solid state drive. Let’s explore some common reasons why you might consider repartitioning:
- Organizing Data: Over time, your SSD can become cluttered with various types of data, making it challenging to locate specific files or folders. By repartitioning your drive, you can create separate partitions for different types of data, such as documents, media files, or software installations. This organization can help streamline your file management and make it easier to locate and access specific files when needed.
- Resizing Partitions: In some cases, you may need to resize existing partitions on your SSD. If you find that one partition has too much free space while others are running low, resizing can help reallocate space to balance out the usage across partitions. This process can ensure optimal storage utilization and prevent wasted space.
- Creating Recovery Partition: A recovery partition can be a lifesaver in case of system failures or other critical issues. By repartitioning your SSD, you can create a separate partition dedicated to system recovery. This partition can store essential system files and provide a reliable backup in case you encounter problems with your operating system.
- Boosting Performance: Repartitioning your SSD can also be a strategy to optimize its performance. By creating a separate partition for your operating system and frequently used software, you can reduce file fragmentation and improve read and write speeds. This separation can lead to faster boot times and more responsive application launches.
- Adapting to Changing Storage Needs: As your storage requirements evolve, you may find that the current partition setup on your SSD no longer meets your needs. Repartitioning allows you to adapt to changing storage requirements, whether it’s creating additional partitions for new projects or consolidating partitions to free up space for larger files.
These are just a few examples of why you might want to repartition your solid state drive. Evaluating your storage needs and considering the advantages that repartitioning can bring will help you determine if it’s the right solution for you.
Important Considerations before Repartitioning
Before embarking on the repartitioning process for your solid state drive (SSD), there are a few important considerations you should keep in mind. These factors will help ensure a smooth and successful repartitioning experience. Let’s take a look:
- Data Backup: Repartitioning involves making changes to your SSD’s partitions, which can lead to data loss if not done correctly. It is absolutely crucial to back up your data before proceeding with any repartitioning activities. Consider using external storage devices, cloud services, or disk imaging software to create a reliable backup of your files and important data.
- Understanding SSD Specifications: Familiarize yourself with the specifications of your SSD, including its total capacity, free space, and any limitations or special requirements outlined by the manufacturer. This knowledge will help you make informed decisions during the repartitioning process and avoid potential issues.
- Partition Alignment: SSDs have specific requirements for partition alignment to ensure optimal performance. Improperly aligned partitions can result in reduced read and write speeds. Before repartitioning, verify that the current partitions are aligned correctly, and if necessary, use partitioning software that supports SSD alignment to align the newly created partitions.
- Consider Future Needs: While planning the new partition layout, consider your future storage needs. Forecasting your storage requirements can help you allocate the appropriate amount of space to each partition. It’s always a good idea to leave extra room for future expansion to avoid running out of space too quickly.
- Repartitioning Time: Repartitioning can take some time, depending on the size of your SSD and the complexity of the changes you’re making. It’s essential to allocate sufficient time for the process and avoid interruptions. Attempting to rush through the repartitioning process can lead to mistakes or incomplete partitioning, resulting in potential data loss or system instability.
- Repartitioning Tools: Choose reliable and reputable partitioning software to ensure a smooth and secure repartitioning process. There are several reputable tools available, such as EaseUS Partition Master, MiniTool Partition Wizard, and AOMEI Partition Assistant. These tools offer user-friendly interfaces and comprehensive features to help you repartition your SSD effectively.
By considering these important factors before repartitioning your solid state drive, you can greatly minimize the risk of data loss and ensure a successful repartitioning process. Now that we have covered these considerations, let’s move on to the crucial step of backing up your data before proceeding with repartitioning.
Backup Your Data
Before you begin the repartitioning process for your solid state drive (SSD), it is absolutely crucial to back up your data. Repartitioning involves making changes to the existing partitions, which carries a risk of data loss if not performed correctly. By creating a reliable backup, you can have peace of mind knowing that your important files and data are safely stored elsewhere. Here are some guidelines to help you backup your data effectively:
- Identify Critical Data: Take the time to identify the files and data that are most essential or irreplaceable. This includes documents, photos, videos, music, and any other files that you cannot afford to lose. It’s important to focus on your personal and work-related data before considering system files or applications.
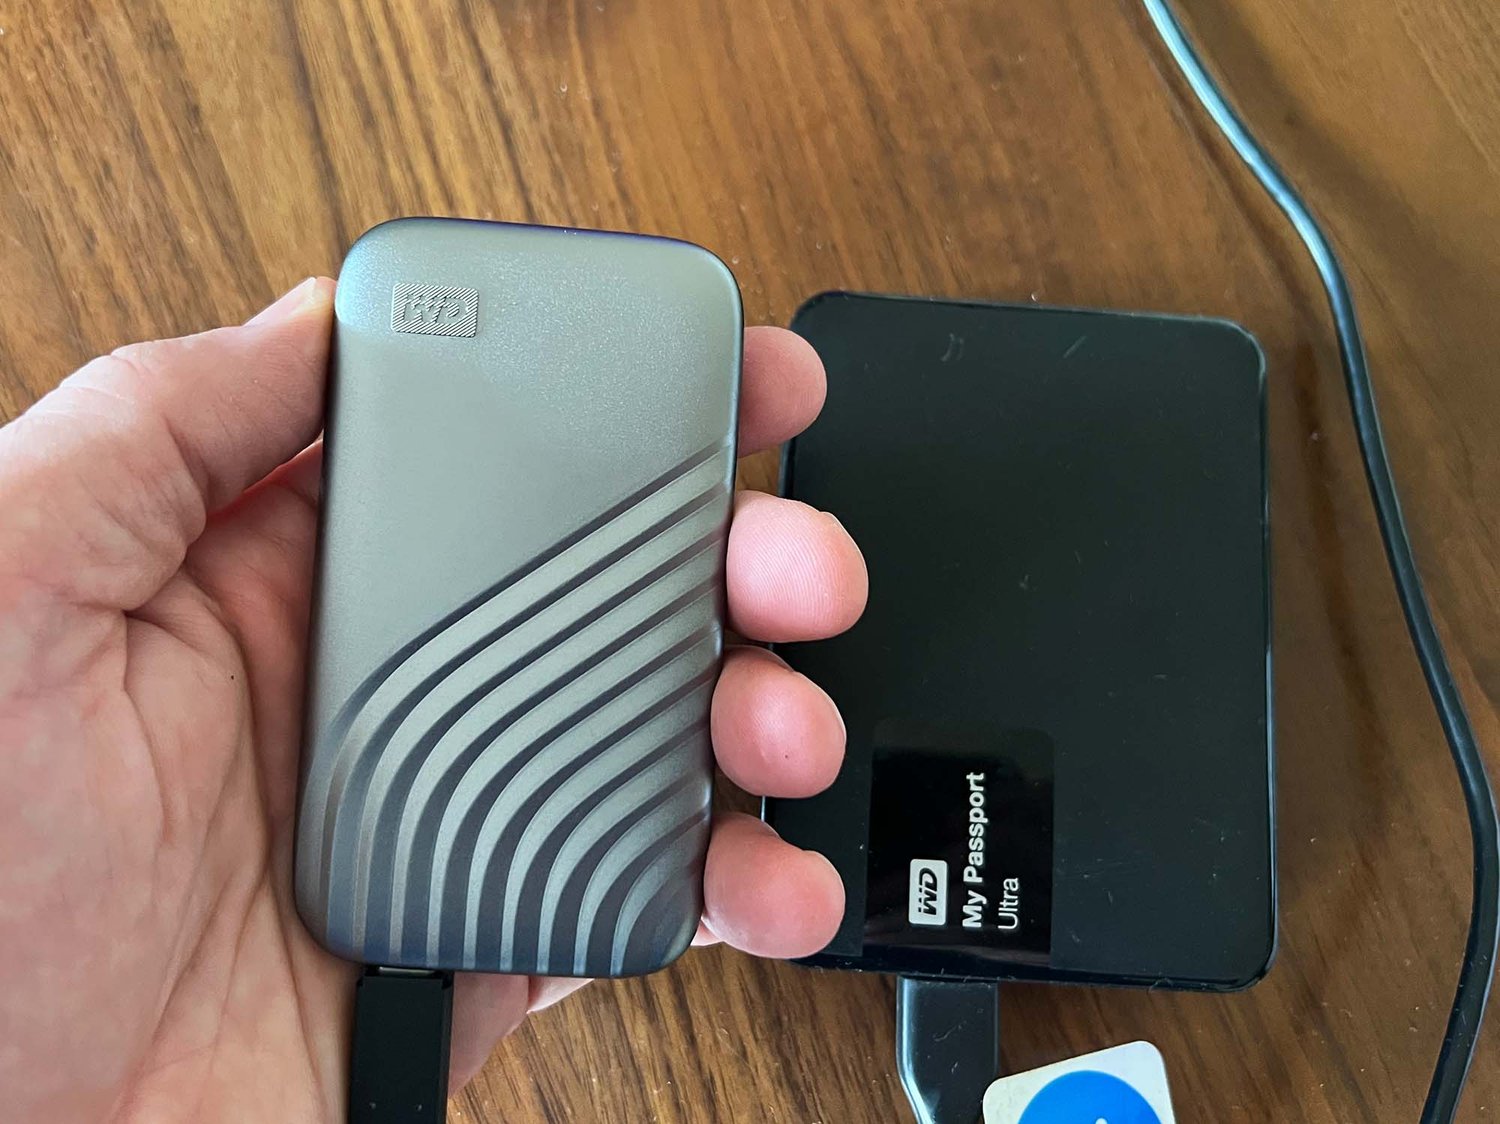
- Choose Backup Locations: Determine where you will store your backup data. You have a few options, including external hard drives, USB flash drives, network-attached storage (NAS) devices, or cloud-based storage services. Evaluate your storage needs and choose a solution that provides sufficient capacity and reliability for your backup needs.
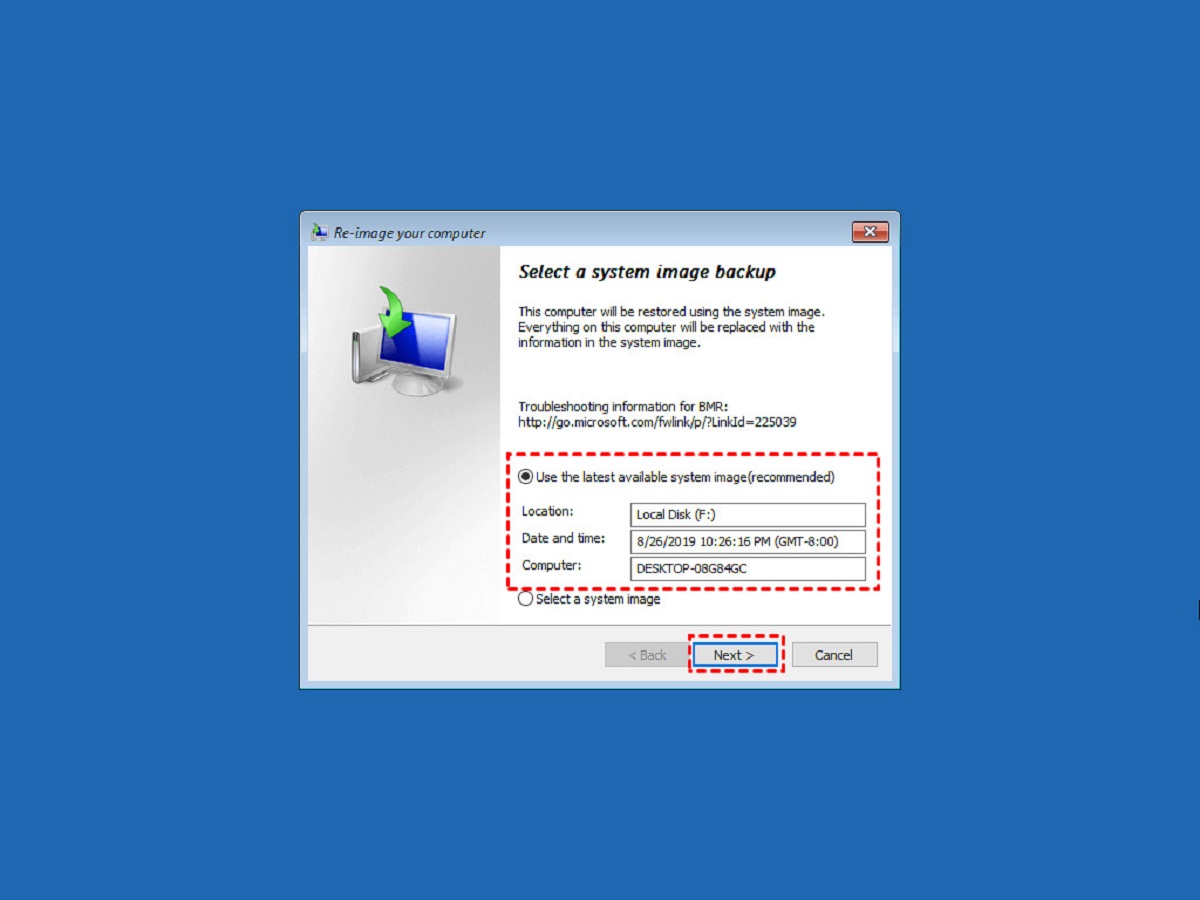
- Select Backup Method: Depending on your preferences and requirements, choose a backup method that suits your needs. Options include manually copying files to external storage, using built-in backup utilities in your operating system, or utilizing third-party backup software that offers more advanced features. Ensure that the backup method you choose is compatible with your chosen backup locations.
- Perform Regular Backups: Make backing up your data a regular habit. It is recommended to establish a backup schedule that aligns with the frequency of changes to your files. For critical data that undergoes frequent modifications, consider implementing automatic backup solutions that continuously back up your files in the background.
- Verify Backup Integrity: After performing a backup, take the time to verify the integrity of the backup files. This can be easily accomplished by checking the files’ accessibility and integrity, comparing file sizes and checksums, and test restoring a few files to ensure they are recoverable. Verifying the backup integrity gives you peace of mind that your data can be restored successfully if needed.
Remember, backing up your data is a crucial step before repartitioning your solid state drive. It ensures that even if something goes wrong during the repartitioning process, your important files will remain safe and accessible. Take the time to perform a thorough backup, including your most critical data, and verify its integrity to minimize any potential risks. With a reliable backup in place, you can proceed with confidence to the next step of repartitioning your SSD.
Tools Needed for Repartitioning
When it comes to repartitioning a solid state drive (SSD), having the right tools will greatly facilitate the process and ensure successful partition changes. Here are the essential tools you will need:
- Partitioning Software: You will need reliable and reputable partitioning software to perform repartitioning on your SSD. There are several options available, such as EaseUS Partition Master, MiniTool Partition Wizard, and AOMEI Partition Assistant. These software tools provide intuitive interfaces, comprehensive features, and SSD-specific functionalities that make the repartitioning process much smoother and more secure.
- Computer with Sufficient Resources: Make sure you have a computer that meets the minimum requirements to run the chosen partitioning software. This includes having enough storage space, sufficient RAM, and a compatible operating system version. Insufficient system resources can lead to performance issues or software compatibility problems during the repartitioning process.
- External Storage for Data Backup: Before repartitioning, it’s crucial to back up your data to a reliable external storage device. This can be an external hard drive, USB flash drive, network-attached storage (NAS) device, or cloud-based storage service. Having a backup of your data ensures that even if something goes wrong during the repartitioning process, your important files remain safe and can be recovered.
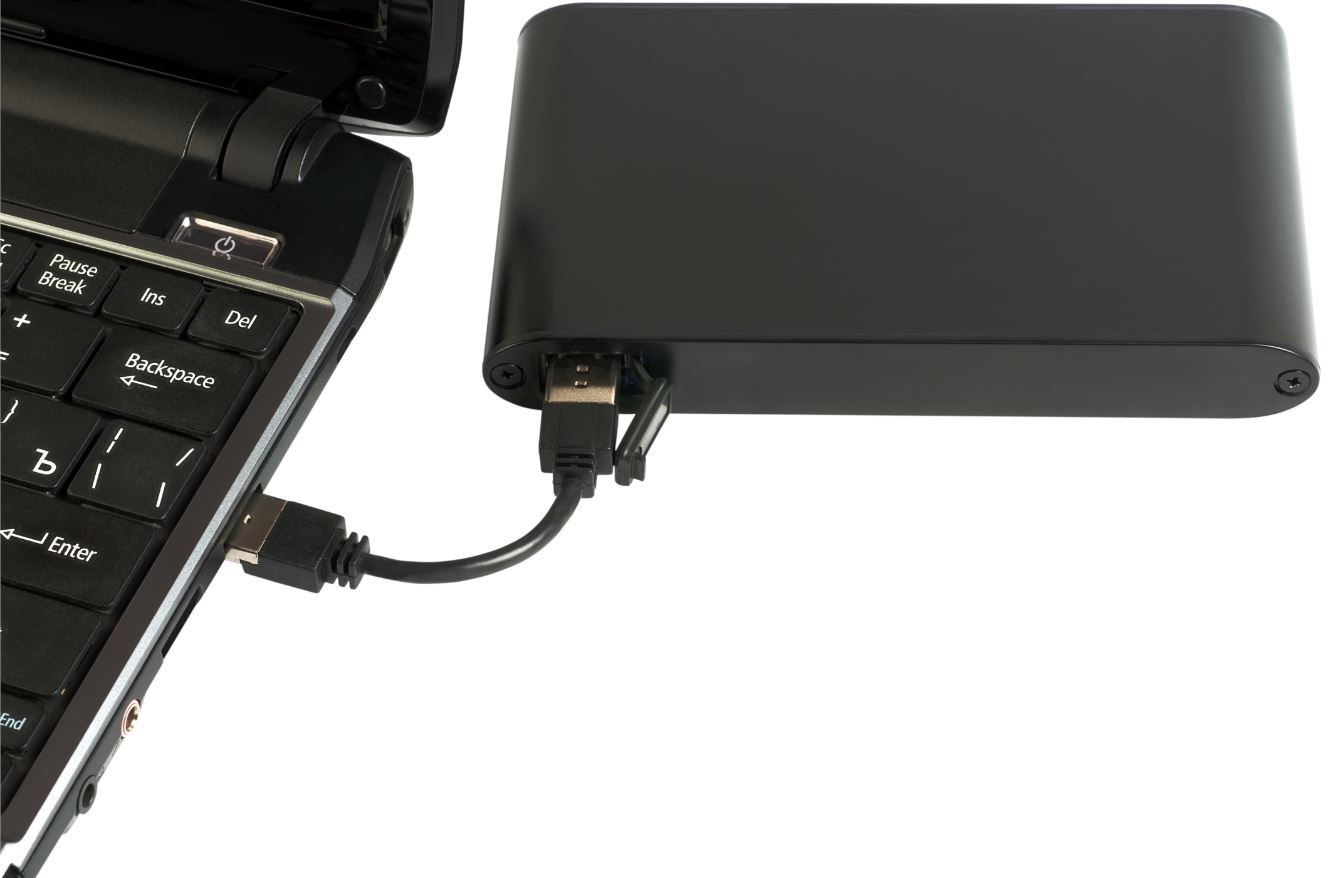
- Proper Cables and Connections: If you are using an external storage device for your data backup, ensure that you have the necessary cables and connections to establish a reliable connection between your computer and the external storage device. This could include USB cables, SATA cables, or network cables, depending on the type of external storage device you are using.
- User Guides and Documentation: Familiarize yourself with the user guides and documentation provided by the partitioning software you choose. These resources will provide step-by-step instructions, tips, and troubleshooting advice specific to the software you will be using. Referencing these guides will help you navigate the repartitioning process effectively and resolve any issues that may arise.
- Patience and Attention to Detail: While not physical tools, patience and attention to detail are essential for a successful repartitioning process. Take the time to carefully follow the instructions provided by the partitioning software and double-check your actions before executing any partitioning operations. Rushing through the process or making hasty decisions can lead to mistakes or data loss.
Having the right tools and resources in place before proceeding with repartitioning your SSD is vital. The partitioning software, proper computer resources, external storage for data backup, cables and connections, user guides, and documentation will all contribute to a smooth and successful repartitioning experience. Remember to exercise patience and attention to detail throughout the process to ensure the best possible outcome.
Step-by-Step Guide to Repartitioning a Solid State Drive
Now that you have all the necessary tools and preparations in place, it’s time to dive into the step-by-step process of repartitioning your solid state drive (SSD). Follow these instructions carefully to ensure a successful repartitioning experience:
- Backup Your Data: Make sure you have backed up all your important data to a reliable external storage device or cloud-based storage service. This step is crucial to avoid potential data loss during the repartitioning process.
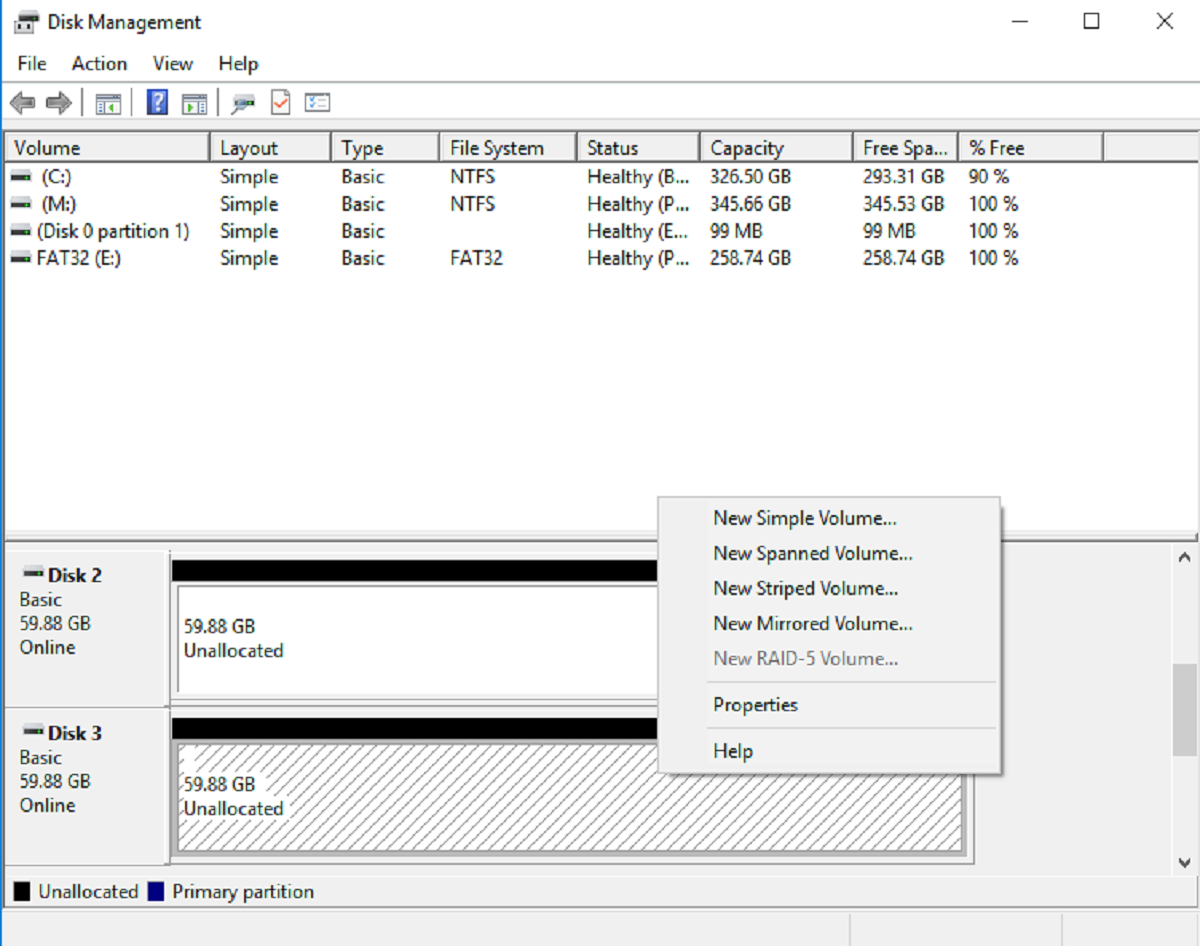
- Launch the Partitioning Software: Open the partitioning software that you have chosen for the repartitioning process on your computer. Ensure that the software recognizes and displays your SSD as one of the available disks.
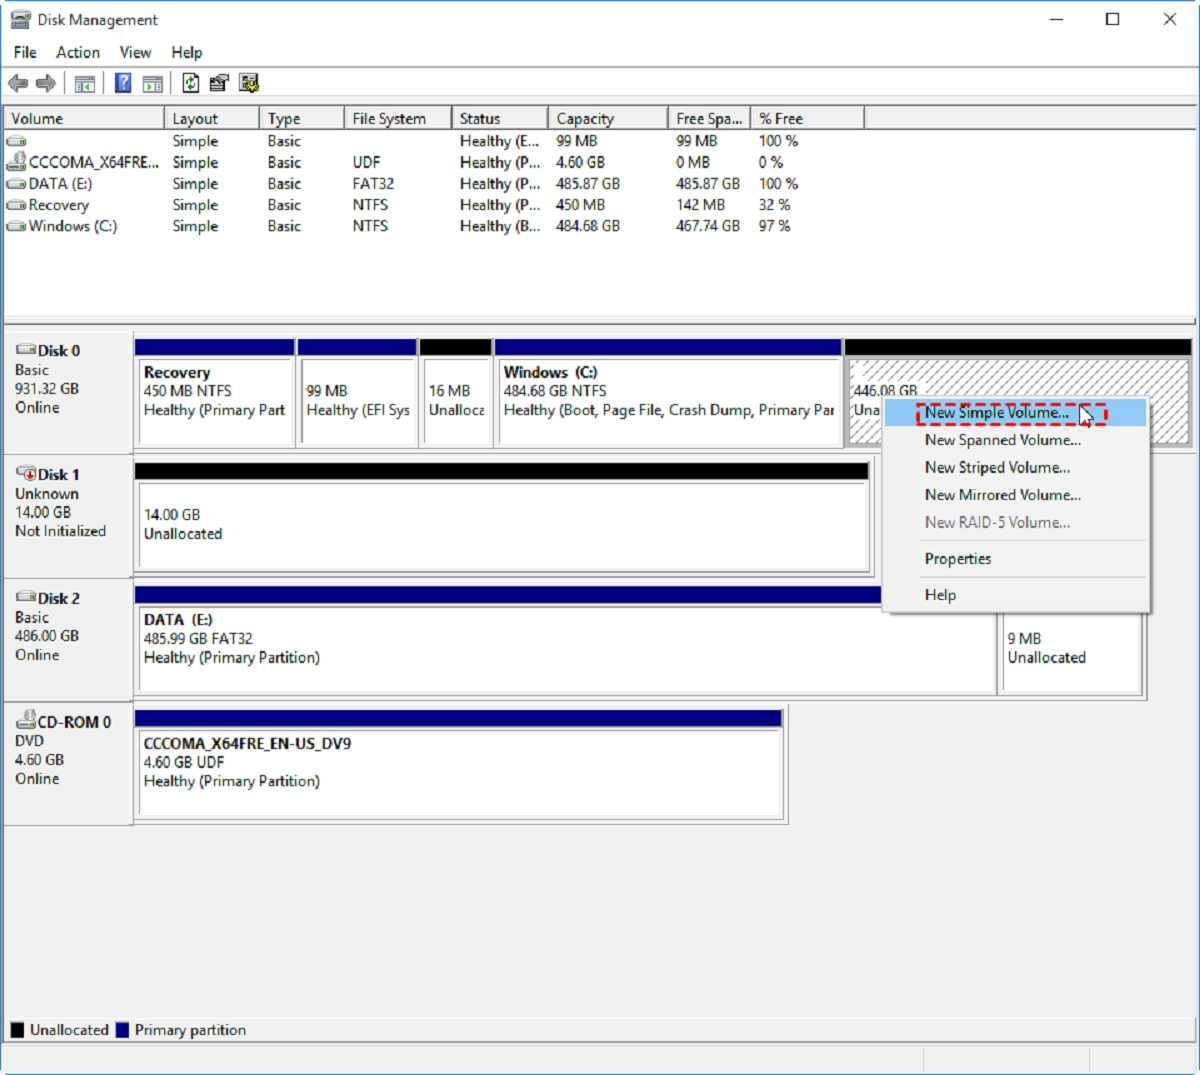
- Identify Existing Partitions: Take note of the existing partitions on your SSD and their corresponding sizes. This will help you visualize and plan the desired repartitioning layout.
- Create a Partition Plan: Determine how you want to repartition your SSD. Consider factors such as the number of partitions, their sizes, and their allocation for specific types of data. Take into account your storage needs, data organization preferences, and performance optimization goals.
- Repartitioning Process: Proceed with the partitioning software’s repartitioning tool to modify the existing partitions accordingly. This may involve resizing or deleting existing partitions and creating new ones based on your determined partition plan.
- Allocate Space: During the repartitioning process, allocate the appropriate amount of space to each partition according to your partition plan. Consider leaving extra room for future expansion or adjusting the partition sizes to meet changing storage needs.
- Partition Alignment: If your partitioning software offers SSD alignment features, make sure to enable them to ensure optimal performance. Proper partition alignment on SSDs minimizes unnecessary write operations and improves read and write speeds.
- Confirm and Apply Changes: Review the proposed changes one last time before applying them. Double-check the partition sizes, allocation, and alignment settings. Once you are confident with the changes, apply them using the partitioning software’s functionality.
- Reboot Your System: After successfully applying the partition changes, reboot your system to initialize the new partition configuration. Check that your computer recognizes and operates with the newly repartitioned SSD correctly.
- Restore Data: Once your system has rebooted, you can restore your previously backed up data to the appropriate partitions on your repartitioned SSD. Ensure that your files are transferred to the correct locations based on your partition plan.
- Verify Repartitioning: Verify the success of the repartitioning process by checking that your data is accessible and the partitions function as intended. Test the read and write speeds of your SSD to ensure that the performance has been optimized.
By following this step-by-step guide, you can successfully repartition your solid state drive, organizing your data, maximizing performance, and adapting to changing storage needs. Patience and attention to detail are key throughout the process to ensure accurate execution and minimize the risk of data loss or system instability.
Conclusion
Repartitioning a solid state drive (SSD) can be a valuable process to optimize storage, improve performance, and better organize your data. By following the steps outlined in this guide, you can successfully repartition your SSD and achieve your desired partition layout.
Before starting the repartitioning process, it is essential to understand solid state drives and their benefits. SSDs offer faster read and write speeds, lower power consumption, and increased durability compared to traditional hard drives.
Repartitioning an SSD can be motivated by various reasons, including the need to organize data, resize partitions, create a recovery partition, boost performance, or adapt to changing storage needs.
However, before proceeding with repartitioning, it is crucial to consider important factors such as backing up your data, understanding SSD specifications, ensuring proper partition alignment, considering future storage needs, allocating sufficient time, and using reliable partitioning tools.
Throughout the repartitioning process, it is vital to exercise patience, attention to detail, and follow the step-by-step guide provided. By doing so, you can confidently and successfully repartition your SSD, aligning with your desired partitioning plan and optimizing your storage layout.
Once the repartitioning is complete, reboot your system and restore your backed-up data to the appropriate partitions. Take the time to verify the success of the repartitioning process and ensure that your files are accessible and the performance of your SSD has improved.
Remember, repartitioning involves making changes to existing partitions, which can potentially result in data loss if not executed correctly. Always ensure that you have a reliable backup of your data before proceeding.
By following this guide, you can navigate the process of repartitioning your solid state drive with confidence and achieve a more efficient and optimized storage setup. Embrace the benefits of improved organization, better performance, and adaptability to meet your changing storage needs.