Common Causes of SSD Boot Failure
When your computer fails to boot from your solid-state drive (SSD), it can be frustrating and disruptive to your daily routine. There are several common causes that could be behind this issue, from BIOS settings to hardware compatibility problems. Understanding these causes can help you troubleshoot and resolve the problem effectively.
1. Incorrect Boot Order Settings in BIOS: One of the most common causes of SSD boot failure is incorrect boot order settings in the BIOS. If your computer is set to boot from another drive, such as the hard disk drive (HDD), before the SSD, it won’t be able to access the operating system and boot properly.
2. Incompatible Hardware or Software: Compatibility issues between your SSD and other hardware components or installed software can prevent your computer from booting. It’s important to ensure that your SSD is compatible with your motherboard and any other connected devices.
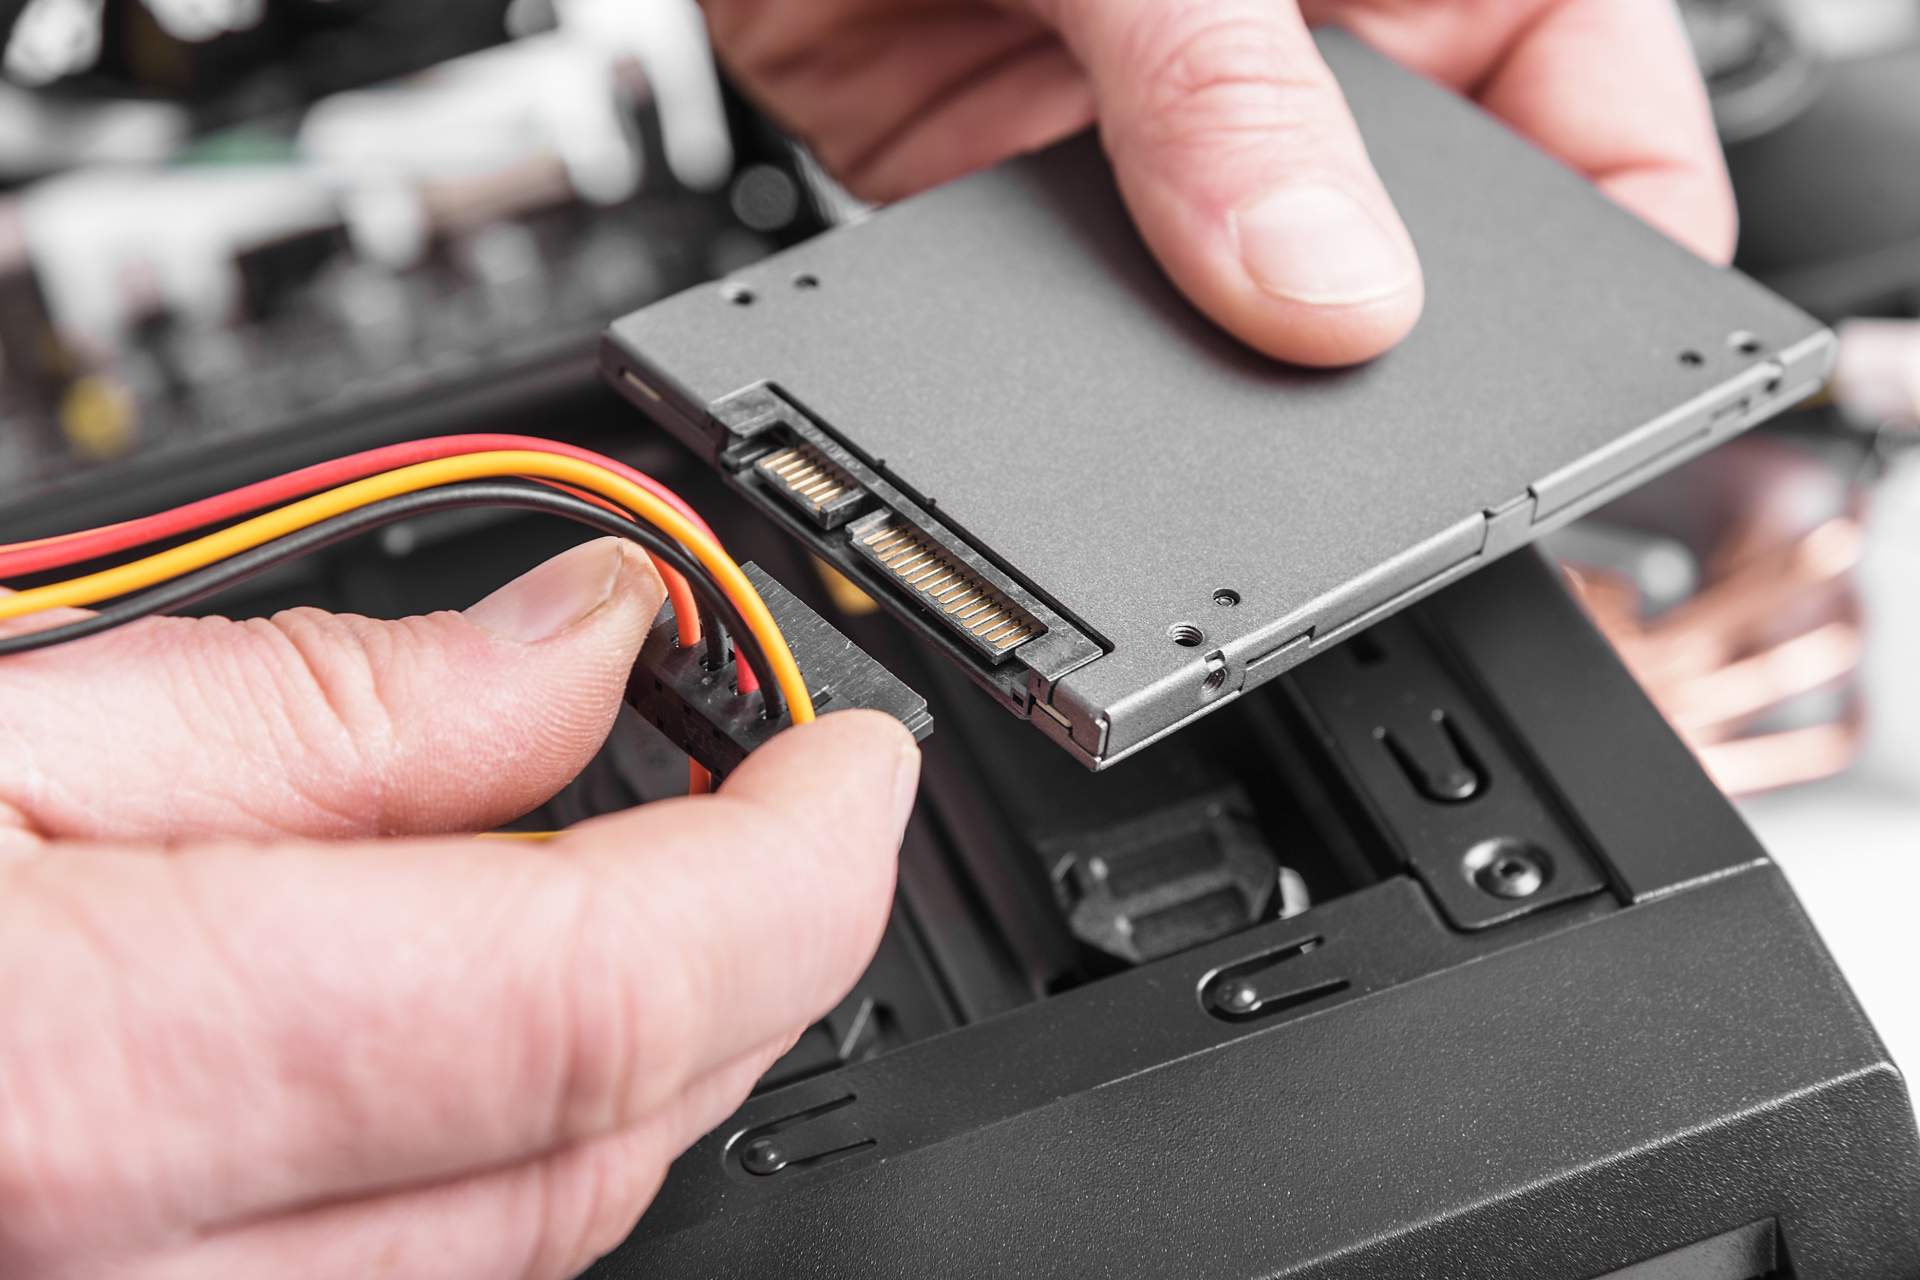
3. Faulty SATA or Power Cables: Damaged or loose SATA or power cables can also lead to boot failure. If the connections are not secure or the cables are faulty, the SSD may not receive power or data, resulting in boot issues.
4. Inadequate Power Supply: Insufficient power supply can cause the SSD to malfunction and prevent booting. If your power supply unit (PSU) is underpowered or failing, it may not provide enough power to all components, including the SSD.
5. SSD Firmware or Driver Issues: Outdated or incompatible firmware or drivers for your SSD can interfere with the boot process. Keeping your SSD firmware and drivers up to date is essential for smooth system operation.
6. Boot Sector or MBR Corruption: Corruption of the boot sector or master boot record (MBR) can also cause boot failure. This can happen due to improper shutdowns, malware infections, or disk errors.
By understanding these common causes of SSD boot failure, you can now move on to troubleshooting steps and finding a solution to get your computer up and running again.
Issue 1: Incorrect Boot Order Settings in BIOS
One of the main culprits behind SSD boot failure is incorrect boot order settings in the BIOS. The boot order determines the sequence in which devices are checked for bootable operating systems during the startup process. If your computer is set to boot from another drive, such as the hard disk drive (HDD), before the SSD, it won’t be able to access the operating system on the SSD and will fail to boot properly.
To resolve this issue, you need to access the BIOS settings of your computer and adjust the boot order. The steps may vary depending on your computer’s manufacturer, but the following general steps should guide you:
- Restart your computer and press the designated key (usually Del, F2, or F12) to enter the BIOS setup.
- Navigate to the “Boot” or “Boot Order” section of the BIOS menu.
- Look for the option that specifies the boot order sequence.
- Using the provided instructions, rearrange the boot devices to prioritize the SSD. Move it to the top of the list.
- Save the changes and exit the BIOS setup.
After making these changes, your computer will attempt to boot from the SSD first, ensuring that the operating system installed on it is accessed correctly. Remember to save your BIOS settings before exiting, as failing to do so may result in the changes not being applied.
In some cases, you may encounter additional options, such as “UEFI boot” or “Legacy boot.” If your computer supports UEFI mode, it is recommended to enable it as it offers better compatibility and security features.
By correctly configuring the boot order settings in the BIOS, you can overcome the issue of incorrect booting and allow your computer to start up from your SSD without any problems. Make sure to double-check the changes to ensure they are saved, and then restart your computer to see if the boot failure issue has been resolved.
Issue 2: Incompatible Hardware or Software
Incompatible hardware or software can be another common cause of SSD boot failure. Compatibility issues between your SSD and other hardware components or installed software can prevent your computer from successfully booting from the SSD.
When it comes to hardware compatibility, it is crucial to ensure that your SSD is compatible with your motherboard and any other connected devices. Different motherboards support different types of SSDs, such as SATA or M.2. Make sure to check the specifications of your motherboard and SSD to ensure they are compatible.
Additionally, some older motherboards may require a BIOS update to support certain SSDs. Visit the manufacturer’s website and check for any available BIOS updates that address compatibility issues. Flashing the latest BIOS version might resolve the compatibility problem.
Software compatibility can also play a role in SSD boot failure. In some cases, outdated or incompatible software can conflict with the SSD, preventing it from functioning properly during the boot process.
If you suspect software compatibility issues, consider updating your operating system and device drivers to the latest versions. Check the SSD manufacturer’s website for any firmware updates and install them as well. These updates often contain fixes and improvements that can address compatibility-related problems.
If the compatibility issues persist, it may be necessary to consult the manufacturer’s support resources or forums for further assistance. They may be able to provide specific recommendations or solutions tailored to your hardware and software configuration.
When troubleshooting compatibility issues, it’s also worth considering any recent hardware or software changes you made on your computer. If the boot failure occurred after installing new hardware or software, it’s likely that the newly added component or program is causing the problem. In such cases, removing or disabling the recently added hardware or software might resolve the compatibility issue.
By ensuring hardware and software compatibility, you can overcome this issue and successfully boot your computer from the SSD. Make sure to thoroughly research and verify compatibility before purchasing and installing any hardware components or software updates.
Issue 3: Faulty SATA or Power Cables
Faulty SATA or power cables can contribute to boot failure of your SSD. These cables are responsible for providing both power and data connections to the SSD. If the connections are not secure or the cables themselves are damaged, it can result in the SSD not receiving the necessary power or data, leading to boot issues.
Firstly, check the connections of the SATA and power cables. Ensure they are firmly plugged into both the SSD and the motherboard or power supply unit (PSU). Sometimes, a loose connection can cause intermittent boot failures. Gently push on the cables to make sure they are properly seated in their respective connectors.
If the connections appear to be secure, inspect the cables themselves for any signs of damage. Look for frayed wires, bent pins, or other visible defects. If the cables are damaged, replacing them with new ones may resolve the boot failure issue. Make sure to use high-quality cables that are compatible with your SSD and meet the necessary specifications.
In some cases, using different SATA or power cables can also help identify if the issue lies with the cables themselves. Borrowing cables from a working system or using spare ones can help determine if the boot failure is due to faulty cables.
Additionally, consider swapping the SATA ports on your motherboard. Sometimes, specific SATA ports can be faulty or have issues that prevent the SSD from booting correctly. By connecting the SSD to a different SATA port, you can eliminate the possibility of a faulty port causing the boot failure.
It’s worth noting that if you are using an M.2 SSD, the connection is typically made through a slot on the motherboard rather than using cables. In this case, ensure that the SSD is properly inserted into the M.2 slot and securely fastened with the mounting screw, if applicable.
By inspecting and ensuring the integrity of the SATA and power cables, you can eliminate potential cable-related issues that may be causing boot failure. Properly connected and undamaged cables are vital for the SSD to receive power and data, allowing for a successful booting process.
Issue 4: Inadequate Power Supply
Inadequate power supply can be a significant cause of SSD boot failure. Insufficient power can prevent the SSD from receiving the necessary power to function properly, leading to boot issues. It’s important to ensure that your computer has an adequate power supply to support all of its components, including the SSD.
Firstly, check the power supply unit (PSU) wattage rating. If it’s on the lower end or close to the system’s power requirements, upgrading to a higher wattage PSU might be necessary. An underpowered PSU might fail to deliver enough power to all the components, causing them to malfunction, including the SSD.
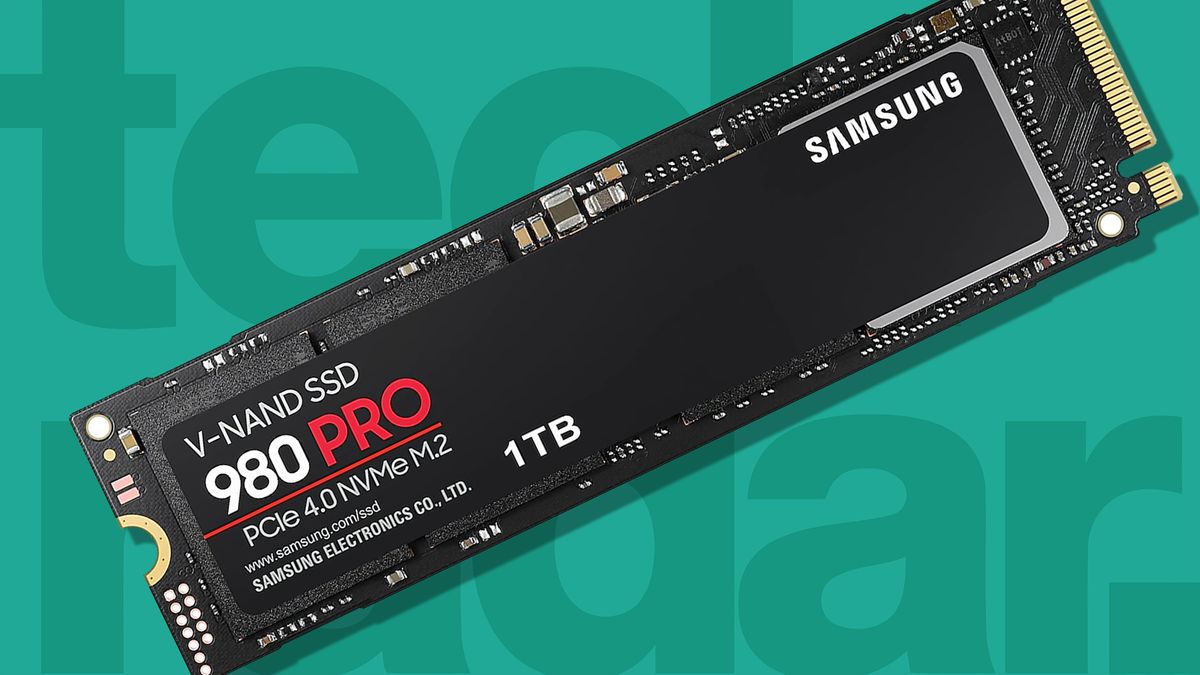
Consider the power requirements of your specific SSD model. Some high-performance SSDs, especially those with advanced features like NVMe, may require more power. Refer to the SSD manufacturer’s specifications or documentation to determine the recommended power supply for optimal performance.
Inspect the power connections to the SSD and ensure they are securely plugged in. Loose power connections can result in intermittent boot failures. Remove and reattach the power cable to confirm that it’s properly seated in the power connector of the SSD.
It’s also crucial to note that inadequate power supply can be caused by a faulty or aging power supply unit. Over time, PSUs can degrade, which affects their ability to provide stable power. If you suspect a failing PSU, consider replacing it with a new, reliable unit to ensure a steady power supply to all components, including the SSD.
Furthermore, consider the power requirements of other components in your system, such as the graphics card and CPU. These power-hungry components can put additional strain on the PSU. Upgrading to a higher wattage PSU can help ensure that all components receive sufficient power.
By addressing inadequate power supply, you can ensure that the SSD receives the necessary power, allowing for a successful booting process. A stable and reliable power supply is crucial for the smooth operation of all components, including the SSD.
Issue 5: SSD Firmware or Driver Issues
SSD firmware or driver issues can contribute to boot failure. Firmware is the software embedded in the SSD that controls its operation, while drivers are software components that facilitate communication between the SSD and the operating system. Outdated or incompatible firmware and drivers can interfere with the boot process, preventing the SSD from functioning properly.
To resolve firmware and driver issues, it’s essential to keep your SSD up to date with the latest firmware and drivers provided by the manufacturer. Regularly checking for updates ensures that any known bugs or compatibility issues are addressed and resolved.
Start by visiting the SSD manufacturer’s website and searching for firmware updates specific to your SSD model. If an update is available, follow the provided instructions to download and install it. Make sure to carefully read and follow the manufacturer’s guidelines during the update process to avoid any potential issues.
Similarly, check for driver updates for your SSD. These drivers enable efficient communication between the SSD and the operating system. SSD drivers can usually be found on the manufacturer’s website or through the SSD manufacturer’s software utility. Install the latest driver version compatible with your operating system to ensure optimal performance and compatibility.
If you encounter any difficulties during the firmware or driver update process, consult the manufacturer’s documentation or support resources for assistance. They may provide troubleshooting steps or additional guidance specific to your SSD model.
It’s important to note that firmware and driver updates carry some degree of risk, so it’s recommended to back up your important files and data before proceeding with any updates. This ensures that you have a copy of your data in case any unforeseen issues arise during the update process.
By keeping your SSD firmware and drivers up to date, you can avoid potential compatibility issues and improve the overall performance and reliability of your SSD. Regularly checking for updates and installing them ensures that your SSD is equipped with the latest enhancements and bug fixes, minimizing the chances of boot failure.
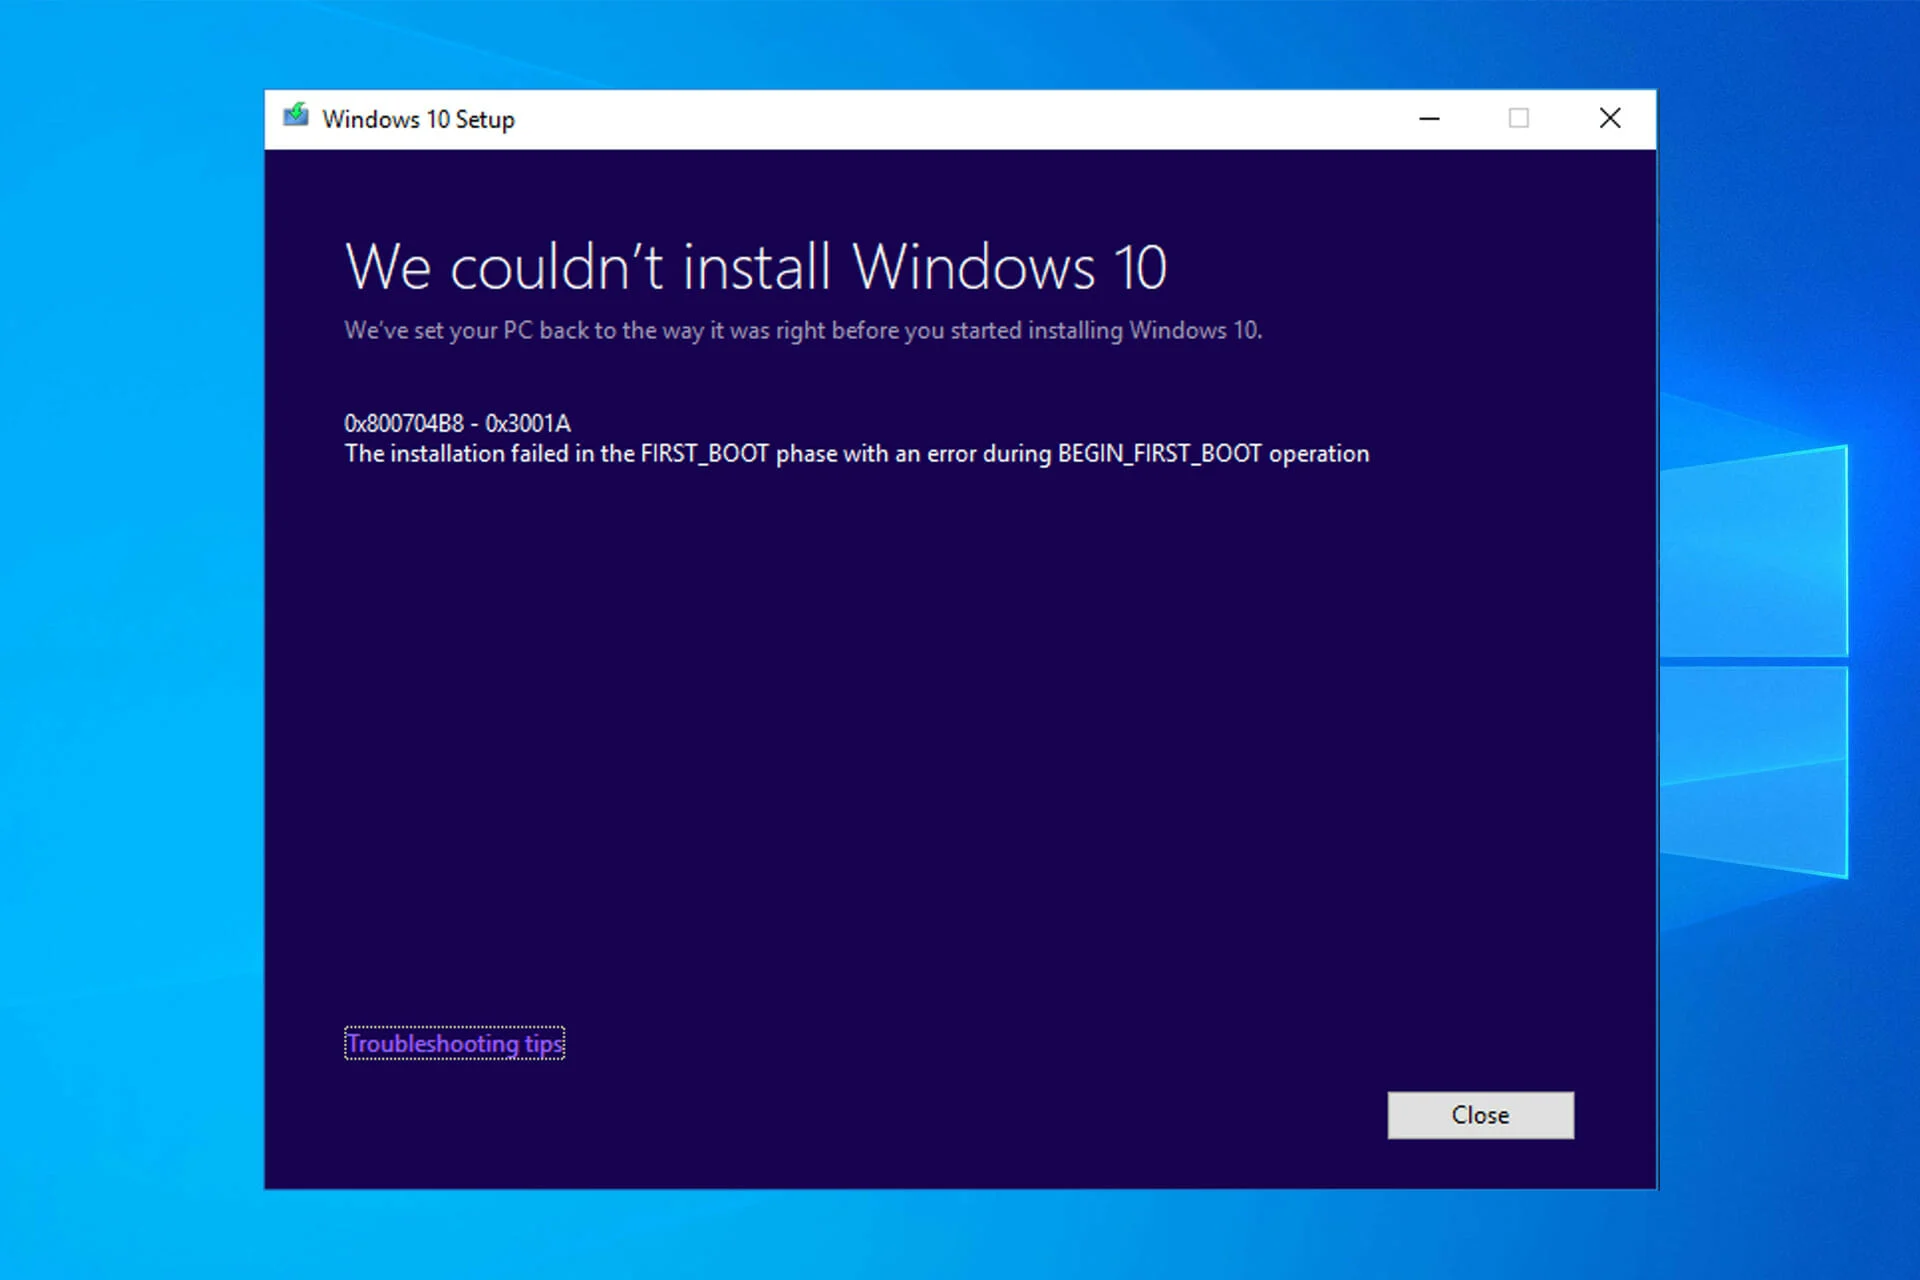
Issue 6: Boot Sector or MBR Corruption
Boot sector or Master Boot Record (MBR) corruption is another significant cause of SSD boot failure. The boot sector and MBR contain crucial information that allows the computer to locate the operating system and initiate the boot process. When either the boot sector or MBR becomes corrupted, the computer may struggle to boot successfully from the SSD.
Corruption in the boot sector or MBR can occur due to various reasons, such as improper shutdowns, malware infections, or disk errors. When this happens, the computer may display error messages indicating the inability to locate a bootable device or an operating system.
Fortunately, there are several steps you can take to address boot sector or MBR corruption:
- Boot Repair: Start by attempting to repair the boot sector and MBR using built-in repair tools. On Windows systems, you can use the “Automatic Repair” option from the advanced startup options. On some Linux distributions, you can use tools like “Boot-Repair” to repair the boot sector and MBR.
- Rebuild the MBR: If the automatic repair fails, you can try manually rebuilding the MBR using command-line utilities like “bootrec” on Windows or “grub-install” on Linux. These utilities can help recreate a fresh MBR, resolving potential corruption issues.
- Restore from a Backup: If you have a recent backup of your boot sector or MBR, you can restore it to fix any corruption. This is a reliable and efficient way to recover your boot sector or MBR.
- Reinstall Operating System: If all else fails, you may need to reinstall the operating system. This process will create a new boot sector and MBR during the installation, eliminating any existing corruption.
It’s important to note that attempting to repair or rebuild the boot sector or MBR carries some risks. It’s recommended to back up your important files and data before proceeding with any repairs. This ensures you have a copy of your data in case any unforeseen issues arise during the repair process.
If you are not confident in performing these steps yourself, it may be advisable to seek assistance from a computer technician or a knowledgeable professional to avoid any potential complications.
By addressing boot sector or MBR corruption, you can overcome the boot failure issue and restore the proper functioning of the SSD. Choose the appropriate repair method based on your operating system and level of technical expertise, and be sure to back up your data to safeguard against any potential data loss during the repair process.
Troubleshooting Steps
Experiencing boot failure from your solid-state drive (SSD) can be frustrating, but there are several troubleshooting steps you can take to identify and resolve the issue. By following these steps in a systematic manner, you can get your computer up and running again.
Here are some troubleshooting steps to consider:
- Step 1: Verify Boot Order Settings: Start by checking the boot order settings in the computer’s BIOS. Ensure that the SSD is set as the primary boot device. If it’s not, adjust the boot order to prioritize the SSD.
- Step 2: Check Hardware Compatibility: Confirm that your SSD is compatible with your motherboard and other connected hardware components. Check the specifications of both the SSD and the motherboard to ensure compatibility. Update the motherboard’s BIOS if necessary.
- Step 3: Inspect SATA or Power Cables: Check the SATA and power cables connecting the SSD to the motherboard and power supply. Ensure that the cables are securely plugged in and undamaged. Replace any faulty cables if necessary.
- Step 4: Ensure Adequate Power Supply: Check the power supply unit (PSU) wattage rating and ensure it is capable of providing enough power to all components, including the SSD. Upgrade the PSU if needed to avoid underpowering the system.
- Step 5: Update SSD Firmware and Drivers: Check the SSD manufacturer’s website for any available firmware updates for your specific model. Also, update the SSD drivers to the latest version compatible with your operating system.
- Step 6: Fix Boot Sector or MBR Corruption: If previous steps didn’t resolve the issue, consider repairing or rebuilding the boot sector and MBR. Utilize built-in repair tools, command-line utilities, or restore from a backup. As a last resort, reinstall the operating system.
Perform these troubleshooting steps in the order provided, as they address common causes of SSD boot failure. Keep in mind that every computer setup is unique, and you may need to adapt these steps to match your specific hardware and software configuration.
If you are uncertain about any of the steps or encounter difficulties during the troubleshooting process, consult the manufacturer’s documentation, online forums, or seek assistance from a knowledgeable professional.
By systematically following these troubleshooting steps, you can identify and resolve the root cause of the boot failure, enabling your computer to successfully boot from the SSD once again.
Step 1: Verify Boot Order Settings
When troubleshooting SSD boot failure, the first step is to verify and adjust the boot order settings in your computer’s BIOS (Basic Input/Output System). The boot order determines the sequence in which the computer checks for bootable devices during the startup process. If the SSD is not set as the primary boot device, your computer may fail to boot from it.
Here’s how to verify and adjust the boot order settings:
- Restart your computer and look for the key(s) to enter the BIOS setup. Commonly used keys include Del, F2, or F12, although the specific key may vary depending on the computer manufacturer.
- Once in the BIOS setup, navigate to the “Boot” or “Boot Order” section. The location and naming may vary depending on the BIOS interface.
- Locate the list of bootable devices and move the SSD to the top of the list. This ensures that the computer checks the SSD first during the boot process.
- Use the instructions provided on the screen to rearrange the boot devices. Typically, you can move the selected device up or down using the designated keys.
- Save the changes and exit the BIOS setup. Typically, you can save by pressing F10 or selecting the option to save and exit.
After saving the changes, your computer will attempt to boot from the SSD as the primary device. This adjustment ensures that the operating system installed on the SSD is accessed correctly during startup.
It’s important to note that some BIOS interfaces provide additional options such as UEFI boot or Legacy boot. If your computer supports UEFI mode, it is recommended to enable it for better compatibility and improved security features.
If you are unsure about navigating the BIOS or adjusting the boot order settings, refer to the manufacturer’s documentation or online resources for detailed instructions specific to your computer model. Additionally, you can seek assistance from a knowledgeable technician for guidance.
By verifying and adjusting the boot order settings in the BIOS, you can ensure that the computer prioritizes booting from the SSD. This step is essential in troubleshooting and resolving boot failure issues related to incorrect boot order configurations.
Step 2: Check Hardware Compatibility
When troubleshooting SSD boot failure, it’s essential to verify the hardware compatibility between your solid-state drive (SSD) and other components in your computer. Incompatible hardware can prevent the SSD from functioning correctly during the boot process, leading to boot failure.
Here’s how to check hardware compatibility for your SSD:
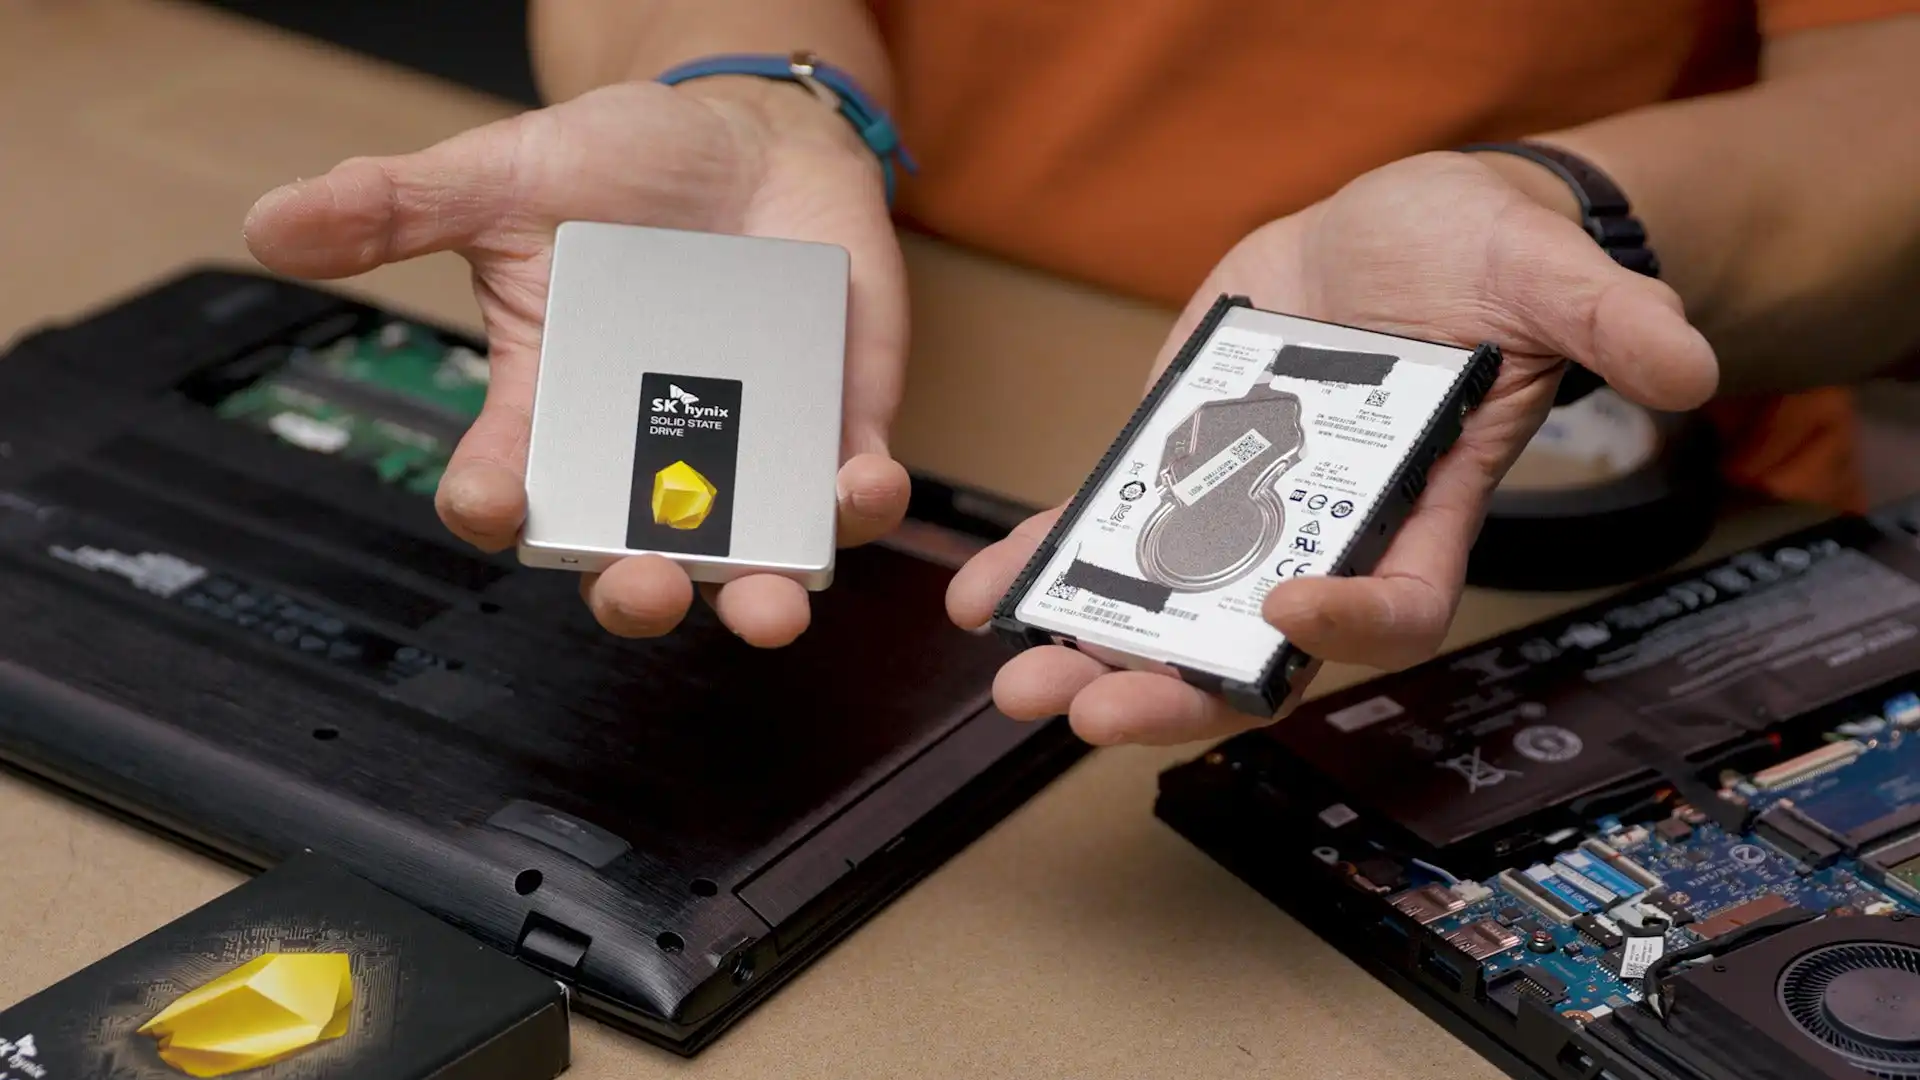
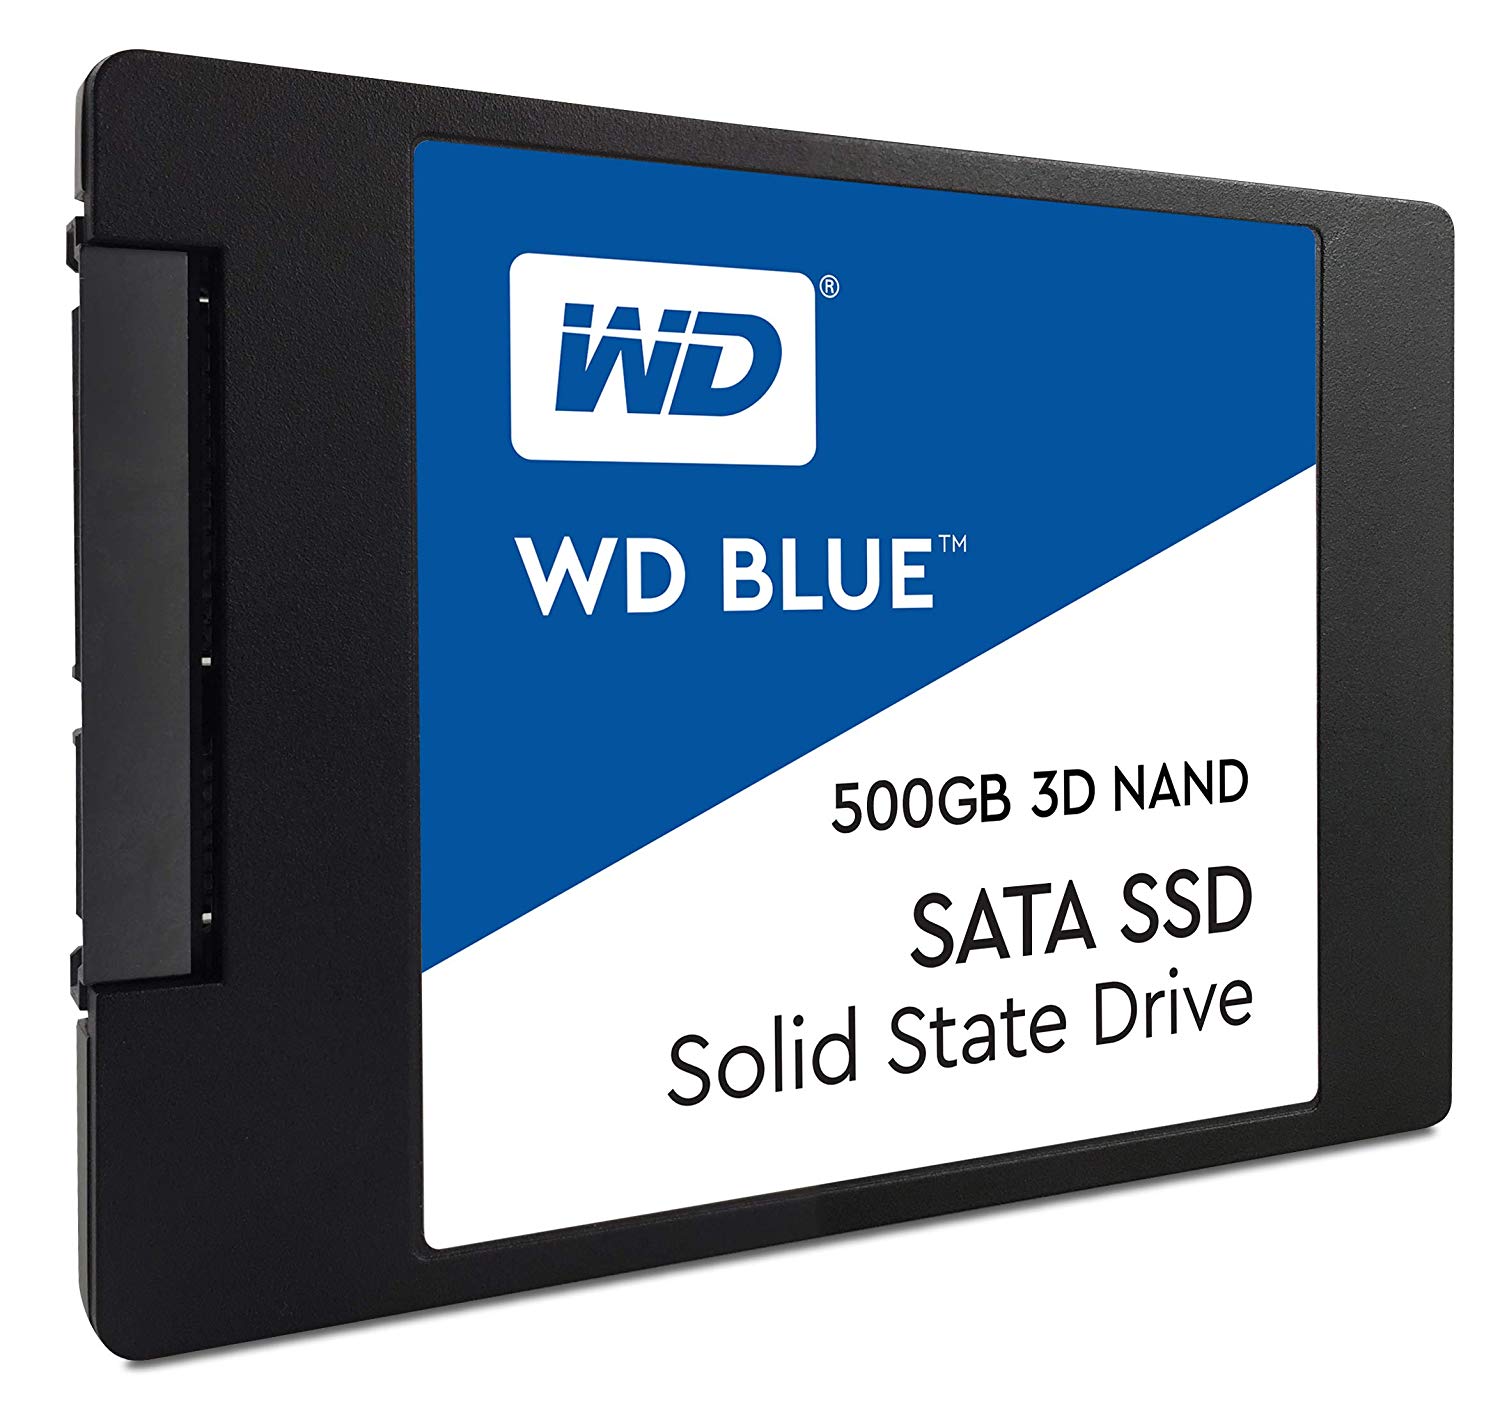
- Review your SSD specifications: Refer to the documentation or manufacturer’s website for your SSD model. Check the interface type (SATA, PCIe, M.2), form factor (2.5-inch, M.2, etc.), and any specific requirements or recommendations provided by the manufacturer.
- Examine your motherboard specifications: Check the motherboard documentation or manufacturer’s website. Look for information on supported SSD types, interfaces, and form factors. Ensure that your motherboard supports and has the necessary connection ports for your SSD. If your motherboard does not meet the requirements, you may need to consider upgrading to a compatible motherboard.
- Consider other connected hardware: Check for any additional hardware connected to your system that may affect the SSD boot process. This includes graphics cards, expansion cards, and other devices that may cause conflicts or power-related issues. Ensure that these components are compatible and do not hinder SSD operation.
- Verify BIOS compatibility: Confirm that your motherboard’s BIOS version is up to date and compatible with your SSD. If there are BIOS updates related to SSD compatibility, consider updating the BIOS following the manufacturer’s instructions. Updating the BIOS can often resolve compatibility issues and improve system stability.
It’s important to thoroughly research and understand the compatibility requirements of your SSD and associated hardware components. Check the manufacturer’s websites, user manuals, and online forums for specific compatibility information and potential known issues.
If you discover any compatibility issues during this step, you may need to make adjustments or upgrades to ensure proper compatibility. This can involve replacing the incompatible component(s), selecting a different SSD model or form factor, or upgrading your motherboard or other essential hardware to support the SSD.
As compatibility issues can be complex, consulting with a knowledgeable technician or reaching out to the component manufacturers’ support can provide specific guidance and recommendations tailored to your unique hardware setup.
By checking and ensuring hardware compatibility, you can mitigate potential issues that may hinder the SSD from booting successfully. This step helps establish a solid foundation for resolving boot failure related to hardware incompatibility.
Step 3: Inspect SATA or Power Cables
When troubleshooting SSD boot failure, it’s crucial to inspect the SATA or power cables connecting your solid-state drive (SSD) to the motherboard and power supply unit (PSU). Faulty cables or loose connections can cause the SSD to not receive power or data, resulting in boot issues.
Follow these steps to inspect the SATA or power cables:
- Power off your computer and ensure it is unplugged from the power source.
- Open your computer case to gain access to the internal components.
- Locate the SATA and power cables connected to the SSD. The SATA cable is a thin, flat cable, while the power cable is a multi-colored cable with several wires protruding from it.
- Check that the SATA and power cables are securely plugged into both the SSD and the motherboard or PSU. Give them a gentle push to ensure they are properly seated in their respective connectors.
- Inspect the cables for any signs of damage, such as frayed wires, bent pins, or visible defects. Any damaged cables should be replaced with new ones.
- If you have spare SATA or power cables available, consider swapping them to rule out the possibility of a faulty cable causing the boot failure.
It’s essential to ensure the cables are securely attached to both the SSD and the motherboard/PSU. Loose connections can lead to intermittent power or data transfer issues, causing boot failure. Re-seating the cables can help establish a secure connection.
If the cables appear to be in good condition and are properly connected, consider testing the SSD with a different SATA port on the motherboard. Sometimes, a specific SATA port may be faulty or experience issues that prevent the SSD from booting correctly. Swapping the port can help identify and isolate the problem.
For M.2 SSDs, where the connection is typically made through a slot on the motherboard, ensure that the SSD is properly inserted into the M.2 slot and securely fastened with the mounting screw if applicable.
By inspecting the SATA or power cables and ensuring their secure connections, you can eliminate any potential cable-related issues. Proper connections are essential for the SSD to receive power and data, allowing for a successful booting process.
Step 4: Ensure Adequate Power Supply
When troubleshooting SSD boot failure, it’s important to ensure that your computer has an adequate power supply. Insufficient power can cause the solid-state drive (SSD) to malfunction and lead to boot issues. It is essential to determine whether your power supply unit (PSU) is capable of providing enough power to all components, including the SSD.
Here are some steps to ensure an adequate power supply:
- Check the PSU Wattage Rating: Verify the wattage rating of your power supply unit. The wattage rating indicates the maximum power the PSU can deliver to the system. Make sure that the PSU wattage is sufficient to handle the power requirements of all components, especially the SSD. If the PSU wattage is insufficient, consider upgrading to a higher-rated PSU.
- Consider your SSD Power Requirements: Different SSD models have varying power requirements. Check the documentation or the manufacturer’s website for your SSD to find the power specifications. Ensure that the PSU can provide enough power to meet the SSD’s requirements.
- Inspect Power Connections: Ensure that the power cables connecting the SSD to the PSU are securely plugged in. Check for any loose cables or connections. Re-seat the power cable to confirm a proper connection.
- Consider Additional Power Draw: Take into account the power requirements of other components in your system, such as the CPU, graphics card, and other peripherals. The total power draw of these components needs to be considered in relation to the PSU’s wattage rating. Upgrading to a higher-wattage PSU may be necessary if you have power-hungry components.
- Check for PSU Degradation: Over time, power supply units (PSUs) can experience degradation, leading to reduced power output. If your computer is exhibiting boot failure with a previously functioning SSD, a failing PSU may be the cause. Consider testing the system with a different, known-good PSU to determine if the current PSU is defective.
Investigating the power supply is crucial in troubleshooting boot failure issues. Inadequate power can lead to unstable operation and hinder the performance of the SSD. Ensuring a stable and adequate power supply will contribute to a smooth booting process and system operation.
If you are unsure about checking the PSU wattage or troubleshooting power-related issues, consulting with a knowledgeable technician can provide valuable insights and guidance tailored to your specific hardware configuration.
By verifying and addressing any potential power supply inadequacies, you can ensure that your SSD receives the necessary power to function properly and resolve boot failure issues related to insufficient power.
Step 5: Update SSD Firmware and Drivers
When troubleshooting SSD boot failure, it’s crucial to update the firmware and drivers of your solid-state drive (SSD). Outdated or incompatible firmware and drivers can interfere with the boot process, leading to boot failure.
Here’s how to update the firmware and drivers for your SSD:
- Visit the SSD Manufacturer’s Website: Go to the manufacturer’s website for your specific SSD model. Look for the support or download section.
- Check for Firmware Updates: Look for any available firmware updates for your SSD model. Firmware updates often address bugs, improve performance, and provide better compatibility with the operating system. Download the latest firmware update package provided by the manufacturer.
- Install Firmware Updates: Follow the manufacturer’s instructions to install the firmware update. This typically involves running an executable file or using a firmware update utility provided by the manufacturer. Carefully read and follow the instructions provided during the update process to ensure a successful installation.
- Check for Driver Updates: After updating the firmware, check for any driver updates for your SSD. These drivers facilitate communication between the SSD and the operating system. Download the latest driver version compatible with your operating system from the manufacturer’s website.
- Install Driver Updates: Follow the manufacturer’s instructions to install the driver updates. This can involve running an installer or updating the drivers manually through the Device Manager on Windows or using package managers on Linux. Restart your computer after installing the driver updates to ensure they take effect.
It’s important to note that firmware and driver updates should be carried out cautiously. Backup your important files and data before proceeding with any updates to safeguard against any potential issues.
Updating firmware and drivers can enhance SSD performance, improve compatibility, and address known issues that may cause boot failure. These updates ensure that your SSD is equipped with the latest enhancements and bug fixes provided by the manufacturer.
If you encounter difficulties during the update process or need further guidance, consult the manufacturer’s documentation or support channels for assistance. They can provide specific recommendations or troubleshooting steps based on your SSD model and operating system.
By keeping your SSD firmware and drivers up to date, you can eliminate potential compatibility issues and improve the overall performance and reliability of your SSD, reducing the likelihood of boot failure.
Step 6: Fix Boot Sector or MBR Corruption
If you’ve reached this step in troubleshooting SSD boot failure, it’s crucial to address potential boot sector or Master Boot Record (MBR) corruption. Corrupted boot sectors or MBR can prevent the solid-state drive (SSD) from properly booting up, leading to boot failure. Here are some steps to consider when fixing boot sector or MBR corruption:
- Boot Repair: Start by attempting automatic repair using built-in tools. For Windows, you can utilize the “Automatic Repair” option in the advanced startup menu. Some Linux distributions offer tools like “Boot-Repair” to address boot-related issues.
- Rebuild the MBR: If the automatic repair fails to resolve the boot failure, manually rebuilding the MBR can be attempted. On Windows, utilize command-line utilities like “bootrec” or third-party software. On Linux, use utilities like “grub-install” to reinstall the GRUB bootloader or other boot managers.
- Restore from a Backup: If you have a recent backup of your boot sector or MBR, you can restore it to fix the corruption. This method requires having a backup created before the boot failure occurred to revert to a known working state.
- Reinstall Operating System: If other methods fail, reinstalling the operating system may be necessary. This process creates a fresh boot sector and MBR during installation, resolving any existing corruption.
Note that attempting these steps should be done with caution. Ensure that you have proper backups to avoid any data loss, especially when reinstalling the operating system. It may be beneficial to consult the documentation or seek assistance from professionals if you are not familiar with these processes.
If the issue persists even after attempting these methods, it could be a sign of a more significant hardware problem or software conflict. In such cases, it may be best to reach out to technical support or a knowledgeable technician for further assistance.
By addressing boot sector or MBR corruption, you can resolve boot failure related to these issues. However, it’s important to remember to be mindful of potential risks and to have proper backups in place before attempting any repair or reinstallation steps.
Conclusion
Experiencing SSD boot failure can be frustrating, but by following the troubleshooting steps outlined in this guide, you can identify and resolve the issue that is preventing your computer from booting from the solid-state drive (SSD). From verifying boot order settings in the BIOS to addressing hardware compatibility, inspecting cables, ensuring an adequate power supply, updating firmware and drivers, and fixing boot sector or MBR corruption, each step plays a crucial role in resolving the problem.
It is essential to approach the troubleshooting process systematically, taking the time to understand the hardware and software components involved and checking for compatibility. Inspecting cables and ensuring proper power connections are often simple yet effective troubleshooting steps. Keeping firmware and drivers up to date is another key aspect of maintaining SSD performance and compatibility with the operating system.
Addressing boot sector or MBR corruption may require more advanced steps, such as utilizing repair tools or performing a clean operating system installation. It is important to exercise caution and have backups of important files and data to avoid any potential data loss.
If you encounter difficulties during the troubleshooting process or are uncertain about any step, do not hesitate to reach out to the manufacturer’s support resources, consult documentation, or seek assistance from knowledgeable professionals. They can provide specific guidance and recommendations based on your unique hardware and software configuration.
By following these troubleshooting steps, you can overcome boot failure from your SSD and ensure that your computer successfully boots up from the solid-state drive. Remember to approach the process patiently and keep in mind that each computer setup is different, requiring individual attention and resolution.