Introduction
Welcome to this guide on how to find a solid state drive (SSD) for your Lenovo laptop. Upgrading your laptop with an SSD can greatly enhance its performance and improve your overall computing experience. Whether you’re a tech-savvy user or a first-time upgrader, this guide will walk you through the process of finding the right SSD for your Lenovo laptop and installing it properly.
SSDs are a popular choice for laptop upgrades due to their efficiency, speed, and durability. Unlike traditional hard disk drives (HDDs) that use spinning platters to store data, SSDs use flash memory technology to store and retrieve data almost instantaneously. This results in faster boot times, quicker application launches, and significantly improved overall system responsiveness.
Before diving into the world of SSDs, it’s important to determine if your Lenovo laptop is compatible with this type of storage upgrade. Most modern Lenovo laptops have the necessary hardware and support for SSDs, but it’s always a good idea to double-check before making a purchase.
In the following sections, we will provide step-by-step instructions on how to confirm the compatibility of your Lenovo laptop, research and select the best SSD for your needs, purchase and install the SSD, and optimize its performance. Let’s get started!
Checking Compatibility
Before embarking on your SSD upgrade journey, it’s crucial to ensure that your Lenovo laptop is compatible with this type of drive. Here are a few key factors to consider when checking compatibility:
- Laptop Model: Different laptop models have varying compatibility with SSDs. Start by identifying the exact model of your Lenovo laptop. You can usually find this information on a label at the bottom of the laptop or in the system information settings.
- Interface Type: Check the interface type of your laptop’s storage drive. Most modern laptops use the SATA (Serial ATA) interface, but some newer models may use the faster PCIe (Peripheral Component Interconnect Express) interface. Make sure the SSD you choose matches your laptop’s interface type.
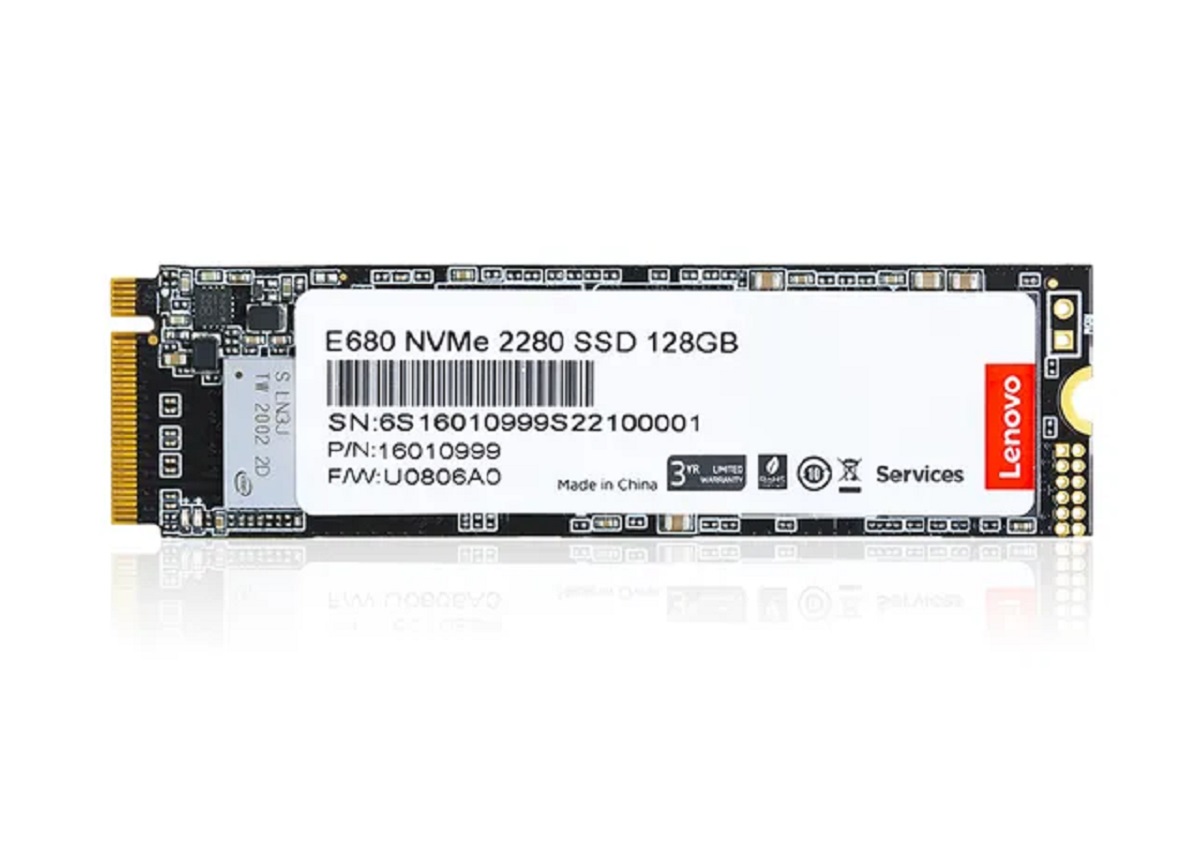
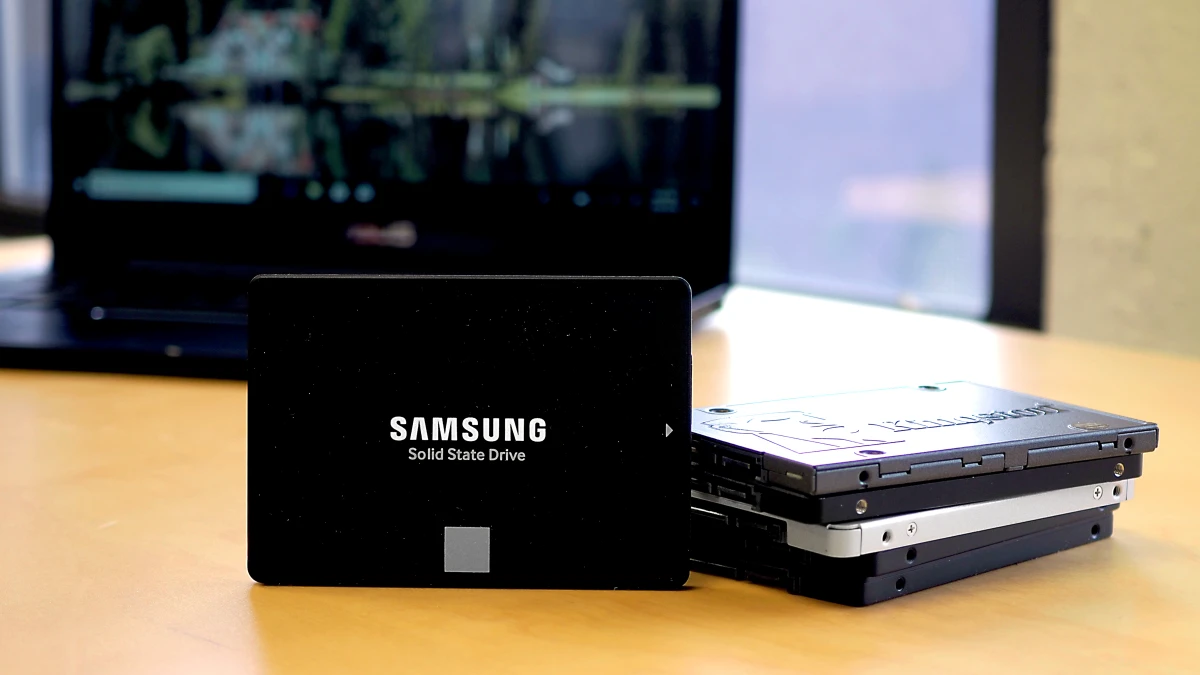
- Physical Size: SSDs come in different form factors, such as 2.5-inch, M.2, and NVMe. Verify which form factor is compatible with your laptop. Many Lenovo laptops support the 2.5-inch SATA SSD form factor, while newer models may also accommodate M.2 or NVMe SSDs.
- Storage Capacity: Determine the desired storage capacity for your SSD. Consider your needs and budget when deciding on the size of the SSD. It’s also worth noting that some Lenovo laptops have limitations on the maximum storage capacity they can support.
Once you have gathered this information, cross-reference it with the specifications of the SSDs you are considering. Check the manufacturer’s website or consult with a reputable retailer to ensure compatibility. They can often provide additional guidance and assistance in selecting the right SSD for your Lenovo laptop.
Taking the time to check compatibility before making a purchase will save you from potential headaches and ensure a smooth upgrade process. Once you have confirmed compatibility, you can move on to the next step: researching and selecting the perfect SSD for your Lenovo laptop.
Researching Options
Now that you have confirmed the compatibility of your Lenovo laptop, it’s time to dive into the world of SSDs and research the available options. Here’s a step-by-step guide to help you find the perfect SSD for your needs:
- Consider Your Needs: Think about your specific requirements for storage capacity, speed, and budget. Determine whether you need a high-capacity SSD for storing large files or if a smaller capacity drive will suffice for your everyday tasks.
- Read Reviews: Browse through reputable technology websites and customer reviews to get a sense of the performance and reliability of different SSD models. Look for SSDs that have received positive feedback and have a good track record for durability and longevity.
- Compare Specifications: Pay attention to key specifications such as read and write speeds, IOPS (input/output operations per second), and warranty coverage. Higher read and write speeds will generally result in faster performance, while a longer warranty can provide peace of mind.
- Consider Brand Reputation: Opt for well-known and reputable brands in the SSD market. These brands often prioritize quality and customer satisfaction. Research the track record and reputation of the manufacturer to ensure they have a solid history of producing reliable SSDs.
- Check Price: Compare prices across different retailers to ensure you are getting the best deal. Keep in mind that while SSDs may be slightly more expensive than traditional HDDs, the performance benefits and lifespan often make them well worth the investment.
- Seek Expert Advice: If you’re uncertain about which SSD to choose, consider seeking advice from knowledgeable individuals, such as computer technicians or experienced friends. They can provide valuable insights and guidance based on their own experiences and expertise.
By thoroughly researching your options, you can make an informed decision and find an SSD that perfectly fits your needs and budget. Once you have narrowed down your choices, it’s time to move on to the next step: shopping for your chosen SSD.
Shopping for SSD
With your research complete and a clear understanding of your needs, it’s time to start shopping for the SSD that you have selected for your Lenovo laptop. Here are some steps to follow while looking for the perfect SSD:
- Check Online Retailers: Start by browsing through reputable online retailers that specialize in computer hardware. Popular retailers such as Amazon, Newegg, and Best Buy often have a wide selection of SSDs available at competitive prices.
- Compare Prices: Look for the SSD model you have chosen and compare prices across different retailers. Keep an eye out for any ongoing sales or discounts that could save you some money. Consider factors like shipping costs and return policies when comparing prices.
- Read Customer Reviews: Before making a purchase, take the time to read customer reviews of the SSD you are considering. Look for feedback on the retailer’s website as well as on independent review websites. This can provide valuable insights into the performance and reliability of the SSD.
- Verify Seller Authenticity: Ensure that you are purchasing from a reputable seller to avoid counterfeit or low-quality products. Check the seller’s ratings, reviews, and return policies to ensure a smooth buying experience.
- Consider Bundles or Deals: Some retailers may offer SSD bundles with additional accessories or software. These can provide added value and convenience. Be sure to evaluate whether the bundled items align with your needs and if the overall deal is worth the investment.
- Check for Warranty: Look for SSDs that come with a manufacturer’s warranty. A longer warranty period indicates the company’s confidence in the product’s quality. Familiarize yourself with the warranty terms and conditions to understand what is covered and for how long.
Once you have made your decision and completed the purchase, ensure that you keep a copy of the receipt and any relevant warranty documentation for future reference. With your new SSD in hand, it’s time to move on to the next step: installing the SSD in your Lenovo laptop.
Installing the SSD
Now that you have your new SSD, it’s time to install it in your Lenovo laptop. Follow these steps to ensure a successful installation:
- Gather Necessary Tools: Before you begin, make sure you have the necessary tools, including a small screwdriver and an anti-static wrist strap. These will help protect your laptop from static electricity damage.
- Turn off and Unplug the Laptop: Shut down your laptop completely and disconnect it from the power source. This will prevent any accidental damage during the installation process.
- Access the Storage Compartment: Locate the storage compartment on the bottom of your laptop. The exact location will vary depending on the model. Refer to your laptop’s user manual or manufacturer’s website for specific instructions.
- Remove the Old Drive: Carefully unscrew and remove the screws securing the old drive in place. Gently disconnect any cables or connectors attached to the drive. Take note of the orientation and arrangement of cables to ensure proper reconnection later.
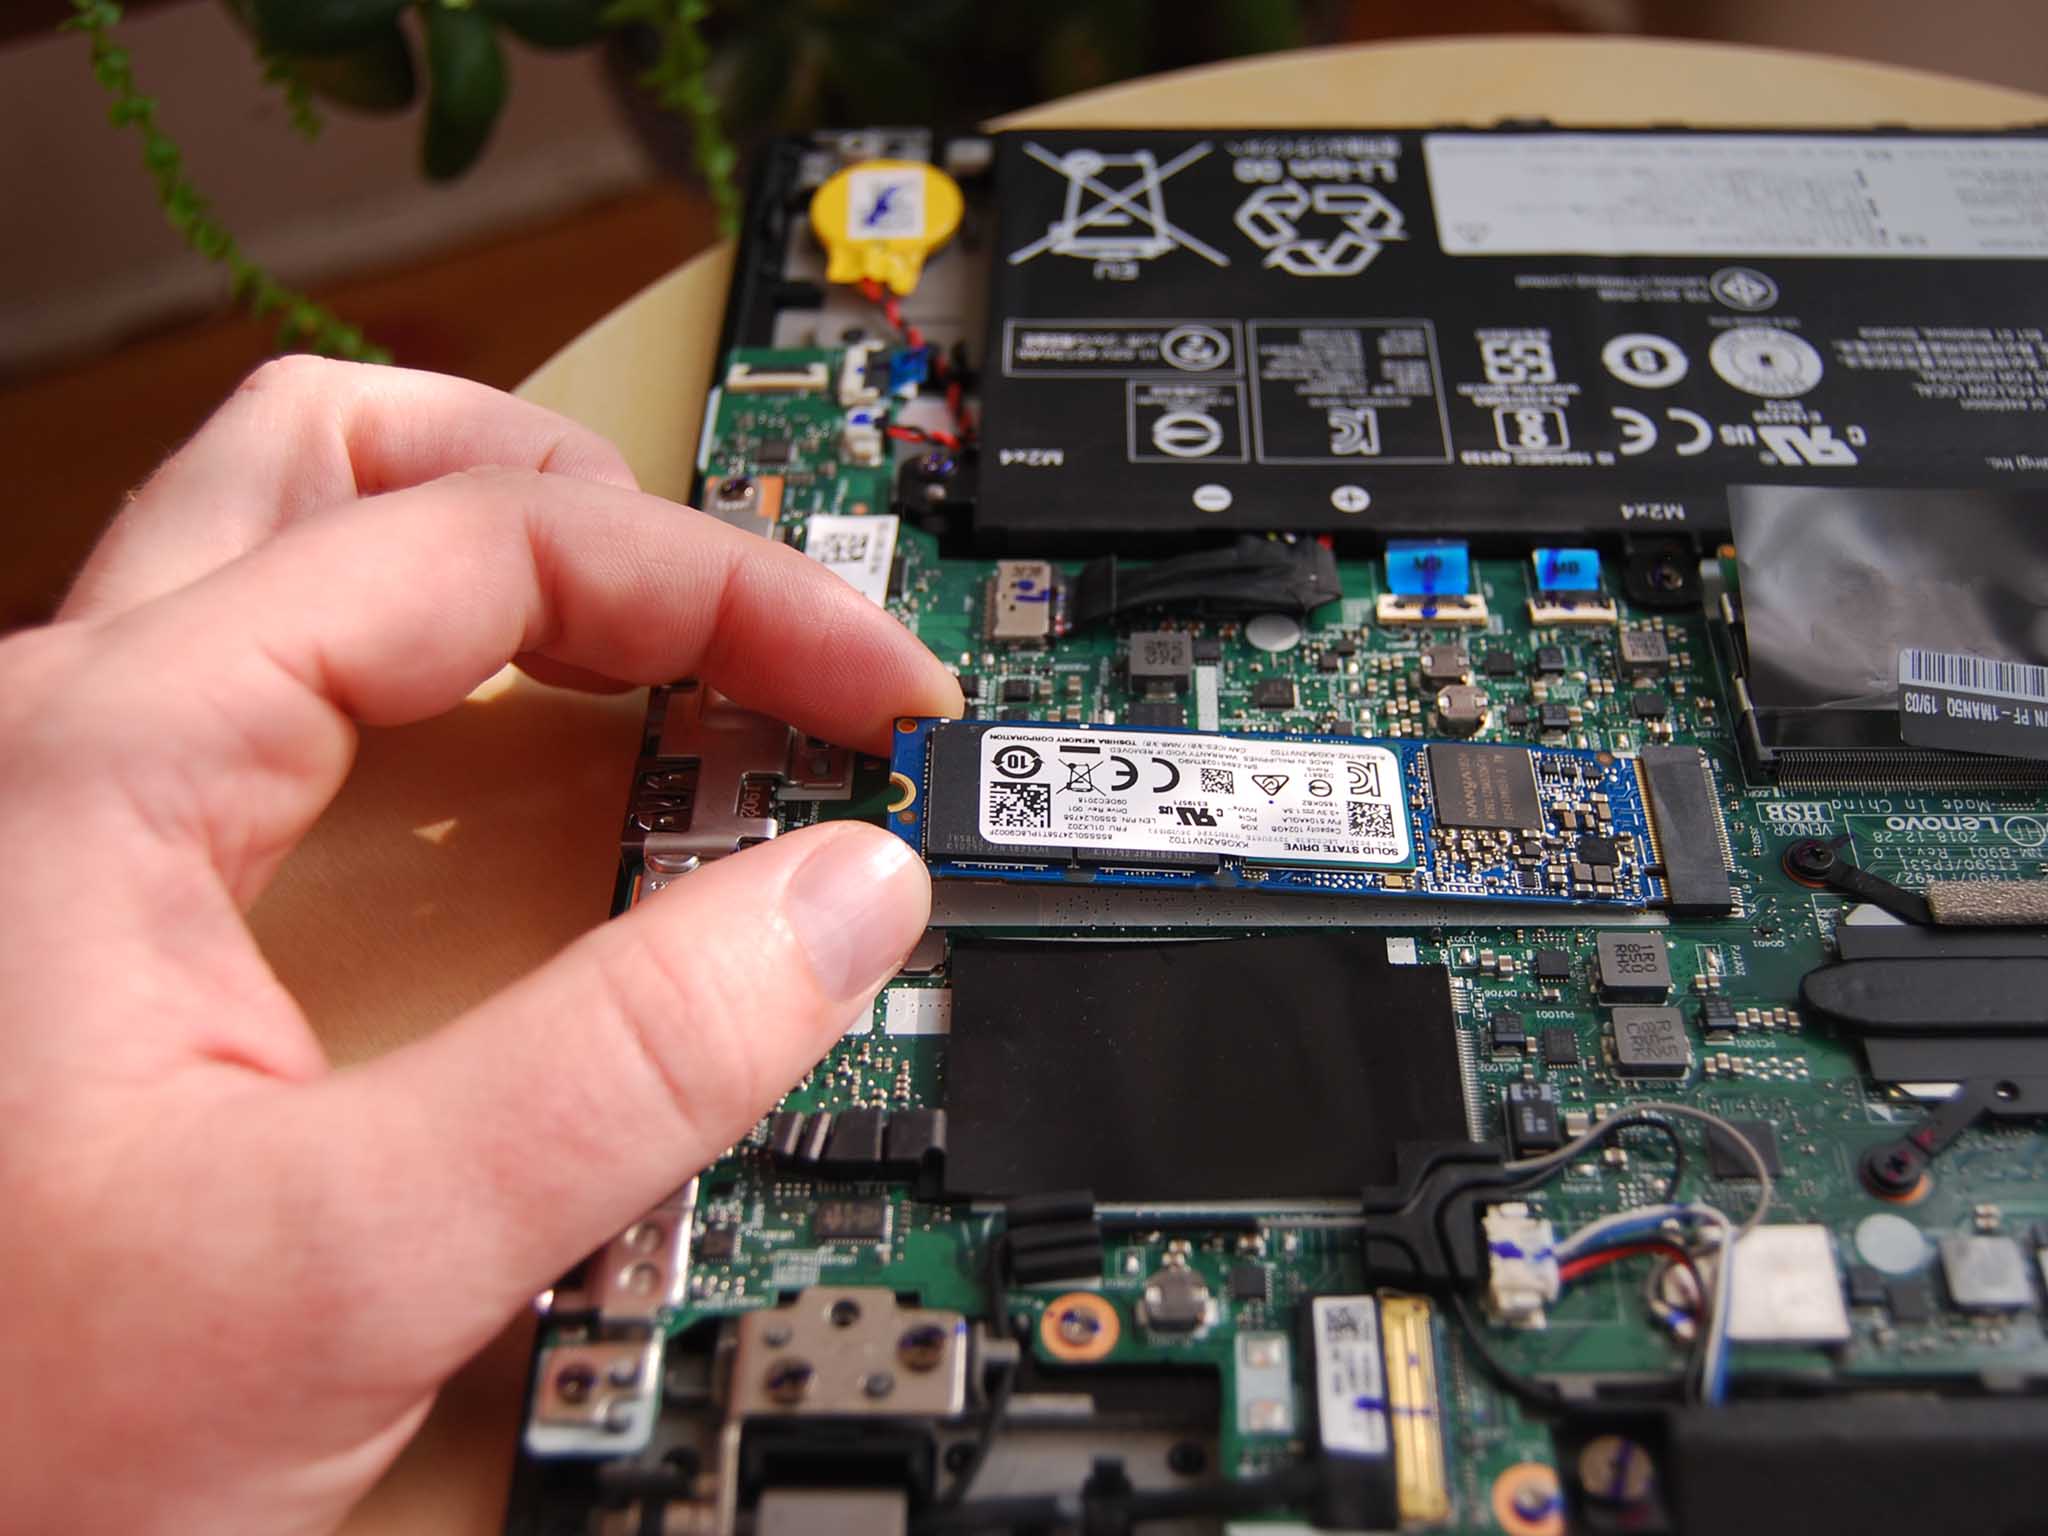
- Install the SSD: Align the new SSD in the same position as the old drive. Carefully connect the necessary cables and connectors. Secure the SSD in place using the screws you removed earlier. Make sure the SSD is snug and properly seated in its slot.
- Replace the Compartment Cover: Once the SSD is securely installed, reattach the storage compartment cover and tighten the screws. Ensure that the cover is properly aligned and flush with the laptop’s chassis.
- Power On and Verify: Reconnect the power source and turn on your laptop. Enter the BIOS or UEFI settings to verify that the new SSD is recognized. If necessary, adjust the boot order to prioritize the SSD as the primary storage device.
With the SSD successfully installed, you can proceed to the next step: initializing and formatting your new drive.
Initializing and Formatting the SSD
After installing the SSD in your Lenovo laptop, the next step is to initialize and format the drive to make it ready for use. Follow these steps to get your SSD up and running:
- Access Disk Management: Right-click on the Windows Start button and select “Disk Management” from the menu. This will open the Disk Management utility.
- Initialize the SSD: In the Disk Management window, you should see the new SSD listed. Right-click on the unallocated space of the SSD and select “Initialize Disk.” Choose the appropriate disk initialization option (usually MBR or GPT) and click “OK” to proceed.
- Create a New Partition: Once the SSD is initialized, right-click on the unallocated space and select “New Simple Volume” from the context menu. Follow the on-screen instructions to create a new partition. Choose a suitable volume size and assign a drive letter to the partition.
- Format the Partition: Right-click on the newly created partition and select “Format.” Choose a file system (usually NTFS) and a volume label for the partition. Ensure that the “Quick Format” option is selected to expedite the formatting process. Click “OK” to begin formatting.
- Wait for Formatting to Complete: The formatting process may take some time depending on the size of the SSD. Once it’s completed, you’ll see the status change to “Healthy” in the Disk Management utility.
- Verify Drive Status: Open “This PC” or “My Computer” to confirm that the SSD is recognized and accessible. You should see the newly formatted drive with the assigned drive letter.
Once your SSD is formatted and ready, you can start using it for storage, installing programs, and improving the overall performance of your Lenovo laptop. Now, it’s time to transfer your data from the old drive to the new SSD.
Transferring Data from the Old Drive
With your new SSD initialized and formatted, it’s time to transfer your data from the old drive to the new SSD. Follow these steps to ensure a smooth and successful data transfer:
- Backup Important Data: Before proceeding with the data transfer, it’s crucial to back up important files and documents. This ensures that you have an additional copy of your data in case of any unexpected issues during the transfer process.
- Choose a Data Migration Tool: There are several data migration tools available that can simplify the process of transferring data to your new SSD. Some popular options include Acronis True Image, EaseUS Todo Backup, and Macrium Reflect. Select the tool that best suits your needs and download it onto your laptop.
- Launch the Data Migration Tool: Open the data migration software and follow the instructions provided by the tool. Typically, you will be prompted to select the source drive (your old drive) and the target drive (the new SSD).
- Select the Data to Transfer: Review the options provided by the data migration tool and choose the data you want to transfer from the old drive to the new SSD. This can include your operating system, applications, files, and settings.
- Initiate the Data Transfer: Once you have selected the data to transfer, start the migration process. The data migration tool will handle the transfer automatically, copying the selected data from the old drive to the new SSD. This process may take some time, depending on the size of the data being transferred.
- Verify Data Transfer: Once the transfer is complete, double-check that all the files and settings have been successfully transferred to the new SSD. Make sure that your operating system boots up from the SSD and that your applications and files are accessible.
By following these steps, you can seamlessly transfer your data from the old drive to the new SSD, ensuring a smooth transition and minimal disruption to your workflow. Now that your data is safely transferred, let’s move on to optimizing the performance of your SSD.
Optimizing SSD Performance
To ensure maximum performance and longevity of your new SSD, it’s important to take a few additional steps to optimize its performance. Here are some tips to help you get the most out of your SSD:
- Enable TRIM: TRIM is a command that allows the SSD to efficiently manage used data blocks. Check if TRIM is enabled by opening the Command Prompt as an administrator and entering the command “fsutil behavior query DisableDeleteNotify.” If the result is “0,” TRIM is enabled. Otherwise, enable it by entering the command “fsutil behavior set DisableDeleteNotify 0.”
- Update Firmware: Keep your SSD’s firmware up to date by checking the manufacturer’s website for any available firmware updates. Firmware updates often include bug fixes, performance improvements, and compatibility enhancements.
- Disable Defragmentation: SSDs do not benefit from traditional defragmentation like HDDs. In fact, excessive defragmentation can decrease the lifespan of your SSD. Disable automatic defragmentation by opening the “Optimize Drives” utility in Windows and unchecking the option to automatically optimize SSDs.
- Enable AHCI Mode: Advanced Host Controller Interface (AHCI) mode enables advanced features and performance optimization for SATA drives. Ensure that your laptop is set to AHCI mode in the BIOS or UEFI settings.
- Disable Hibernation: Disabling hibernation can save valuable storage space on your SSD. Open the Command Prompt as an administrator and enter the command “powercfg /hibernate off” to disable hibernation.
- Enable Power Management: Adjust the power management settings on your laptop to optimize SSD performance. Go to the Power Options in the Control Panel and select a power plan that balances performance and energy efficiency.
- Regularly Update Drivers and Operating System: Keep your drivers and operating system up to date to ensure compatibility and take advantage of any performance improvements provided by updates.
- Monitor SSD Health: Use SSD health monitoring tools to keep an eye on the health and performance of your SSD. These tools provide information about the SSD’s usage, remaining lifespan, and warning signs of potential issues.
By following these optimization tips, you can maximize the performance, lifespan, and overall efficiency of your SSD. It’s important to periodically check and maintain these settings to ensure your SSD continues to perform optimally over time. With your SSD now optimized, let’s address some common troubleshooting issues you may encounter.
Troubleshooting Common Issues
While SSDs are generally reliable and efficient, there can be occasional issues that might arise. Here are some common problems you may encounter when using an SSD with your Lenovo laptop and some troubleshooting steps to resolve them:
- SSD Not Recognized: If your SSD is not being detected by your laptop, ensure that it is properly connected and secured in its slot. Check the BIOS or UEFI settings to ensure that the SSD is enabled. If the issue persists, try connecting the SSD to a different SATA port or seek assistance from technical support or a professional.
- Slow Performance: If you notice a decrease in SSD performance, ensure that you have the latest firmware installed. Also, check if the SSD is nearing capacity, as near-full drives can lead to reduced performance. Optimize your operating system settings, disable unnecessary background processes, and check for any conflicting software or drivers that may be affecting performance.
- Blue Screen of Death (BSOD) Errors: If you encounter BSOD errors, it could indicate an issue with the SSD. Check for firmware updates and ensure all drivers are up to date. Run diagnostic tests to identify any hardware issues and consider seeking assistance from technical support.
- Data Corruption: Data corruption can occur due to various factors, such as faulty cables, improper handling, or power surges. Ensure that all connections are secure and use high-quality cables. Regularly backup your data to minimize the risk of data loss and consider enabling data integrity features such as error-correcting code (ECC) or RAID configurations.
- Overheating: SSDs generate less heat compared to traditional hard drives, but they can still overheat in extreme conditions. Ensure proper ventilation around your laptop and avoid covering the air vents. If you notice excessive heat, consider using a laptop cooling pad or adjusting the laptop’s power settings to reduce performance when necessary.
- Incompatibility with Software: Some software may conflict with SSDs or require specific configurations. Ensure that you have the latest software updates installed, and check with software vendors for any known compatibility issues or recommended settings for SSD usage.
If you encounter persistent issues with your SSD, consultation with technical support or a qualified professional may be necessary to diagnose and address the problem effectively. Remember to provide them with relevant details and error codes to assist in troubleshooting and resolving the issues you are experiencing.
Conclusion
Congratulations! You have successfully navigated the process of finding, installing, and optimizing a solid-state drive (SSD) for your Lenovo laptop. By upgrading to an SSD, you have unlocked a world of improved performance, faster boot times, and enhanced reliability.
In this guide, we started by checking the compatibility of your laptop with an SSD. This ensured that you selected the right drive for your Lenovo laptop. We then moved on to researching various options, considering factors such as storage capacity, speed, brand reputation, and price.
After selecting the perfect SSD for your needs, we walked through the installation process, ensuring that you properly connected and secured the SSD in your Lenovo laptop. Once installed, we moved on to initializing and formatting the SSD, making it ready for use. We then explored the process of transferring data from your old drive to the new SSD, guaranteeing a seamless transition.
Next, we discussed the importance of optimizing SSD performance, providing tips on enabling TRIM, updating firmware, disabling defragmentation, and adjusting power management settings, among others. These steps ensure that your SSD operates at its best and prolongs its lifespan.
Lastly, we explored common troubleshooting issues that might arise with your SSD. By addressing these issues proactively and seeking assistance when needed, you can overcome any potential hurdles and enjoy a smooth SSD experience.
Remember, maintaining regular backups, keeping your software up to date, and periodically monitoring the health of your SSD are essential practices to ensure long-term performance and data security.
We hope that this guide has been informative and helpful in your journey to find and install an SSD on your Lenovo laptop. Enjoy the improved speed, responsiveness, and reliability that your new SSD brings to your computing experience!