Introduction
Welcome to our step-by-step guide on how to install an internal PCIe Express 3.0 x4 (NVMe) Solid State Drive (SSD) in laptops. Upgrading your laptop’s storage can greatly enhance its performance, and an NVMe SSD is the perfect choice for lightning-fast data transfer speeds. Whether you’re a tech enthusiast or a novice user, this guide will walk you through the entire installation process.
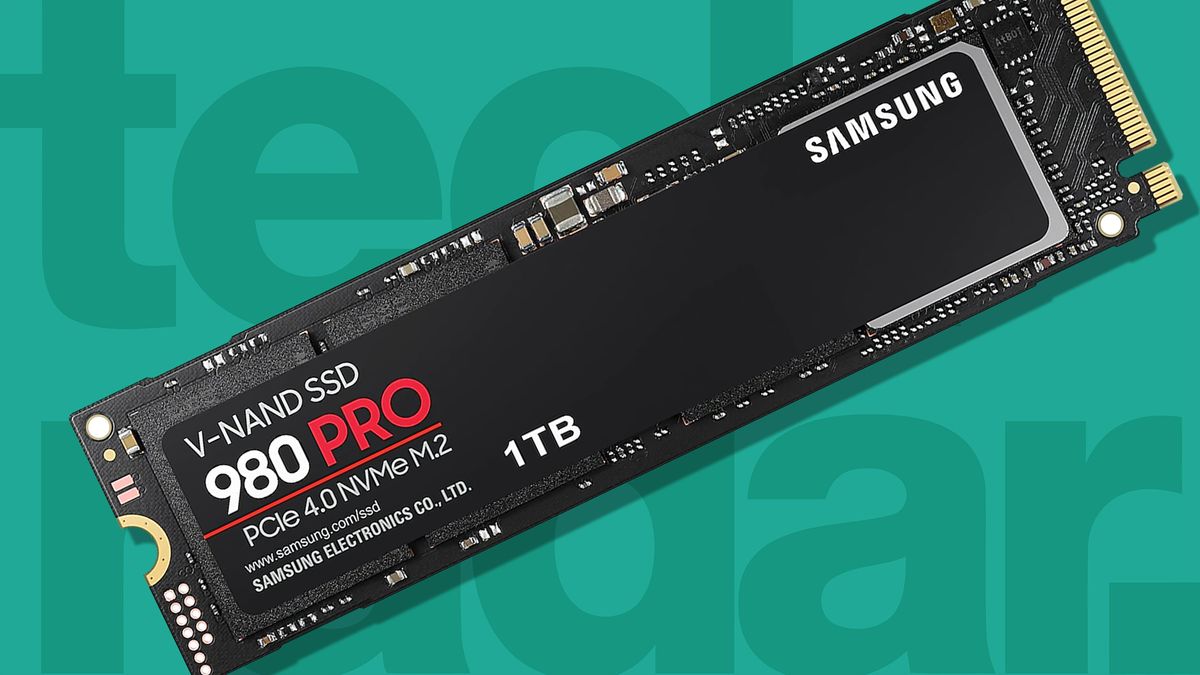
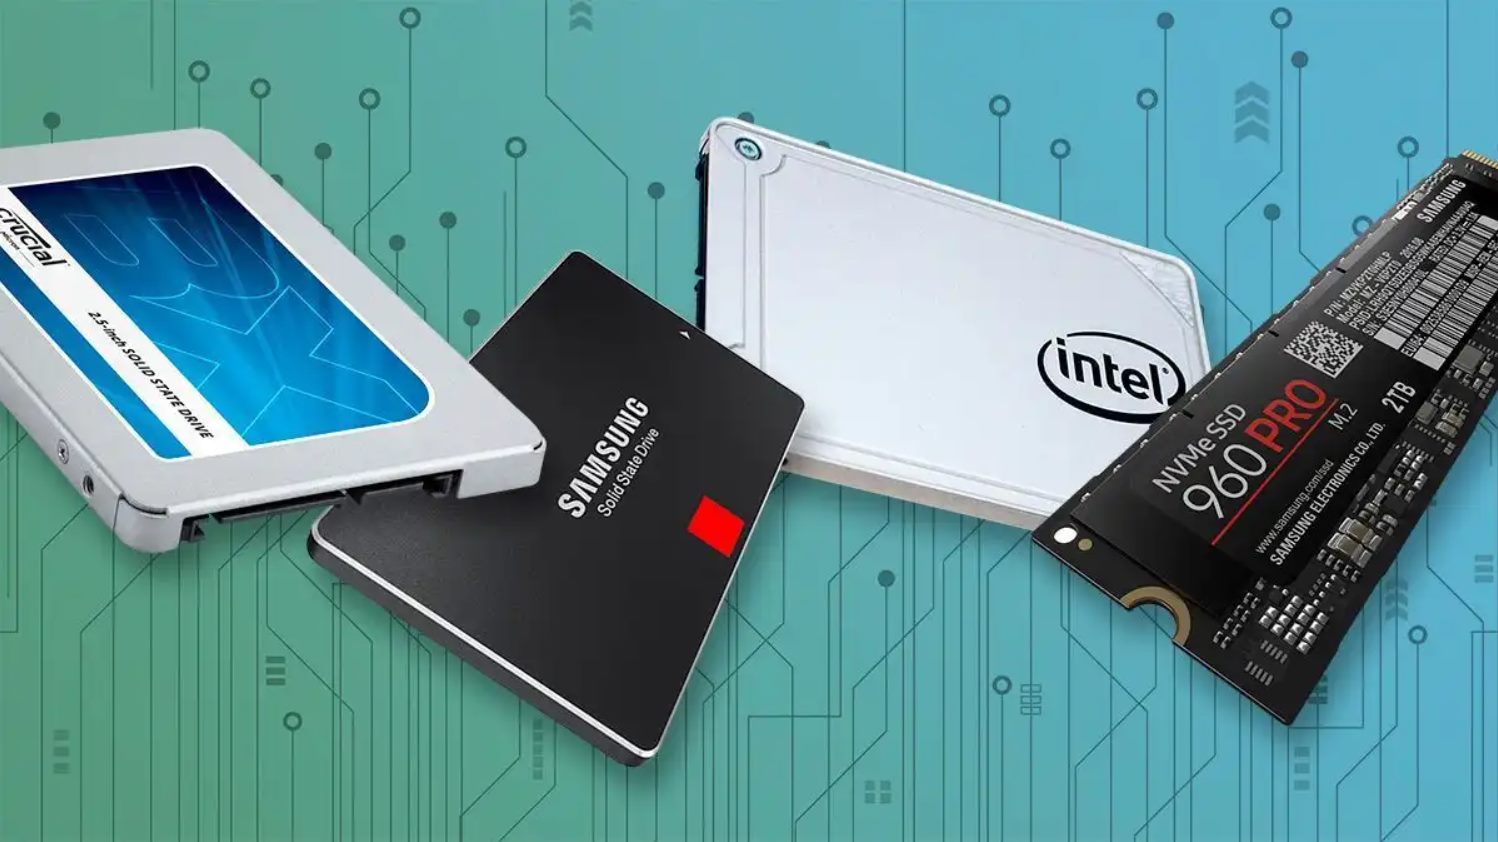
SSDs have become increasingly popular due to their superior speed and reliability compared to traditional hard drives. NVMe SSDs, in particular, leverage the PCIe (Peripheral Component Interconnect Express) interface to achieve blazing-fast read and write speeds, making them ideal for a variety of demanding tasks, such as gaming, video editing, and data-intensive applications.
This guide assumes some familiarity with basic computer components and terminology. However, even if you’re relatively new to the world of hardware upgrades, don’t worry – we’ll explain everything in simple terms so you can follow along easily.
Before we dive into the installation process, it’s important to note that every laptop is different, and the specific steps may vary slightly depending on the make and model. Therefore, we recommend consulting your laptop’s user manual or manufacturer’s website for any specific instructions or precautions before proceeding.
Now that we’ve covered the basics, let’s get started with Part 1: Understanding PCIe Express 3.0 x4 (NVMe) Solid State Drives. In this section, we’ll explain what PCIe Express 3.0, x4, and NVMe mean, and why they are essential for optimal SSD performance. So, let’s dive in!
Part 1: Understanding PCIe Express 3.0 x4 (NVMe) Solid State Drives
Before we proceed with the installation process, let’s take a moment to understand the key terms involved in this guide: PCIe Express 3.0, x4, and NVMe.
PCIe Express 3.0 (Peripheral Component Interconnect Express) is a high-speed expansion bus standard commonly used for connecting internal hardware components in computers. It offers significantly faster data transfer rates compared to previous generations, making it ideal for high-performance devices.
In the context of SSDs, x4 refers to the number of lanes used by the PCIe slot to communicate with the device. The more lanes available, the higher the potential bandwidth and performance. A PCIe Express 3.0 x4 configuration provides a substantial boost in speed compared to lower lane configurations.
NVMe (Non-Volatile Memory Express) is a protocol designed specifically for SSDs to take full advantage of the speed and capabilities of PCIe technology. It replaces the older AHCI (Advanced Host Controller Interface) protocol, which was originally developed for traditional hard drives. NVMe greatly enhances SSD performance by reducing latency and maximizing the parallelism of data transfer.
In summary, an internal PCIe Express 3.0 x4 (NVMe) SSD combines the fast data transfer rates of PCIe Express 3.0, the increased bandwidth of x4 lanes, and the optimized performance of the NVMe protocol. The result is an exceptionally fast storage solution that can significantly improve your laptop’s overall speed and responsiveness.
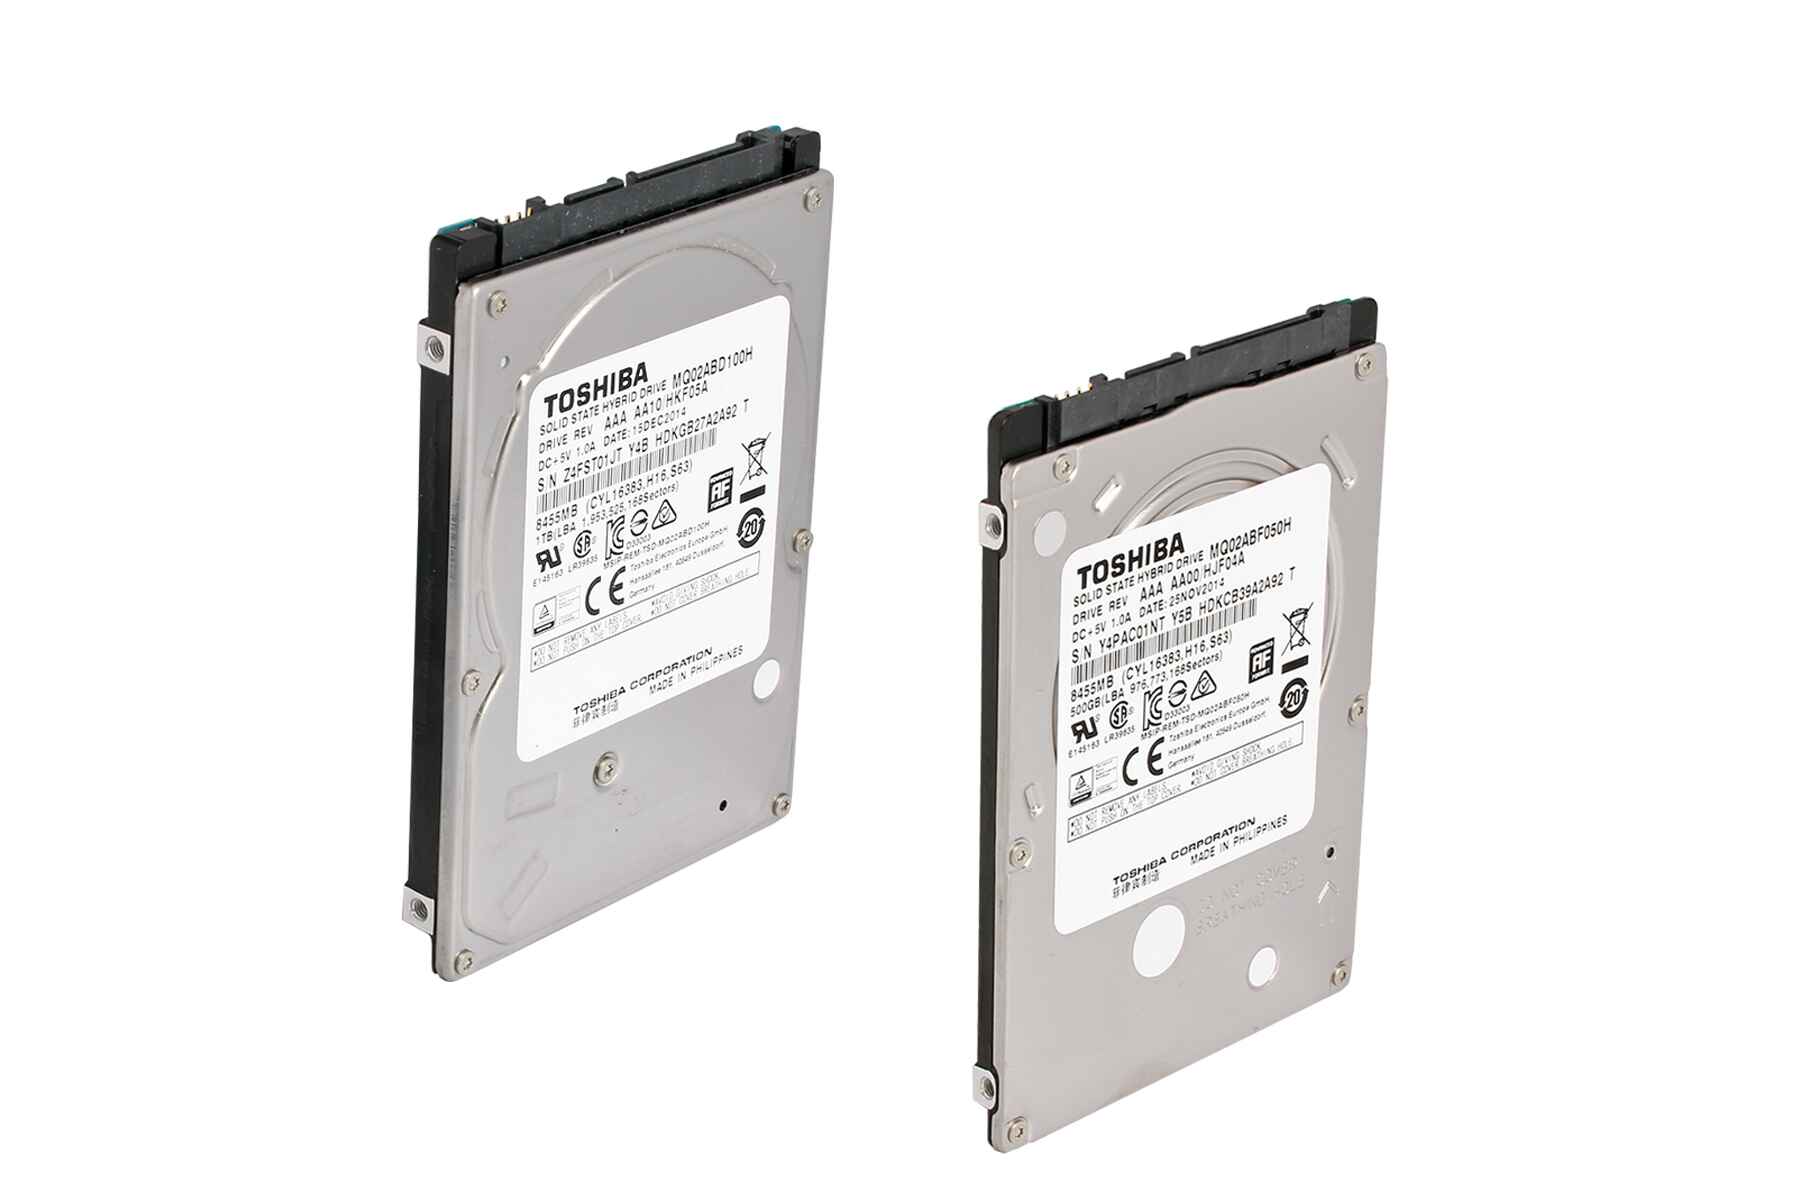
It’s worth noting that not all laptops support internal PCIe Express 3.0 x4 (NVMe) SSDs. Some older or budget laptops may only have SATA (Serial Advanced Technology Attachment) interfaces for storage devices. However, if your laptop has an available PCIe slot and supports NVMe, you can enjoy the benefits of this high-performance storage technology.
Now that we have a clear understanding of these terms, we can move on to Part 2: Preparing Your Laptop. In the next section, we’ll discuss the necessary steps to ensure a smooth and successful SSD installation. Let’s continue!
Part 2: Preparing Your Laptop
Before diving into the physical installation process, it’s crucial to prepare your laptop for the SSD upgrade. Taking the necessary precautions will help prevent any potential errors or data loss during the installation. In this section, we’ll guide you through the essential steps to get your laptop ready for the upgrade.
1. Backup your data: Upgrading your laptop’s storage involves transferring data. To avoid any potential data loss, it’s crucial to back up all your important files, documents, and applications. You can use an external hard drive, cloud storage, or any other backup method that suits your needs.
2. Gather the necessary tools: Before opening up your laptop, ensure you have the appropriate tools. Typically, you’ll need a small Phillips screwdriver and an anti-static wrist strap to protect the components from electrostatic discharge.
3. Read the user manual: It’s always a good idea to consult your laptop’s user manual or the manufacturer’s website for specific instructions related to hardware upgrades. Each laptop model may have different requirements or precautions you need to be aware of.
4. Verify compatibility: While most modern laptops support NVMe SSDs, it’s still essential to double-check compatibility. Review your laptop’s specifications or consult the manufacturer’s website to confirm if your laptop has an available PCIe slot and support for NVMe SSDs.
5. Allocate time: A laptop SSD installation typically takes around 30 minutes to an hour, depending on your level of expertise and the complexity of the laptop’s internal structure. Set aside enough time where you can work calmly and without any distractions.
By following these preparation steps, you’ll ensure a smooth and hassle-free SSD installation process. Now that your laptop is ready, let’s move on to Part 3: Opening Your Laptop. In the next section, we’ll guide you through the necessary steps to access the internal components of your laptop. Let’s get started!
Part 3: Opening Your Laptop
Opening your laptop is the first step towards installing the internal PCIe Express 3.0 x4 (NVMe) SSD. However, it’s important to approach this process with caution to avoid damaging any internal components. In this section, we’ll provide you with a general guide on how to open most laptops, but please note that the specific steps may vary depending on your laptop make and model. Always refer to your laptop’s user manual or manufacturer’s website for any specific instructions or precautions before proceeding.
1. Power off your laptop: Before starting, make sure your laptop is turned off and unplugged from the power source. This will prevent any electrical accidents or damage to the internal components.
2. Ground yourself: To prevent static electricity discharge that could damage sensitive components, it’s crucial to ground yourself. Wear an anti-static wrist strap or touch a grounded metal object to discharge any static electricity.
3. Remove the battery: Depending on your laptop model, you may need to remove the battery before opening the laptop. Refer to your laptop’s user manual for instructions on safely removing the battery if necessary.
4. Locate and remove the screws: Most laptops have screws securing the bottom panel. Use a small Phillips screwdriver to carefully remove these screws. Keep them in a safe place as you’ll need them to reassemble the laptop later.
5. Remove the bottom panel: Gently slide or lift the bottom panel to detach it from the rest of the laptop. Be mindful of any clips or latches that may be holding it in place. Take your time and apply even pressure to avoid breaking any delicate components.
6. Set aside the bottom panel: Place the removed bottom panel in a safe and clean location. Make sure to keep it away from any liquids, static electricity, or other potential sources of damage.
Now that you have successfully opened your laptop, you are one step closer to installing the internal PCIe Express 3.0 x4 (NVMe) SSD. In the next section, Part 4: Locating the Appropriate Slot, we will guide you on identifying the correct slot for the SSD installation. Let’s continue!
Part 4: Locating the Appropriate Slot
Now that you have opened your laptop, it’s time to locate the appropriate slot where you will install the internal PCIe Express 3.0 x4 (NVMe) SSD. The slot’s location may vary depending on your laptop’s make and model, so it’s important to refer to your laptop’s user manual or manufacturer’s website for specific instructions. However, we will provide a general guide to help you identify the slot for the SSD installation.
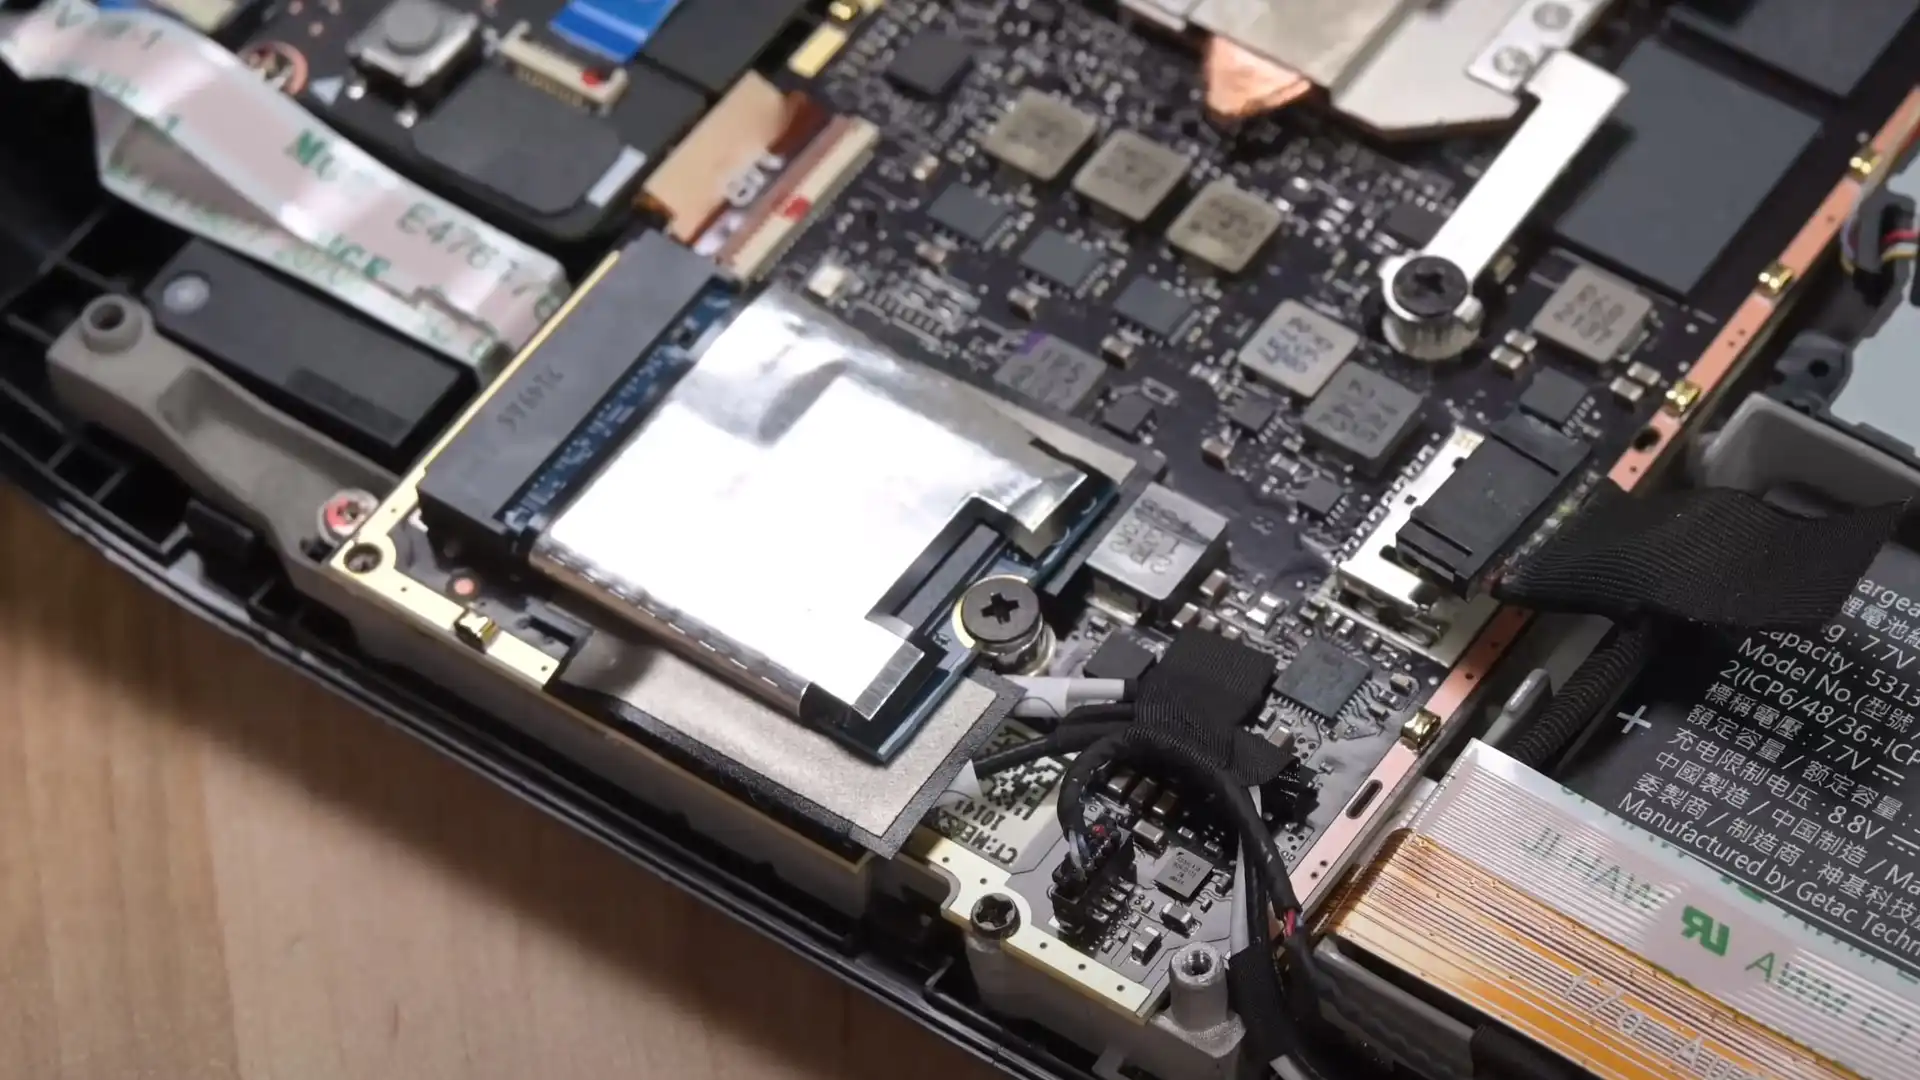
1. Identify the M.2 slot: Most modern laptops use an M.2 slot for installing PCIe NVMe SSDs. The M.2 slot is a small and narrow connector usually located near the center or side of the motherboard. It is important to locate the correct M.2 slot as laptops may have multiple M.2 slots that serve different purposes.
2. Check the slot keying: M.2 slots have different “keys” or notches that determine the type of SSD that can be installed. The PCIe NVMe SSD you have should have a specific keying that matches the M.2 slot. Make sure the keying of your SSD matches the slot. If it doesn’t, it may not fit and you will need to obtain the appropriate SSD for your laptop.
3. Remove any dust or debris: Before installing the SSD, check the M.2 slot for any dust or debris that may have accumulated. Use compressed air or an anti-static brush to gently clean the slot. This will ensure a secure connection between the SSD and the slot.
4. Confirm orientation and alignment: Take note of the alignment notch on both the SSD and the slot. Align them properly before inserting the SSD to avoid any potential damage. The SSD should slide into the M.2 slot smoothly and securely.
By following these steps, you should now have a clear understanding of how to locate the appropriate slot for the internal PCIe Express 3.0 x4 (NVMe) SSD in your laptop. In the next section, Part 5: Installing the Internal PCIe Express 3.0 x4 (NVMe) SSD, we will guide you through the actual installation process of the SSD into the identified slot. Stay tuned!
Part 5: Installing the Internal PCIe Express 3.0 x4 (NVMe) SSD
Now that you have located the appropriate slot for the internal PCIe Express 3.0 x4 (NVMe) SSD, it’s time to proceed with the actual installation. Installing the SSD is a straightforward process, but it requires careful handling to ensure a proper connection and avoid any damage to the SSD or other components. In this section, we will guide you step-by-step through the installation process.
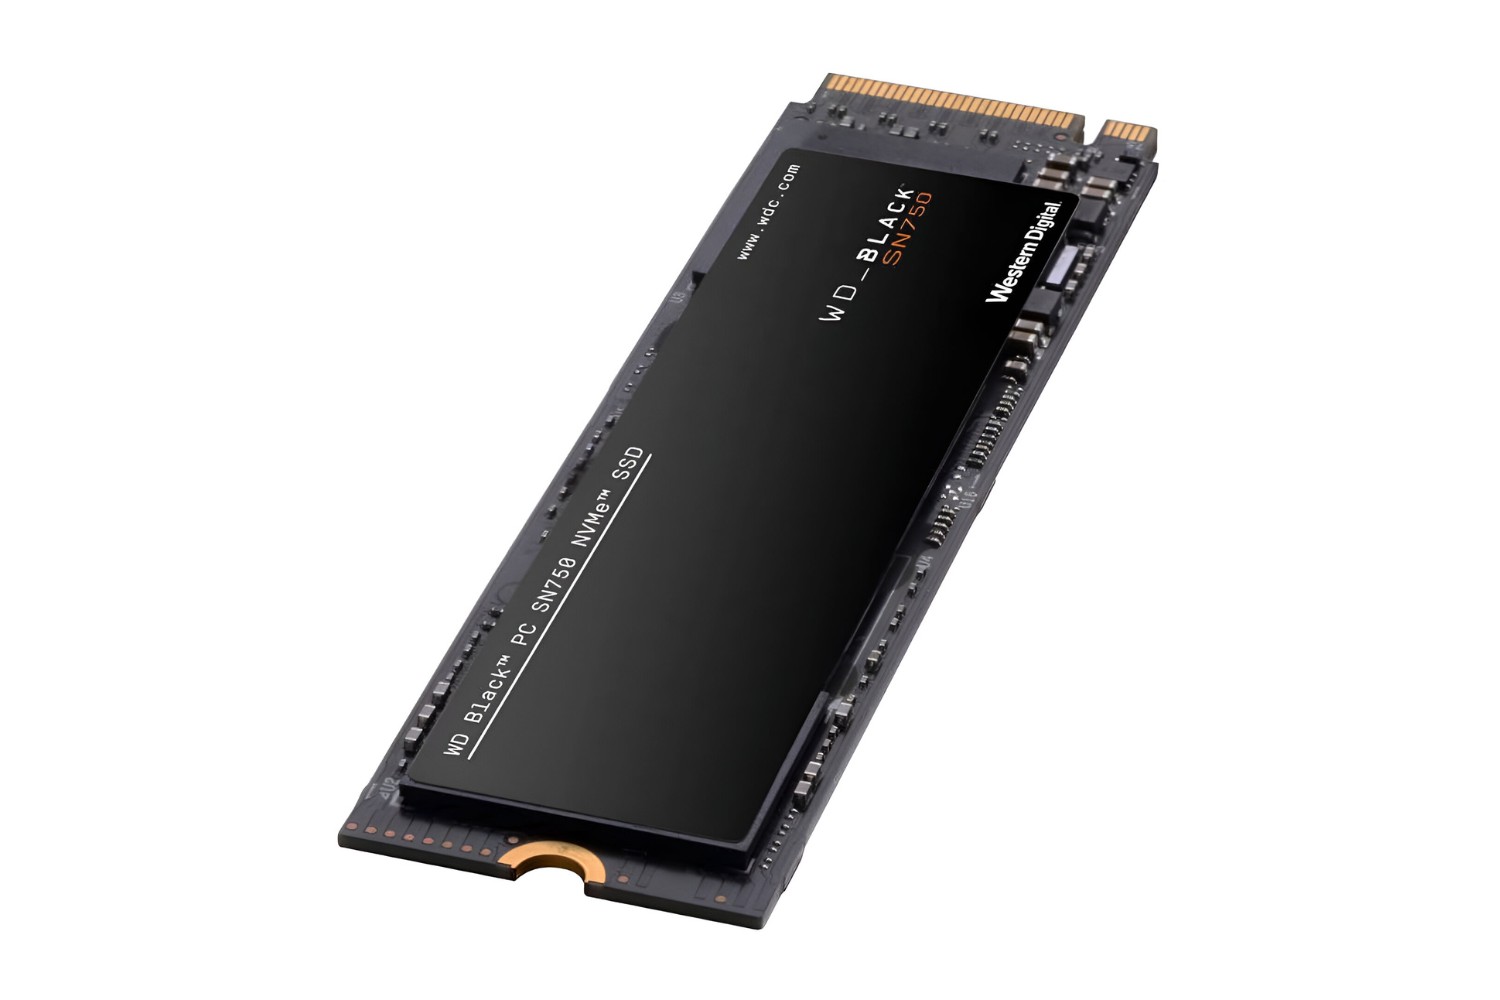
1. Handle the SSD with care: Hold the SSD by its edges and avoid touching the gold connectors or any exposed circuitry. This will prevent any electrostatic discharge or potential damage to the SSD.
2. Align the SSD with the slot: Carefully align the SSD’s connector with the M.2 slot. The alignment notch on the SSD should match the alignment notch on the slot. Gently slide the SSD into the slot at a slight angle, ensuring smooth insertion.
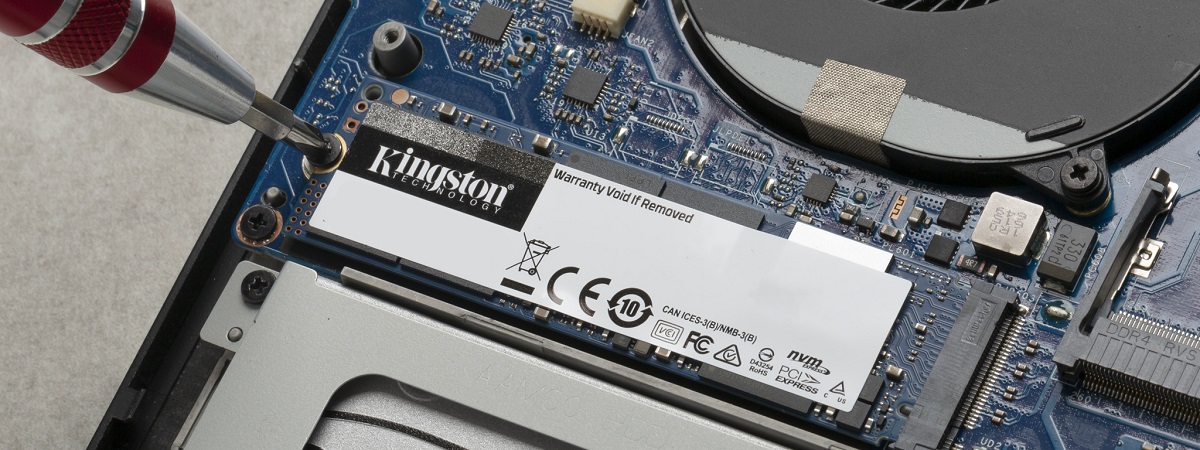
3. Apply gentle and even pressure: Once the SSD is properly aligned, apply gentle and even pressure to push it into the slot. Use your fingers or a small screwdriver to help guide it in if needed. Be cautious not to apply excessive force or bend the SSD.
4. Secure the SSD: Once the SSD is fully inserted into the slot, push it down gently until it lies flat and is securely held in place. The SSD should not wiggle or move. Some laptops may require you to screw the SSD down to secure it further. Refer to your laptop’s user manual for any specific instructions regarding securing the SSD.
5. Reassemble the laptop: With the SSD installed, it’s time to reassemble your laptop. Replace the bottom panel by aligning it with the laptop’s chassis and carefully screwing it back into place. Ensure that all screws are properly tightened, but avoid overtightening.
That’s it! You have successfully installed the internal PCIe Express 3.0 x4 (NVMe) SSD in your laptop. In the next section, Part 6: Closing Your Laptop, we will cover the final steps of the installation process, allowing you to securely close your laptop and prepare for the configuration of the new SSD. Keep reading!
Part 6: Closing Your Laptop
After successfully installing the internal PCIe Express 3.0 x4 (NVMe) SSD into your laptop, it’s time to close it up and prepare for the next steps in the installation process. Closing your laptop involves reattaching the bottom panel and ensuring that it is securely fastened. Follow the steps below to complete this stage of the installation.
1. Align the bottom panel: Take the bottom panel you removed earlier and align it with the laptop’s chassis. Make sure it sits flush and lines up with the screw holes on the laptop. Take care not to pinch any cables or other components as you do this.
2. Secure the screws: Using the small Phillips screwdriver, carefully screw the panel back into place. Start with one corner and work your way around, tightening the screws evenly. Be cautious not to overtighten, as it can damage the threads or strip the screws.
3. Double-check the connections: Before considering the laptop fully closed, ensure that all cables or ribbon cables you might have disconnected during the opening process are properly reconnected. Check for any loose connections and ensure they are secure.
4. Insert the battery (if applicable): If you removed the laptop’s battery during the opening process, now is the time to reinsert it. Follow your laptop’s user manual for specific instructions on inserting and securing the battery correctly.
5. Power on your laptop: Once you have closed your laptop, plug it back into a power source and power it on. The laptop should boot up normally, and you should check if the SSD is detected in the BIOS or system information. If the SSD is recognized, congratulations – you have successfully closed your laptop!
By completing the steps above, your laptop is now secured and ready for the next stage of the installation process. In Part 7: Configuring Your Laptop to Recognize the New SSD, we will guide you through the necessary steps to ensure your laptop recognizes the newly installed SSD and can utilize it to its full potential. Let’s move forward!
Part 7: Configuring Your Laptop to Recognize the New SSD
After closing your laptop with the newly installed internal PCIe Express 3.0 x4 (NVMe) SSD, it’s important to configure your laptop to recognize and utilize the new storage device. In this section, we will guide you through the necessary steps to ensure that your laptop can detect and fully utilize the capabilities of the SSD.
1. Power on your laptop: Start by powering on your laptop and letting it boot up to the operating system. Make sure the laptop is connected to a power source to avoid any interruptions during the configuration process.
2. Access the BIOS or UEFI settings: Depending on your laptop’s make and model, you may need to access the BIOS (Basic Input/Output System) or UEFI (Unified Extensible Firmware Interface) settings. This can usually be done by pressing a specific key, such as F2 or Delete, during the laptop’s boot-up process. Consult your laptop’s user manual or manufacturer’s website for the exact key and instructions.
3. Navigate to the storage settings: Once in the BIOS or UEFI settings, look for the storage settings section or a similar option. This is where you will find information about the connected storage devices and can configure the boot order or enable any necessary settings for the SSD.
4. Ensure the SSD is detected: In the storage settings, check if the SSD is detected and listed among the storage devices. If the SSD is not recognized, ensure that it is properly connected, and recheck the alignment and installation. If the issue persists, consult your laptop’s user manual or manufacturer’s support for further assistance.
5. Configure the boot order (optional): If you want your laptop to boot from the SSD as the primary storage device, navigate to the boot settings in the BIOS or UEFI. Set the SSD as the first boot priority, ensuring that the operating system is installed on the SSD or will be installed later.
6. Save and exit: Once you have made any necessary changes in the BIOS or UEFI settings, save the changes and exit the settings. The laptop will now reboot, and the new settings will be applied.
After configuring your laptop to recognize the new SSD, it should now be fully detected and ready to use. You can proceed with installing your operating system, transferring files, or configuring storage settings based on your specific requirements.
Congratulations! You have successfully configured your laptop to recognize the new SSD. In the next section, Part 8: Testing the New SSD, we will guide you on how to test the performance of the newly installed SSD. Keep reading to ensure that your laptop is making the most of the upgrade!
Part 8: Testing the New SSD
Now that you have successfully installed and configured your internal PCIe Express 3.0 x4 (NVMe) SSD, it’s time to test its performance and ensure that your laptop is making the most of the upgrade. Testing the SSD will give you an idea of its read and write speeds, allowing you to assess its impact on your laptop’s overall performance. In this section, we will guide you through the process of testing your new SSD.
1. Choose a benchmarking tool: There are several benchmarking tools available that can measure the performance of your SSD. Some popular options include CrystalDiskMark, AS SSD Benchmark, and HD Tune. Select a benchmarking tool that suits your preferences and download it from a reliable source.
2. Close unnecessary applications: Before running the benchmarking tool, close any applications or processes running in the background. This will ensure that the test results are not affected by other activities on your laptop.
3. Run the benchmarking tool: Open the benchmarking tool you downloaded and run the appropriate tests for measuring the read and write speeds of your SSD. Follow the instructions provided by the specific tool to obtain accurate results.
4. Review the test results: Once the benchmarking tool completes its tests, review the results to see the read and write speeds of your SSD. Compare the speeds with the manufacturer’s specifications to ensure your SSD is performing as expected.
5. Assess the impact on performance: Consider how the new SSD has affected your laptop’s overall performance. Notice any improvements in boot time, application launch speed, or file transfer speed. The increased read and write speeds should result in a noticeable improvement in your laptop’s responsiveness and efficiency.
It’s important to note that these benchmarking tools provide synthetic tests and may not reflect real-world performance in every scenario. However, they are helpful for comparing different drives and assessing the impact of the SSD installation on your laptop.
By testing your new SSD, you can ensure that it is functioning optimally and reaping the benefits of the upgrade. Enjoy the enhanced speed and performance that your laptop now offers!
With this, we have reached the end of our guide on installing an internal PCIe Express 3.0 x4 (NVMe) SSD in laptops. We hope this guide has been informative and has empowered you to successfully upgrade your laptop’s storage. If you have any further questions or need additional assistance, refer to your laptop’s user manual or contact the manufacturer’s support team for guidance. Happy computing!
Conclusion
Congratulations on successfully installing an internal PCIe Express 3.0 x4 (NVMe) SSD in your laptop! By following this step-by-step guide, you have upgraded your laptop’s storage to a high-performance SSD, unlocking faster read and write speeds for improved overall performance.
Throughout this guide, we covered the essential steps, from understanding PCIe Express 3.0 x4 (NVMe) SSDs to preparing your laptop, opening it, locating the appropriate slot, installing the SSD, closing the laptop, configuring the new SSD, and testing its performance. Each step was designed to ensure a smooth and successful installation process.
Remember, while this guide provides a general overview, it’s important to consult your laptop’s user manual or the manufacturer’s website for specific instructions and precautions tailored to your laptop model.
With the new SSD installed, you can expect faster boot times, improved application loading, and snappier performance in data-intensive tasks. Whether you’re a gamer, content creator, or simply looking to enhance your laptop’s speed, this upgrade will undoubtedly make a noticeable difference in your computing experience.
We hope this guide has been helpful in demystifying the process of installing an internal PCIe Express 3.0 x4 (NVMe) SSD in laptops. By taking the time to understand the technology, carefully preparing your laptop, and following the steps outlined, you’ve successfully undertaken a significant upgrade to boost your laptop’s performance.
Should you have any further questions or encounter any issues, don’t hesitate to consult your laptop’s user manual or reach out to the manufacturer’s support team for assistance. Keep exploring new possibilities with your upgraded storage, and enjoy the enhanced speed and efficiency that your laptop now offers!