Introduction
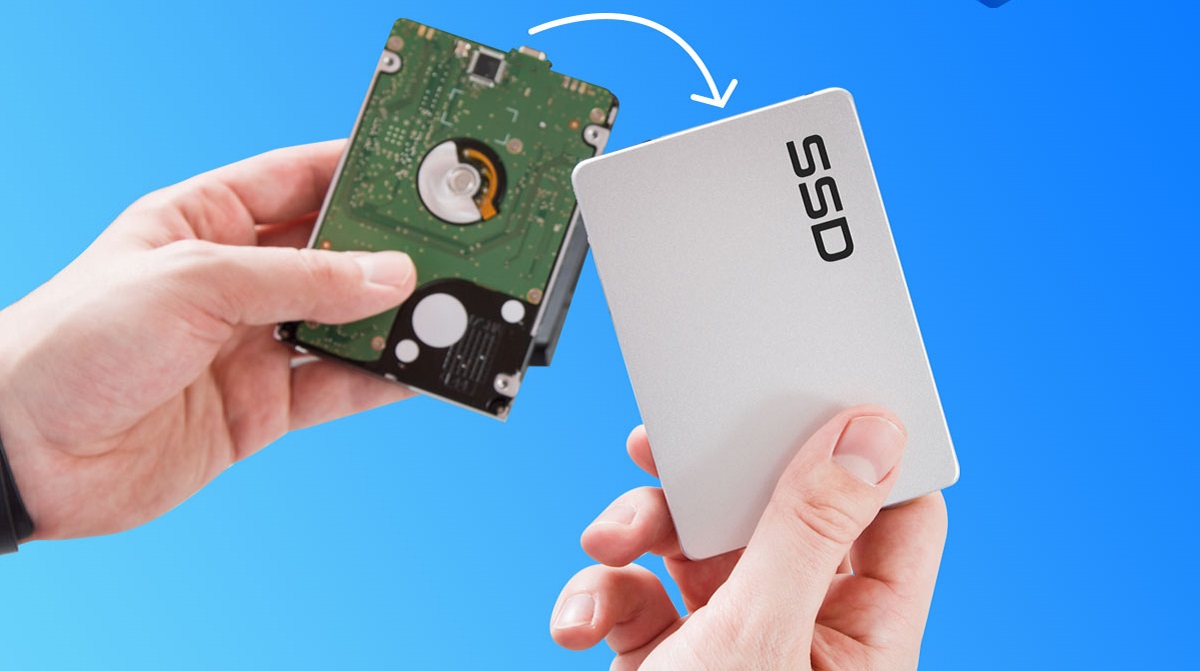
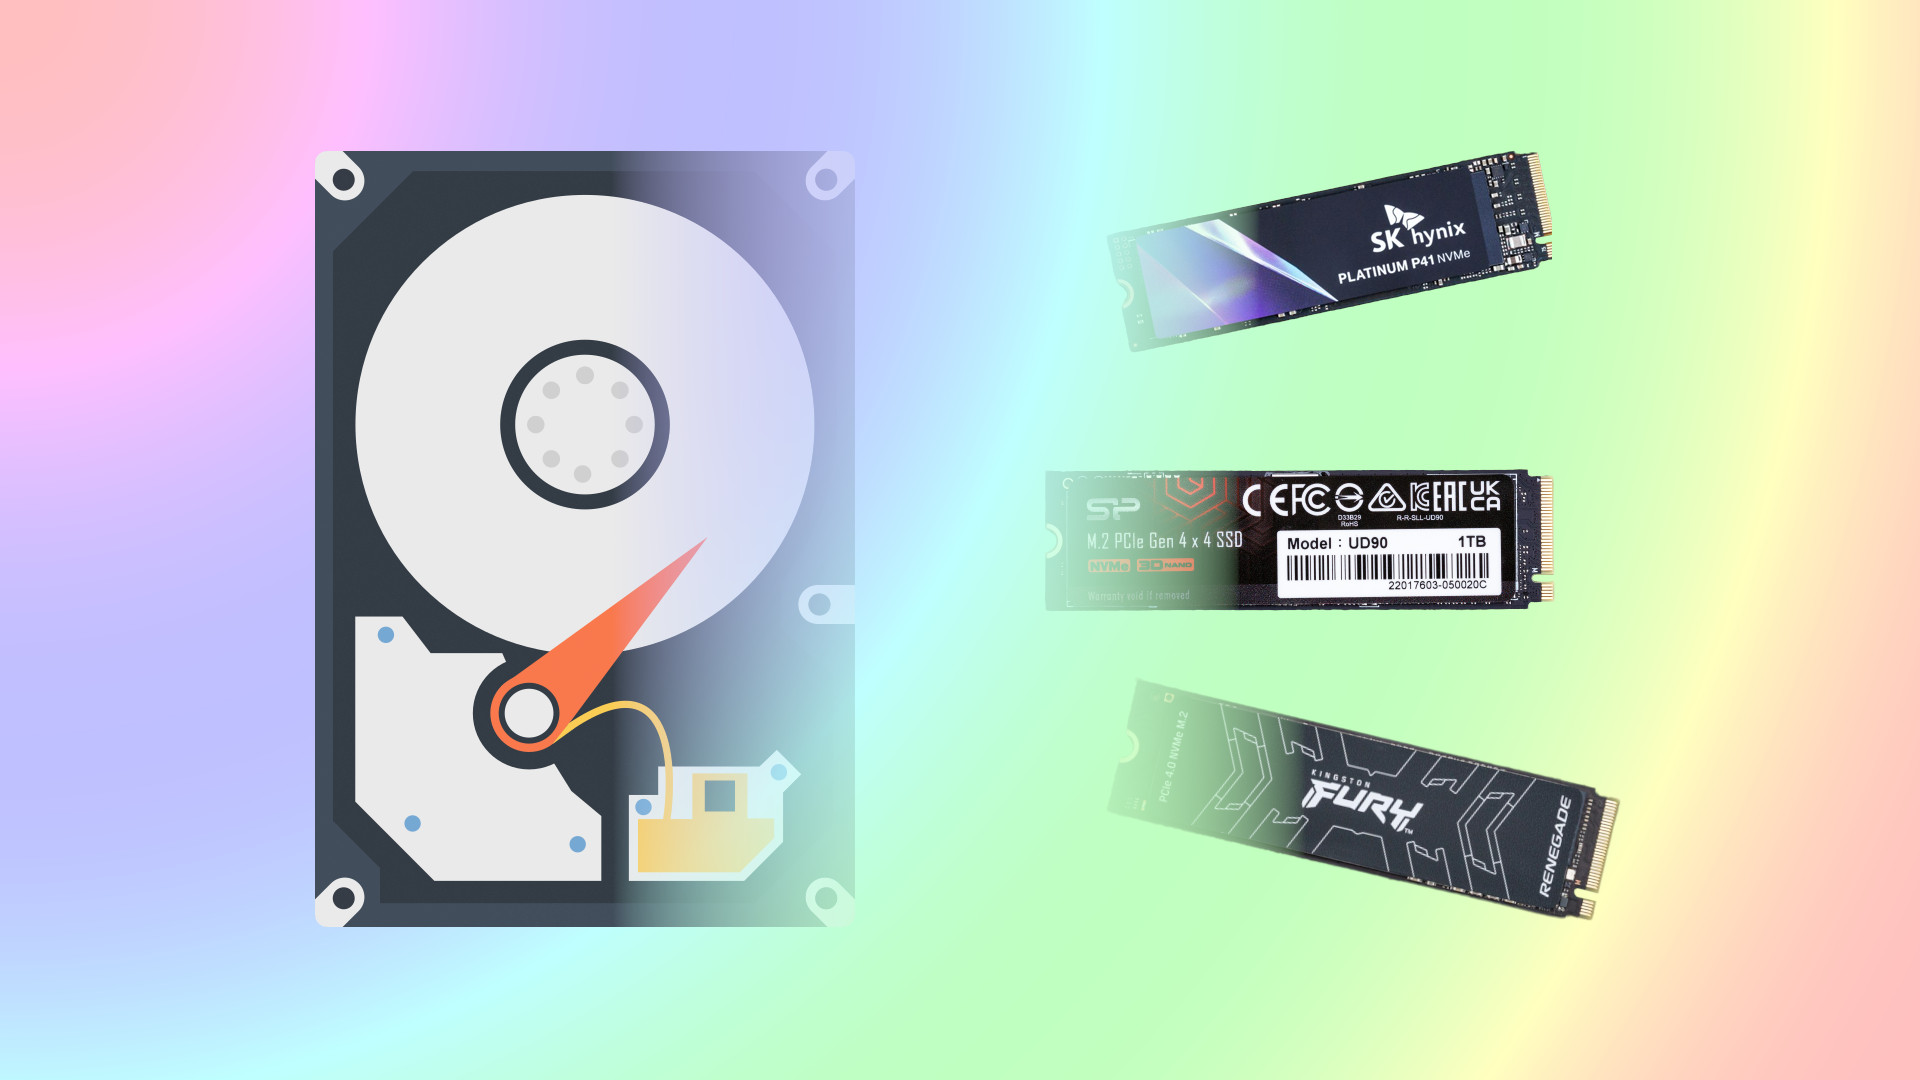
Migrating an operating system to a solid-state drive (SSD) can significantly boost the performance and speed of your computer. Unlike traditional hard disk drives (HDDs), SSDs use flash memory to store data, resulting in faster access times, quicker boot-up, and improved overall system responsiveness. Whether you’re a casual user or a professional requiring high-performance computing, migrating to an SSD is a wise investment.
This article will guide you through the process of migrating your operating system to an SSD, covering everything from preparing for the migration to optimizing your SSD’s performance. By following these steps, you can enjoy a smoother and more efficient computing experience.
Before diving into the migration process, it is essential to understand the advantages of migrating to an SSD. As mentioned earlier, SSDs offer faster read and write speeds, which means your operating system and applications load more quickly. This results in reduced boot times and improved overall system performance. Additionally, SSDs are more durable than traditional HDDs since they have no moving parts, making them less prone to physical damage. The reduced power consumption of SSDs also contributes to longer battery life for laptops and lower energy costs for desktop computers.
Upgrading to an SSD is not only beneficial for individual users but also for businesses. Faster loading times and improved system responsiveness result in increased productivity and efficiency. Tasks such as loading software, running complex applications, and managing large files become much quicker. As a result, employees can accomplish more in a shorter time, leading to enhanced overall productivity.
In the following sections, we will discuss the necessary preparations before the migration, the different methods of migrating your operating system, choosing the right SSD for your needs, and optimizing the performance of your SSD. Let’s get started on the path to a faster and more efficient computer system.
Why Migrate to an SSD?
Migrating to a solid-state drive (SSD) offers numerous benefits and advantages over traditional hard disk drives (HDDs). Understanding why SSDs are worth the investment can help you make an informed decision about upgrading your computer system. Let’s explore the key reasons why you should consider migrating to an SSD.
One of the main advantages of SSDs is their unmatched speed. Unlike HDDs, which rely on spinning disks and moving read/write heads, SSDs use flash memory technology to store data. This allows for significantly faster access times and data transfer rates. With an SSD, your operating system will boot up in a matter of seconds, and applications will load almost instantaneously. Everyday tasks such as opening files, saving documents, and browsing the web become noticeably faster and smoother.
In addition to speed, SSDs also offer enhanced durability and reliability. Since SSDs have no moving parts, they are not susceptible to mechanical failures or damage caused by vibrations or shocks. This makes them more robust and less prone to data loss. This durability is especially crucial for laptops and portable devices that may experience movement or physical impact during use.
Another compelling reason to migrate to an SSD is their energy efficiency. Compared to HDDs, SSDs require less power to operate. This translates to longer battery life for laptops, reducing the need for frequent charging and enabling you to work or play on-the-go for an extended period. Additionally, SSDs generate less heat, resulting in a cooler and quieter computing experience.
Data security is also a significant advantage of SSDs. With the inherent nature of flash memory, SSDs provide better data protection, making it harder for unauthorized access or data breaches to occur. Some SSD models also offer built-in encryption features, adding an extra layer of security to your sensitive information.
Lastly, migrating to an SSD can prolong the lifespan of your computer system. As mentioned earlier, SSDs have no mechanical components, reducing the risk of component failure. This means you can extend the lifespan of your computer and potentially avoid costly repairs or replacements. By investing in an SSD, you’re not only improving your system’s performance but also ensuring its longevity.
In summary, migrating to an SSD brings a multitude of benefits including speed, durability, energy efficiency, data security, and system longevity. The improved performance and enhanced user experience make it a worthwhile investment for both personal and professional use. In the following sections, we will delve into the process of preparing for the migration and explore the different methods of migrating your operating system to an SSD.
Preparing for the Migration
Before you begin the process of migrating your operating system to a solid-state drive (SSD), it is essential to take the necessary steps to ensure a smooth and successful transition. Proper preparation will help minimize data loss and potential complications during the migration process. Let’s explore the key considerations and steps for preparing for the migration.
The first and most crucial step is to back up all your important data. Migrating your operating system to an SSD involves transferring your entire system, including files, applications, and settings. While the migration process is generally safe, it’s always recommended to have a backup of your data to avoid any unforeseen issues. You can use external hard drives, cloud storage, or backup software to create a copy of your important files and documents. Verify that your backup is complete and accessible before proceeding.
Next, make a list of all the software programs you currently use on your computer. It’s important to have a clear understanding of the applications and tools you rely on so that you can reinstall them on the SSD after the migration. Check if you have installation media or access to the necessary download links and license keys for your software. This will facilitate a smooth and efficient reinstallation process.
In addition to creating a list of your software, gather all the original installation media, drivers, and product keys of your hardware components. These may include drivers for your motherboard, graphics card, sound card, and any other peripherals you have connected to your computer. Having these ready will ensure that you can quickly set up your system with the necessary drivers and updates after the migration.
Before removing your old HDD, it’s essential to identify and make note of any partitions on the drive. This information will be useful when setting up your new SSD. You can use tools like Disk Management in Windows or Disk Utility on macOS to view and analyze the partitions on your current drive. Take screenshots or write down the partition sizes and names to assist you during the migration process.
Lastly, make sure to gather any documentation or manuals for your computer’s hardware components. This includes information on the motherboard, RAM, graphics card, and any other internal components that may require specific settings or configurations during the migration.
By following these preparation steps, you will be well-equipped to proceed with the migration process. In the next sections, we will explore the different methods of migrating your operating system to an SSD, allowing you to take full advantage of the benefits that SSD technology offers.
Backing up Your Data
Before migrating your operating system to a solid-state drive (SSD), it is crucial to back up your data to ensure its safety and prevent any potential loss during the migration process. Backing up your data provides an extra layer of protection, allowing you to easily restore your files and settings if any issues arise. Let’s explore the key steps to back up your data effectively.
Start by identifying the files and folders that are essential to you. These may include documents, photos, videos, music, and any other personal or work-related files. It’s important to focus on your user folder or directories where you have stored your data. Make a list of these files or create a separate folder where you can copy them.
There are several methods you can use to back up your data. One of the simplest options is to use an external hard drive. Connect the external drive to your computer and copy your important files to the drive. You can do this manually by dragging and dropping the files or by using backup software that offers automated backups. Ensure that your external drive has enough storage capacity to accommodate all the files you want to back up.
Cloud storage services are another popular option for backing up your data. Services like Google Drive, Dropbox, and iCloud offer secure storage for your files, accessible from any device with an internet connection. Upload your important files to the cloud and ensure that they are synchronized and up to date. This option provides an additional layer of protection as your files are stored remotely, reducing the risk of loss in case of hardware failure or physical damage.
If you have sensitive or confidential data that you want to back up, consider encrypting your files before backing them up. Encryption ensures that only authorized individuals can access your data and adds an extra layer of security to your backups. There are numerous encryption tools available online that you can use to secure your files prior to backing them up.
Once you have completed the backup process, verify the integrity of your backup files. Double-check that all your important files have been successfully copied and can be accessed from the backup location. It’s also a good idea to periodically perform test restores to ensure that you can recover your data without any issues.
Remember, backing up your data is a crucial step that should not be overlooked. It provides peace of mind and ensures that your valuable files and information are protected. By following these steps, you can proceed with the migration process knowing that your data is safely backed up and ready for the next stage of the SSD migration.
Cloning vs Clean Installation
When migrating your operating system to a solid-state drive (SSD), you have two primary methods to choose from: cloning and clean installation. Each method has its own advantages and considerations, depending on your specific needs and preferences. Let’s explore the differences between cloning and clean installation to help you decide which approach is right for you.
Cloning involves copying the entire contents of your existing hard disk drive (HDD) to the SSD. This includes your operating system, files, applications, and settings. Cloning allows for a seamless transition as you can continue using your computer with all your data preserved on the SSD. Many cloning software programs, such as Clonezilla, EaseUS Todo Backup, and Acronis True Image, are available to simplify the process.
One of the key advantages of cloning is the time saved in setting up your system. Since cloning duplicates your existing HDD, you don’t have to reinstall your operating system or applications. This can be particularly beneficial if you have a large number of programs installed or a complex system configuration that would be time-consuming to recreate from scratch.
However, cloning does come with some considerations. First, not all HDDs can be cloned to SSDs due to size restrictions. Ensure that the capacity of your SSD is equal to or larger than that of your existing HDD to avoid any issues. Additionally, cloning software relies on accurate partition alignment, so it’s essential to check that your old HDD is properly aligned before beginning the cloning process.
On the other hand, clean installation involves installing a fresh copy of your operating system and applications on the new SSD. This method requires reinstalling all your programs, manually transferring your files, and reconfiguring your system settings. While clean installation takes more time and effort, it offers certain advantages.
Clean installation allows you to start with a clean slate, eliminating any potential issues or errors that may have accumulated on your old system. It enables you to perform a fresh setup, optimizing your system configuration and removing any unnecessary files or programs. This can result in better overall system performance and stability.
Moreover, clean installation provides an opportunity to reorganize your files and ensure that only essential data is transferred to the SSD. It allows you to prioritize what is essential and avoid carrying over any clutter or unnecessary files from the old system.
A clean installation is also beneficial if you are upgrading to a different operating system version or switching from one operating system to another. It ensures a clean, optimized installation of the new operating system without conflicts or compatibility issues.
In summary, cloning offers a quick and straightforward method to migrate your system to an SSD, preserving all your data and settings. However, if you prefer starting with a clean system and optimizing your setup, a clean installation is the way to go. Assess your requirements, consider the advantages and considerations of each method, and choose the approach that best suits your needs.
Choosing the Right SSD
Selecting the right solid-state drive (SSD) is crucial for a successful operating system migration and optimal performance. With various options available in the market, it’s important to consider your specific needs and requirements. Let’s explore the key factors you should consider when choosing an SSD.
1. Storage Capacity: Determine the amount of storage you need for your operating system, applications, and files. SSD capacities range from 128GB to multiple terabytes. Consider your current storage usage and allow for future growth when selecting the capacity.
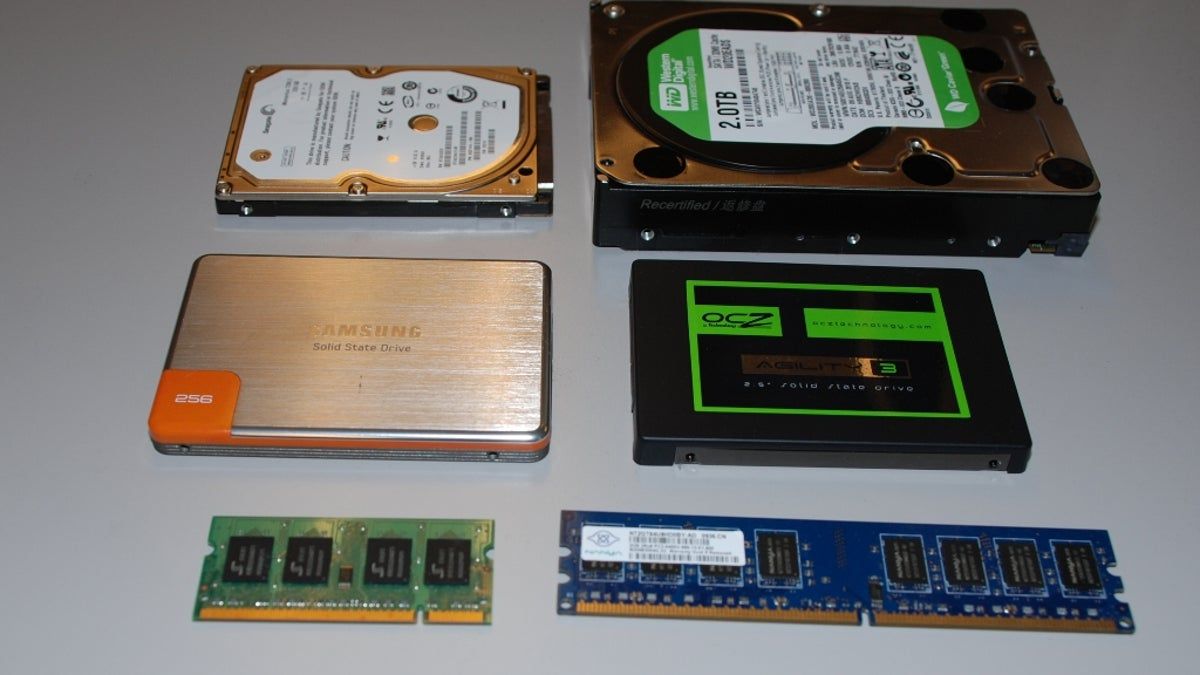
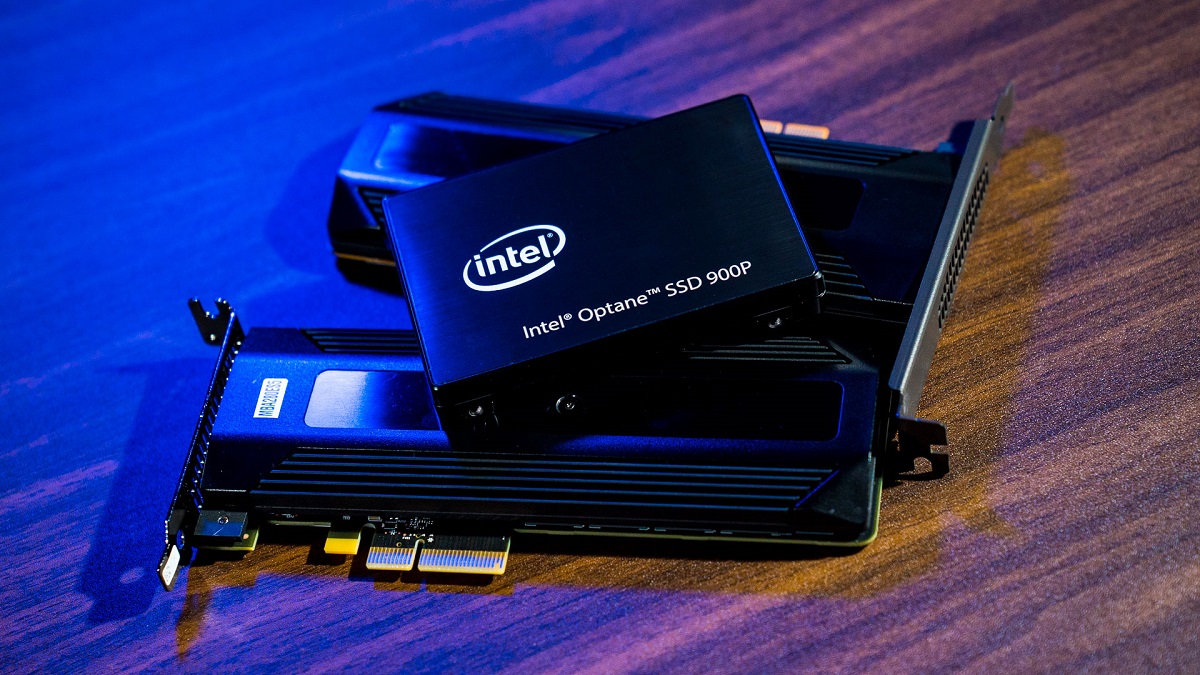
2. Form Factor: SSDs come in different form factors, such as 2.5-inch, M.2, and NVMe. Ensure that the form factor of the SSD you choose is compatible with your computer’s interface and physical dimensions.
3. Interface: Consider the interface compatibility with your computer. Common interfaces include SATA III, PCIe, and NVMe. The interface determines the maximum data transfer rate between the SSD and your computer.
4. Speed and Performance: Look for SSDs with high read and write speeds, as this directly impacts the overall performance of your system. Consider the SSD’s sequential and random read/write speeds to ensure fast data access and transfer rates.
5. Endurance and Reliability: Check the SSD’s endurance rating, typically measured in total bytes written (TBW). Higher TBW values indicate better durability and longevity. Additionally, consider brands with a reputation for reliability and warranty coverage.
6. Price: Compare prices among different SSD models while considering their performance and features. SSD prices have become more affordable in recent years, allowing users to get a high-quality SSD without breaking the bank.
7. Reviews and Ratings: Read reviews and customer ratings of SSDs to gather insights into their performance, reliability, and customer satisfaction. Look for SSDs with consistently positive feedback from users and reputable technology publications.
8. Brand Reputation: Consider purchasing from reputable brands that have a proven track record in the SSD market. Established brands often provide better customer support, firmware updates, and warranty services.
9. Additional Features: Look for extra features like hardware encryption, power-loss protection, or proprietary software that enhances the functionality and security of the SSD. Consider if these features align with your specific needs.
Remember to carefully assess your requirements and prioritize the factors that matter most to you. If possible, seek expert opinions or consult with knowledgeable professionals who can guide you in selecting the right SSD for your system. Investing in a reliable and high-performance SSD will not only amplify the benefits of migrating your operating system but also future-proof your computer for years to come.
Physical Installation of the SSD
Once you have chosen the right solid-state drive (SSD) for your system, it’s time to physically install the drive into your computer. Proper installation ensures that the SSD is securely mounted and connected, allowing for optimal performance and reliability. Follow the steps below to successfully install your SSD.
1. Power off your computer: Before working with any internal components, shut down your computer and disconnect the power cable. This ensures your safety and prevents any potential damage to the components.
2. Locate the storage drive bay: Identify the storage drive bay in your computer where the SSD will be installed. This may be an empty slot or the location of your existing hard disk drive (HDD) if you are replacing it.
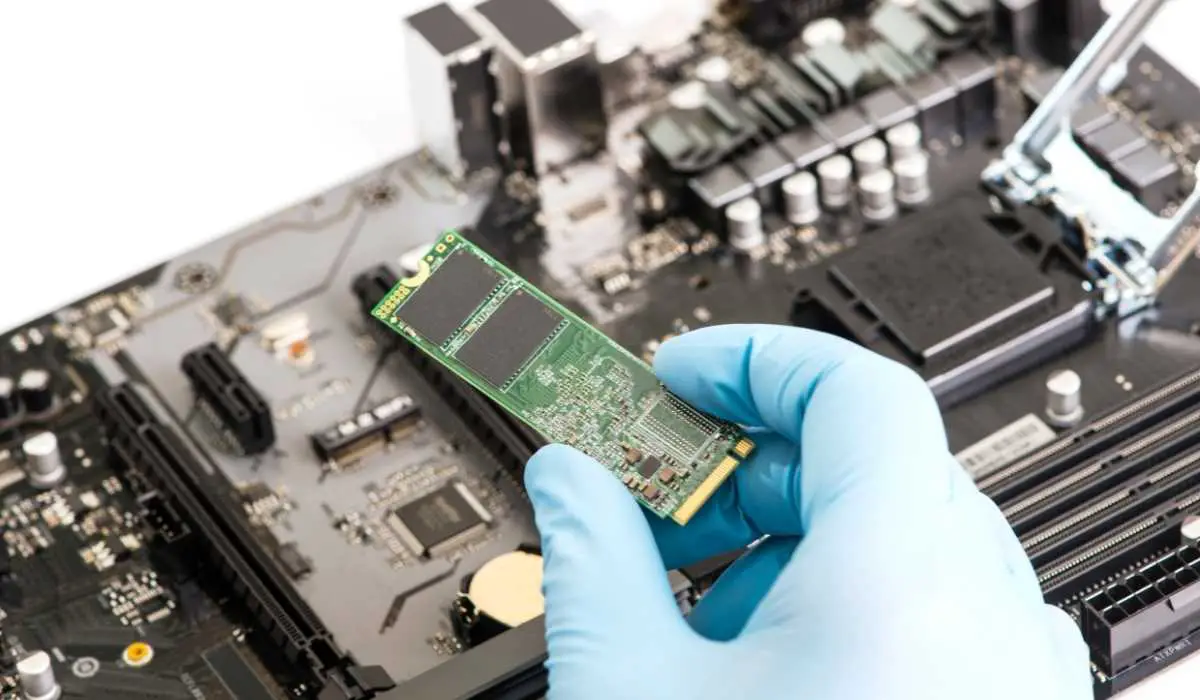
3. Mount the SSD: If your computer has a 2.5-inch drive bay, use the mounting screws or brackets provided with the SSD to secure it in place. If you are installing an M.2 SSD, locate the corresponding M.2 slot on your motherboard and gently insert the SSD, ensuring it is properly aligned.
4. Connect the cables: For a 2.5-inch SSD, connect one end of a SATA cable to the SSD and the other end to an available SATA port on your motherboard. Make sure the connection is secure. If you are installing an M.2 SSD, skip this step as it connects directly to the motherboard.
5. Secure the SSD: If you are installing a 2.5-inch SSD, use the mounting screws or brackets to secure the SSD in the drive bay. Ensure it is firmly fixed to prevent movement or disconnection.
6. Reassemble your computer: Carefully put back the computer’s side panel or cover, ensuring that all connectors and cables are properly aligned. Secure the panel with screws or latches as per your computer’s design.
7. Power on your computer: Once the SSD is installed and your computer is reassembled, connect the power cable and turn on your computer. The system should recognize the newly installed SSD.
8. Confirm SSD detection: To verify that the SSD is detected by your computer, access the BIOS or UEFI settings by pressing the designated key during boot-up (usually Del, F2, or F12). In the BIOS or UEFI settings, navigate to the storage devices section and confirm that the SSD is listed.
Congratulations! You have successfully installed your SSD physically. In the next sections, we will discuss the different methods of migrating your operating system to the SSD, allowing you to enjoy the enhanced performance and speed that SSD technology offers.
Migrating Your Operating System Using Cloning Software
One of the methods to migrate your operating system to a solid-state drive (SSD) is by using cloning software. Cloning software allows you to copy the entire contents of your existing hard disk drive (HDD) to the SSD, including your operating system, applications, files, and settings. Follow the steps below to successfully migrate your operating system using cloning software.
Step 1: Backup Your Data
Before starting the cloning process, it is crucial to have a backup of your data. This ensures that your files are protected in case of any unforeseen issues during the migration. Create a backup of your important files using an external hard drive, cloud storage, or backup software.
Step 2: Choose Cloning Software
Select a reliable cloning software that is compatible with your system and SSD. Popular options include Clonezilla, EaseUS Todo Backup, and Acronis True Image. Download and install the software on your computer.
Step 3: Connect the SSD
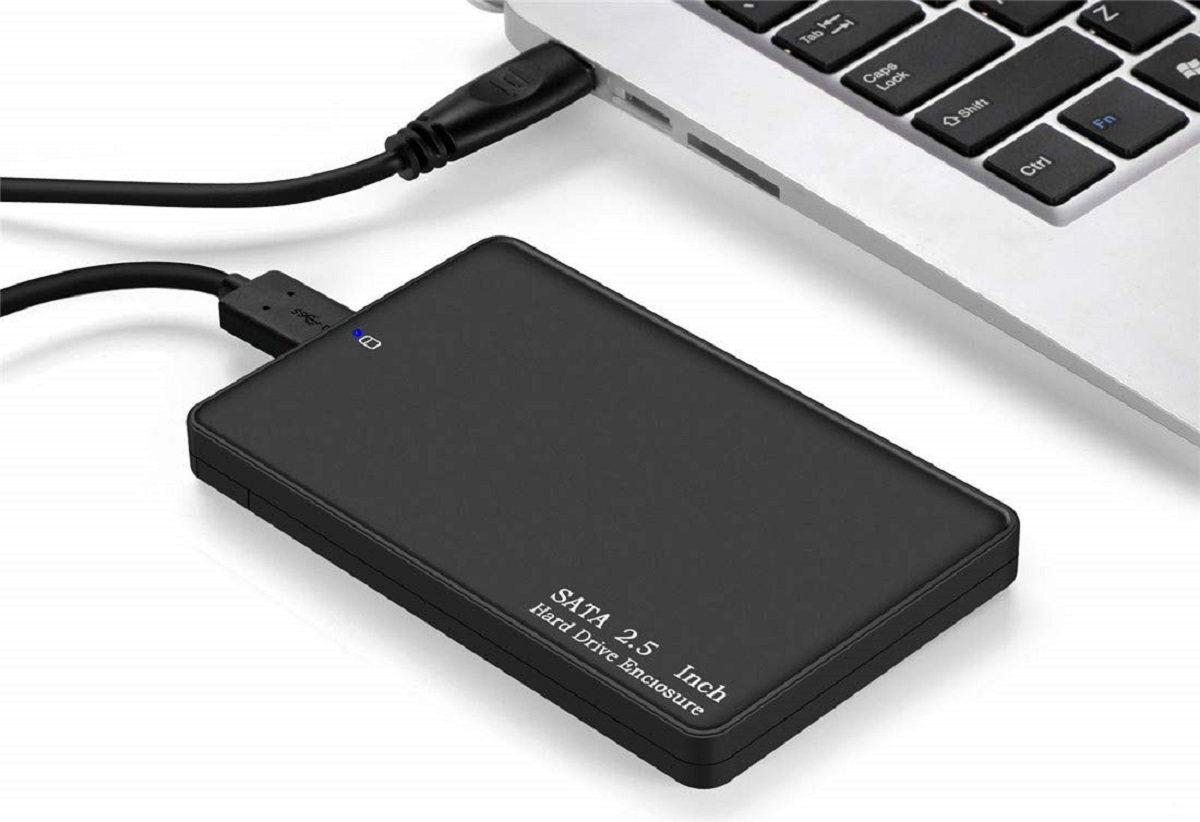
Connect your SSD to your computer using the appropriate cables and ensure that it is detected by your system. You can connect it externally via USB or internally using SATA or M.2 interfaces, depending on the type of SSD and available ports in your computer.
Step 4: Launch the Cloning Software
Open the cloning software and select the option to clone your HDD to the SSD. Choose the source drive (your existing HDD) and the destination drive (the SSD).
Step 5: Customize Cloning Settings
Depending on the cloning software, you may have the option to customize some settings. For example, you can choose to clone only specific partitions or resize partitions to fit the new SSD’s capacity. Review and adjust these settings according to your preferences.
Step 6: Start the Cloning Process
Initiate the cloning process by clicking the appropriate button or starting the cloning operation. This process may take some time, depending on the size of your HDD and the speed of your system. Monitor the progress and ensure that there are no interruptions during the cloning process.
Step 7: Verify the Cloning Result
Once the cloning process is complete, the software will prompt you to restart your computer. Follow the instructions to reboot your system. After restarting, access your computer’s BIOS or UEFI settings and confirm that the SSD is recognized as the primary boot drive.
Congratulations! You have successfully migrated your operating system to the SSD using cloning software. Enjoy the improved speed and performance of your new SSD. In the next sections, we will discuss additional steps to optimize your SSD and ensure its peak performance.
Migrating Your Operating System Using a Clean Installation
Another method for migrating your operating system to a solid-state drive (SSD) is by performing a clean installation. This involves reinstalling your operating system and applications on the new SSD, providing a fresh start and optimizing your system configuration. Follow the steps below to successfully migrate your operating system using a clean installation.
Step 1: Backup Your Data
Before proceeding with a clean installation, it is crucial to back up your data. Copy your important files to an external hard drive, cloud storage, or another suitable backup solution. This ensures that your files are protected and can be restored after the clean installation is complete.
Step 2: Create Installation Media
Create a bootable installation media for your operating system. This can be a USB flash drive or a DVD containing the installation files. Refer to the official website of your operating system for instructions on creating the installation media.
Step 3: Connect the SSD
Connect your SSD to your computer using the appropriate cables and ensure that it is detected by your system. You can connect it externally via USB or internally using SATA or M.2 interfaces, depending on the type of SSD and available ports in your computer.
Step 4: Change Boot Order
Access your computer’s BIOS or UEFI settings and change the boot order to prioritize the installation media (USB or DVD) over the existing HDD. Save the changes and exit the BIOS or UEFI settings.
Step 5: Install the Operating System
Boot your computer from the installation media and follow the on-screen prompts to install the operating system on the SSD. Select the SSD as the destination drive for the installation. Choose the appropriate installation options, such as language preferences, location settings, and user accounts.
Step 6: Reinstall Applications and Restore Data
After the clean installation of the operating system, reinstall your applications and restore your data from the backup you created earlier. Follow the installation instructions for each application and copy your files back to their respective locations.
Step 7: Update Drivers and Software
After installing the operating system and applications, ensure that all drivers and software are up to date. Visit the manufacturer’s websites for your hardware components and software applications to download and install the latest updates.
Step 8: Optimize SSD Performance
To maximize the performance of your SSD, enable TRIM support and configure power management settings specifically designed for SSDs. These settings can be found in the operating system’s settings or through dedicated software provided by the SSD manufacturer.
Congratulations! You have successfully migrated your operating system to the SSD using a clean installation. Enjoy the improved speed, responsiveness, and performance of your new SSD. In the next sections, we will discuss additional steps to optimize your SSD and ensure its peak performance.
Updating Drivers and Software
After migrating your operating system to a solid-state drive (SSD), it is essential to update your drivers and software to ensure optimal performance and compatibility. Outdated drivers and software can cause compatibility issues, decreased system performance, and security vulnerabilities. Follow the steps below to update your drivers and software effectively.
Step 1: Identify Outdated Drivers
Start by identifying any outdated drivers on your system. Open the Device Manager (on Windows) or System Information (on macOS) to view the list of installed hardware components and their associated drivers. Look for any yellow exclamation marks or error messages indicating outdated drivers.
Step 2: Download Drivers
Visit the manufacturers’ websites for each hardware component and download the latest driver versions. Be sure to download drivers specifically designed for your operating system and hardware model. Take note of any special instructions or software prerequisites mentioned on the manufacturer’s website.
Step 3: Install Drivers
Once the driver downloads are complete, open the installation files and follow the on-screen instructions to install the updated drivers. Restart your computer if prompted to complete the installation process. Repeat this process for each hardware component with outdated drivers.
Step 4: Check for Software Updates
Next, check for updates to your software applications. Many applications have built-in update features, while others require manual updates. Open each software application and navigate to the “Help” or “About” section. Look for options to check for updates or download the latest versions from the official websites of the software providers.
Step 5: Install Software Updates
Download the latest updates and install them following the instructions provided by each software application. It is important to keep applications up to date, as updates often bring bug fixes, performance improvements, and security patches.
Step 6: Enable Automatic Updates
To streamline the update process and ensure that your drivers and software remain up to date in the future, consider enabling automatic updates whenever possible. Many operating systems and software applications offer built-in options to automatically download and install updates. Enable these settings to stay current with the latest driver and software versions.
Step 7: Regularly Check for Updates
Make it a habit to regularly check for driver and software updates. Set a schedule to periodically review your hardware manufacturer’s websites and check for updates for critical components such as graphic cards, network adapters, and chipset drivers. Additionally, visit software provider websites or use update management software to keep your applications up to date.
By keeping your drivers and software up to date, you ensure that your system remains stable, secure, and compatible with the latest technologies and enhancements. Regularly updating your drivers and software is an essential step in maintaining optimal system performance and maximizing the benefits of your new SSD.
Optimizing Your SSD Performance
Optimizing your solid-state drive (SSD) is crucial to ensure that you are getting the maximum performance and lifespan out of your investment. While SSDs are inherently faster than traditional hard disk drives (HDDs), implementing a few key optimizations can further enhance their speed and efficiency. Follow these steps to optimize your SSD performance effectively.
Step 1: Enable TRIM
TRIM is a command that allows the operating system to inform the SSD which blocks of data are no longer in use. Enabling TRIM helps the SSD maintain optimal performance over time. To ensure TRIM is activated, open the operating system’s settings and navigate to the SSD properties. Confirm that TRIM is enabled for your SSD.
Step 2: Upgrade Firmware
Check for firmware updates provided by the SSD manufacturer. Firmware updates often address performance improvements, bug fixes, and compatibility enhancements. Visit the manufacturer’s website and download the most recent firmware update for your specific SSD model. Follow the firmware update instructions provided by the manufacturer.
Step 3: Adjust Power Settings
Configure the power settings on your computer to optimize SSD performance. In the operating system’s power settings, choose the “High Performance” or “Balanced” power plan. These settings prevent the SSD from entering low-power states, ensuring that it operates at its full potential.
Step 4: Disable Defragmentation
Unlike HDDs, SSDs do not benefit from defragmentation. In fact, frequent defragmentation can reduce the lifespan of an SSD. Disable the automatic defragmentation feature in the operating system’s settings to prevent unnecessary wear on the SSD.
Step 5: Disable Hibernation
Hibernation writes the system’s RAM contents to the hard drive, which is unnecessary on an SSD and can contribute to wear. Disable hibernation by opening the command prompt as an administrator and entering the command “powercfg /h off”. This frees up valuable SSD space and minimizes write operations.
Step 6: Manage Page File
The page file, or virtual memory file, can be relocated from the SSD to a separate HDD if you have one installed. This reduces the number of write operations on the SSD and prolongs its lifespan. Open the operating system’s settings and locate the virtual memory settings to make this adjustment.
Step 7: Clear Temporary and Junk Files
Regularly clear temporary files, cache files, and other junk files that accumulate on your computer. These files take up valuable SSD space and can contribute to decreased performance. Use built-in system tools or third-party software to clean up these unnecessary files.
Step 8: Regularly Update Software
Keep your operating system, drivers, and software applications up to date. Updates often include performance optimizations, bug fixes, and security enhancements. Visit the manufacturer’s websites for each component to download the latest updates.
By implementing these SSD optimization techniques, you can ensure that your SSD performs at its best. These optimizations not only enhance speed and efficiency but also contribute to extending the lifespan of your SSD. Enjoy the enhanced performance, responsiveness, and reliability of your optimized SSD.
Conclusion
Migrating your operating system to a solid-state drive (SSD) can significantly enhance your computer’s performance and speed. With faster boot times, improved application loading, and overall system responsiveness, SSDs offer a compelling upgrade over traditional hard disk drives (HDDs). In this article, we have explored the various aspects of migrating to an SSD, from understanding the benefits to preparing for the migration, choosing the right SSD, and optimizing its performance.
Whether you choose to migrate your operating system using cloning software or perform a clean installation, the process involves careful planning and execution. Before starting the migration, it is crucial to back up your data to ensure its safety. Additionally, consider the factors to choose the right SSD, such as storage capacity, form factor, interface, speed, endurance, and price.
Once the SSD is physically installed, updating drivers and software is essential to maintaining compatibility and maximizing performance. Firmware updates, enabling TRIM, adjusting power settings, and managing virtual memory are some of the optimization techniques to enhance your SSD’s performance. Regularly updating software and cleaning out temporary files also contribute to keeping your system running smoothly.
By following these steps and implementing the recommended optimizations, you can enjoy the benefits of faster boot times, quicker application loading, and an overall more efficient computing experience. SSDs offer improved durability, energy efficiency, and data security compared to HDDs. Furthermore, SSDs can extend the lifespan of your computer system and enhance productivity for both personal and professional use.
Keep in mind that technology is constantly evolving, and SSDs continue to advance. It is important to stay informed about the latest trends and developments in SSD technology to make informed decisions and maximize your investment. Regularly check for firmware updates, driver updates, and new optimization techniques to ensure your SSD performs at its best.
Migrating to an SSD is a worthwhile investment that brings substantial benefits in terms of speed, reliability, and overall system performance. Whether you are a casual user, a professional, or a gamer, upgrading to an SSD will undoubtedly enhance your computing experience. So, take the leap and enjoy the superior performance and efficiency of SSD technology in your computer system.